Overview
EF Call Transfer Gadget allows contact center agents to assign a call to an available agent of a specific skill group, Queue or team. Only the available agents of the selected skill group or team will be shown, and the user can choose between single-step call transfer or consultative call transfer on the selected agent’s extension.
The gadget can be configured to load the agent list either on the skill group or on the team. The gadget will work with HTTP and supports finesse failover.
Features
Blind Call Transfer
Blind call transfer puts the caller on hold while the agent transfers the call to another agent’s extension without first consulting with that agent.
The blind call can be transferred in two ways:
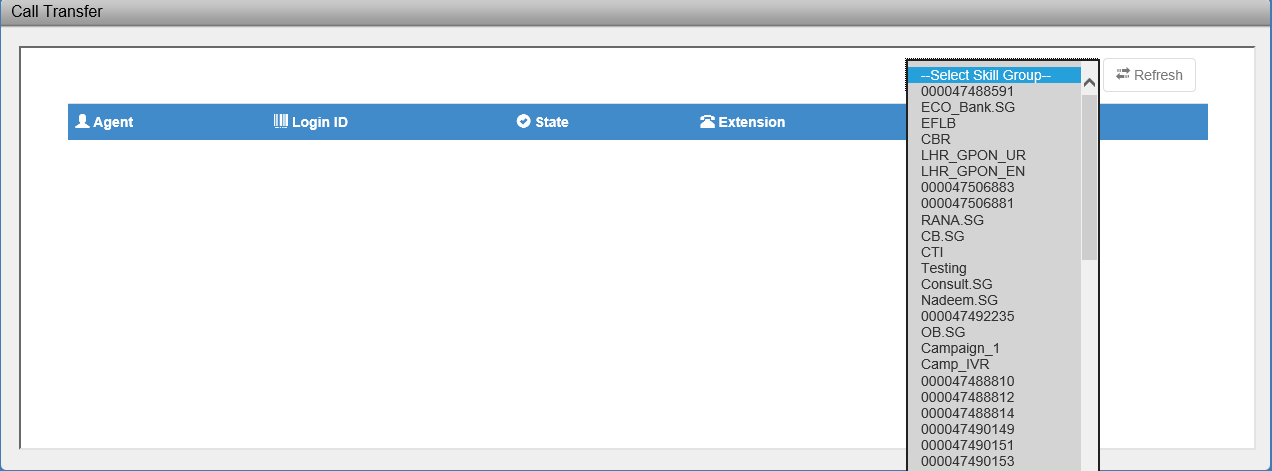
1. Transfer to the member of the skill group - one of the available agents of a specific skill group is selected and the call is transferred to that selected agent.
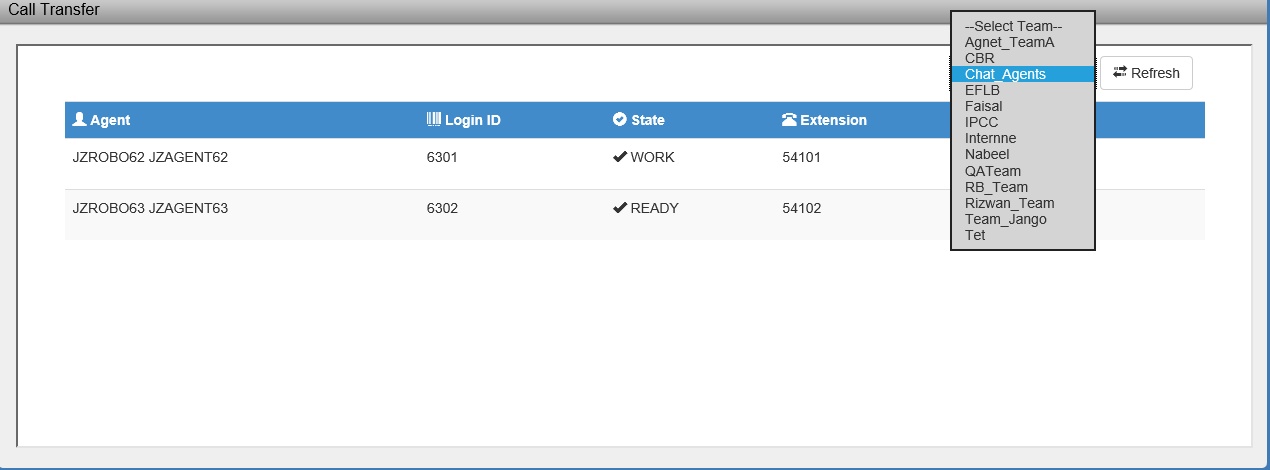
2. Transfer to the member of a team- one of the available agents of a team is selected and a call is transferred to that selected agent.
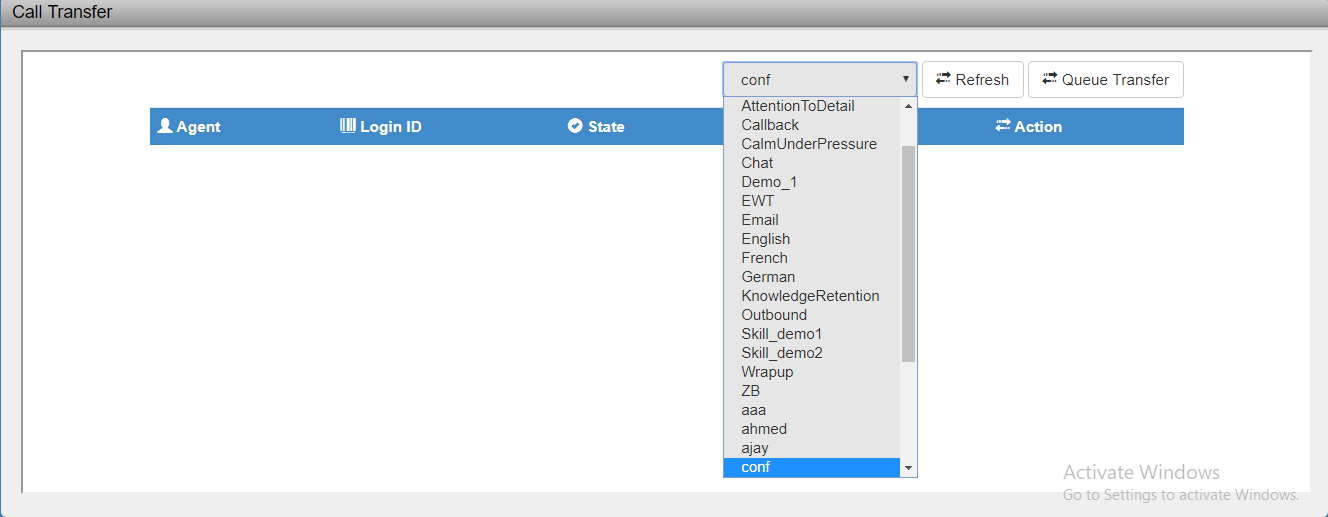
3. Transfer directly to queue- agent can select any queue from list and hit on “Queue Transfer” to transfer the call to queue
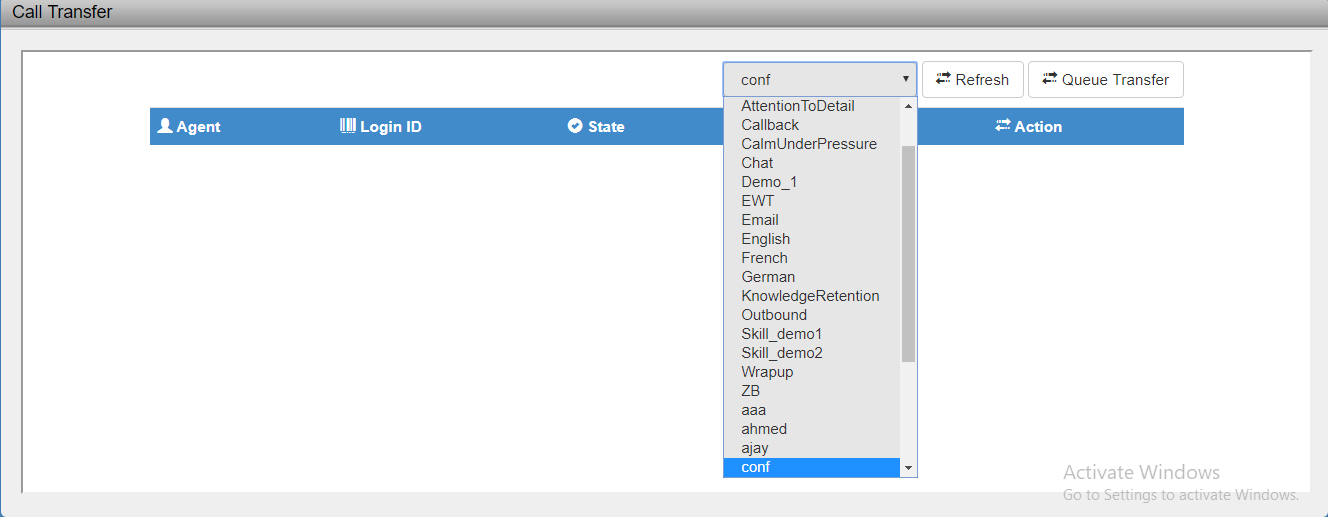
4. Transfer to the member of a queue- one of the available agents of a queue is selected and the call is transferred to that selected agent
Consultative Call Transfer
Consultative call transfer puts the caller on hold while the agent consults with another agent before transferring the call to the agent’s extension.
The agent can perform consultative call transfer in two ways:
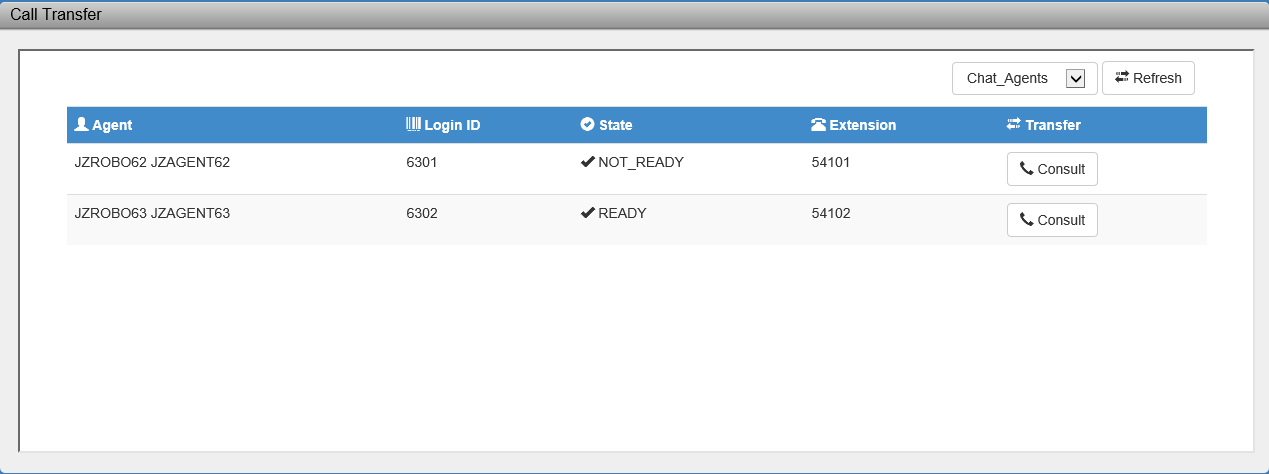
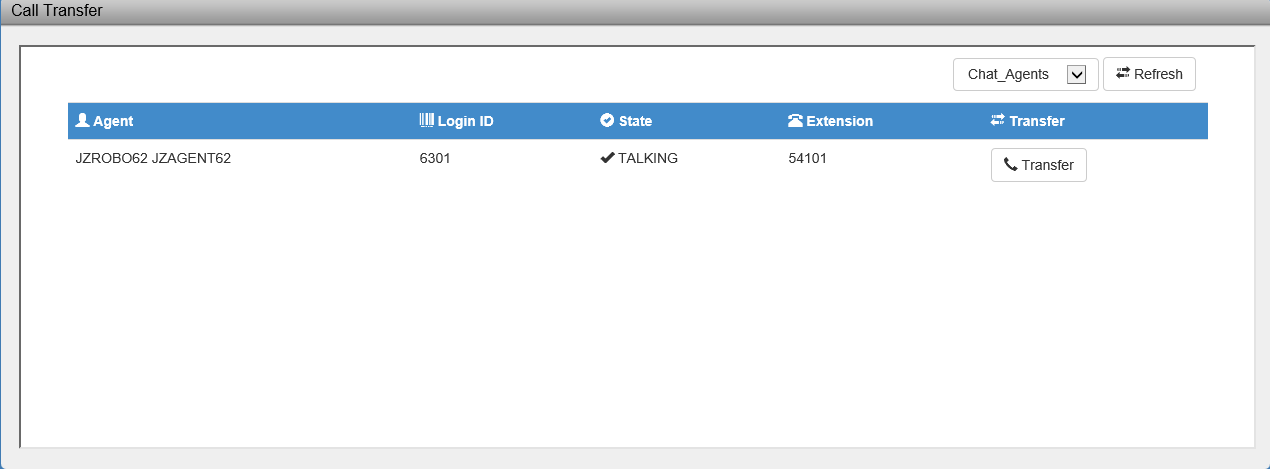
1. Transfer to the member of the skill group - one of the available agents of a specific skill group is selected for consult call. Once the consult call is connected, the agent can transfer the customer call on the selected agent’s extension.
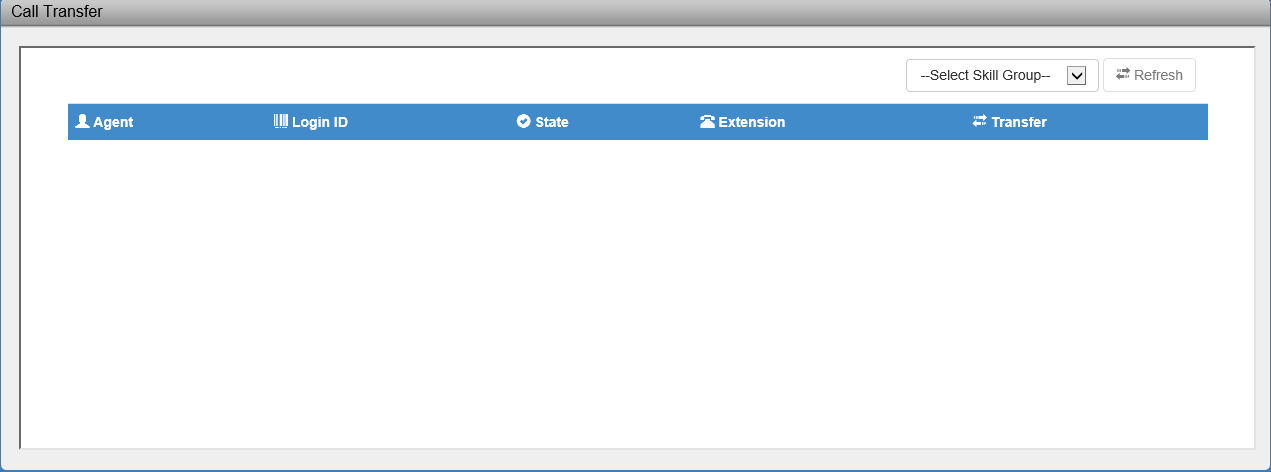
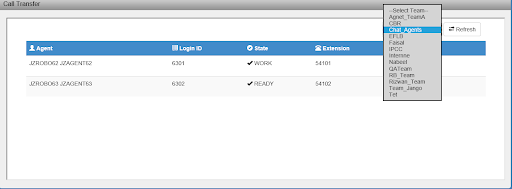
2. Transfer to the member of the team - one of the available agents of a specific team is selected for consult call. Once the consult call is connected, the agent can transfer the customer call on the selected agent’s extension.
Gadget Deployment Planning
The call transfer gadget has two components.
|
Solution Components |
Description |
|---|---|
|
Call Transfer Application |
This is Java-based Web application that requires Apache Tomcat |
|
Finesse Gadget |
A finesse gadget that renders call transfer application frontend inside Cisco Finesse. |
Prerequisites
The following are the mandatory prerequisites for a gadget installation.
Hardware Requirements
These requirements suffice for deployment with 300 agents or less.
|
Item |
Recommended |
Notes |
|---|---|---|
|
CPU |
2 vCPU |
Can be co-hosted |
|
Memory |
4 GB |
|
|
Disk Space |
30 GB |
The minimum disk space requirement is 5 GB. The recommendation is to account for transactional storage and logs. |
The gadget can be co-hosted with other Expertflow or third party products. Redundancy is only supported on the Cisco Finesse side, i.e., a single call transfer application will be deployed along with a finesse gadget on each of the two Cisco Finesse servers.
Software Requirements
|
Item |
Recommended |
Notes |
|---|---|---|
|
Operating System |
|
supported on these operating systems |
|
Java |
|
|
|
Apache Tomcat |
|
|
Port Utilization Requirements
Any available port can be assigned to the call transfer application deployed in Tomcat. The default port is 8080. Local & network security policy should allow communication on the configured port.
System Access Requirements
-
Tomcat
-
Users with Admin rights
-
Cisco Finesse Administration access
-
Finesse Administration credentials.
-
Cisco Finesse agent desktop/supervisor desktop access
-
Finesse agent\supervisor configured properly with the team(s) or skill group(s) assigned.
-
AW/Informix DB credentials
Time Synchronization Requirements
If the system dates and time are not synchronized the system can produce unpredictable results. Therefore, please make every effort to adhere to the following time synchronization guidelines:
The server machine and Cisco Finesse should have their Time Zone and time configured properly according to the geographic region and synchronized. To configure the time zone, please see the instructions from the hardware or software manufacturer of the NTP server. The application servers should be synchronized to the second. This synchronization should be maintained continuously and validated on a regular basis. For security reasons, Network Time Protocol (NTP) V 4.1+ is recommended.
Compatibility & Support
The versions listed below with browser versions have been tested.
|
Platform |
Version |
Browser |
|
UCCE |
10.X |
IE 11 , Mozilla |
|
UCCE |
11.X |
E 11, Mozilla |
|
UCCX |
11.X |
IE 11, Mozilla |
|
UCCE |
12.0 |
IE 11, Mozilla |
|
UCCE |
12.6 |
IE 11, Mozilla |
Browser Settings
Firefox
-
Open browser.Type about:config in the address bar.
-
Click on the button captioned I accept the risk.
-
In the search bar type security.mixed_content.block_active_content Property.
-
Make sure its value set to False.
Internet Explorer
-
Open Internet Options and click on the Security tab
-
Click on the Custom Level button
-
In the new window, scroll down to the Miscellaneous area, and under the Display mixed content option, click on the enable option to display mixed content.
-
When finished, click on the OK button
-
You will need to restart IE to completely enable the new settings. Now, nonsecure content (http://) used inside Blackboard courses will always be displayed on your screen.