Summary
Customer Bulk Upload ETL is responsible for processing CSV files uploaded by users in CX Unified Admin. It fetches the uploaded files from the database with status ‘IN_PROGRESS’ and batches the csv records to the CustomerSave API which validates the records in the file. This API in response gives the inserted and rejected records count along with the rejected customer records. The inserted and rejected records count of each batch are saved/updated in the database. Also, the rejected customers of each batch are sent as a csv to UploadRejected API after the processing showing the rejected records of the uploaded csv file along with their reason of rejection.
Please make sure to un-pause both the pipelines ‘fetch_upload_records’ and ‘process_upload_records’ from the Airflow UI once deployment is done.
ETL Pipelines:
For customer bulk upload ETL we have two pipelines:
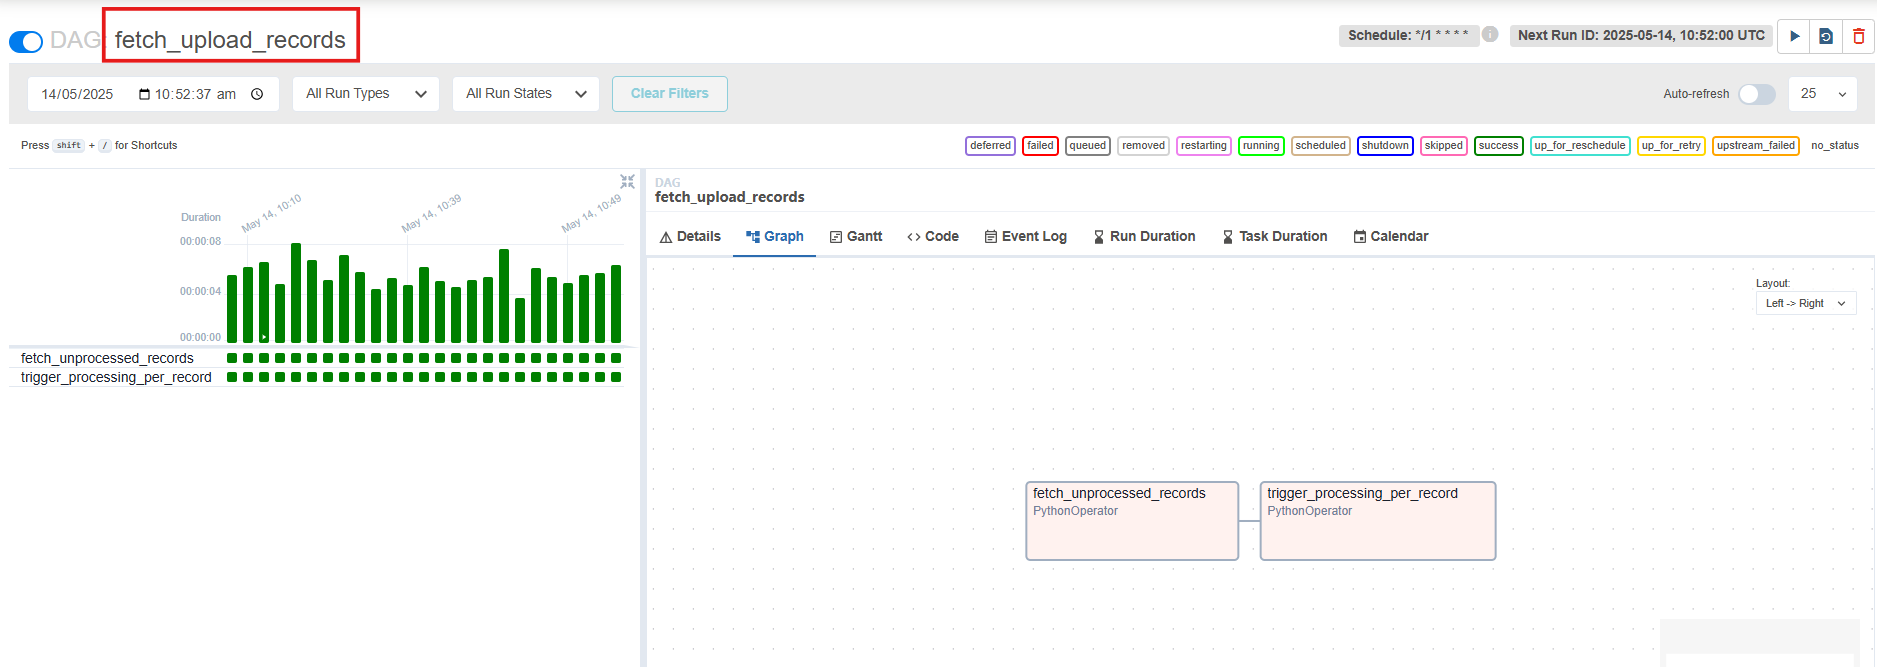
1. Pooling Pipeline (fetch_upload_records):
-
This pipeline is responsible for fetching the uploaded file from the API and triggering the processing pipeline to start processing the uploaded file.
-
If the file is present in the database then this pipeline will trigger processing pipeline else it will skip the processing as no records are present in the database.
-
This pipeline can be scheduled to run according to the requirements in the configuration file.
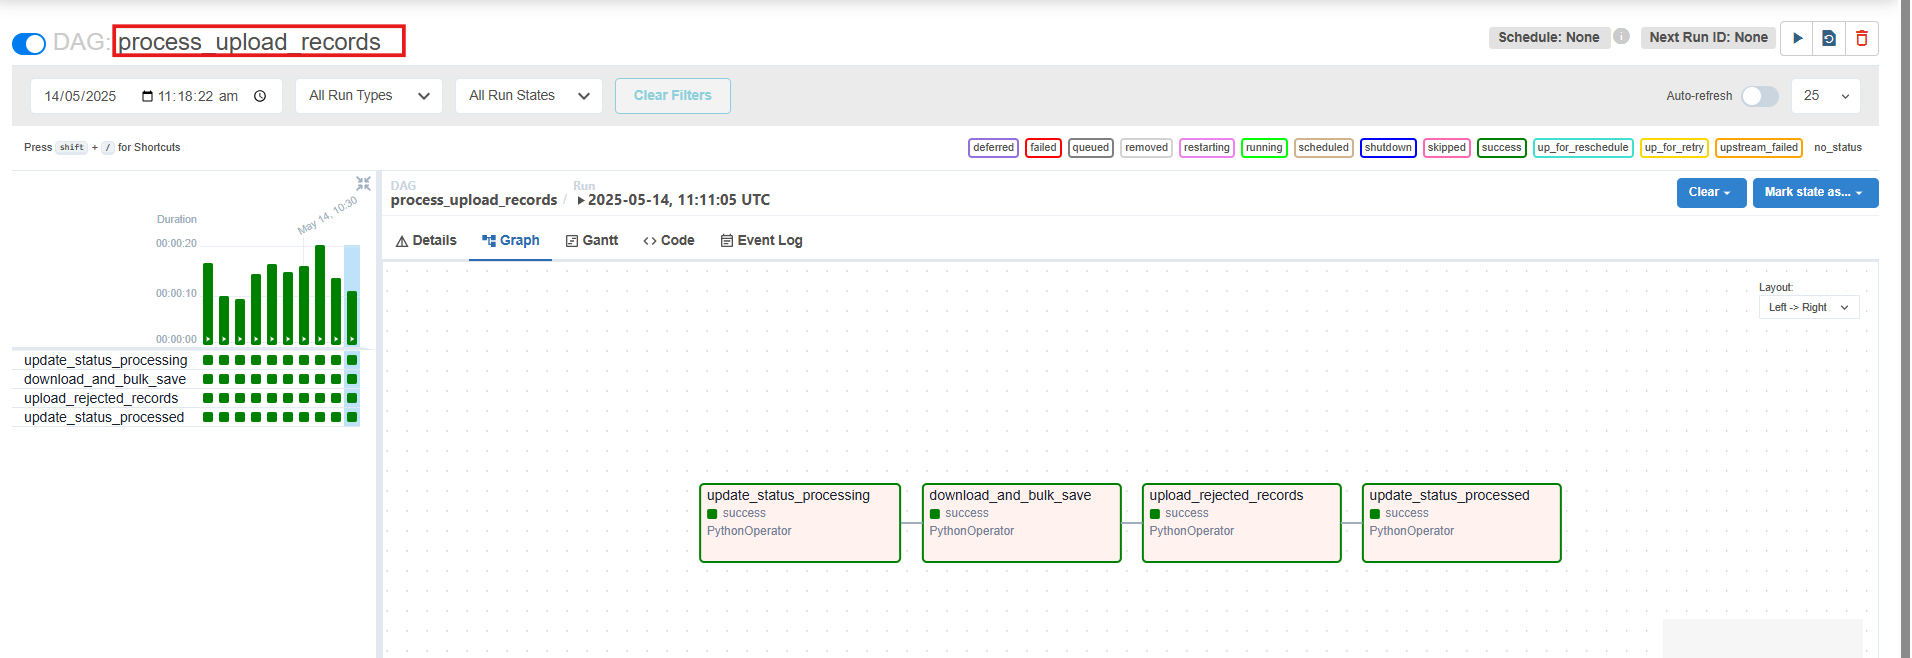
2. Processing Pipeline (process_upload_records):
-
This pipeline is responsible for processing the records in the uploaded csv file.
-
Once the file is sent to this processing pipeline by the pooling pipeline, first the status of the file is changed to “PROCESSING” in the database. After this the records are processed in the form of batches of which the batch size can be set in the configuration file of the pipeline.
-
The CustomerSave API will validate if the records are to be inserted or rejected and in response will give the inserted and rejected records count and an array containing the rejected records along with the reason of rejection.
-
After each batch is processed the inserted and rejected records count that comes in the API response is sent to the FileStats API which inserts/updates the record count in the database.
-
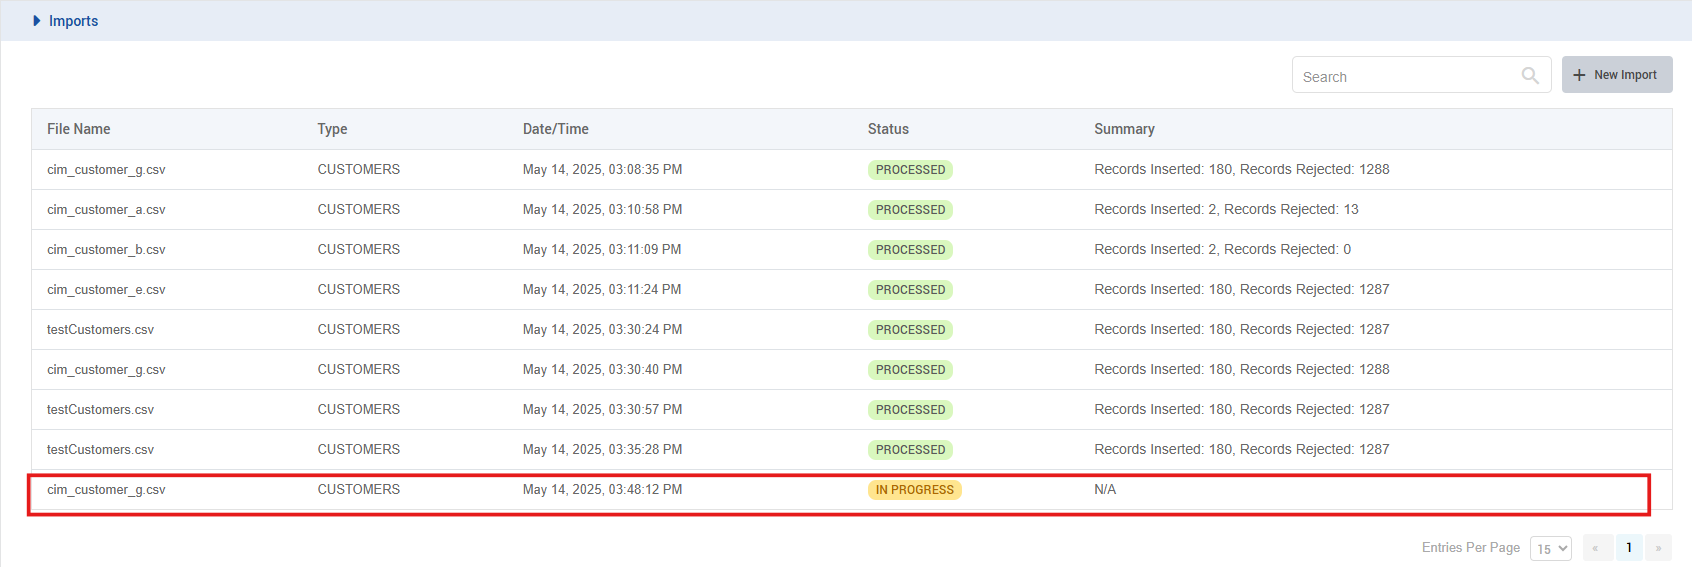
Also the rejected customers array that comes in the API response after each batch is temporarily stored in a json file and keeps appending till all the batches are processed. Once the batches are completed, the final json file containing all the rejected records of the uploaded file is converted to a csv file and sent to UploadRejected API. This rejected records csv is accessible in the frontend as shown in the screenshot and holds all the rejected records.
-
Finally, after the processing is completed, the status of the file is changed to “PROCESSED”.

Configuration File (bulk_upload_config.yaml)
Configurations for the Customer Bulk Upload Data Pipelines are provided in a yaml format to ensure flexibility and adaptability. These configurations are designed for normal and ideal use cases and are advised to be used as-is to achieve optimal results.
## Please change <solution-fqdn> to the FQDN of your CX solution.

## API to get the 'IN_PROGRESS' file records from the database.
get_records_api: "<solution-fqdn>/cx-load-hub/upload/status/IN_PROGRESS"

## API to download the uploaded csv file.
download_api_template: "<solution-fqdn>/file-engine/api/downloadFileStream?filename={filename}"  ## filename would be fetched dynamically based on the file records being fetched

## CustomerSave API to validate the records in the csv file.
bulk_save_api: "<solution-fqdn>/cim-customer/bulkCustomers"

## API to update the status of the file e.g. 'PROCESSING', 'PROCESSED'.
status_update_api: "<solution-fqdn>/cx-load-hub/upload/{file_id}?status={status}"   ## file_id would be fetched dynamically based on the file being fetched    ## status would also be updated by the ETL once running

## FileStats API to insert/update the inserted and rejected records count of a file in the database.
file_stats_api: "<solution-fqdn>/cx-load-hub/fileStats"

## UploadRejected API to upload the csv containing the rejected records from a csv file.
upload_rejected_records_api: "<solution-fqdn>/cx-load-hub/uploadRejected"

## Batch size to be run. This is configurable and can be changed according to the requirements.
batch_size: 500

## Schedule interval of the data pooling pipeline i.e. after how much time will the pipeline run and fetched the unprocessed csv files. This is also configurable and can be changed according to the requirements.
schedule_interval_pooling: "*/10 * * * *"

## Schedule interval of the data processing pipeline. This will remain 'None' as it will not run itself unless triggered by the pooling dag.
schedule_interval_processing: None

## CSV encoding type to convert the arrays in a csv format when being sent to the CustomerSave API or the UploadRejected API.
csv_encoding: "utf-8"
Please note that if you make any changes in the configuration file above, you would need to delete the previous config map and create a new config map by running the commands below form the transflux directory:
To delete the config map:
k delete configmap ef-transflux-config-cm -n expertflow
To create the config map:
kubectl -n expertflow create configmap ef-transflux-config-cm --from-file=config
Flow of Operations:
-
User Uploads a CSV File:
-
The user uploads a CSV file. Upon successful upload, the details of the file (including the file name, path, upload timestamp, etc.) are saved in the system database.
-
The initial status of the uploaded file is set to "IN PROGRESS” in the database and also shown on the front end (as seen in picture attached).
-
-
ETL Job Fetches Uploaded CSV File:
-
The ETL job runs periodically by schedule interval set in the configuration file.
-
It retrieves the uploaded CSV file from the API and changes it’s status to “PROCESSING”.
-
Then the ETL job reads the file, processes each row, and batches the entries for the
customerSave API.
-
-
Batch Processing:
-
The customer data is divided into manageable batches to optimize the API request process. This batch size can be set from the configuration file according to the requirements.
-
Each batch contains a subset of the rows from the CSV, ensuring that the
customerSave APIrequests are efficient and can handle large datasets without overwhelming the API or the system.
-
-
Saving Customer Data:
-
For each batch, the ETL job makes a request to the
customerSave APIto save the customer records in the CIM Customer Database. -
The response from the API after each batch is the inserted and rejected record counts and the rejected customer records along with the reason of rejection of each rejected record.
-
The inserted and rejected count after each batch are updated in the database and are also visible in the solution UI.
-
The rejected customers records along with their reason of rejection are sent as a csv file to the
UploadRejected API. This csv is then available to the user on the solution UI.
-
-
Final Status Update:
-
Once all batches are processed, the status of the entire file is updated in the database to 'PROCESSED.
-
Please note the following points in case of ETL failure or API failure:
-
If for some reason any pipeline task fails for the processing pipeline, it will automatically be retried by airflow 3 times after 2 minutes wait time for each try.
-
Likewise, if you get any API downtime, or network errors in between the ETL processing, the API’s will also attempt to retry 3 times after 4 second interval of each retry.
-
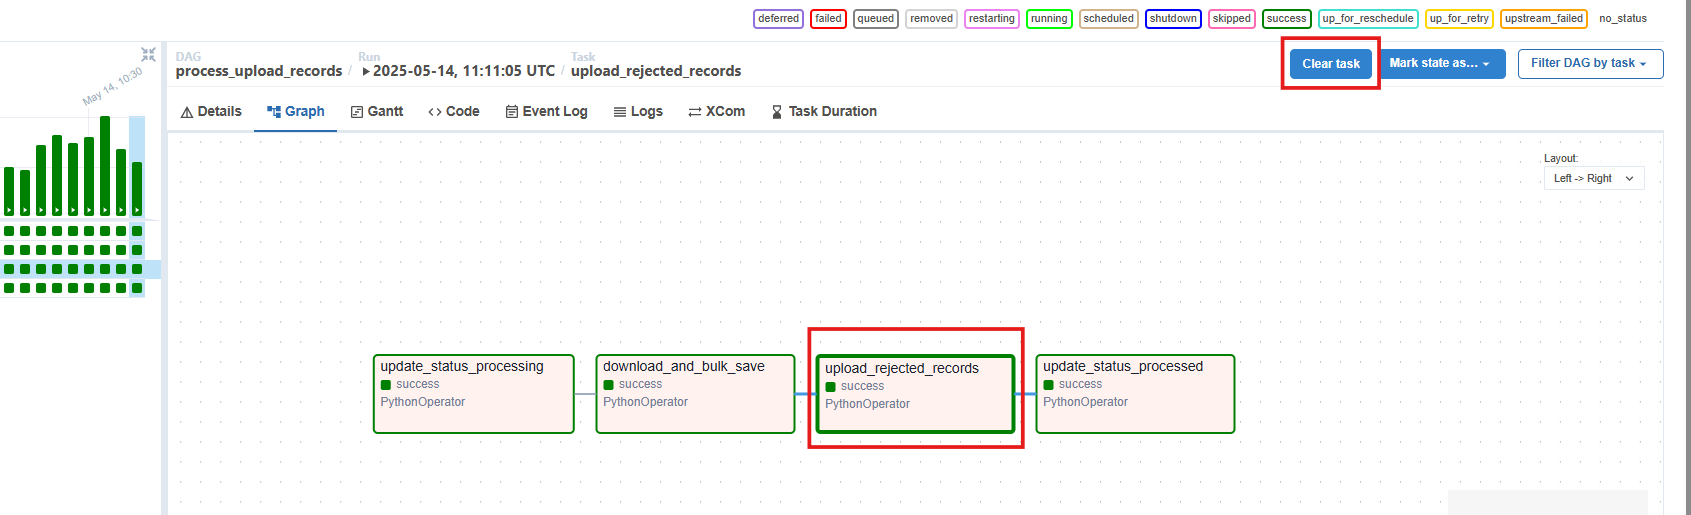
If during the API retries or the ETL retries, the API downtime is not fixed, then when the API downtime/network is back up, you can manually trigger the failed task of the pipeline from the airflow UI.
-
To do so, head over the dedicated FQDN on which cx-data-platform/transflux is deployed and open the respective pipeline with failed task. Now select the task in the pipeline that is labelled as failed and on the right corner of your screen, select ‘clear task’. This will start your processing again for that specific task that was failed and complete your processing without the need of running the pipeline from the start again.