Requirements
For logs retention on a kubernetes cluster, below given Hardware specs are required for the solution. Please consult official documentation for the cluster size.
|
Component |
CPU |
RAM(GB) |
Disk( GB) |
|---|---|---|---|
|
EFK Stack |
2 |
4 |
250 |
This document illustrates logs enablement using EFK stack on a standalone VM.
Step 1: Clone the EF-CX Repository:-
Use the following command to clone Expertflow CX repository:-
git clone -b <branch name> https://efcx:RecRpsuH34yqp56YRFUb@gitlab.expertflow.com/cim/cim-solution.git
Step 2: Change the working directory:-
Change the directory:-
cd cim-solution/kubernetes/logging/ELK/elasticsearch/
If you want to change the password for ElasticSearch, change it before deployment by updating the password field by using the following commands:-
vi values.yaml
once the file opens up, update the value for key elasticPassword to change the password:-
security:
  ## @param security.enabled Enable X-Pack Security settings
  ##
  enabled: true
  ## @param security.elasticPassword Password for 'elastic' user
  ## Ref: https://github.com/bitnami/containers/tree/main/bitnami/elasticsearch#security
  ##
  elasticPassword: "iElatic07023"
  ## @param security.existingSecret Name of the existing secret containing the Elasticsearch password (expected key: `elasticsearch-password`)
Step 3: Deploy the ElasticSearch Helm Chart:-
Deploy the helm chart using the following command:-
helm upgrade --install --namespace=elastic --create-namespace --values=./values.yaml elastic .
Step 4: Create Ingresses:-
Follow these commands to create ingresses:-
cd ..
update the FQDN in Ingresses:-
sed -i 's/devops[0-9]*.ef.com/<FQDN>/g' Ingresses/*
apply the ingresses:-
kubectl apply -f Ingresses/
Step 5: Create Policy:-
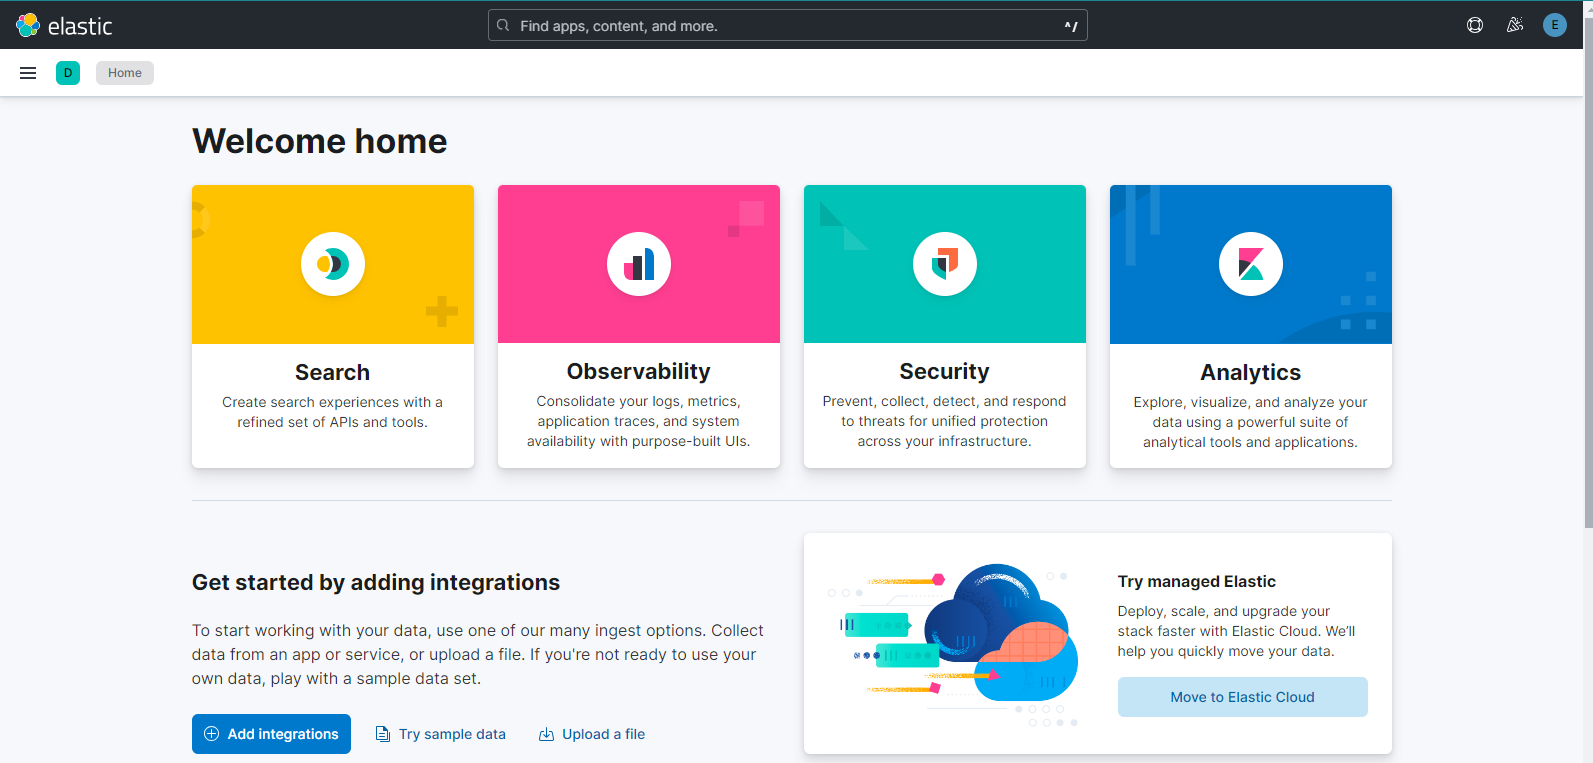
Log in into Kibana on browser using the following link and username password:-
link: <FQDN>/ef-kibana/
username: elastic
password: iElatic07023
Once logged in into Kibana, Select “Explore on my own“ and proceed. UI will look like this:-
click on the burger button on the top left to open the left panel. scroll down to DEV Tools in Management as shown below:-

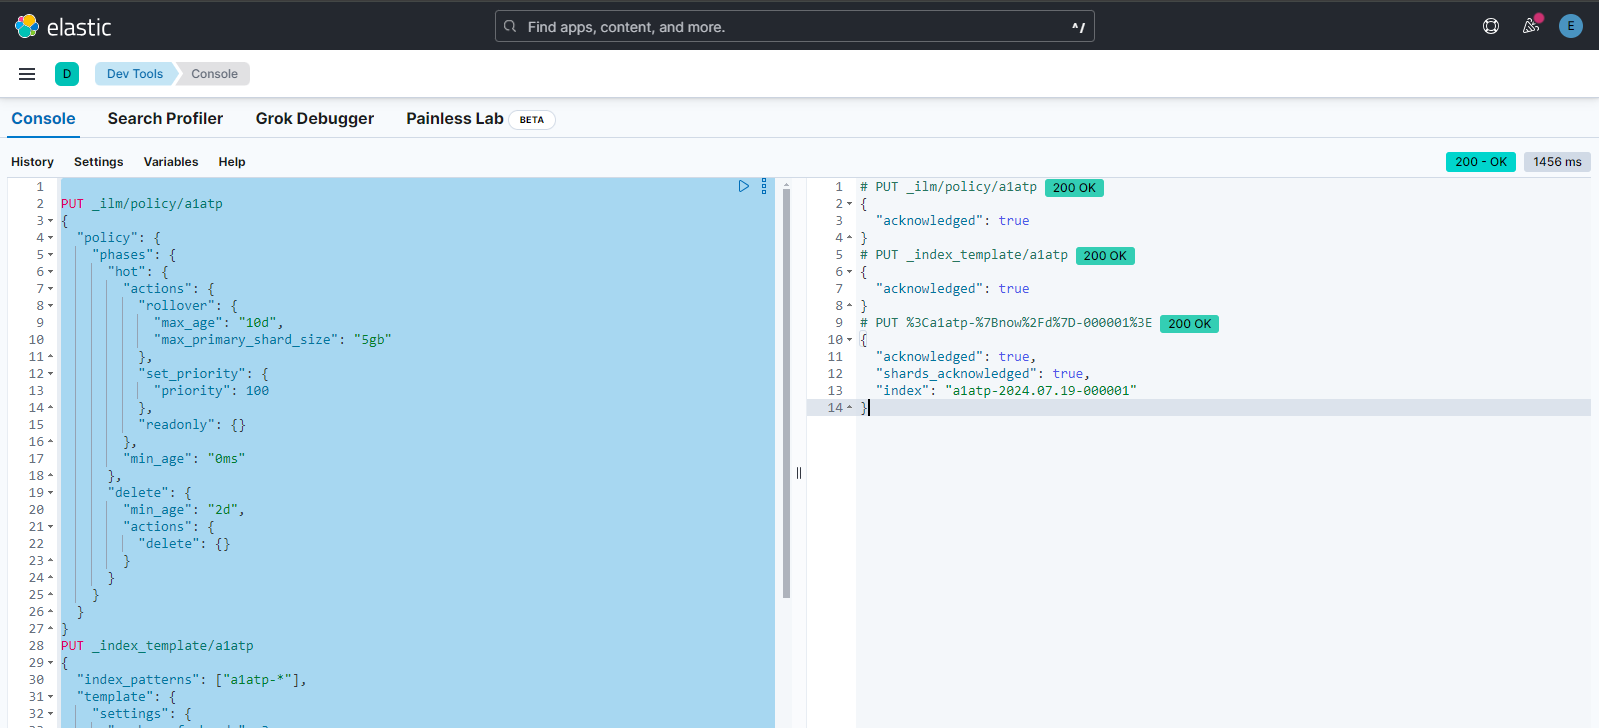
once inside the DEV tools, open the console and paste the following content. Please update <index-alias> before proceeding
PUT _ilm/policy/<index-alias>
{
  "policy": {
    "phases": {
      "hot": {
        "actions": {
          "rollover": {
            "max_age": "8d",
            "max_primary_shard_size": "5gb"
          },
          "set_priority": {
            "priority": 100
          }
        },
        "min_age": "0ms"
      },
      "delete": {
        "min_age": "1d",
        "actions": {
          "delete": {}
        }
      }
    }
  }
}

PUT _index_template/<index-alias>
{
  "index_patterns": ["<index-alias>-*"],
  "template": {
    "settings": {
      "number_of_shards": 3,
      "number_of_replicas": 1,
      "index.lifecycle.name": "<index-alias>",
      "index.lifecycle.rollover_alias": "<index-alias>"
    }
  }
}


# PUT <my-index-{now/d}-000001>
PUT %3C<index-alias>-%7Bnow%2Fd%7D-000001%3E
{
  "aliases": {
    "<index-alias>": {
      "is_write_index": true
    }
  }
}
after pasting the content, select all of this content and start running this code. The result will be as shown below:-
Step 6: Verify:-
Head over to Stack Management from the burger menu and open Index Management. There you will see the index that you have created in Step 5. Output will be as below:-

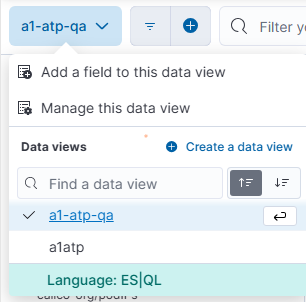
Step 7: Create Data View
Create a Data view with the Index name and Index pattern and wait until Timestamp field is activated.