We have introduced a new feature: the Web Publish Form in form builder. When a survey form is created in the Unified Admin via form builder, you will find a button to copy the URL in the form list options after saving it. Clicking this button generates a unique URL allowing the end user to access and submit the published form. You can open this URL in any browser to view and fill out the form online. Anyone with this URL can easily access and fill out the form
Form Builder in Unified Admin:
The Form Builder is an integral component of our Unified Admin system, designed to enhance business operations by enabling users to create custom forms effortlessly. This tool supports various form types and attributes, allowing for diverse applications such as surveys. With an intuitive drag-and-drop interface, real-time previews, and built-in validation, users can design forms that meet specific business needs without requiring technical expertise.
Create a Web Form in Unified Admin
-
Open Unified Admin
-
In the form section create a new form by clicking the New Form button

-
Create a simple form of any type.
-
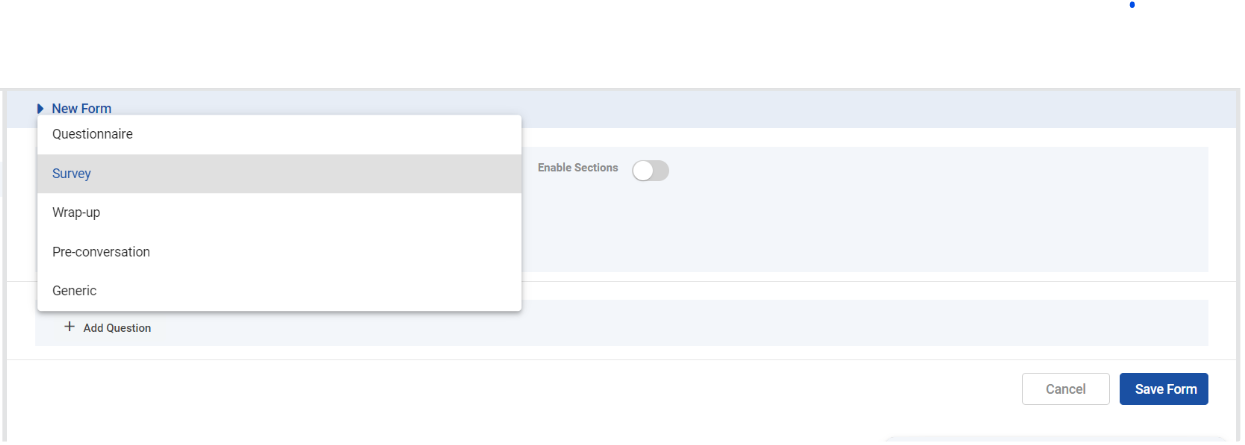
You can choose any supported type; I am selecting the Survey type.
-
After selecting the form type, create a form with your desired attributes.
-
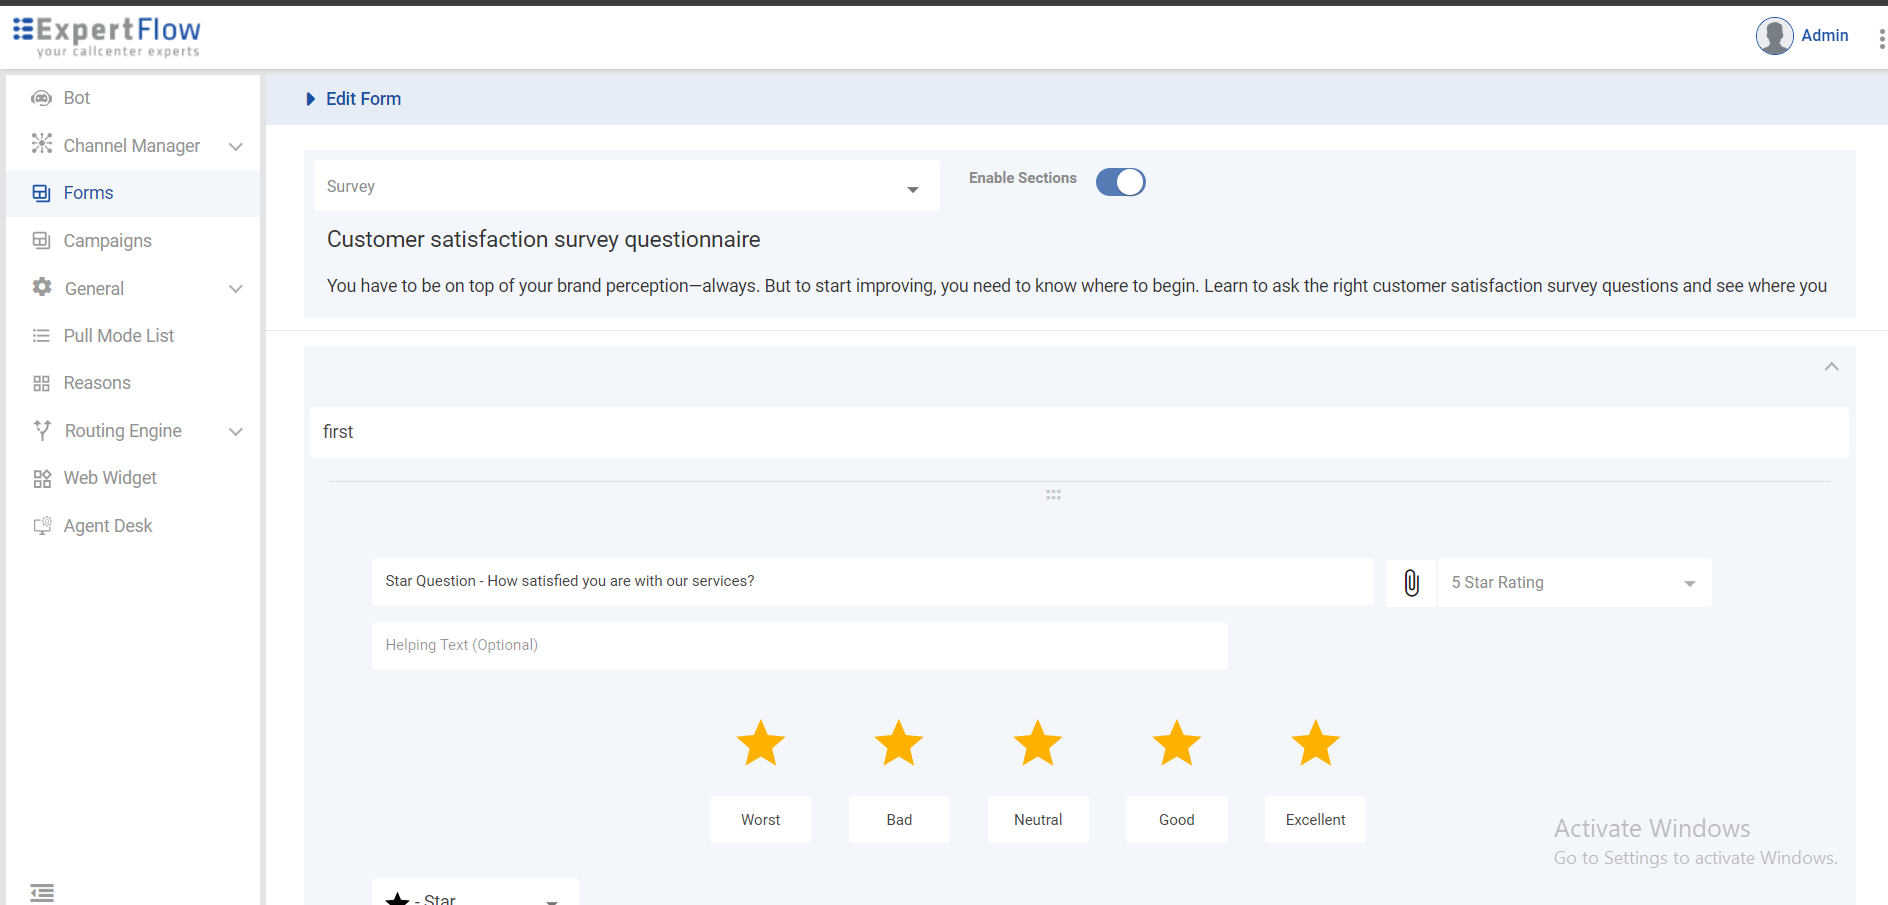
Enable the section on the form. If you enable the section, the attributes will be displayed within their respective section
-
I am adding two sections, and in each section, I have added multiple attributes:
-
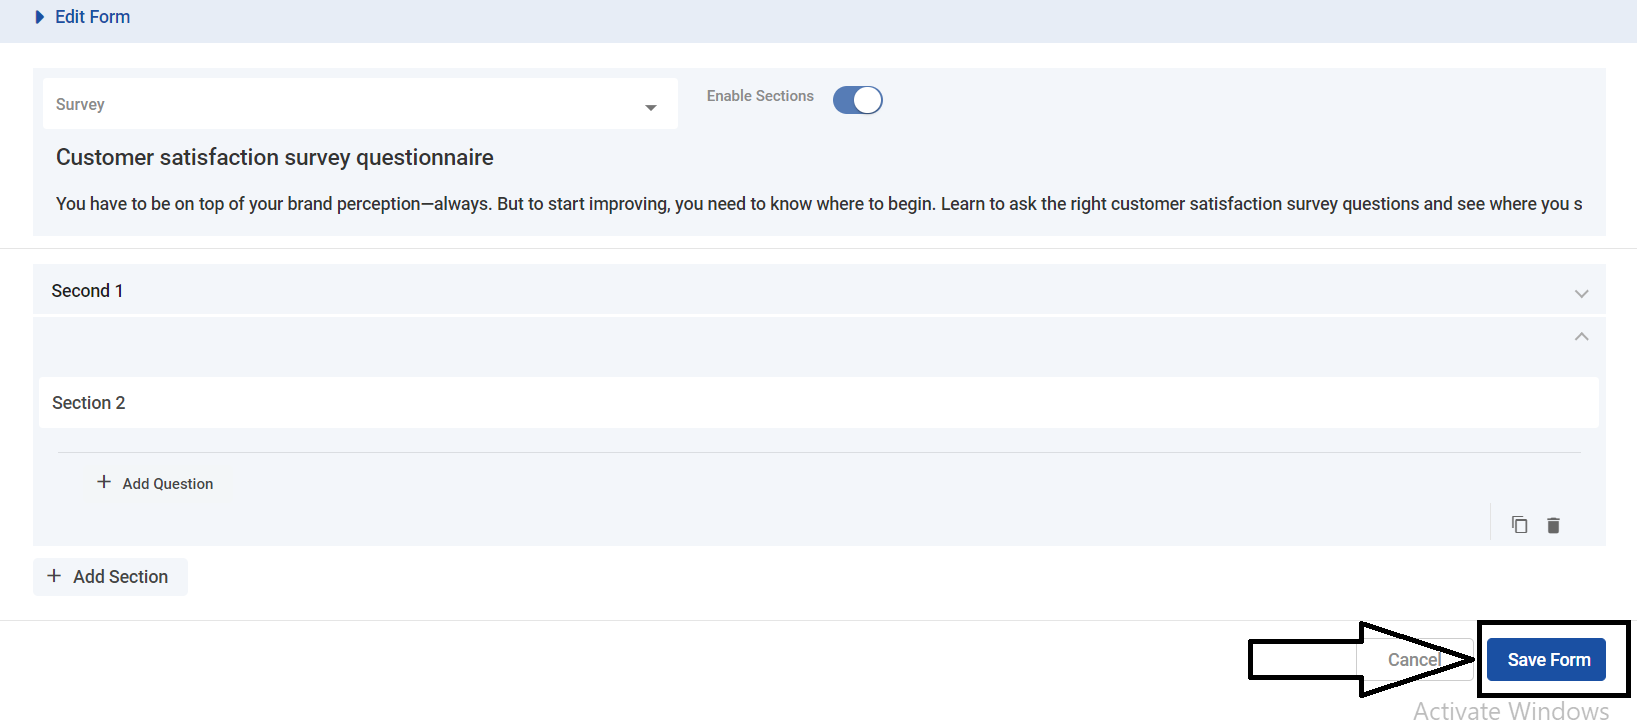
Now save the form by clicking the "Save Form" button at the page's bottom right corner
-
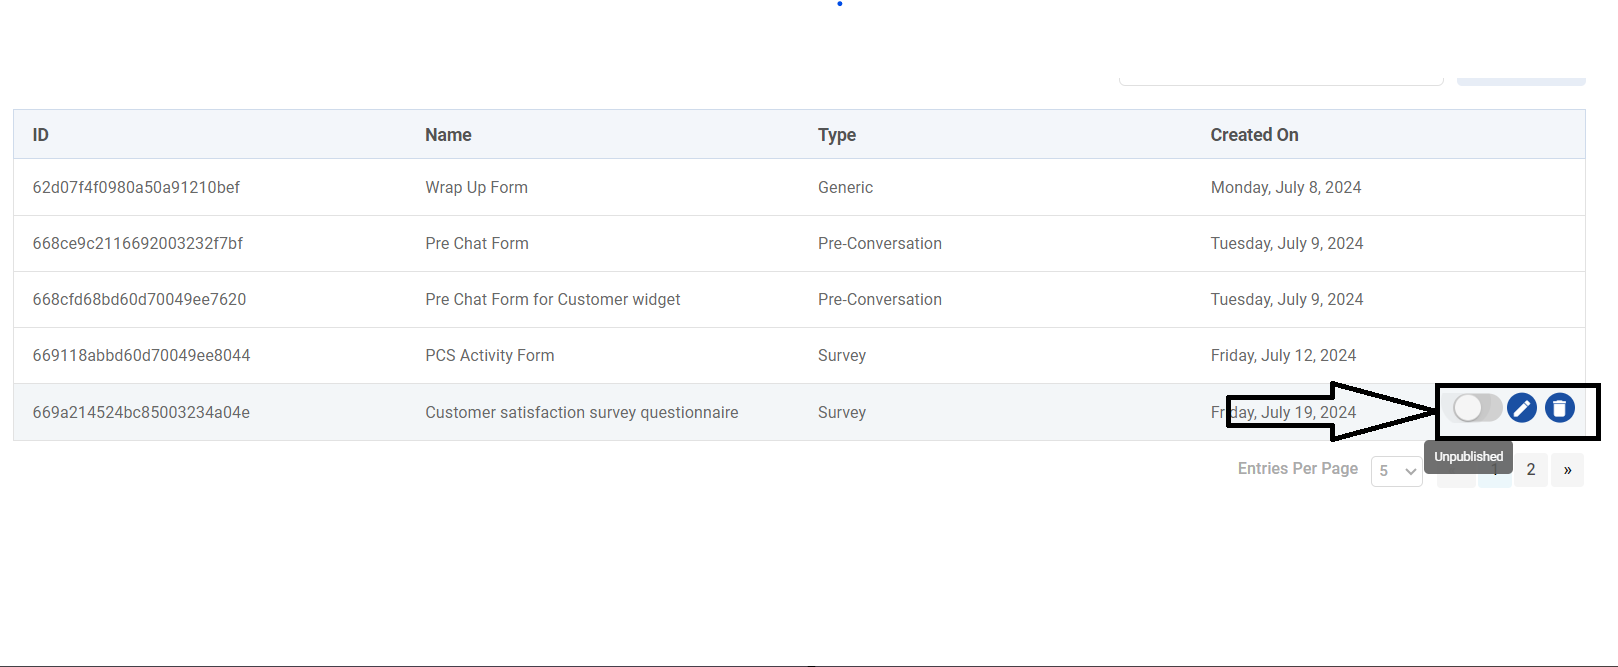
As you see in the listing of forms, a new form has been created.

Published Form:
When a form is created, it will be in an unpublished state as you see in the image
-
Upon clicking the toggle button, its state will change to published

-
When the form is in a published state, you will see a button to generate a unique URL for this form.
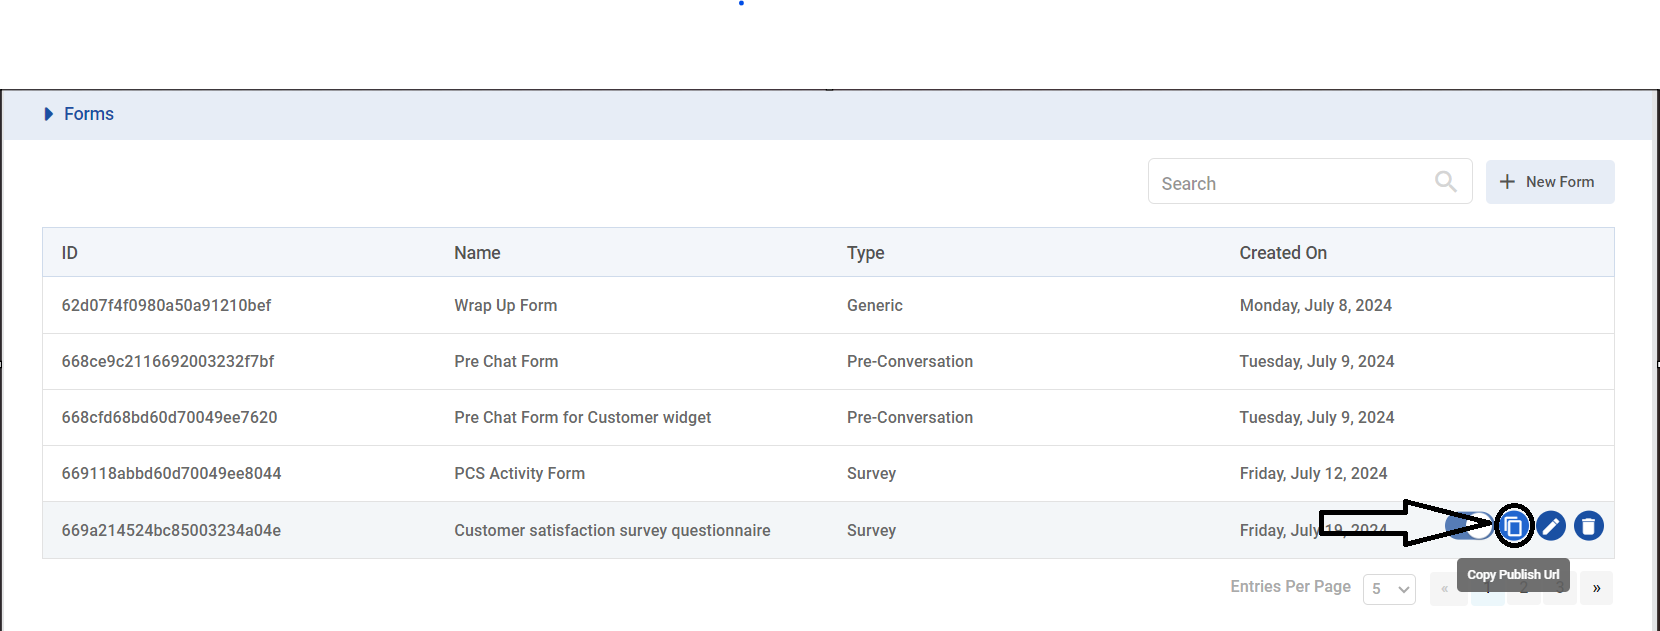
-
Upon clicking the button, a unique URL is generated, which looks like this: https://efcx-frontend.expertflow.com/unified-admin/assets/web-published-form//?formUrl=https://efcx-frontend.expertflow.com/unified-admin&formId=669a214524bc85003234a04e&serviceIdentifier=1122&customerIdentifier=1723006650482
-
Now you can paste that URL into any browser of your choice.
-
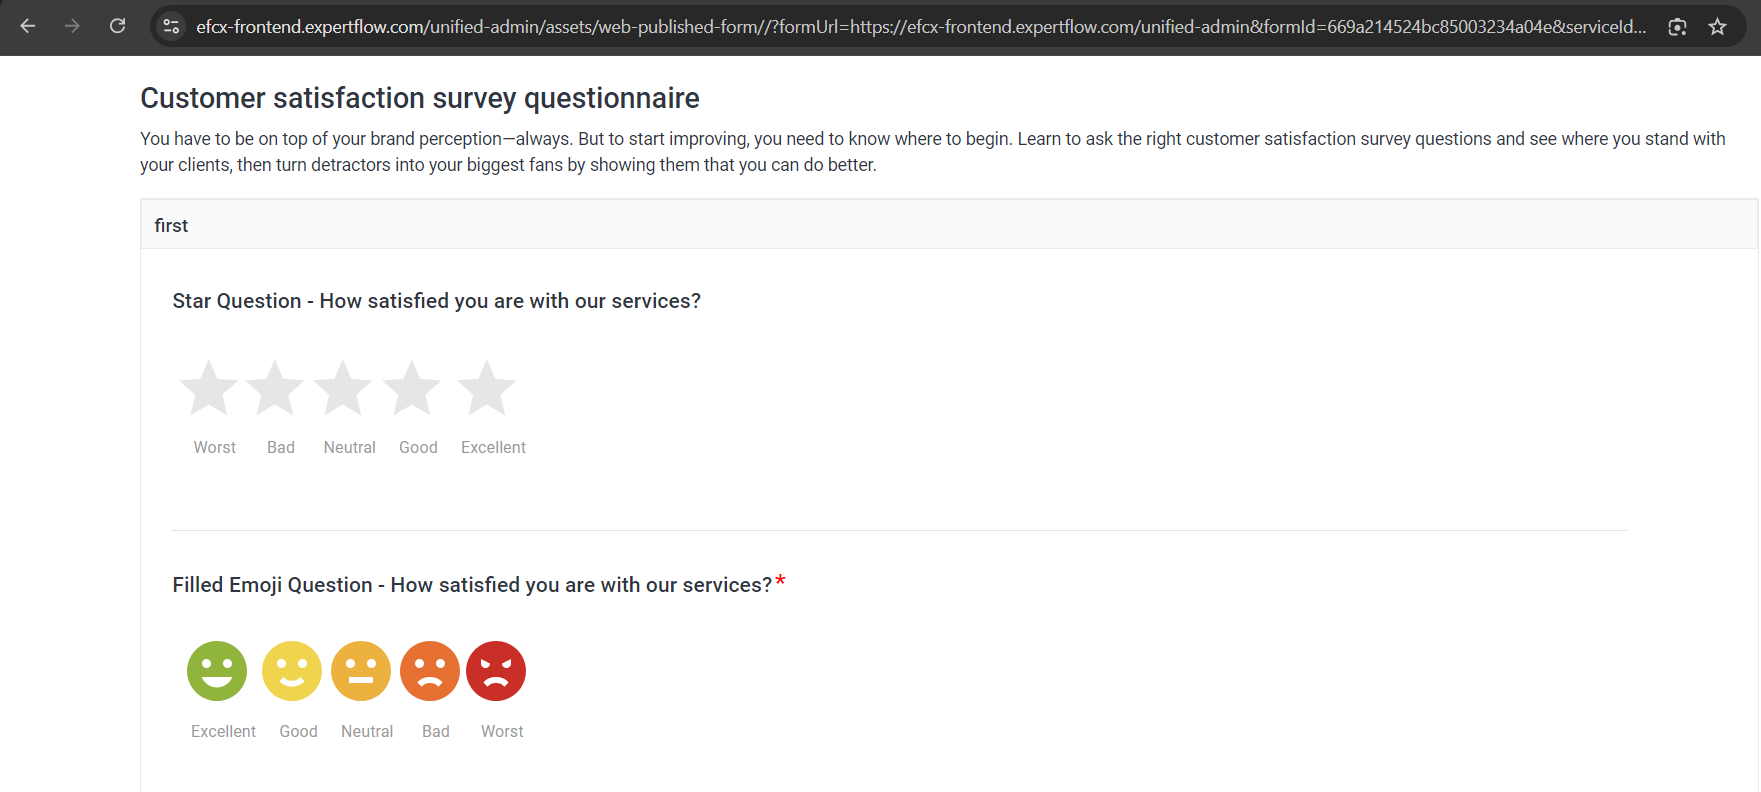
A form with all its attributes will be displayed, which looks like this:
-
As you can see, attributes are displayed within their respective sections
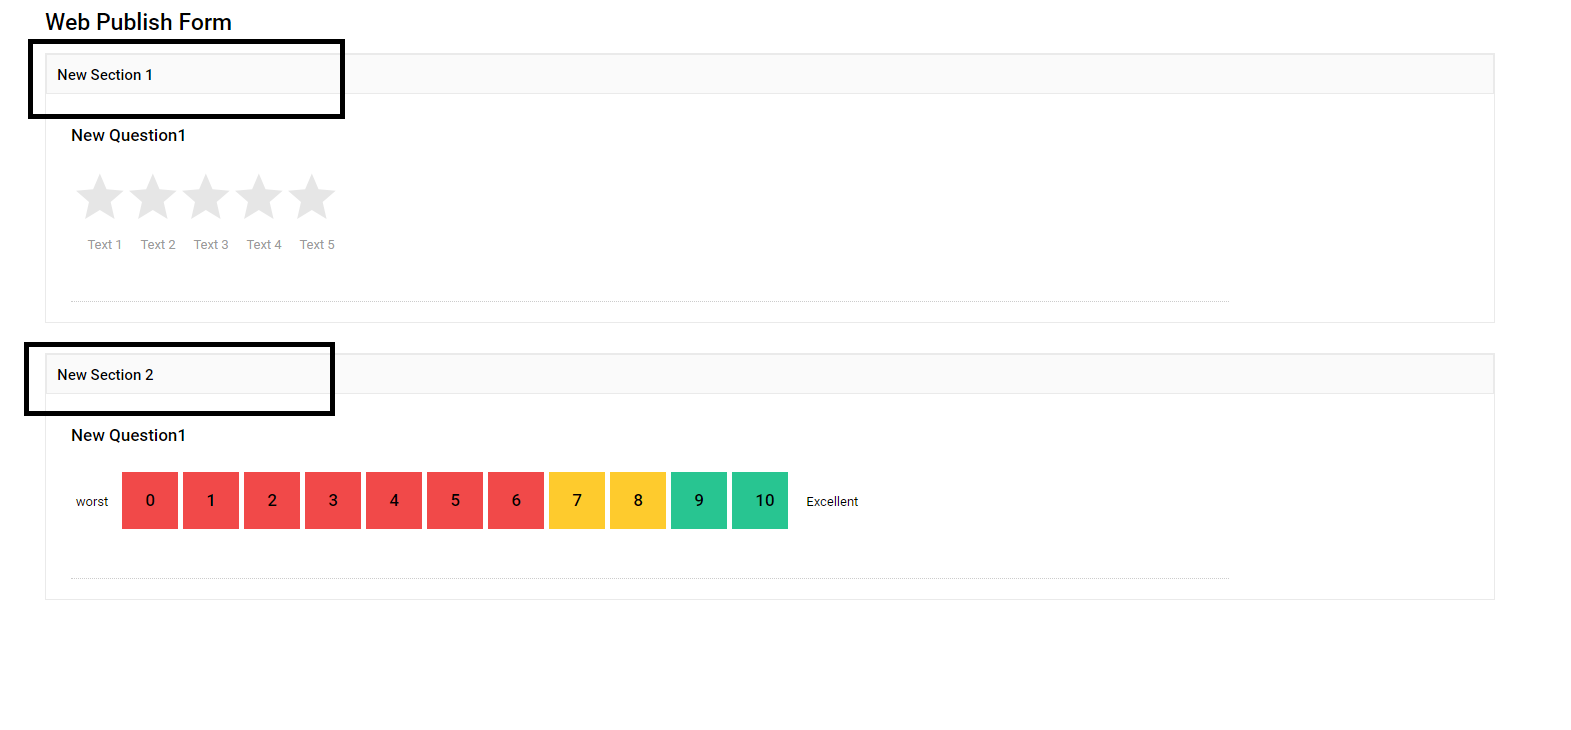
-
Now, when we disable the section of that publish form within the Unified Admin
-
All attributes of the published form are displayed in sequence without any sections
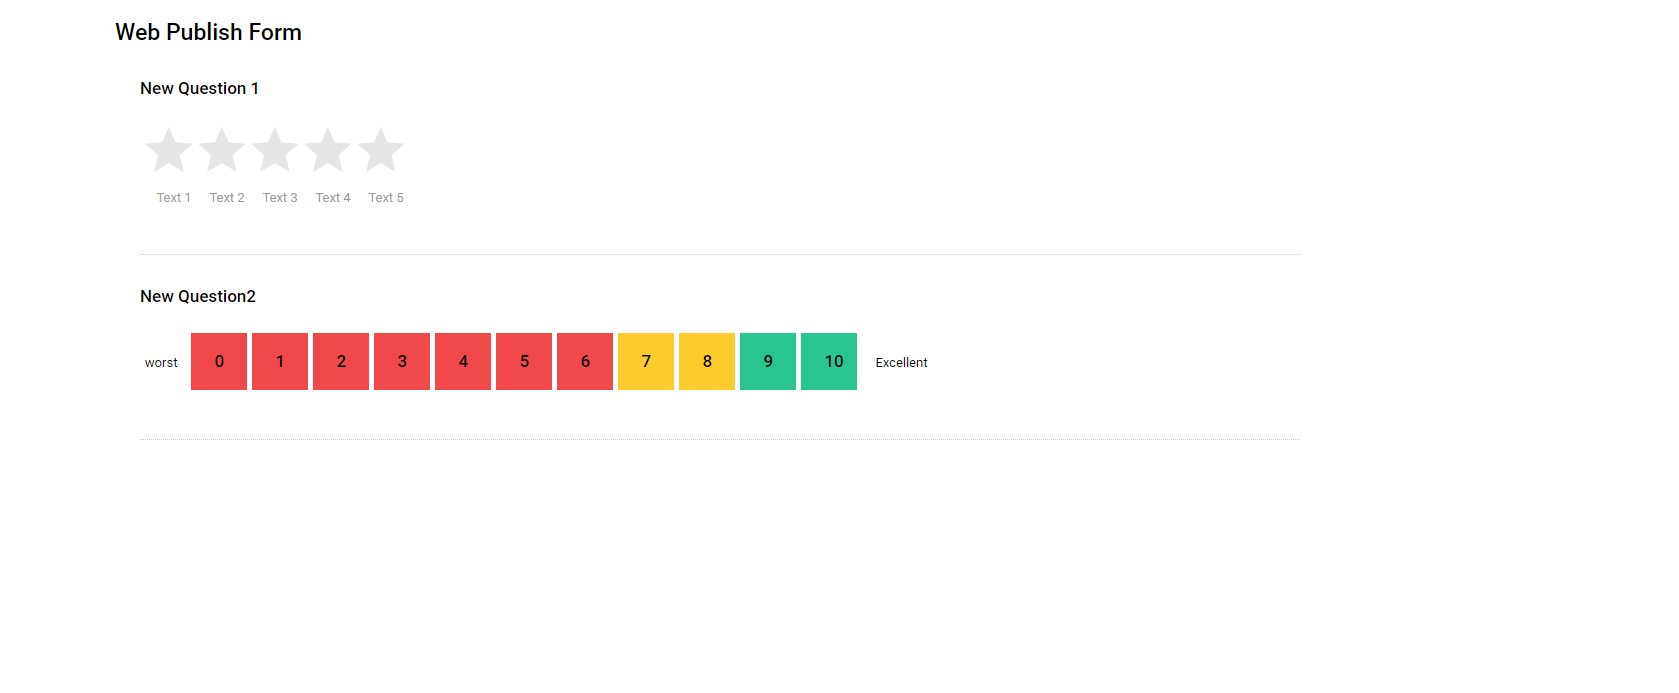
Let's explore different types of attributes and see how they look before and after submission.
Option Type:
-
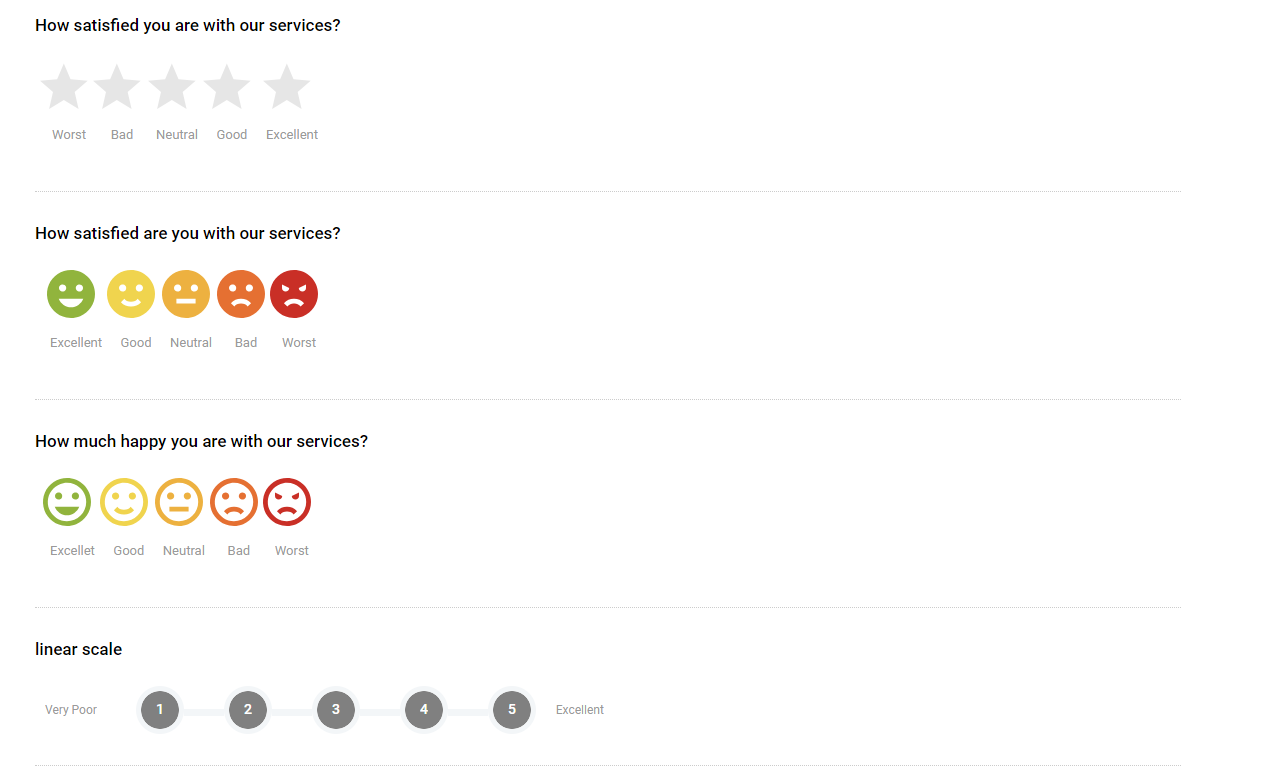
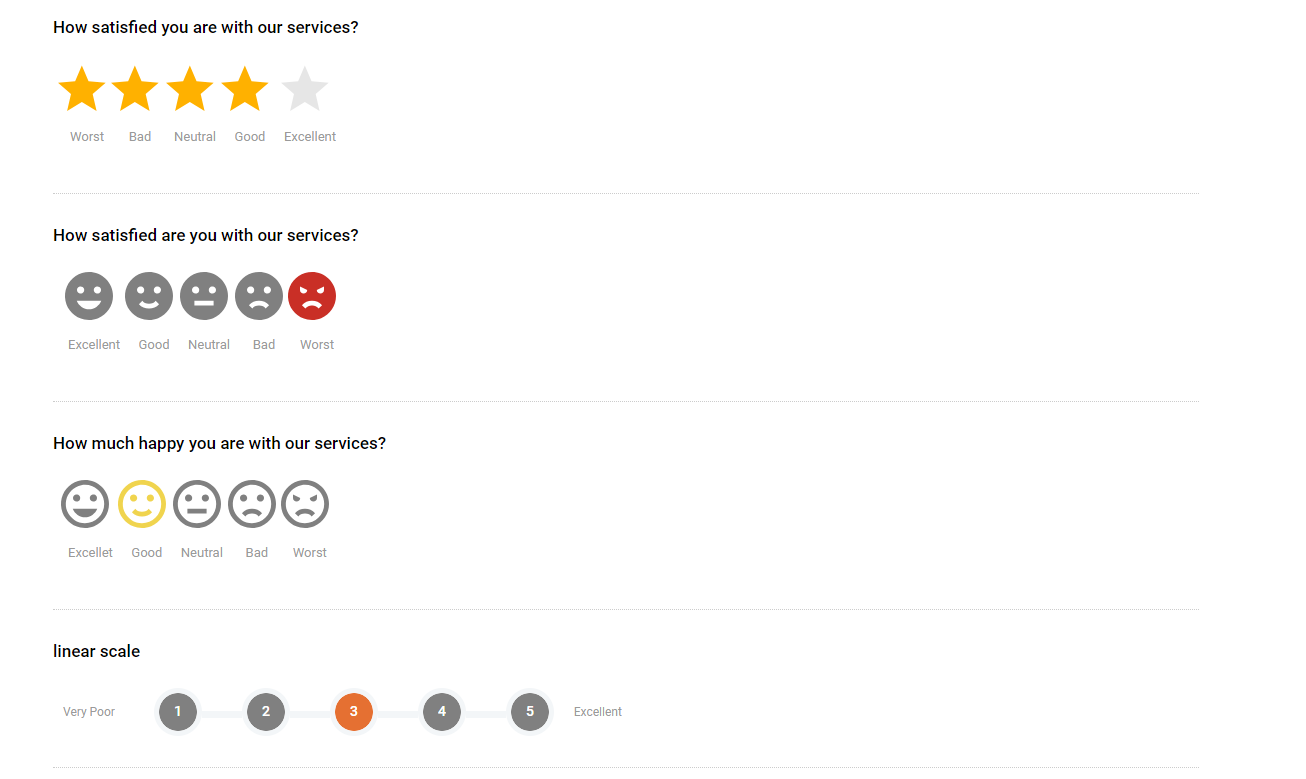
5-Star-Rating
-
Before clicking on these attributes, the 5-star rating attributes look like this
-
After clicking on these attributes, the 5-star rating attributes look like this
-
Rating Bar and Radio Button type. Before clicking on these attributes they look like this,

-
After clicking on these attributes they look like this

-
NPS Type
-
In the case of NPS, you can select any option within the range of 0 to 10

After clicking on one of the options, the attribute UI looks like this

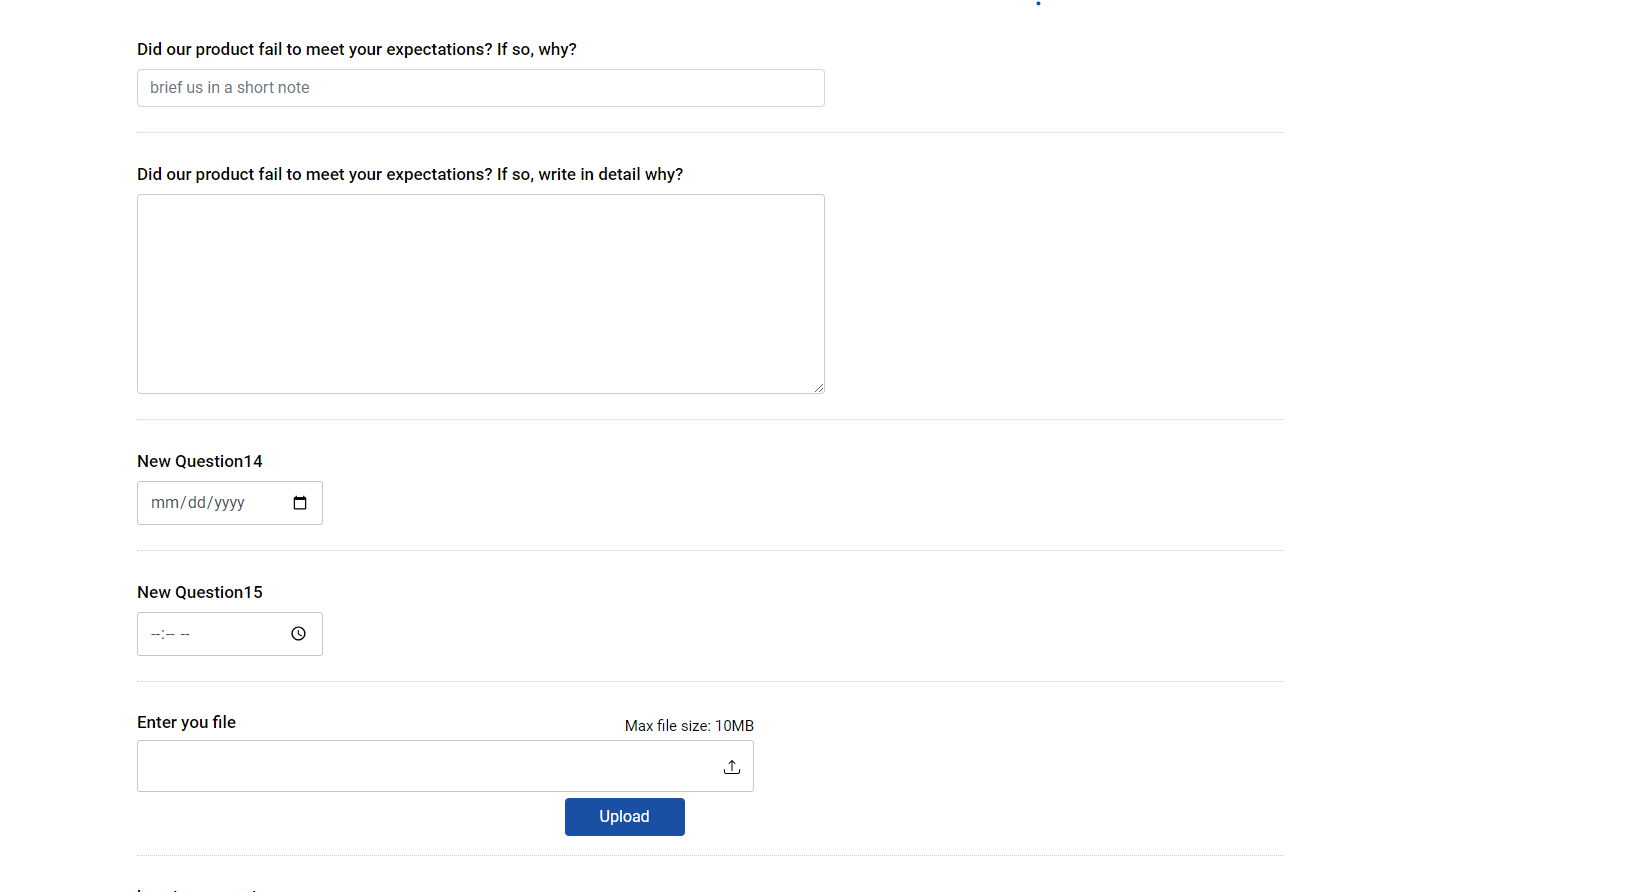
Input Types:
This is how input and textarea type attributes are displayed
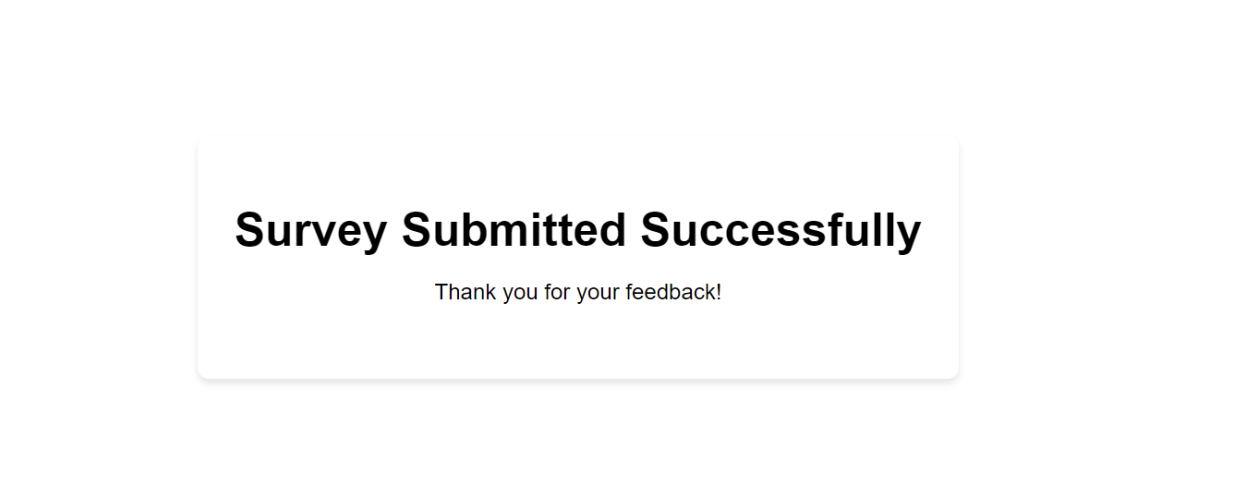
Submission Case:
-
In case of success:
-
In case of failure:

Form Data as an activity:
When a form is submitted, it will be stored as activity and conversation data in our CX system against the customer identifier that we pass in the form URL.
Form Data Response:
On successful submission of the form, we receive this response
{
"type": "DELIVERYNOTIFICATION",
"messageId": "15242",
"status": "DELIVERED",
"markdownText": null,
"reasonCode": "200"
}
Validation Patterns for Attribute:
|
Attribute |
Allowed Pattern |
Min/Max |
|---|---|---|
|
AlphaNumeric |
Only alphabets and numeric are allowed |
{1 - 100} |
|
AlphaNumericSpecial |
Only alphabets and numeric and special characters are allowed |
{0 - 200} |
|
|
Only email pattern allowed. |
{0 - 100} |
|
URL |
None |
None |
|
IP |
None |
None |
|
Password |
This pattern enforces the following password requirements: 1. At least one lowercase letter (a-z) 2. At least one uppercase letter (A-Z) 3. At least one digit (0-9) 4. Only allows lowercase letters, uppercase letters, digits, and spaces (no special characters like !, @, #, etc.) 5. Length: The password must be at least 8 characters long and no longer than 256 characters. |
{8 - 256} |
|
Positive |
Allow only positive number |
None |
|
PhoneNumber |
Only Numbers allowed. '+' is optional to add
|
None |
|
Short Answer |
Text allowed |
{1 - 100} |
|
Paragraph |
Text allowed |
{1 - 2000} |
|
Date |
Date Format by default |
None |
|
Time |
Time Format by default |
None |
|
File |
None |
None |
|
Yes No |
None |
None |
|
Multiple Choice Question |
None |
None |
|
Dropdown |
None |
None |
|
5 Star Question |
None |
None |
|
NPS (Net Promotor Score) |
None |
None |