Calendar Settings
This interface allows users to add new Agencies, Directory Numbers, Shift Schedule, Services and Regions in Supervisor Tools.
Click on each of the objects listed on the left to add a new instance of it. For instance, click Agencies and the + icon to add a new agency. Similarly, click Regions to add a new region and so on.
|
Field |
Description |
Required |
|---|---|---|
|
Agency Name |
Agency is used while creating a Business Calendar. This can be any physical or virtual entity against which calendars need to be created such as a physical location or site. |
Yes |
|
Service Name |
Service is used while creating a business calendar |
No |
|
Shift Schedule Name |
Shift Schedules are used while creating business calendars |
Yes |
|
Region |
A region has a certain name and a prefix such as New York with the prefix 518. In the REGIONS tab, click the Add Region button to add a new region. While adding a region, the Name and a Prefix to the region must be provided. |
Yes |
|
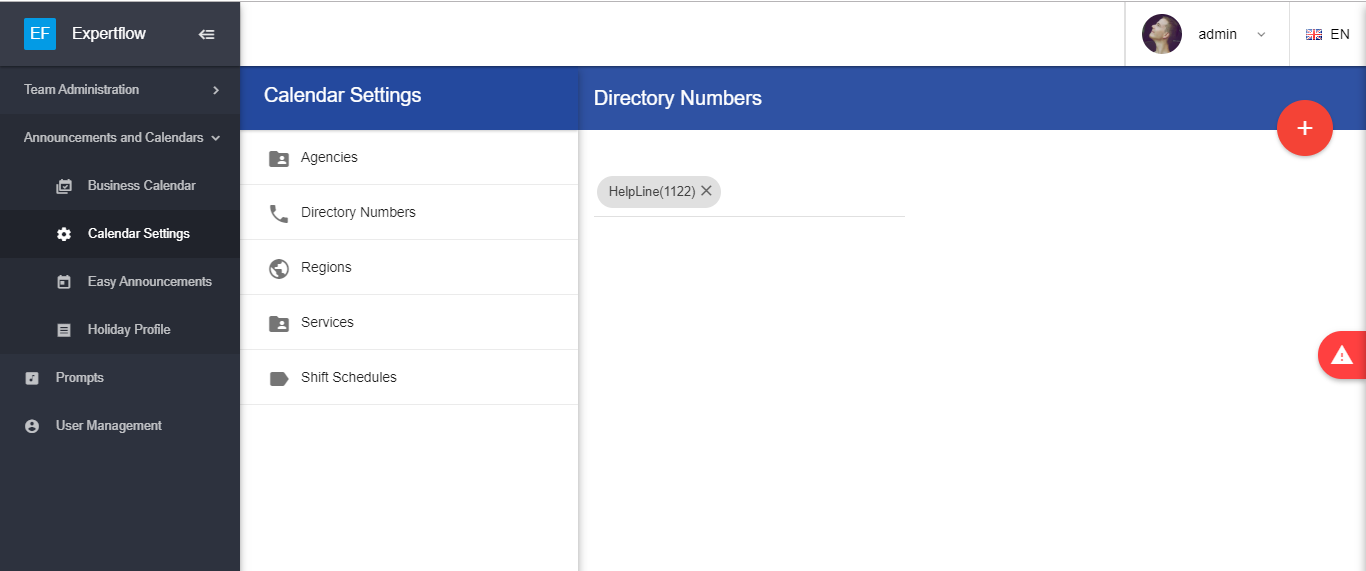
Directory Numbers |
A DN in Supervisor Tools is just like a trigger which when associated with an easy announcement, allows UCCX script to trigger the easy announcement defined in Supervisor Tools. This means that the announcement should be played only when the predefined number hits the UCCX script on the inbound call. Click the Add Directory Number button and provide the Name and DN to the service. Note that the name must not contain spaces, should be unique and should have a minimum length of 3 characters. Both the Name and Dial Number fields are mandatory. |
Yes. This is a prerequisite for creating an easy announcement. See Managing Easy Announcements for more. |
Managing Business Calendars
This interface allows users to create new or change an existing business calendar, e.g they can create Exceptional hours for an unplanned outage. By adding calendar time/date, managers can insert scheduled announcements within a call script.
Create a Business Calendar
Navigate to Business Calendar page from the left sidebar and click on ‘+’ icon to create a new Calendar.
Before creating a business calendar, the following prerequisites must be fulfilled:
-
Make sure an agency already exists against which the calendar needs to be created. If not found, go to Calendar Settings to add an agency.
-
If a service also needs to be associated with a calendar, make sure that a service is already added in the Calendar Settings.
-
If it is required to associate a holiday profile with a calendar, make sure that at least one holiday profile exists in the system. To learn how to add holiday profiles, see Creating a Holiday Profile
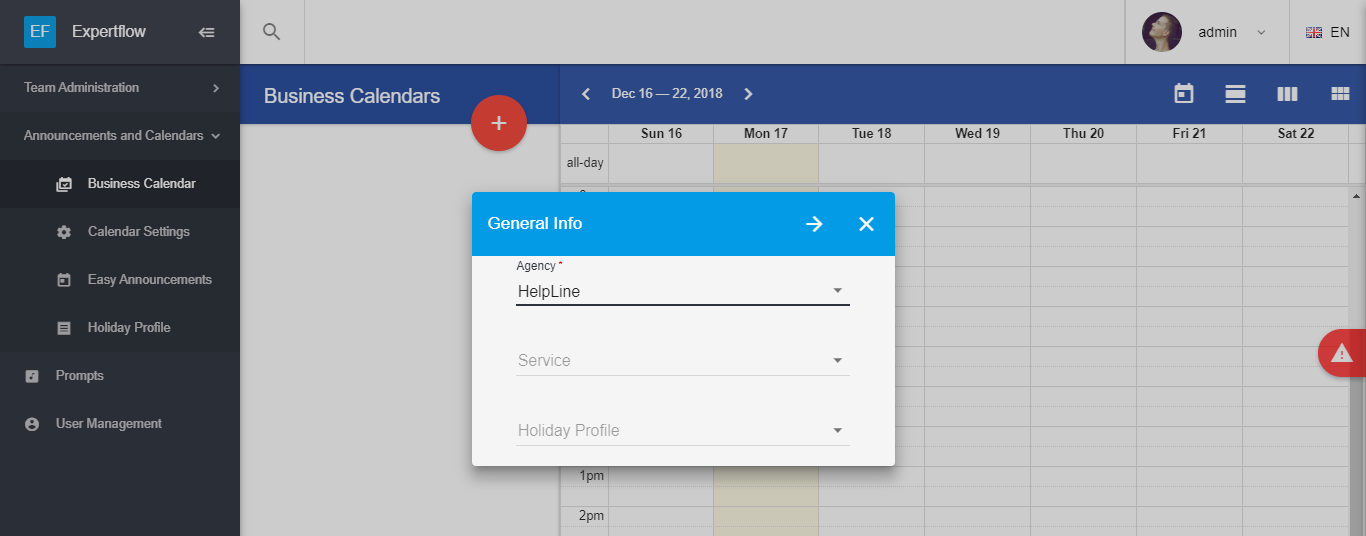
Add a new Calendar
Fill in the above form using the following table:
|
Field Name |
Description |
|---|---|
|
Agency |
Shows a list of agencies added in Calendar Settings. This can be any physical or virtual entity against which calendars need to be created such as a physical location or site. |
|
Service |
Shows a list of all services added in Calendar Settings. |
|
Holiday_profile |
Shows a list of all holiday profiles created in the system. See Creating a Holiday Profile for more details. |
Once the Business calendar is created, add the working shift schedule in the calendar. Multiple shift schedules can be added in a calendar.
To add Shift Schedule in the business calendar, click on the action menu button against the business calendar and click Shift Schedule option.
Define the shifts open and close time on the schedule.

Adding Shift Schedules
To add exceptional events in the business calendar, click on the action menu against the business calendar and click the Exceptional Events option.
In the Exceptional Event window, define the date and time of the exception. These exceptional events allows a call center to behave differently in certain days of the week or hours of the day.
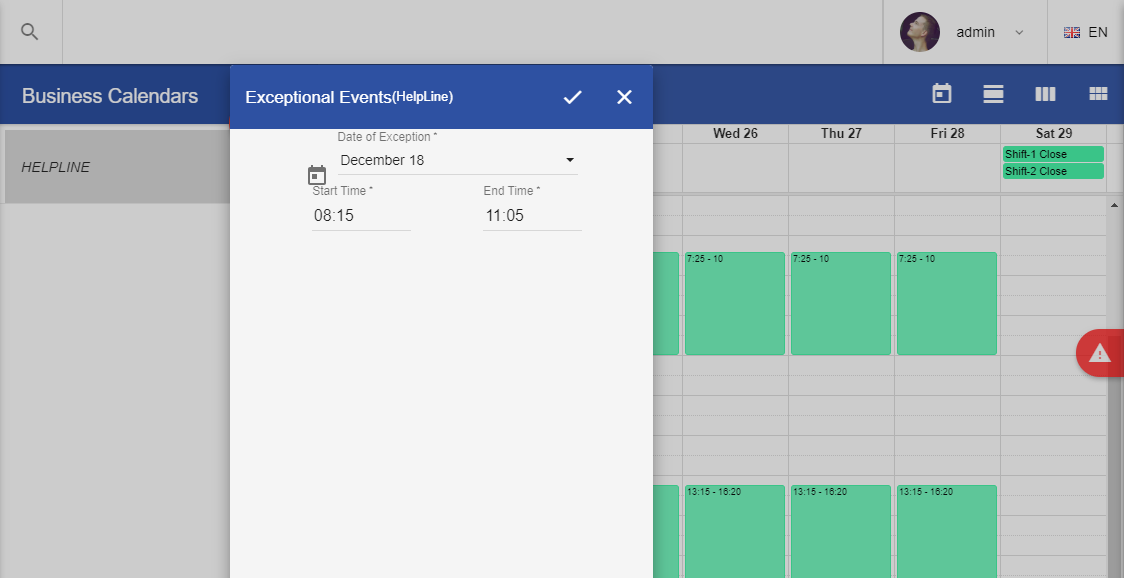
Add Exceptional Event
To quickly find a Business calendar, click the search icon on the top and write the name of the calendar in the search bar.
Creating a Holiday Profile
Click the Holiday Profile menu option on the left side bar.
Click the create new button to add a new profile.

Create a new Holiday Profile
Give it a name and click save. Make sure the name of the holiday profile should not contain spaces in it.
Start adding holidays in the profile by selecting the profile name from the list and clicking the + icon shown on the top right corner.
While saving the holiday, give it a name and date of the holiday.

Add Holiday
-
Holiday appears in the calendar on updating the business calendar.
-
If you observe that the changes are not properly being appeared, come back from another list.
-
Business calendars cannot be assigned to certain teams or workspace at the moment. This means that all supervisors have access to all calendars regardless of their team.
-
Holidays can only be added as individual days and the holiday ranges (with a start and end date) are not supported at the moment.