Purpose
The purpose of creating a deployment guide for the EFCX connector in ZOHO Desk is to provide instructions and guidance for successfully installing, configuring, and utilizing the connector within ZOHO environments.
Intended Audience
This document is intended for any customer who want to deploy a ZOHO-Embedded EFCX connector.
Prerequisites
-
You must have installed the EFCX on your server before integrating with Zoho.
-
A Zoho Desk account is required.
You can choose “Access ZOHO Desk” from here.
Install Expertflow Extension
-
Search for the ExpertFlow extension on the Zoho Marketplace or use the link: Zoho Marketplace
-
In the “General Settings”, select your Main Department, choose All Profiles, and accept the Terms.
-
Once the installation is complete, open “Connections” and click on Authorize.
-
Open “Configuration” to modify the default options as needed.
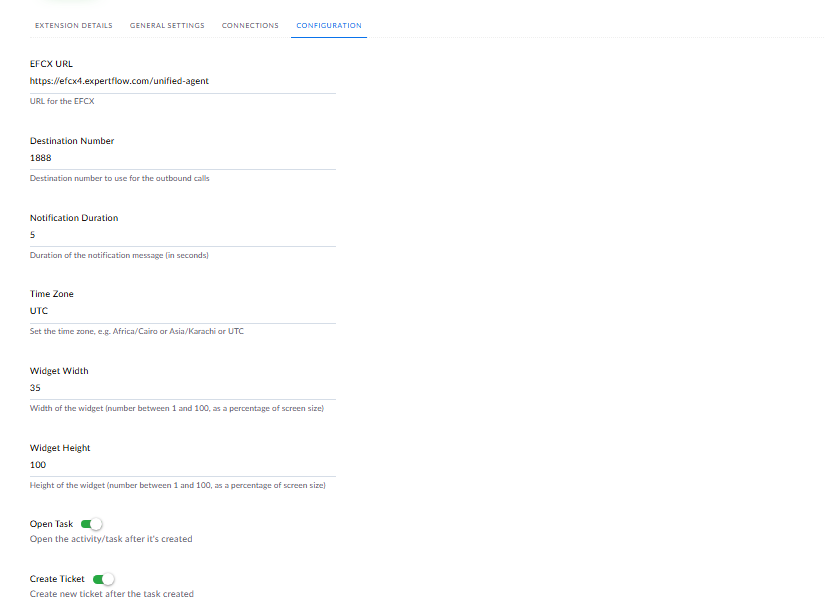
Set Variables in the Extension Configuration
-
EFCX URL: Main URL for the EFCX
-
Destination Number: To use for the outbound calls
-
Notification Duration: Duration of the notification message (in seconds)
-
Time Zone: Set the time zone, e.g. Africa/Cairo or Asia/Karachi or UTC
-
Widget Width: Width of the widget (number between 1 and 99, representing the percentage of the screen size)
-
Widget Height: Height of the widget (number between 1 and 99, representing the percentage of the screen size)
-
Open Task: Screen pop the activity/task after created
-
Create Ticket: Create new ticket after the task created
After making any changes to the configuration settings, you must refresh the page.
Connect to VPN
In order to use the extension, make sure you are connected to VPN if your services access is restricted to a VPN connection. Otherwise, you do not need to connect to VPN.
SSL Certificates
Before using the extension, accept SSL Certificates for to avoid any issue.
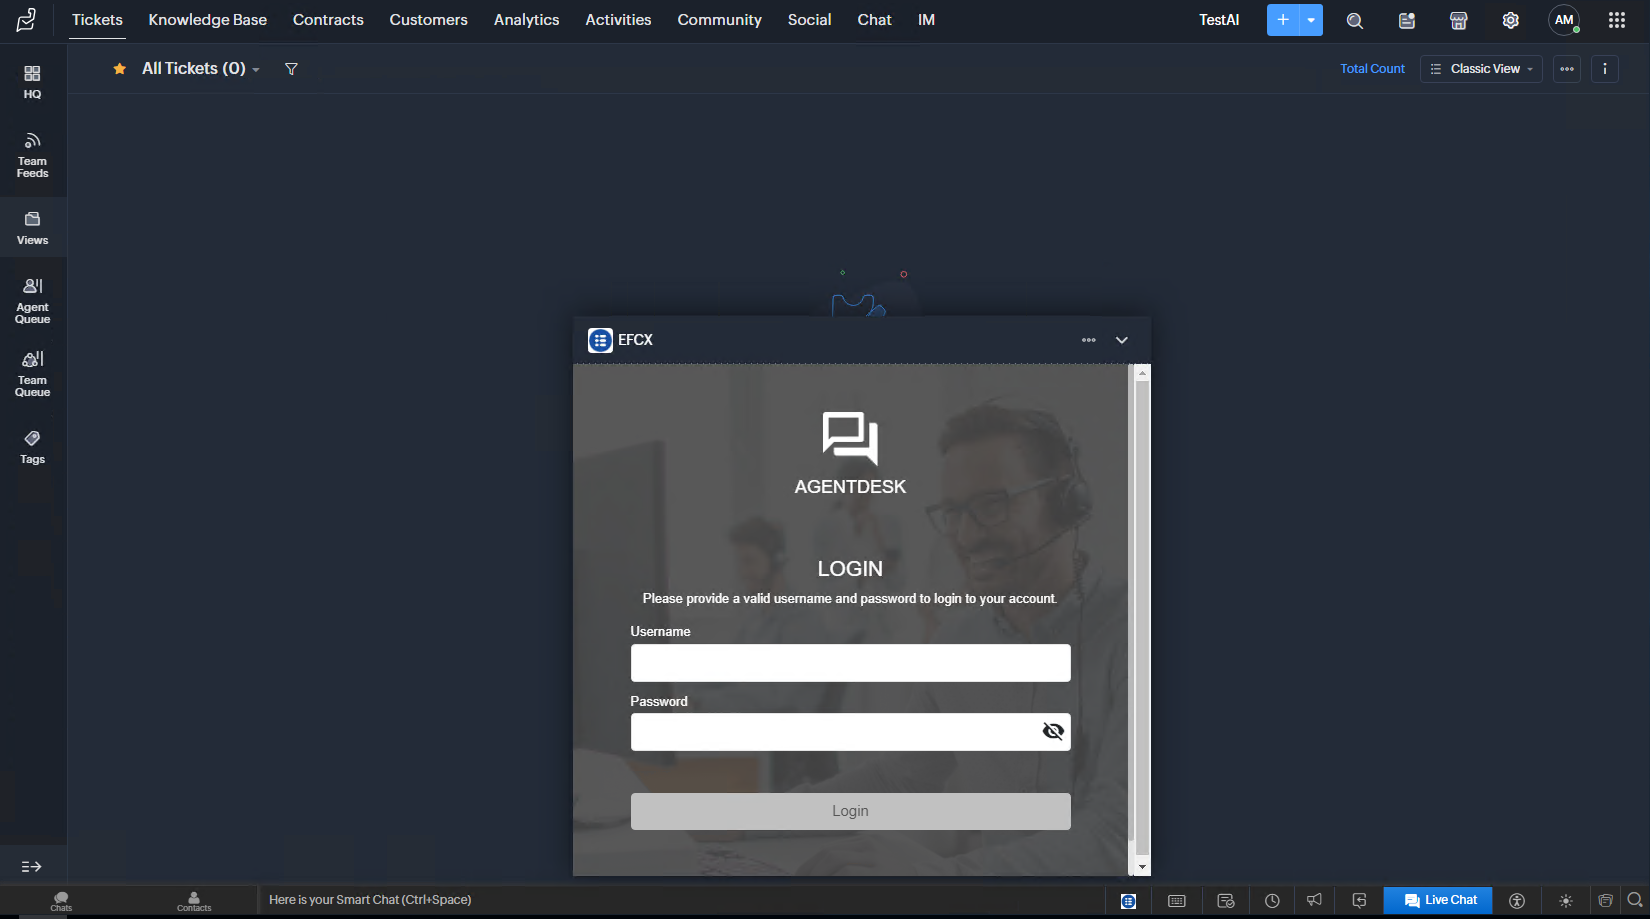
Login agent
-
Open the extension using the phone icon on the bottom bar.
-
Once opened, enter agent credentials, and press login.