Allows agents to handle an ongoing conversation, Link Customer Profiles, View Conversation History, View Active channels, View Conversation Data, Receive Delivery Notifications, Typing Indicators, Bot Suggestions, Send a quoted reply, Send file attachments, Send Formatted Text, View Conversation Notifications
Link Customer Profile
When a request is received (Push or, Pull based), the application associates the active conversation with a best-matched customer profile.
To Link A Profile:
However, agents may also change this linking by relinking the conversation to a different profile, for reasons listed below:
-
When a customer is not identified but exists - For instance, a customer is calling from an unknown identity. The application links the conversation to an anonymous profile
-
When the actual customer is different from the identified (when the customer calls from a channel identity of a different customer)
-
When multiple matches are found.
Linking the conversation in this way helps in tracking customers' past conversation history so that it brings up every time a new request from the same customer.
The scenarios of the 'Link Profile' are explained below:
When a Customer is not identified but exists
This is the case where a customer contacts the contact center with an identity that is not stored under the customer profile. In this case, the system creates an anonymous profile and shows an anonymous customer to the agent to do the essential updates. The agent then decides that a new profile needs to be created or link the active conversation with an existing customer profile (based on its conversation with the customer).
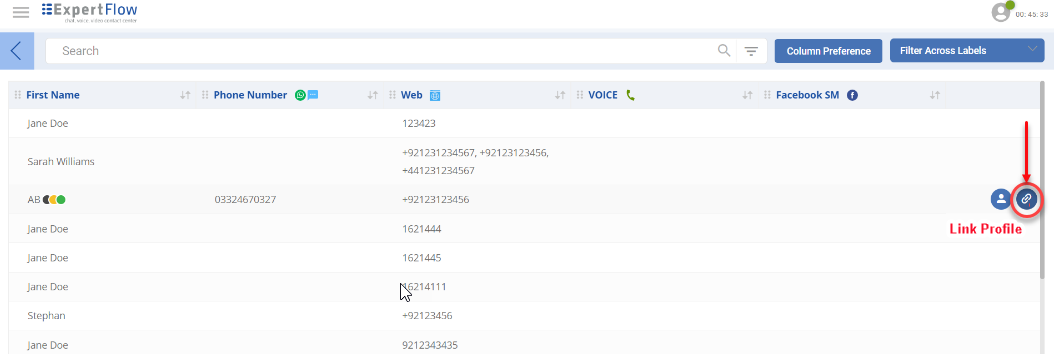
If the agent comes to know that the profile already exists, she can click the Link Profile button under the Customer Profile pane on the right and click the "Link" icon against a desired customer record on the Customer List view as shown below:
Upon clicking the Link option, the agent confirms if she also wants to update the channel identity of the customer in the linked profile. Upon confirmation (check the checkbox in the confirmation dialogue), the channel identity is added to the linked profile so that, next time whenever the customer reaches with the same channel identity, the system will identify this customer profile as an identified customer (if no other profile exists with the same identity).
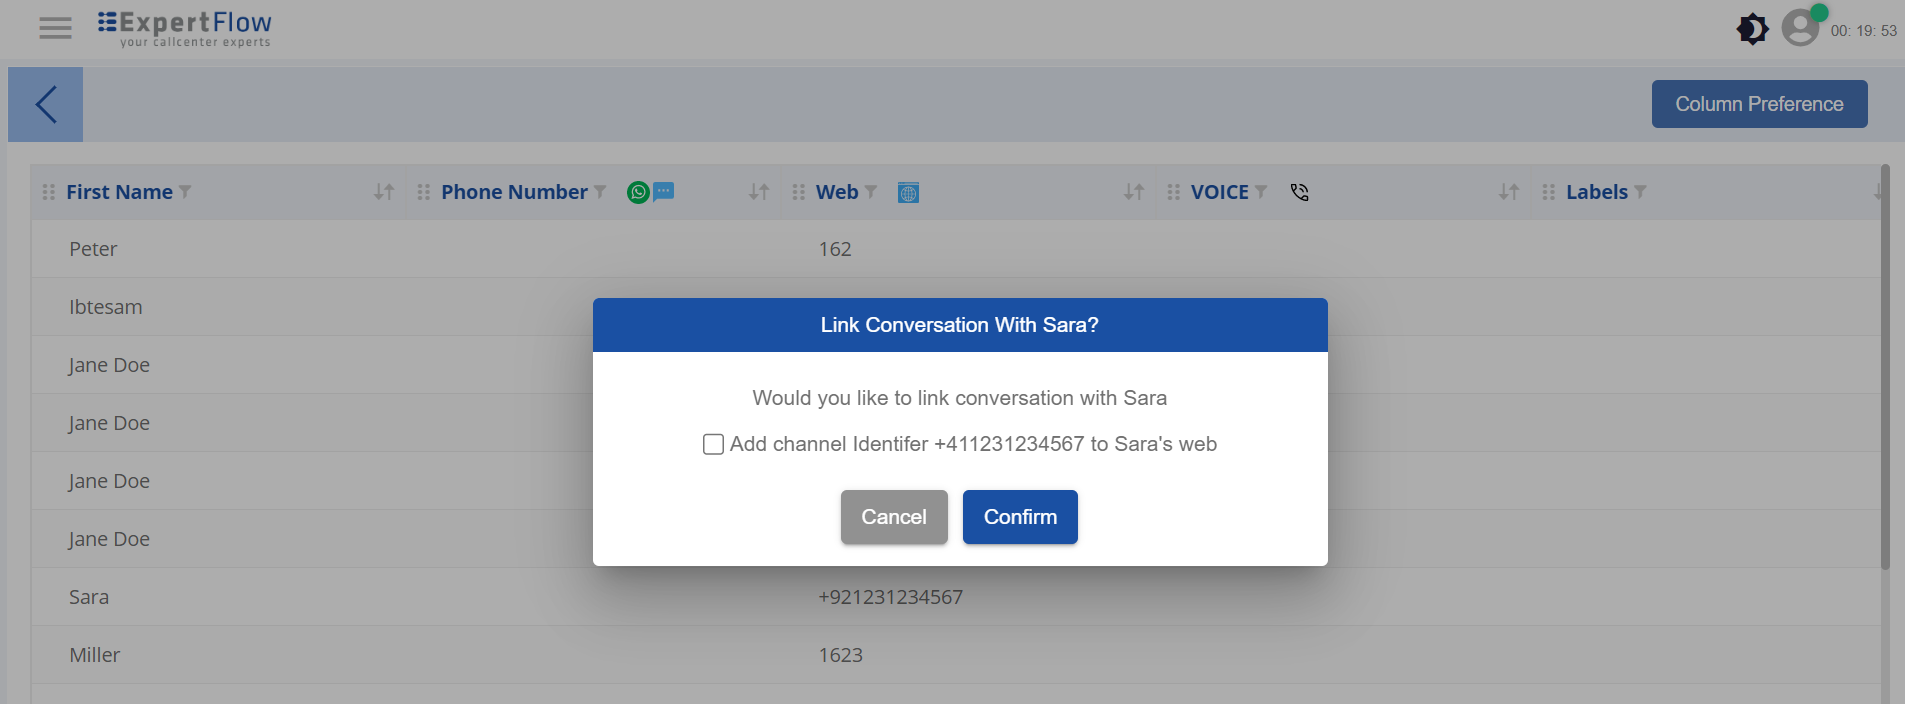
In case, the customer says that the channel identity does not belong to his/her profile or the agent decides not to add the identity to the linked customer profile, the conversation still gets linked with the profile so that it can be tracked under the linked customer's conversation history.
When the actual customer is different from the identified
This happens when a customer has called from an identity that is linked with a different customer profile. For instance, a customer John calls from another customer David's cell number while the number is owned by David.
In this case, the agent may decide if she wants to link the active conversation with a different customer (in this example, John) instead of the identified customer (i.e. David). Also, the agent can decide if she needs to update the channel identity to the linked profile (based on its conversation with the customer).
When multiple matches are found
This occurs when multiple matches are found against the customer's channel identity. This happens when the same channel identity exists in multiple customer profiles. In this case, the system creates an anonymous profile and shows all matched customers as suggestions to the agent. The agent will see all matches under another pane, Link Profile pane. The agent can select the right customer from the pane and choose the Link option against the desired customer.
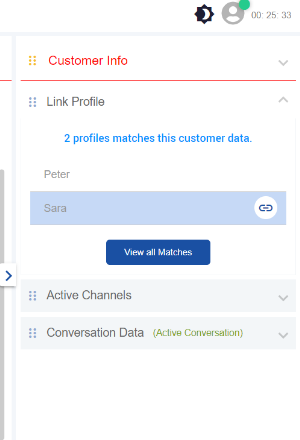
To see more details of those matched profiles, click the View all matches button to go to the Customer List. Looking at the other attributes from the Customer List, make sure that you click the "Link" icon against the right customer record on the Customer List.
View Conversation History
The Conversation History enables the agent to provide the record of all the conversations exchanged with the active customer. Each conversation carries activities exchanged over the conversation. These activities include:
-
Voice calls received/ initiated by the agent to the customer,
-
Chat messages sent over the conversation (customer/ whisper messages),
-
Conversation notifications logged under all conversations with this customer,
-
Wrap-up and note activities.
So when a request is routed to an agent, the agent can only see the current conversation and the activities/messages exchanged for the active conversation before it was routed to the agent.
See more about permissions and scopes in Security and User Permissions.
By default, the past conversations are hidden behind a Load More button. If the agent has permission to load the history, can click this button to load the past conversations of the customer. To know about the latest query, go to the bottom of the conversation by clicking on Jump to bottom
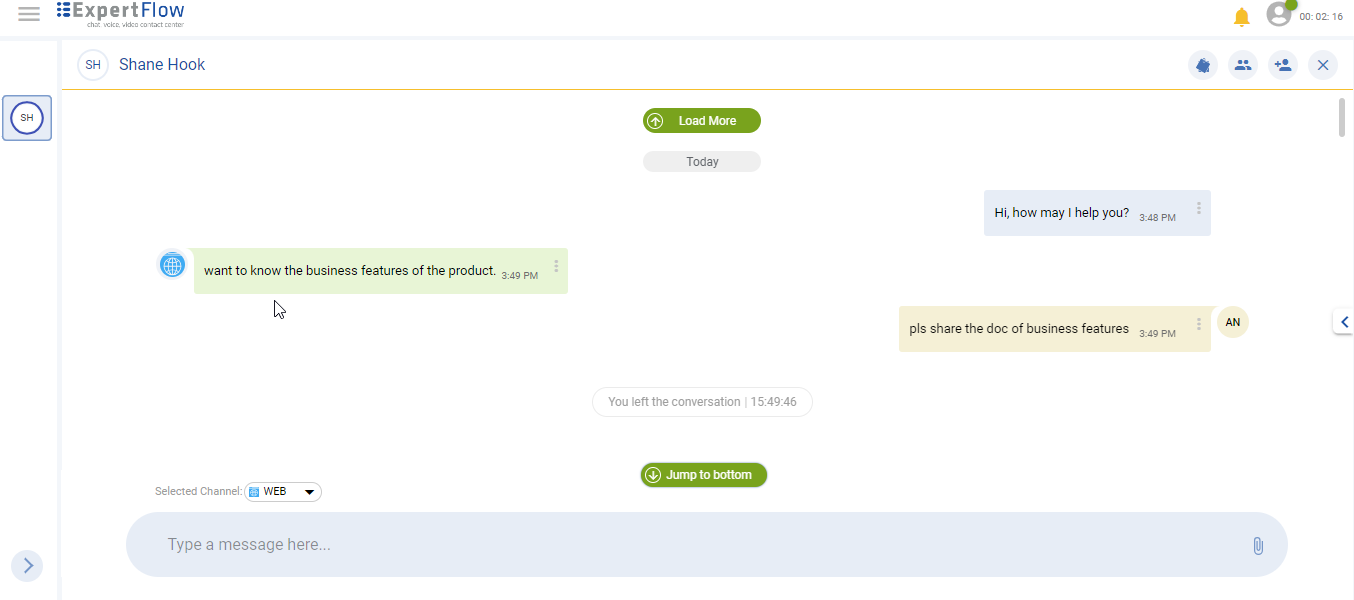
Upon receiving a new message while reading the previous history on the top, the agent will see the New Message button being popped up. Click on that to read the newly received message.

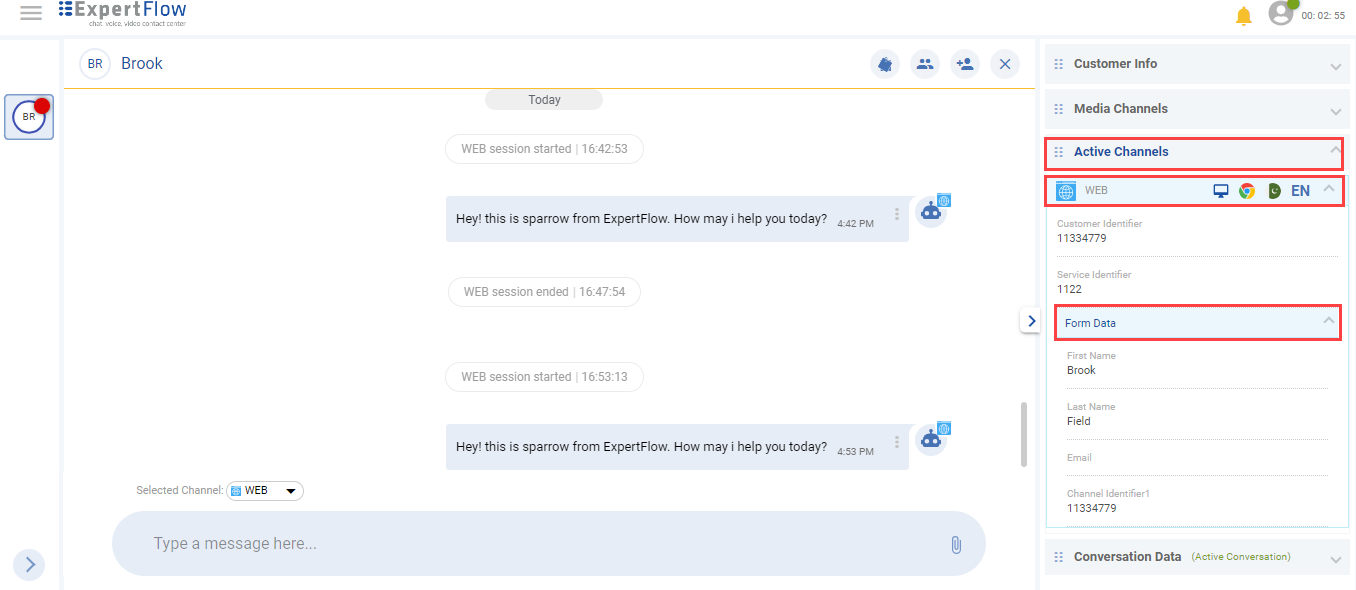
View Active Channels
This is the tab where all of the active channel sessions of the customer are listed. These are the channels on which the customer is currently active on the system. Since a customer can open multiple channel sessions in a conversation, all those channel sessions are listed here with or without the channel session data (this is the data that is passed by the channel connector to the channel).
In the case of a web channel, the channel session data carries:
-
Customer's browser info - device type such as mobile, desktop, browser type, time zone, language
-
Customer Identifier
-
Service Identifier
-
Form data as filled in by the customer while initiating the web chat
In the case of the WhatsApp channel, the channel session data carries:
-
Service Identifier
-
Customer Channel Identifier
In the case of the Facebook channel, the channel session data carries:
-
Service Identifier
-
Customer Channel Identifier
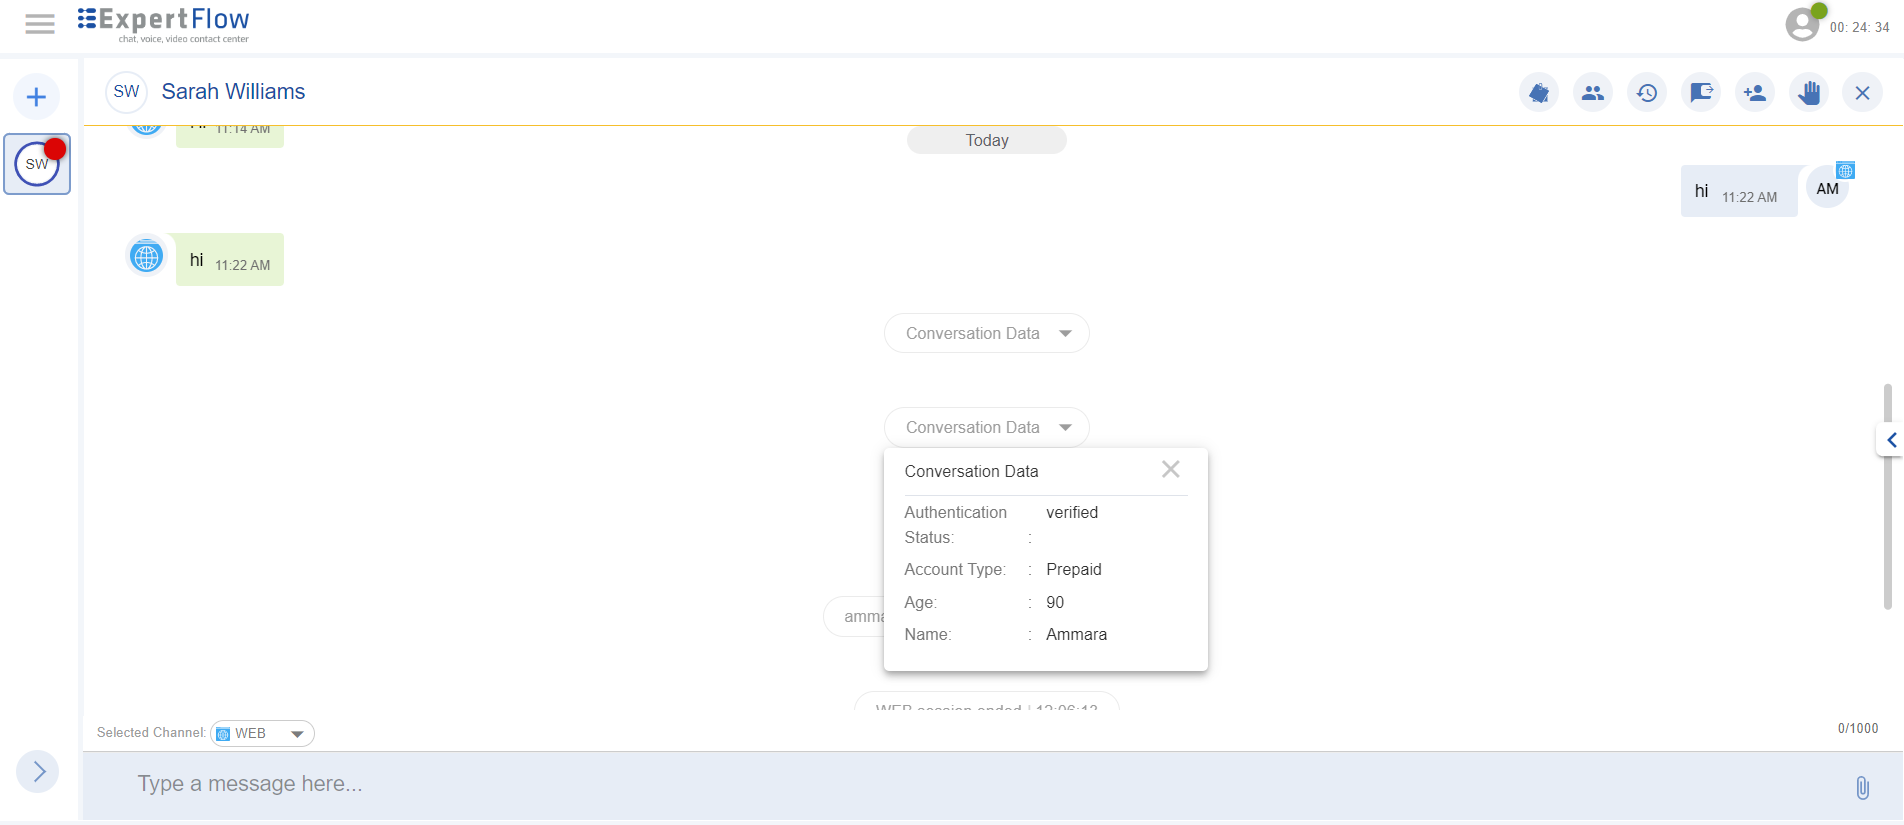
View Conversation Data
To learn more, see Conversation Data.
To see the conversation data of an active conversation, the agent expands the panel on the right side. Click on the Conversation Data pane. The conversation data is available in the form of key-value pairs. If any changes are made to this data, they'll be updated here on run time, without requiring a manual refresh.
To see the conversation data of past conversations, the agent with certain permissions can only see the data in the conversation history by clicking on the Conversation Data chip shown alongside each conversation.
For now, each update done to the Conversation Data is logged in the conversation history. In future updates, the past conversations will only carry one Conversation Data per conversation, with the latest modified key-value pairs.
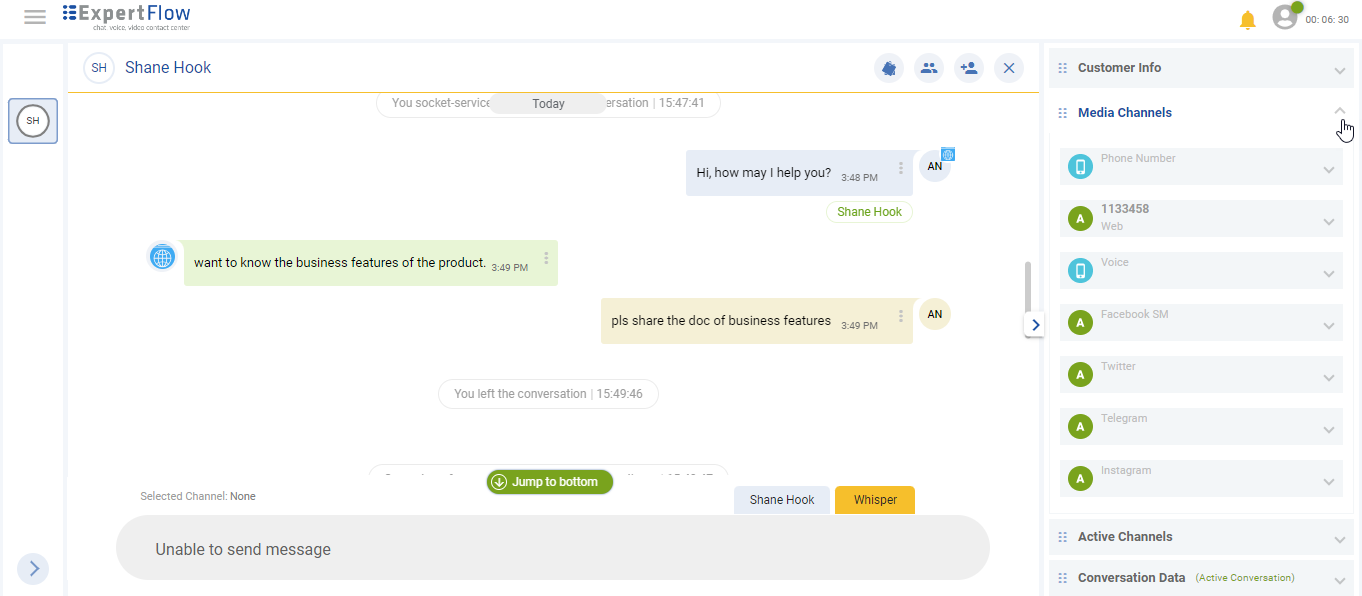
Receive Delivery Notifications
The agent receives the Delivery Notification in the form of the customer's name displayed right under the message. The message will not be considered to be delivered/read if there is no customer's name under the agent's message.
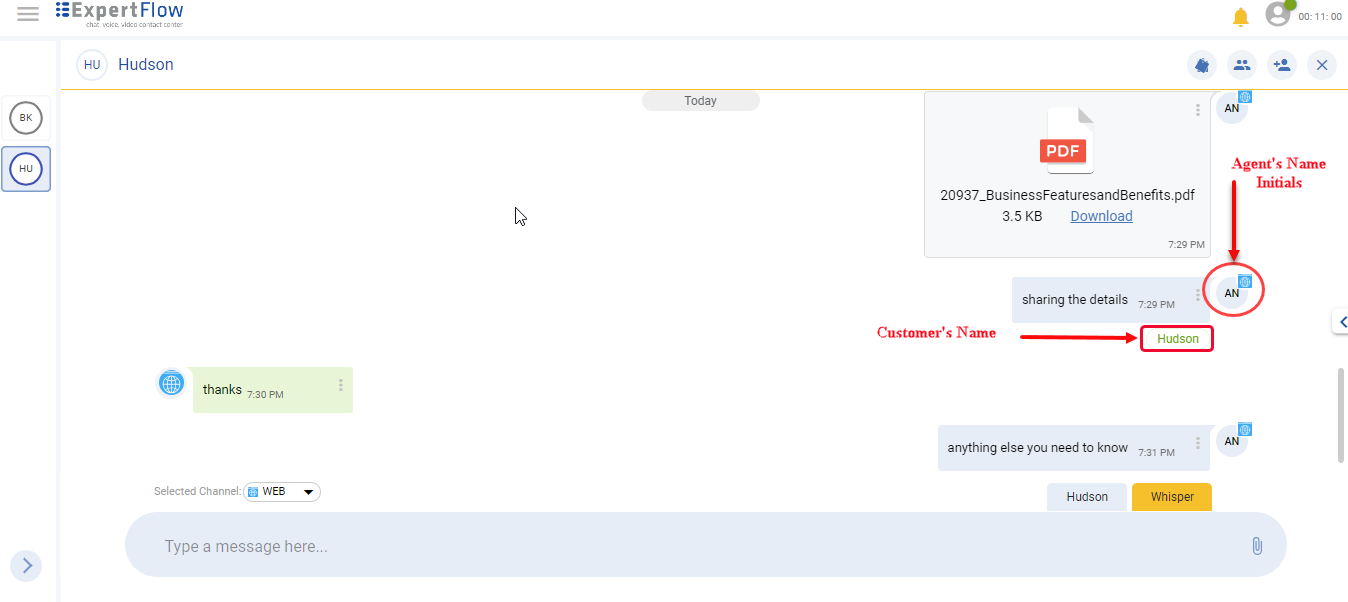
In case, the agent's message is not delivered due to any reason, instability of the internet or power outage, for example, the message will be blurred. This shows that the message is not delivered.
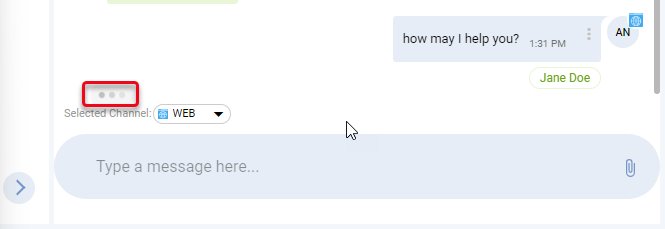
View Typing Indicator
The typing indicator is an indication for the agent to show that someone is still alive in the conversation. When the customer responds and types a message, the typing bubbles will pop up on the Message Composer bar. This allows the agent to stop and is more likely to wait for typing bubbles to stop and then respond.
In the same way, if the agent starts typing, the typing bubbles will pop up with the customer. The customer will wait for typing bubbles to stop and then can respond.
Send a Bot Suggestion
By default, the bot generates suggestions based on the latest message sent by the customer. To view the available Bot Suggestions, the agent will type '/' in the composer.
Typing / will open up the Bot Suggestions panel. The agent can choose a suggestion from the panel and either, edit and send it or directly send it to the customer.
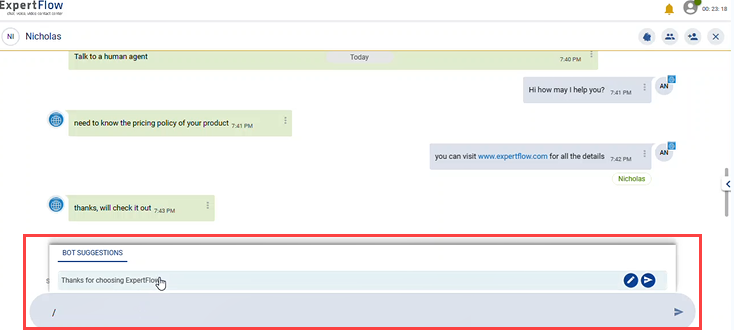
Bot suggestions are only available when a customer message is received. The option to choose a bot suggestion disappears as soon as the agent responds to the customer.
Send a Quoted Reply
The agent can also send a quoted reply to the customer on the conversation. This allows the agent to quote any message sent either by the customer, by yourself (the agent), or by another agent added to the conversation.
To do this,
-
Choose the message you want to reply to.
-
Click on the three dots button on the right side of the message. A pop-up of 'reply' will appear.
-
By clicking on the Reply button, you will see that message as a quoted message in the composer bar.
-
Press 'Enter' to send the quoted reply.
Quoted replies can be seen in the conversation view with a special indication that it was a quoted reply. For visibility, agent names in the 'Quoted Reply' are visible in blue color and the customer's name is seen in grey color.
Send Attachments
Agents can send file attachments by using the attachment icon inside the Message composer, for both images and docs. The following types of files are supported:
-
.txt,
-
.png
-
.jpg
-
.pdf
-
.ppt
-
.xlsx
-
.xls
-
.doc
-
.docx
While sending an attachment, you cannot enter a text message in the composer for now.
Send Formatted Text
An agent can send a formatted text message in bold, italic, strikethrough, highlight a text, and hyperlinks.
-
To bold text, add asterisks * before and after the text to be bolded.
-
To italicize text, add underscores _ before and after the text, to be italicized'
-
To strike through text, add tildes ~ before and after the text to be struck through.
-
To highlight a text, add an exclamation mark! before and after the text to be highlighted.
-
Hyperlinks are automatically detected by the message composer.
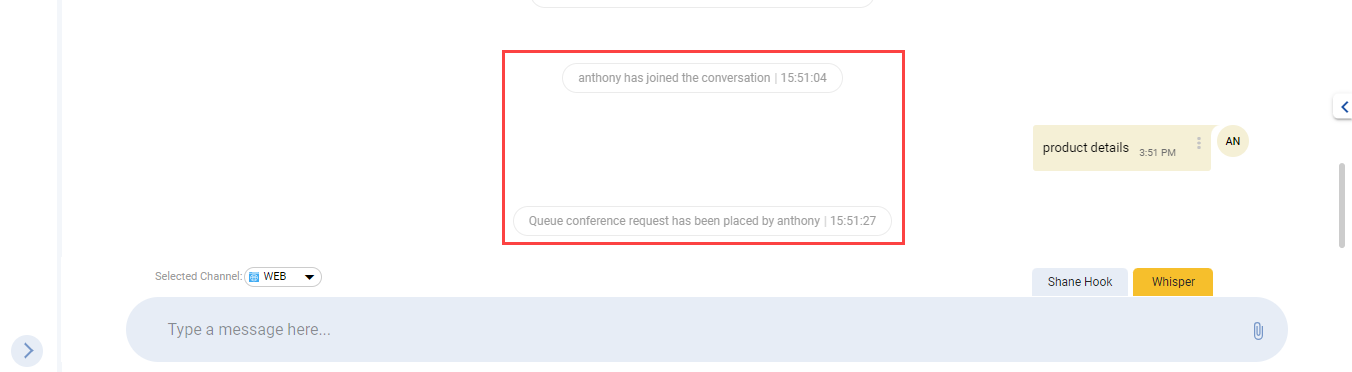
View Conversation Notifications
On the active conversation, the agent receives notifications in real-time whenever a new channel session is started and ended; i.e. the time when the customer initiated the conversation.
Also, in cases of a conferenced/ pull-based chat, the agent can view the notifications whenever a new conversation participant joins/leaves the conversation.