This document covers the setup for importing the pre-configured realm in Keycloak.
-
For release HC 4.1 or backward download the realm-export.json file and place it in any directory of your choice.
-
For release CX-4.1 and onwards download the realm-export-4.1-onwards.json file and place it in any directory of your choice.
-
For release CX-4.3 and onwards download the realm-export-4.3.json file and place it in any directory of your choice.
-
If you've not imported the realm and its users using the above realm file & upgrade script, then you can create a realm, client, roles, and an admin user following these steps:
Login to the KeyCloak Administration console by browsing your Keycloak server url: https://<server-fqdn>/auth.
-
Login to the administration console using the password set in environment variables (KEYCLOAK_USERNAME and KEYCLOAK_PASSWORD). Default username is admin and password is admin.
-
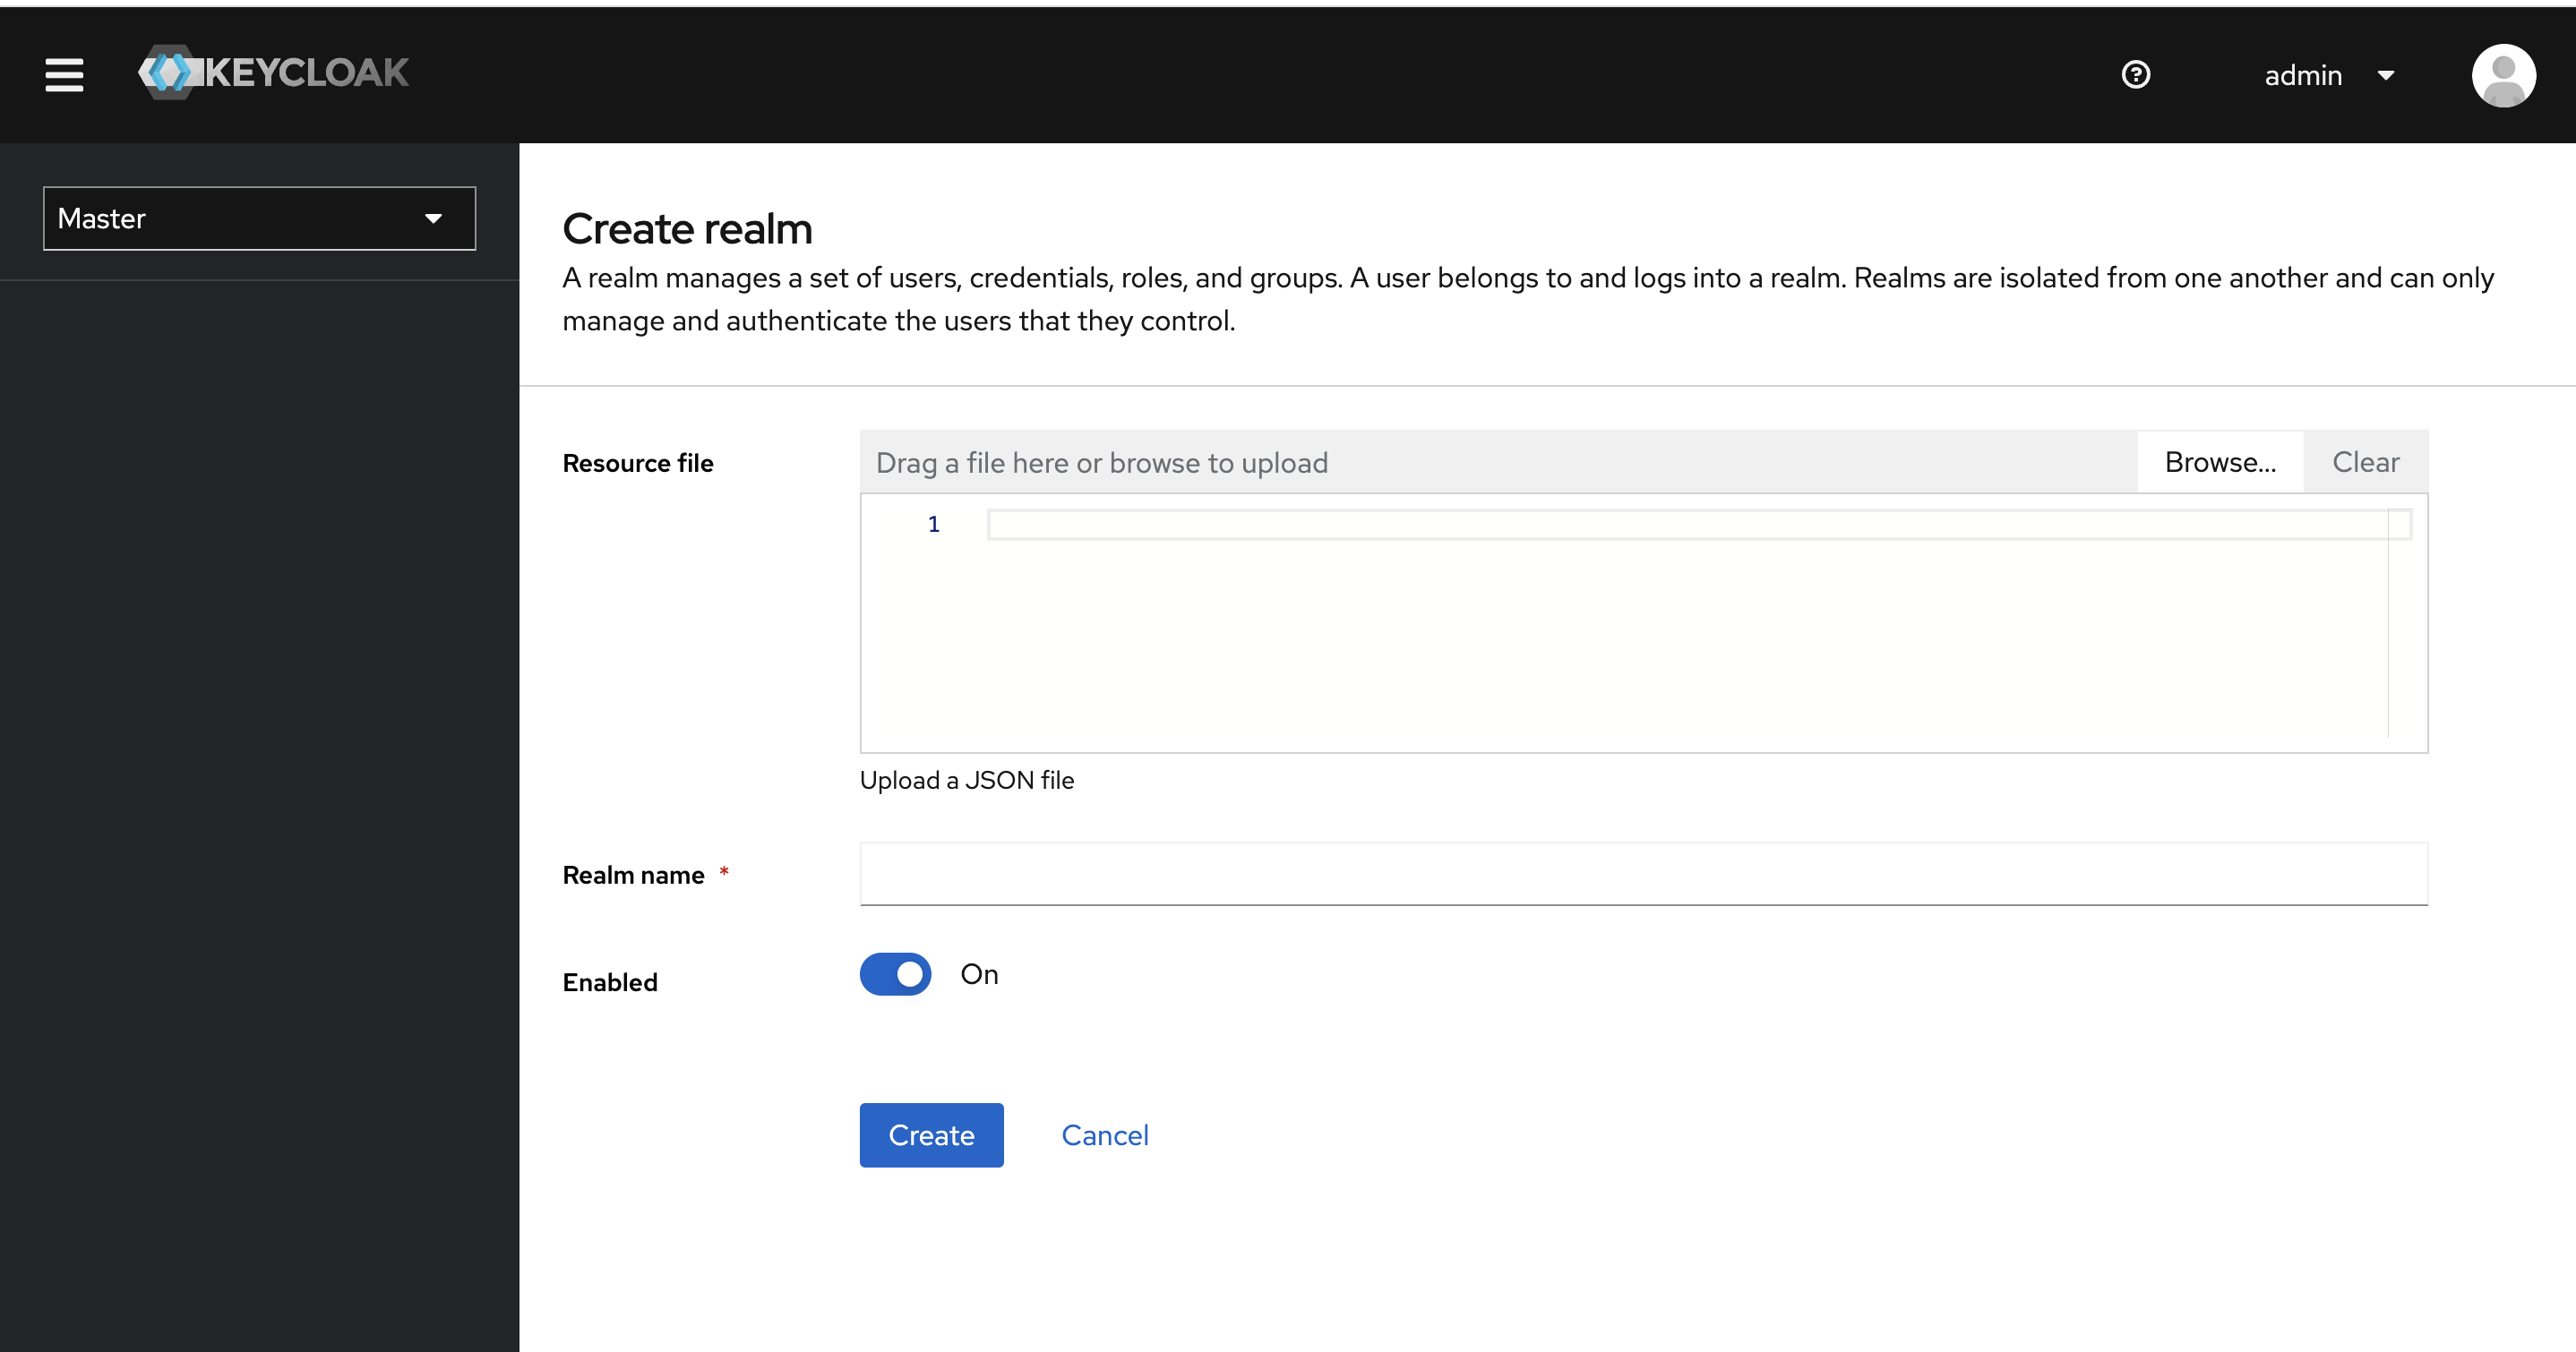
Bring cursor to master realm and click on Add realm button.
-
Click on the Select file button and select the realm-export.json file downloaded in step 1 and press Create.
-
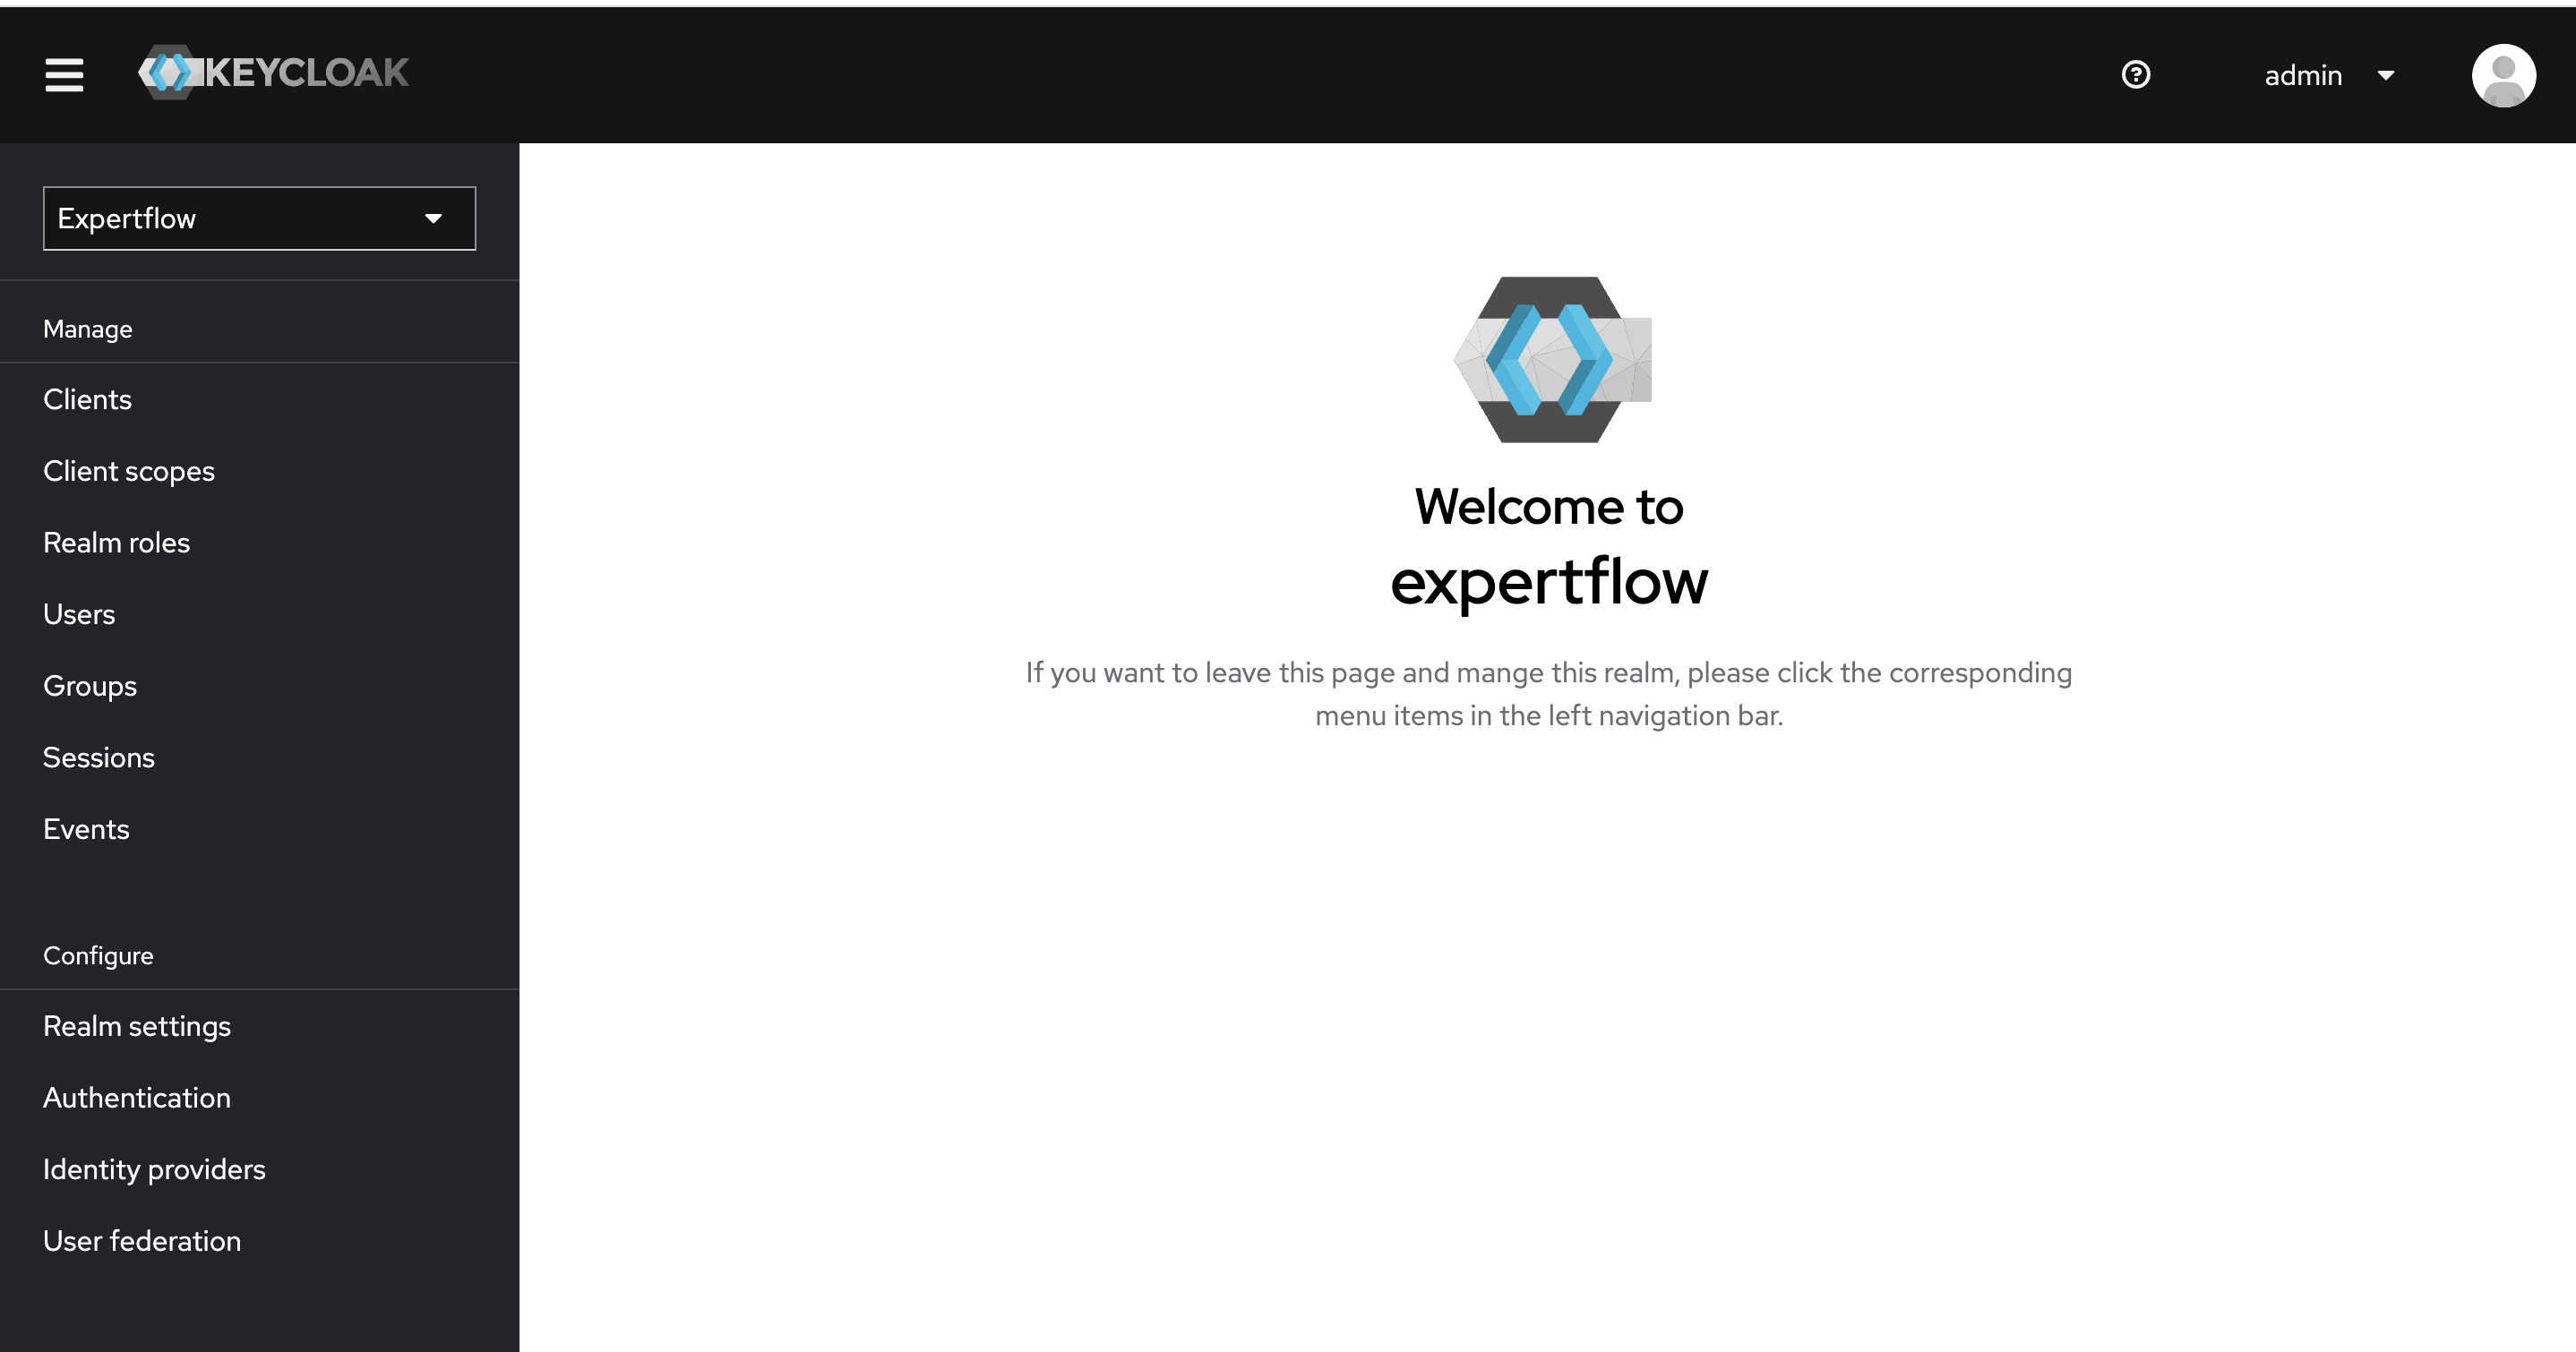
This will create the expertflow realm with all required configuration.
-
Once realm is imported, we need to create create the users in our example agent/supervisor and admin. To create user click on Users from left nav bar.

-
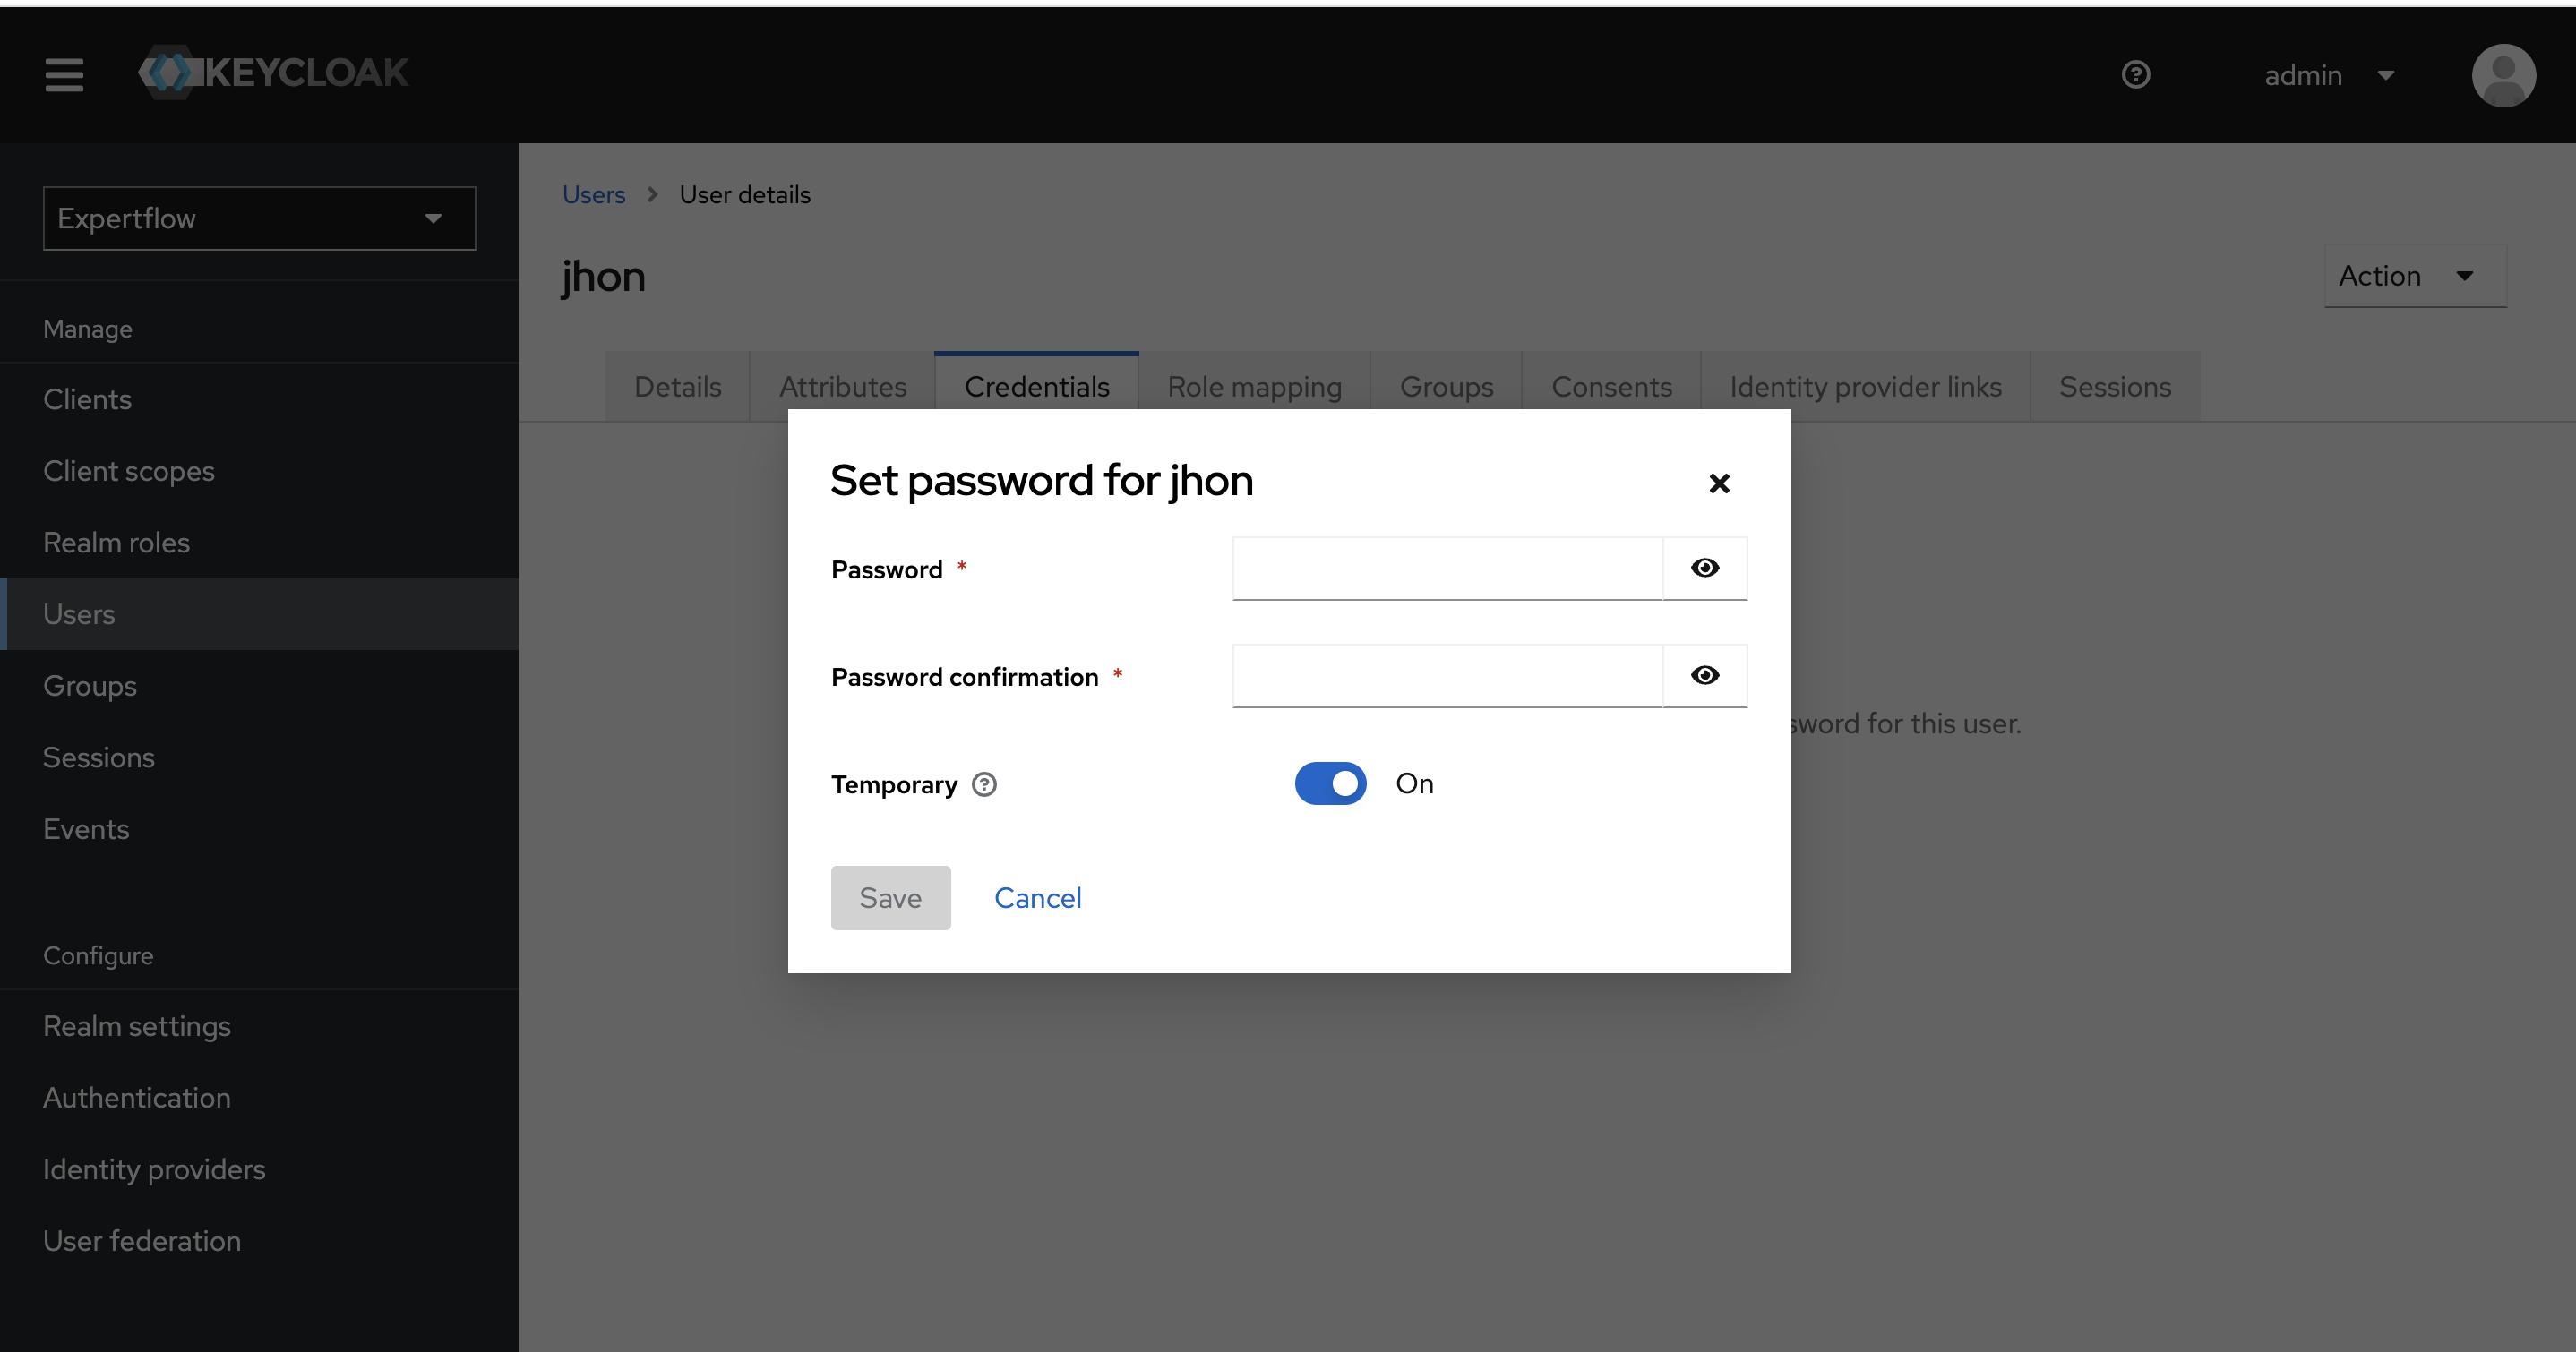
Once user is created, we can see additional fields at top (Details, Attributes, Credentials). Now select Credentials tab and click on Set Password button. Type password of your choice, also turn Temporary to off
-
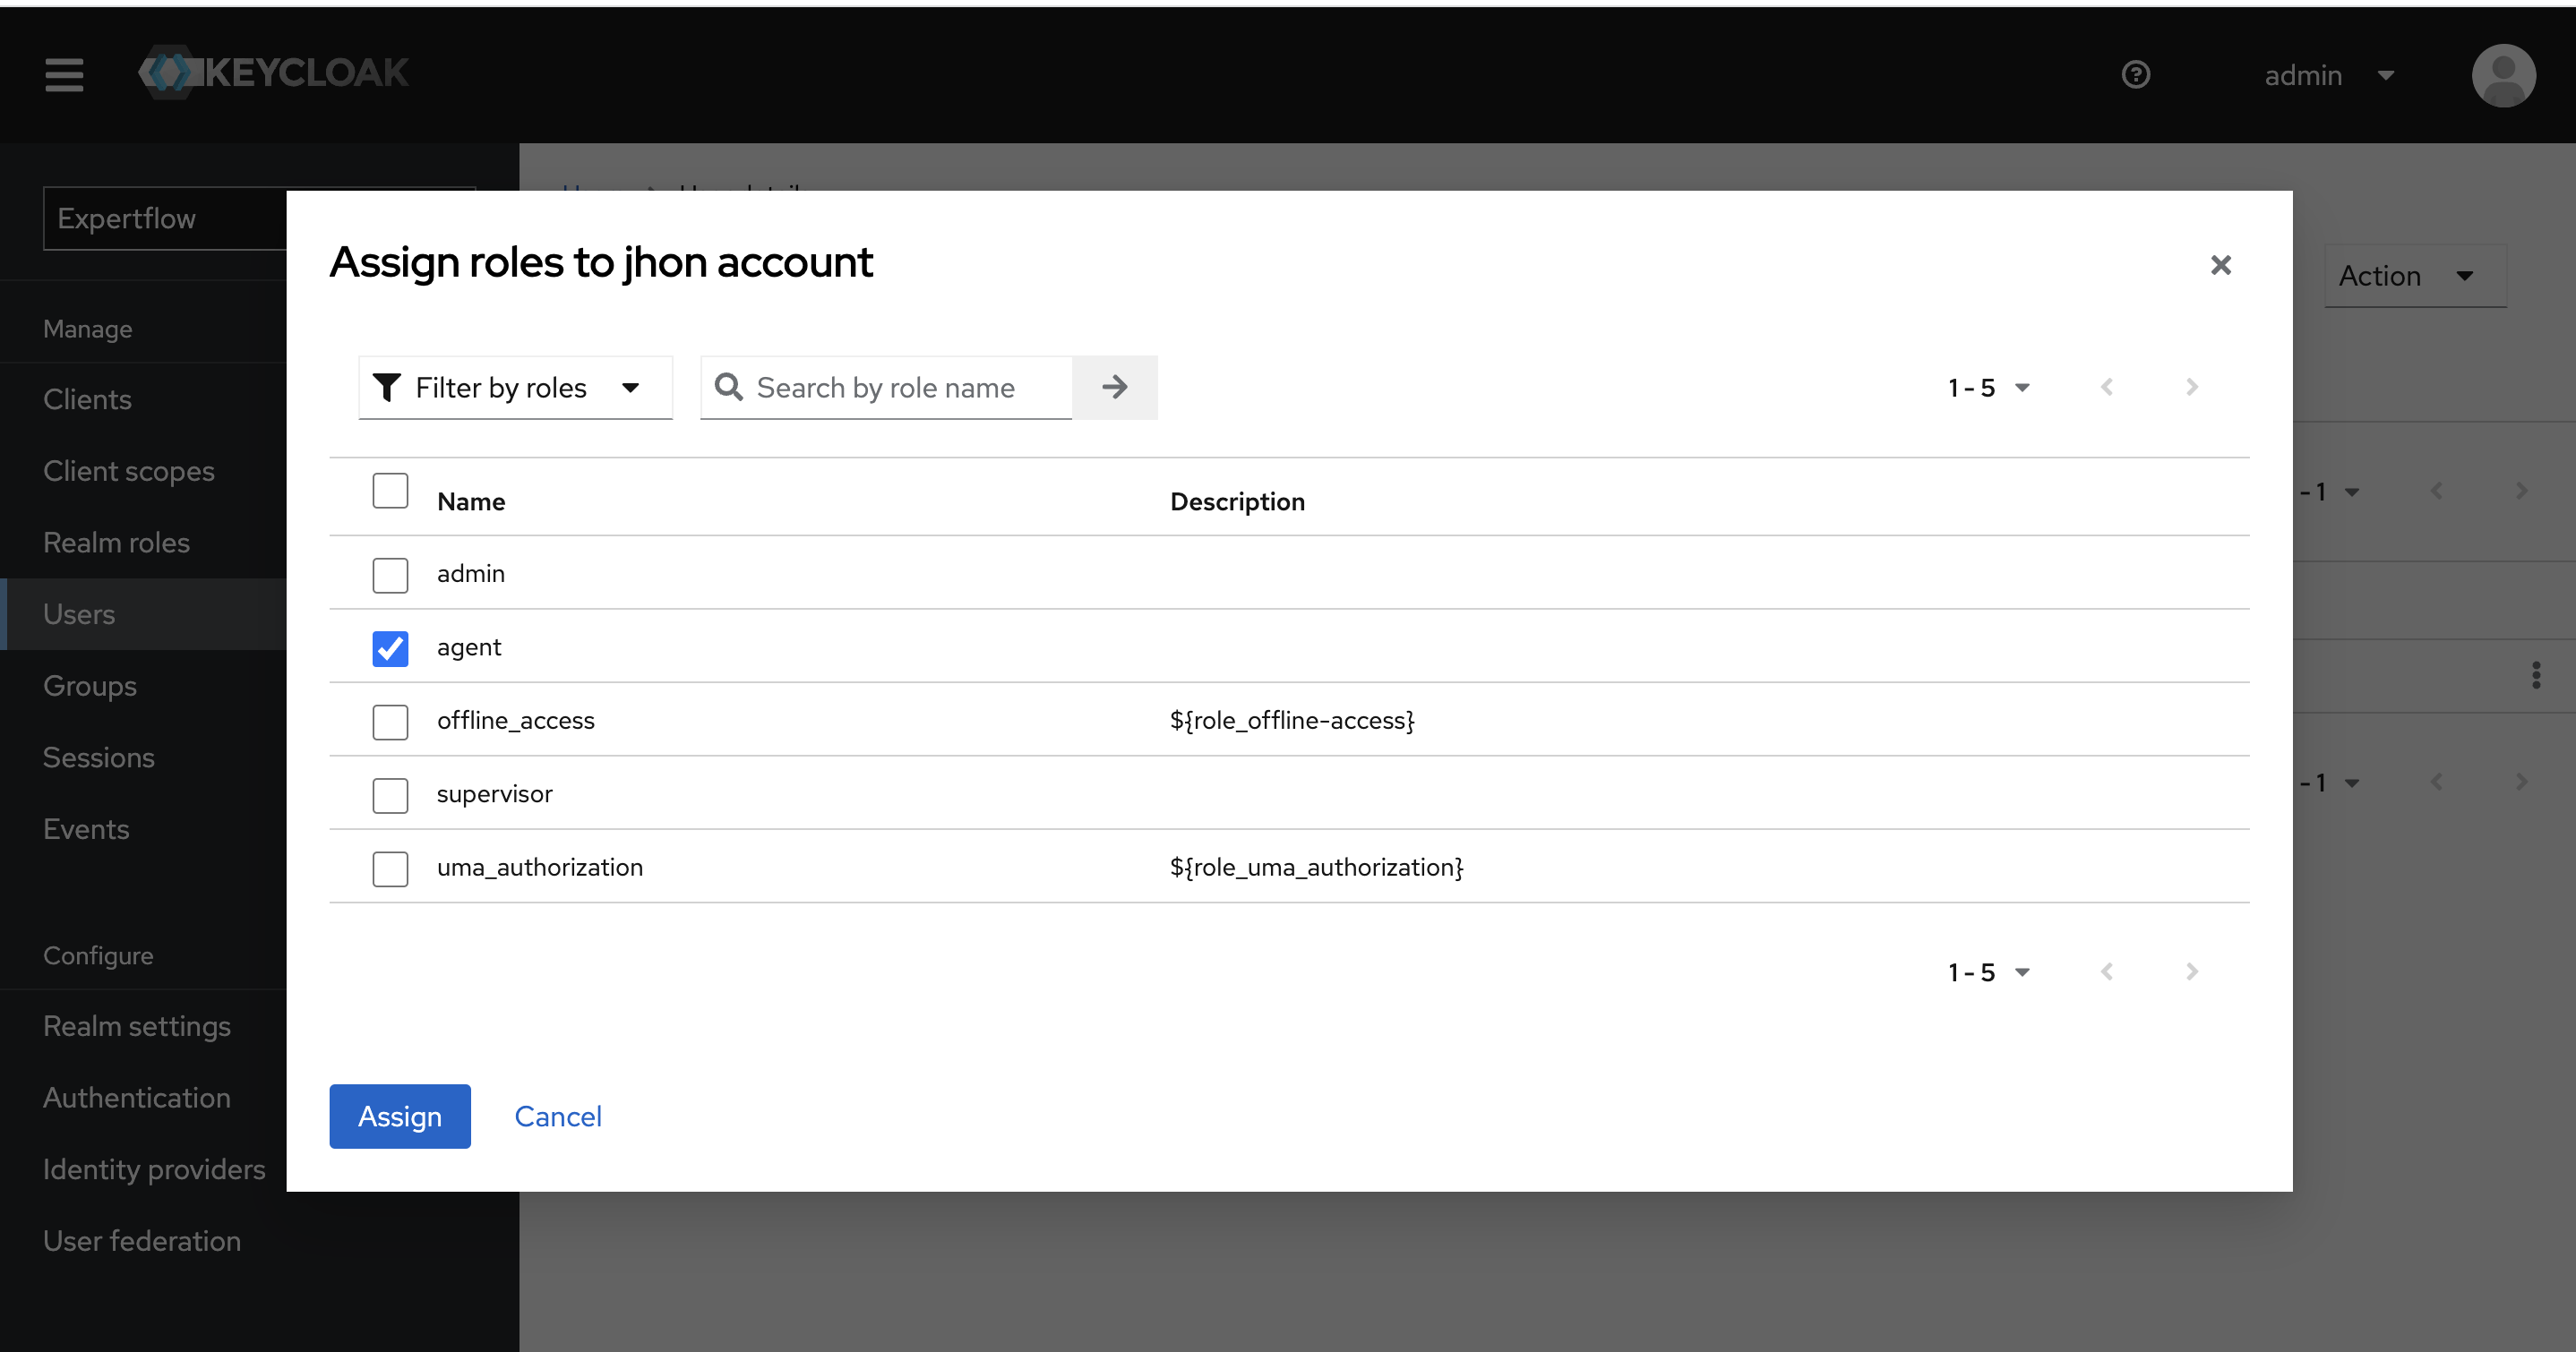
To assign the roles to user, click on Role Mappings tab on top and click on Assign Role Button. In pop up window we can see admin, agent and supervisor roles, for agent user assign agent role and for supervisor user assign supervisor role.
agent role must be assigned to Agent user if agents_permission group is assigned. supervisor role must be assigned to Supervisor user if agents_permission and senior_agents_permission groups are assigned.
-
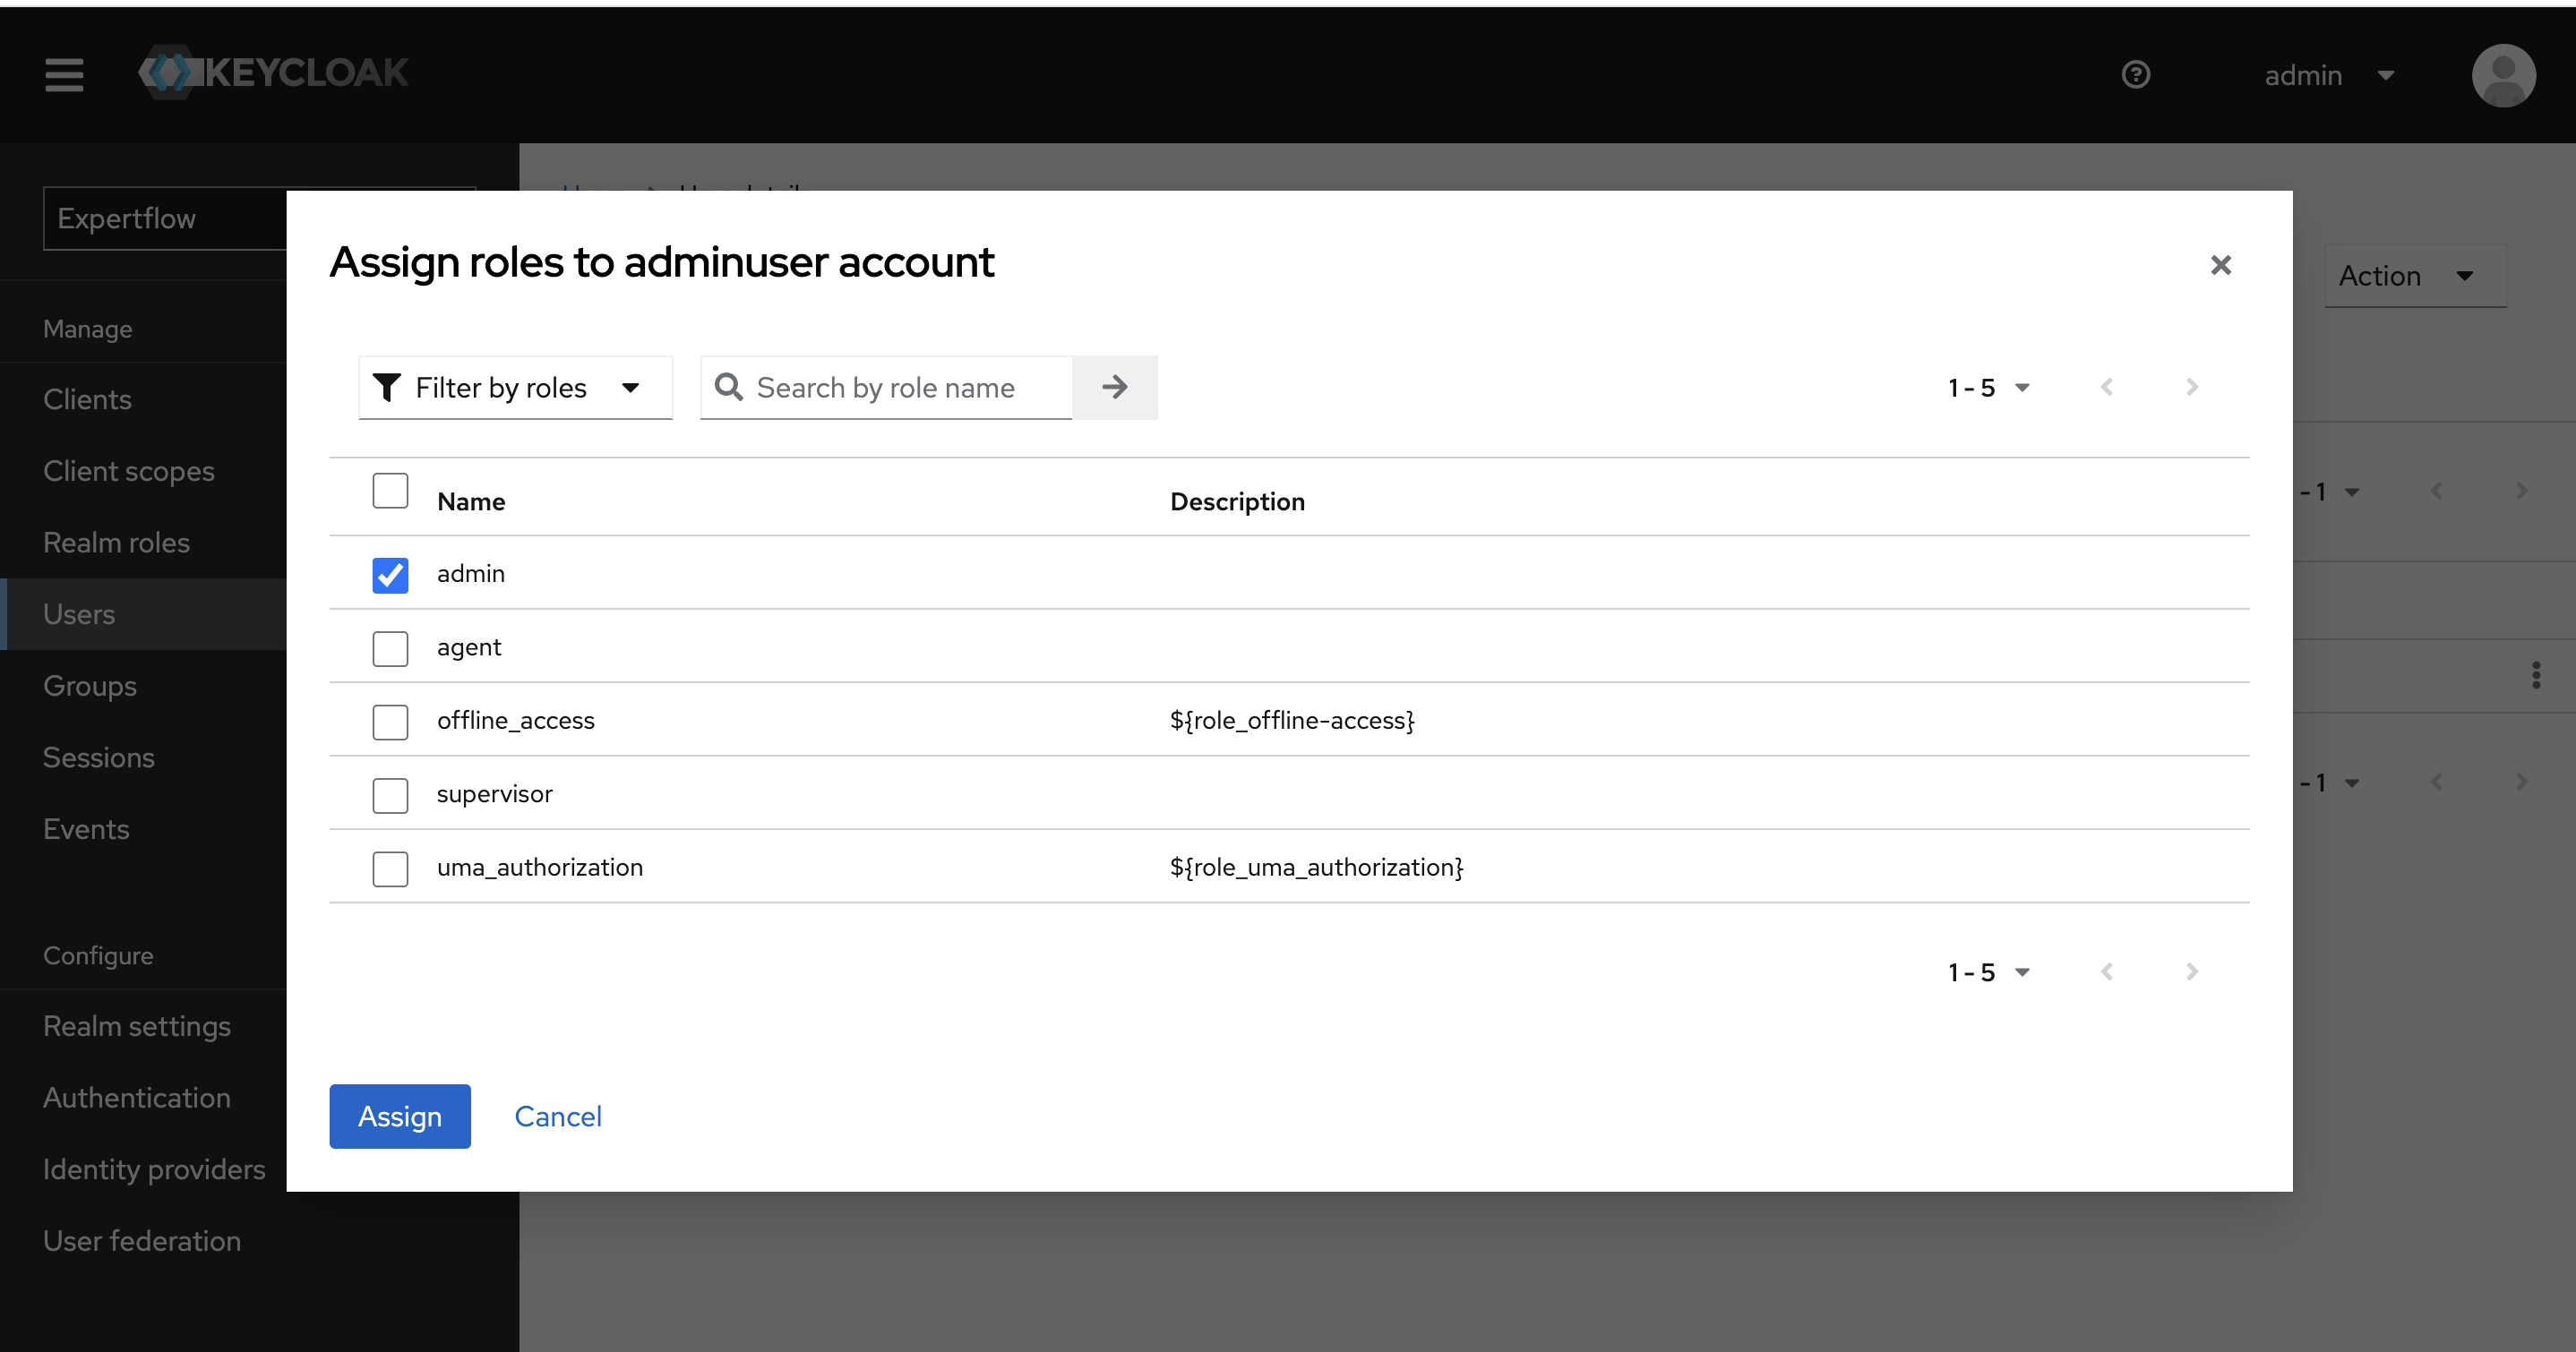
For admin-user first select the admin from Roles and click on Assign button. This will create the admin user in Keycloak.
-
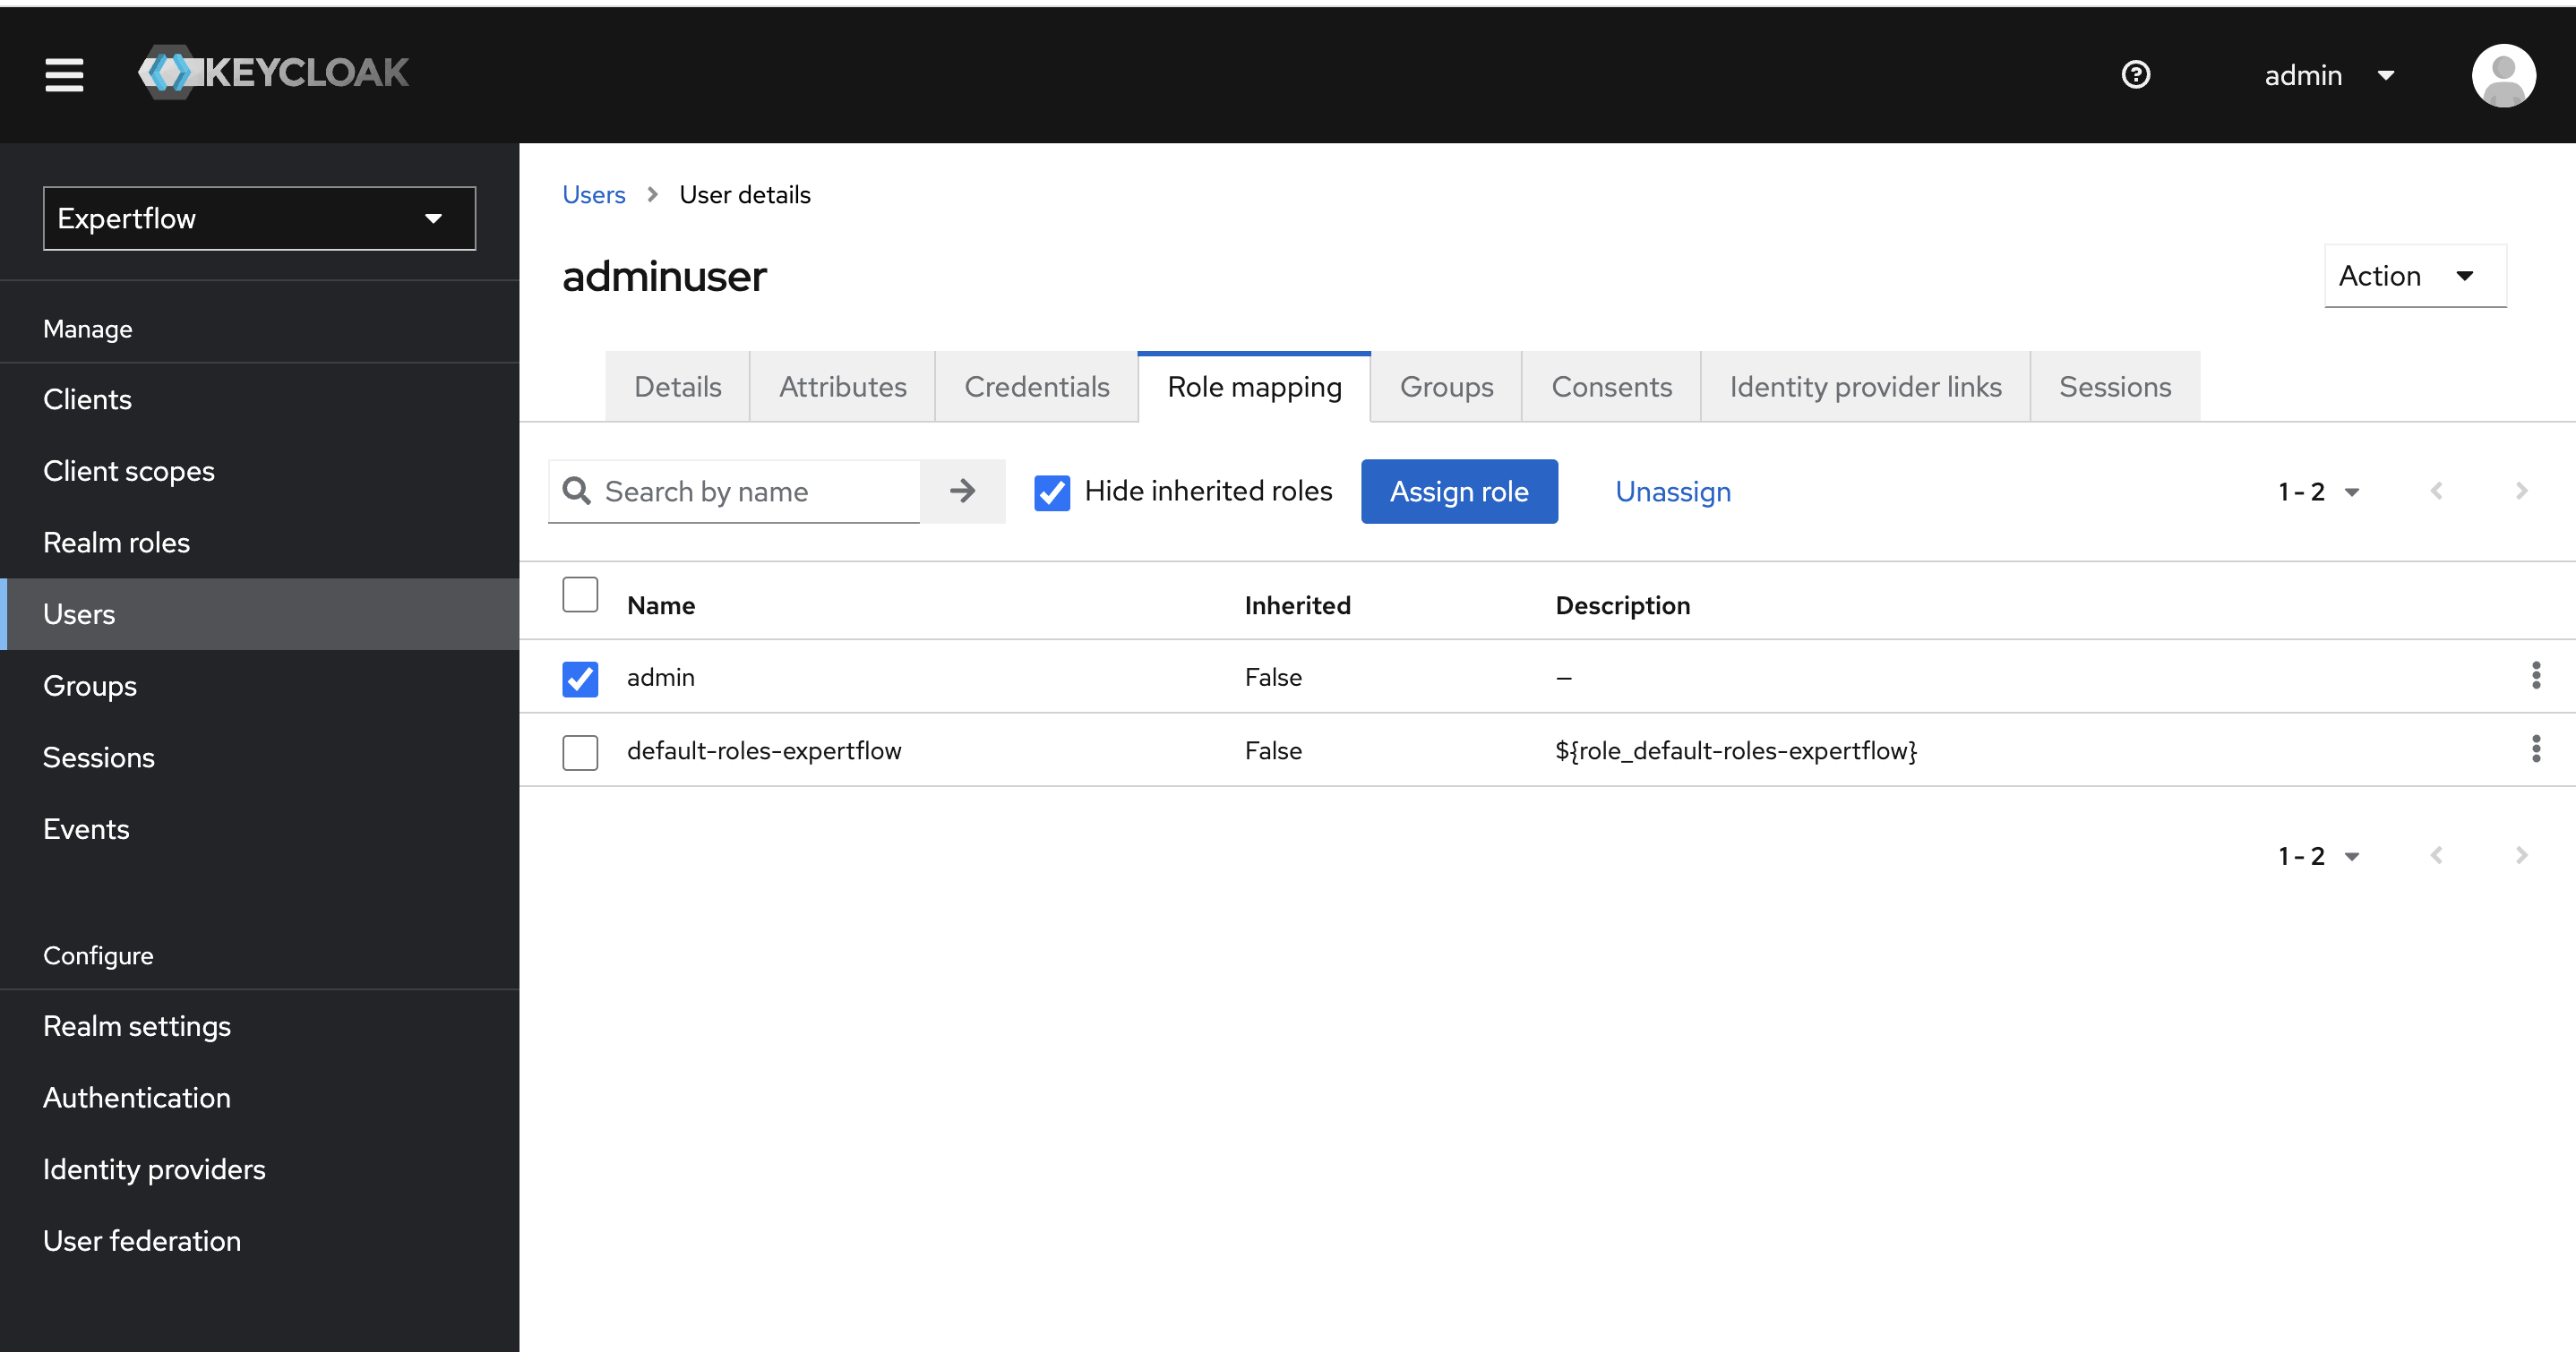
Select the admin user from users list and click on Assign Role Button.
-
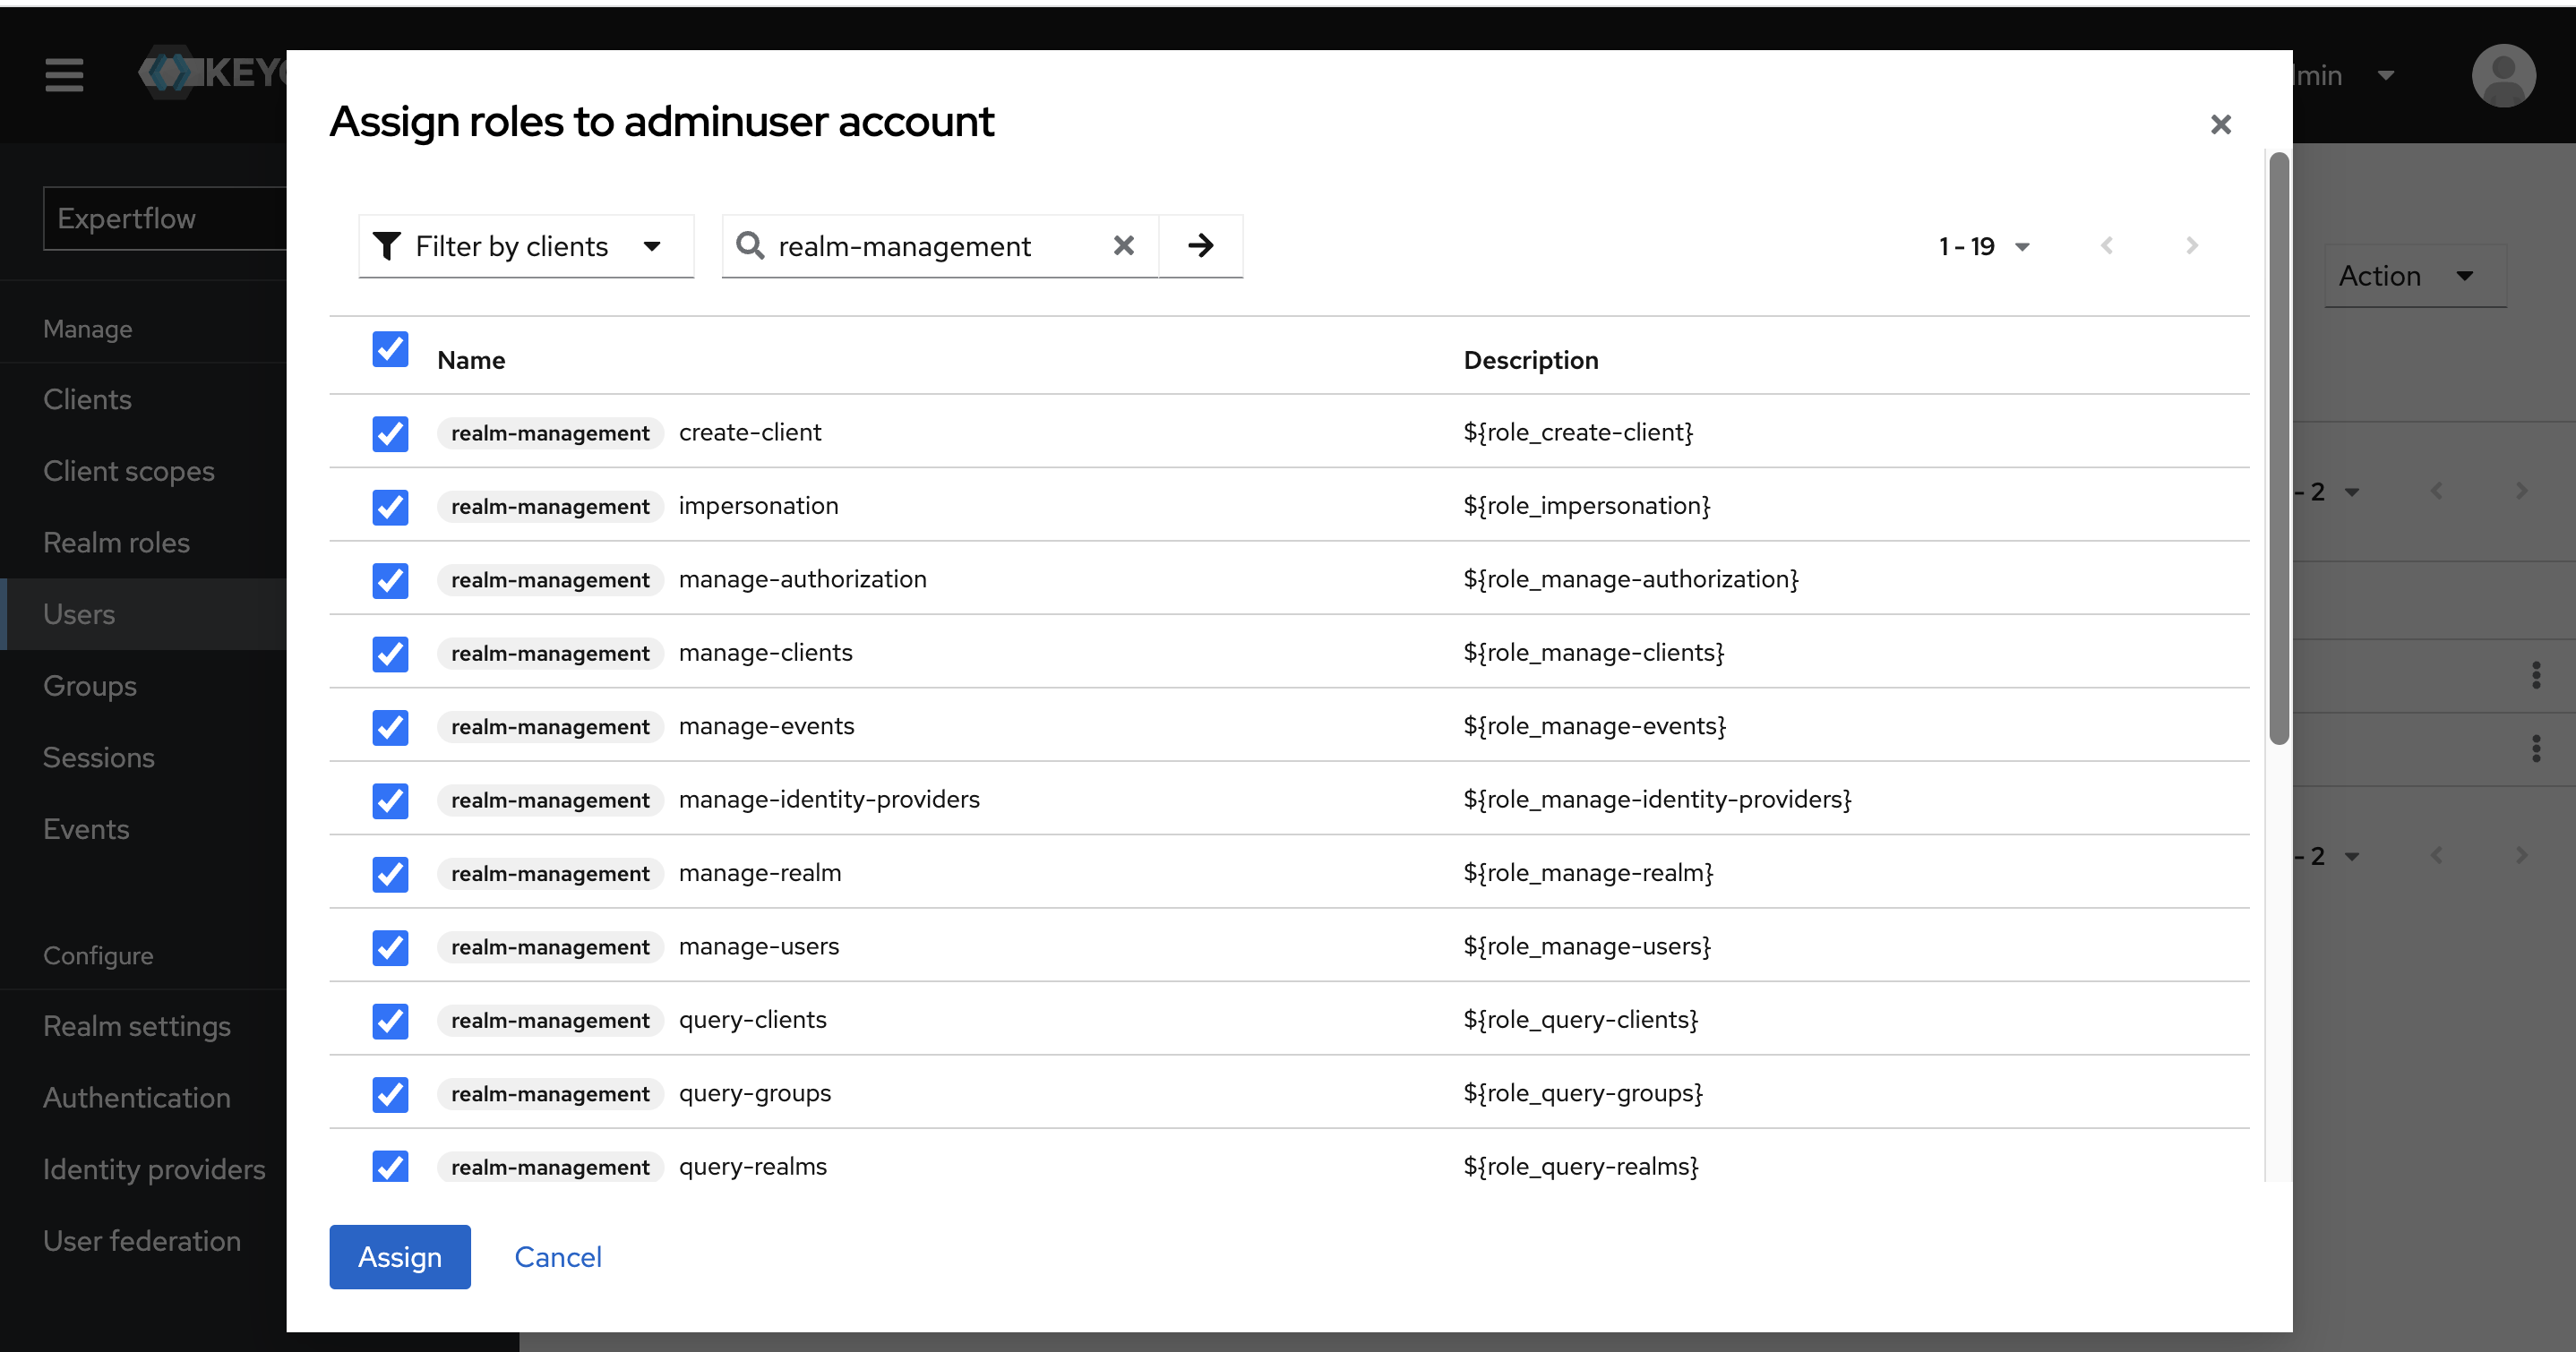
Select the Filter by clients filter and search all realm-management roles. Select all realm-management roles and click on Assign button.
Assign all 23 roles to admin user i.e 19 realm-management roles, admin role, default-roles-<Realm-Name> role, offline_access and uma_authorization roles.
-
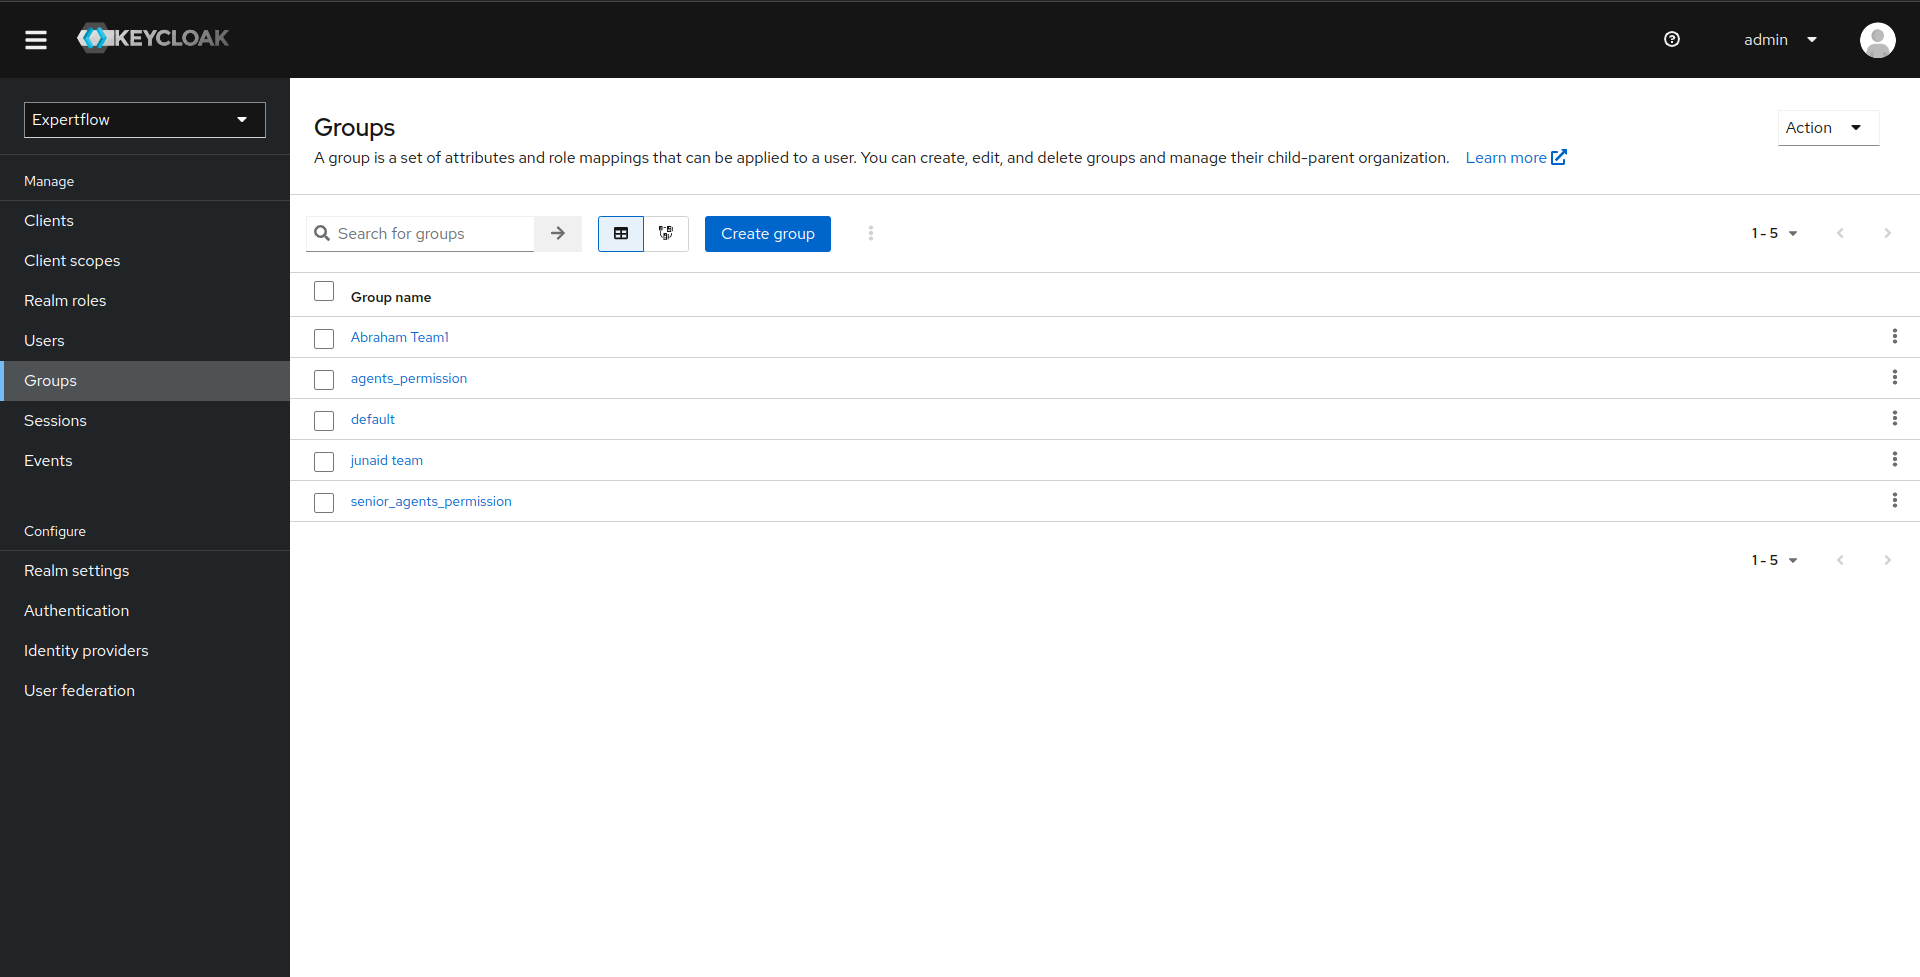
To assign Groups to user, click on Groups from left nav bar. You can see list of all the Groups available
Every User must be assigned atleast one Team apart from Permission Groups (agents_permission, senior_agents_permission). If User is not part of any team then assign default group to it. (admin and routing-manager role users are not part of any team, they should be assigned default group)
-
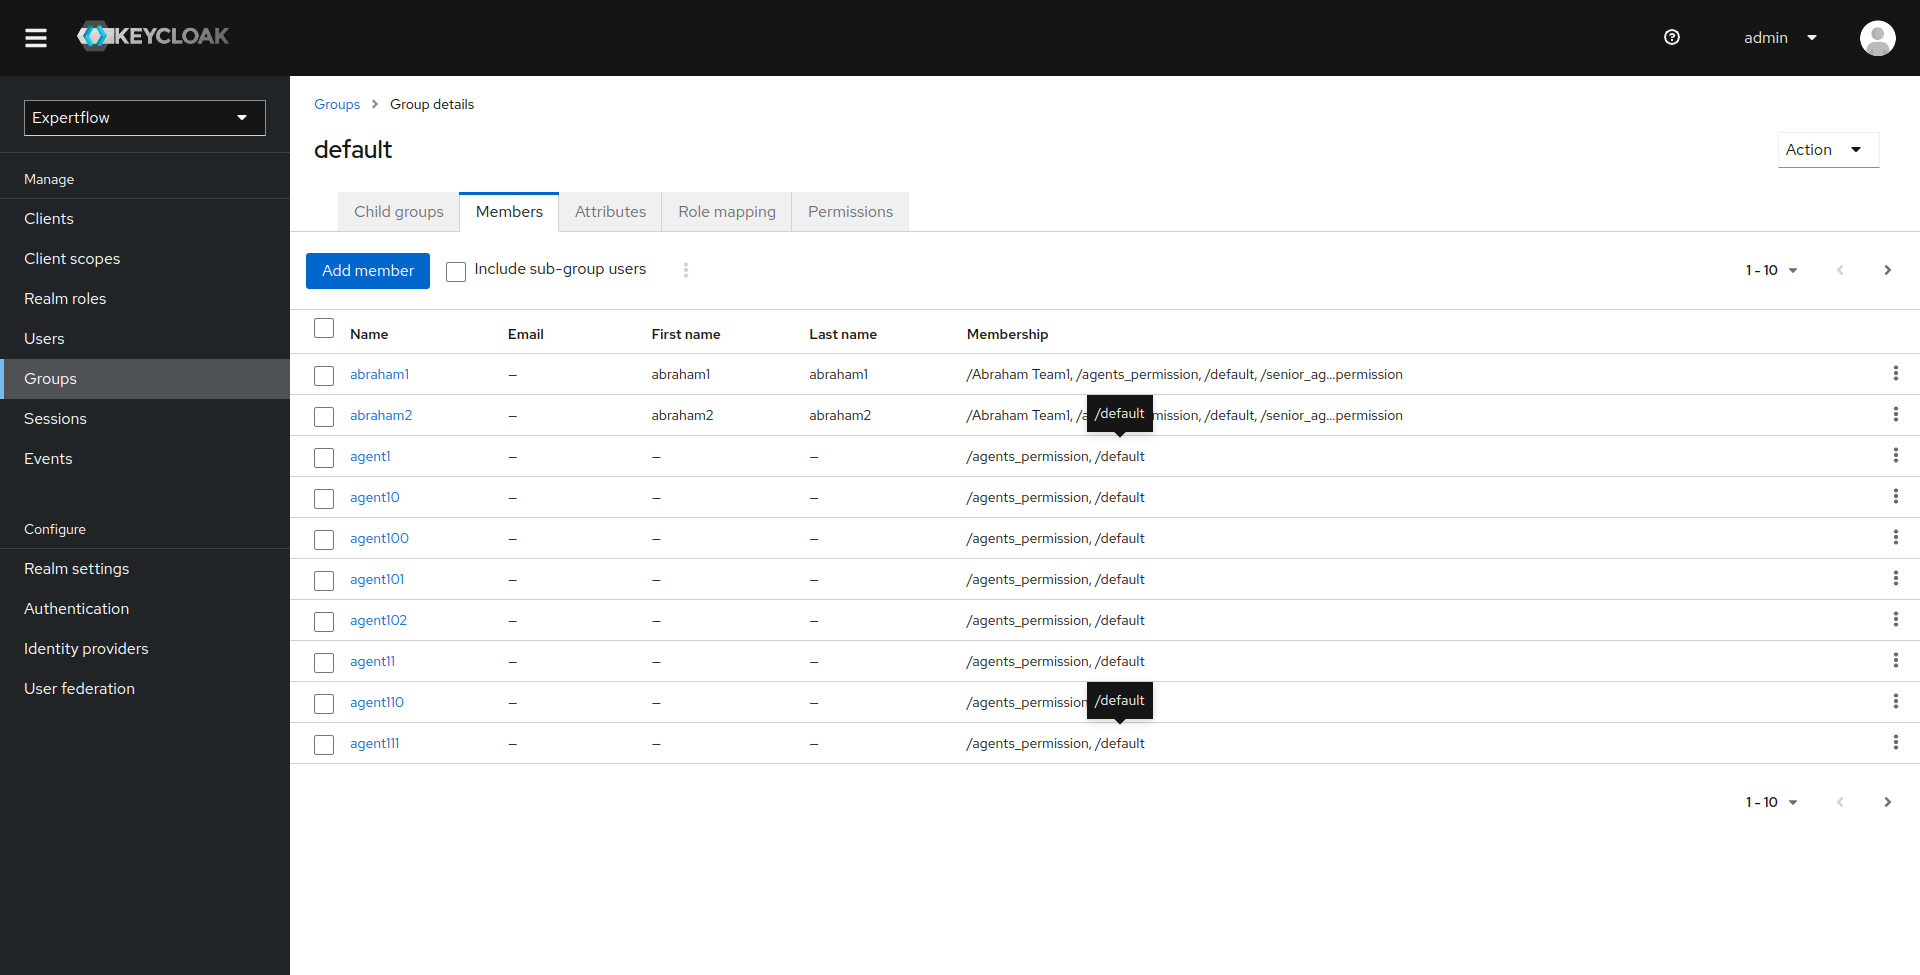
Click on Group you want to add user in. Once in Group Settings, click on members tab
-
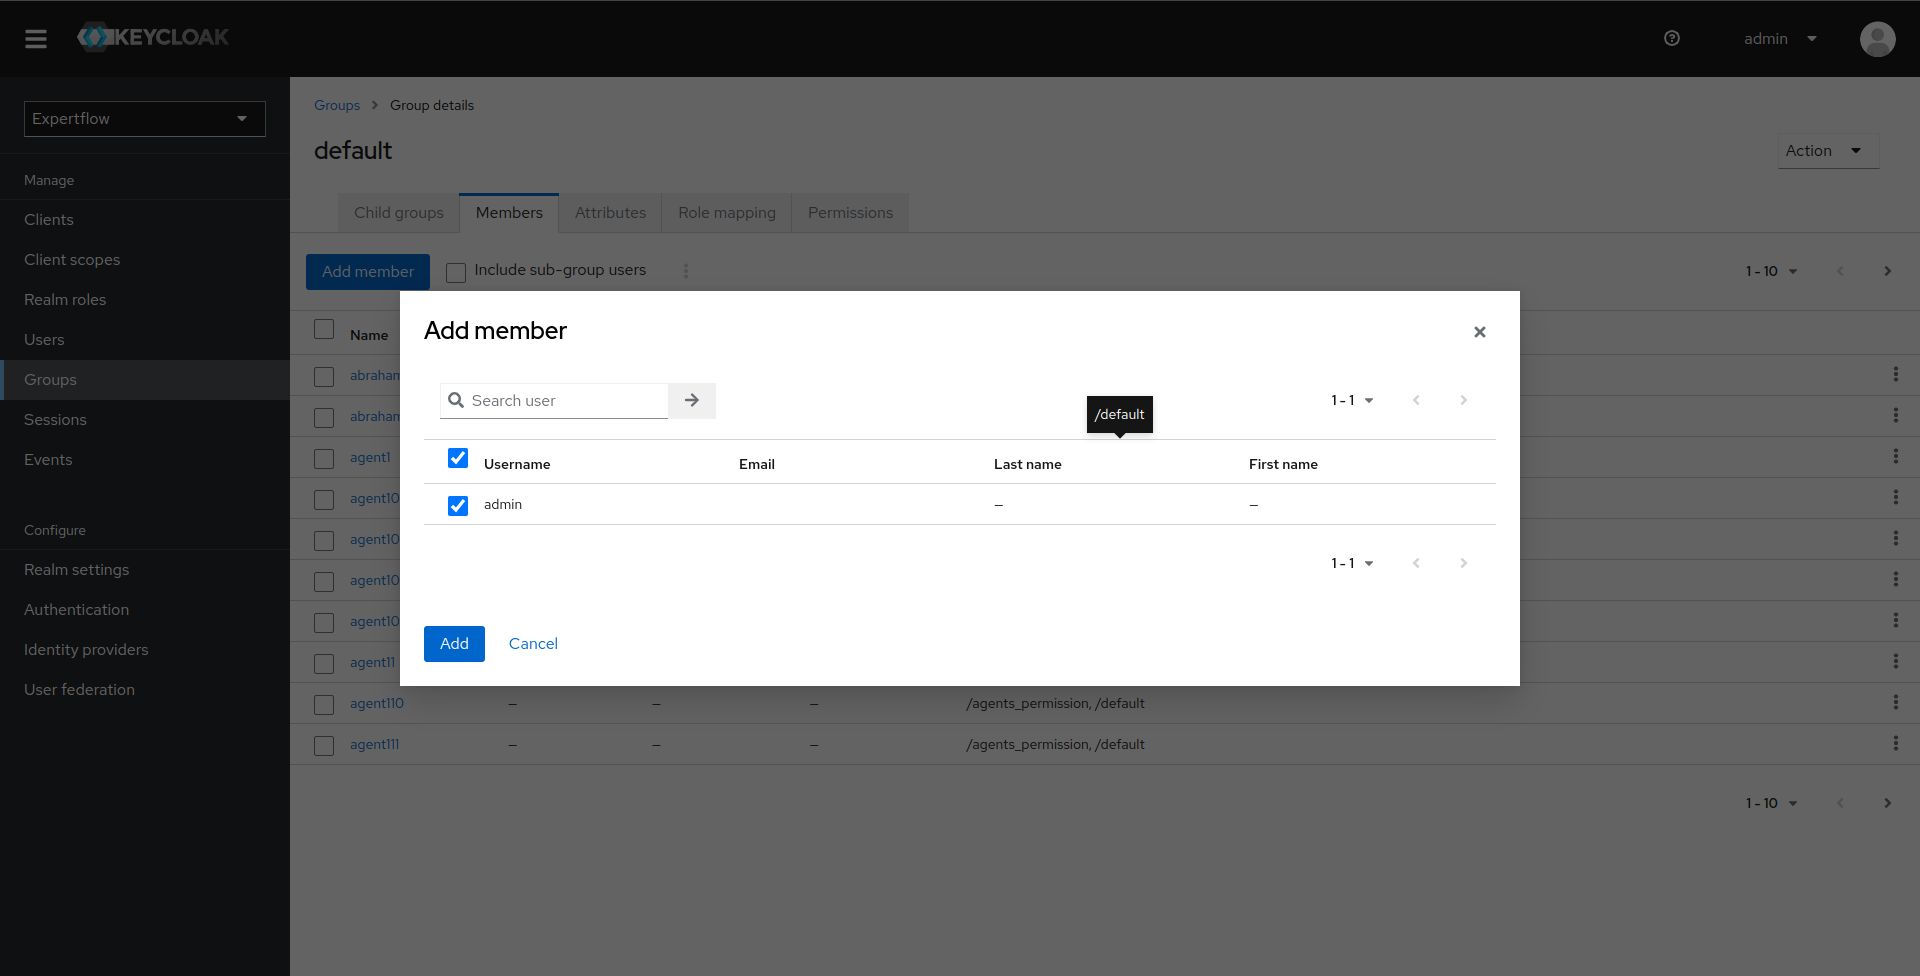
Click on Add member, select the user you want to add and click Add
-
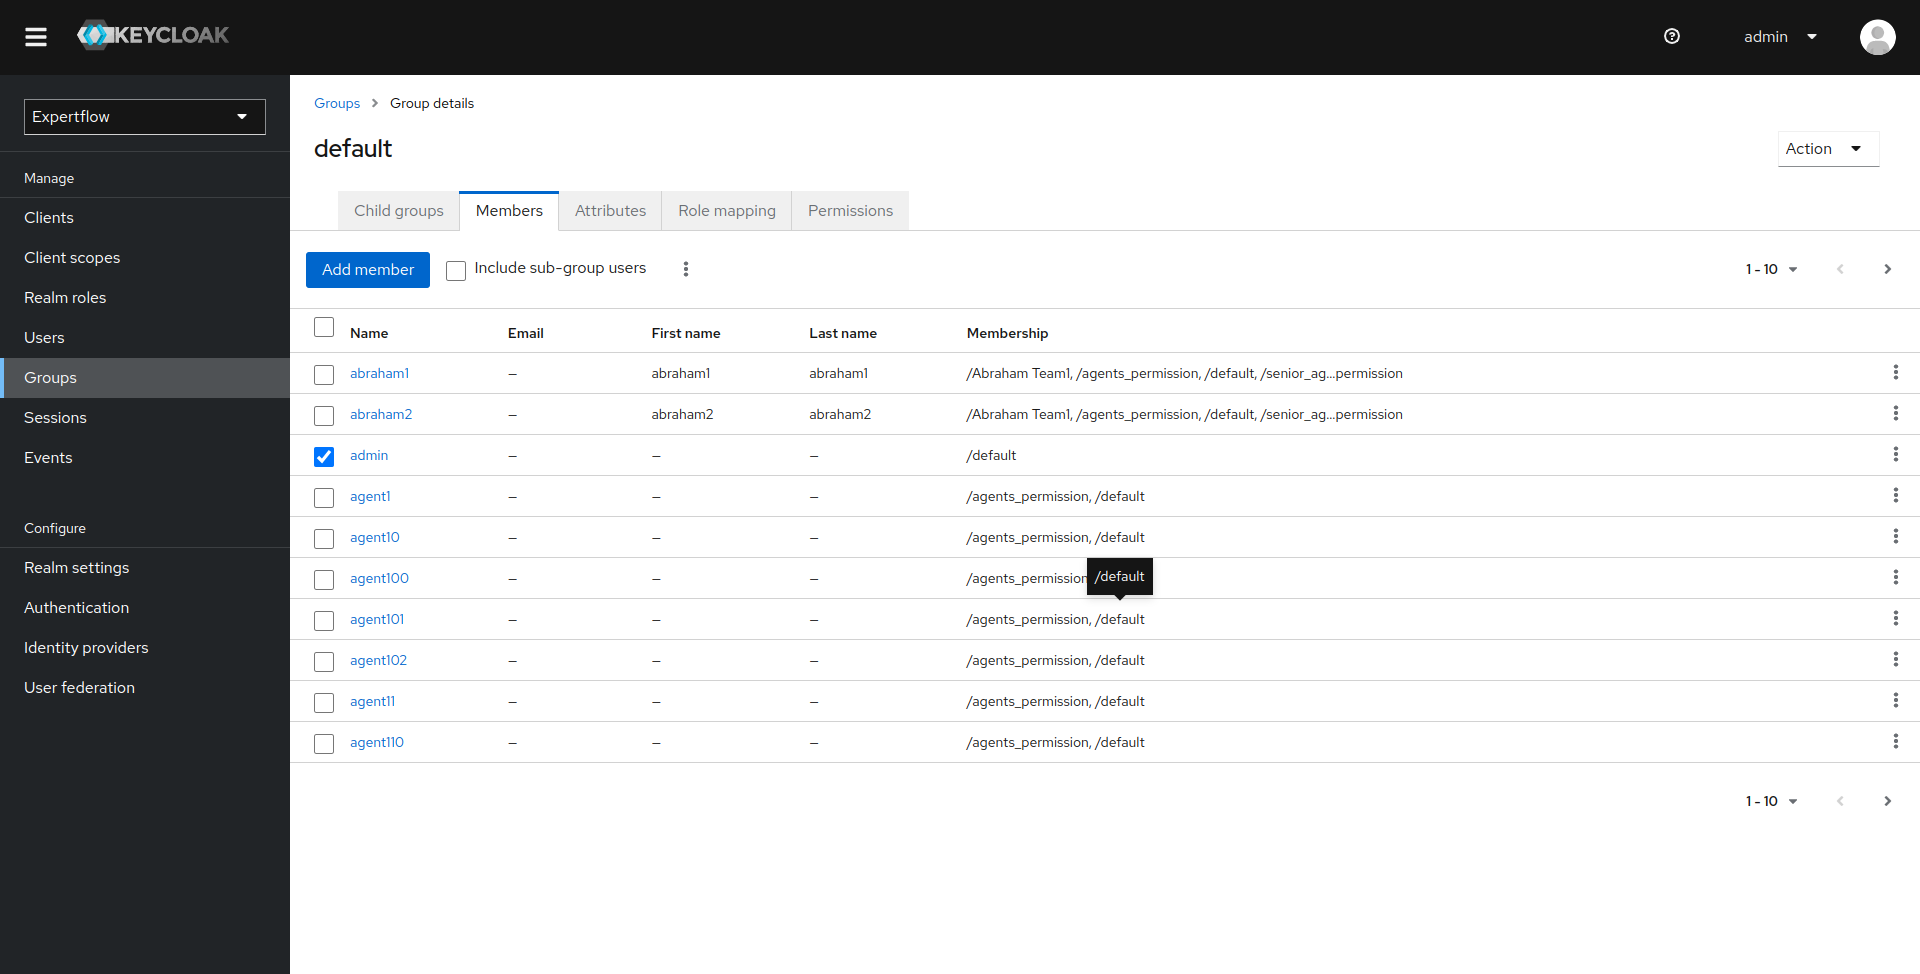
we can see newly added user in Members of Group. Similarly add user in agents_permission Group.
-
Follow Keycloak User's Teams Configuration guide to create and assign users in team.