This section provides detailed steps to set up Telegram Configurations in CIM Unified Admin Console.
If you have been redirected to this page, we now assume that you have already created a telegram application and have received the following details to set up the Telegram Connector in the Unified Admin Console.
-
BOT-TOKEN
If you don't have any details of the above-mentioned, please look into our guide here to help you create a Telegram Account and Application.
First of all, go to Unified Admin Console (https://<fqdn>/unified-admin) and create an MRD, Routing Attribute, Queue specifically for Telegram Channel so that we can assign these dedicated items for Telegram Channel. Then assign the MRD to the selected agent and set up the agent attributes. All these steps will be performed in the same way as we usually set up for any other channel or even for a basic unified-admin setup. If you have any confusion in setting up things mentioned in this step, you can review the Unified Admin Setup Guide.
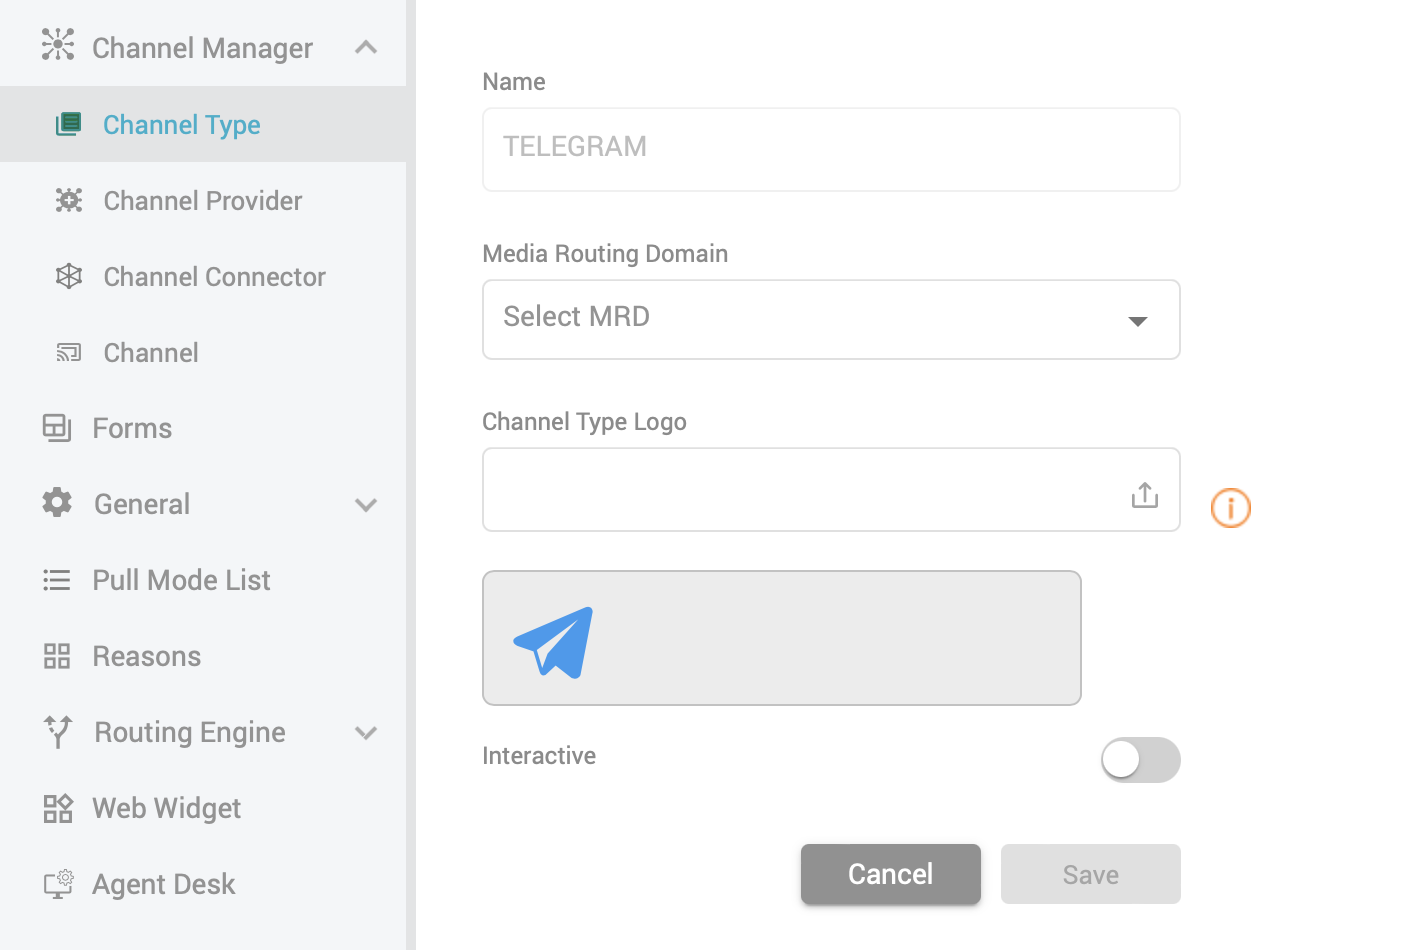
Channel Type Configuration
-
The Telegram channel type will be automatically bootstrapped by the system in the same way as the other channels.
-
You can select the associated MRD to your Telegram channel connector.
-
The Telegram Icon will be automatically bootstrapped but you can as well upload your own icon.
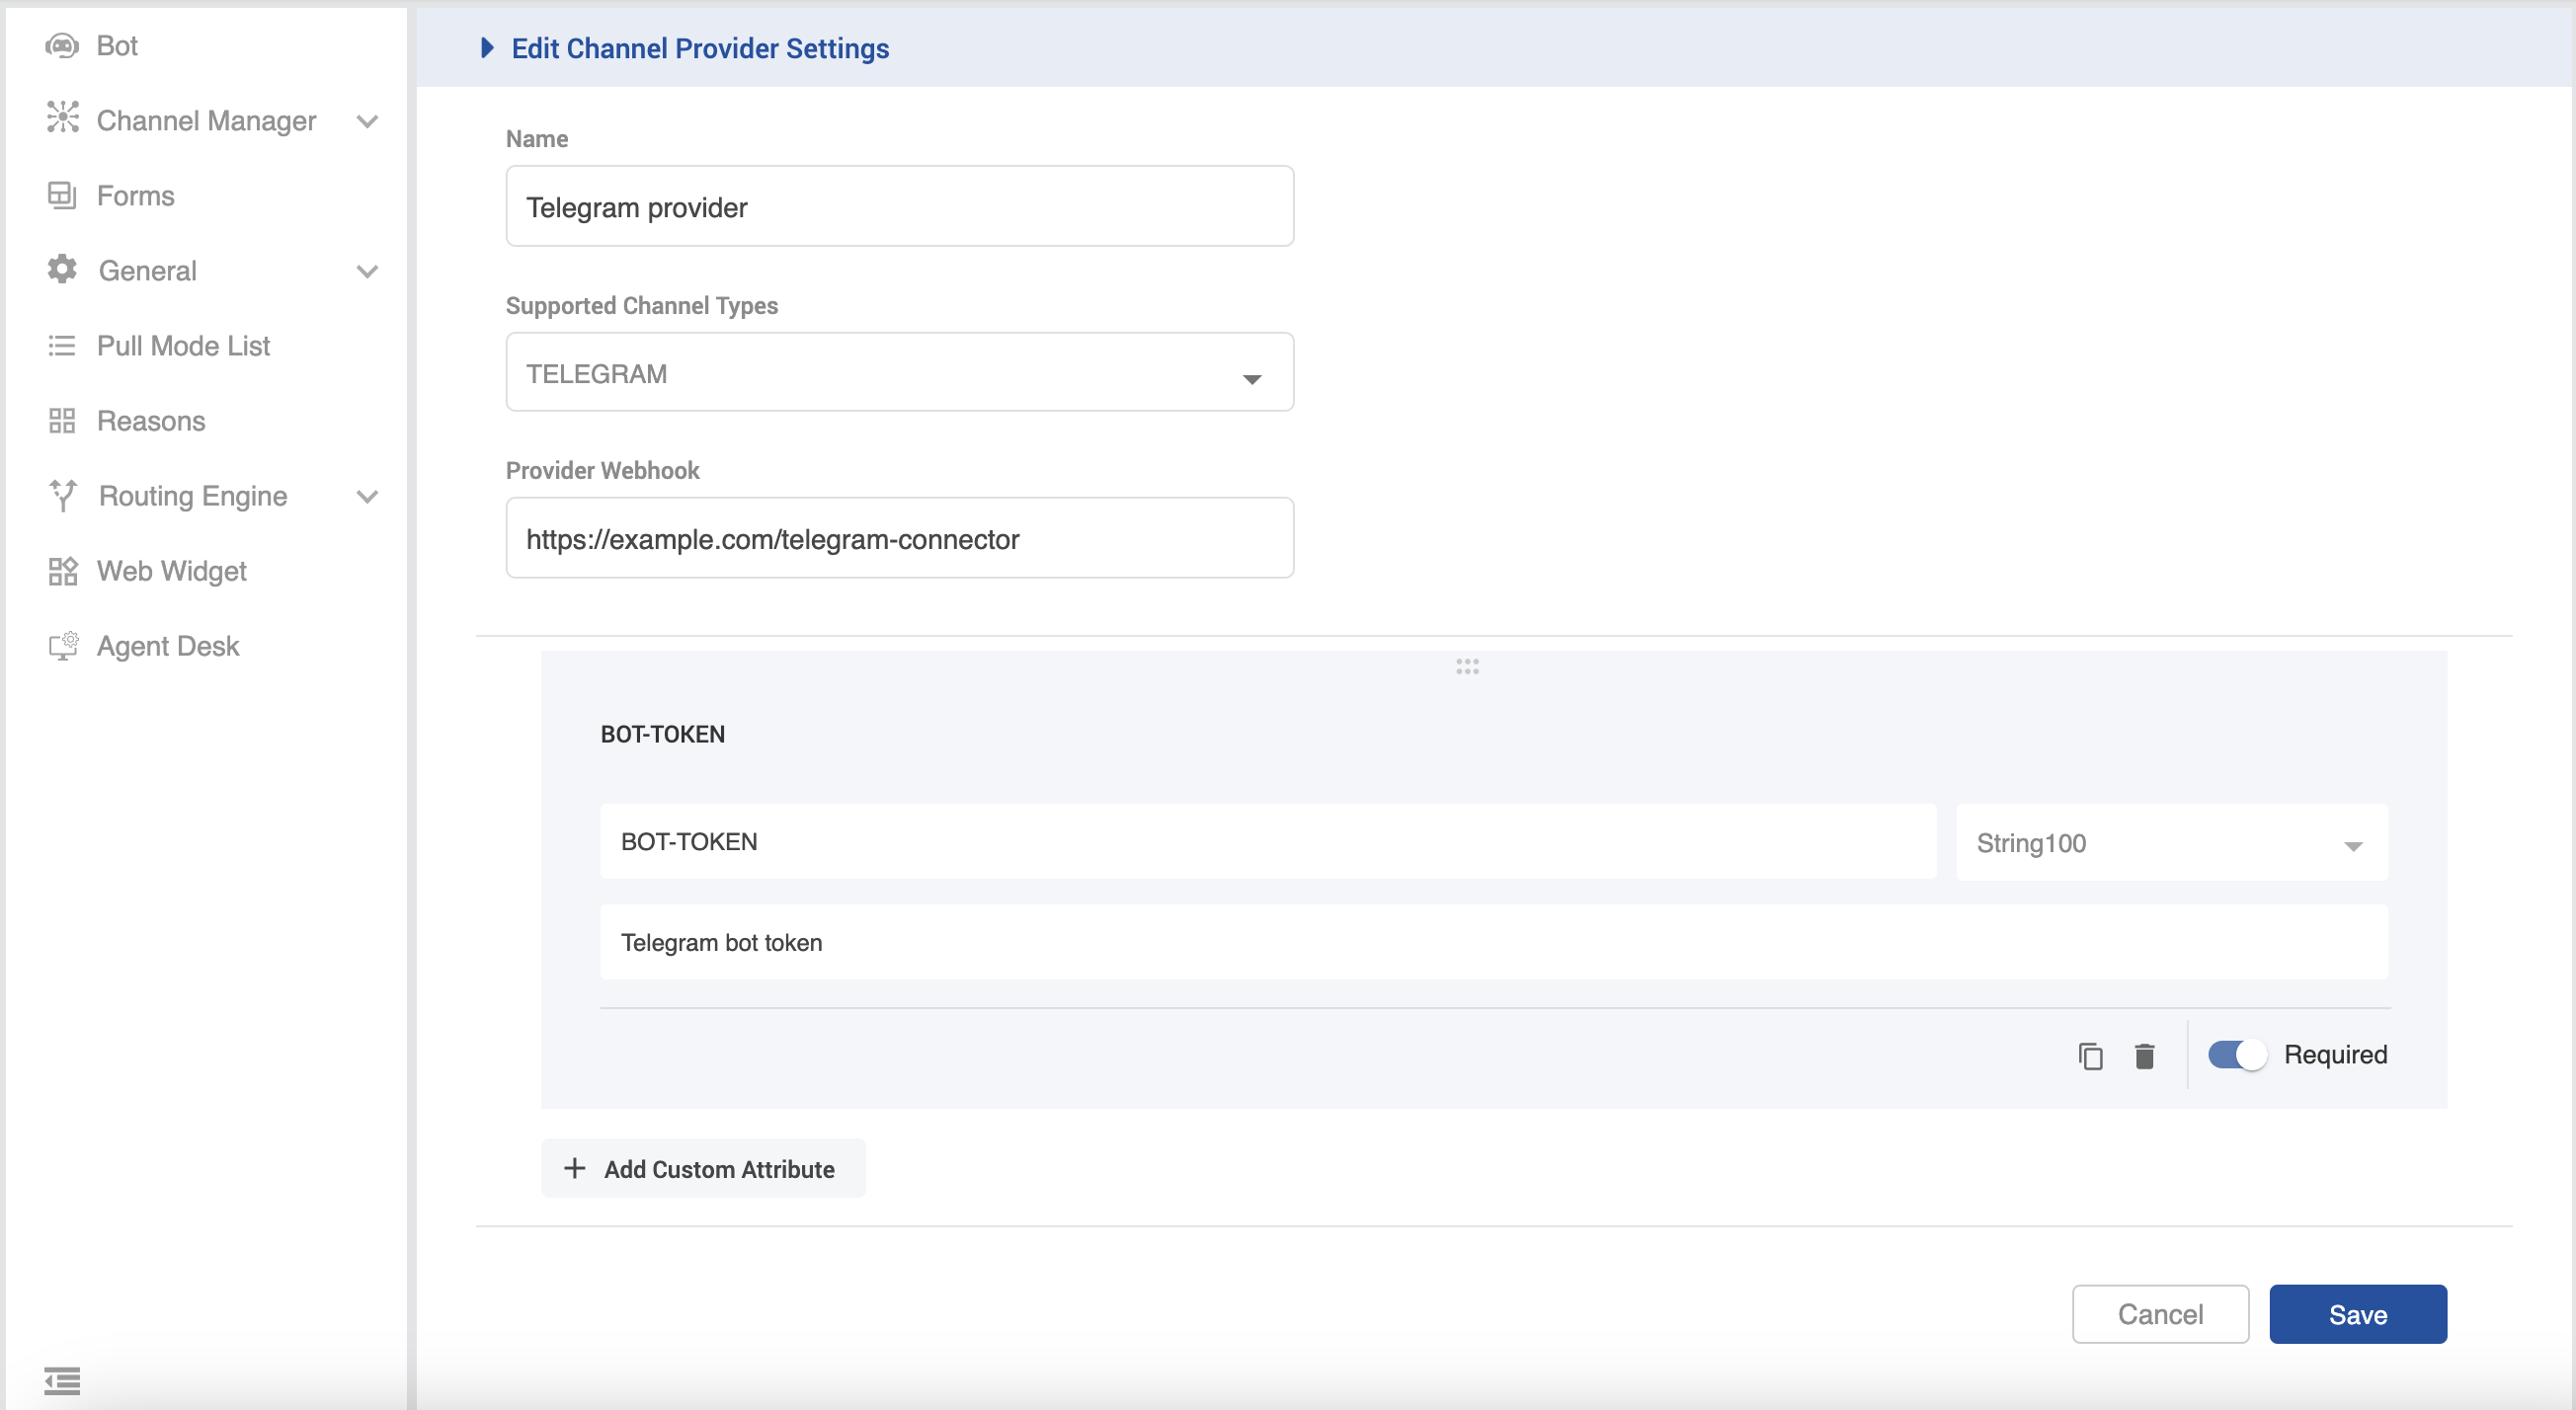
Channel Provider Configuration
-
Click on add new channel provider to create a new Telegram channel provider.(ie name can be Telegram Channel Provider)

-
Select Channel Type as "TELEGRAM" from the drop down menu.
-
Enter Provider Webhook field as: https://{{FQDN}}/telegram-connector .eg https://example.com/telegram-connector. (NB. Replace the FQDN with your machine FQDN.)
-
Click on Add Custom Attribute and add the following attributes.
- BOT-TOKEN
NB: These attributes should be named as above while configuring them to the system.Attribute Name
Description
Type
Required
Example
BOT-TOKEN
It's a unique key that is used to identify specific resources on Telegram.
forgot your bot token? please visit here to get your token.
String100
Yes
FGad**********34***OA
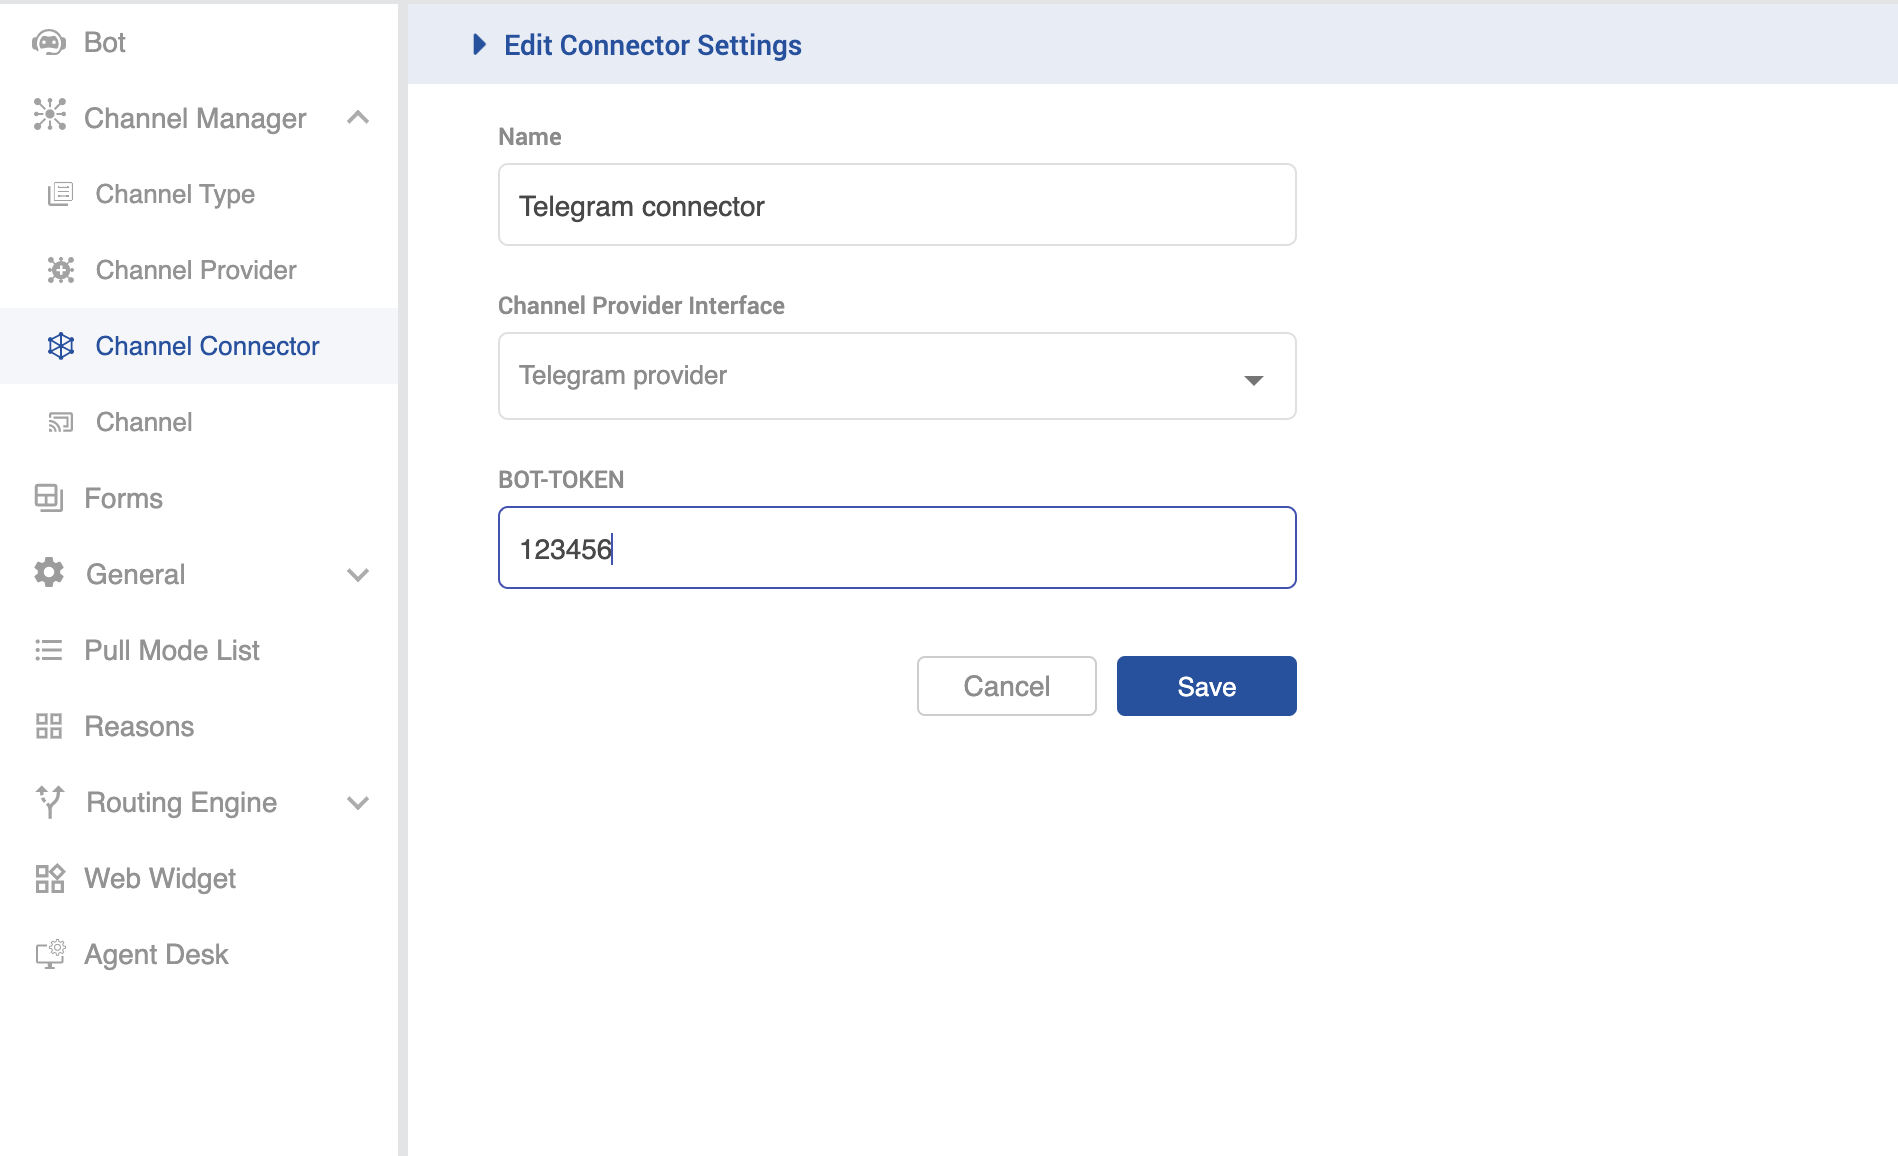
Channel Connector Configuration
-
Add a new Channel Connector. Name can be eg. Telegram Channel Connector.
-
Select Channel Provider Interface as the one we created in previous step. (I.e. Telegram Channel Provider)
-
Once you select the channel provider interface value, then the respective custom attribute fields will appear. These fields will be those which we added in the previous step as part of custom attributes.
-
Enter the BOT-TOKEN values in it from the one that we extracted while setting up Telegram Developer Account.
Channel Configurations
-
Now in the Channel menu, you should see a channel named "TELEGRAM". Expand the collapsible menu and click on "Add new channel".
-
The name can be "Telegram DM".
-
In the Service Identifier field, you will need to call the below api to get your service identifier.
- Make a GET Method call to this API. https://api.telegram.org/bot<telegram-botToken>/getMe eg. https://api.telegram.org/botBF34Ds7dFD/getMe
- Replace <telegram-botToken> with your actual telegram bot token. forgot your bot token ? click here
- Once you call the above API, you will receive a response containing your bot id.
This id highlighted in red from the response below will be placed in your service identifier field.{
"ok": true,
"result": {
"id": 7747304660,
"is_bot": true,
"first_name": "test",
"username": "test_bot",
"can_join_groups": true,
"can_read_all_group_messages": false,
"supports_inline_queries": false
}
}
-
Select the default bot from the Bot ID drop down values. It could be named as "EF-Bot".
-
Select "Telegram Channel Connector" that we created in previous step in Channel Connector field.
-
Customer Activity Timeout can be set as 180 seconds.
-
Channel Mode can be used as default value. i.e. HYBRID.
-
Agent Selection Policy field value can be used as default value. i.e. LONGEST AVAILABLE.
-
Agent Request TTL can be set as 100 seconds.
-
Routing Mode can be selected as PUSH or PULL. Based on this selection, you can select the Queue or List in the next field value.
Webhook Registration
-
Make a POST rest API call to one of the exposed API's in telegram connector. <FQDN>/telegram-connector/register-webhook. see example here.
-
Configure the request body as shown below. Example
{
"botToken":"4892363233:WEMWDEfwefwe43New9-qghSwA",
"url" : "https://example.com"
}
-
On the url set it to the fqdn of the machine that you are running telegram. NB. only https urls are supported. eg https://helloworld.com
-
Provide a valid bot token while registering.
-
Once you send the request, you will receive a response 200 Ok as below only when the registration is successful.
{
"ok": true,
"result": true,
"description": "Success",
"errorCode": null,
"status": "OK"
}
After completing the steps above, The telegram connector is able to receive and send messages to and from telegram users.
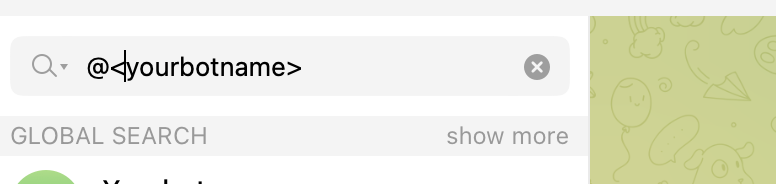
You can now search the name of your bot in telegram search bar and start a chat.