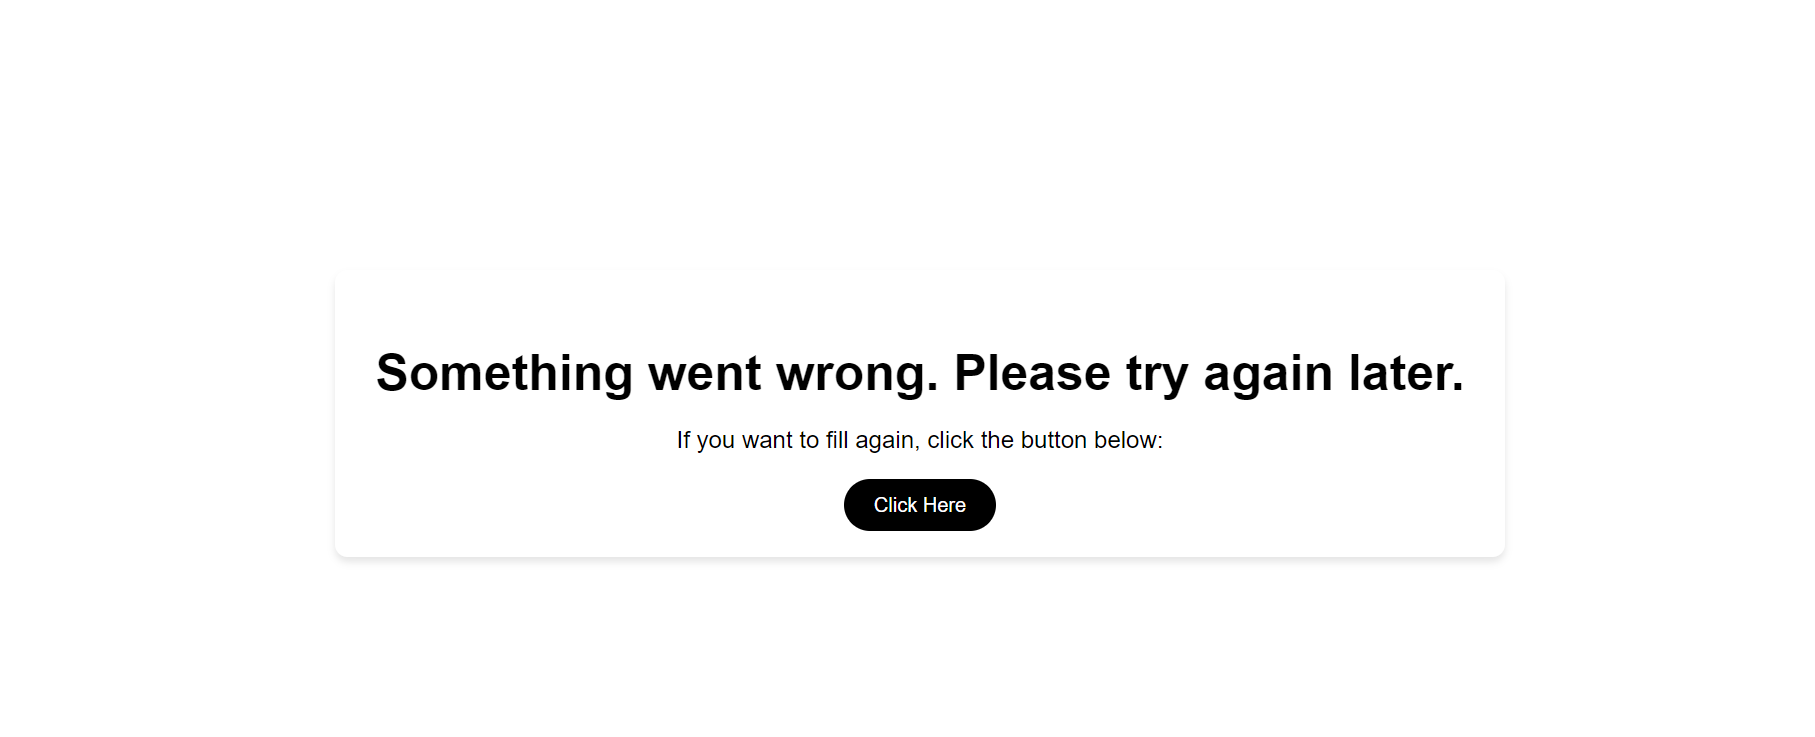
We have introduced a new feature: the Web Publish Form. When a form is created in the Unified Admin, you can find a button to copy the URL in the form list options after saving it. Clicking this button generates a unique URL allowing the end user to access and submit the published form. You can open this URL in any browser to view and fill out the form online. Anyone with this URL can easily access and fill out the form
Scenario Outline:
Step 1:
-
Open Unified Admin
-
In the form section create a new form by clicking the New Form button
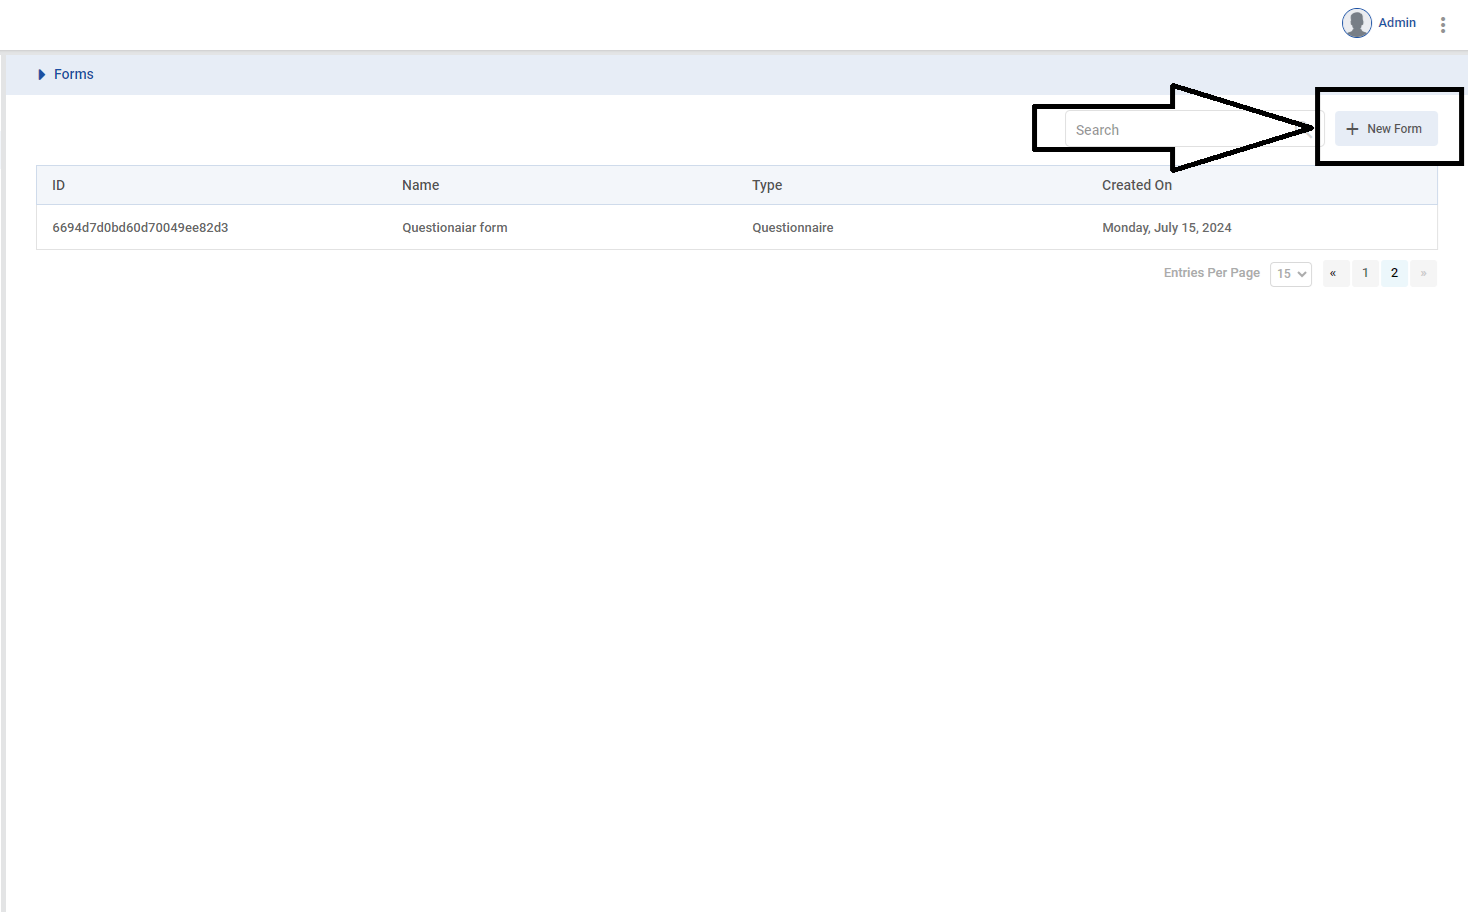
Step 2:
-
Create a simple form of any type.
-
You can choose any supported type; I am selecting the generic type.
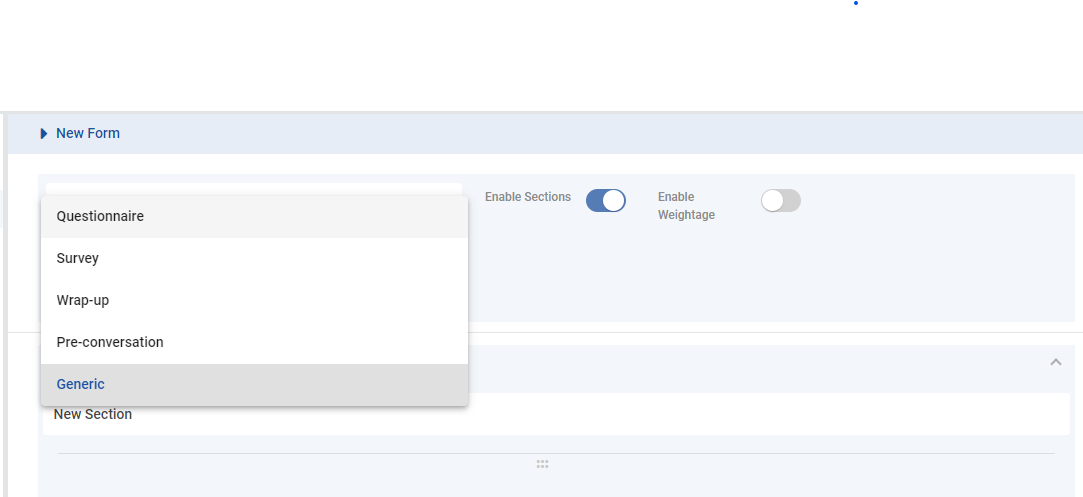
-
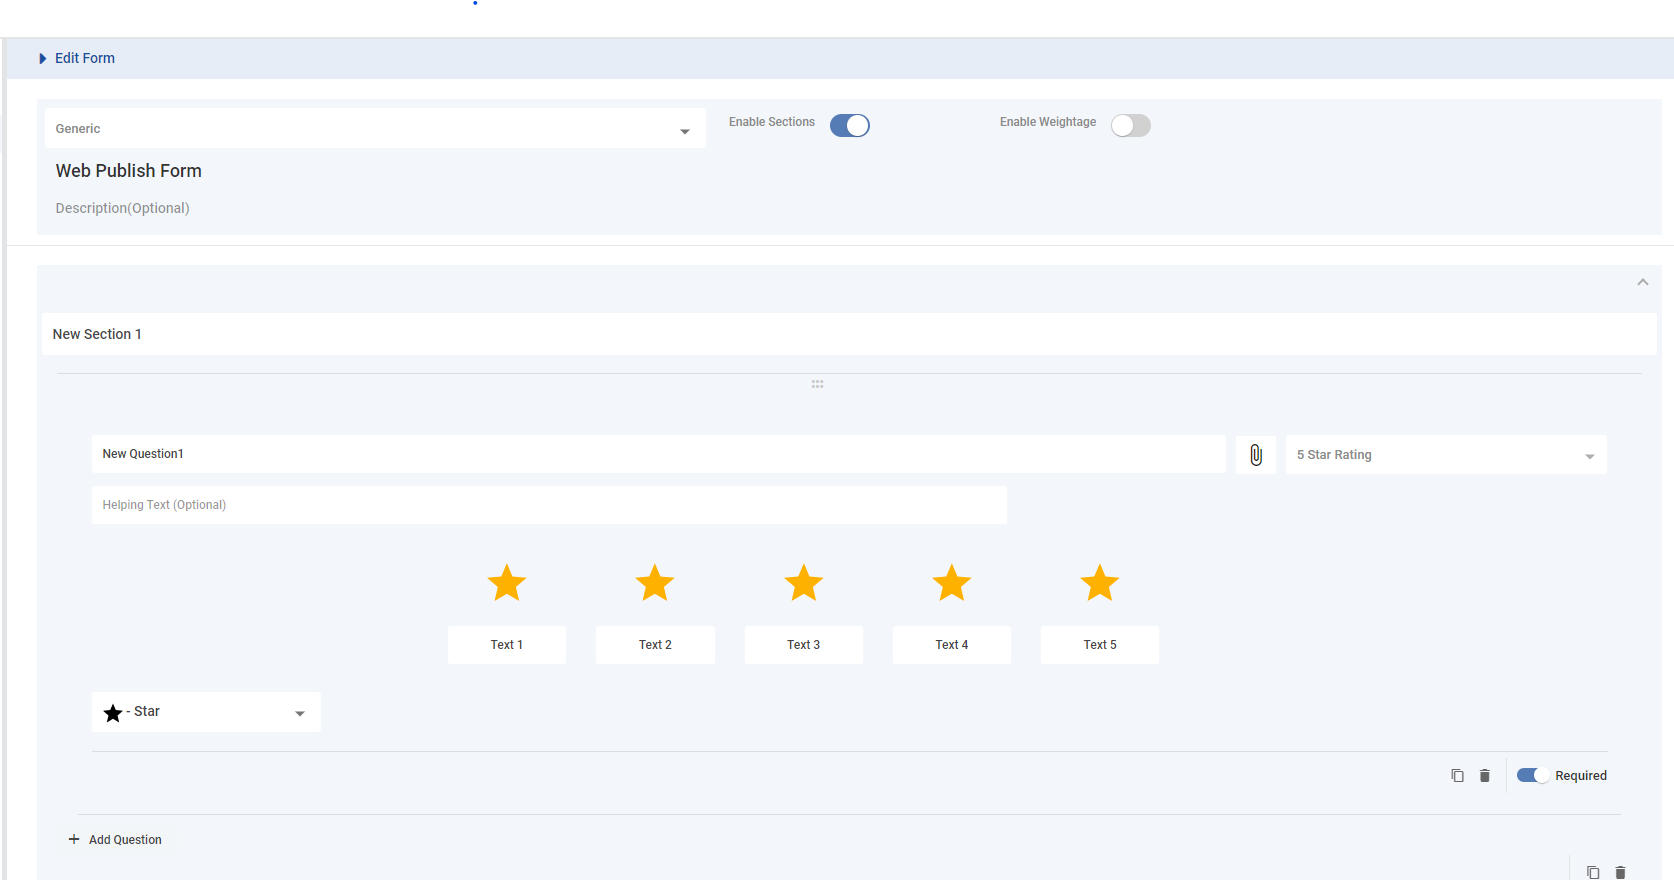
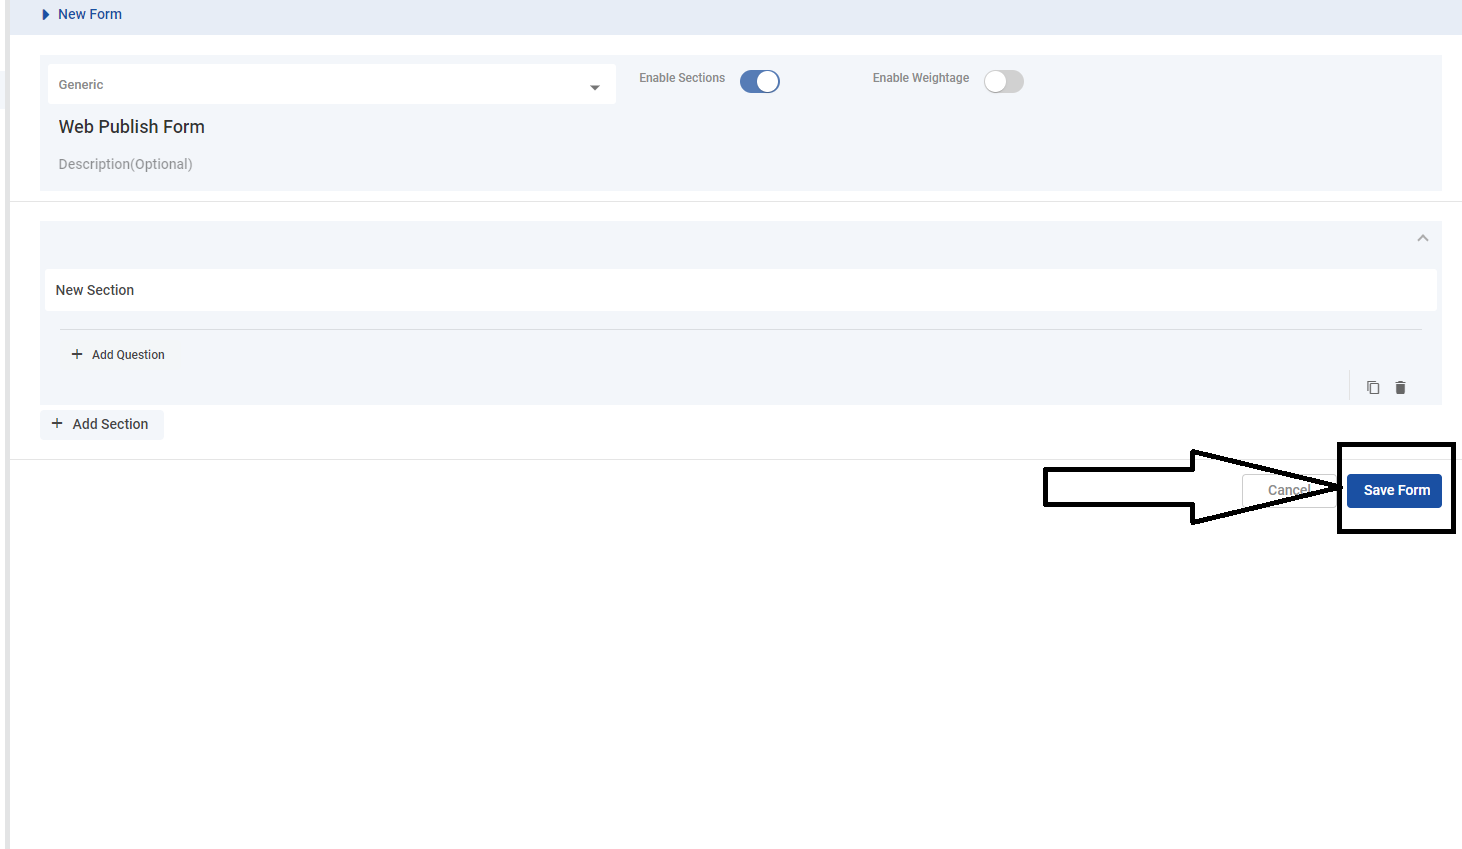
After selecting the form type, create a form with your desired attributes.
-
Enable the section on the form. If you enable the section, the attributes will be displayed within their respective section
-
I am adding two sections, and in each section, I have added attributes: one of type 5-star rating and another of type NPS.
-
Now publish the form by clicking the "Save Form" button at the page's bottom right corner.
Step 3:
-
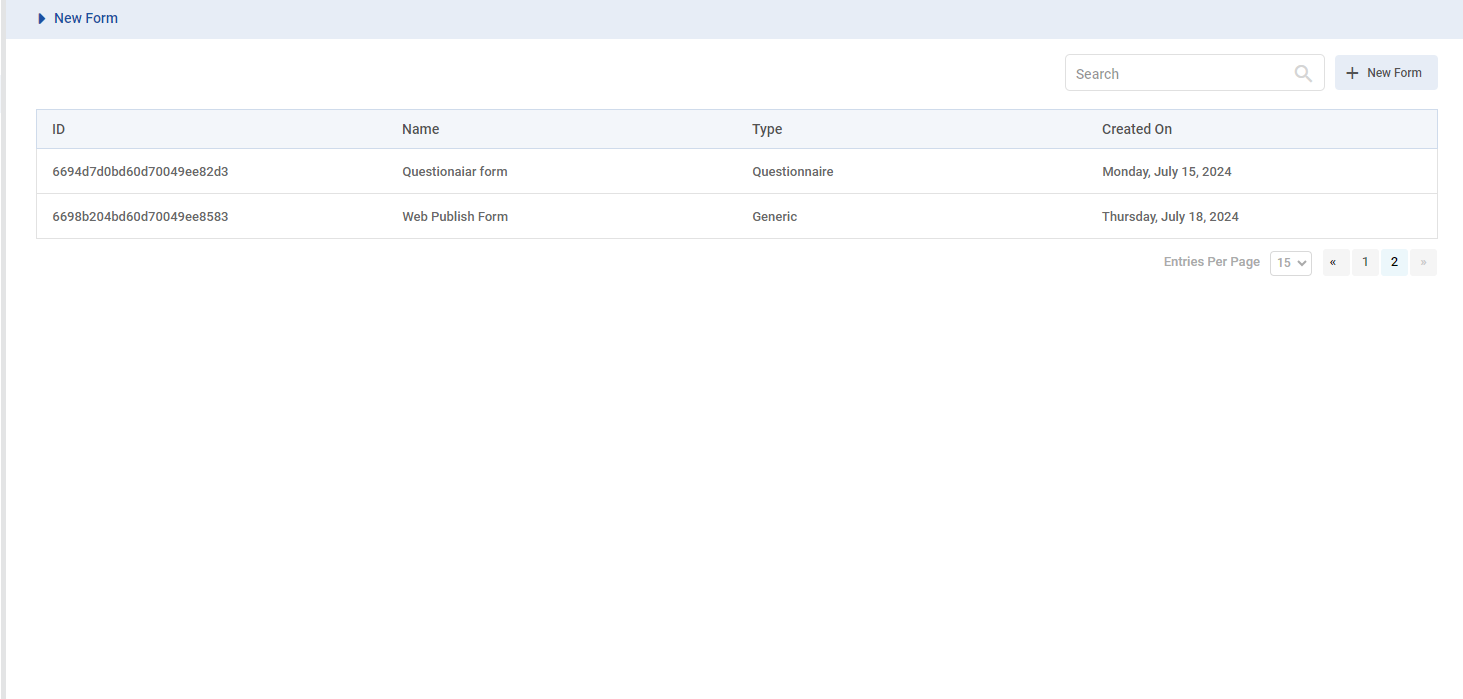
In the published form listing, you will see a button.
-
Clicking this button generates a unique URL for the published form
Step 4:
-
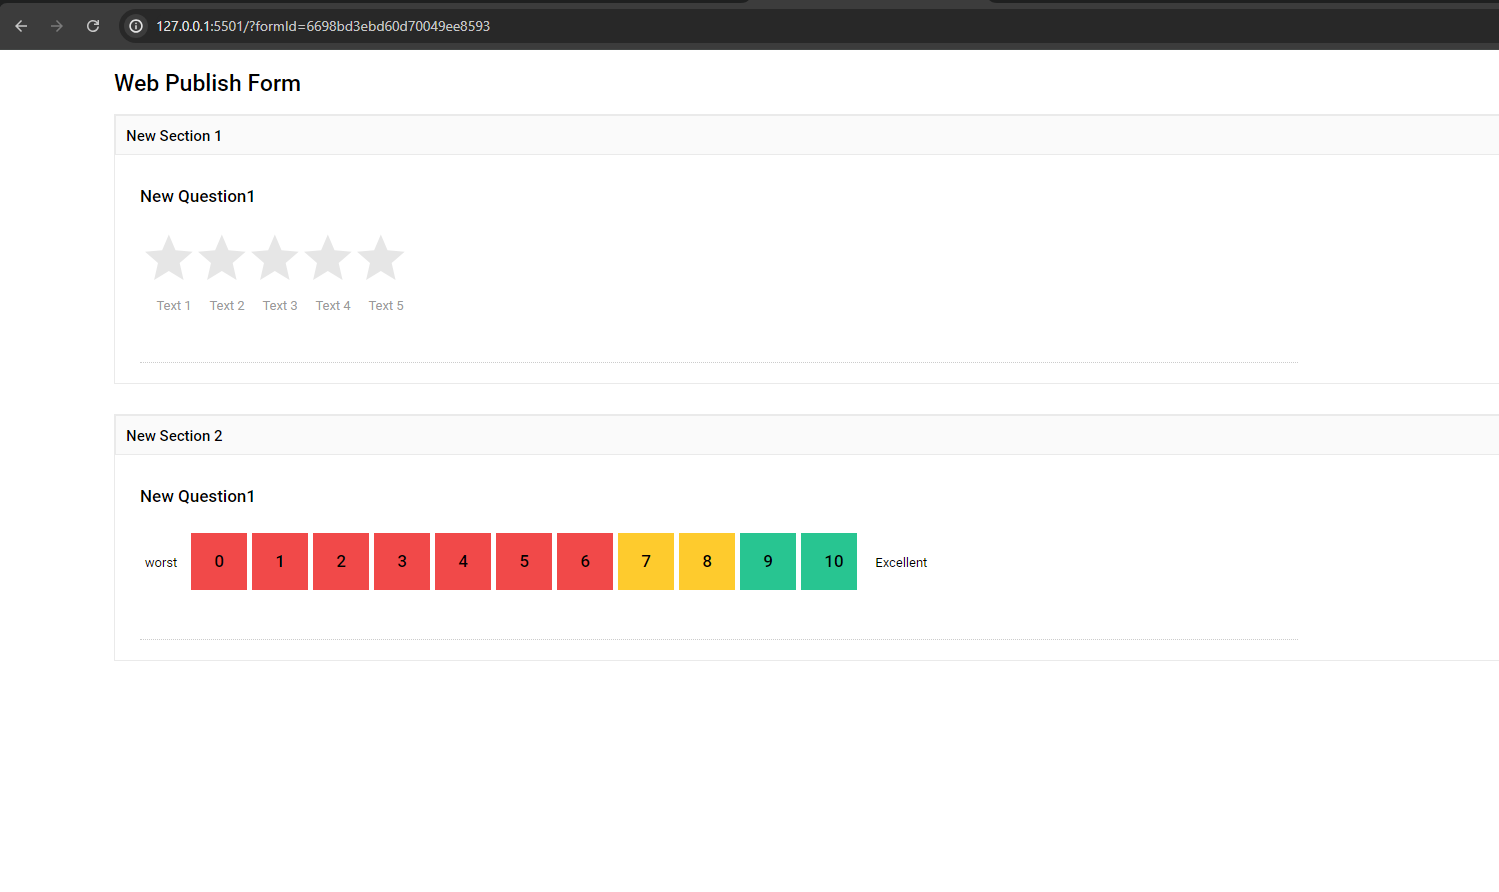
A unique URL is generated, which looks like this: "DomainName/?formId=668f04d7bd60d70049ee7a21”.
-
Now you can paste that URL into any browser of your choice.
-
A form with all its attributes will be displayed, which looks like this:
-
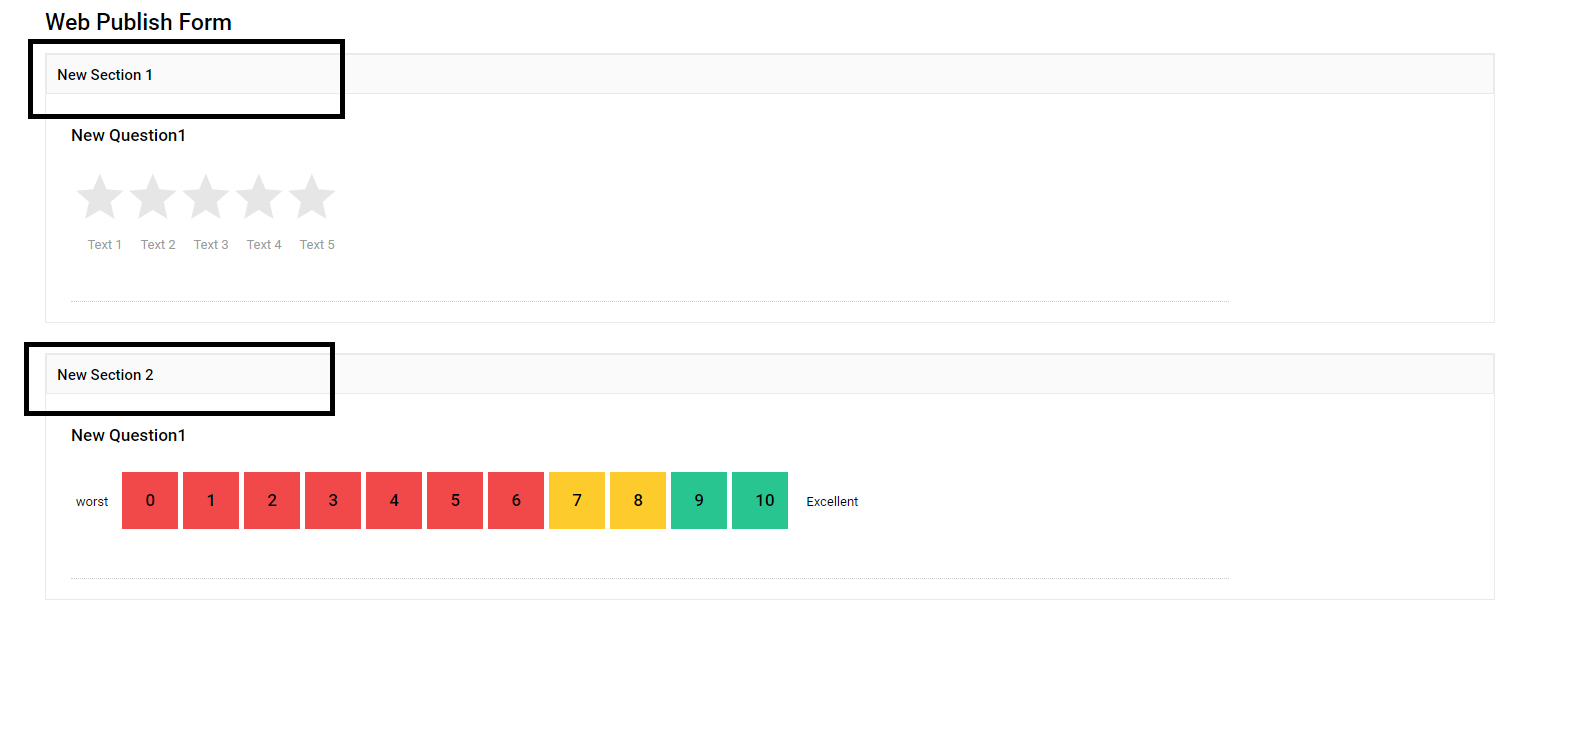
As you can see, attributes are displayed within their respective sections
-
Now, when we disable the section of that publish form within the Unified Admin
-
All attributes of the published form are displayed in sequence without any sections
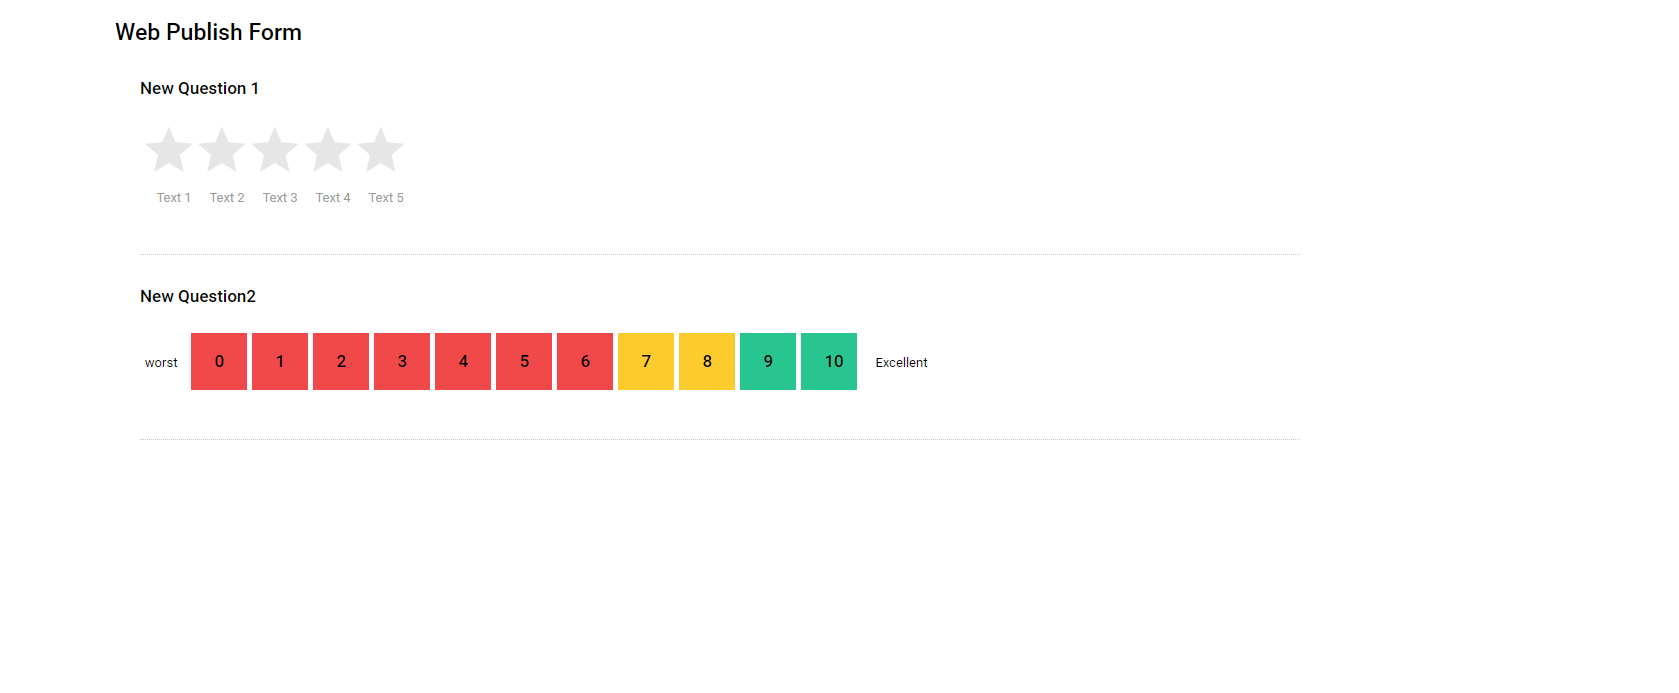
Let's explore different types of attributes and see how they look before and after submission.
Option Type:
-
5-Star-Rating
-
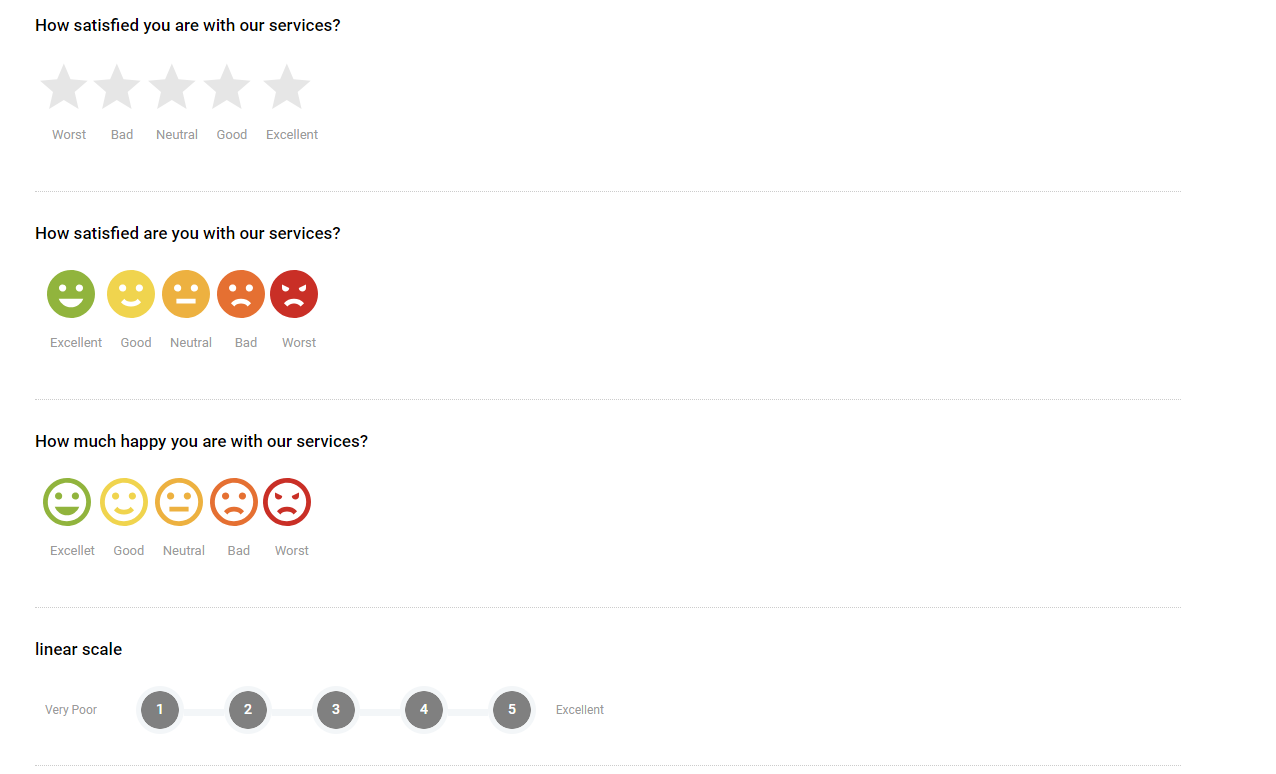
Before clicking on these attributes, the 5-star rating attributes look like this
-
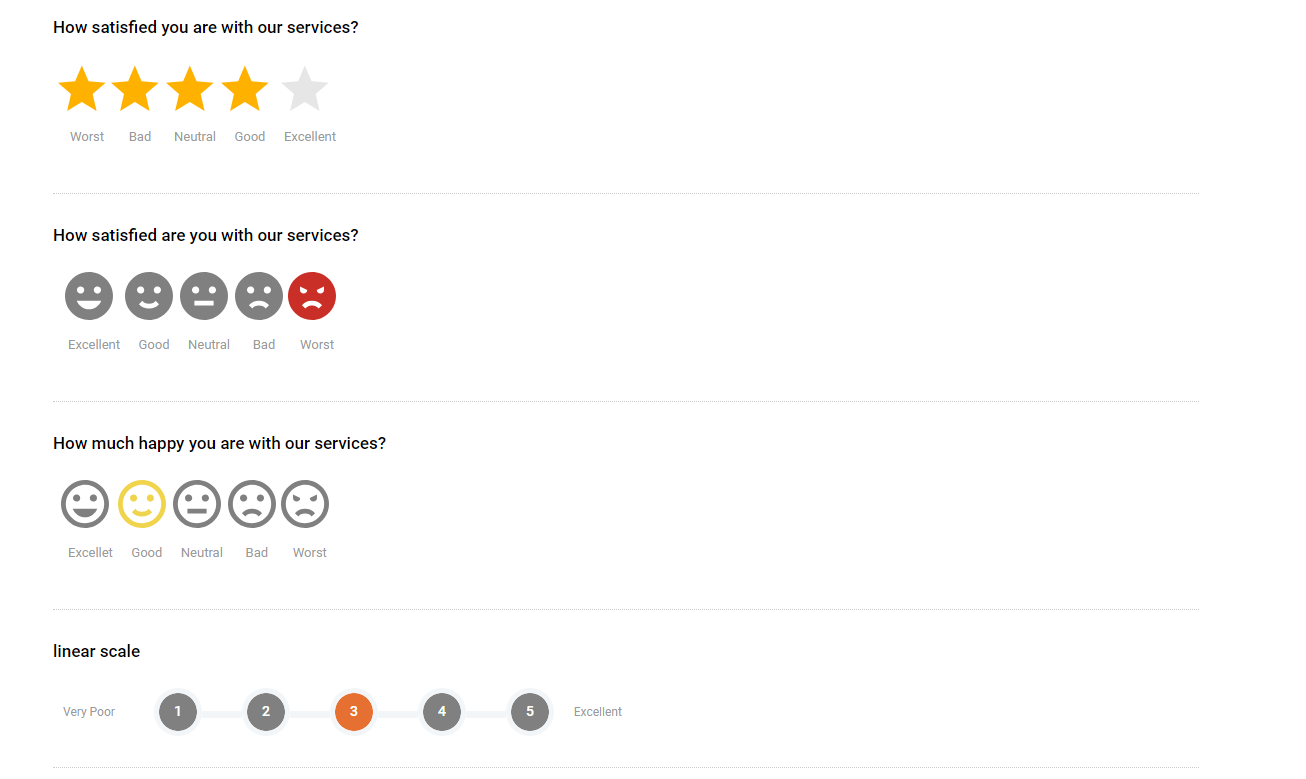
After clicking on these attributes, the 5-star rating attributes look like this
-
Rating Bar and Radio Button type. Before clicking on these attributes they look like this,

-
After clicking on these attributes they look like this

-
NPS Type
-
In the case of NPS, you can select any option within the range of 0 to 10

After clicking on one of the options, the attribute UI looks like this

Input Types:
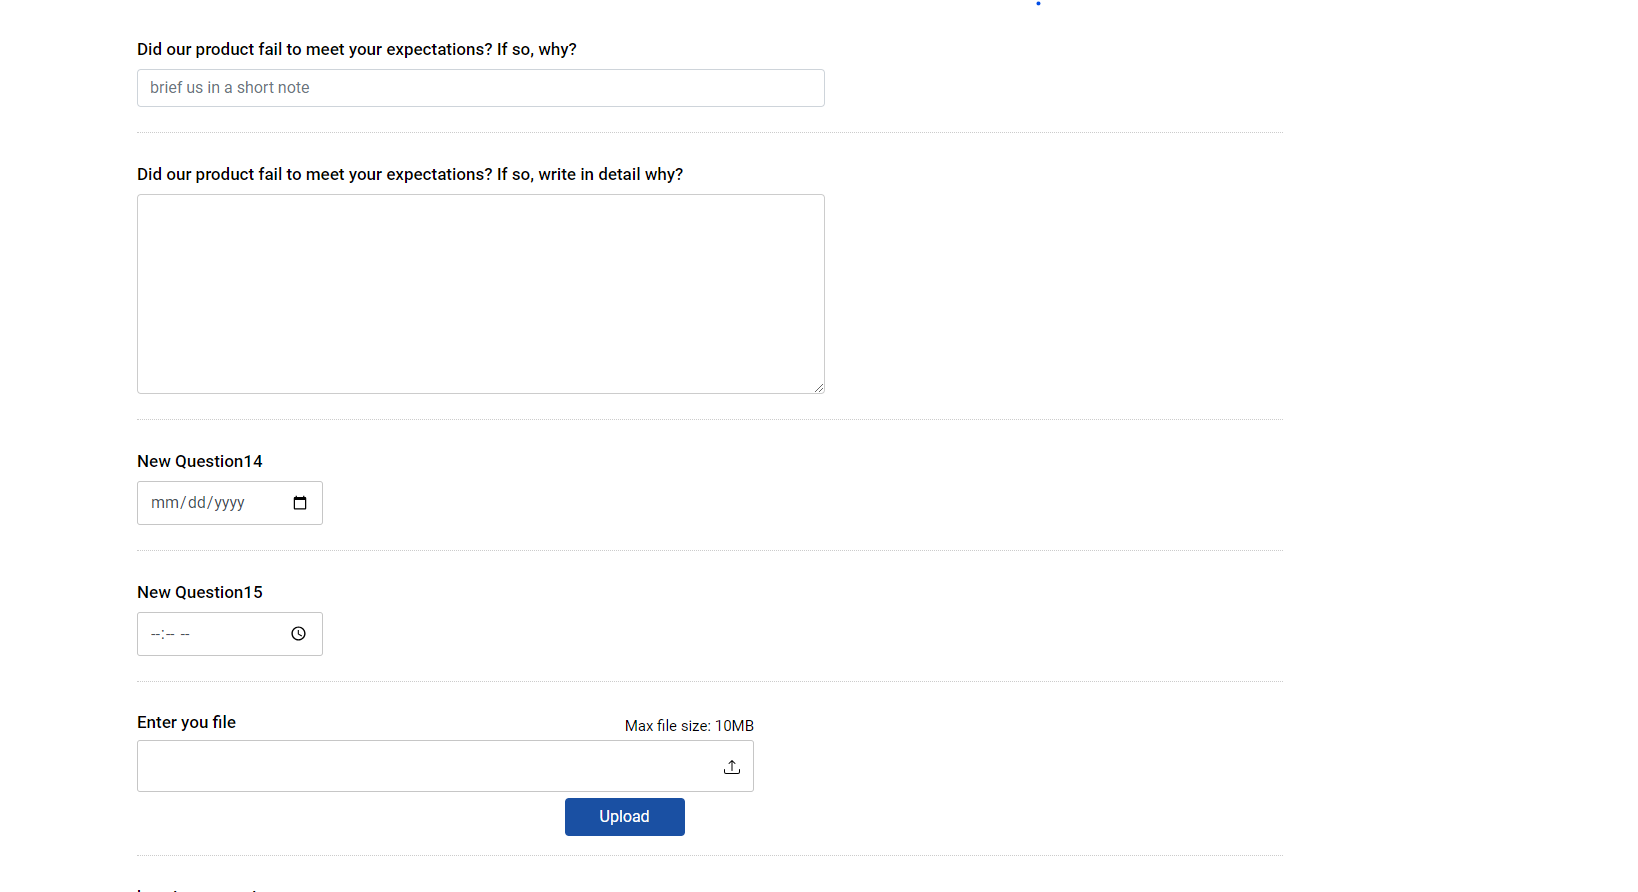
This is how input and textarea type attributes are displayed
Submission Case:
-
In case of success:
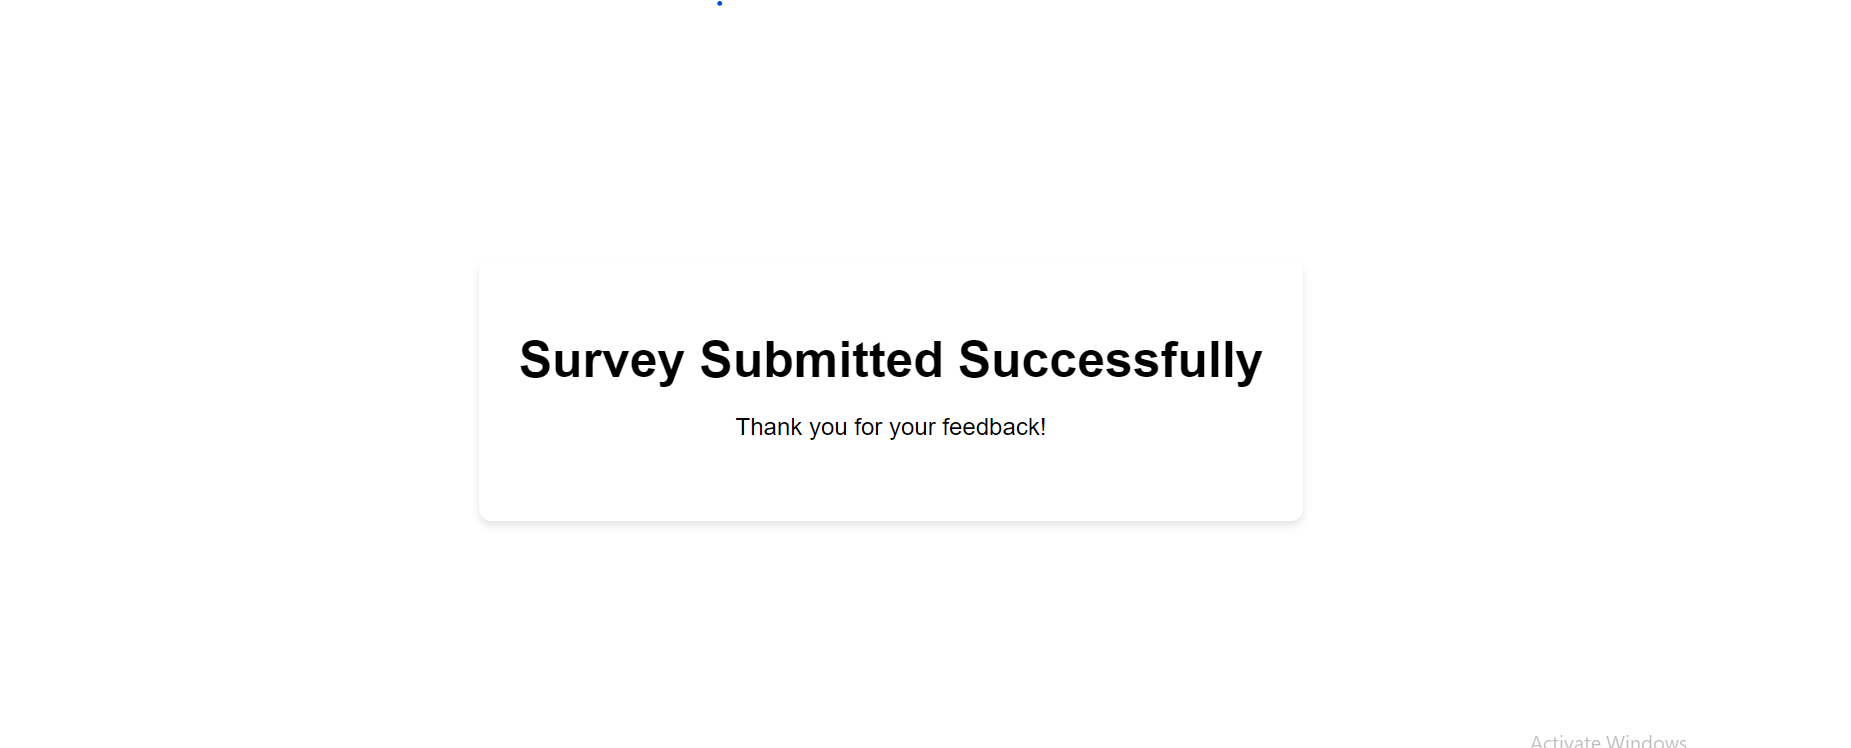
-
In case of failure:
