In this document, I'll outline the steps to enable Keycloak event logging, covering both Keycloak client application logs and the Keycloak console logs. Enabling these event logs provides the significant advantage of tracking all operations within a specific realm, including identifying who performed each action and from where it originated. This capability allows for the monitoring of unauthorized activities, ensuring that suspicious actions can be quickly identified and restricted, thereby enhancing security.
Enabling event logging in Keycloak client application:
Keycloak Client Application provide the settings to enable two types of event logs:
-
User Events.
-
Admin Events.
User events are usually linked to the operation of specific user like login, logout and permissions he is assigned to perform in Keycloak. While Admin events are linked to the CRUD operations of Users, Roles, Groups, Clients etc.
-
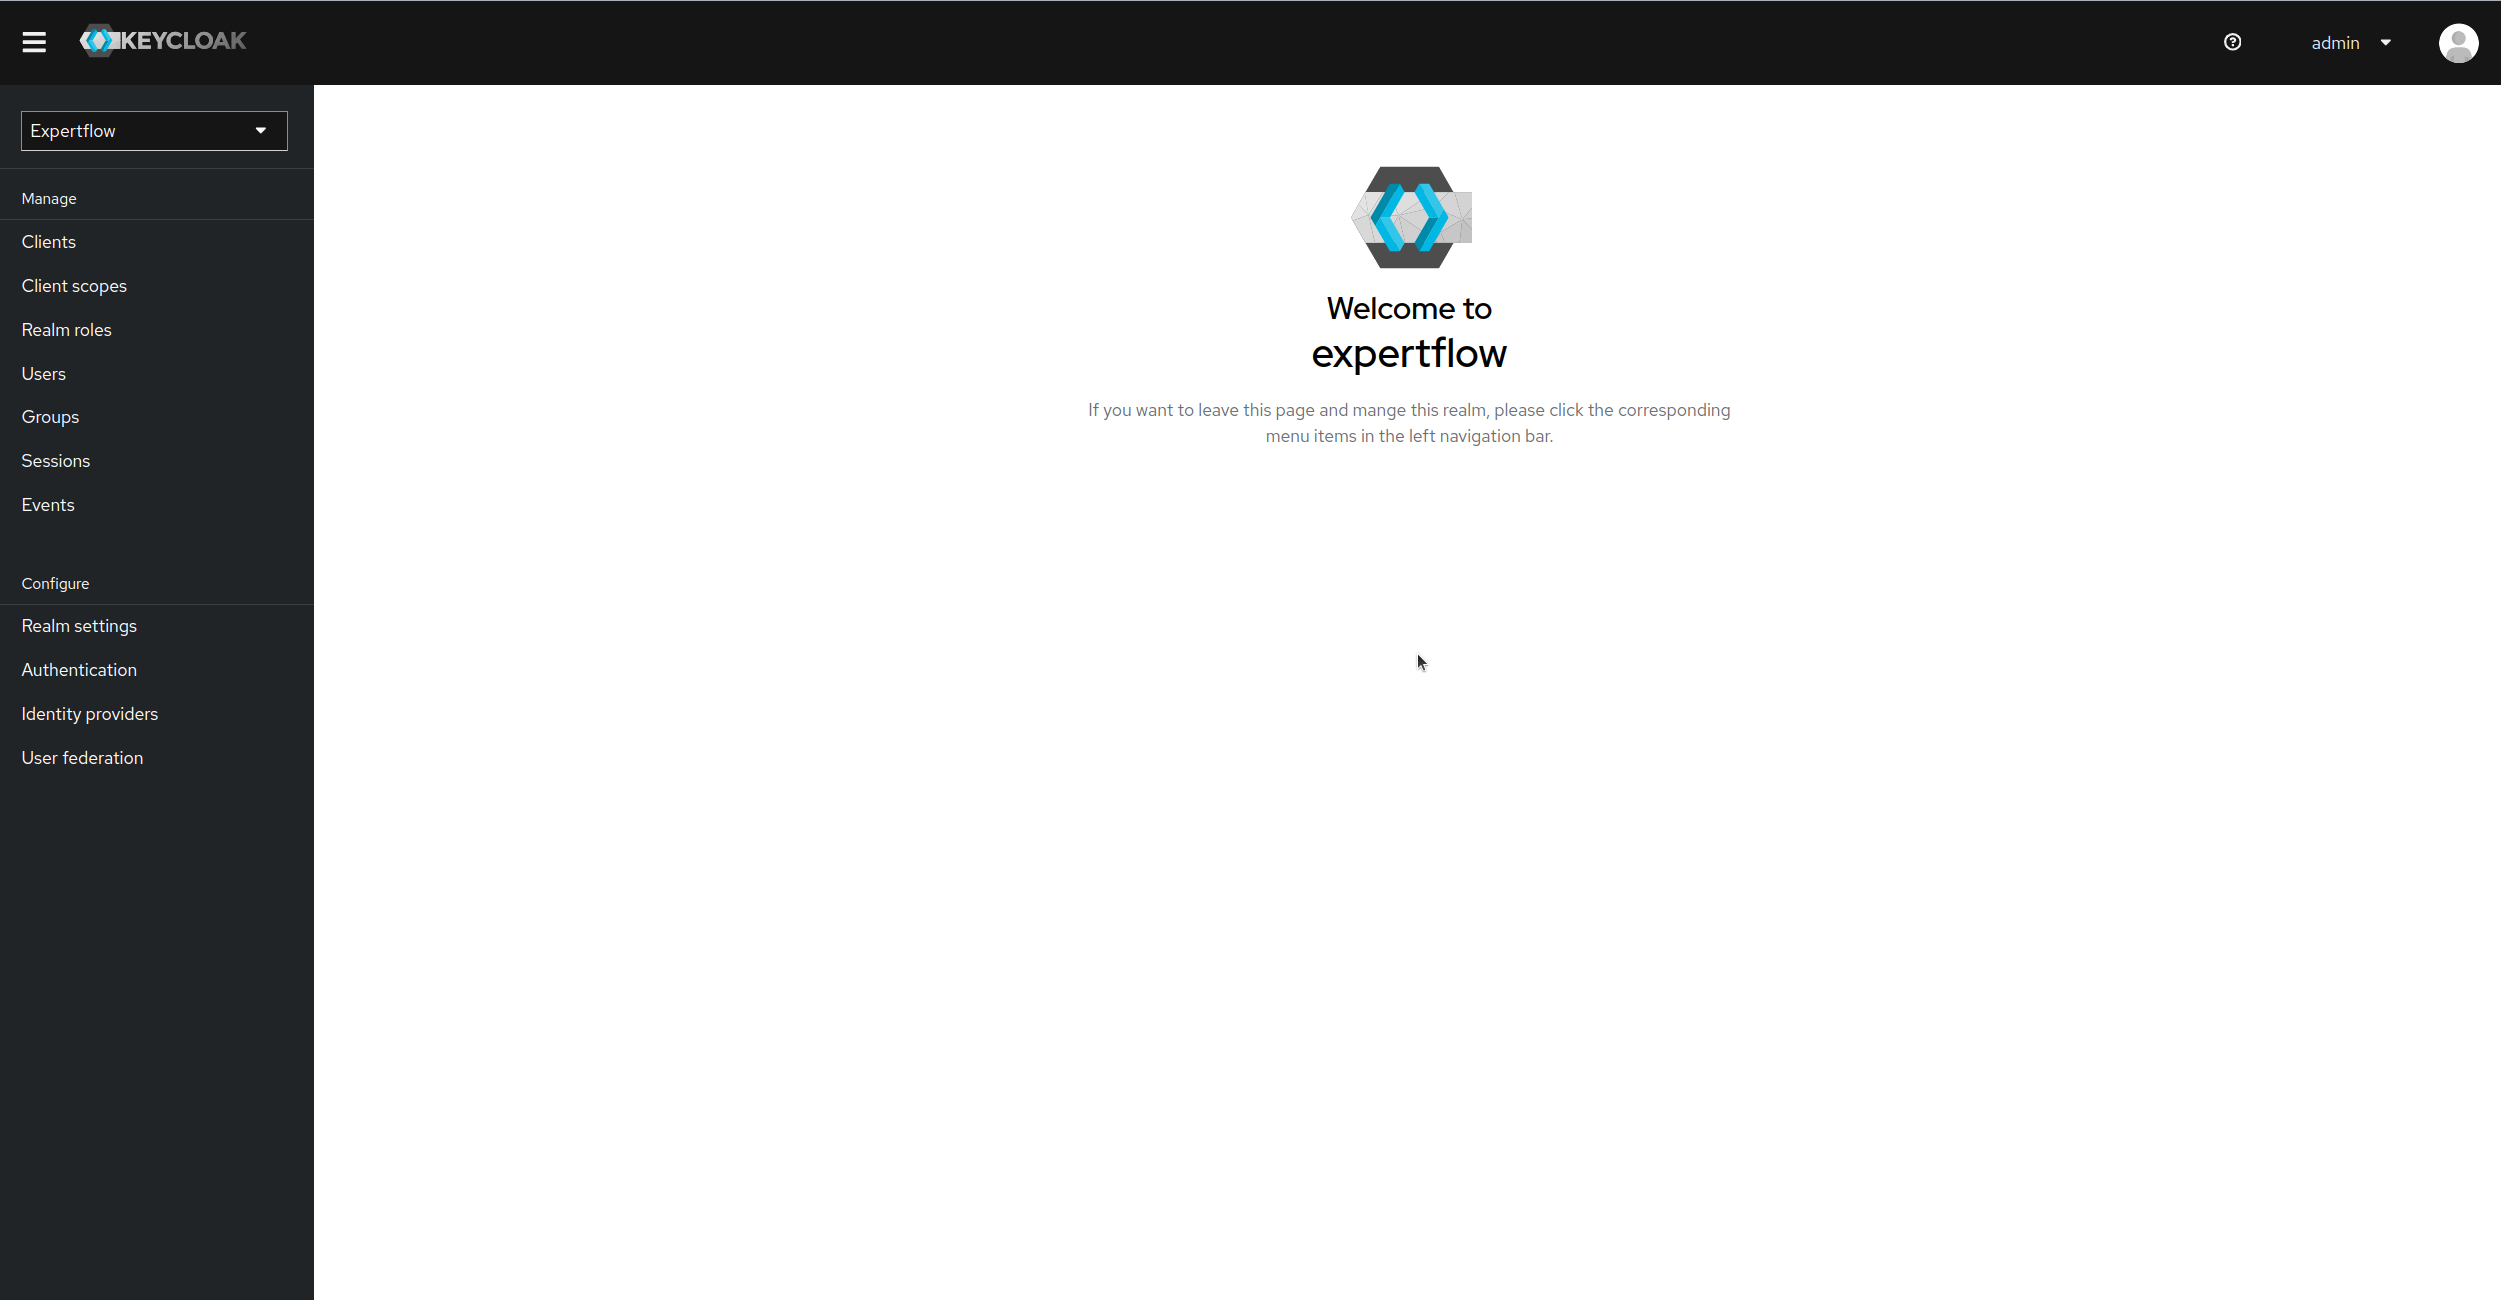
To Enable Event logs, first go to the targeted realm in Keycloak:
-
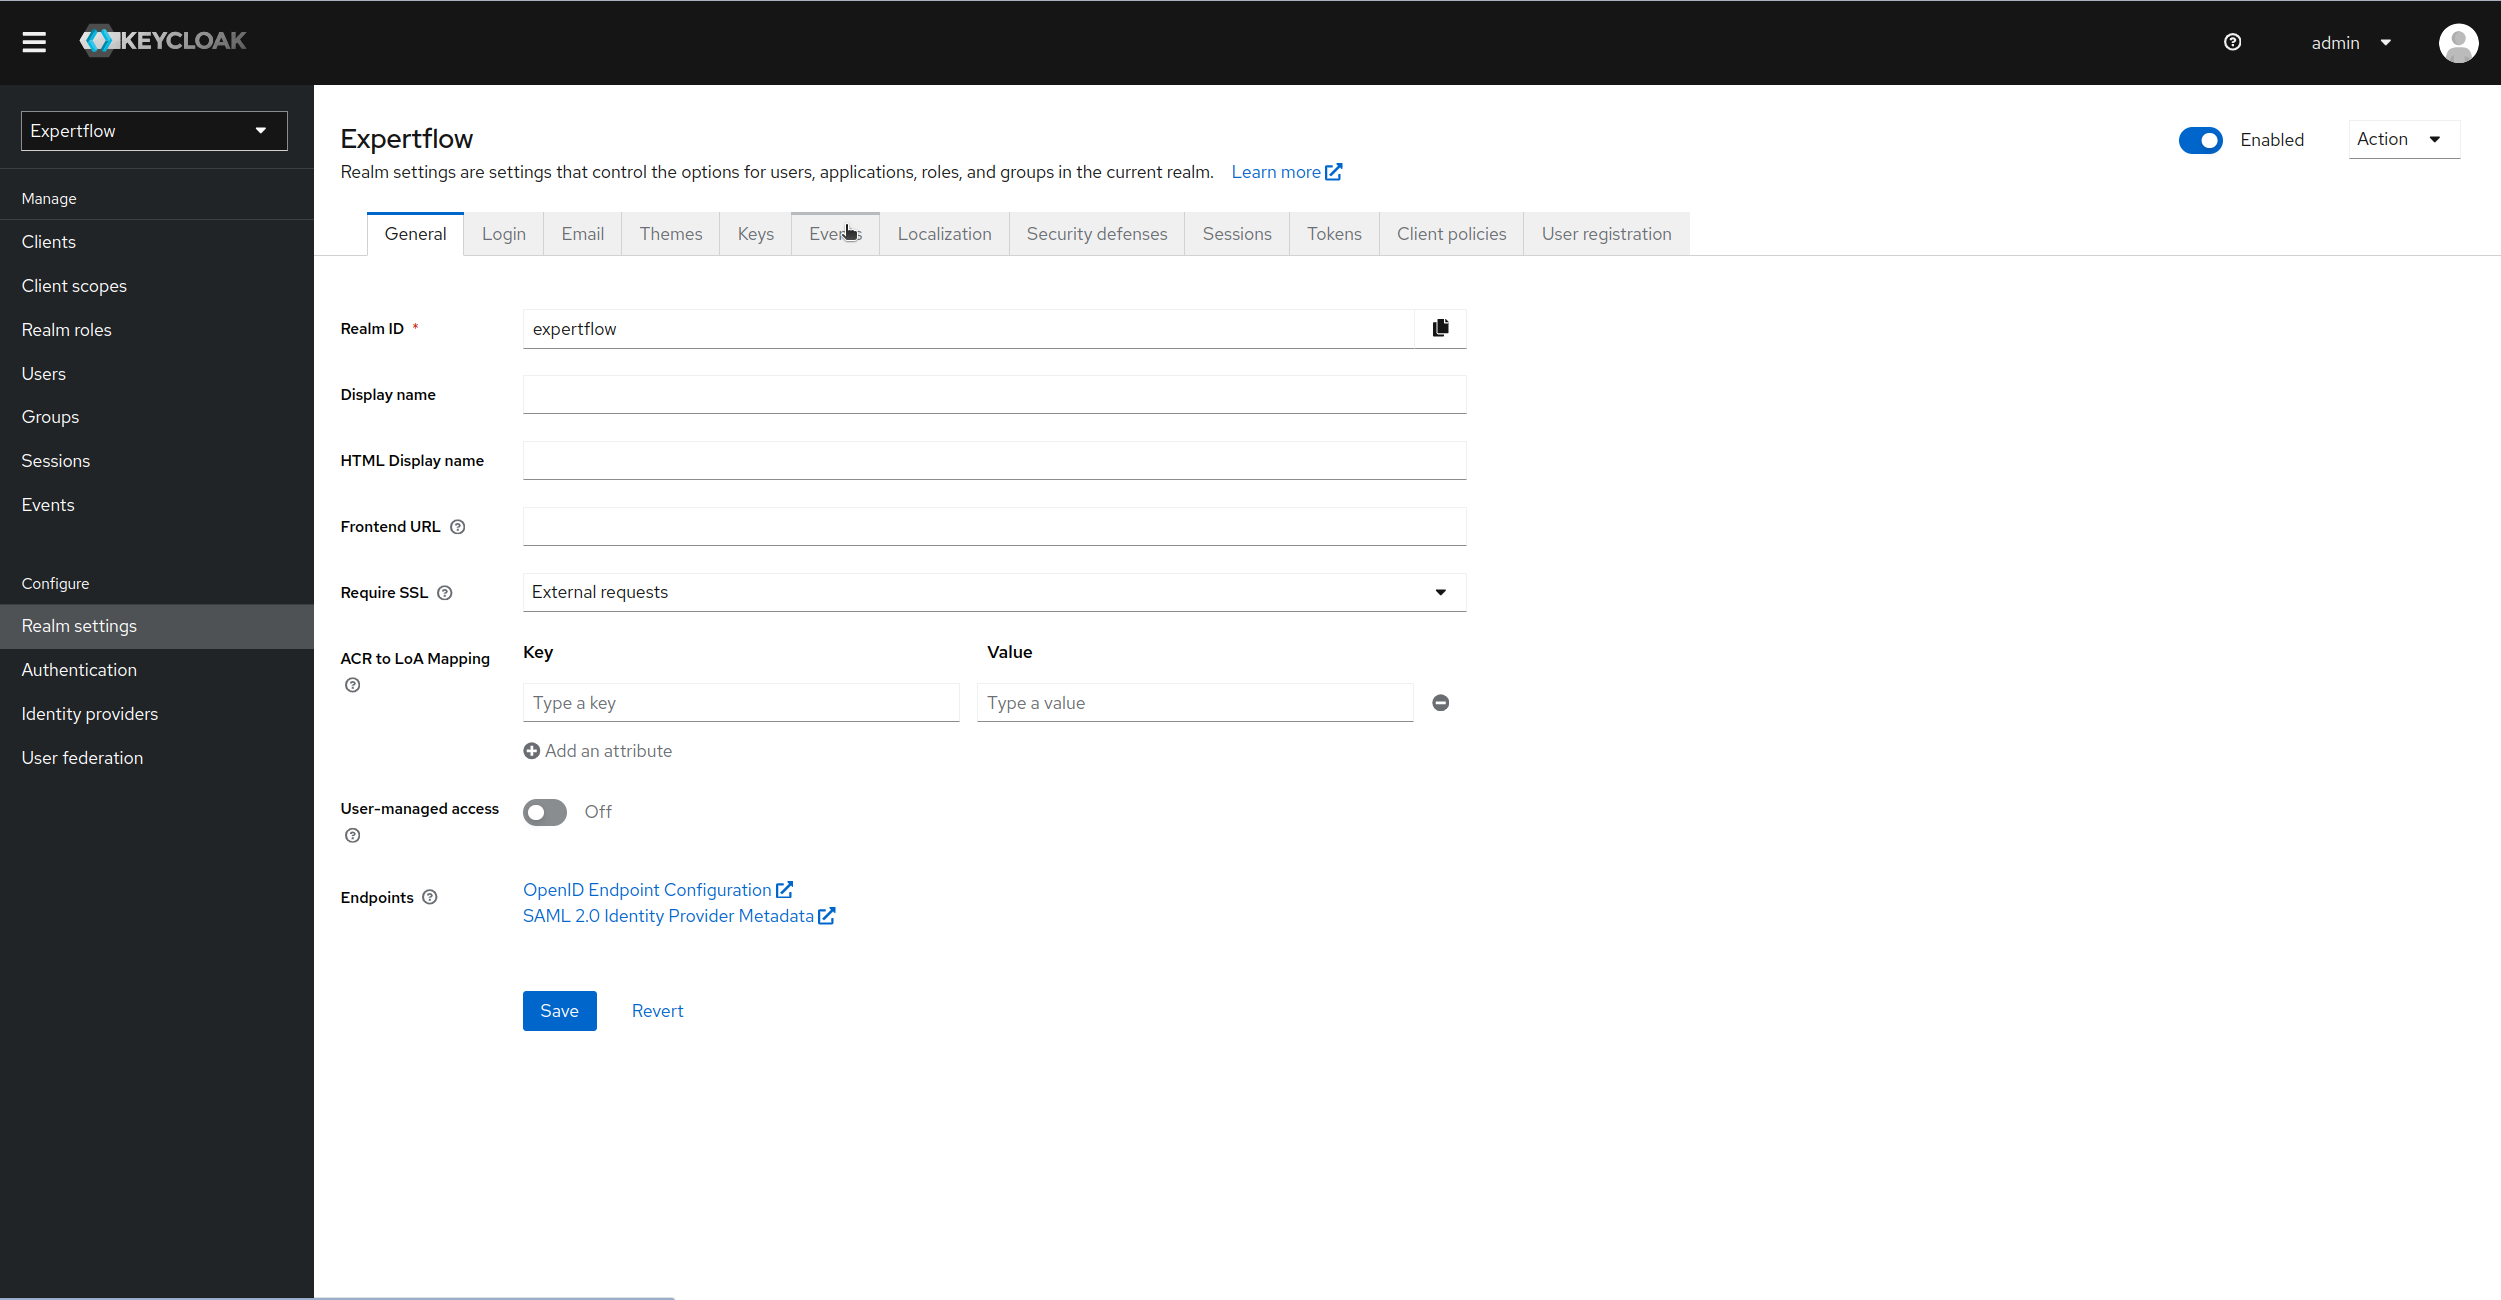
Now, click on Realm Settings in Configure sub-section and then click on Events tab.
-
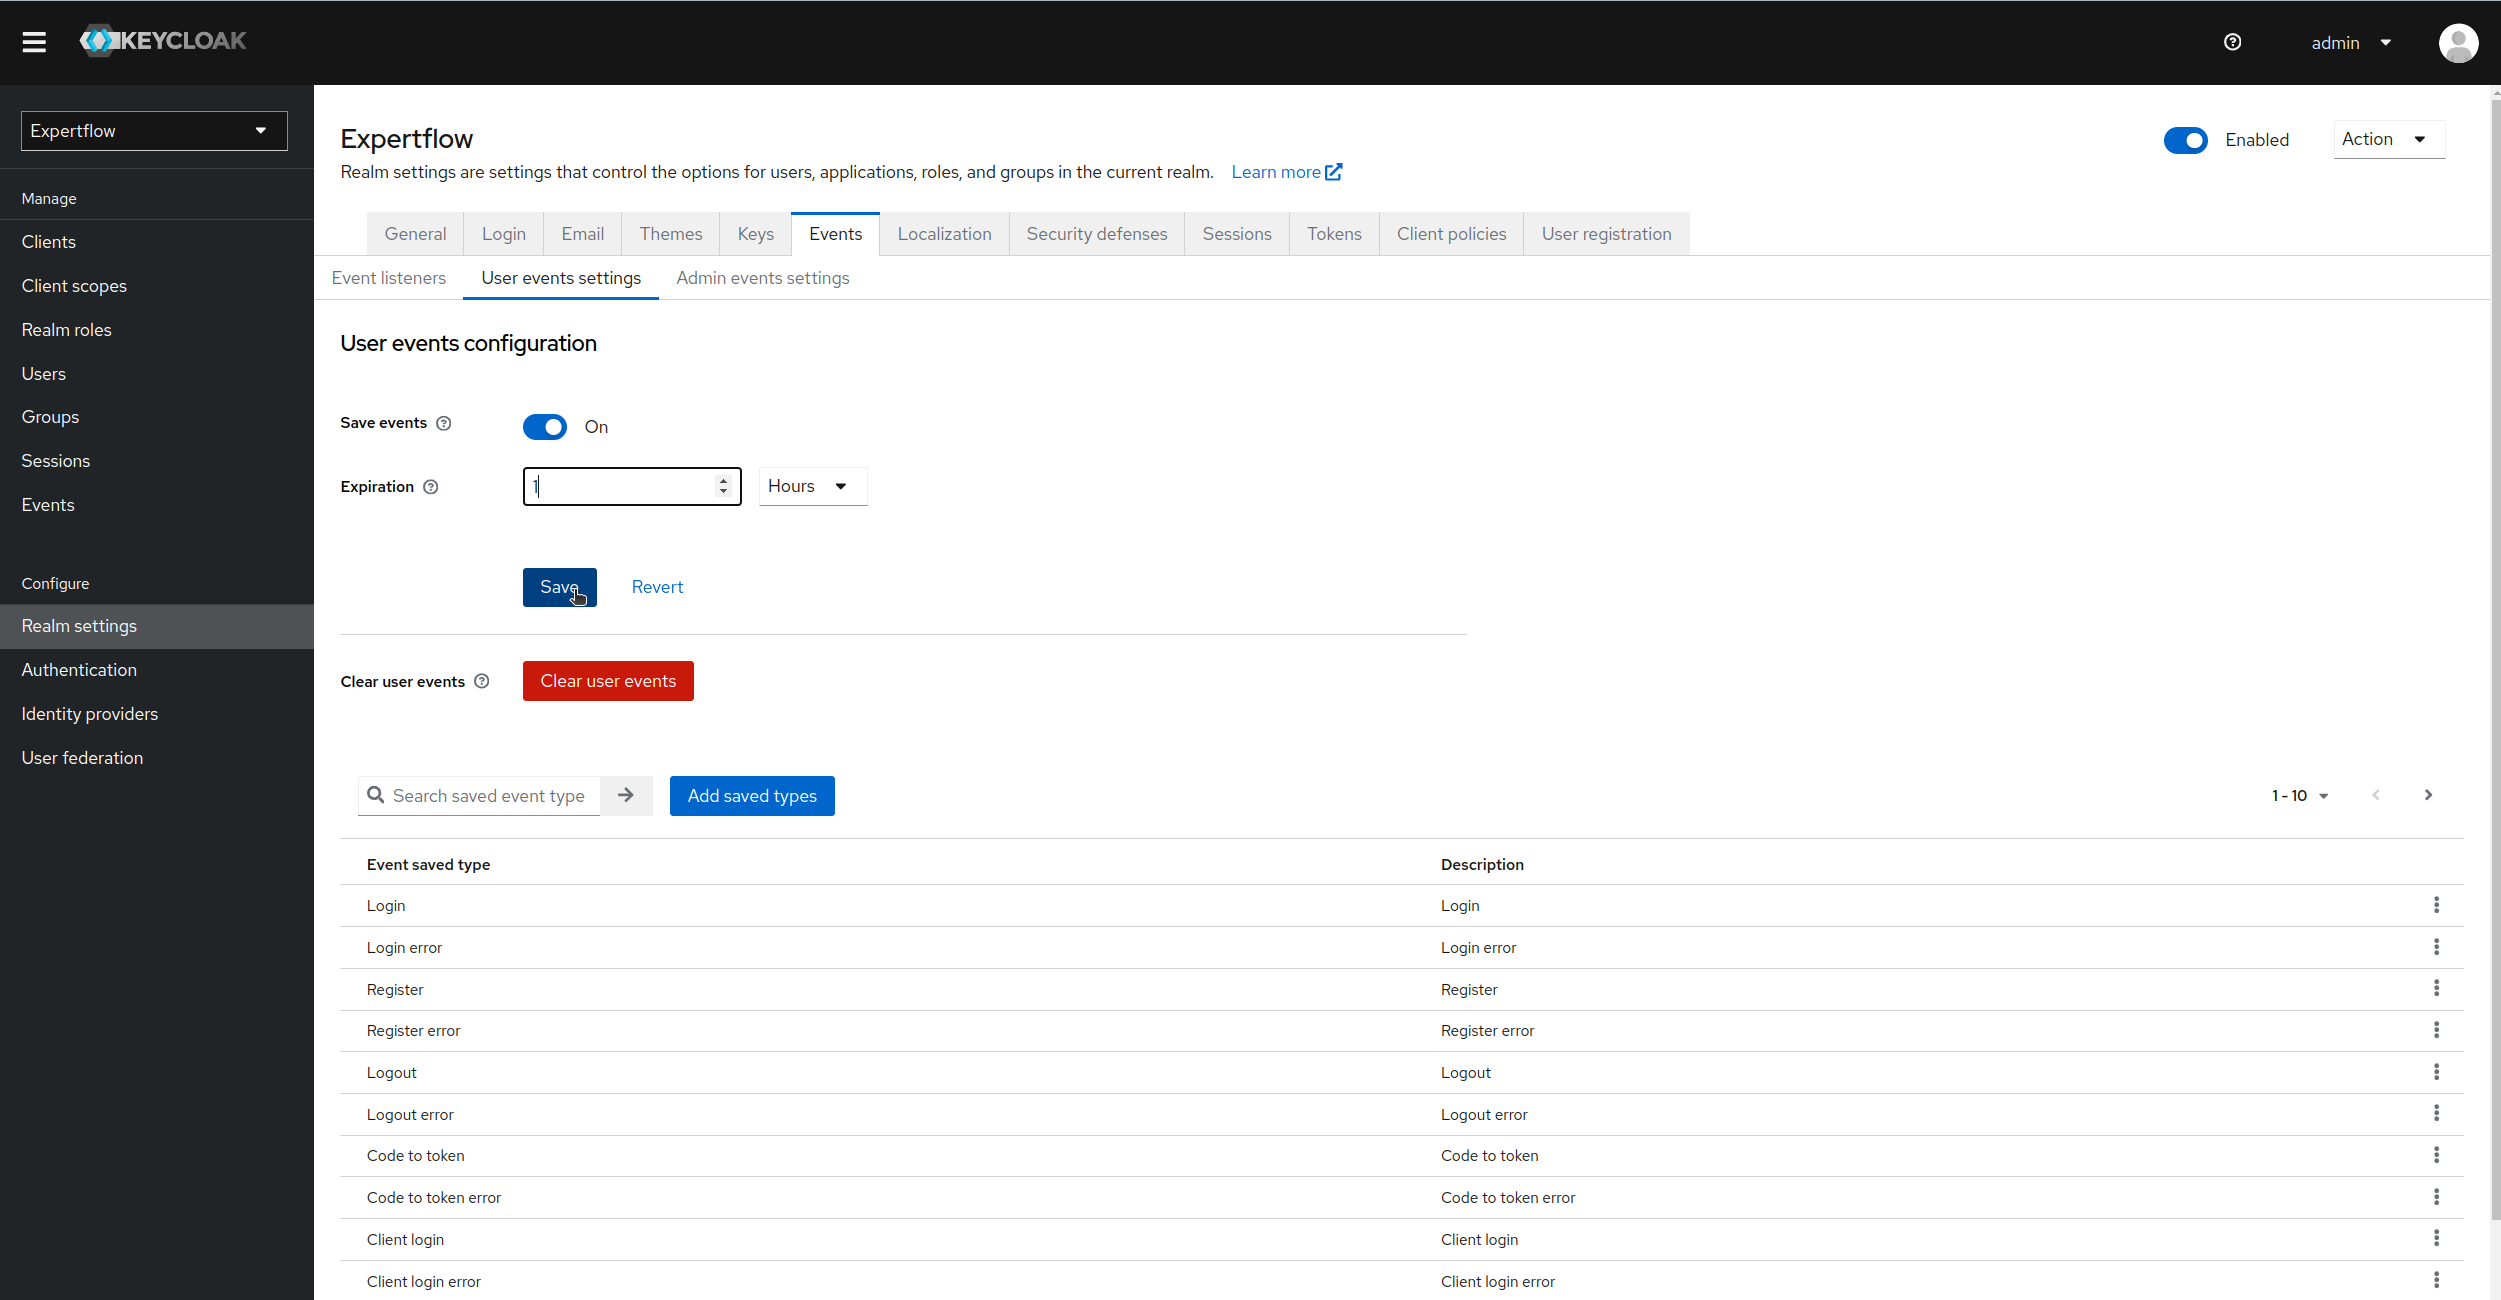
In Events menu, we can see User Events and Admin Events. click on User Events, toggle save events to On. Also, provide the duration of Expiration (duration after which user events will be deleted from Keycloak DB) and click on save. You can also see list of all events that will be registered against the given operation.
-
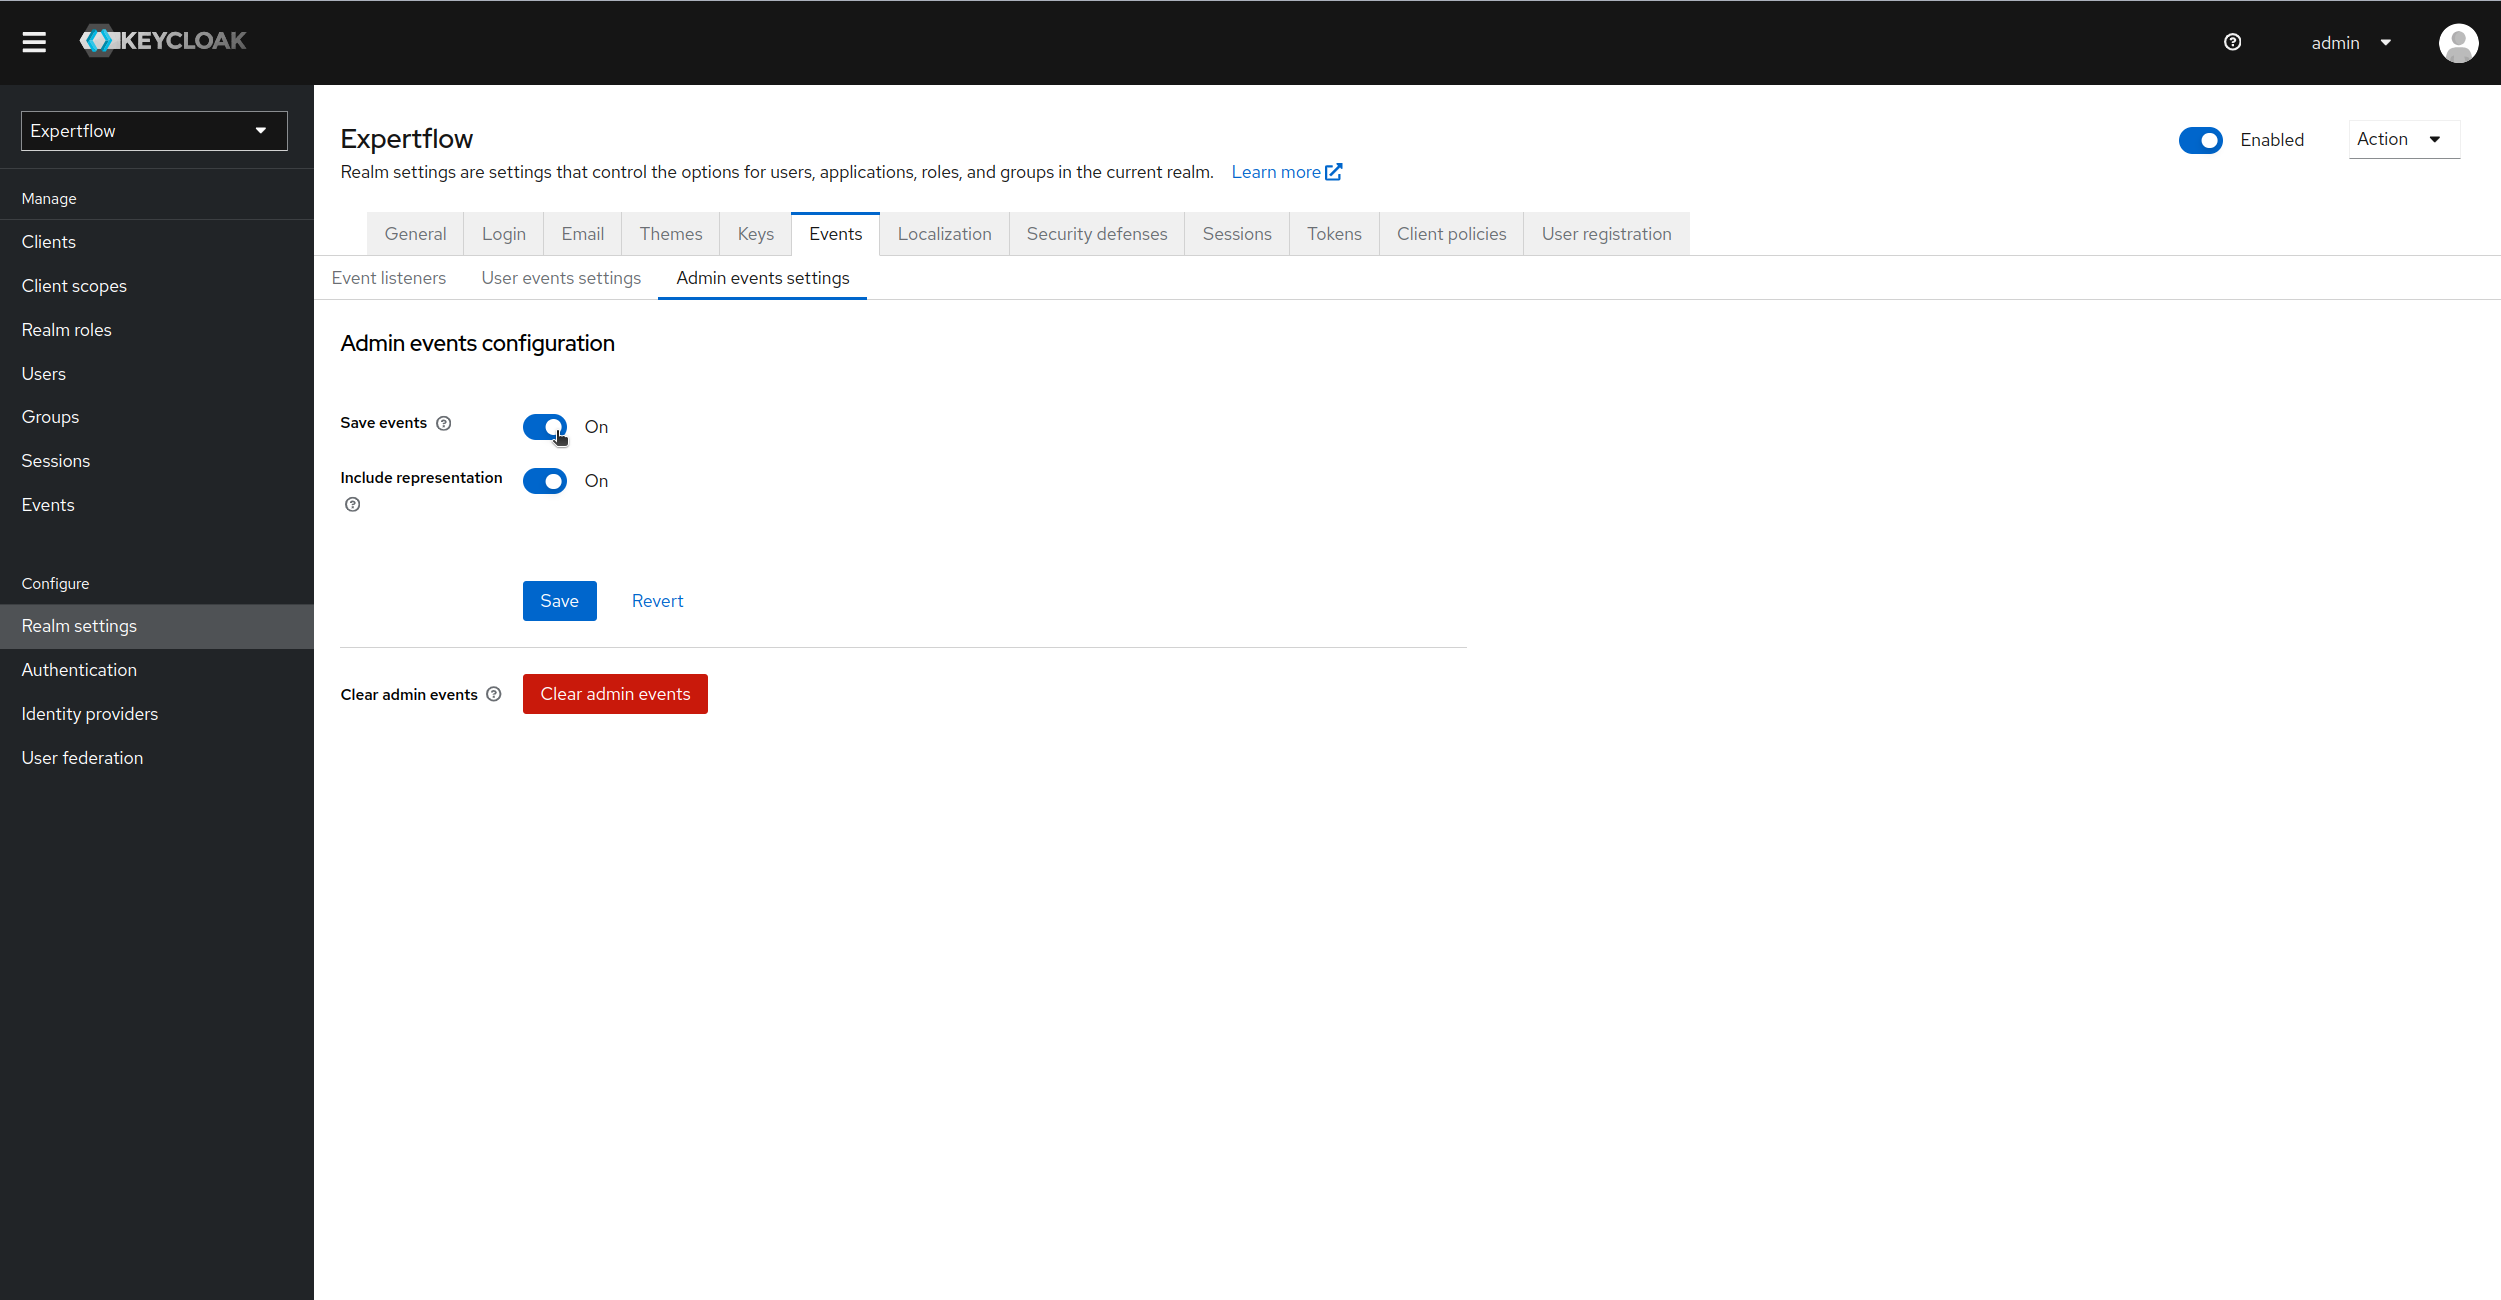
Similarly, go to Admin events settings and enable admin events.
-
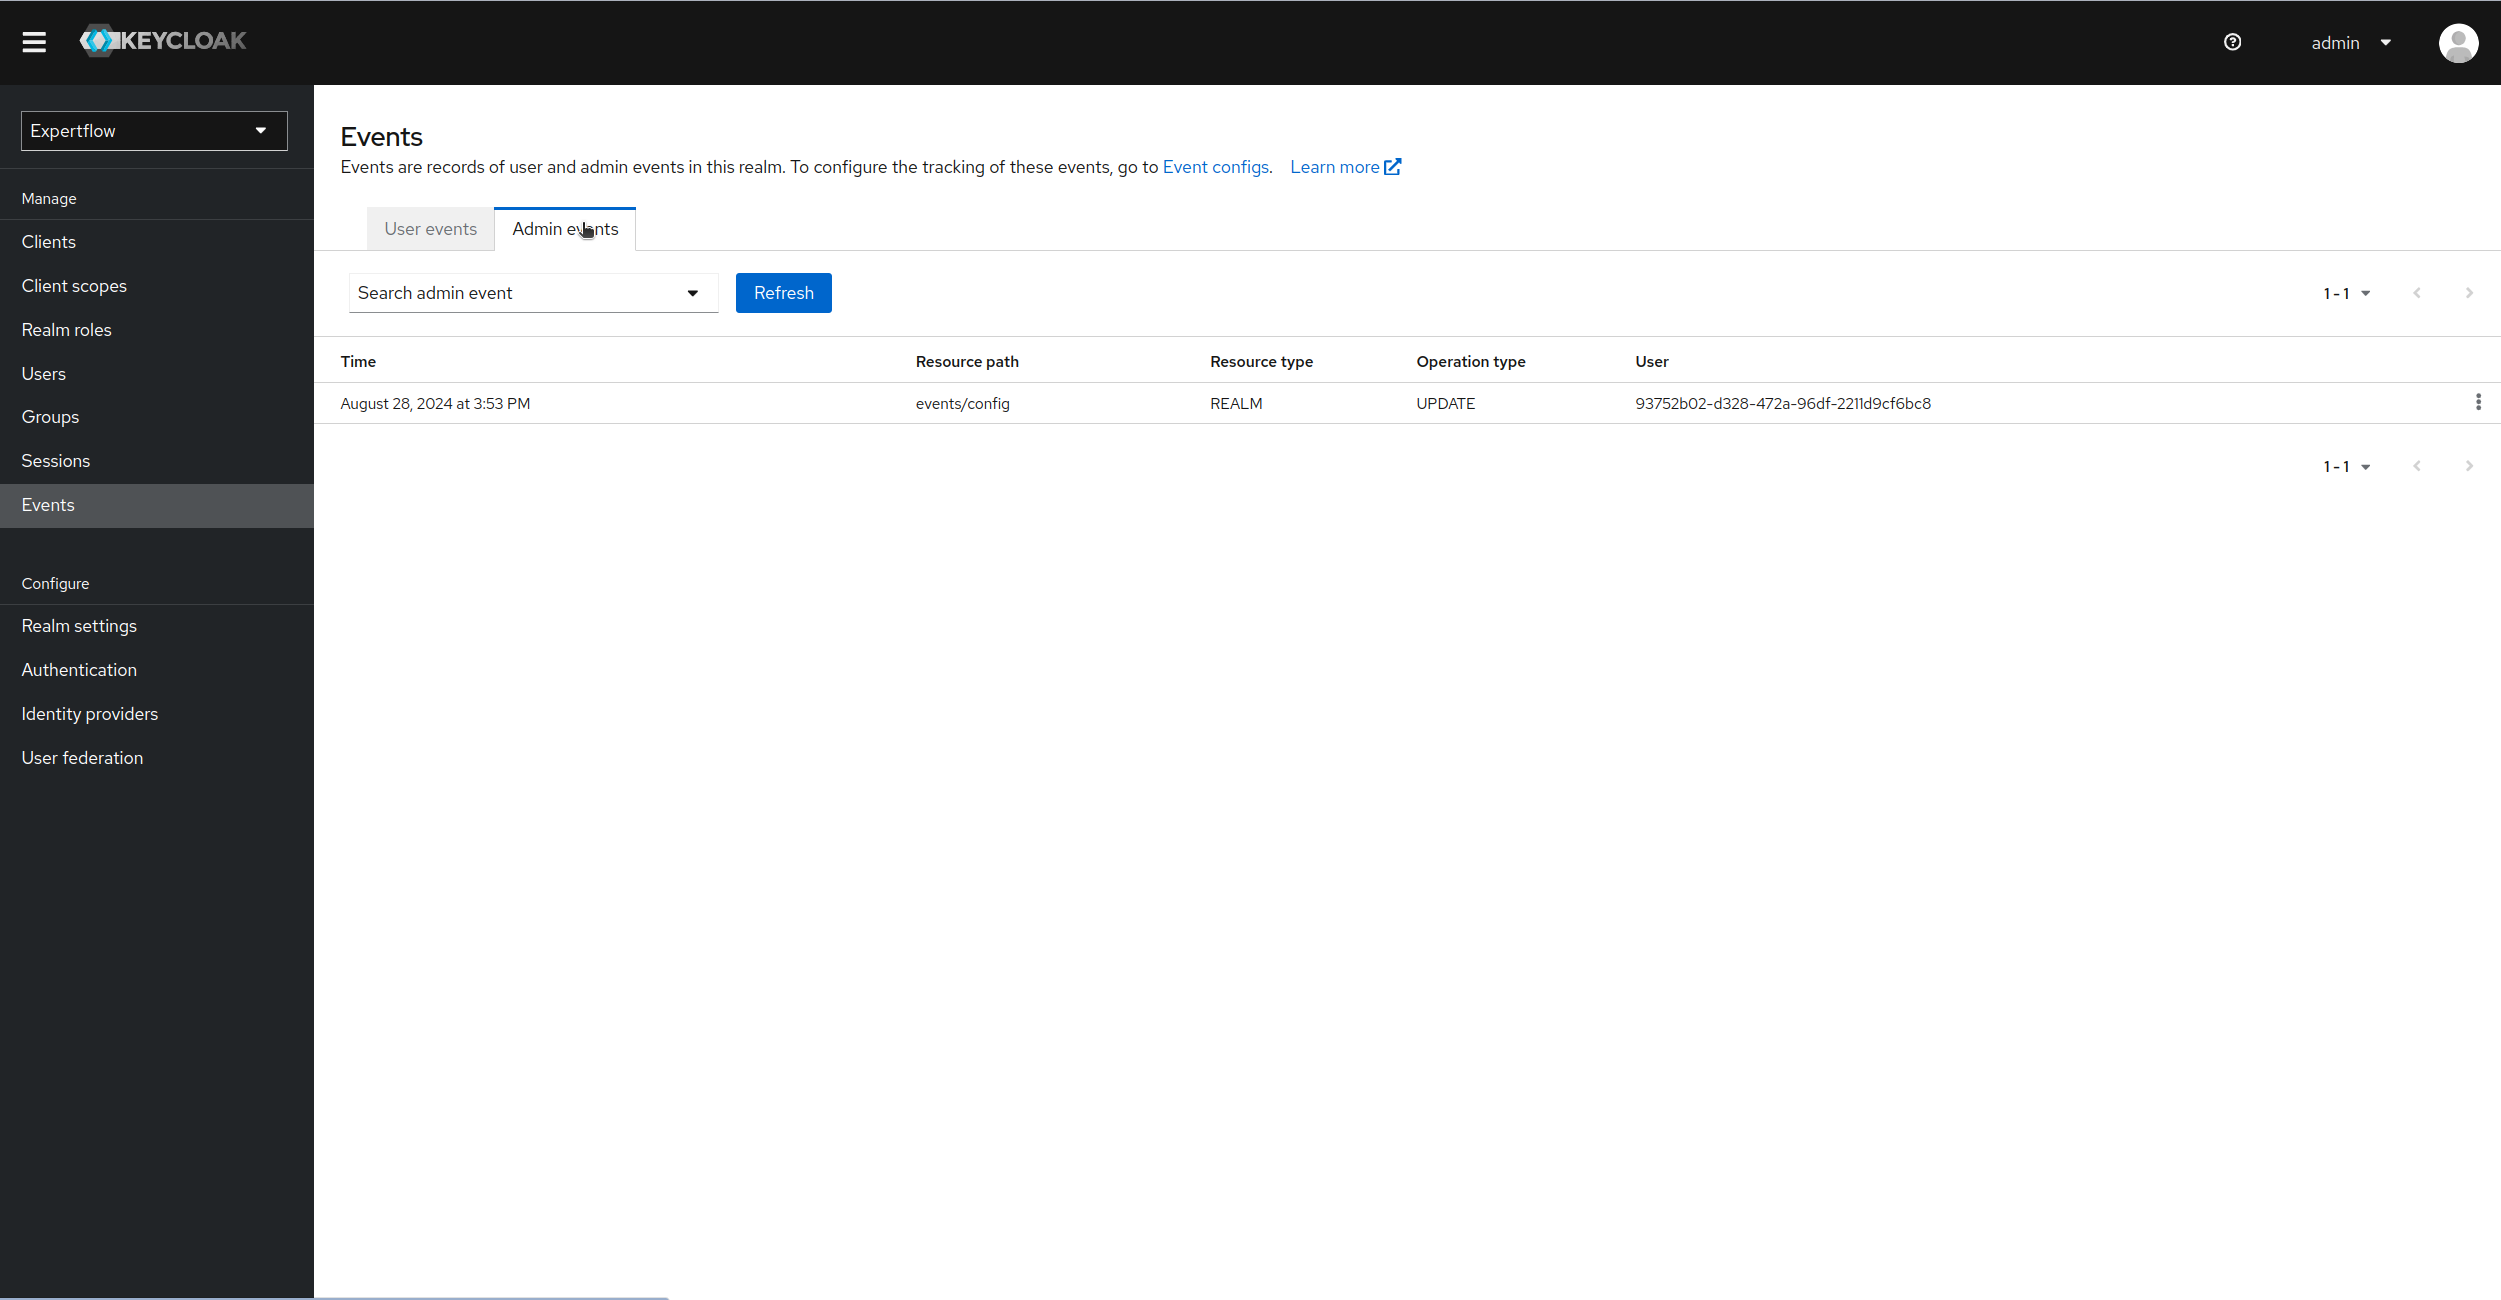
Now, if we go to Events tab in Manage sub-section of left-panel, we can see both User and Admin Events being logged in our client application. In Admin Events we can see that Operation type: Update has happened against Resource path: events/config, which refer to the event of enablement of logs.
-
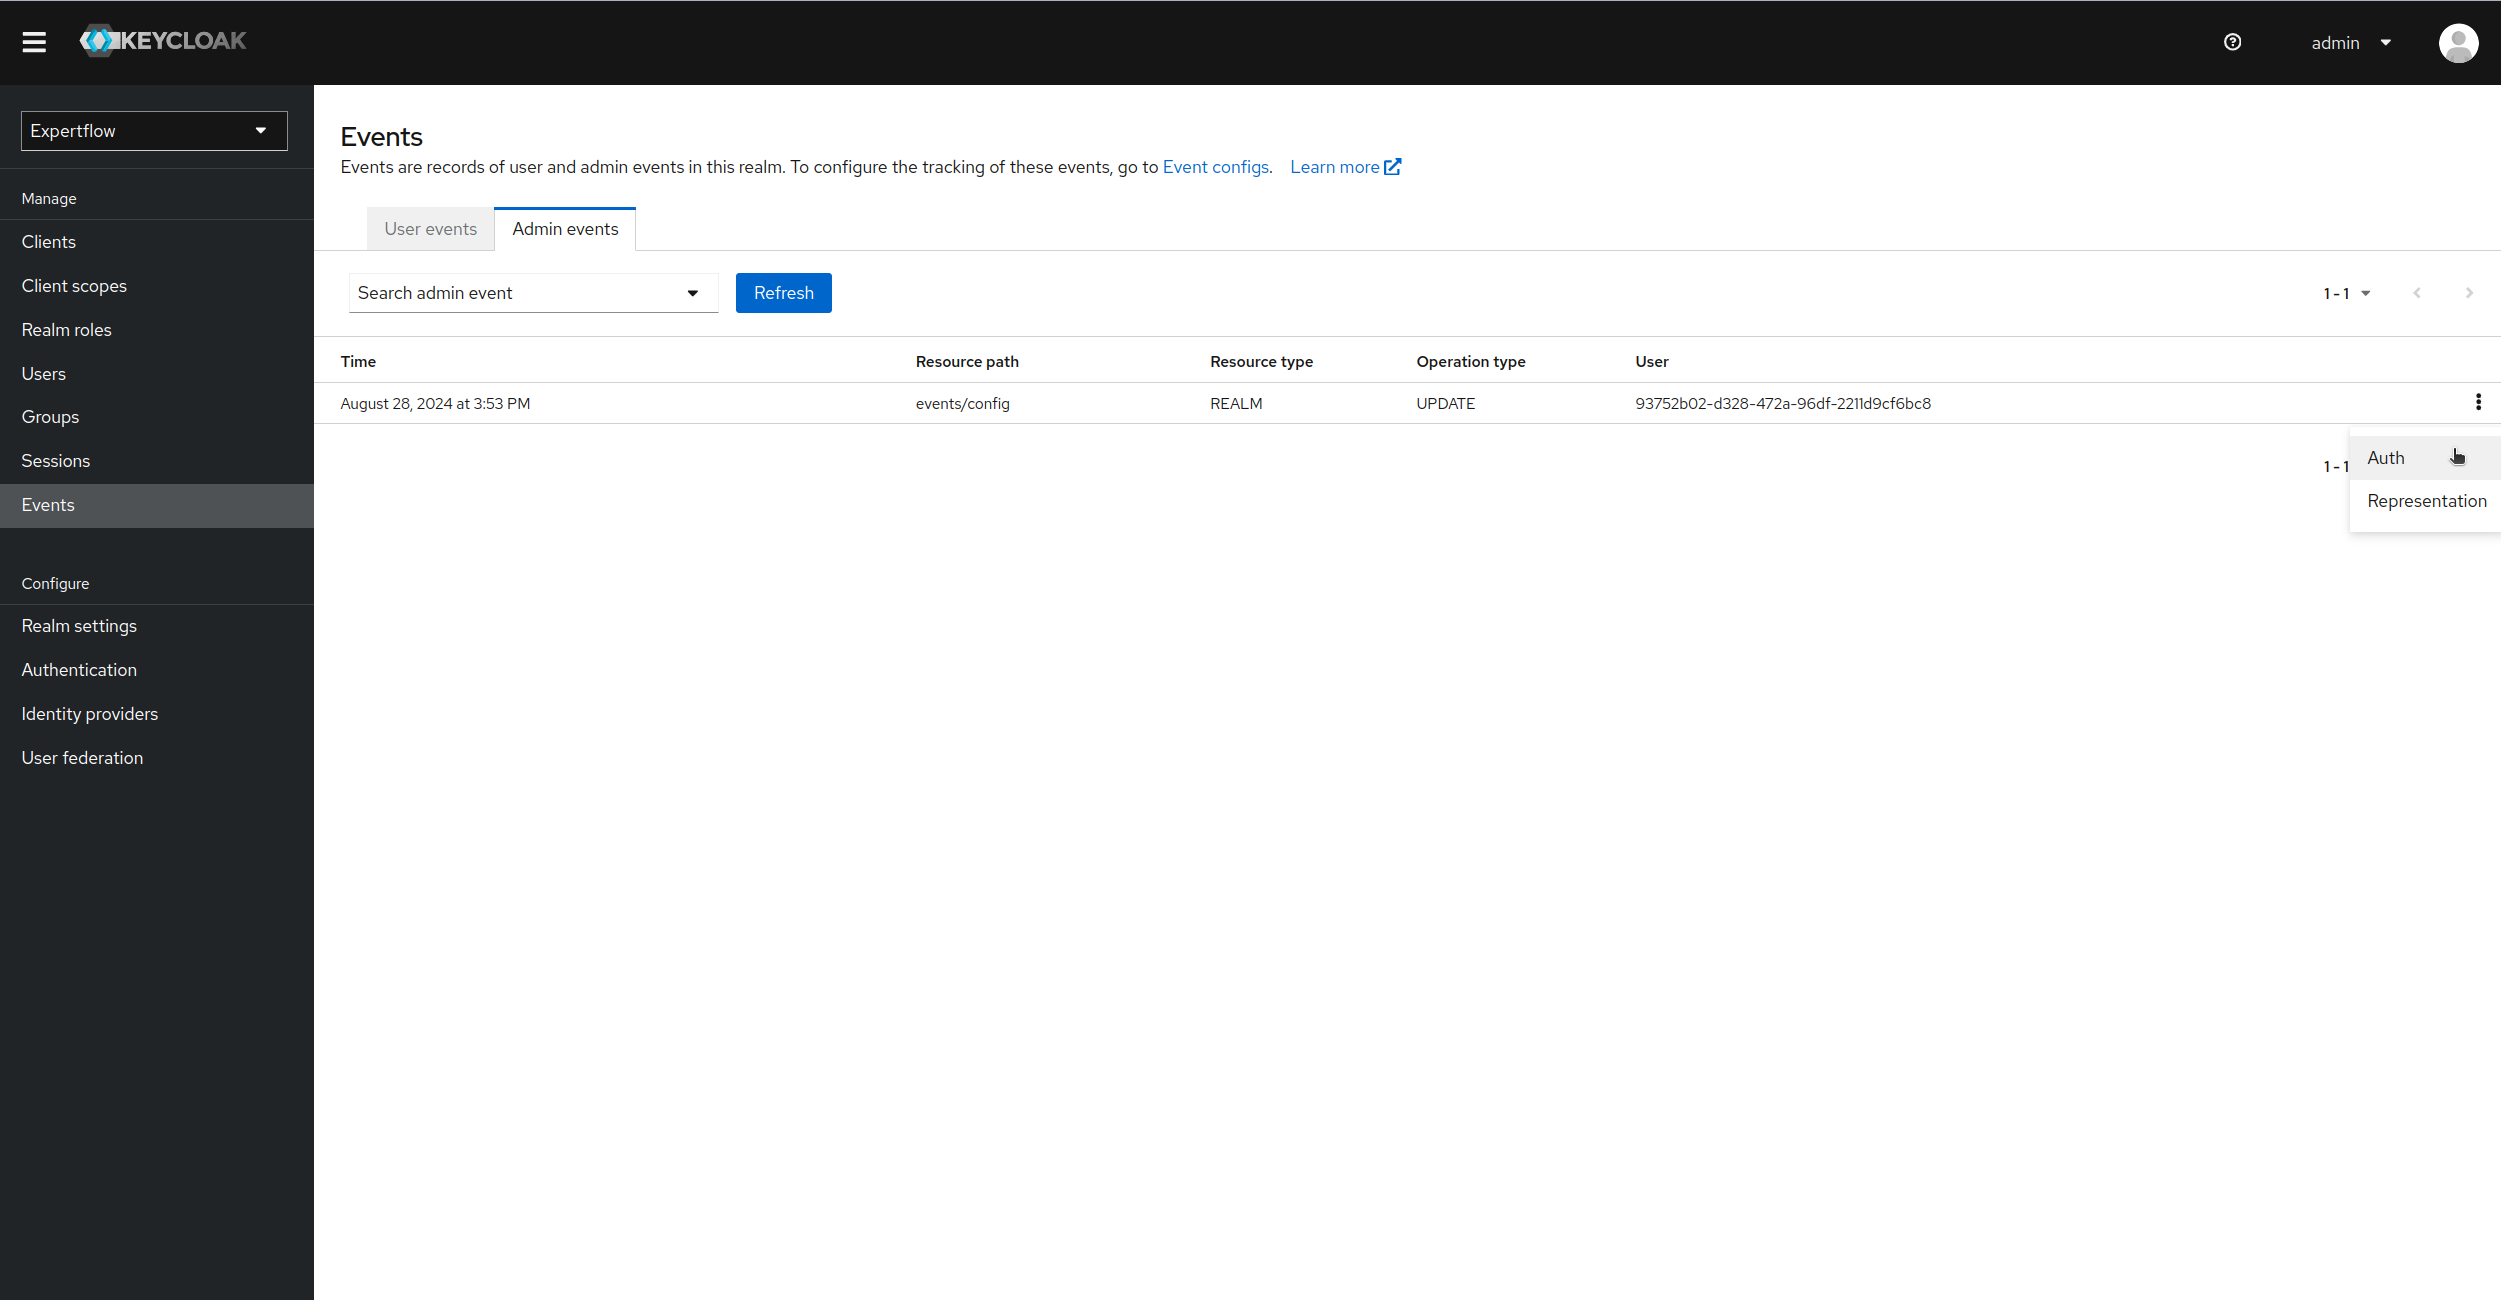
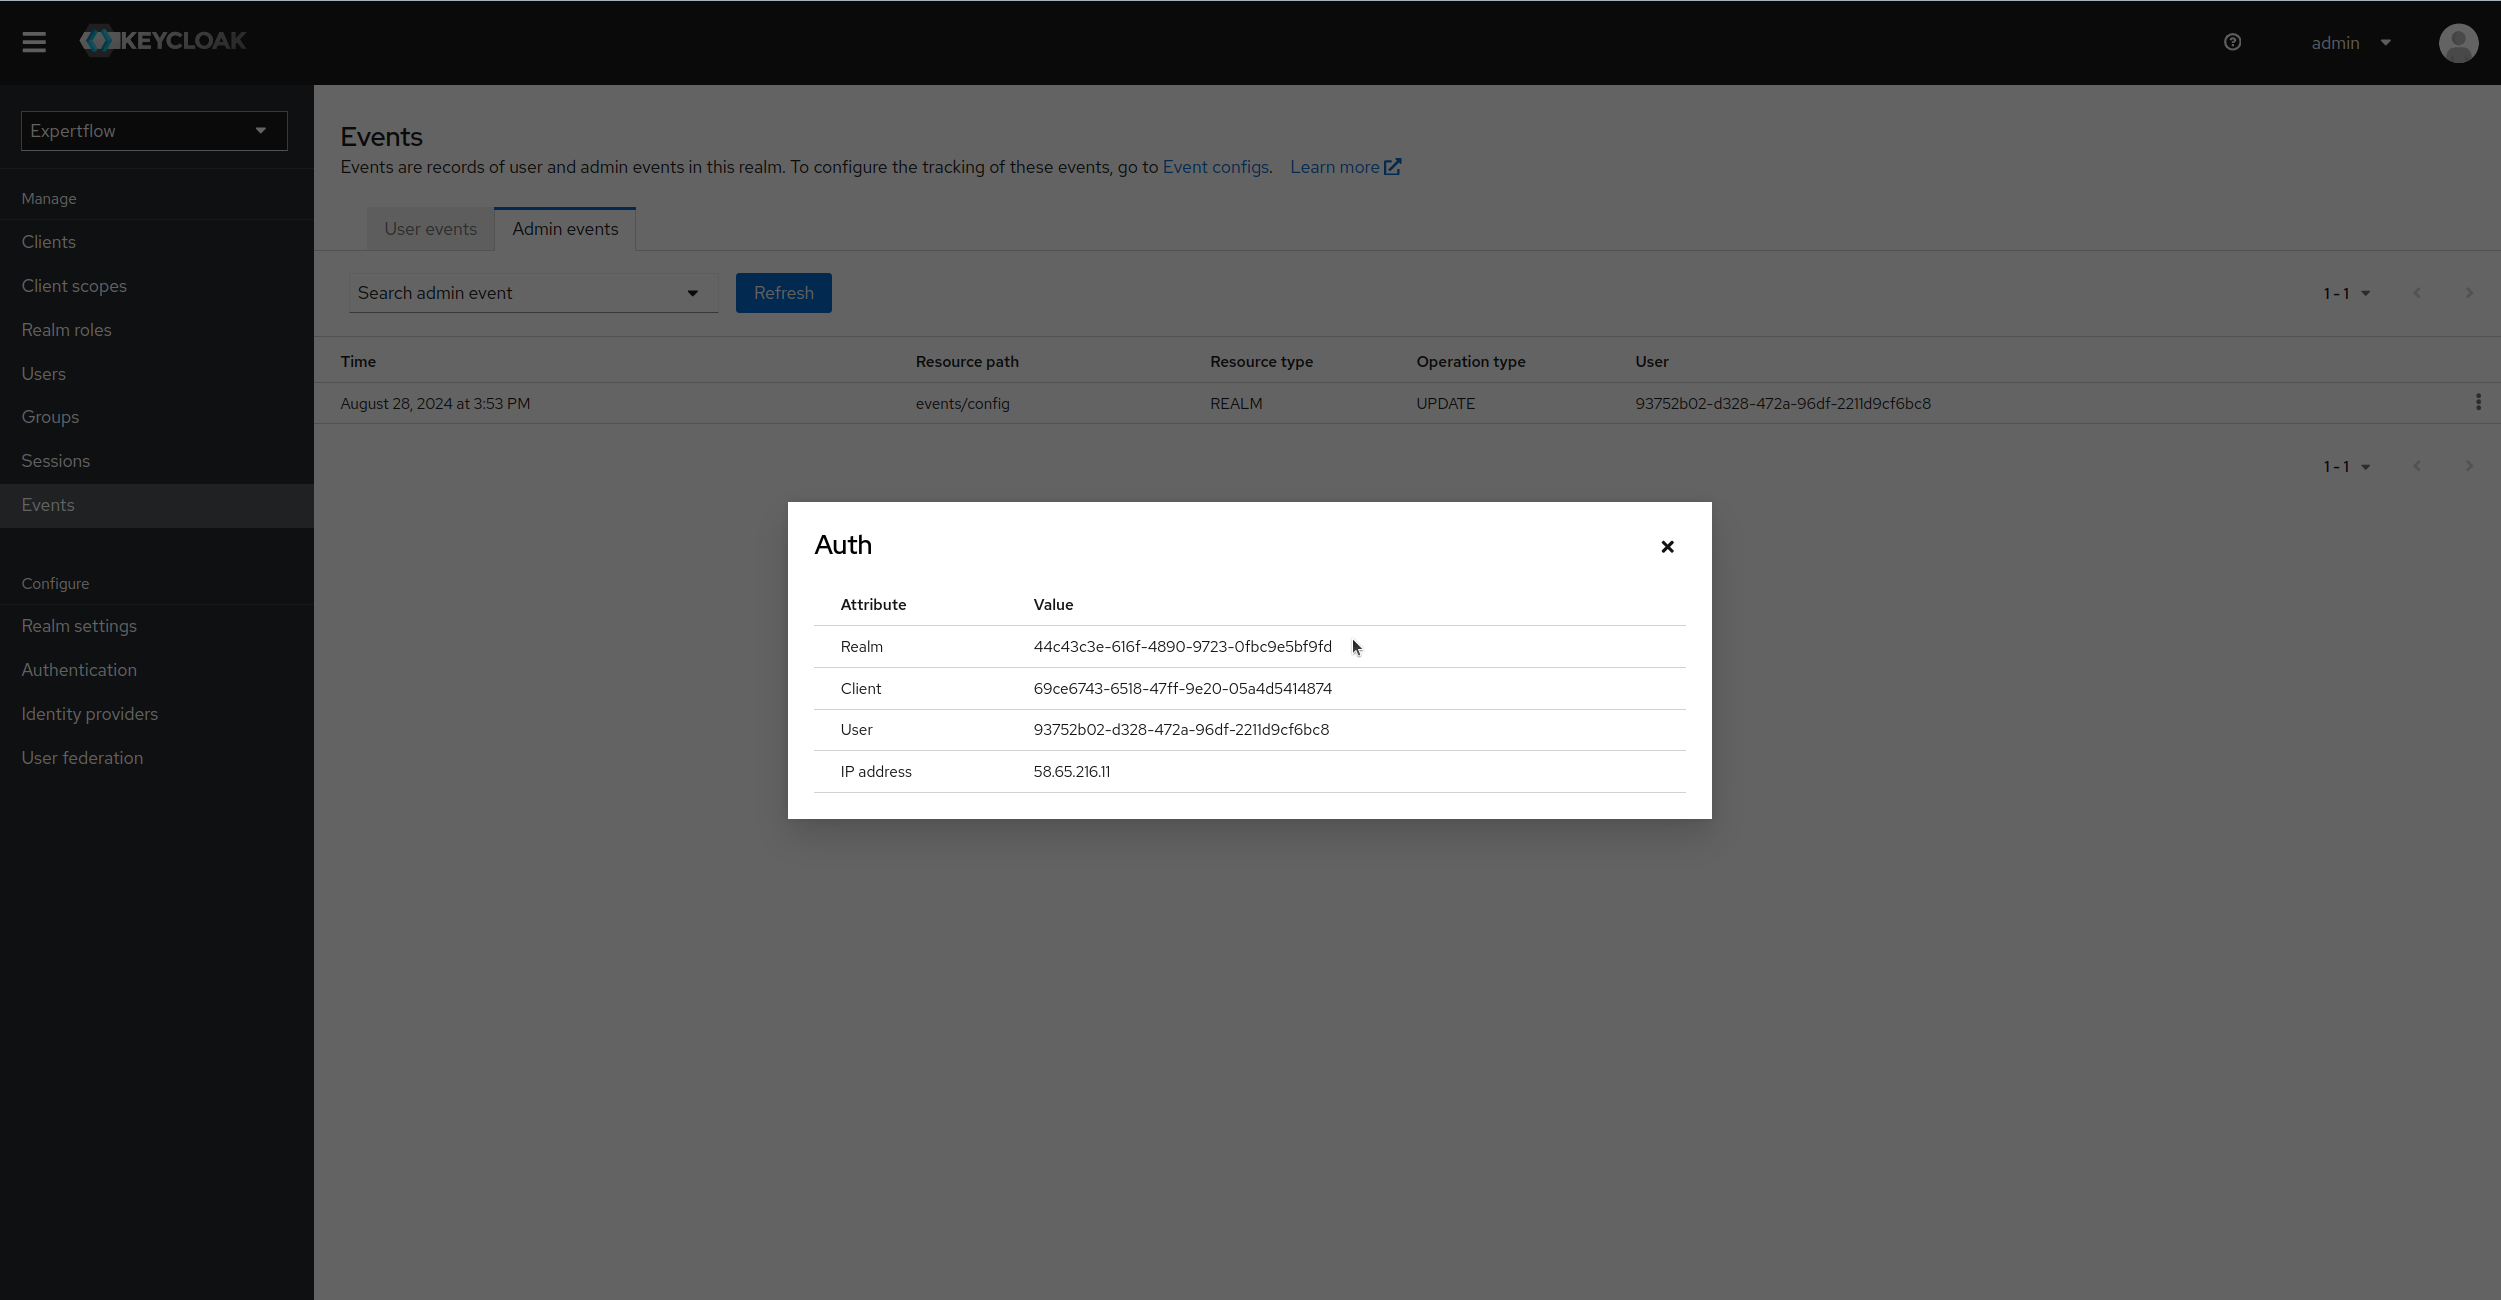
We can see the representation of admin user against each event, the IP of user and the realm where he made change by clicking on Auth in details:
-
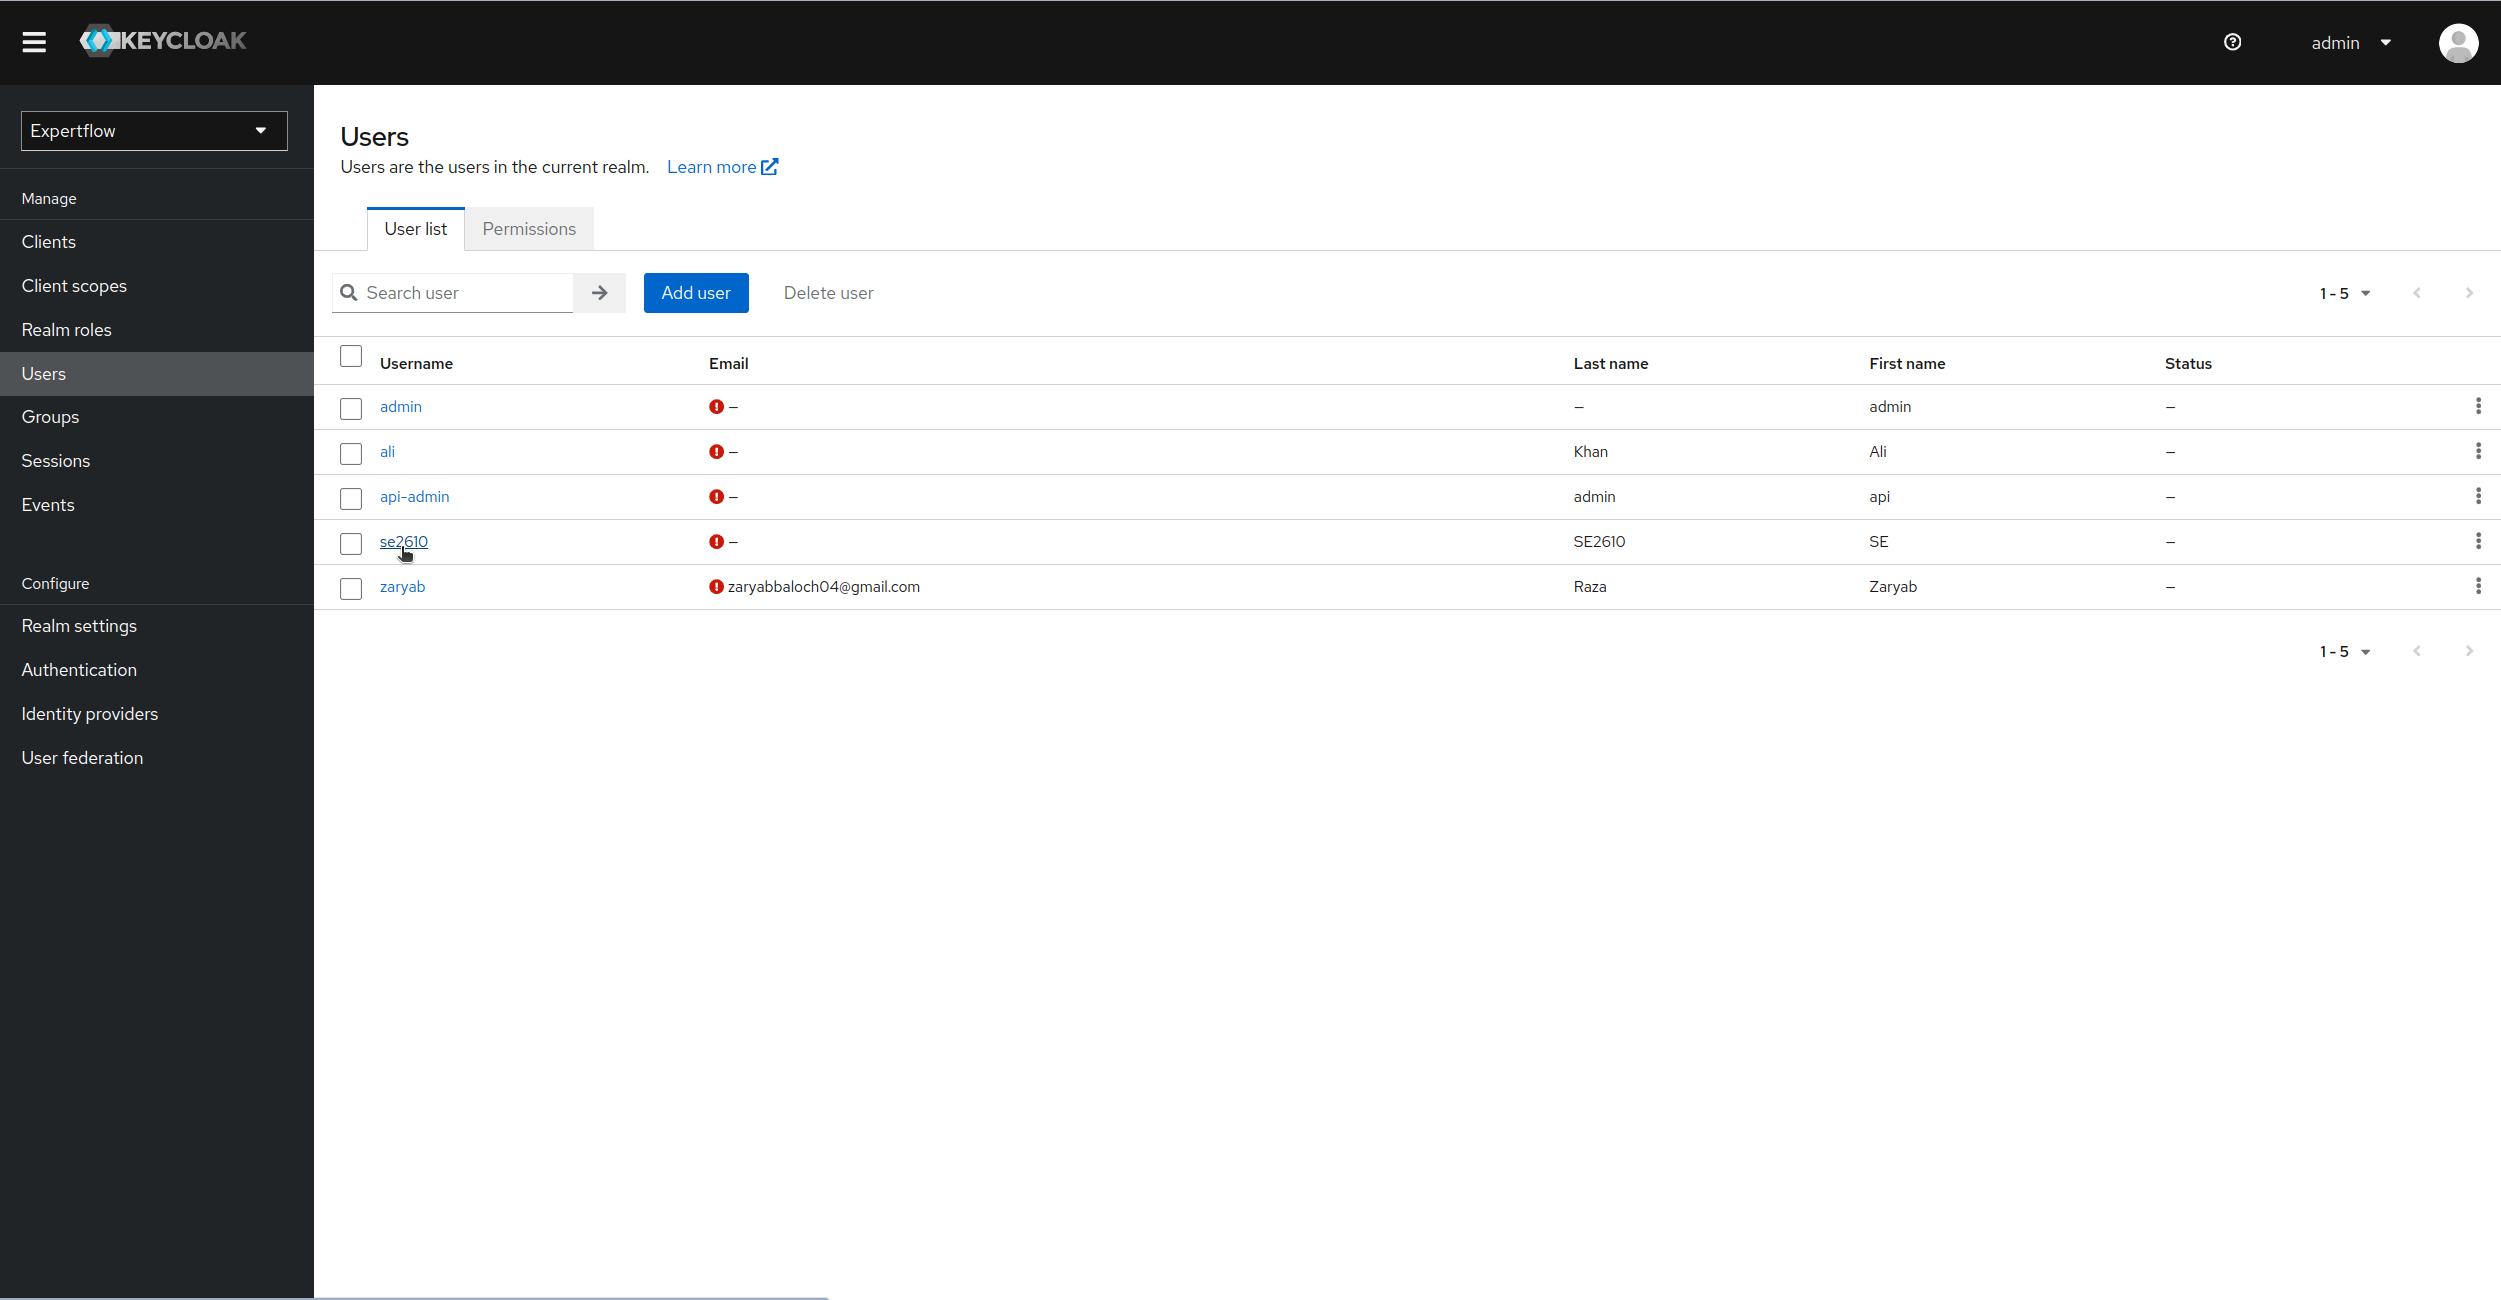
Let us see another example. Lets update a user. when updated, an admin event will be logged against it. Lets edit se2610 user
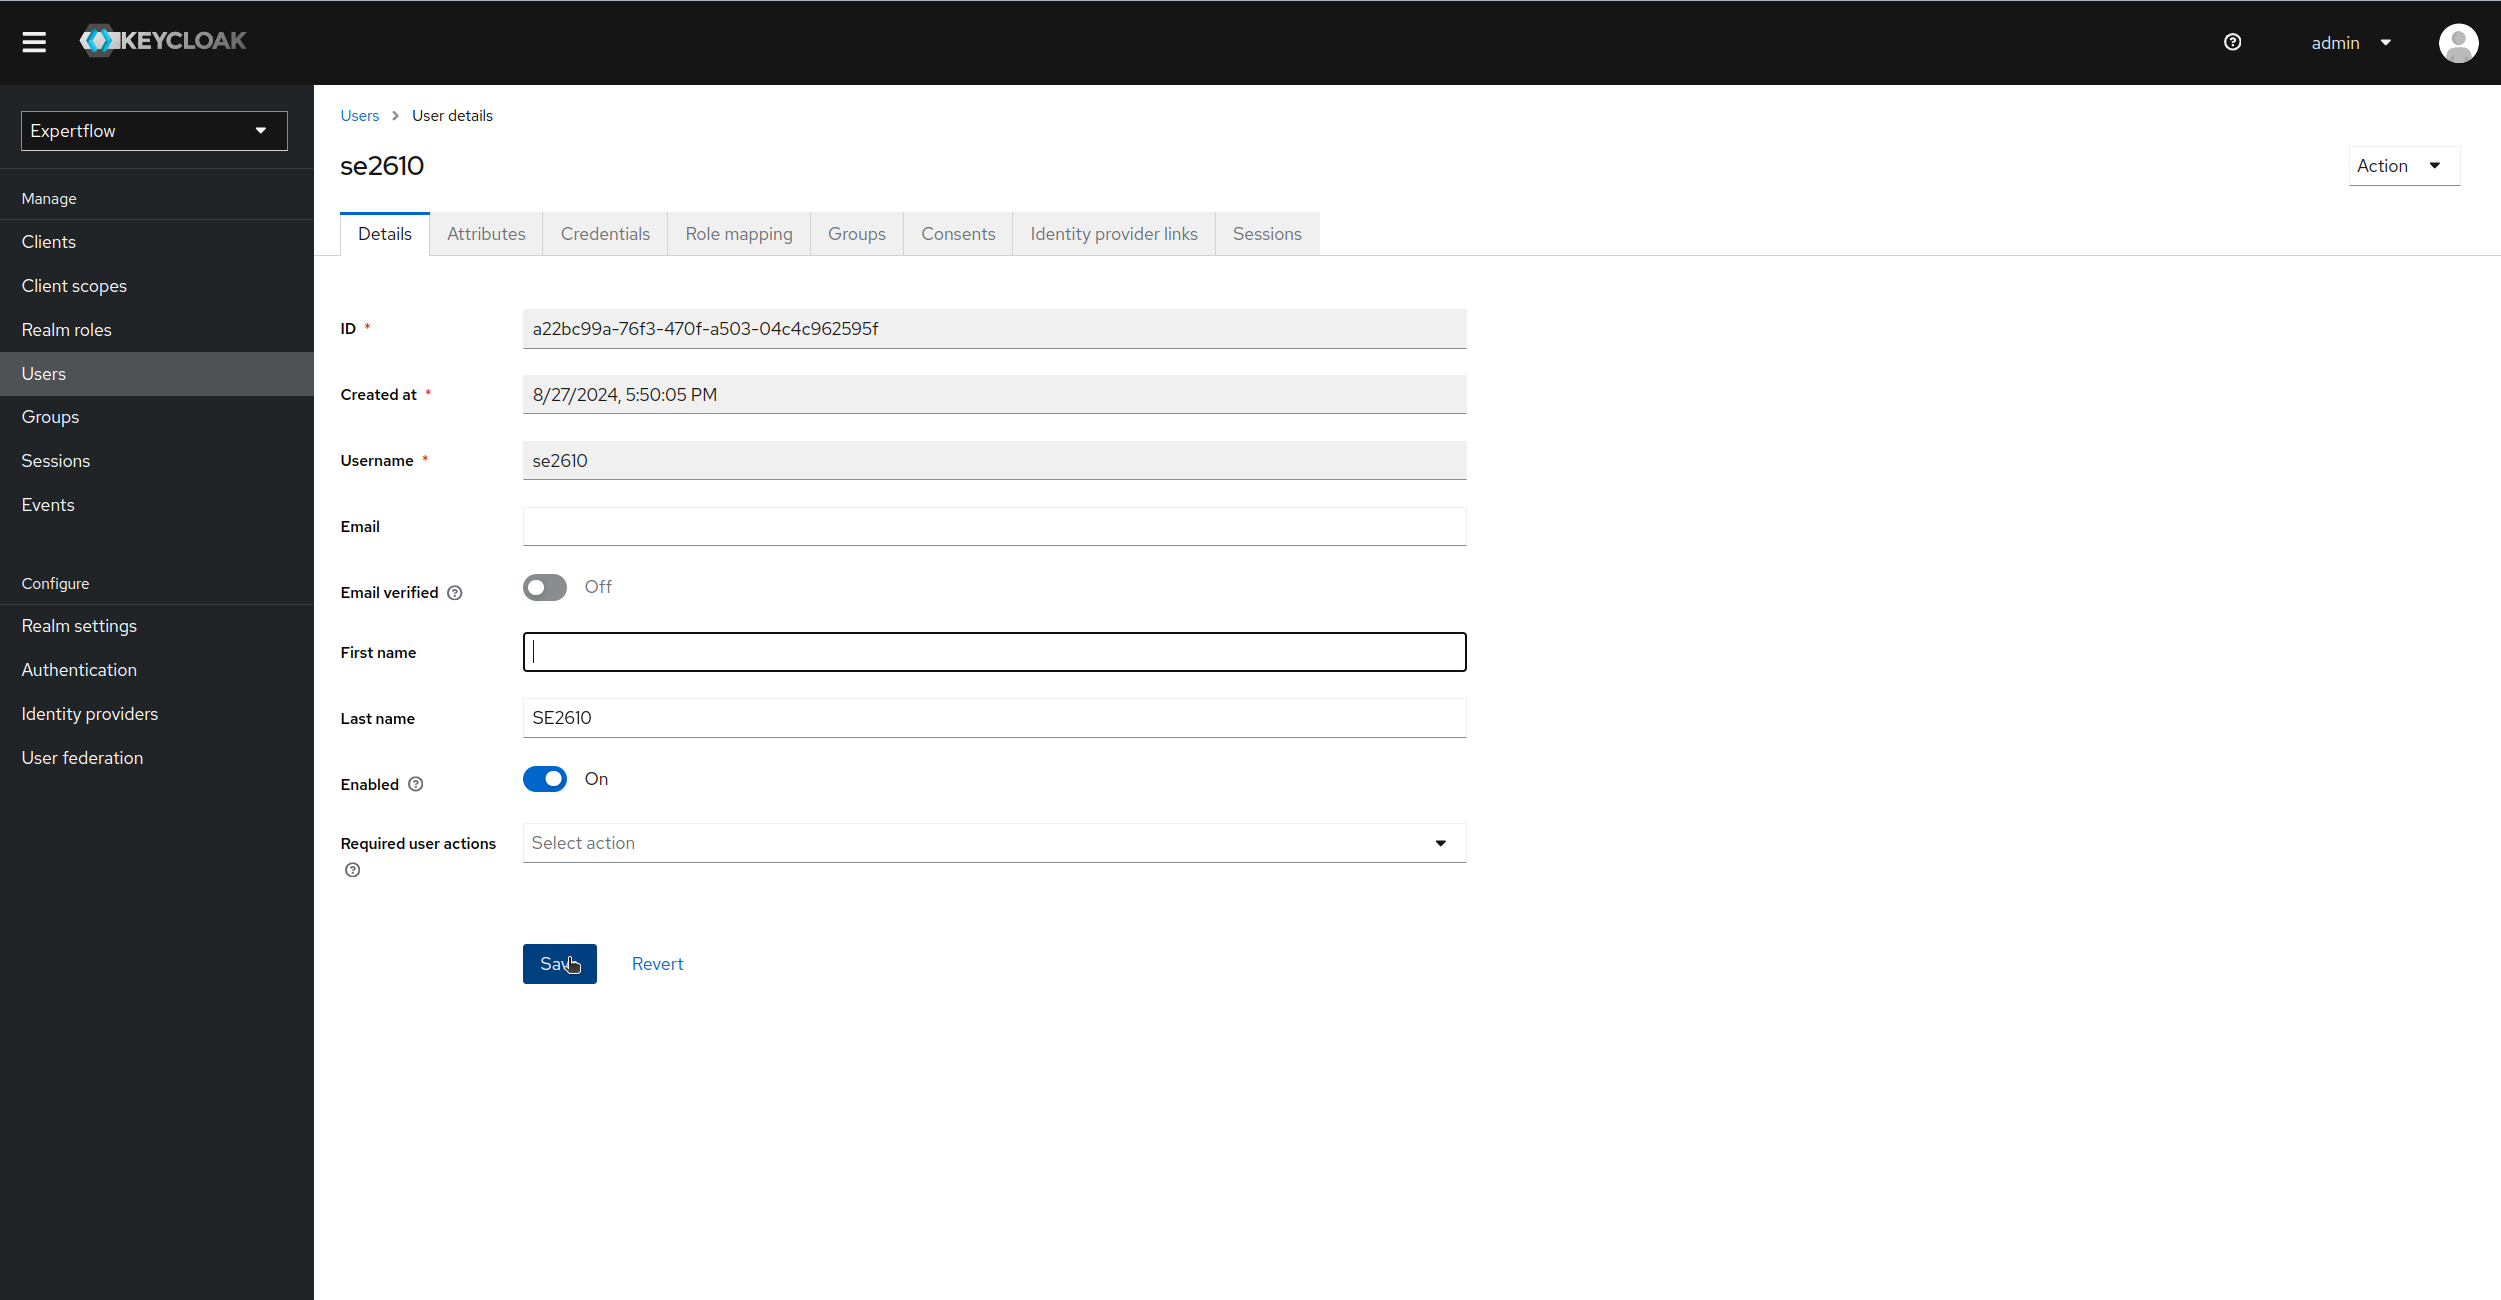
-
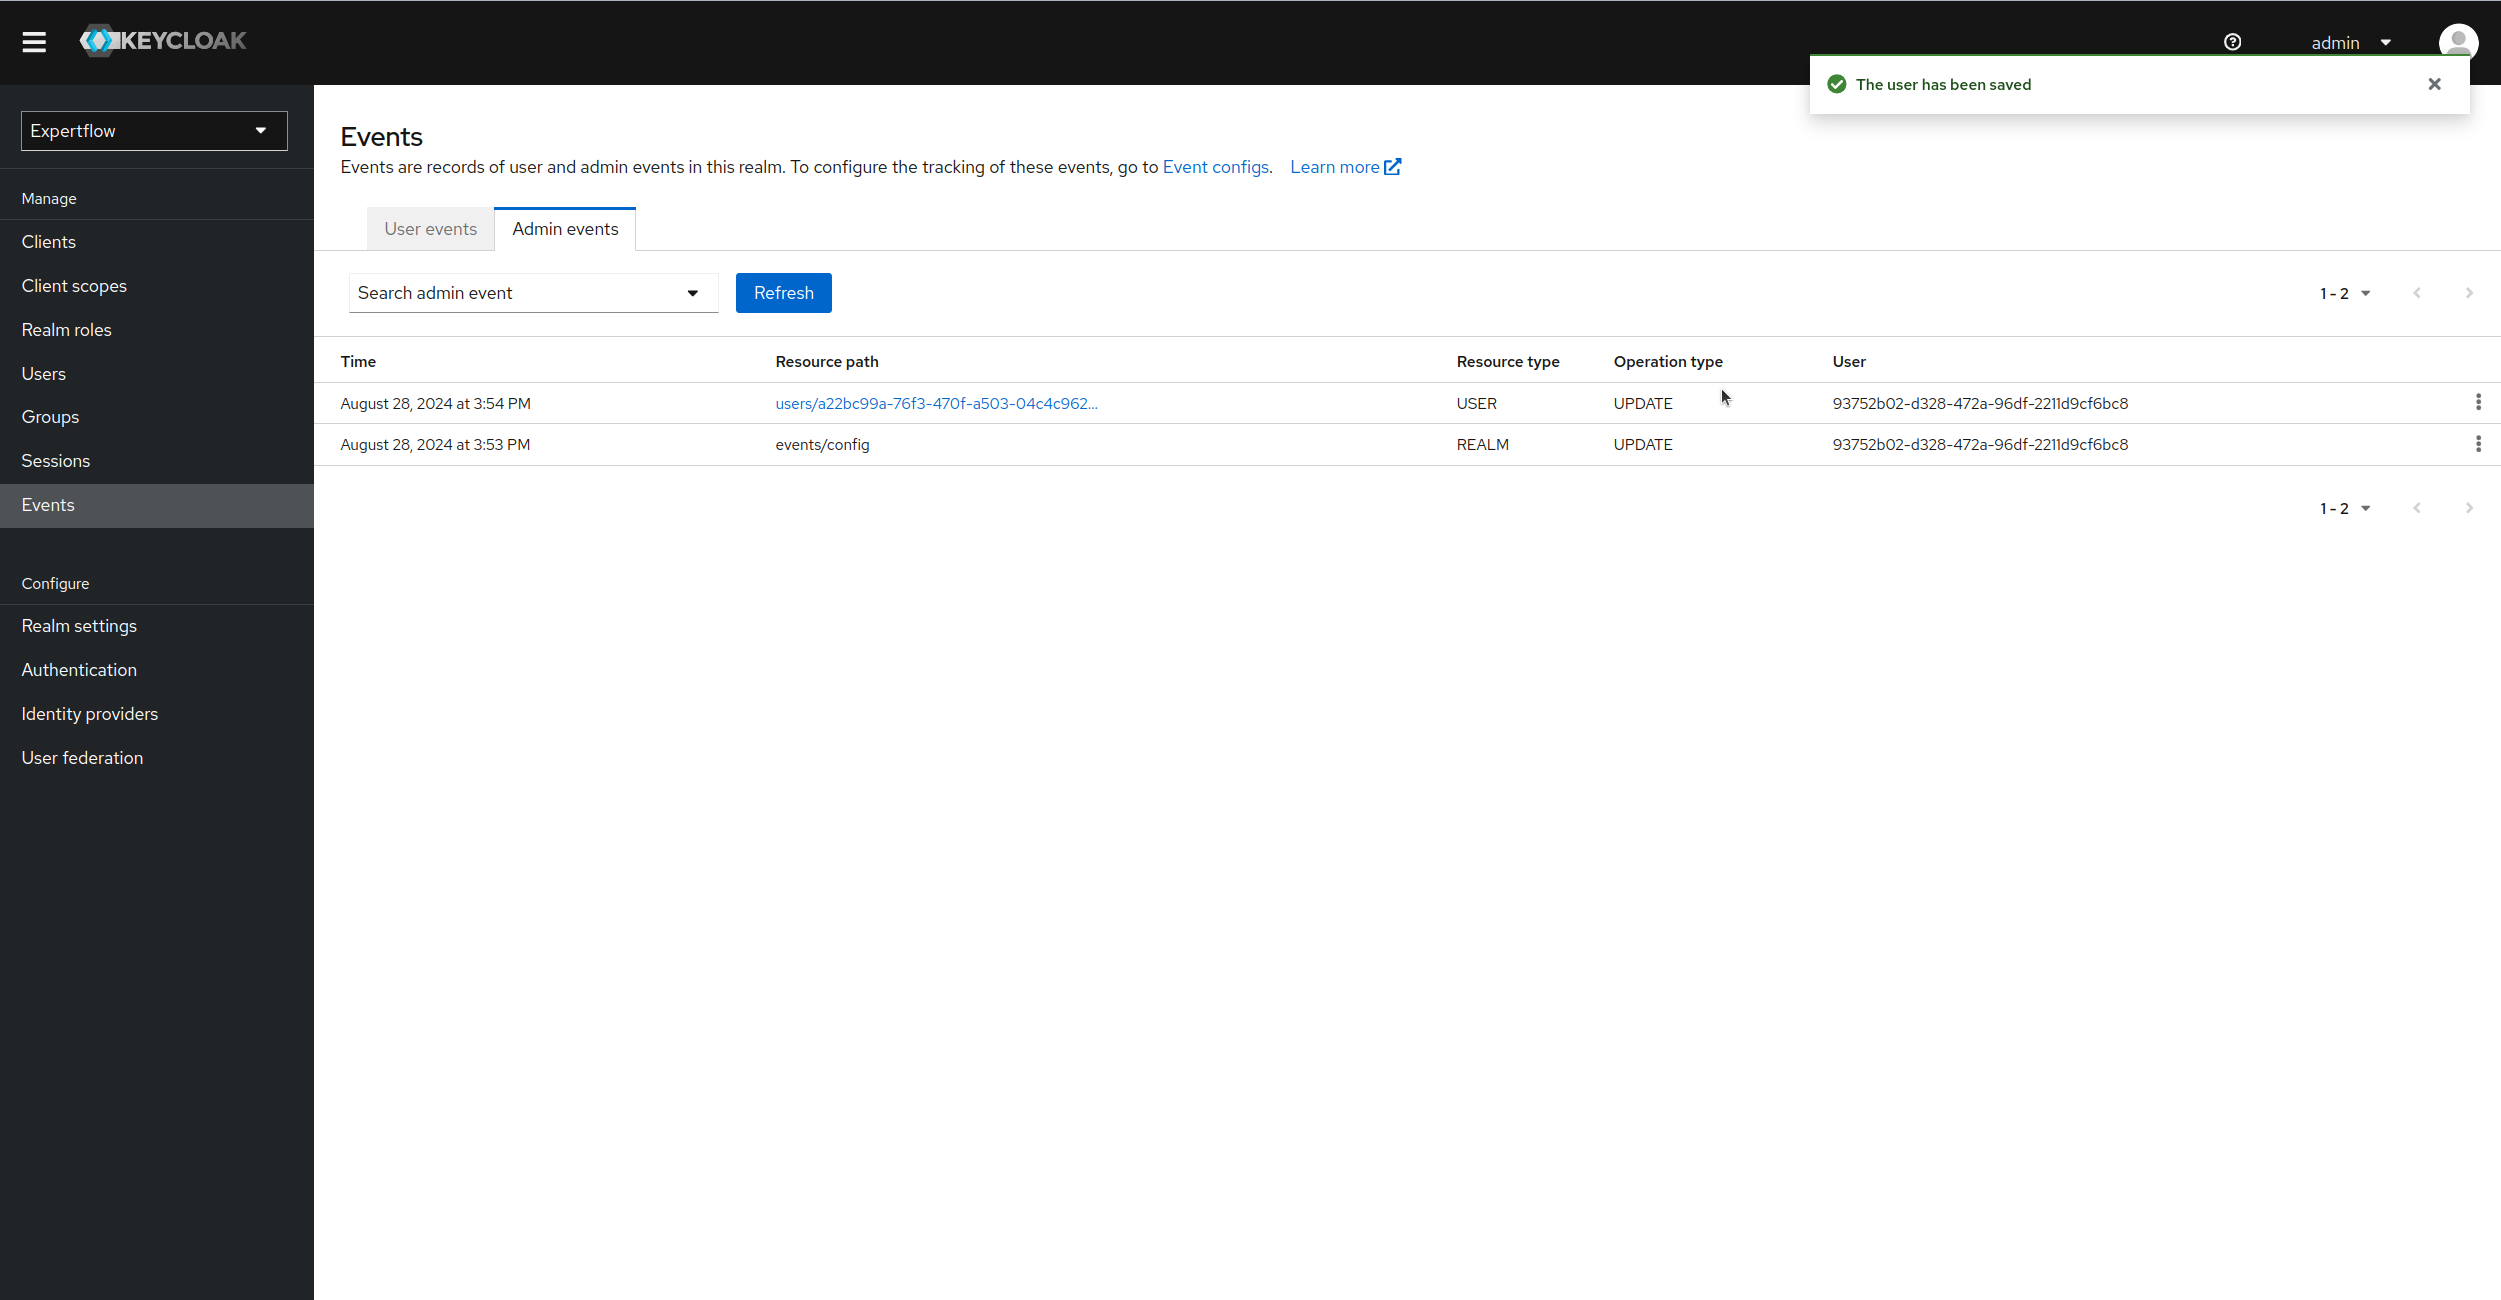
Once edited, we can go back to Events and then Admin Events to see the new event registered on update of user. We can see in Resource Path that which user is updated, Operation type and Resource type also explain the entity which is updated and Operation of event logged.
-
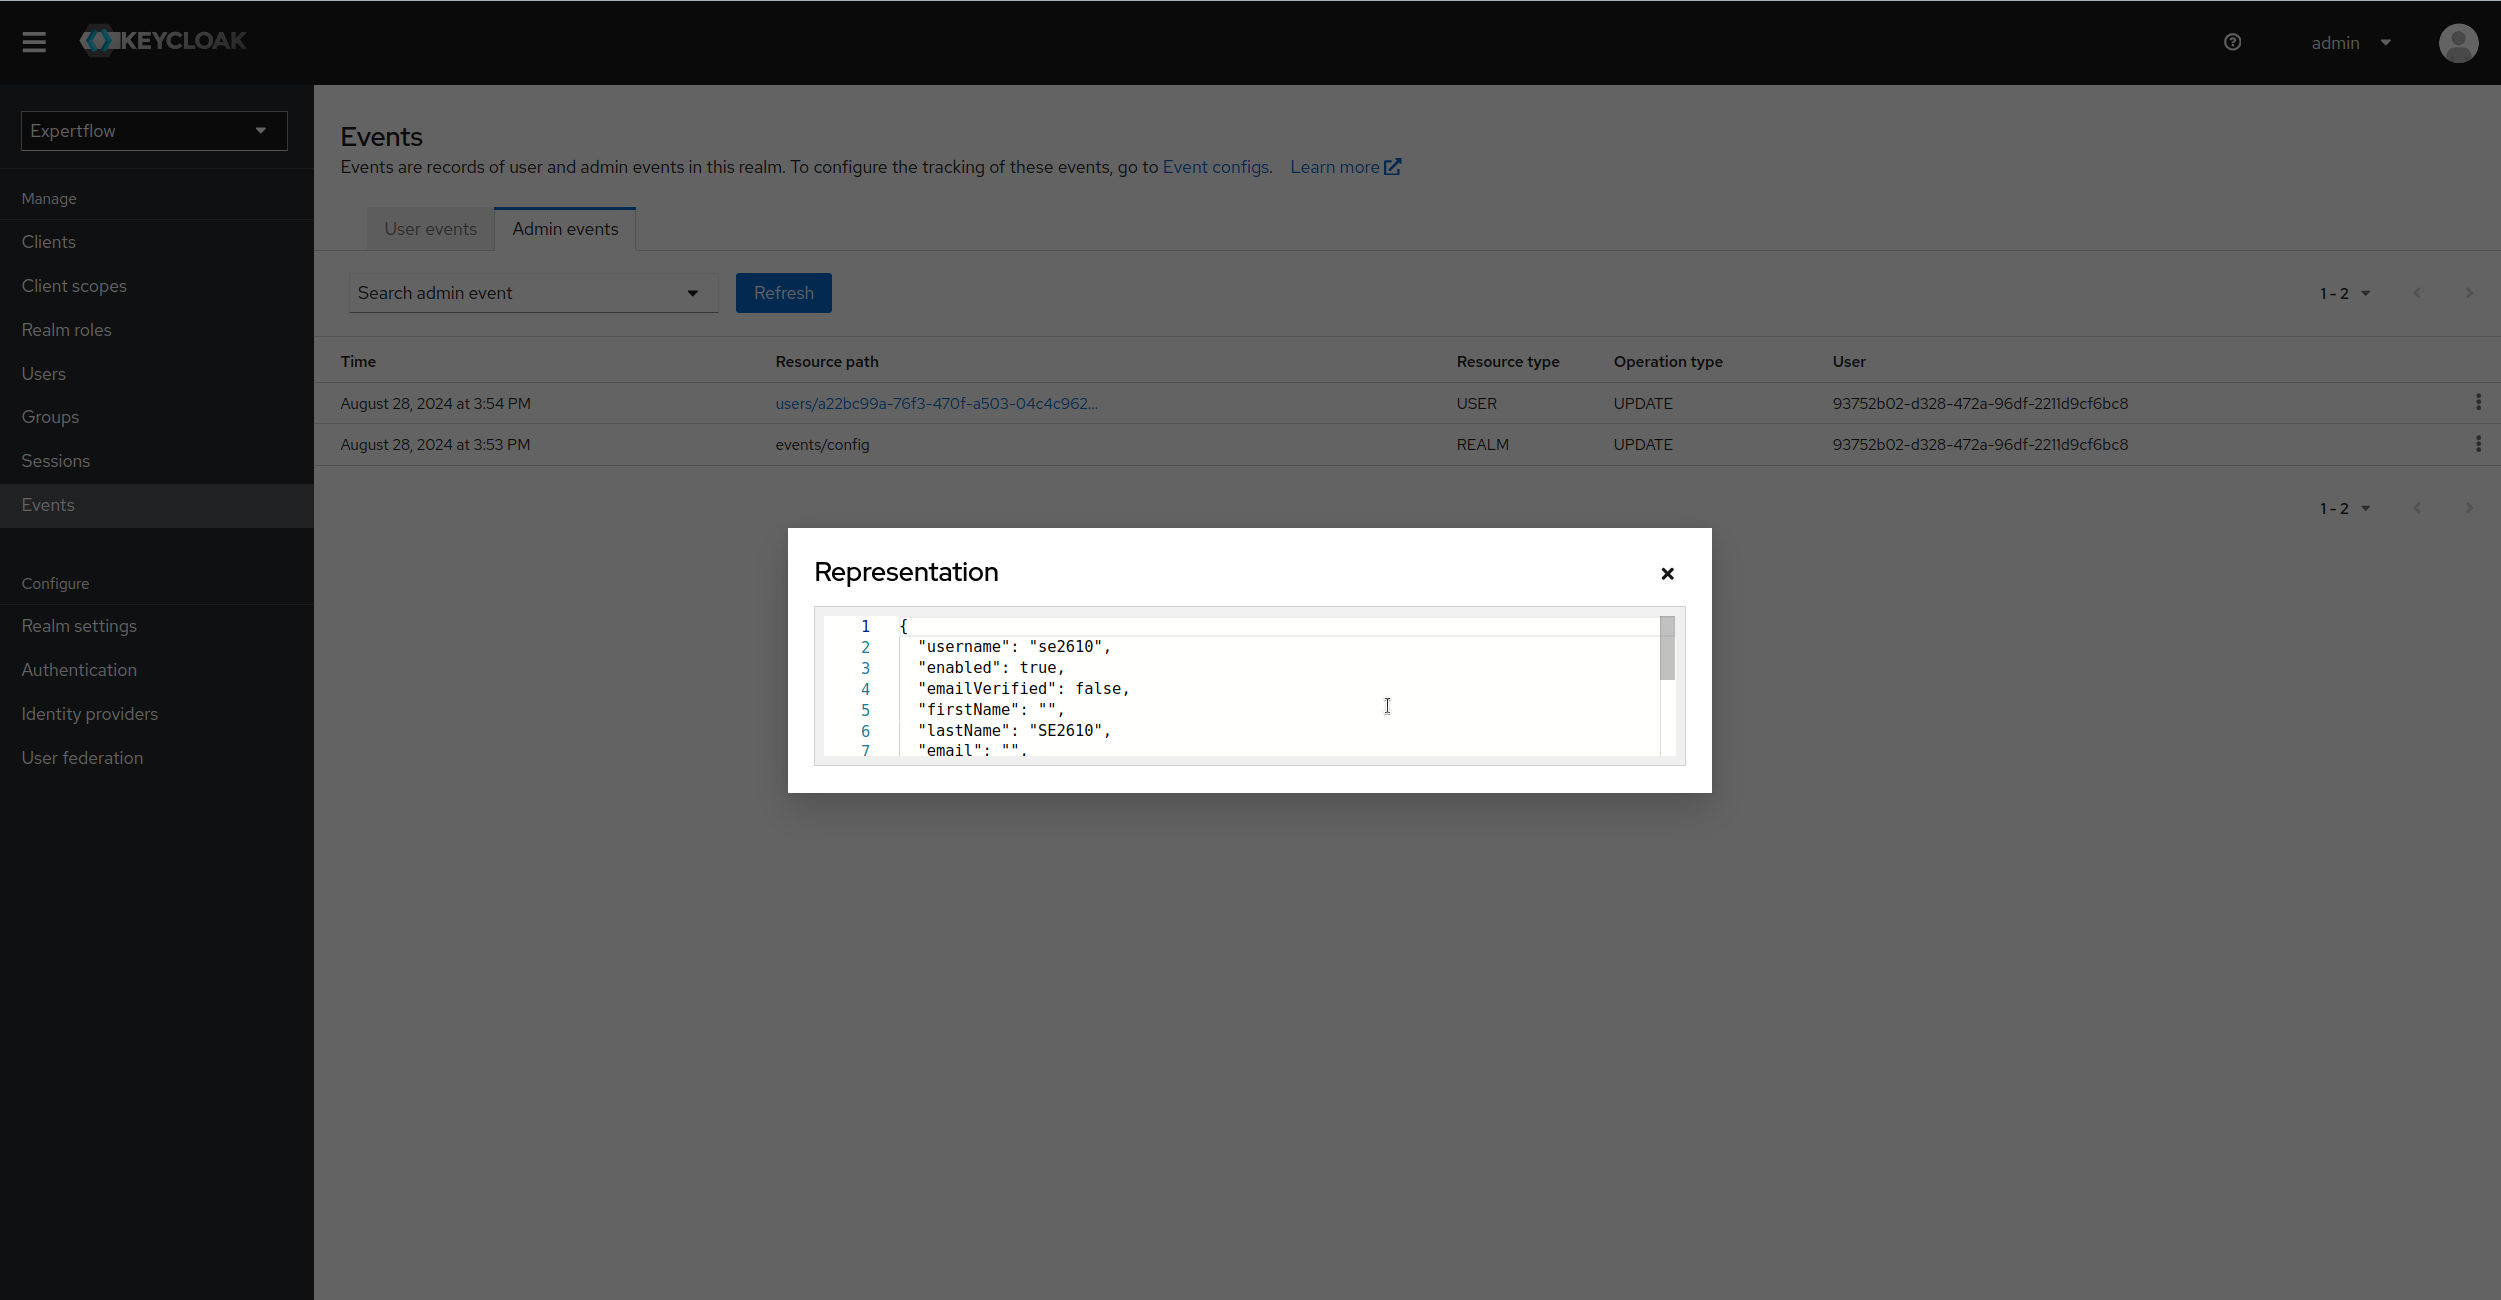
To see the representation of user being updated, we can click on details of event, then select Representation to see complete representation of Entity on which event happened. (In this example, the representation of User being updated)
-
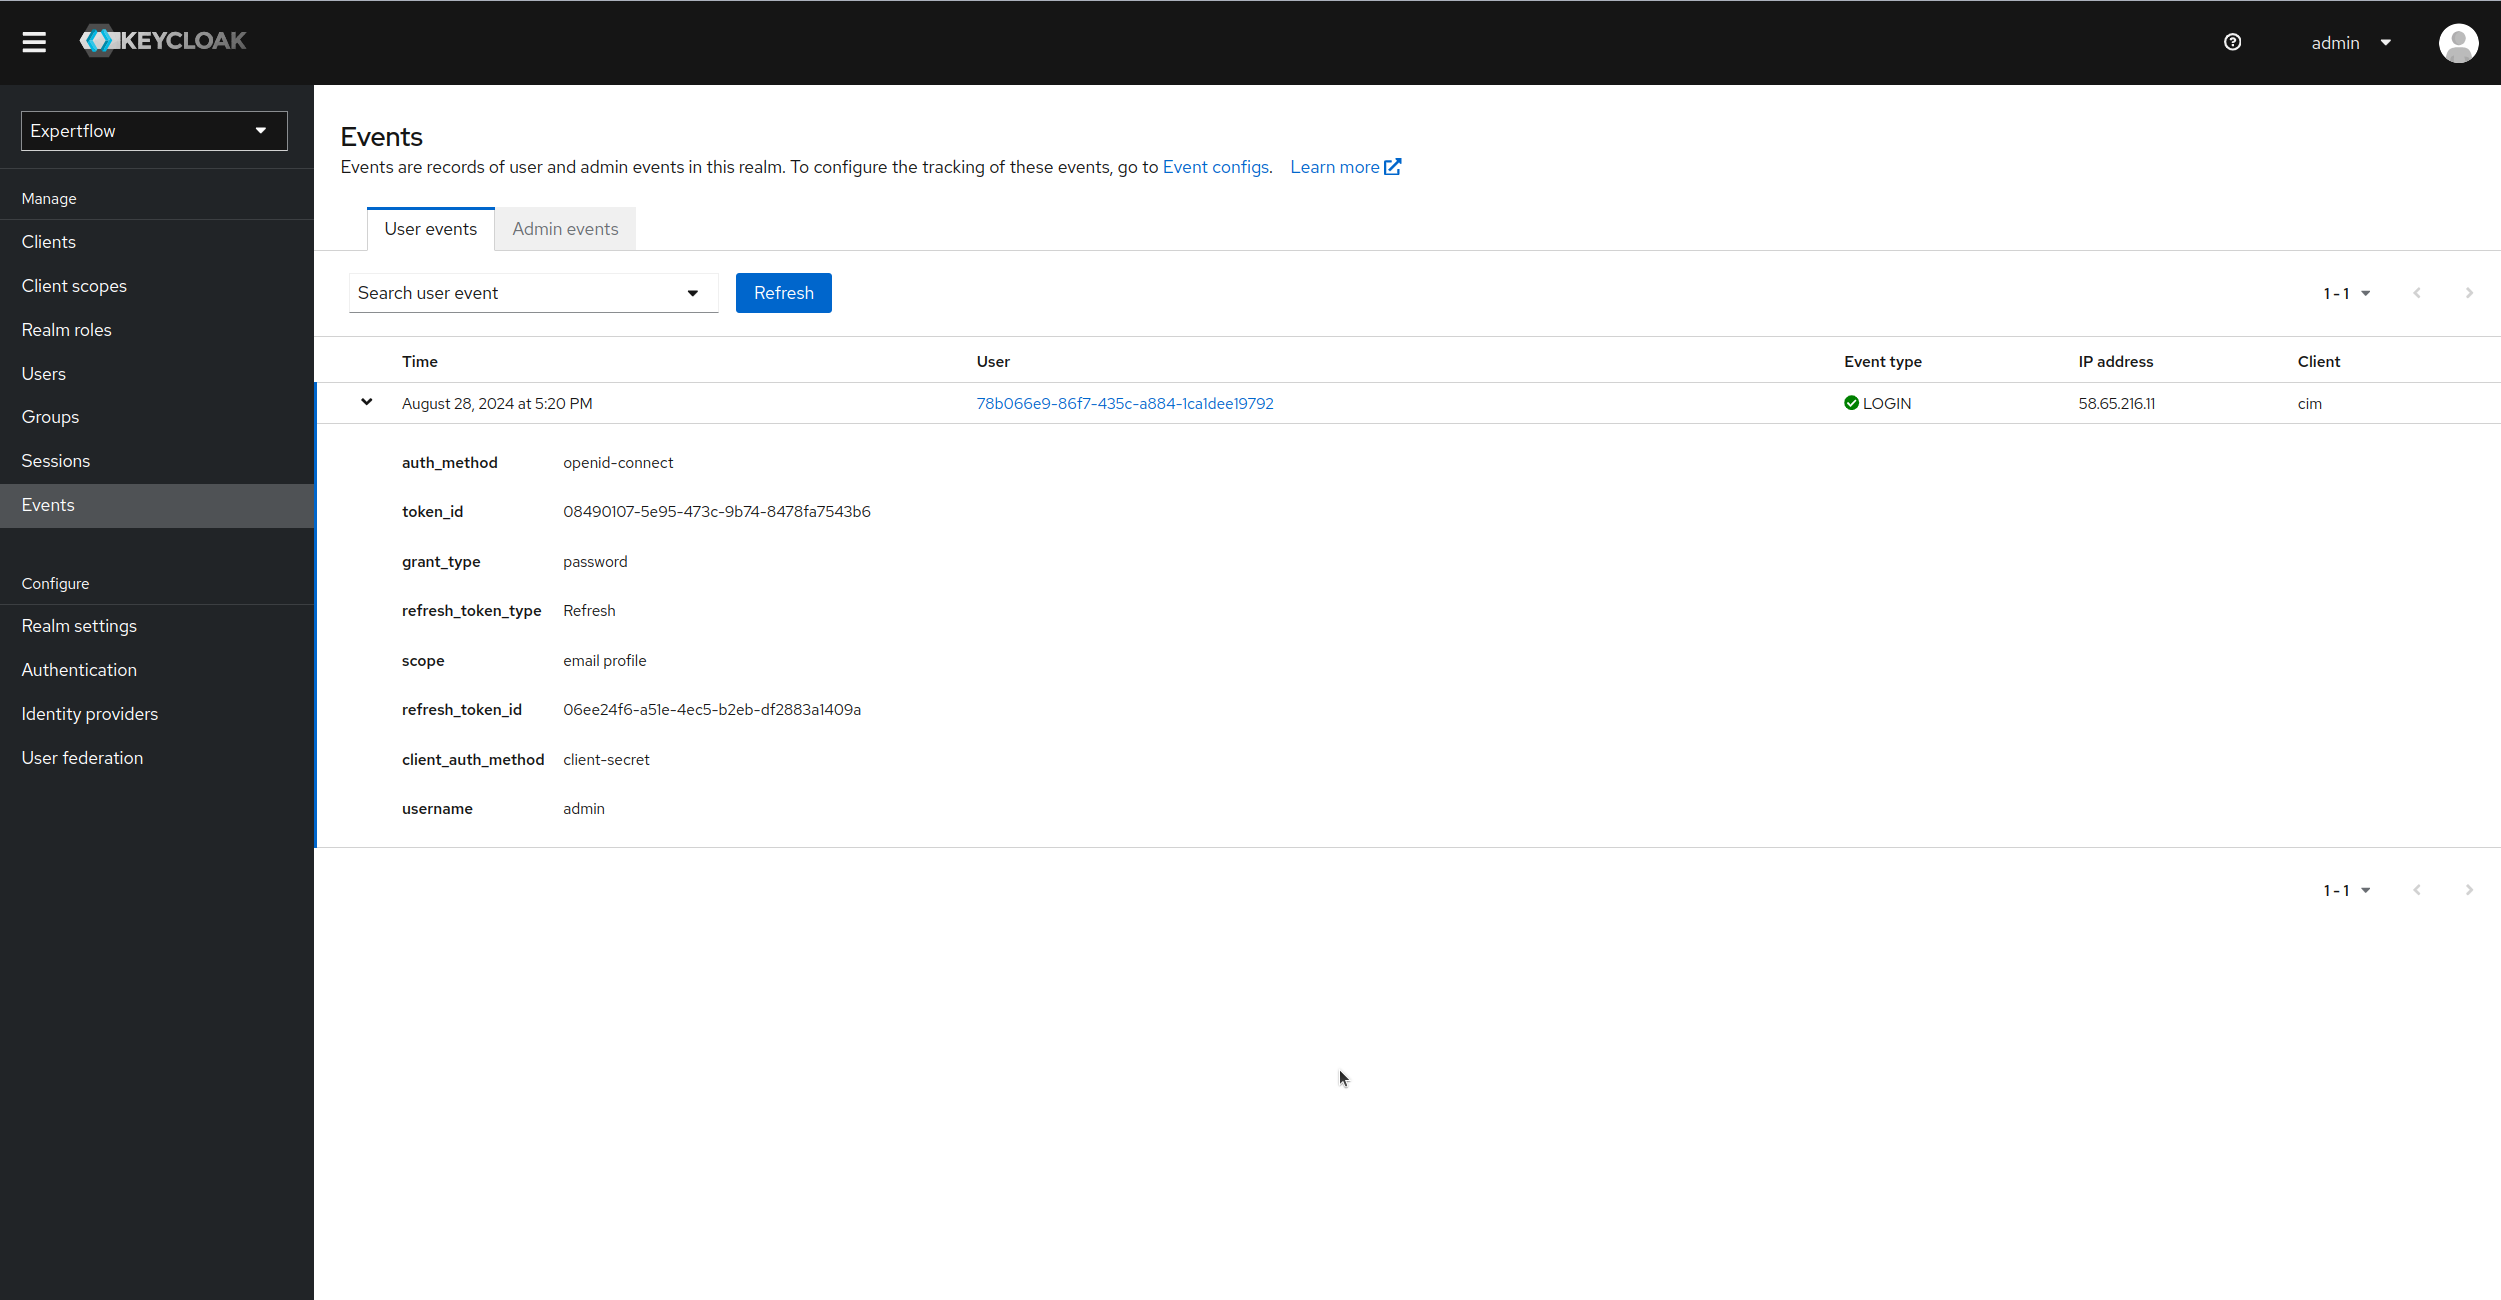
Similarly, we can see the User events. In the image below, an admin user logged in to Keycloak, so we can see the Event type of Login with all the details of user. We can see grant_type as password that represents that user logged-in via username/password, also the Id of user is present which represents the user that logged-in.
Enabling event logging on console for Keycloak:
To enable logging in Keycloak console logs, we need to provide the configurations in helm chart of Keycloak deployment.
-
Login to machine where keycloak is deployed, go to your solution deployment folder and cd to following directory path:
Bashcd kubernetes/external/bitnami/keycloak -
Edit the values.yaml file inside keycloak directory and add the following snippet under extraEnvVars:
BashextraEnvVars: - name: KEYCLOAK_LOGLEVEL value: "DEBUG" - name: KC_SPI_EVENTS_LISTENER_JBOSS_LOGGING_SUCCESS_LEVEL value: info - name: KC_SPI_EVENTS_LISTENER_JBOSS_LOGGING_ERROR_LEVEL value: warn - name: KC_SPI_EVENTS_LISTENER_JBOSS_LOGGING_SANITIZE value: "true" -
Save the file and finish the deployment of Keycloak. deployment process is given below:
-
On the master node, create a global ConfigMap for KeyCloak. Change the hostname and other parameters before applying this command ( For Example . FQDN and relative paths )
Bashkubectl apply -f pre-deployment/keycloak/ef-keycloak-configmap.yaml -
Now, deploy KeyCloak by running the following command
Bashhelm upgrade --install=true --wait=true --timeout=10m0s --debug --namespace=ef-external --values=external/bitnami/keycloak/values.yaml keycloak external/bitnami/keycloak/ -
Check the KeyCloak installation status. You can check the status of deployment by using the following command:
Bashkubectl -n ef-external rollout status sts keycloak
-
In case of upgrade of existing deployment, first delete the keycloak config-map deployment in pre-deployment/keycloak/ef-keycloak-configmap.yaml, update the helm chart with above given values, install the config-map of keycloak again and upgrade the helm deployment.
Once, Keycloak is up and running, we can login a user in Keycloak or do any operation related to Admin in Keycloak and can see the event logs being printed in Keycloak console. visit Keycloak console logs with this command:
kubectl logs -f keycloak-0 -n ef-external
The event logs will be visible in this format:
type=LOGIN, realmId=expertflow, clientId=cim, userId=78b066e9-86f7-435c-a884-1ca1dee19792, ipAddress=58.65.216.11, auth_method=openid-connect, token_id=08490107-5e95-473c-9b74-8478fa7543b6, grant_type=password, refresh_token_type=Refresh, scope='email profile', refresh_token_id=06ee24f6-a51e-4ec5-b2eb-df2883a1409a, client_auth_method=client-secret, username=admin, authSessionParentId=58aa97e8-dfdb-4b45-b9b8-00ff0a3fd358, authSessionTabId=501xjp59Ybc
operationType=CREATE, realmId=44c43c3e-616f-4890-9723-0fbc9e5bf9fd, clientId=69ce6743-6518-47ff-9e20-05a4d5414874, userId=93752b02-d328-472a-96df-2211d9cf6bc8, ipAddress=58.65.216.11, resourceType=USER, resourcePath=users/a4ed698a-a1e1-4a9b-9abd-c57c16713cc5
operationType=ACTION, realmId=44c43c3e-616f-4890-9723-0fbc9e5bf9fd, clientId=69ce6743-6518-47ff-9e20-05a4d5414874, userId=93752b02-d328-472a-96df-2211d9cf6bc8, ipAddress=58.65.216.11, resourceType=USER, resourcePath=users/a4ed698a-a1e1-4a9b-9abd-c57c16713cc5/reset-password