This document covers the setup of keycloak to enable KeyCloak client applications with role based authorization mechanism.
Introduction
Keycloak covers the authentication mechanism using open-id connect and using oauth mechanism. We are able to authenticate users using access tokens but for authorisation purpose we need resource server (client) in KeyCloak realm and resources to manage authorisation. We use Role Based authorisation to secure our API's.
Follow the steps below for setting up keycloak for Role Based Authorization. We divide our setup in two parts:
-
Setup of Realm, Client, Roles and Users.
-
Setup of Resources, Scopes, Permissions, Policies and Evaluation of Permissions.
Setup of Realm, Client, Roles and Users:
-
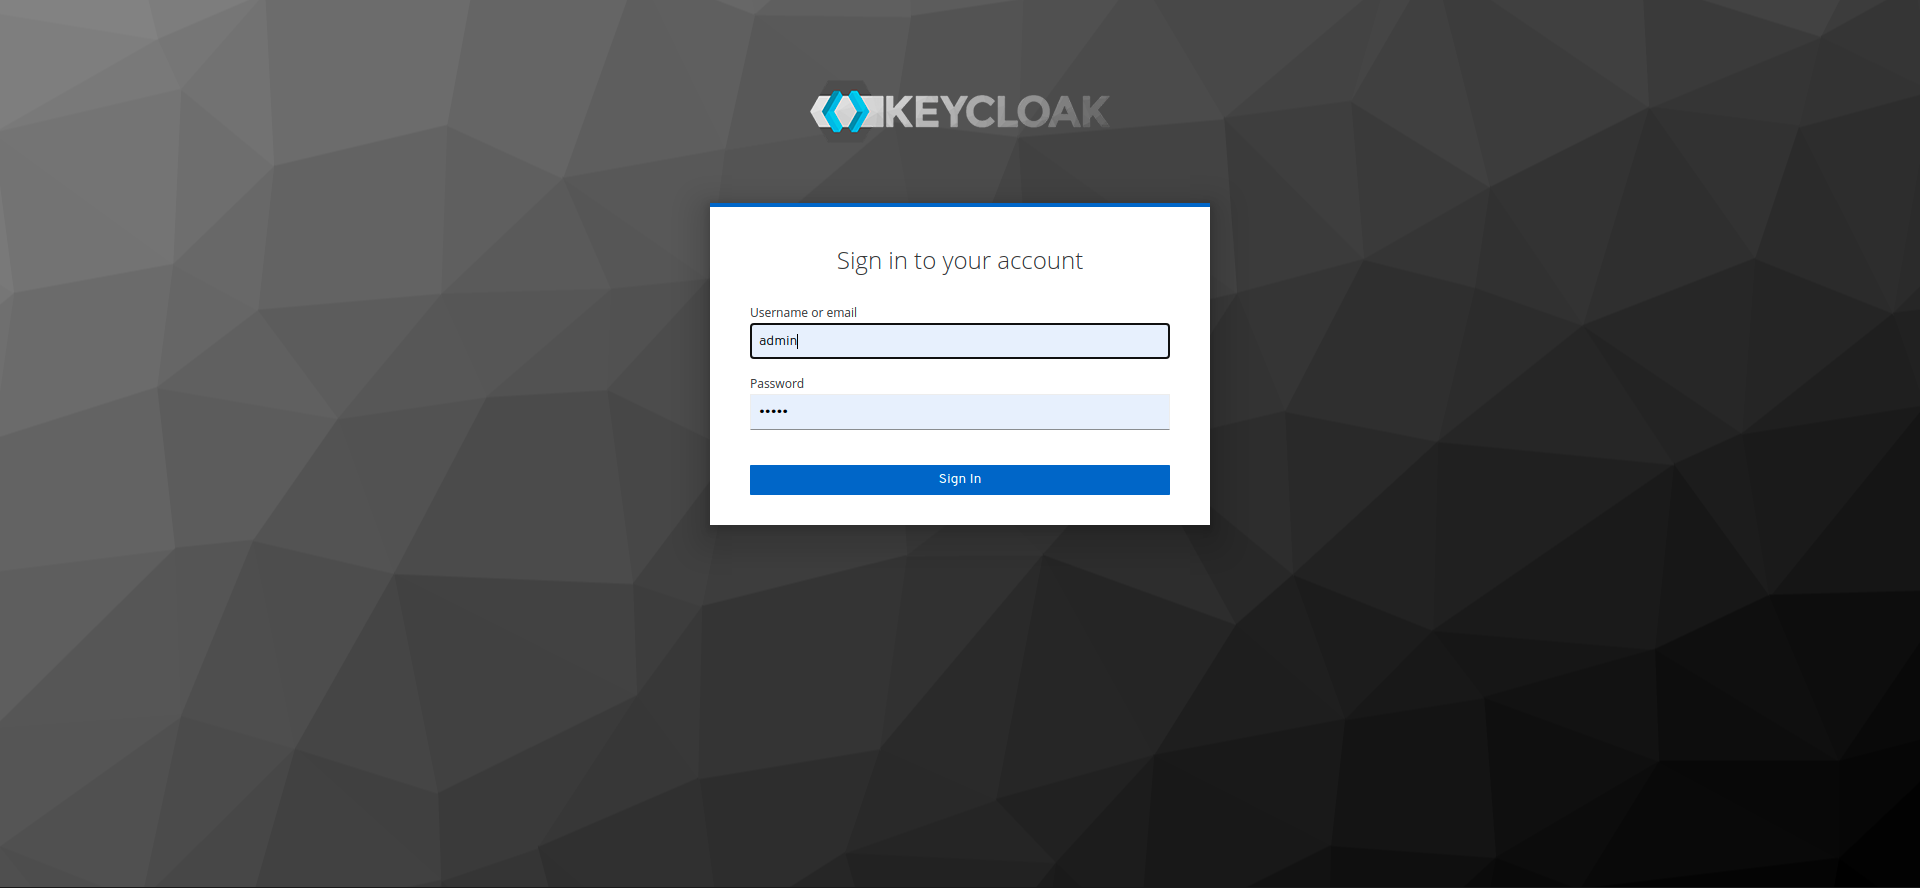
Login to KeyCloak Administration console.
-
Login to the administration console using the password set in environment variables (KEYCLOAK_USERNAME and KEYCLOAK_PASSWORD). Default username is admin and password is admin.
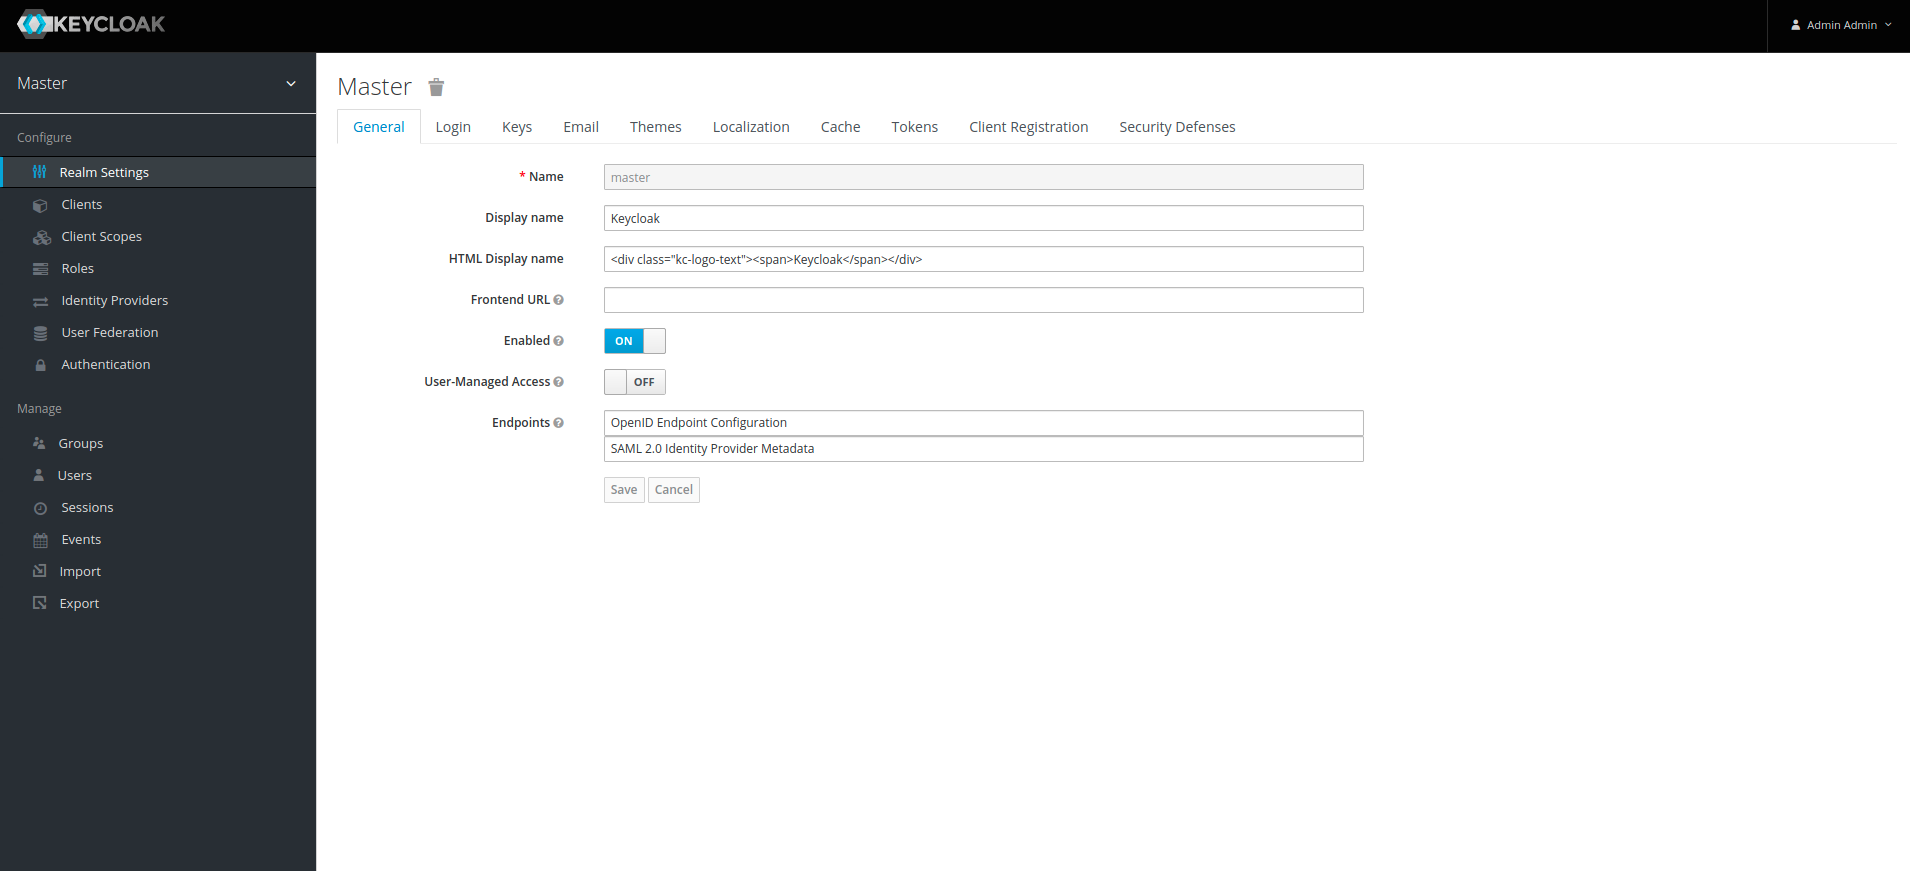
-
Bring cursor to master realm and click on Create button.
4. Enter Realm name and click on Create button
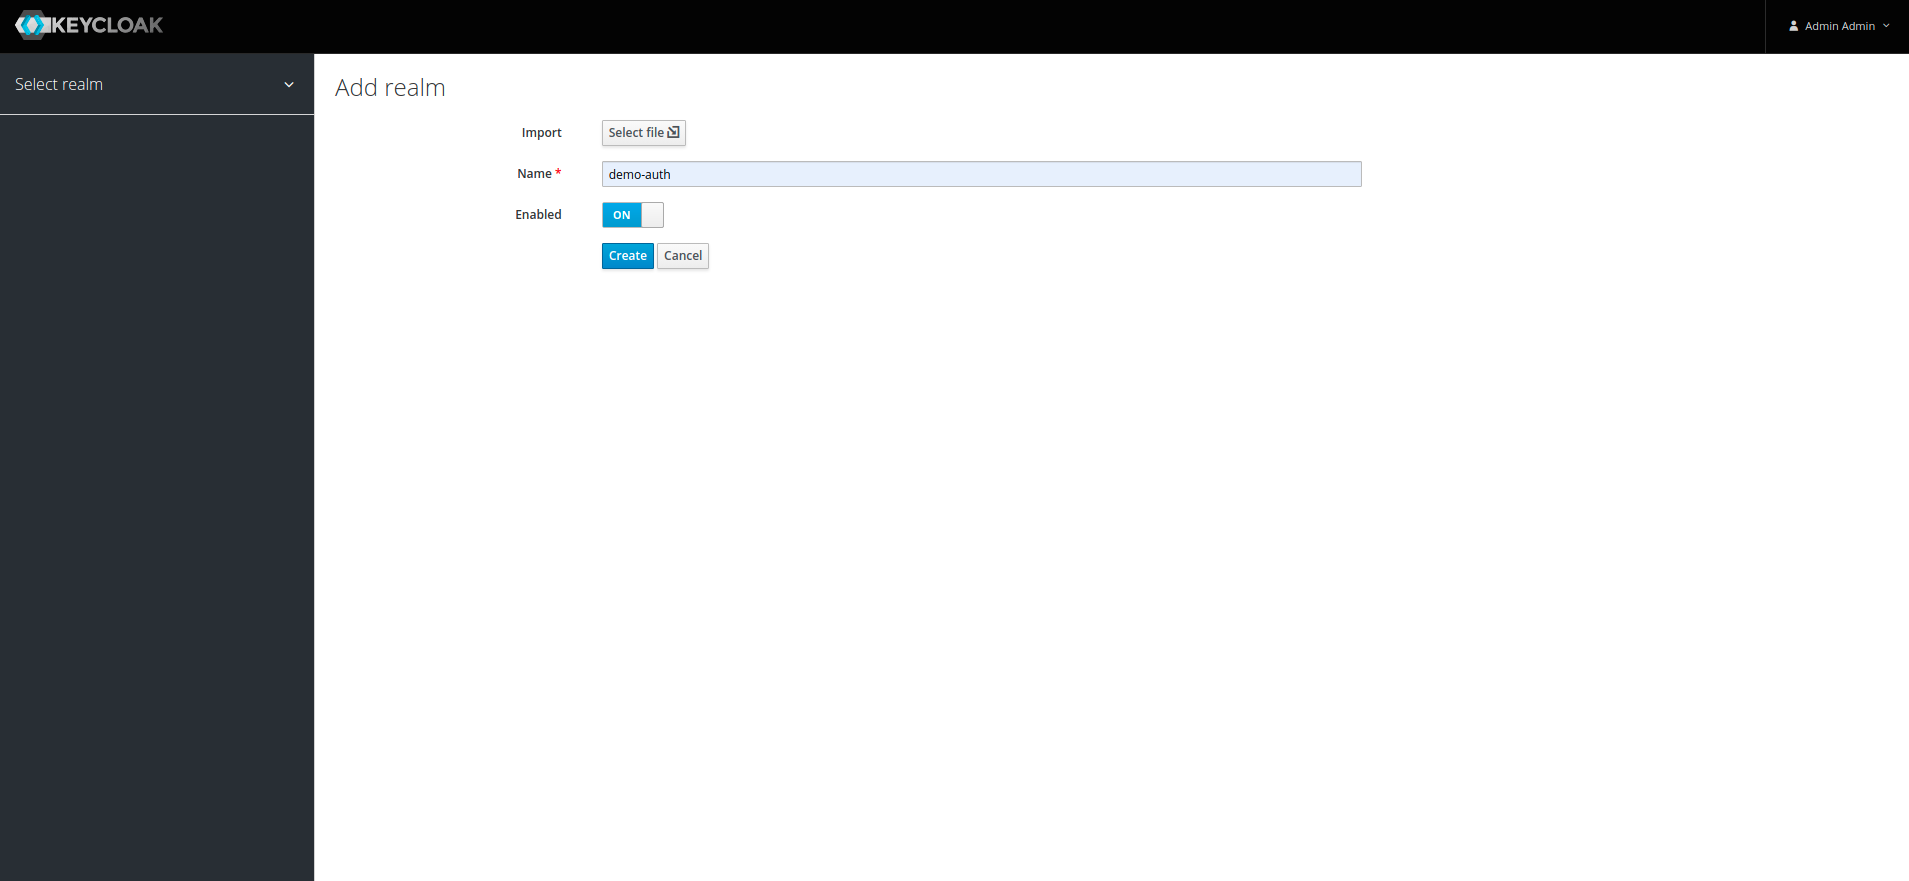
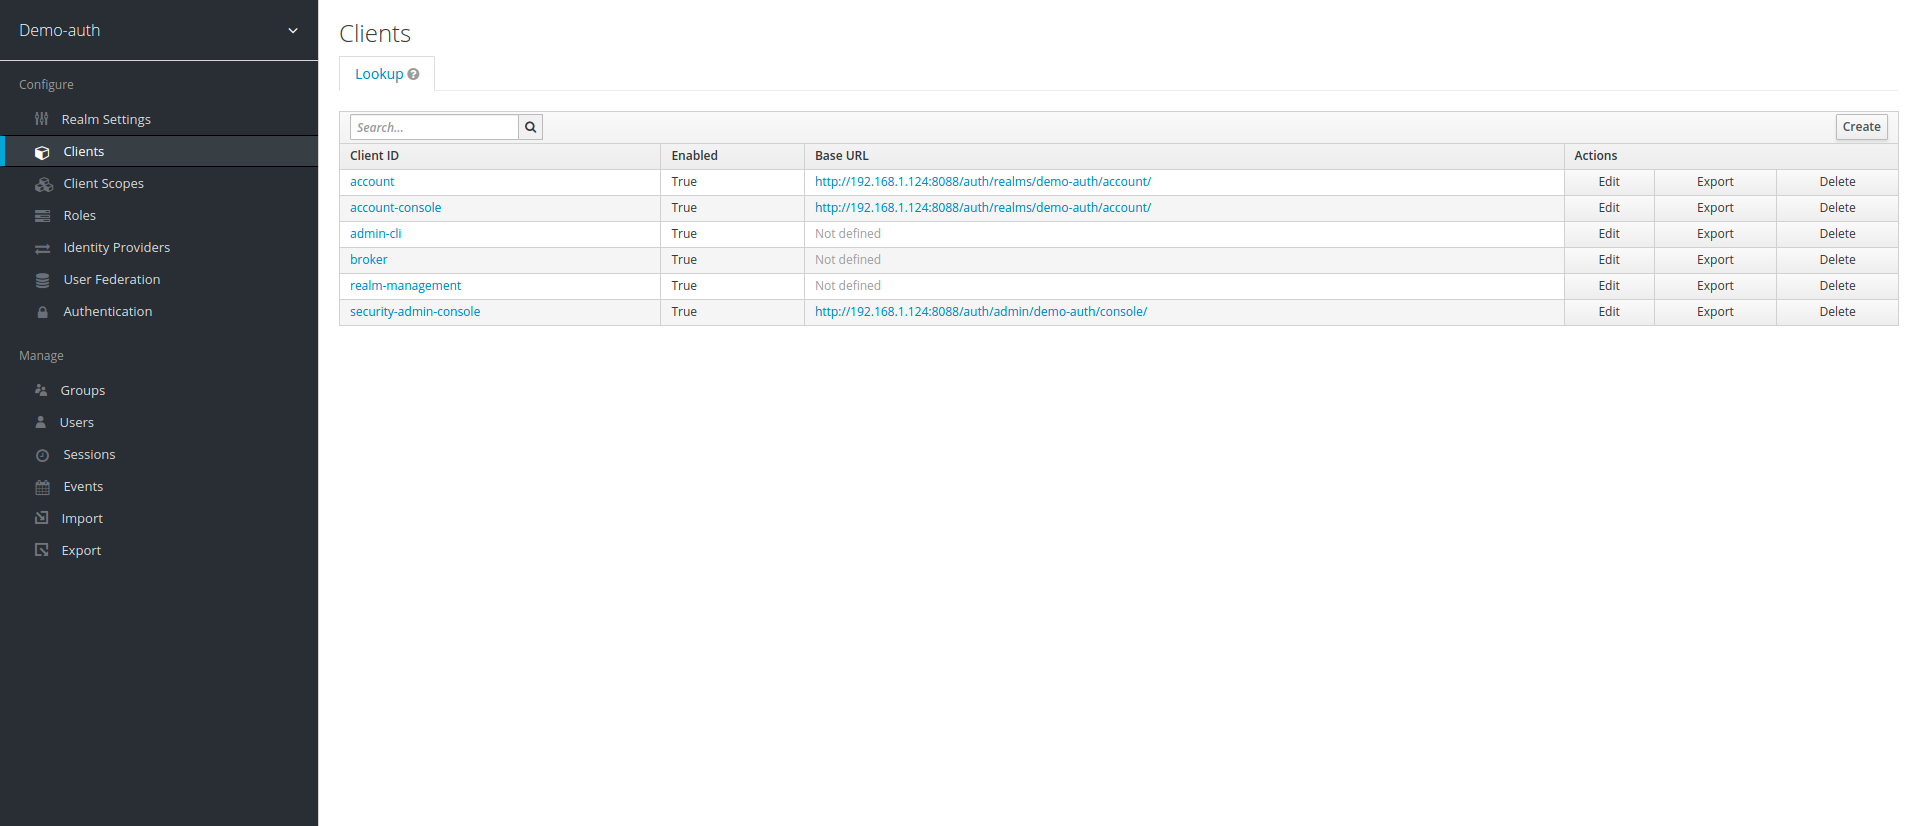
5. Once Realm is created, click on clients under the created realm and then click create
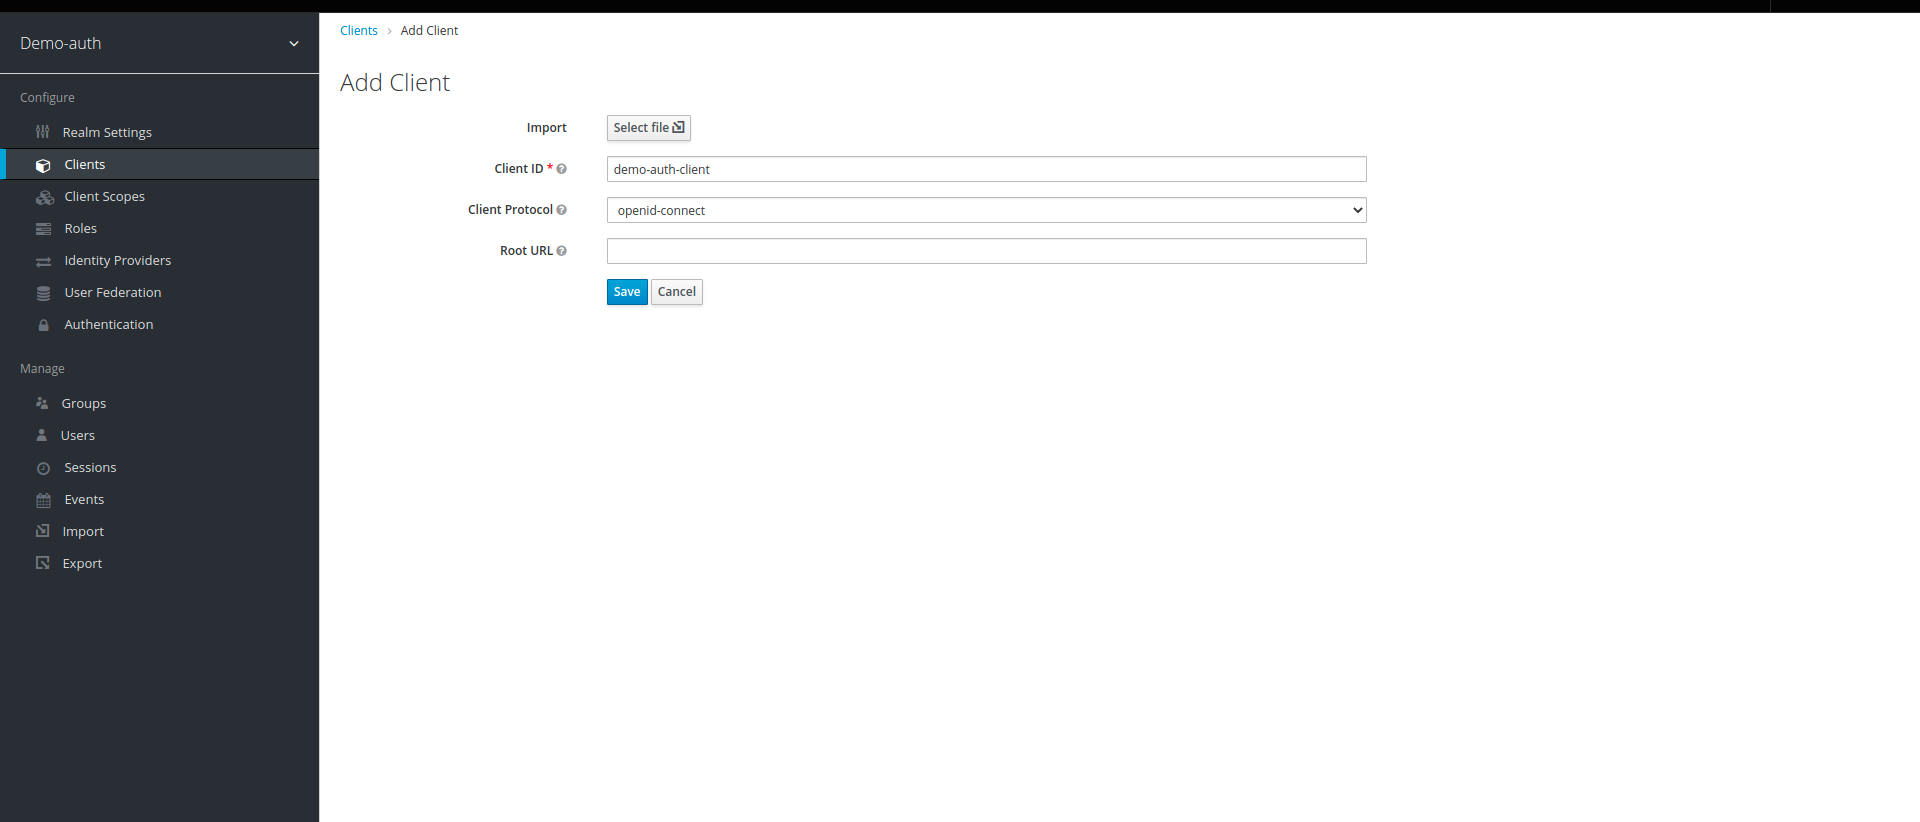
6. Enter Client ID with name of your choice, keep the rest default and click on save
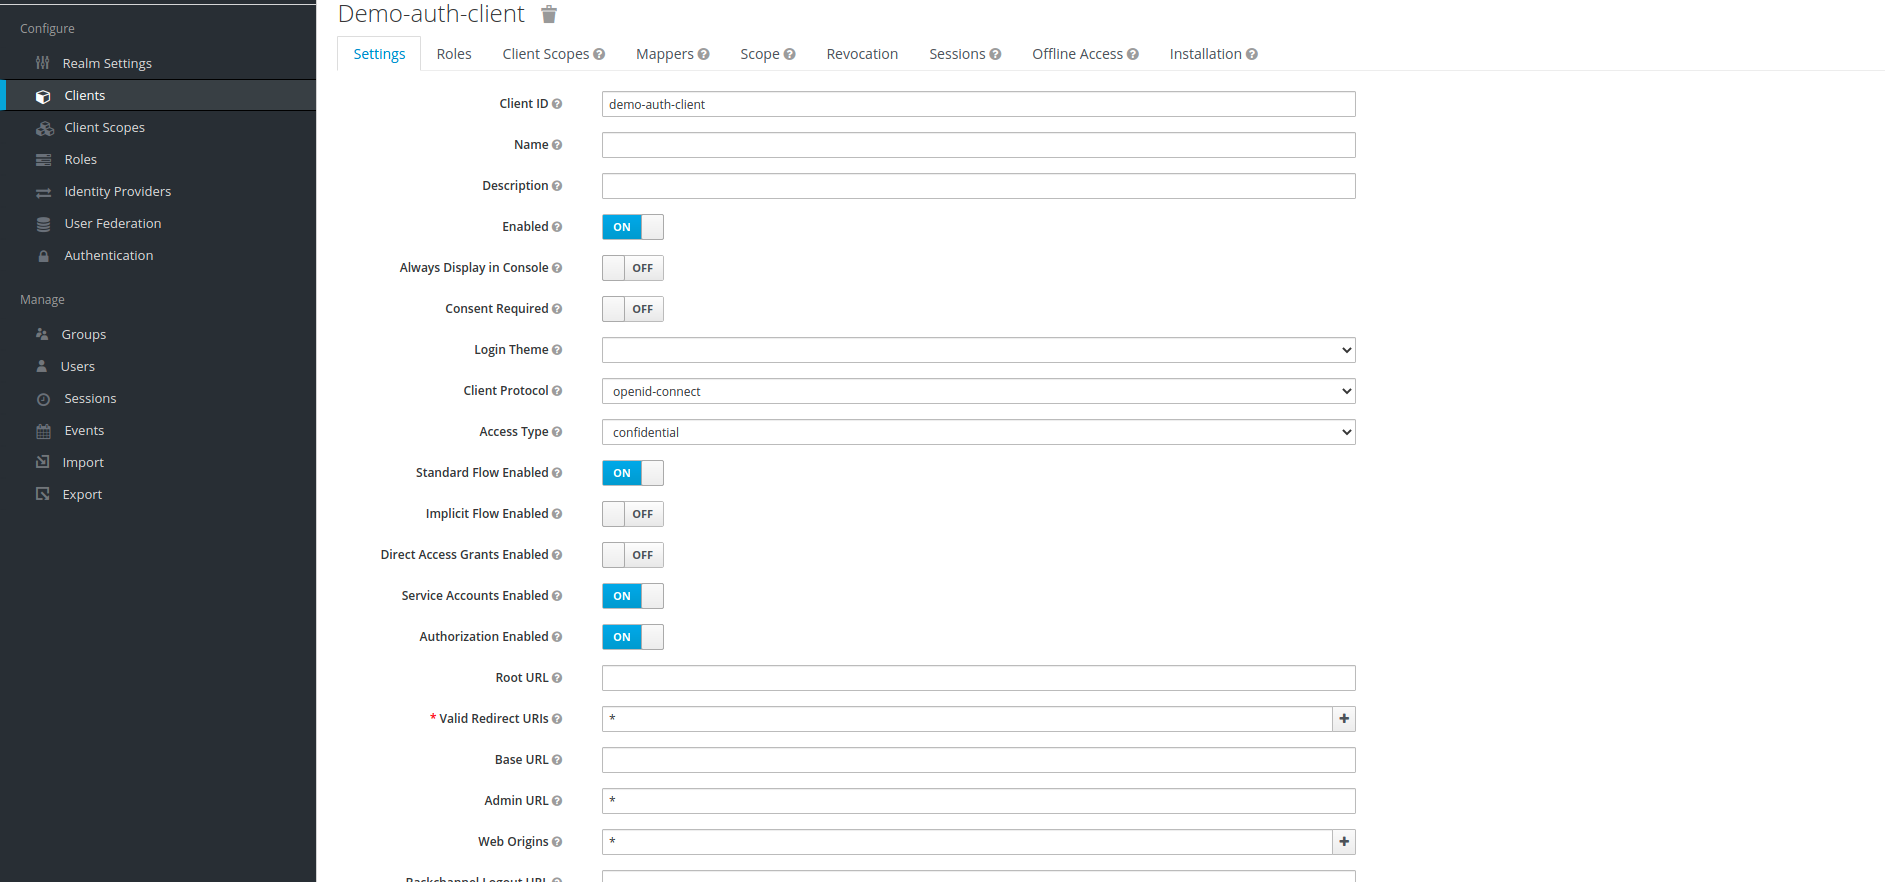
7. Once it is created, change the Access Type to confidential, turn Consent Required, Backchannel Logout Session Required to off and turn Authorization Enabled to on, enter "*" in Valid Redirect URIs,Admin URL,Web Origins and click on save
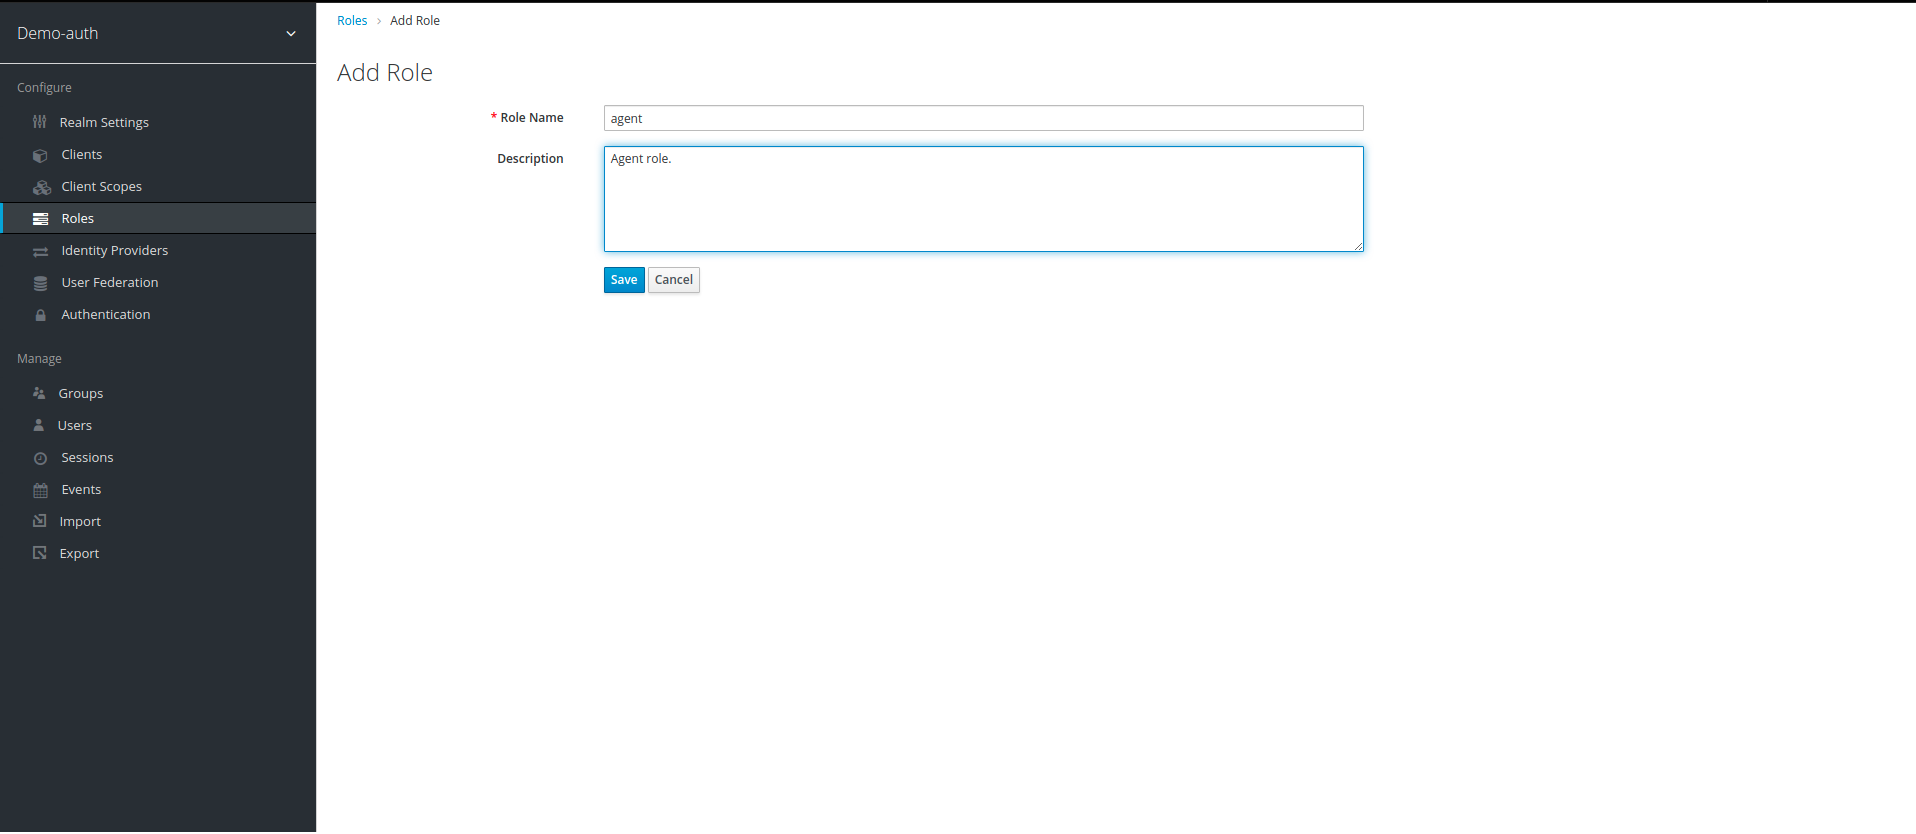
8. After setup of our client, we now create Roles that we will use in our Role Based Authorization, to create roles click on Roles below client scope on left panel and then click on Add Role.
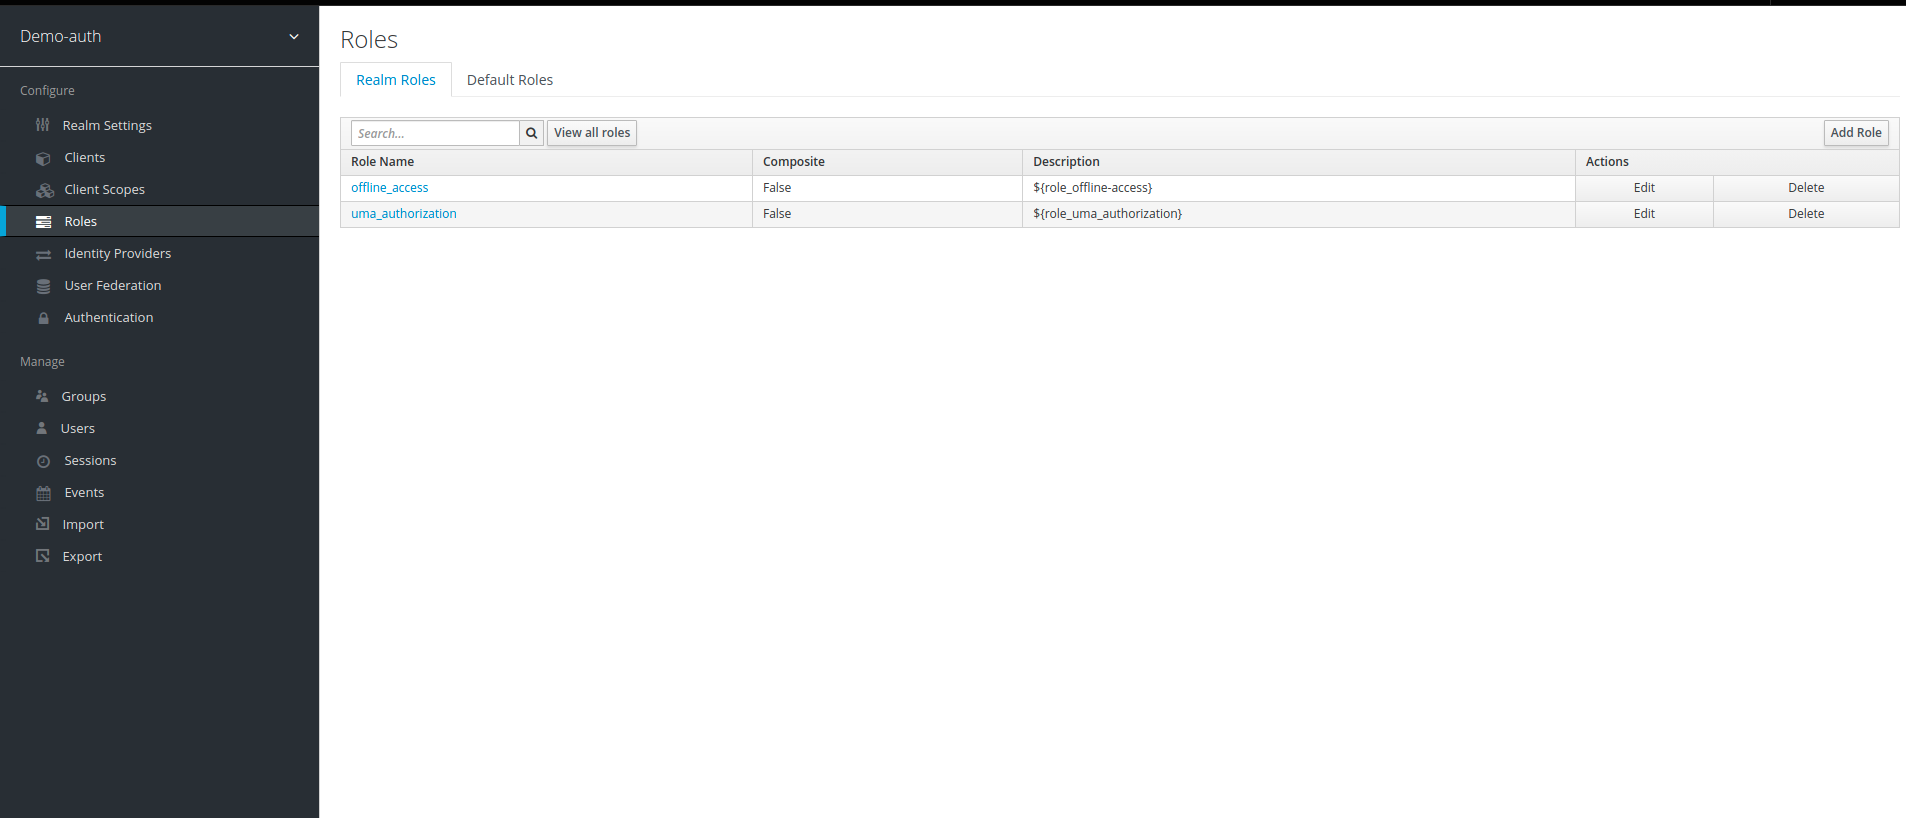
9. In Role Name, write the name of role you want to create. For our example, we are creating two roles admin and agent. We will later review what each role can do in our policies.
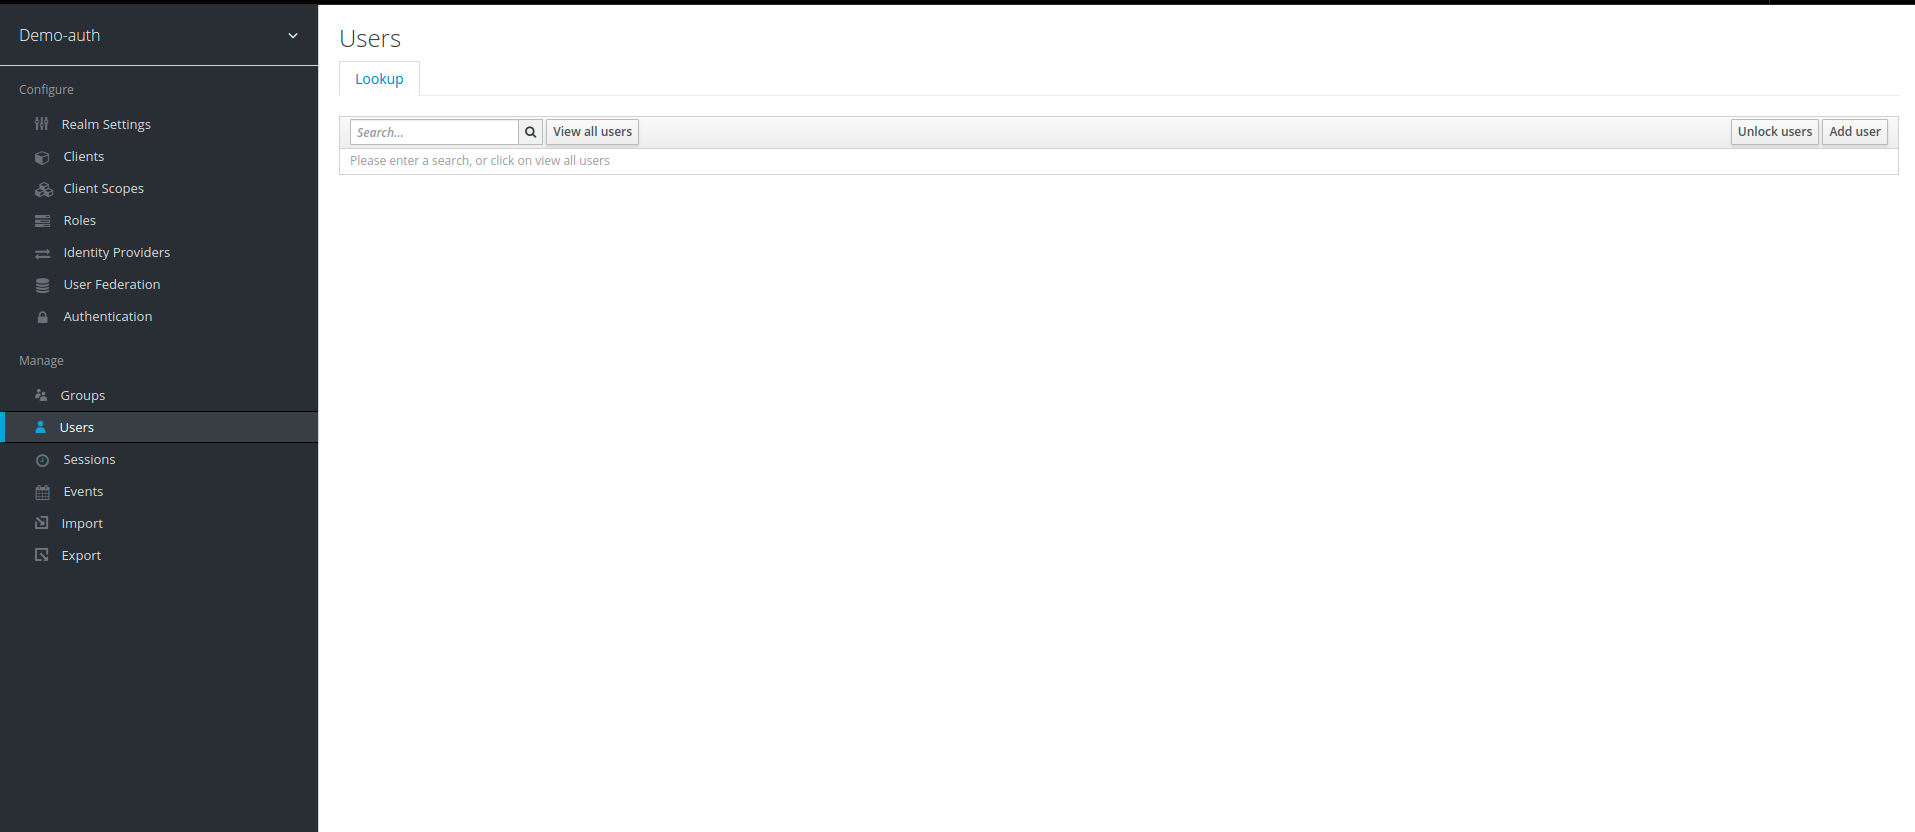
10. Once Roles are created, we create users to assign them roles. To create User click on Users tab under Manage section is left side panel and then click on Add User.
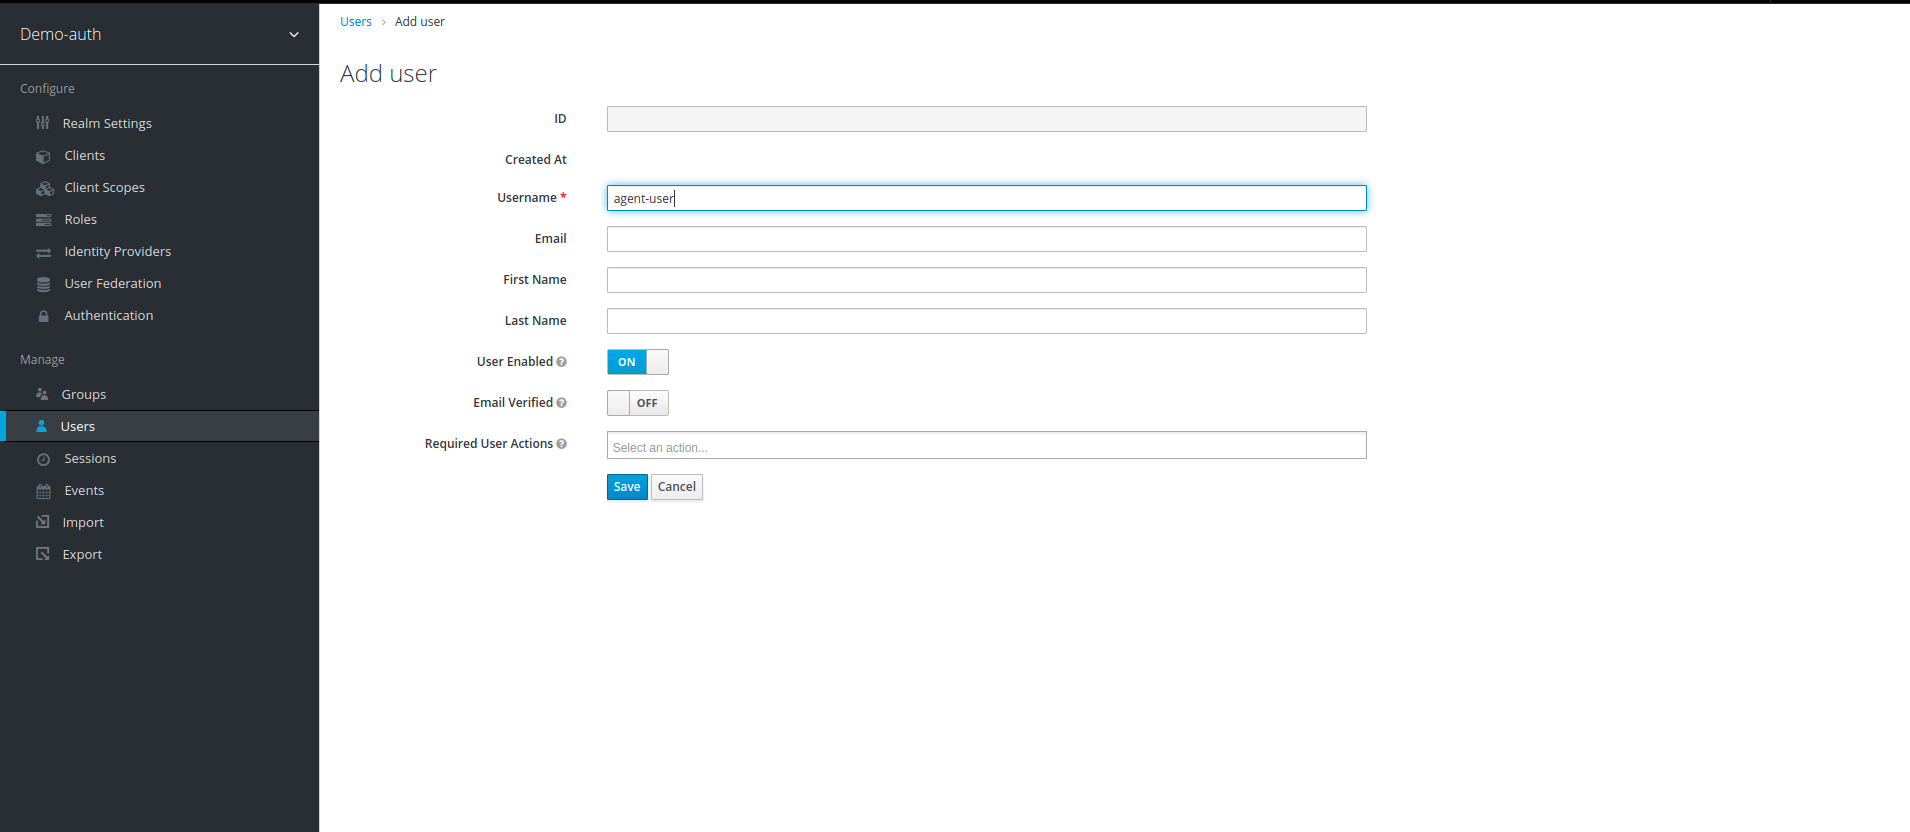
11. Write the name of your choice in field Username and click save, we create two user in our example agent-user and admin-user.
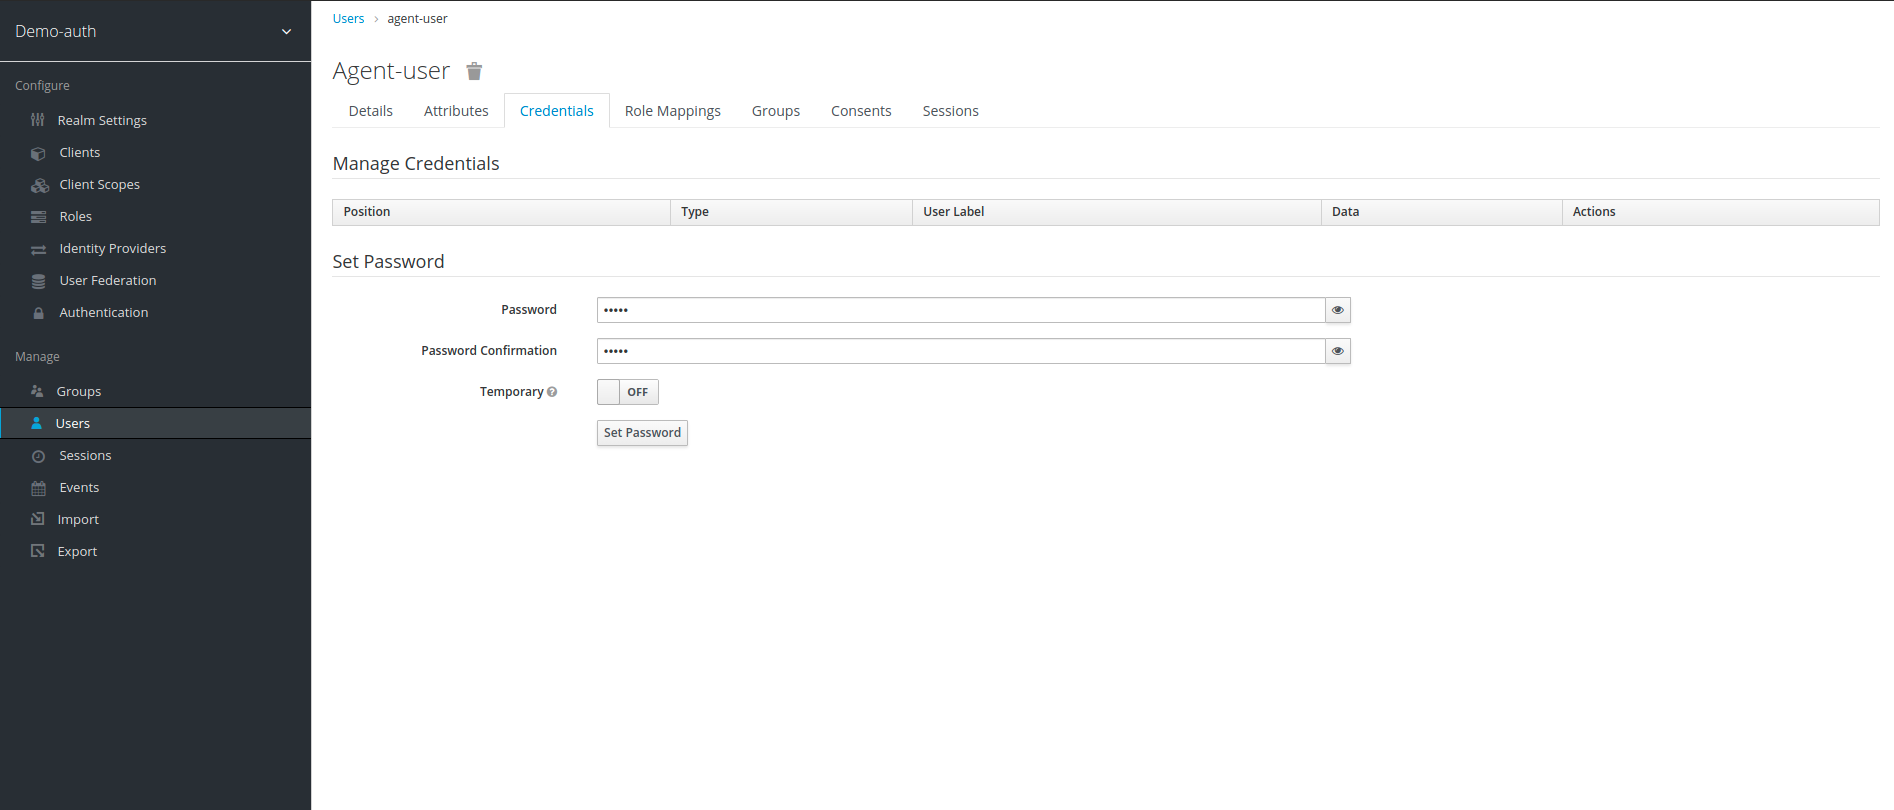
12. Once user is created, we can see additional fields at top (Details, Attributes, Credentials). Now select Credentials field and type password of your choice, also turn Temporary to off.
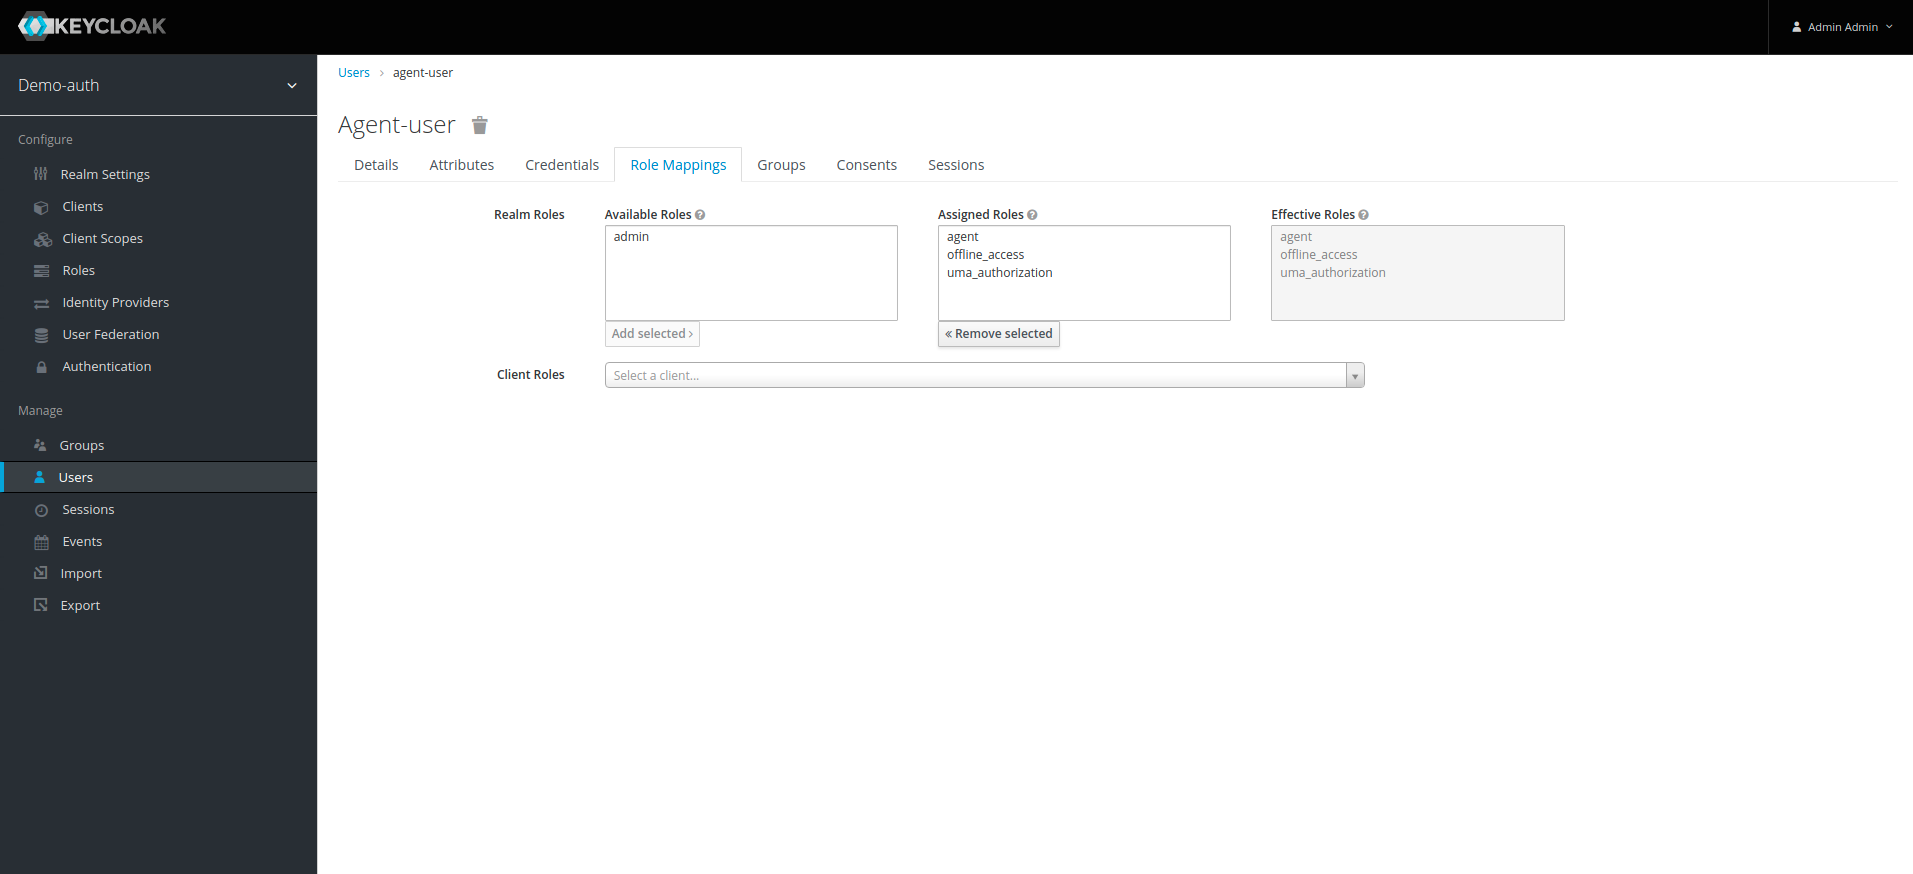
13. To assign the roles we previously created to user, click on Role Mappings tab on top. we can see admin, agent roles along with uma_authorization and offline_access, for agent user assign all roles except agent from realm roles, we dont need to assign any client roles for agent user.
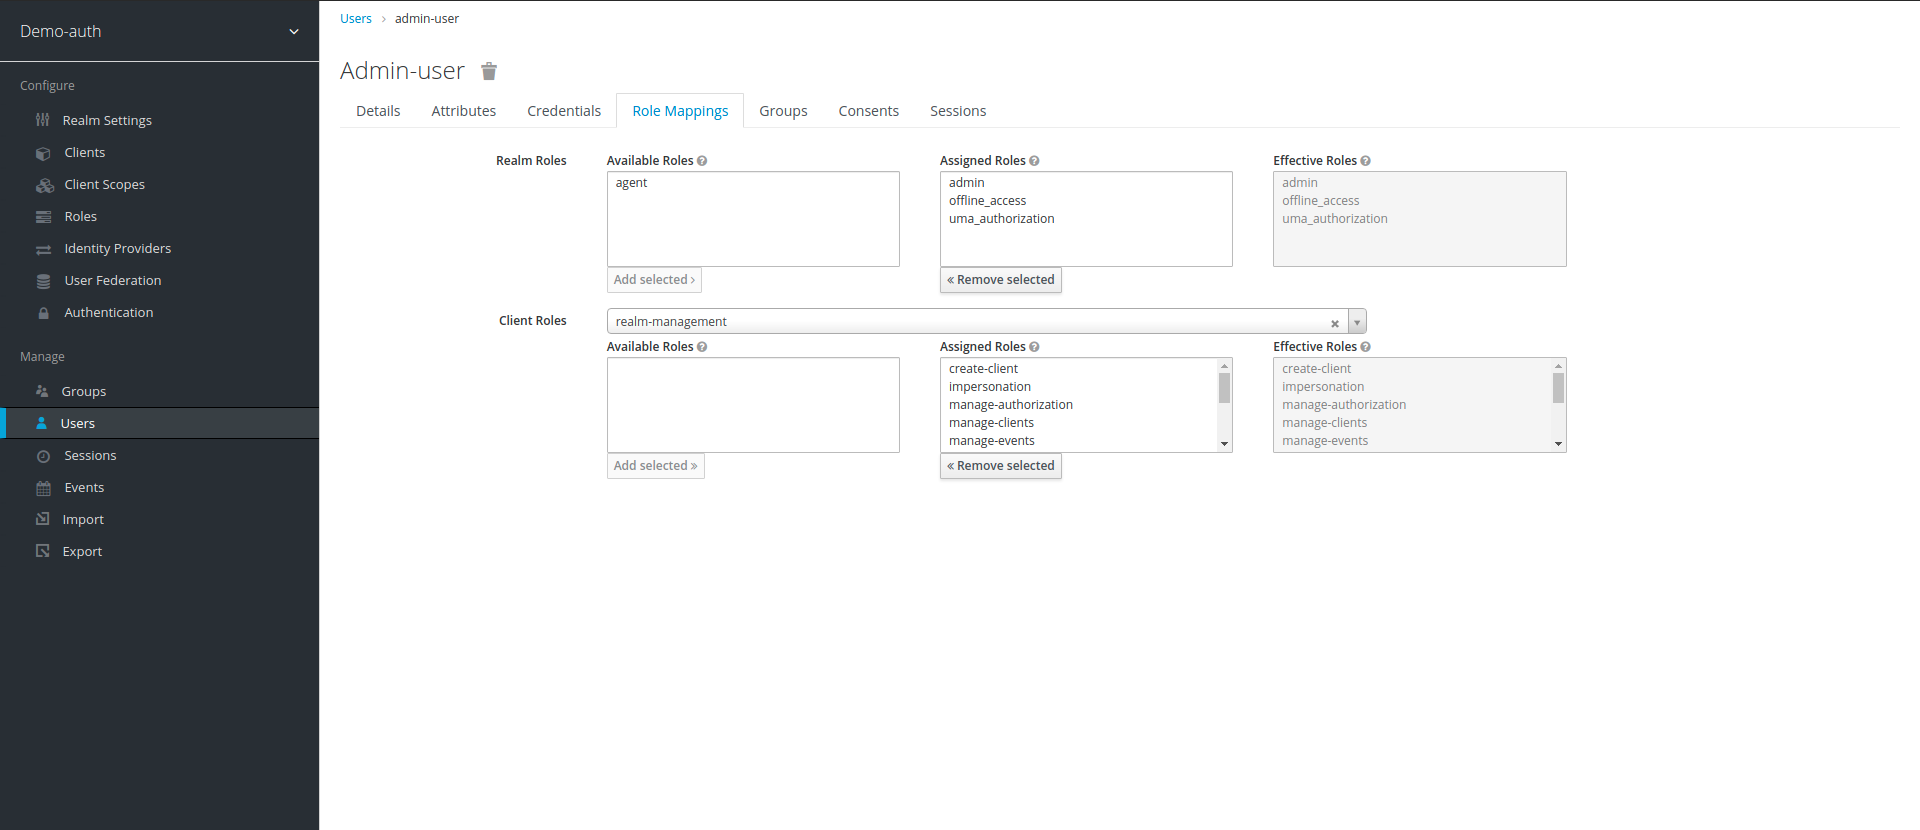
14. For admin-user we assign admin from Realm Roles and from Client Roles we select all the roles of realm_management.
Setup of Resources, Scopes, Permissions, Policies and Evaluation of Permissions:
Once Setup of Realm, Client, Users and Roles is completed, we are now ready to start setup of our Role Based authorization mechanism:
-
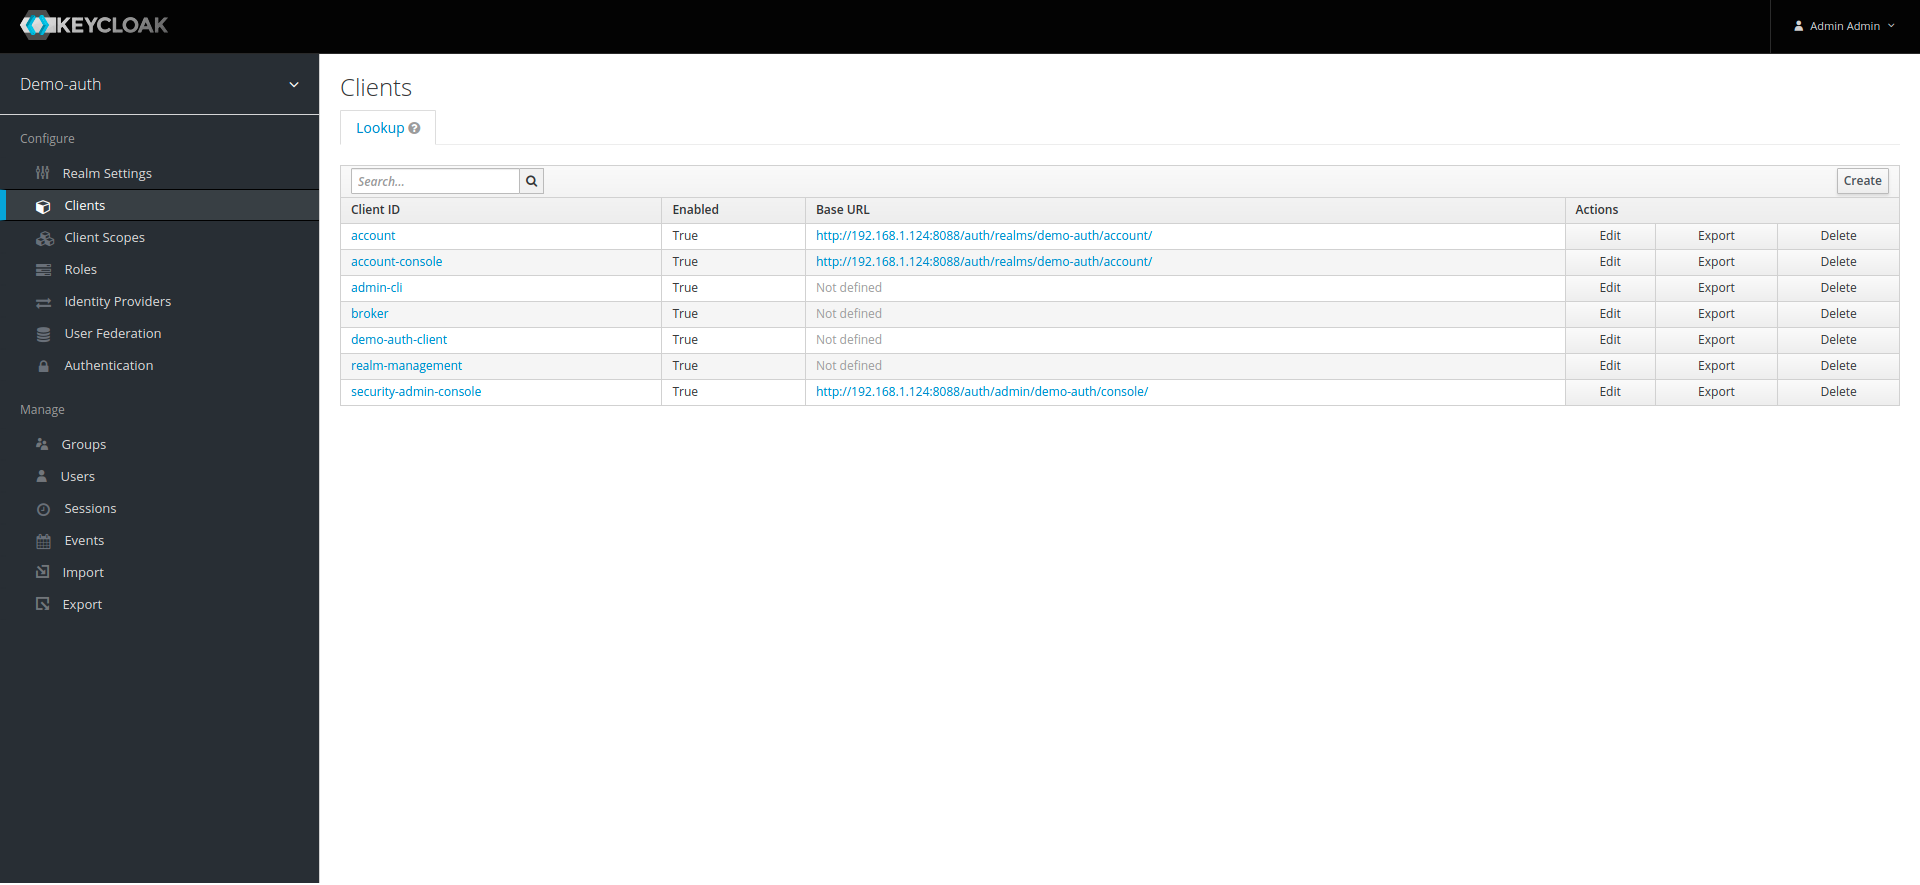
Click on Clients on left panel, a list of client apps will be shown, click on our targeted client app, in our case its demo-auth-client.
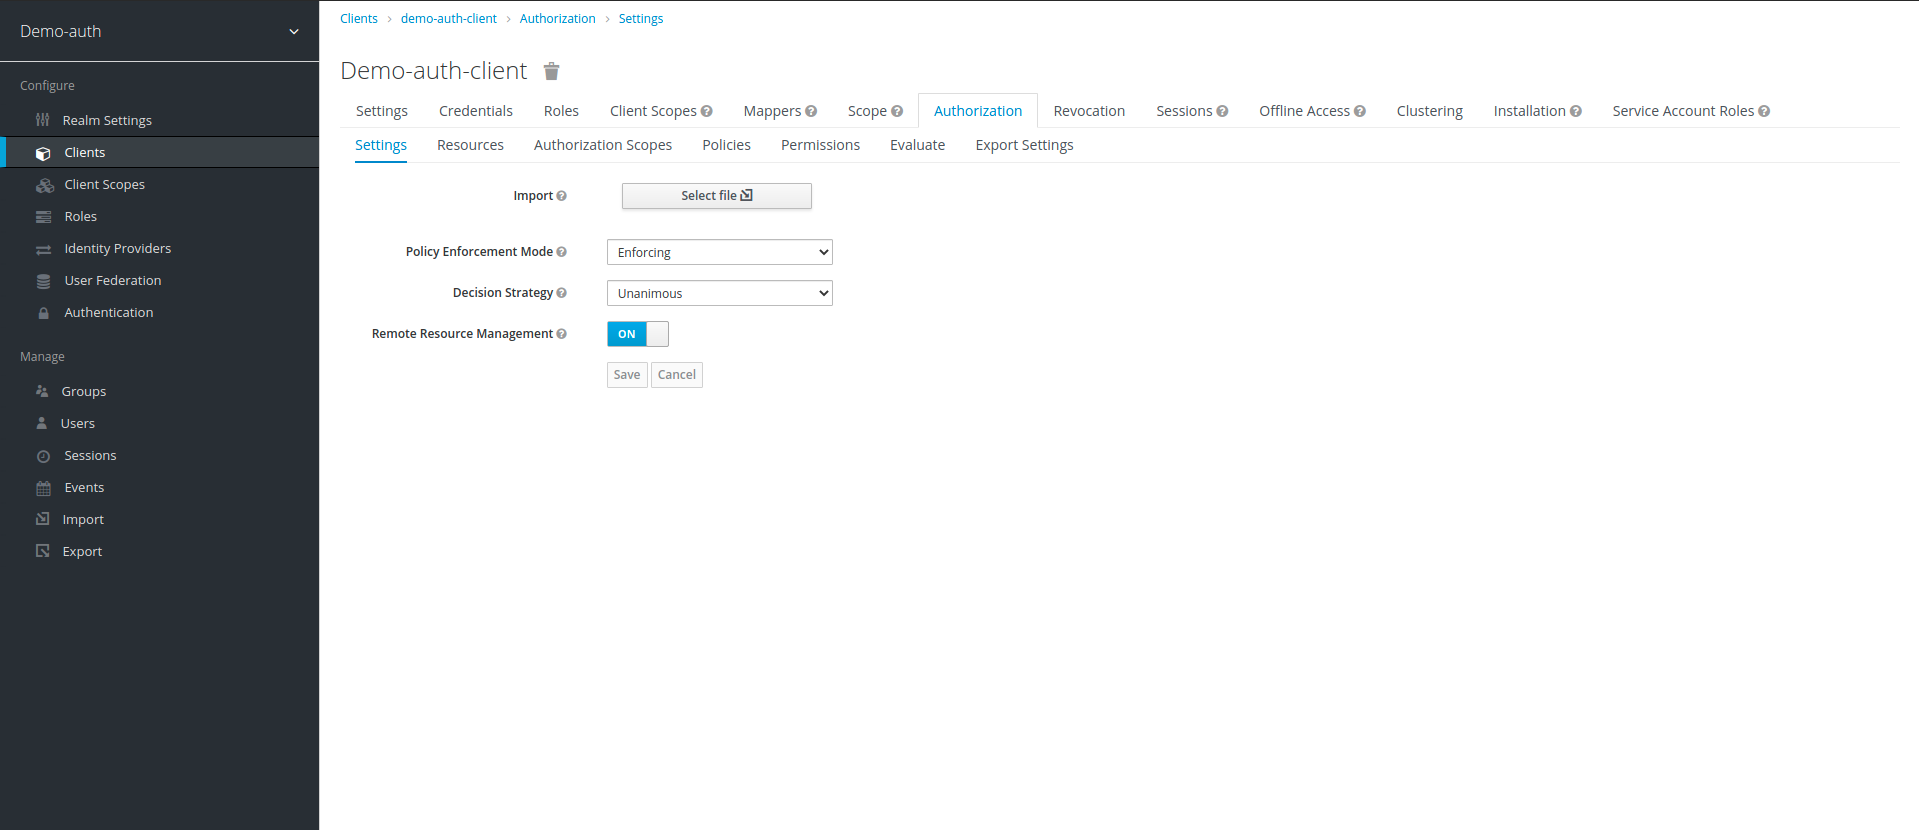
2. After selecting the client application, we go to the Authorization tab, Authorization sections contains all the features that we need for authorization i.e resources, scopes, policies, permissions
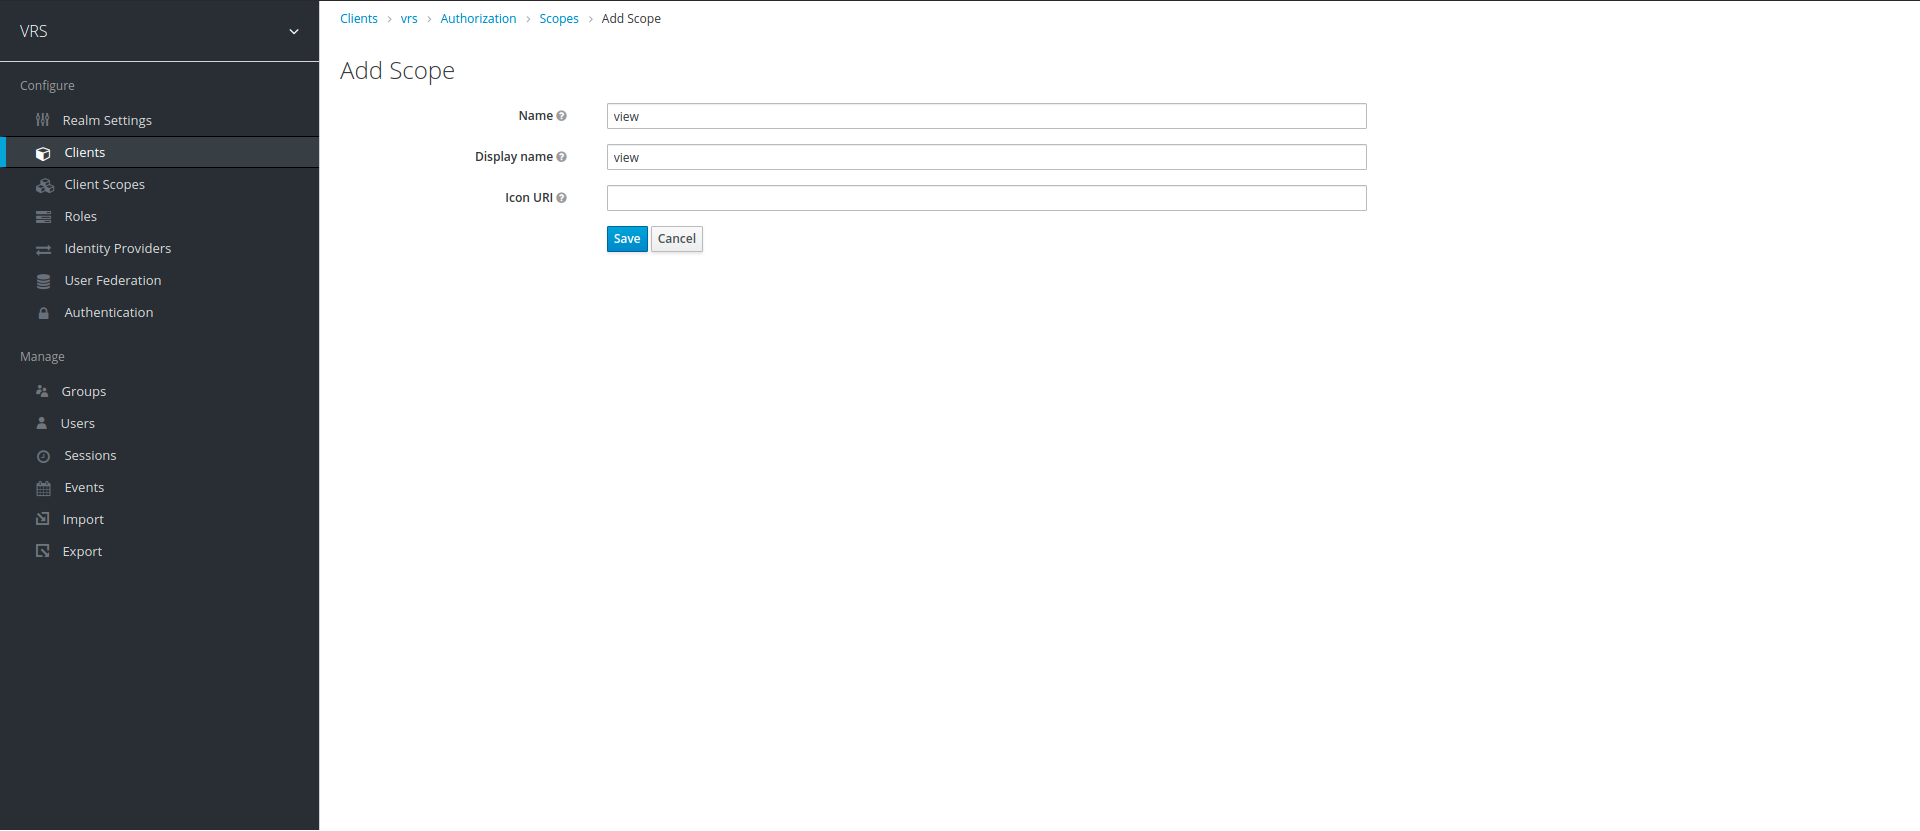
3. Our first task should be to create scopes, Scopes are the actions that we can perform on resource/resources. we will create two scopes for our example i.e view, manage. To create scope, click on scopes tab and click on Add Scope. Enter scope name and display name and click save. Scope name will later be used in our policy enforcer.
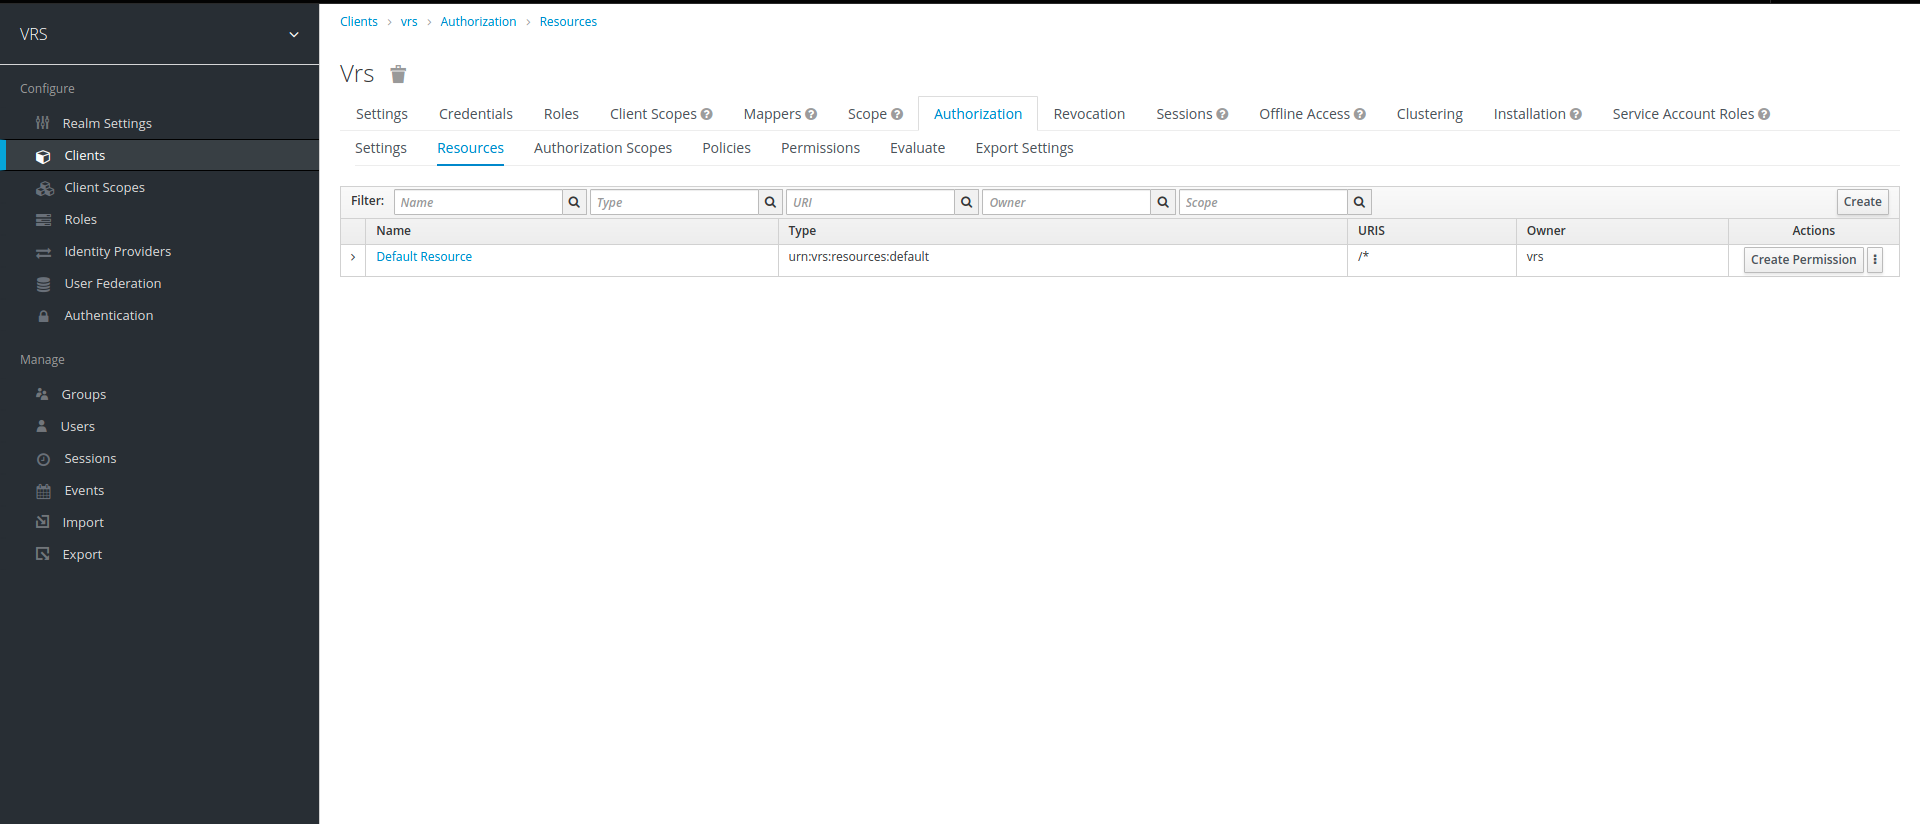
4. Once we have created our scopes, we now create a resource to assign scopes to it. Click on Authorization to go back to main menu, then click on resource tab and select Create.
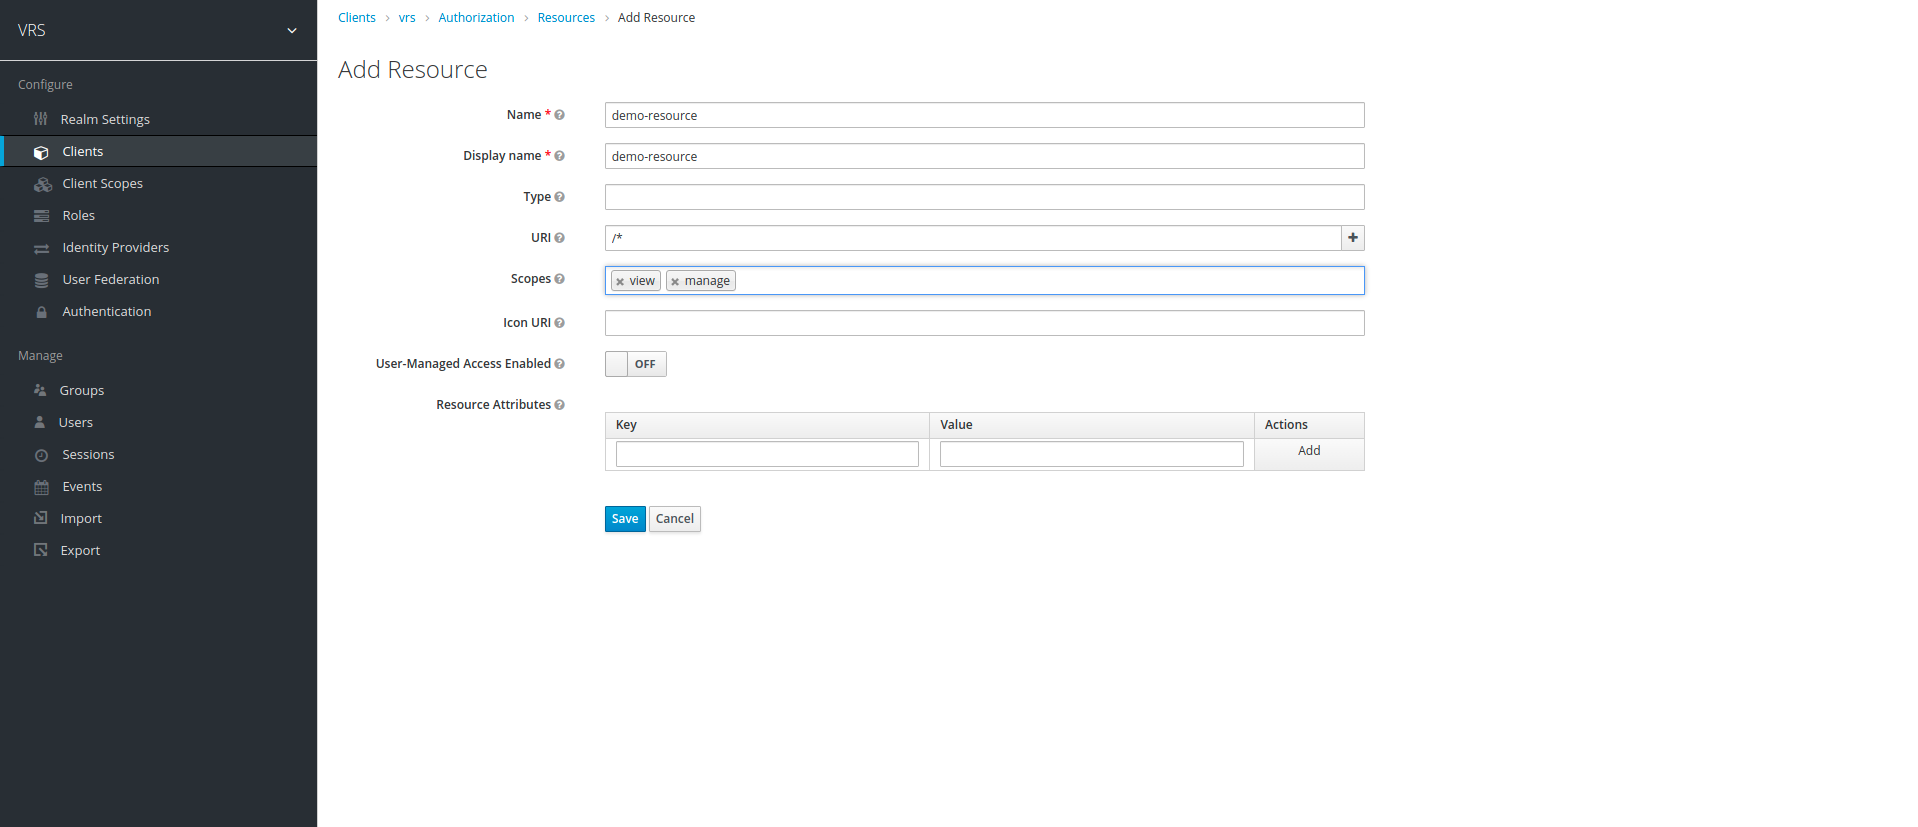
5. While creating resource, we are required to give name, display name, uri and scopes. we select both scopes that we created previously, in URI we can give uri of resource we want to secure, here we've set the scope of this resource to whole application.
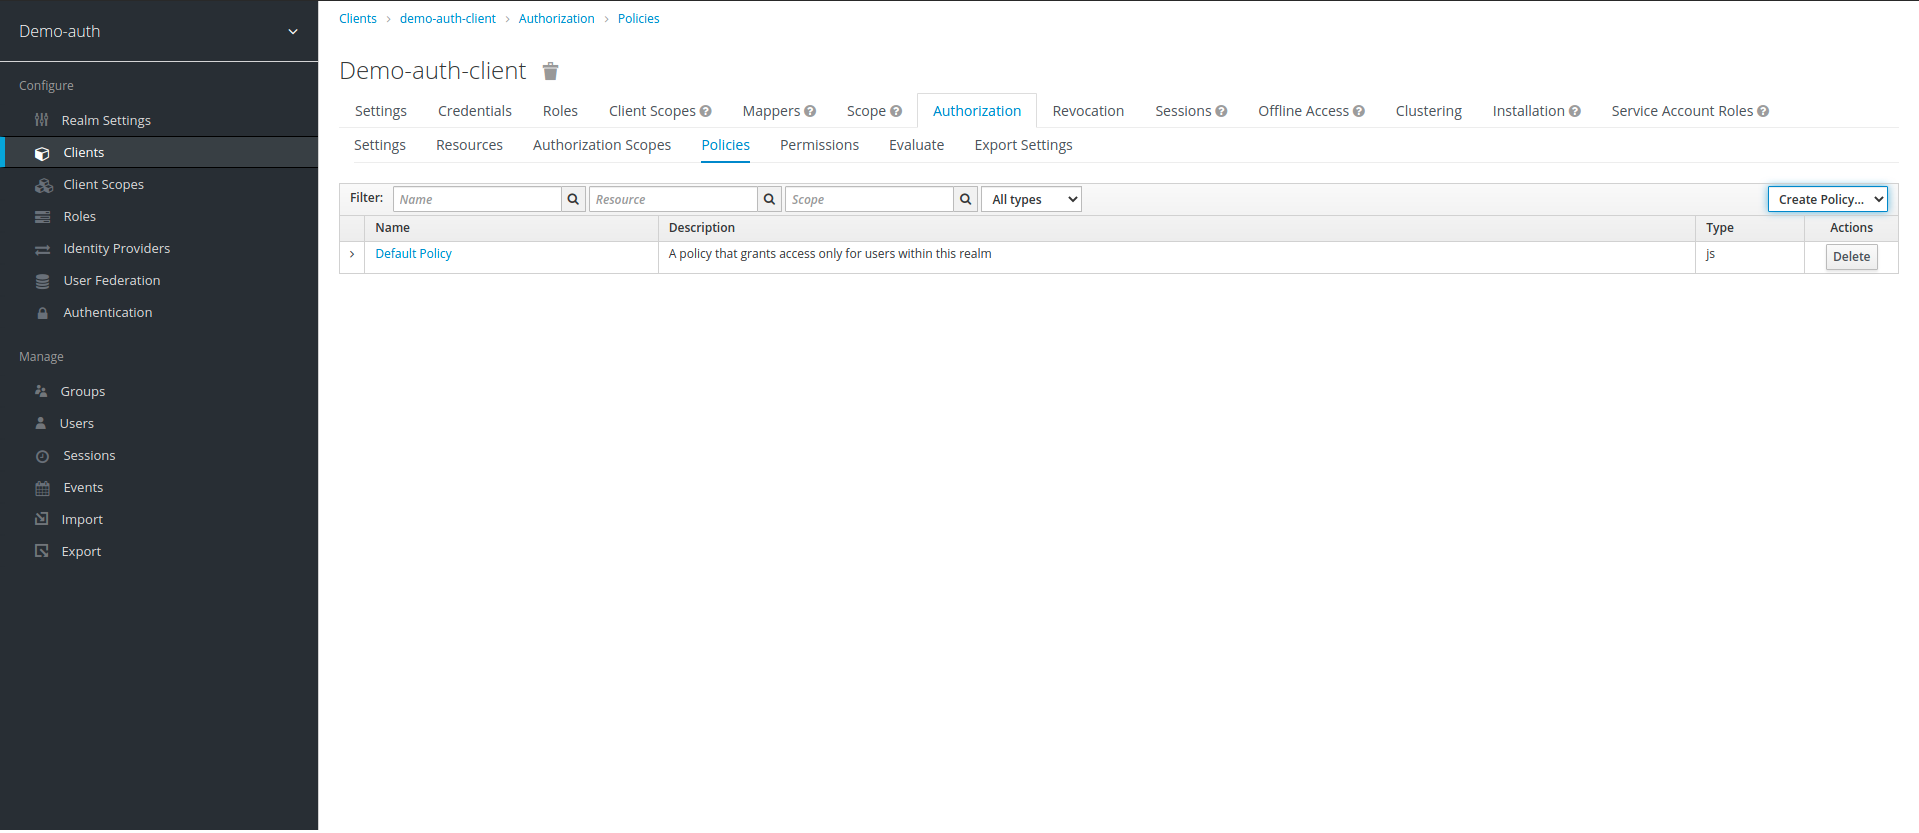
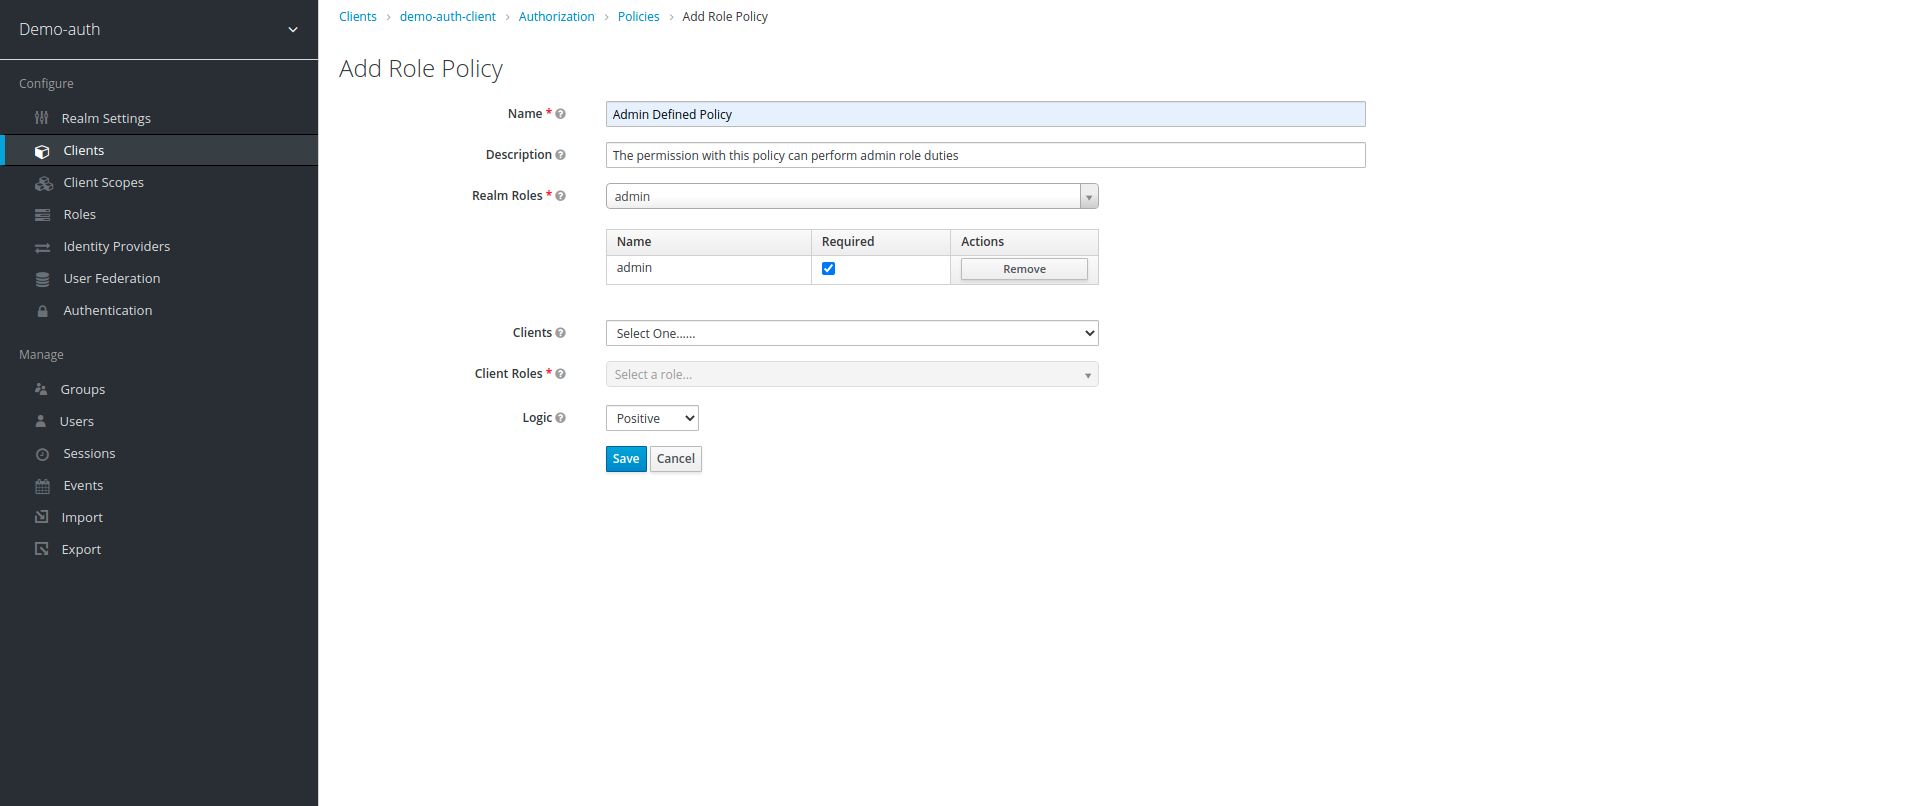
6. After creating resource, we create policies. Click on Authorization option on top to go to main menu, then click on Policies tab, in Policies tab click on create policy drop-down and select Role
7. Once we are in Role Based policy create menu, we require to give name of policy along with description & its realm/client role. Here we create policy for admin, with realm role admin as require, it means the scope with this policy can only be accessed by a user with role admin. we also create another policy named agent policy and assign both admin and agent roles to it.
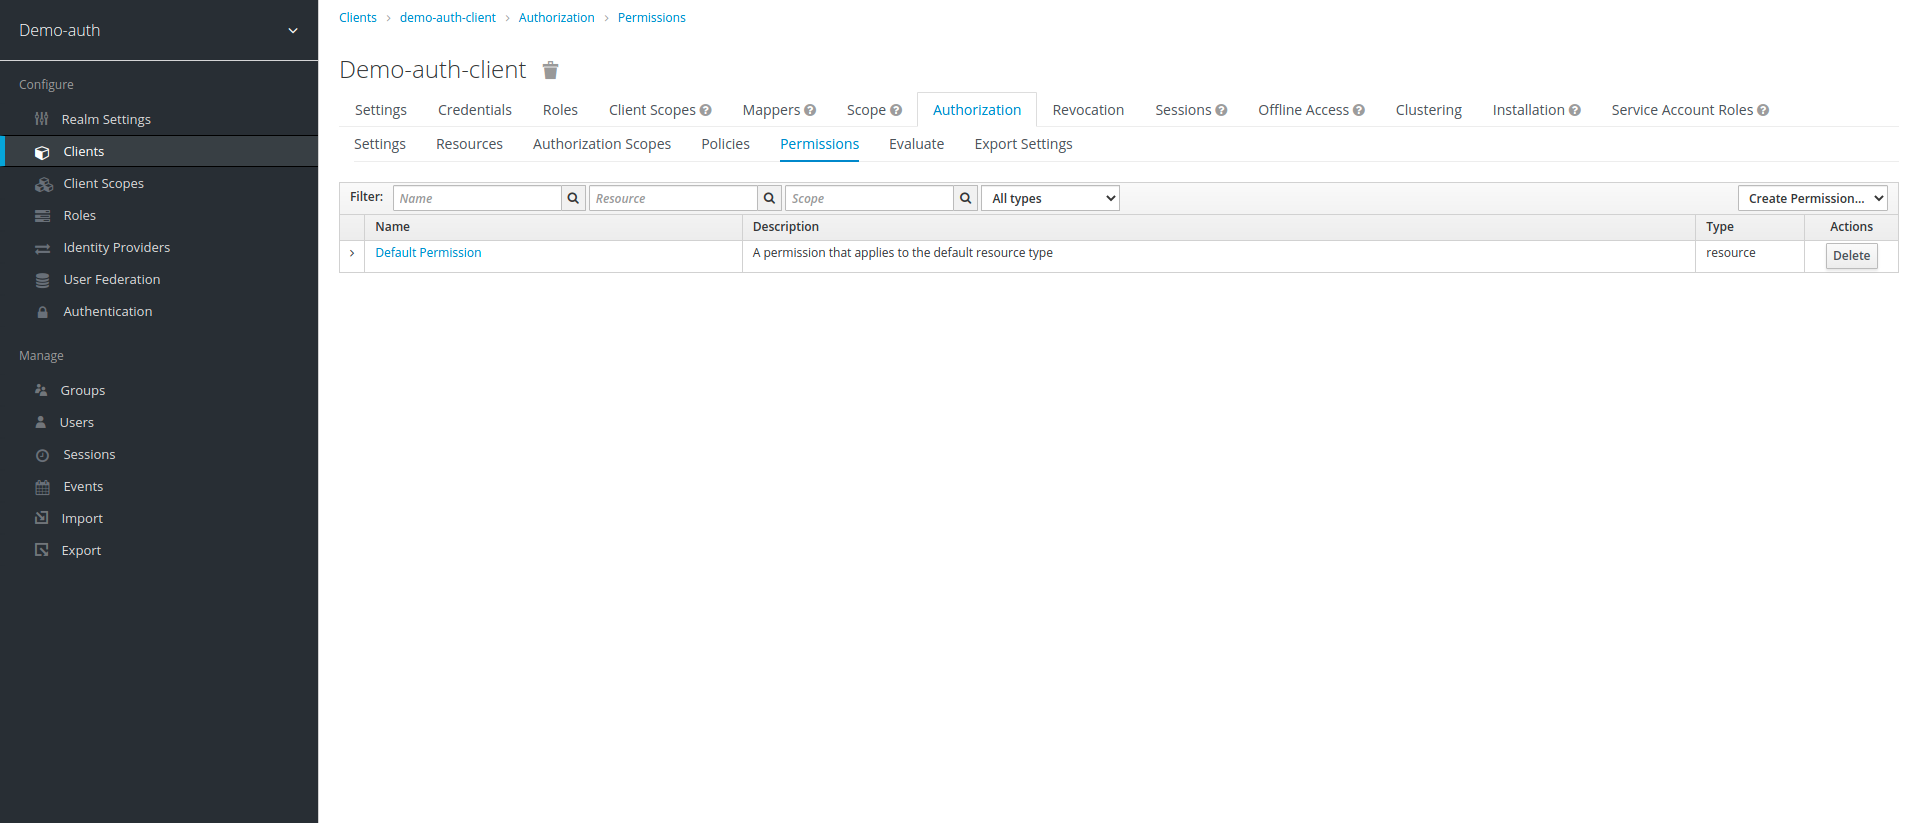
8. After creating the policies, we now enter our final step to create permissions. to create permission first click on Authorization option on top to go to main menu, then click on Permissions tab, in Permissions tab click on create permission drop down and then click on scope-based:
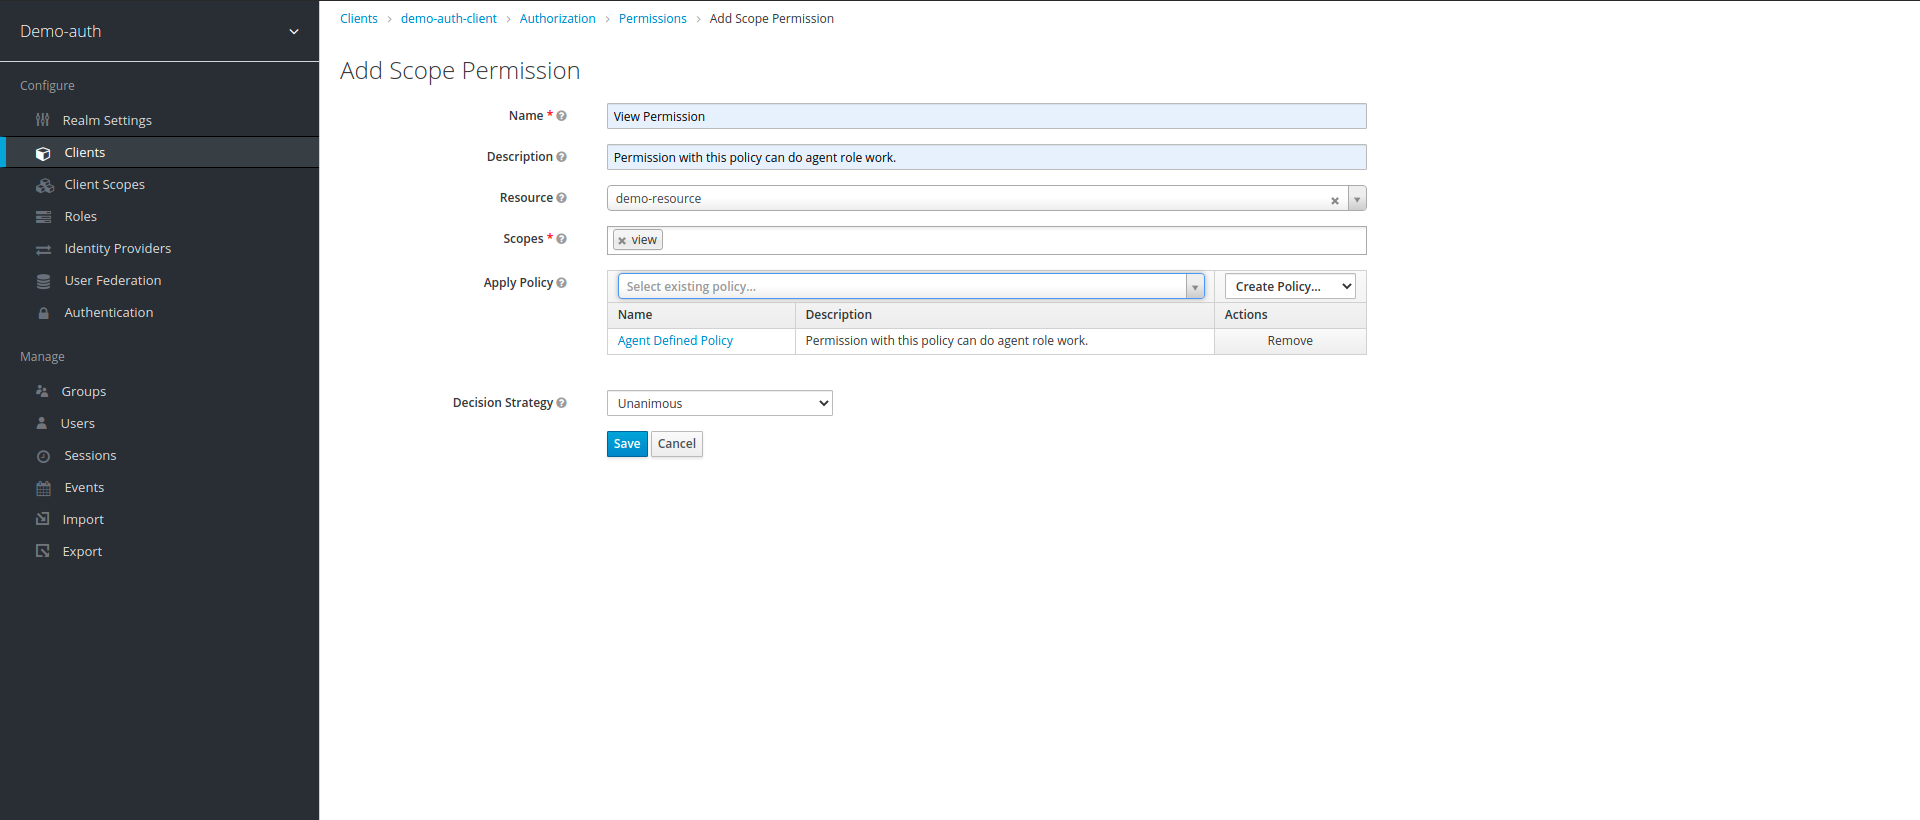
9. In create scope based permission section, we enter the name and description of permission, the scope, policies and resource associated with policy, in our case we created view and manage permission. view permission has agent policy and view scope assigned to it, while manage permission has admin policy and manage scope assigned to it.
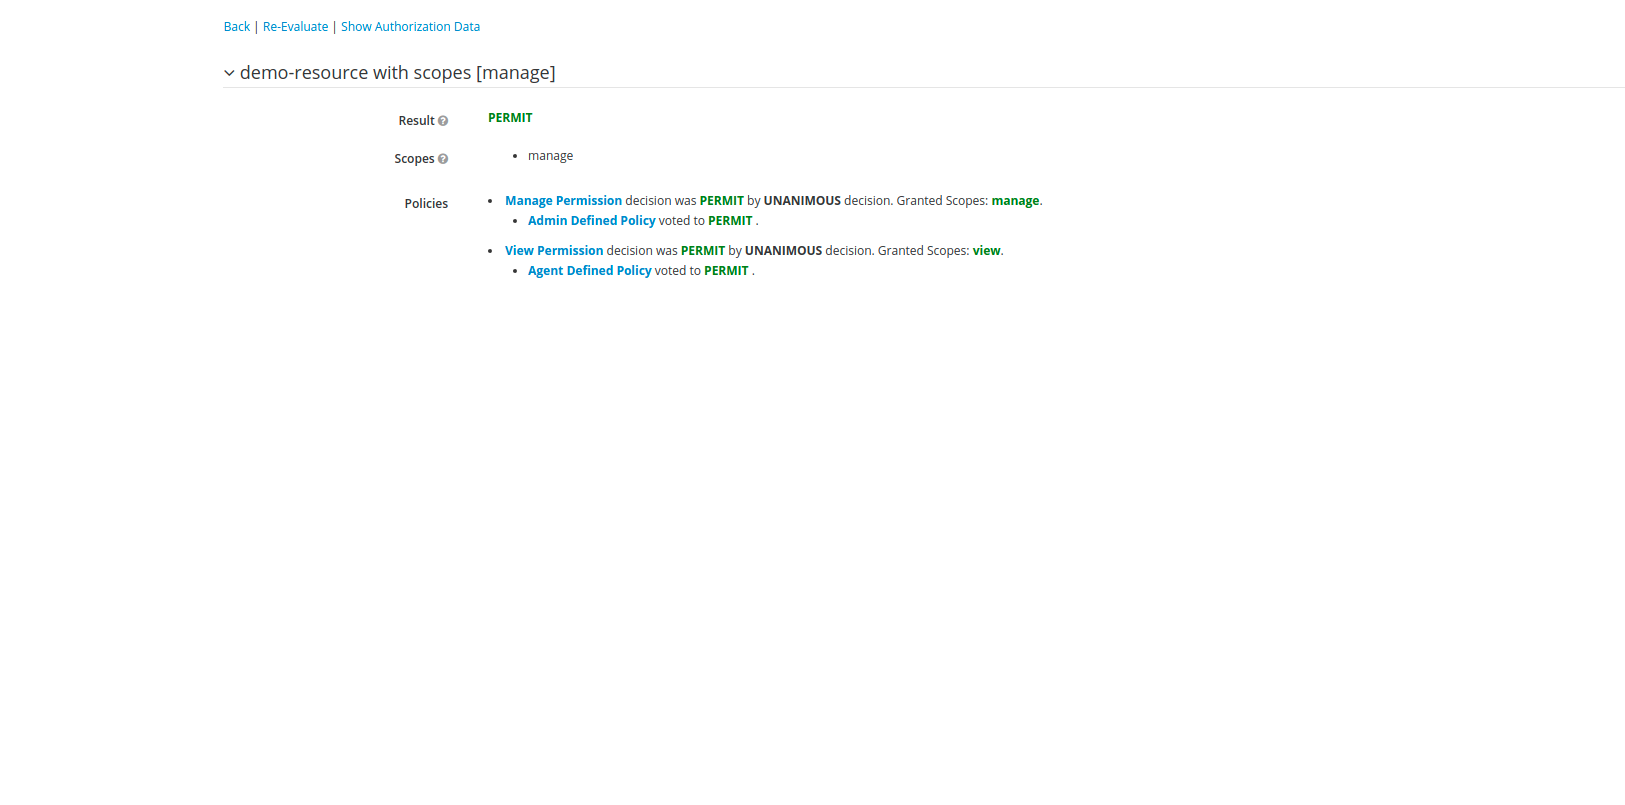
Once our permission are created, we can now evaluate our permissions. Lets evaluate the permission of Manage with user-agent who has agent role assigned to it. Click on Evaluate tab from main menu, In Evaluate menu, select client as our current client i.e demo-auth-client, select user as agent-user and role as agent.
Now in permissions, select resource as demo-resource and scope as manage scope and click Evaluate.
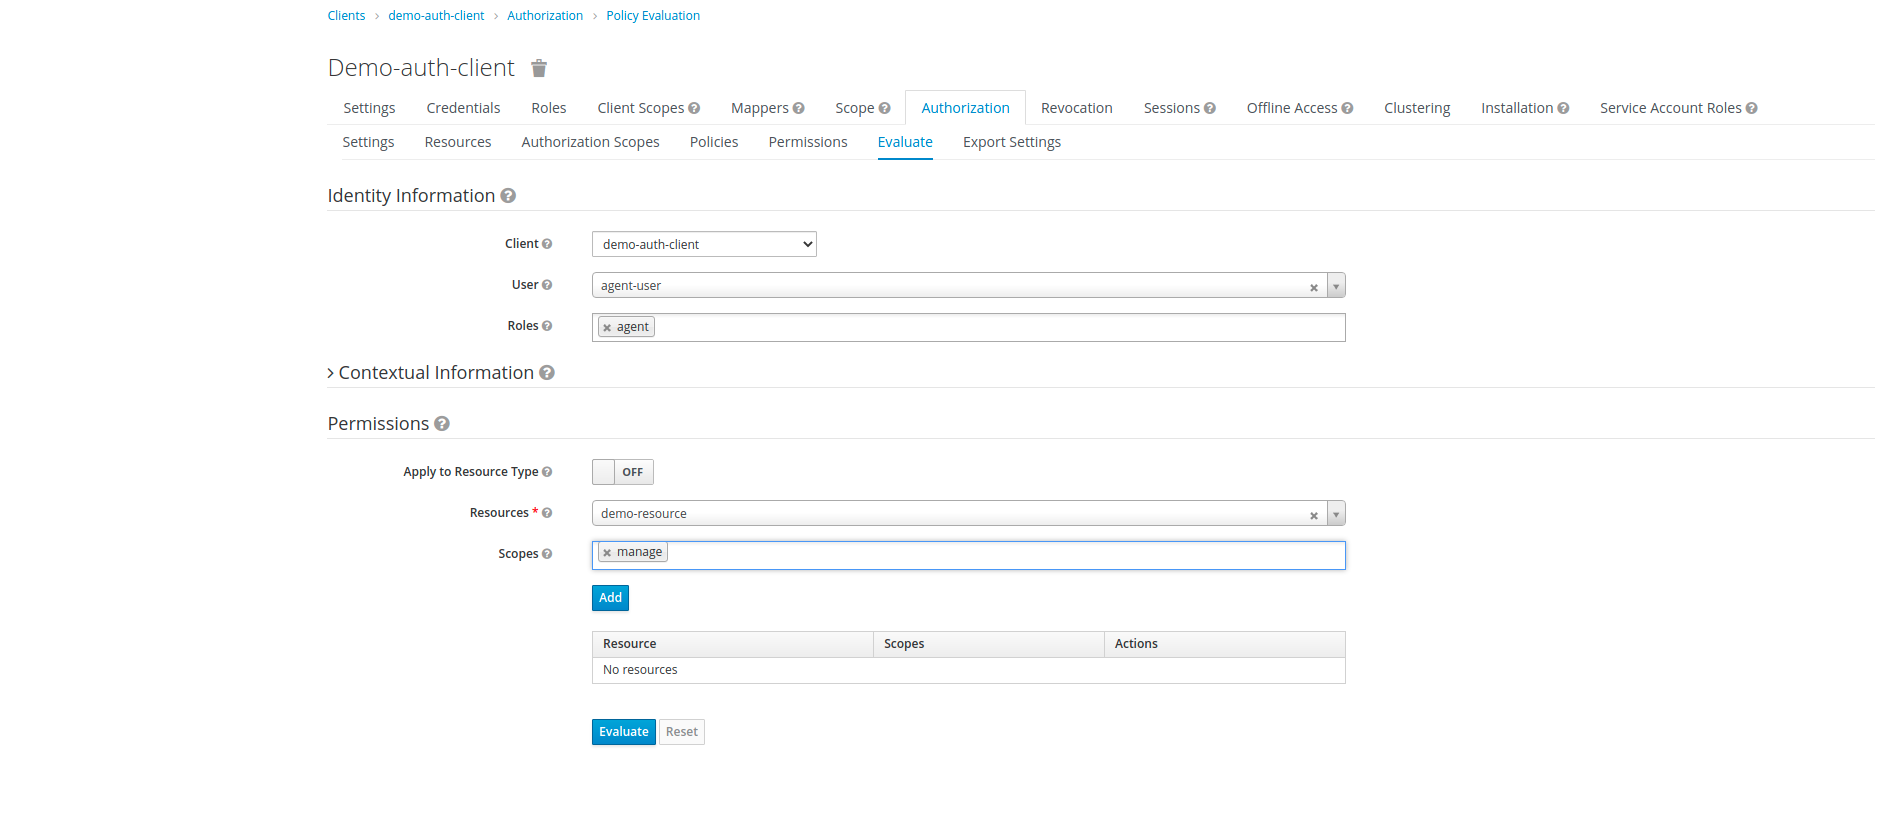
On Evaluation, we get the DENY result, because scope Manage doesn't has access to agent.

Now changing the roles to admin and user to admin-user we get the PERMIT result. because scope MANAGE is accessible by agent role.
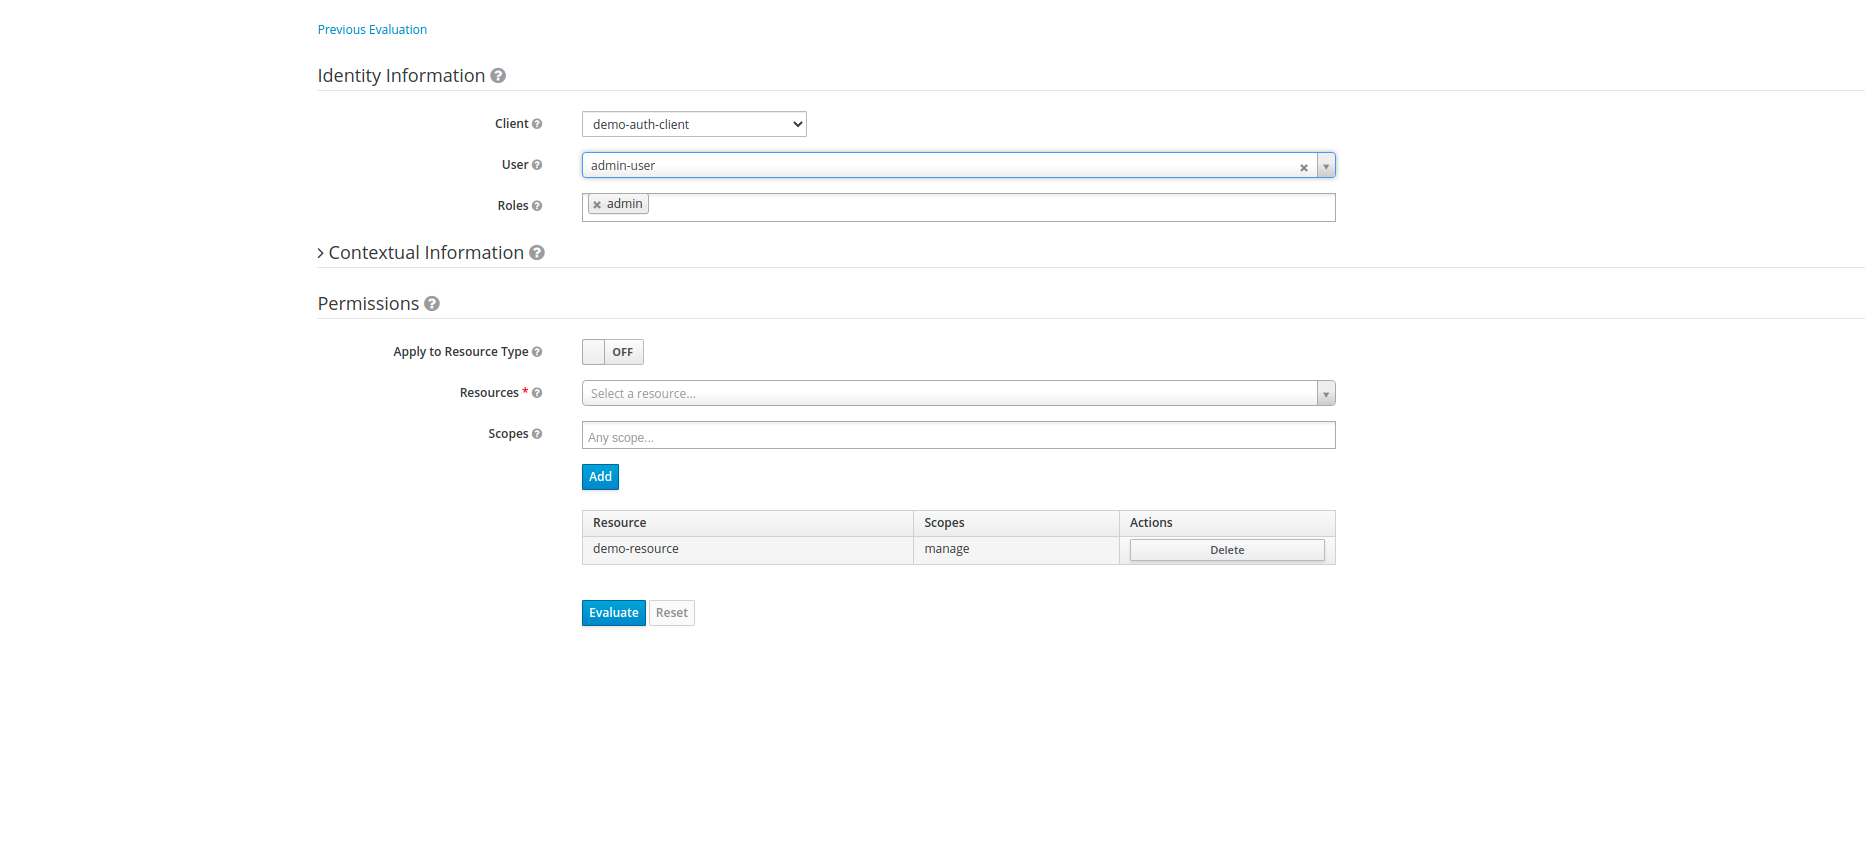
The Evaluation results as mentioned above: