Voice Connector
Voice Connector
-
SSH onto the Debian server on which the Voice connector is installed.
-
Use command
ssh <username>@<server-ip> -
Enter user password and press ENTER.
-
Use command
su -
Enter root password and press ENTER.
-
-
Run the command to see the list of running containers
docker ps -
Note the container ID of the current deployed 4.6 Voice connector.
-
Note the port of that container i.e. for 0.0.0.0:8116->8080/tcp, :::8116->8080/tcp, the port of the container is 8116.
-
Run the command to stop the container
docker stop <container-ID> -
Run the command to remove the container
docker rm <container-ID> -
Navigate to the folder where the docker-compose.yml and env.txt files are located for the voice connector.
-
Open the docker-compose.yml file and replace the text inside with text below:
version: "3.8" services: voice-connector: image: gitimages.expertflow.com/freeswitch/ecx_generic_connector:4.7 deploy: resources: limits: memory: 1024m reservations: memory: 256m container_name: unified-voice-connector ports: - PORT:8080 env_file: - ./env.txt command: ["java", "-Xms256m", "-Xmx1024m", "-XX:+UseG1GC", "-XX:MinHeapFreeRatio=10", "-XX:MaxHeapFreeRatio=30", "-jar", "/app/ecx_generic_connector.jar"] restart: always -
Replace the PORT keyword with the port noted above in step 4.
-
Run the command
docker compose up -d -
Confirm that the docker container is running by using the command
docker ps
-
Confirm that the container is running correctly by opening the logs with command
docker logs -f containerID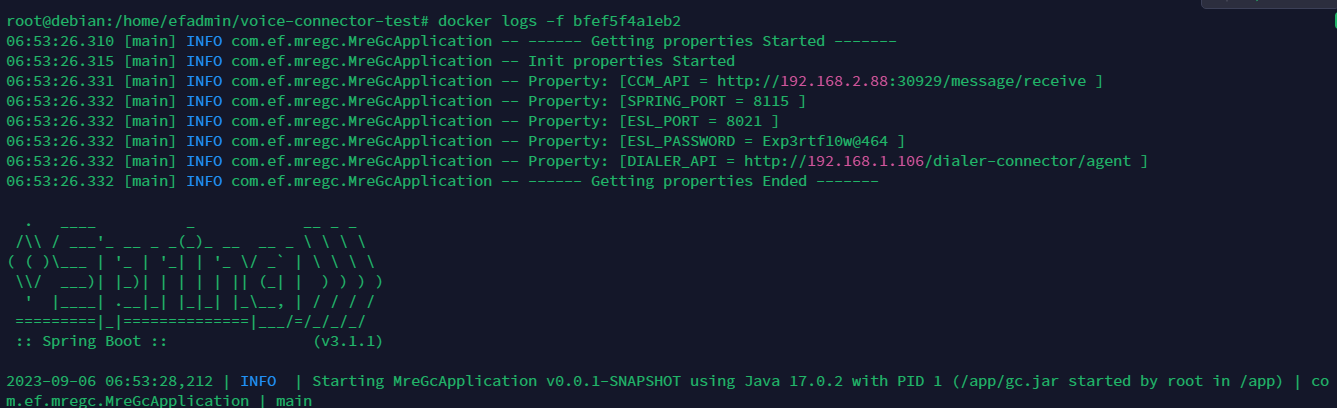
Media Server configuration
Changes in conference profile
-
Login to Media Server web interface.
-
Open in browser: https://IP-addr, where IP-addr is the IP address of the Media Server.
-

-
Add the username and password that was shown upon installation of Media Server and press LOGIN.
-
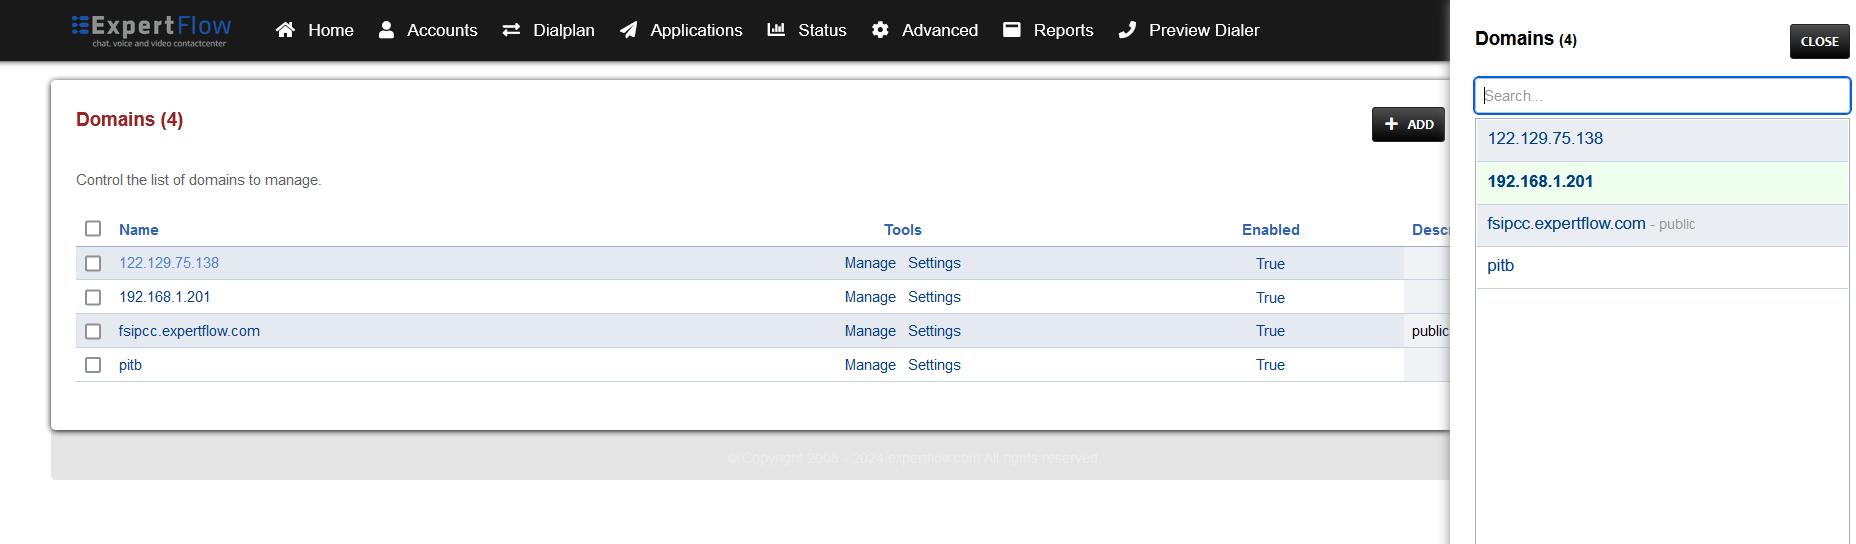
Press the IP address in the top right and select the Domain being used.:
-
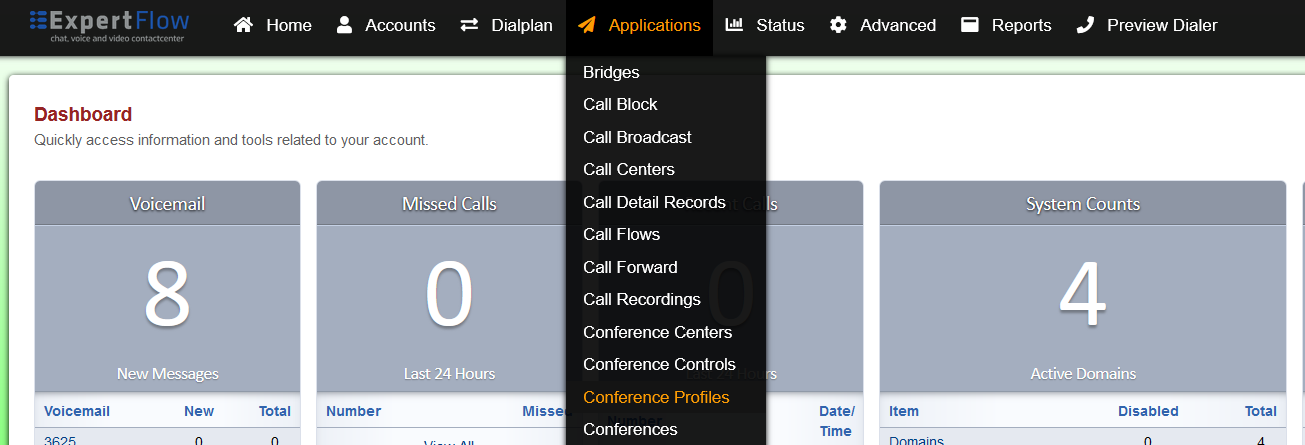
Open the Conference Profiles section under the Applications tab:
-
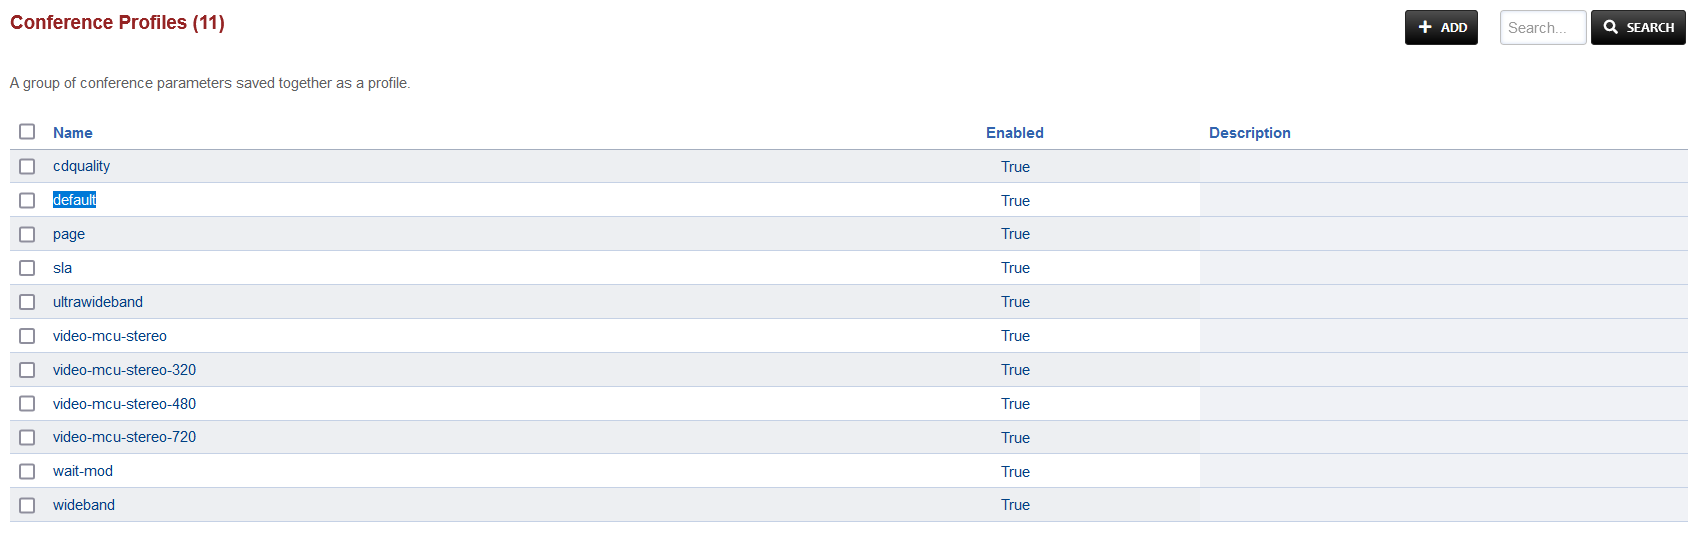
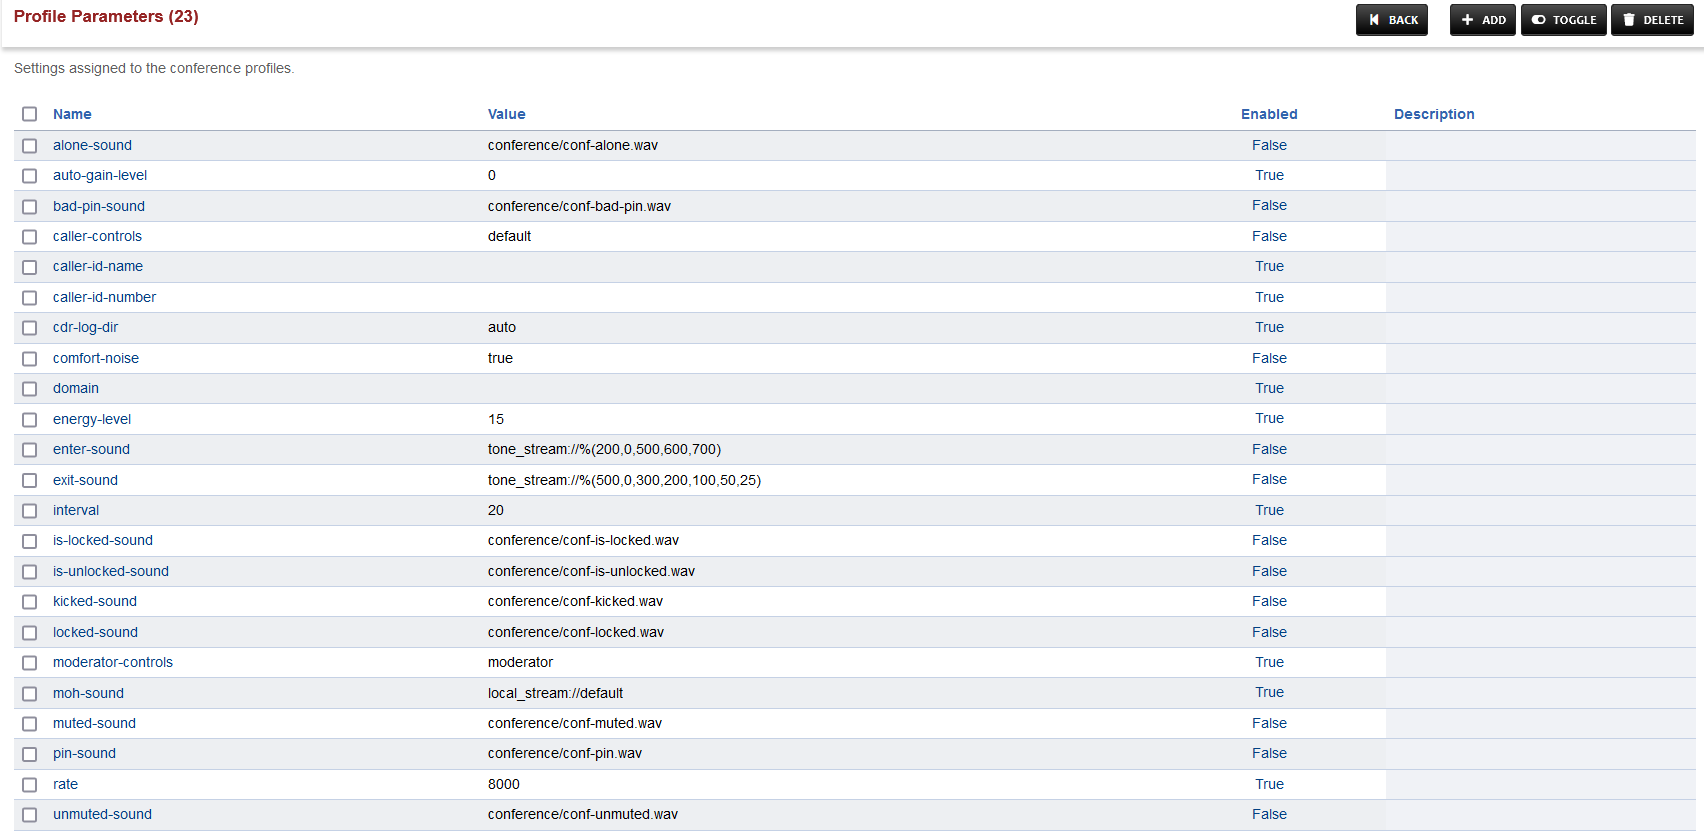
Open the profile named default:
-
Under the Profile Parameters, find the caller-controls keyword under the Name column and click the checkbox:
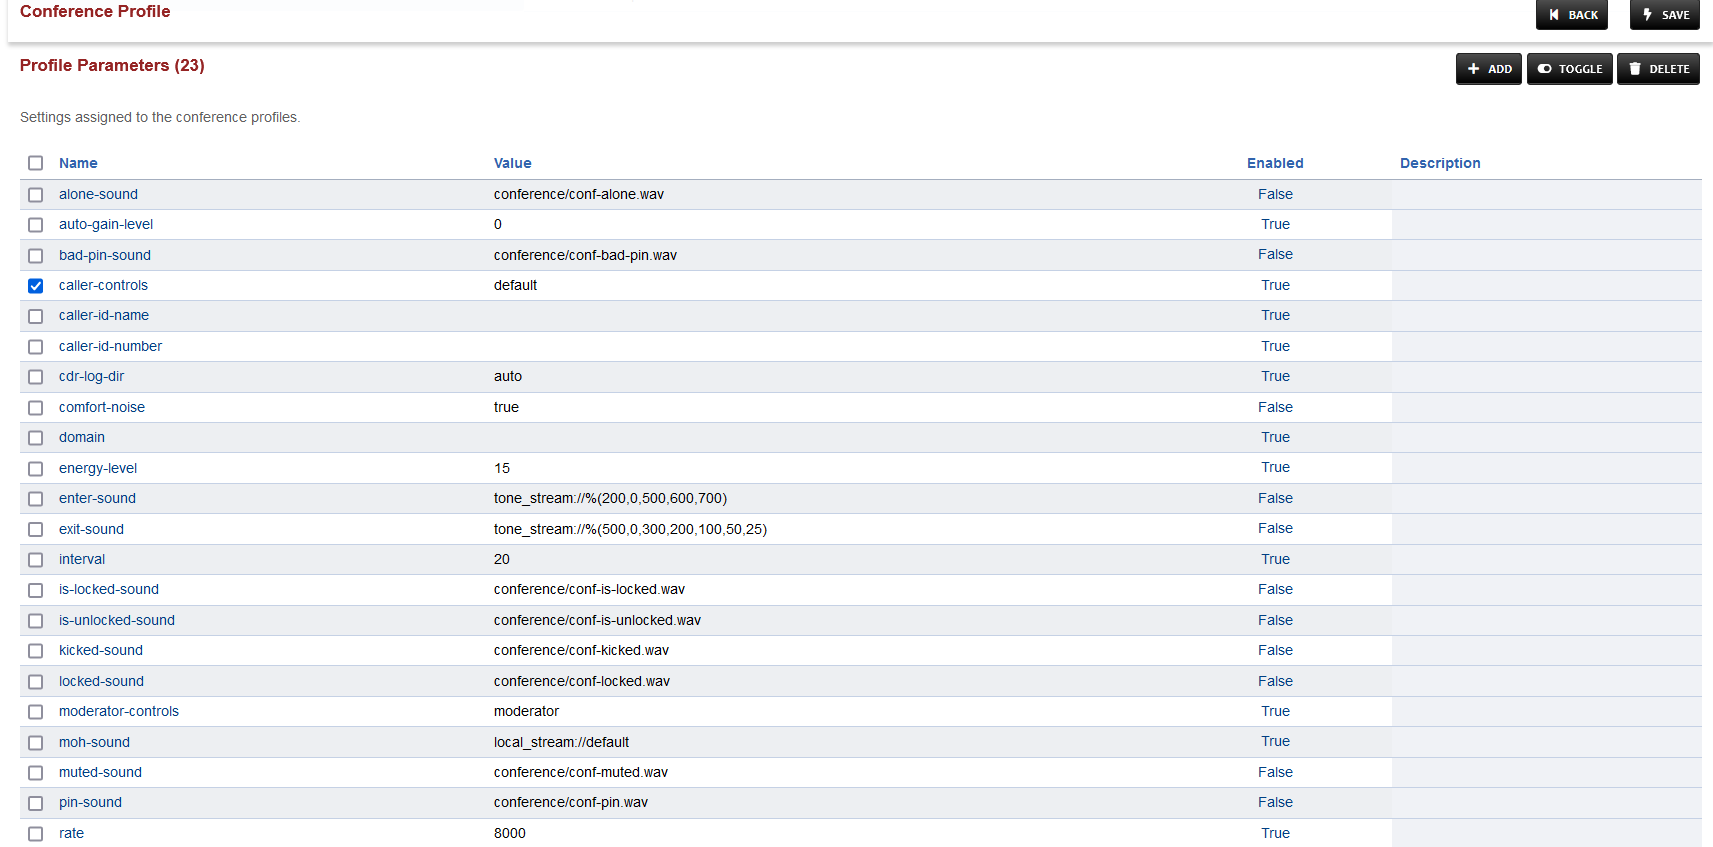
-
Press TOGGLE in the top right and choose CONTINUE in the prompt shown.
-
Save the changes by pressing SAVE button in top right corner.
Changes in Call Recording Dialplan
-
Login to Media Server web interface.
-
Open in browser: https://IP-addr, where IP-addr is the IP address of the Media Server.
-
-
Add the username and password that was shown upon installation of Media Server and press LOGIN.
-
Press the IP address in the top right and select the Domain created in the Domain creation section above:
-
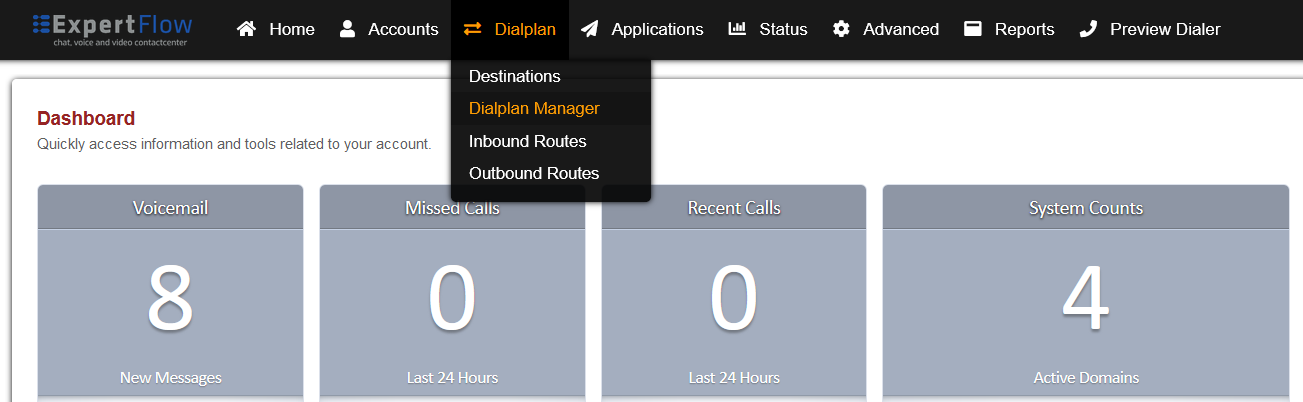
Open the Dialplan Manager section under the Dialplan tab.
-
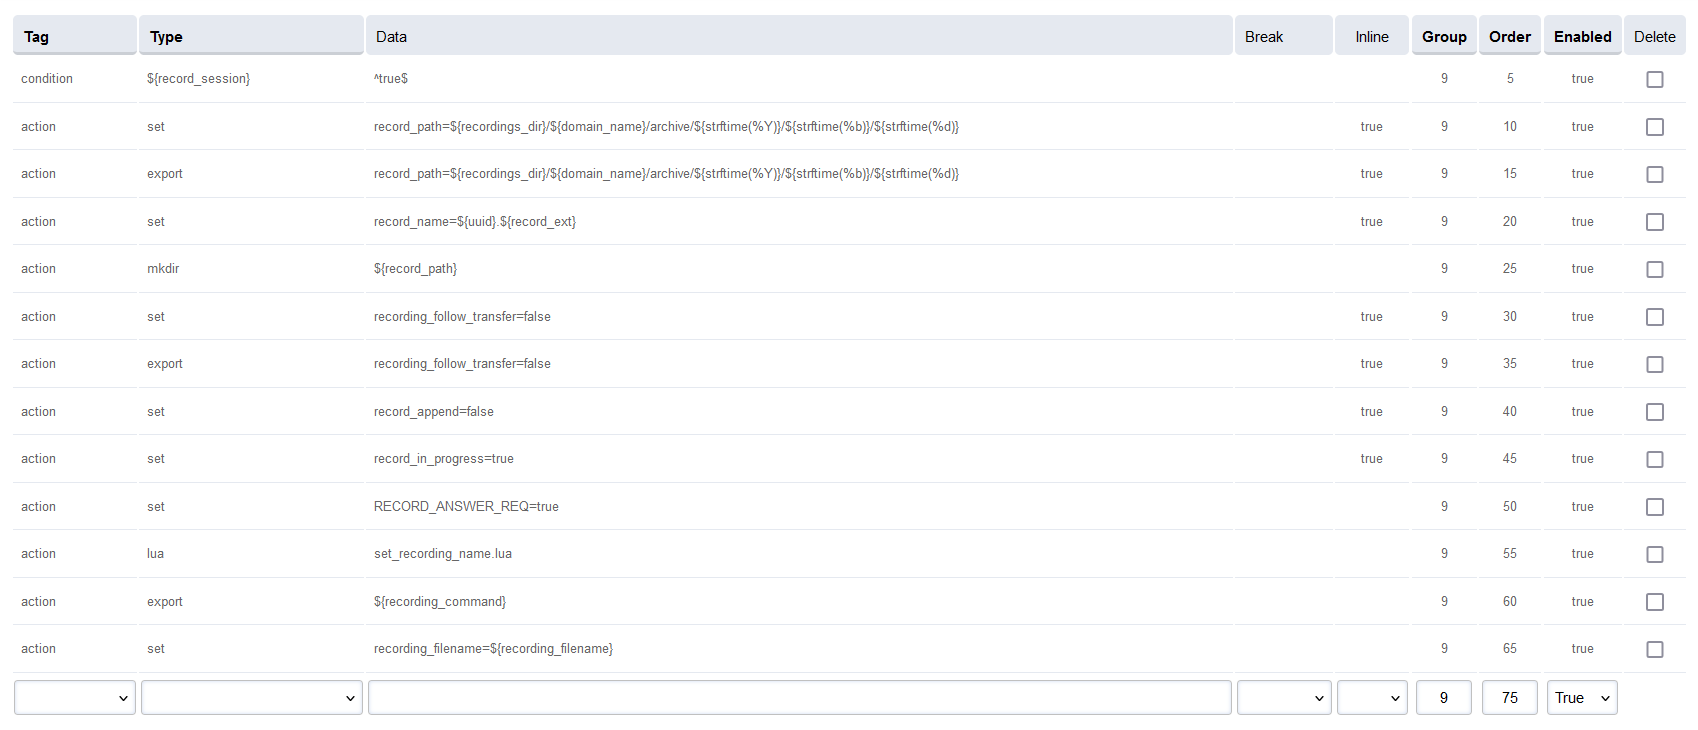
Find and open the user_record dialplan.
-
Add the following data to the table(ignore any data already added), such that the final version looks like the image below:
|
Tag |
Type |
Data |
Inline |
Group |
Order |
Enabled |
|---|---|---|---|---|---|---|
|
action |
set |
record_path=${recordings_dir}/${domain_name}/archive/${strftime(%Y)}/${strftime(%b)}/${strftime(%d)} |
true |
9 |
10 |
true |
|
action |
export |
record_path=${recordings_dir}/${domain_name}/archive/${strftime(%Y)}/${strftime(%b)}/${strftime(%d)} |
true |
9 |
15 |
true |
|
action |
set |
record_name=${uuid}.${record_ext} |
true |
9 |
20 |
true |
|
action |
mkdir |
${record_path} |
- |
9 |
25 |
true |
|
action |
set |
recording_follow_transfer=false |
true |
9 |
30 |
true |
|
action |
export |
recording_follow_transfer=false |
true |
9 |
35 |
true |
|
action |
set |
record_append=false |
true |
9 |
40 |
true |
|
action |
set |
record_in_progress=true |
true |
9 |
45 |
true |
|
action |
set |
RECORD_ANSWER_REQ=true |
- |
9 |
50 |
true |
|
action |
lua |
set_recording_name.lua |
- |
9 |
55 |
true |
|
action |
export |
${recording_command} |
- |
9 |
60 |
true |
|
action |
set |
recording_filename=${recording_filename} |
- |
9 |
65 |
true |
-
Save the changes by pressing SAVE button in top right corner.
Changes in conference Dialplan
-
Login to Media Server web interface.
-
Open in browser: https://IP-addr, where IP-addr is the IP address of the Media Server.
-
-
Add the username and password that was shown upon installation of Media Server and press LOGIN.
-
Press the IP address in the top right and select the Domain created in the Domain creation section above:

-
Open the Dialplan Manager section under the Dialplan tab.
-
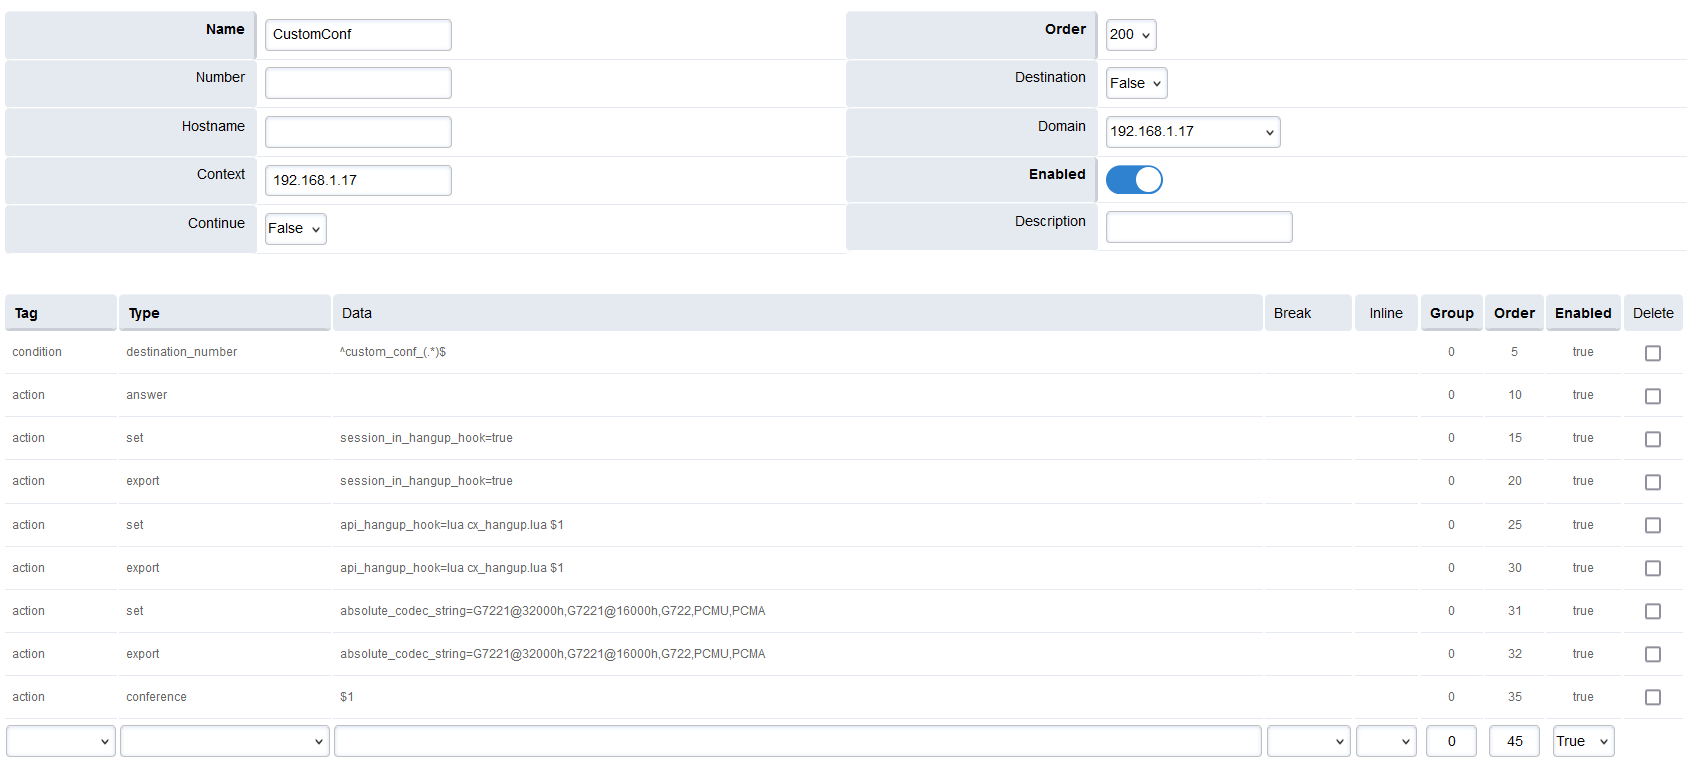
Find and open the CustomConf dialplan.
-
Add the following information to this dialplan:
|
Tag |
Type |
Data |
Group |
Order |
Enabled |
|---|---|---|---|---|---|
|
action |
set |
absolute_codec_string=G7221@32000h,G7221@16000h,G722,PCMU,PCMA |
0 |
31 |
true |
|
action |
export |
absolute_codec_string=G7221@32000h,G7221@16000h,G722,PCMU,PCMA |
0 |
32 |
true |
-
Save the changes by pressing SAVE button in top right corner.