Expertflow SSO Utility Deployment Guide
Overview
The project's primary purpose was to develop a backend module that gets SSO(Single Sign On) Token from Cisco IDS and passes that token to the agent for their XMPP subscription and calls all cisco finesse APIs.
Prerequisites
The following are the mandatory prerequisites for a smooth installation.
Hardware Requirements
These requirements suffice for deployment.
|
Item |
Recommended |
Notes |
|
CPU |
2 vCPU |
Can be co-hosted |
|
Memory |
4 GB |
|
|
Disk Space |
30 GB |
The minimum disk space requirement is 5 GB. The recommendation is to account for transactional storage and logs. |
Software Requirements
|
Item |
Recommended |
Notes |
|
Operating System |
|
supported on these operating systems |
|
Docker Community Edition |
20.10.17 or above |
tested on this version |
|
Docker Compose |
1.29.2 or above |
tested on this version |
|
Git Client |
1.8.3.1 or above |
tested on this version |
|
Linux Utilities |
|
|
|
Certificates for HTTPS |
|
|---|---|
|
Port Utilization Requirements
The default port used by the service is port <1125>whereas it can be changed when deploying the docker image. Following ports should remain open on the Firewall. The local security policy and any antivirus should also allow open communication on the following ports:
|
Type |
Source Host |
Source Port |
Destination Host |
Destination Port |
|
HTTPS |
<Server Application>
|
any/ (default 1125) |
<IDS Server> |
8553 |
|
HTTPS |
<ASDF Server> |
|||
|
HTTPS |
<Client Application> |
<Server Application> |
any/ (default 1125) |
|
** Server Application = This is the backend application we will deploy for the SSO Utility.
** Client Application = Agent browser on which Agent will access the AccessToken.
** IDS Server = Machine IP where Identity Service Management is deployed which is integrated with the finesse.
** ASDF Server = Active Directory Federation Services through all SSO agents are authenticated
Time Synchronization Requirements
The system can produce unpredictable results if the system date and time are not synchronized. Therefore, please make every effort to adhere to the following time synchronization guidelines:
The server machine and Agents machines should have their Time Zone and time configured properly according to the geographic region and synchronized. The application servers should be synchronized to the second. This synchronization should be maintained continuously and validated on a regular basis.
Software installation guide
Kindly follow the link mentioned below for the installation of each required software.
|
Item |
Notes |
|
Docker |
|
|
Docker Compose |
|
|
Git Client |
https://www.rosehosting.com/blog/how-to-install-git-on-centos-7/ |
Deployment Steps
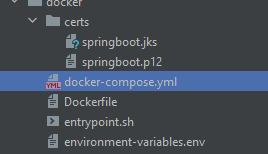
Run Utility as a Docker Container
-
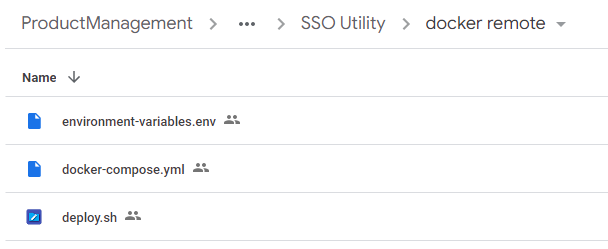
Pull the latest release of SSO Utility from gdrive and extract the zip folders.
-
run the following command in Linux server
mkdir –m777 SSO_utility -
this will create the SSO_utility directory.
-
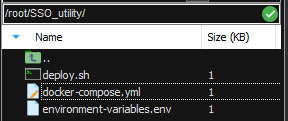
use cd command to go into the SSO_utility directory
cd SSO_utility

-
upload the extracted files into this directory.
-
Edit your environment variable file.
-
now run deploy.sh file using the following command:
bash deploy.sh

and you can see after completion your docker image is running

-
if you see any permission denied error kindly run the following command and after that run step 7 again
Bashcd .. chmod -R 777 SSO_utility cd SSO_utility
Run Utility as a Windows Service
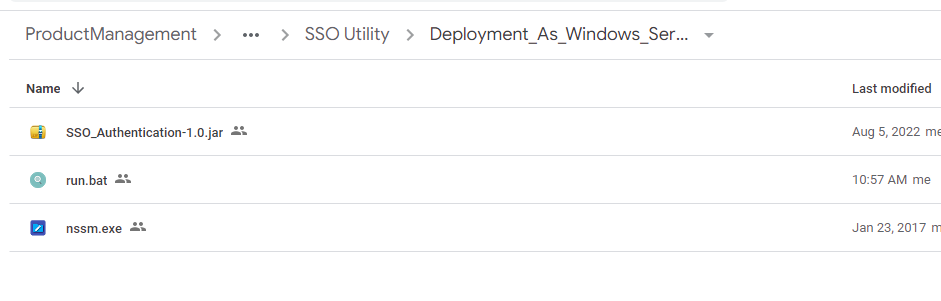
Pull the latest release of SSO Utility Service from gdrive and extract the zip folders into some directory and follow the step to run the service in windows as a service:
-
navigate to the directory where you have extracted the utility.

-
Edit your configuration file.
-
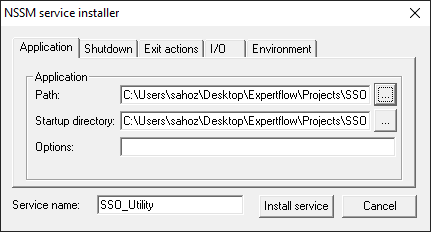
open the windows PowerShell/ cmd as administrator, navigate to the directory where nssm.exe, scheduling-tasks-0.0.1-SNAPSHOT.jar and run.bat files are placed.

-
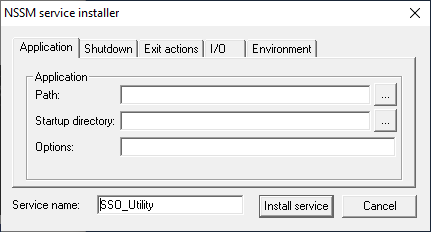
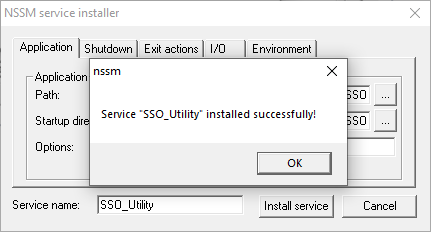
run the .\nssm.exe install SSO_Utility command.
-
windows popup will appear, select the path of run.bat file.
-
Click install service and close the PowerShell/ cmd
-
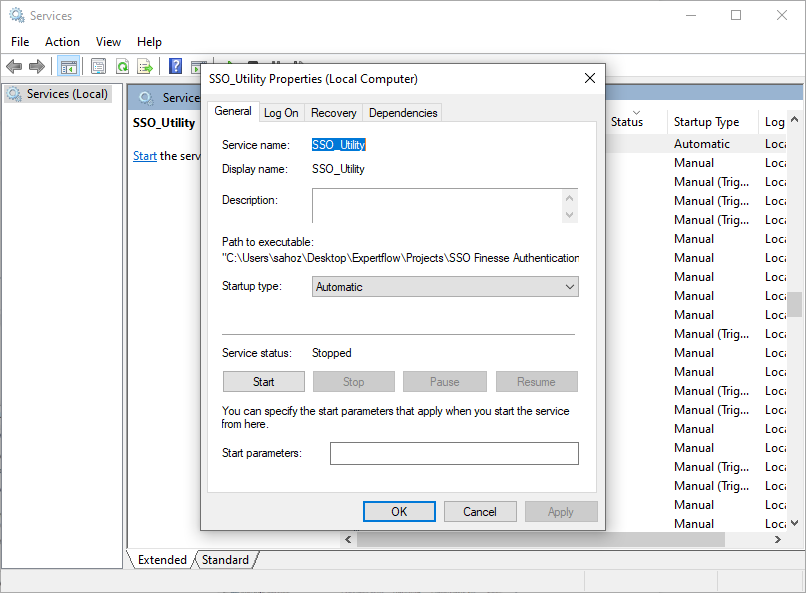
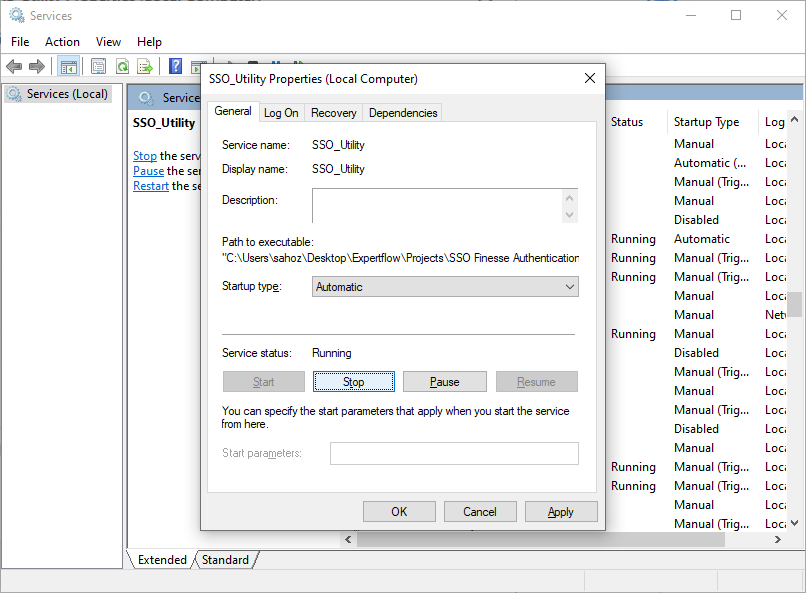
open windows services settings, search for SSO_Utility, and open that service.
-
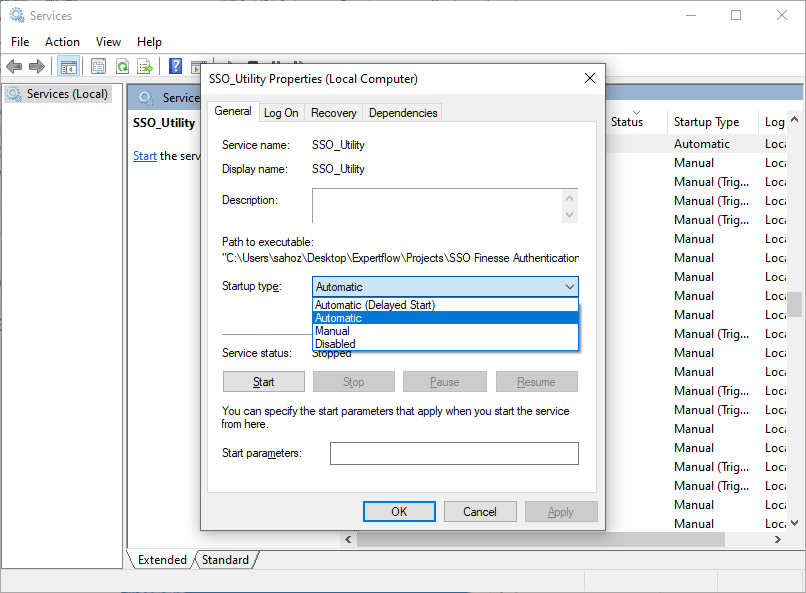
check startup type is Automatic or not, if not select Automatic.
-
then press the start, and the extension module will be up in the background.
Edit Configurations
open the environment-variable.env file using vi or vim command as mentioned bellow:
vim environment-variable.env
Note: If you wanted to know about vim command, Here is the detail.
In case of running utility as a windows service
-
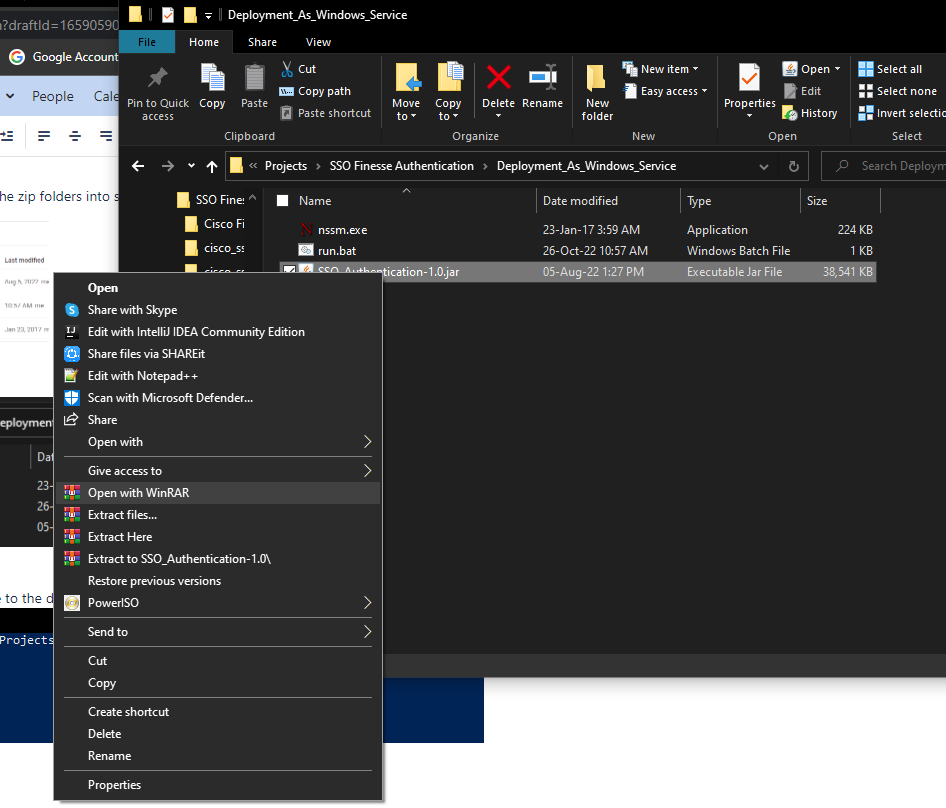
Right click the .jar file and open with WinRAR.
-
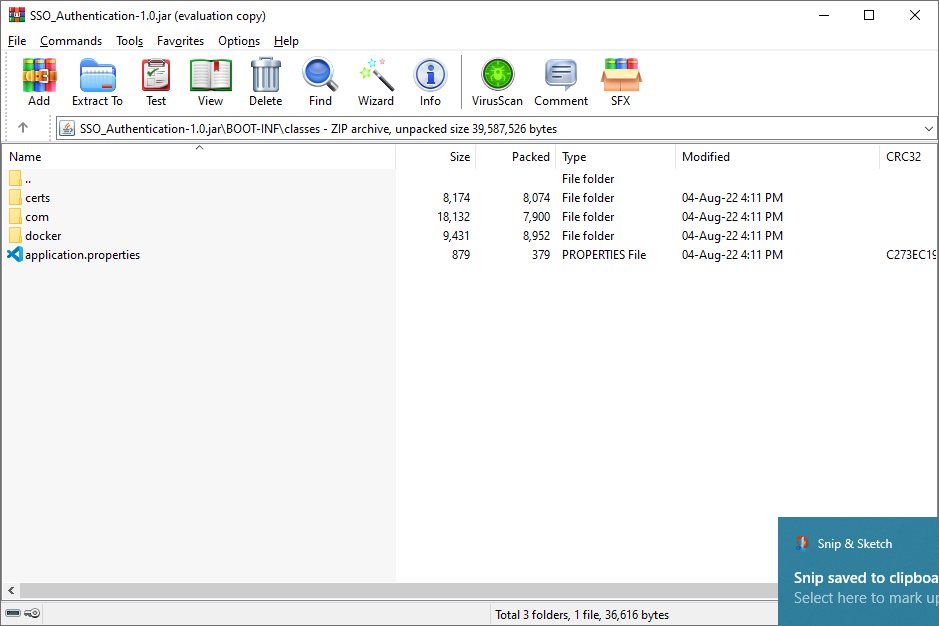
navigate to \BOOT-INF\classes
-
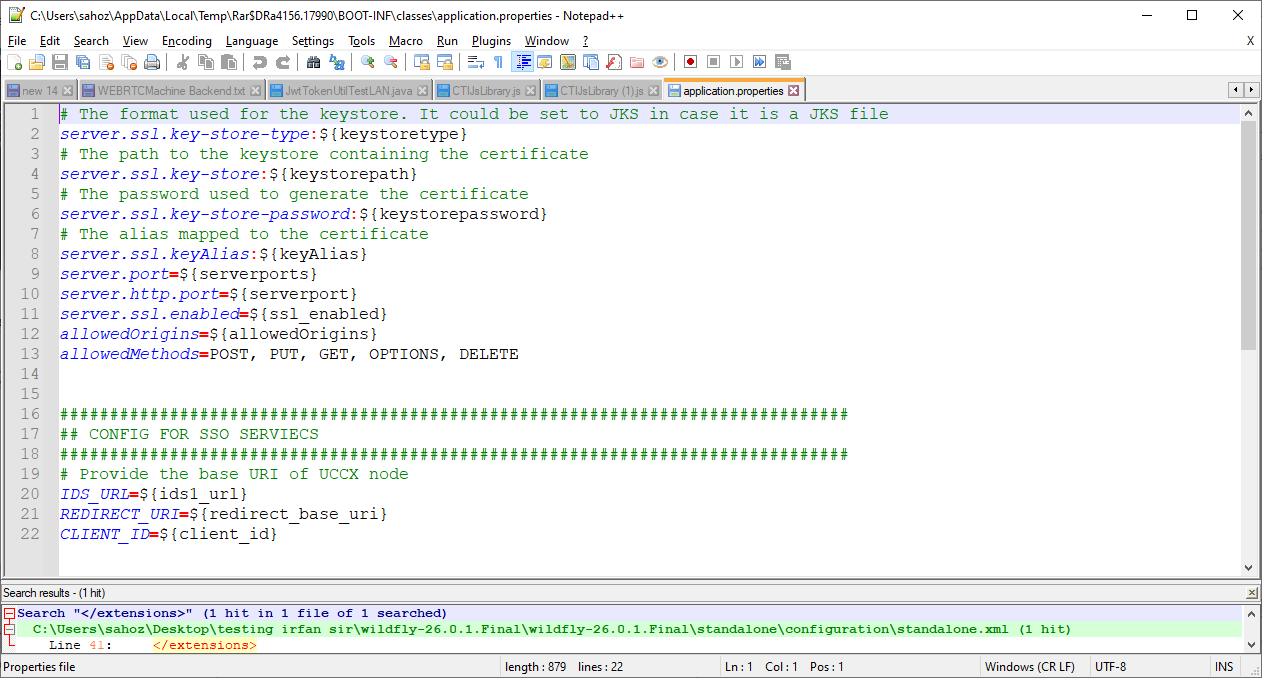
open application.properties file and edit properties according to the following table
|
environment-variables.env Name |
application.properties Name |
Default Value |
Description |
|---|---|---|---|
|
ids1_url |
IDS_URL |
https://<CCX_Host>:8553/ids/v1/ |
change the IP of your IDS server machine |
|
redirect_base_uri |
REDIRECT_URI |
https://<server_ip>:<server_port>/idscallback |
change IP and port of your server application where sso utility is deployed. |
|
client_id |
CLIENT_ID |
<IDS_Client_ID> |
client_id you get from IDS while registering your application is on IDS . |
|
serverports |
server.port |
<https_port> |
https port on which your utility will work. |
|
serverport |
server.http.port |
<http_port> |
HTTP port on which your machine will work |
|
allowedOrigins |
allowedOrigins |
* |
CORS allow |
|
keystoretype |
server.ssl.key-store-type |
PKCS12 |
https certificate type. |
|
keystorepassword |
server.ssl.key-store-password |
password |
certificate password |
|
keyAlias |
server.ssl.keyAlias |
springboot |
name of the certificate file |
|
keystorepath |
server.ssl.key-store |
|
|
|
ssl_enabled |
server.ssl.enabled |
true |
to enable SSL port. |
** IF you want to change certificates, then use Deploy Creating Local Image, replace your certificate files in the cert folder, and update the environment-variable.env file.
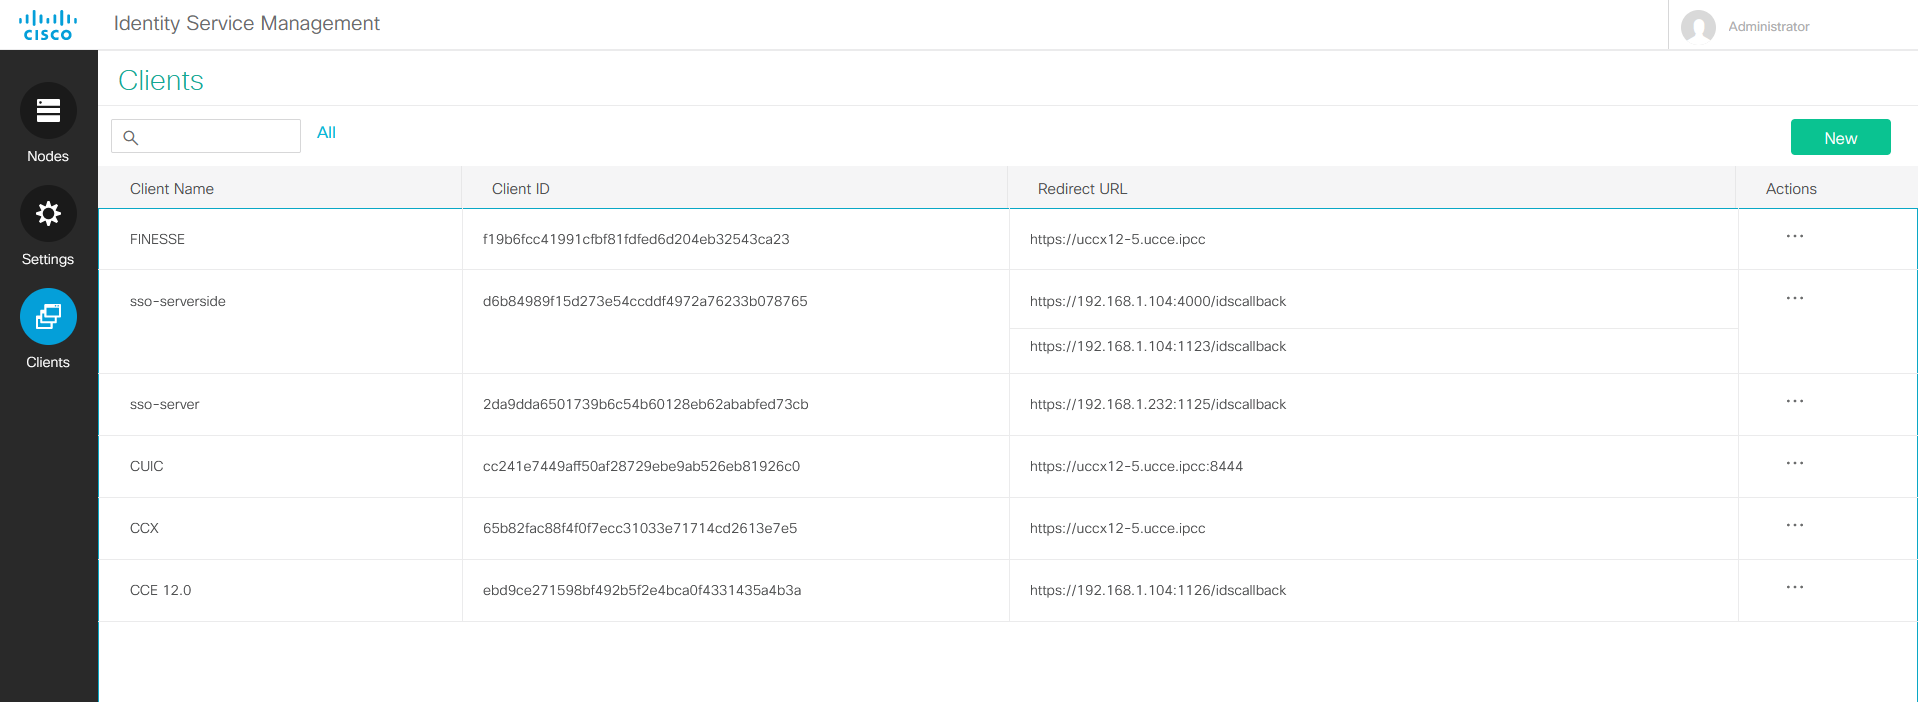
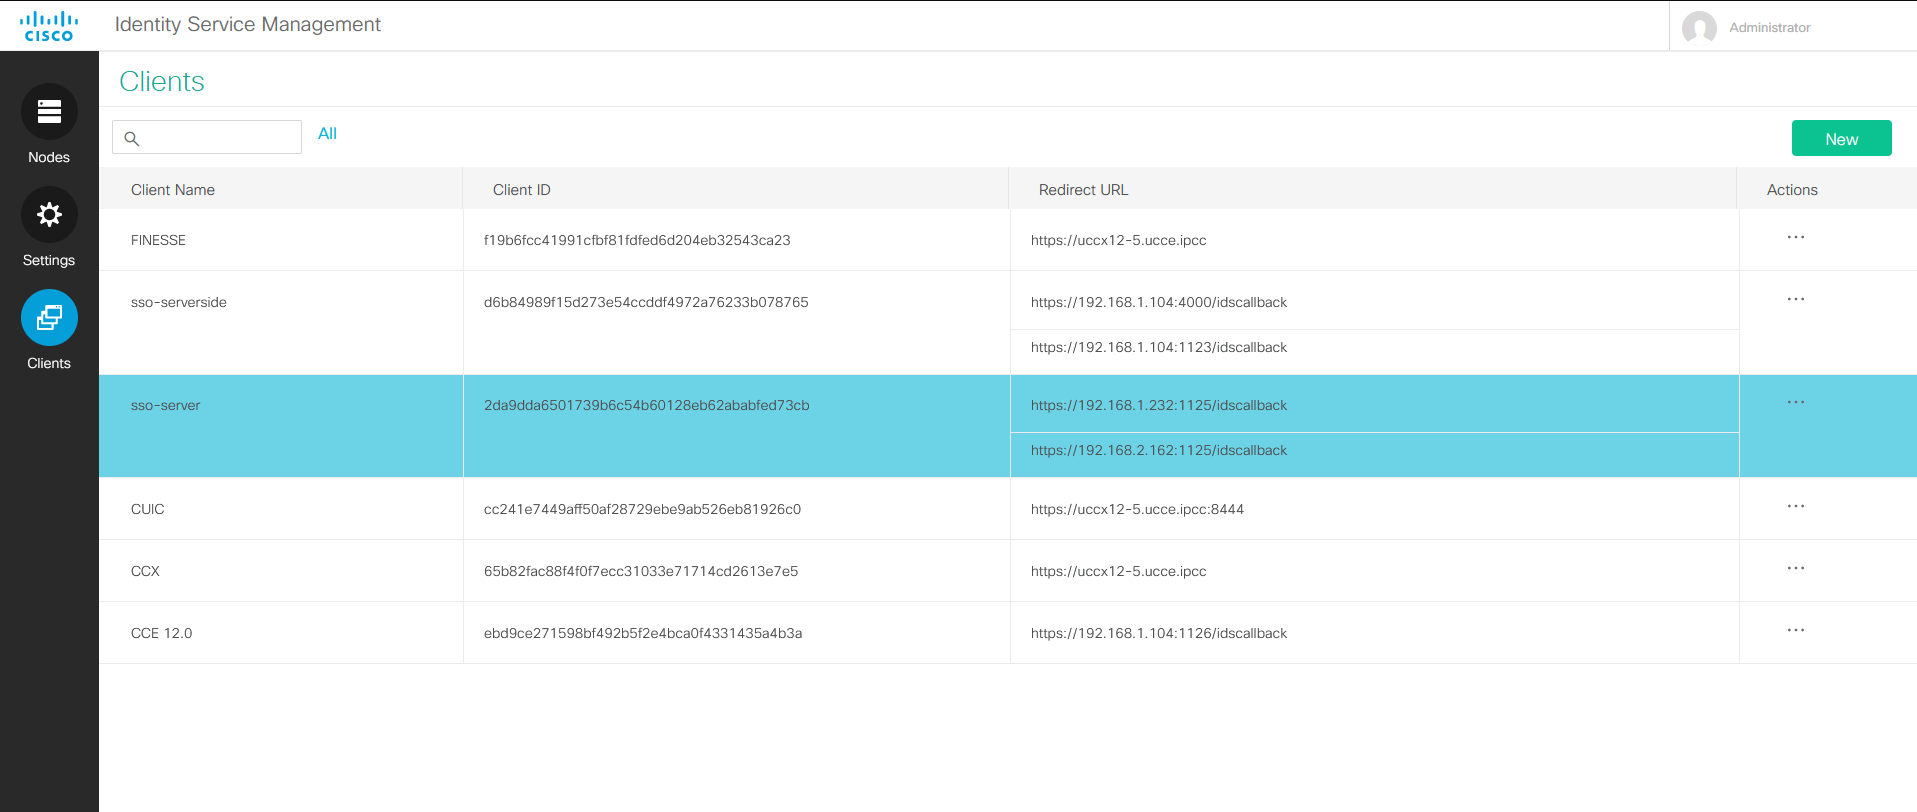
Register Your Application on IDS
-
Navigate to the Identity Service Management console by going to:
https://<your_CCX_Host>:8553/idsadmin -
Login using the Cisco UCCX/UCCE application user credentials.
-
Select the Clients icon on the left side of the navigation.
-
Click on the New button on the upper right-hand side.
-
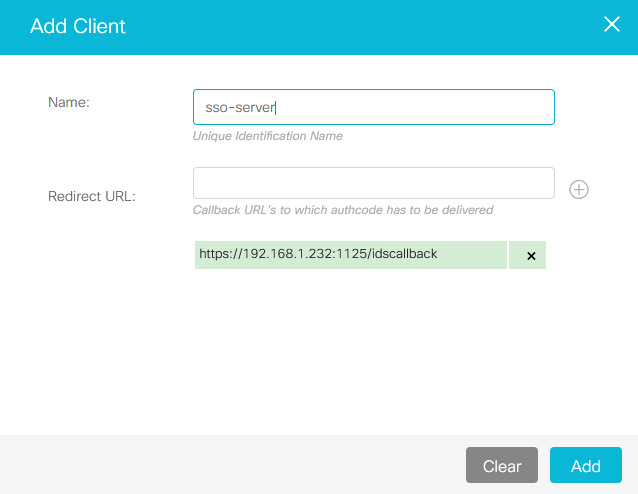
Fill the form
-
Enter a unique name for the client (partner application).
-
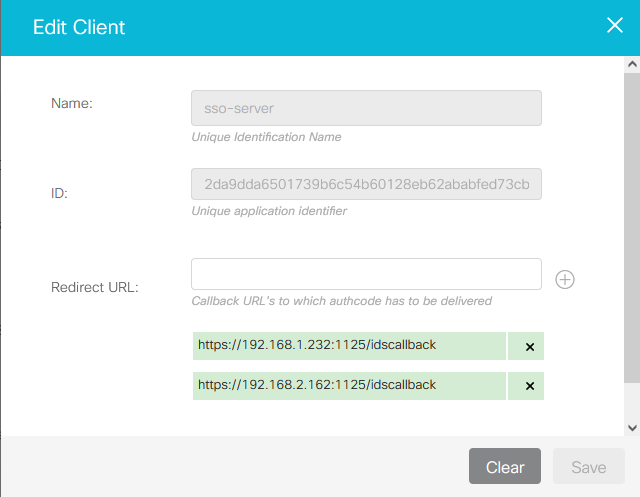
Enter one or more redirect URLs to which the authorization code has to be delivered.
https://<utility_server_Host>:<utility_port>/idscallback -
Click the '+' button on the right of the input field.
-
Add multiple IPs if you have deployed multiple SSO utility instances.
-
-
Click the Add button to add the client
-
you can see the client_id in the second column of clients table
Verification Test
Call the following API to test if the utility is working and your configuration are updated.
|
Request |
URL |
Response Code |
Response Body |
|---|---|---|---|
|
GET |
https://<ServerIP>:<ServerPort>/testbackend |
200OK |
system is working fine |

On successful calling the API you can see the ids properties in docker container logs, to open docker service logs using the following commands
-
Execute the following command an copy the docker image id
docker ps -a |grep ssoconnector

-
Execute the following command to open docker logs
docker logs -f 1fa793a0c9ea
you can see your ids properties
