CIF 1.0 Based MS CRM(Cloud) EFCX Deployment Guide
Preface
This document provides the deployment details of the product inside MS Dynamics CRM.
Prerequisites
The following are the prerequisites for the deployment of the EFCX.
Dynamics 365 should be installed.
Channel Integration Framework 1.0
The user must have administrative rights
Install EFCX for MS Dynamics CRM
This middle layer can be deployed on Kubernetes. The following guide lists the steps to deploy the application on Kubernetes.
Configure the CIF on Dynamics CRM UCI for efcx-cti-toolbar
Login to the CRM, go to the published apps, then select the ‘ channel integrated framework’.
Note
If CIF is not installed on your CRM then you can follow this guide to install on your CRM.
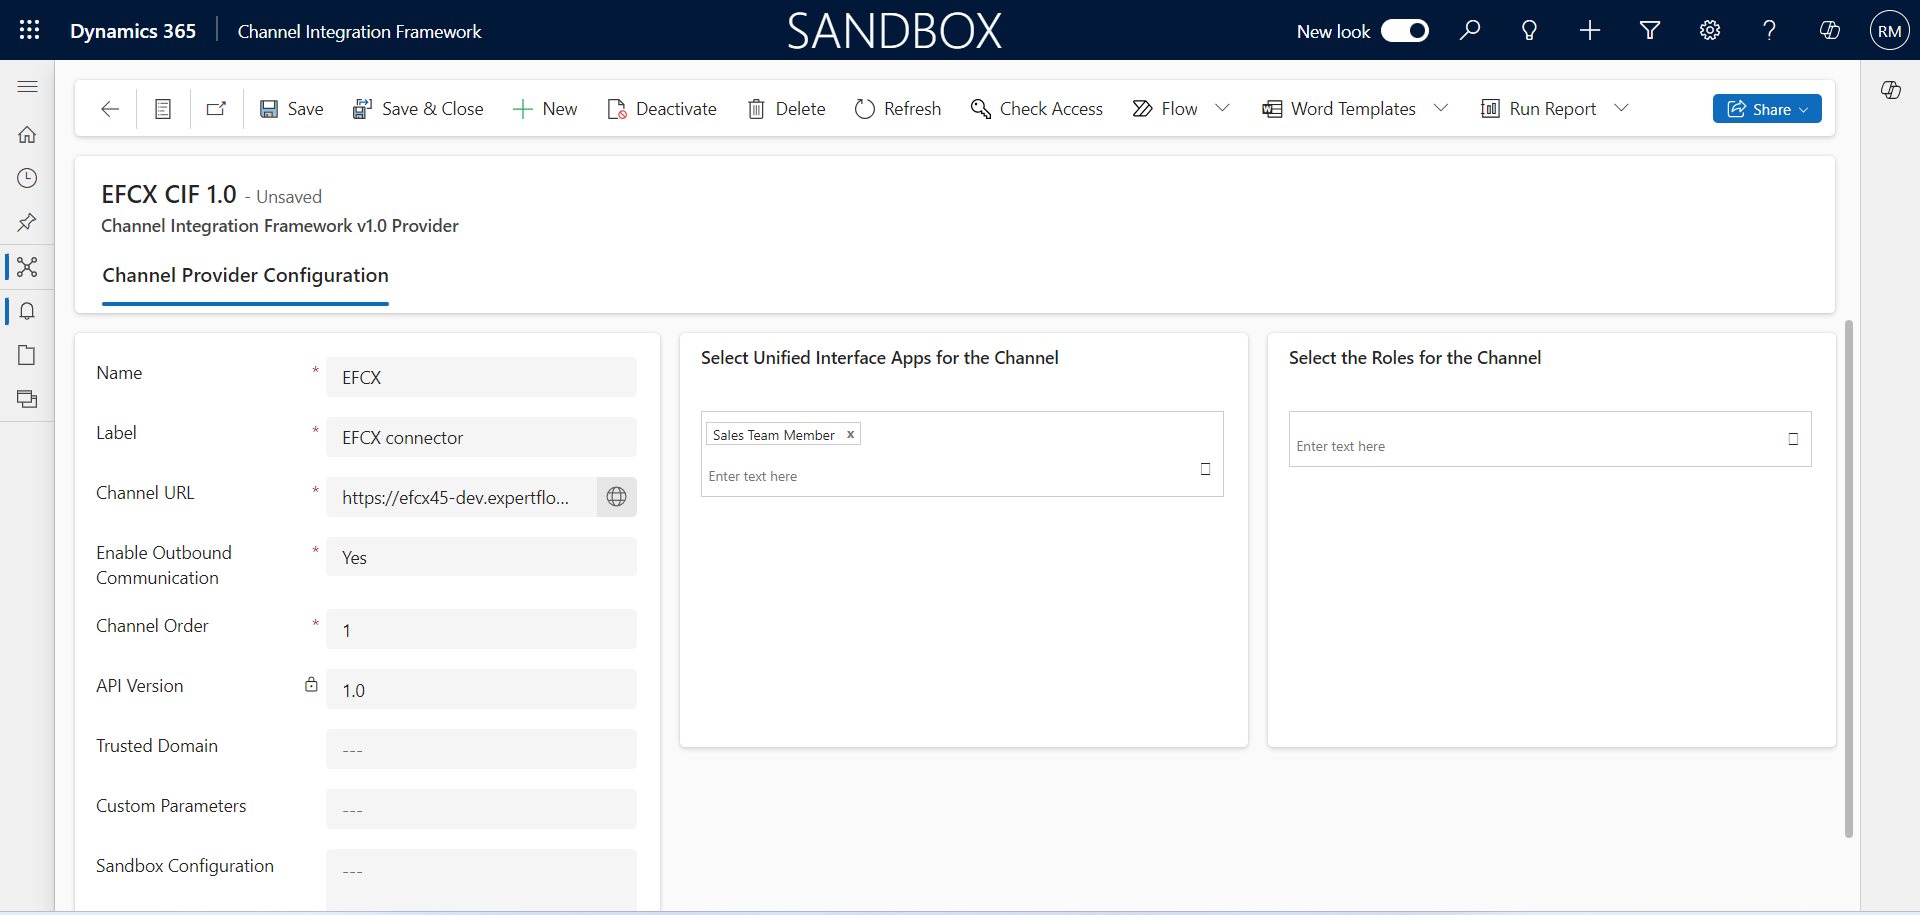
Click on the new button to create a new active channel provider and fill in the details as given in the screenshot below.
Name : EFCX
Label: EFCX
Channel Url : http://<Server-IP>:<Port>/efcx-cti-toolbar like “https://www.EFCXDynamics:4449“
Enabled outbound Communication: Yes
Channel Order : 1
Select Unified Interface Apps for the Channel
Select the Unified app where you want to embed the EFCX Connector.
Assign roles according to your requirements.
Click on the Save Button.
Opens image in full screen open

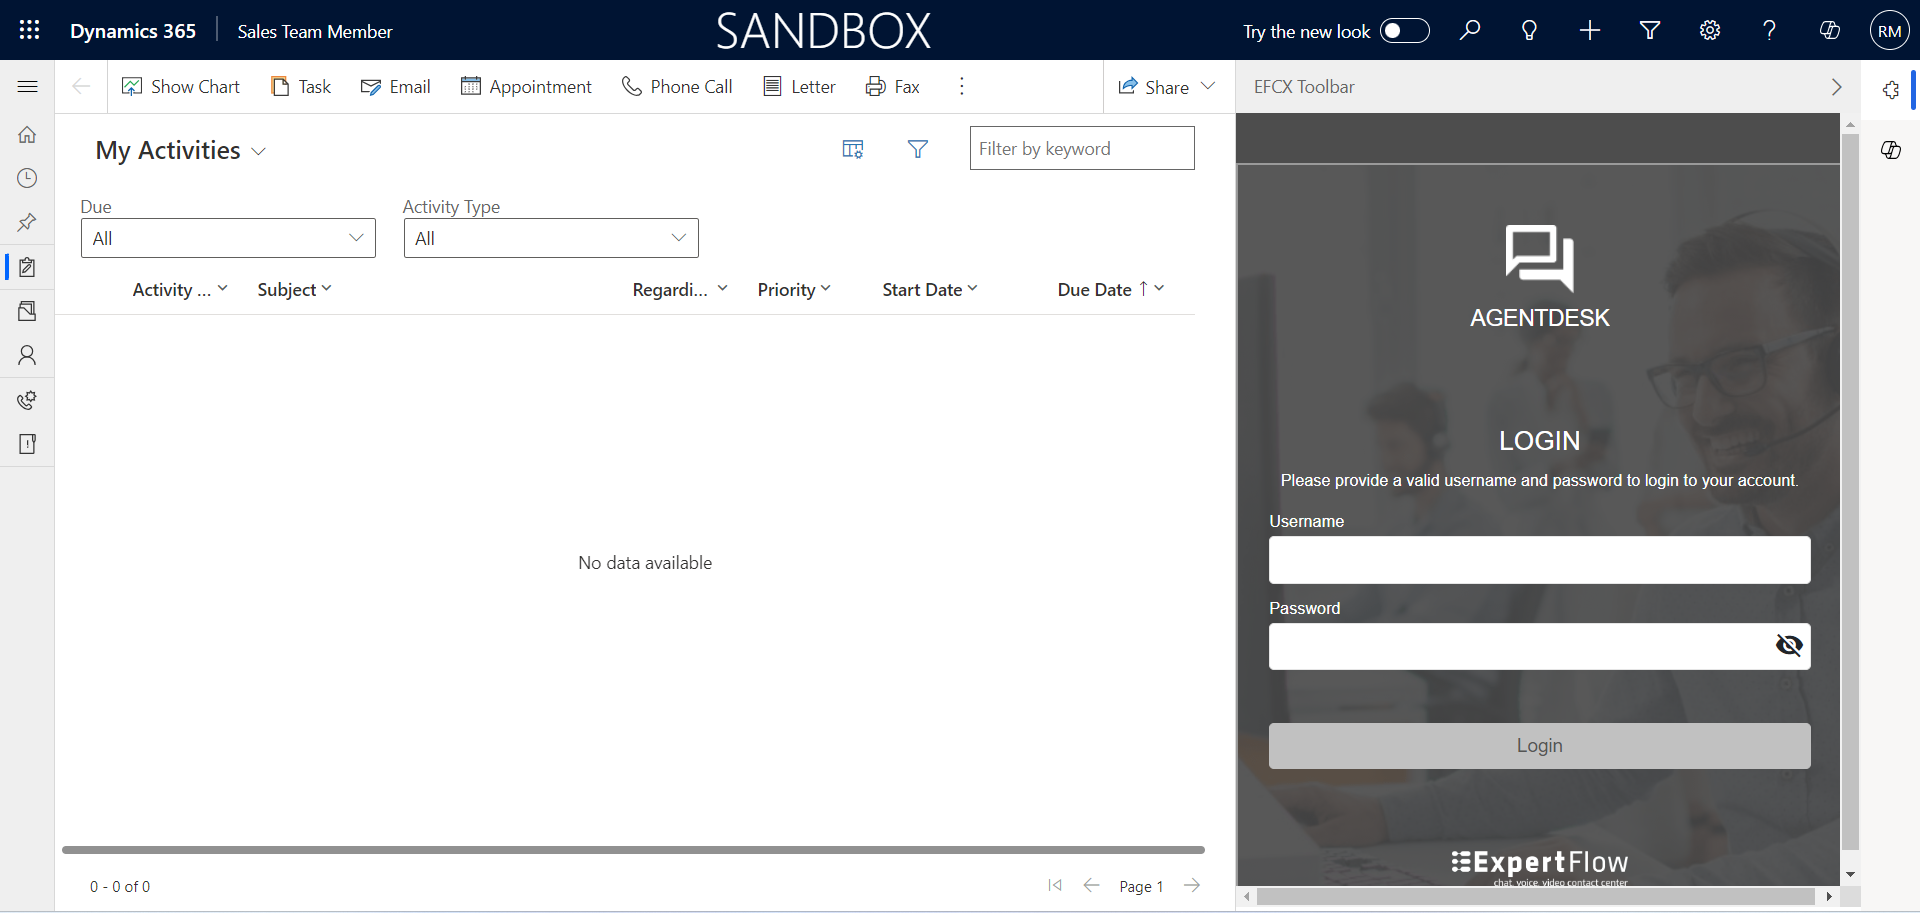
Go to the Unified app that you selected. For example for the Sales Team Member, it will look like the following screenshot.
Opens image in full screen open

Configure Click-to-Call
Follow the steps to configure and click to call on the Account page. You can configure it on multiple entities as per your requirements like Contact, and Leads.
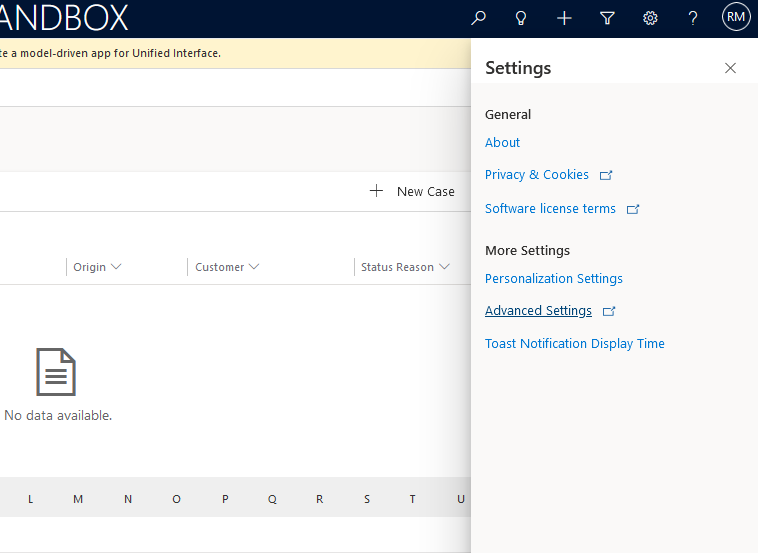
Click on the setting button → Advance Setting
Opens image in full screen open

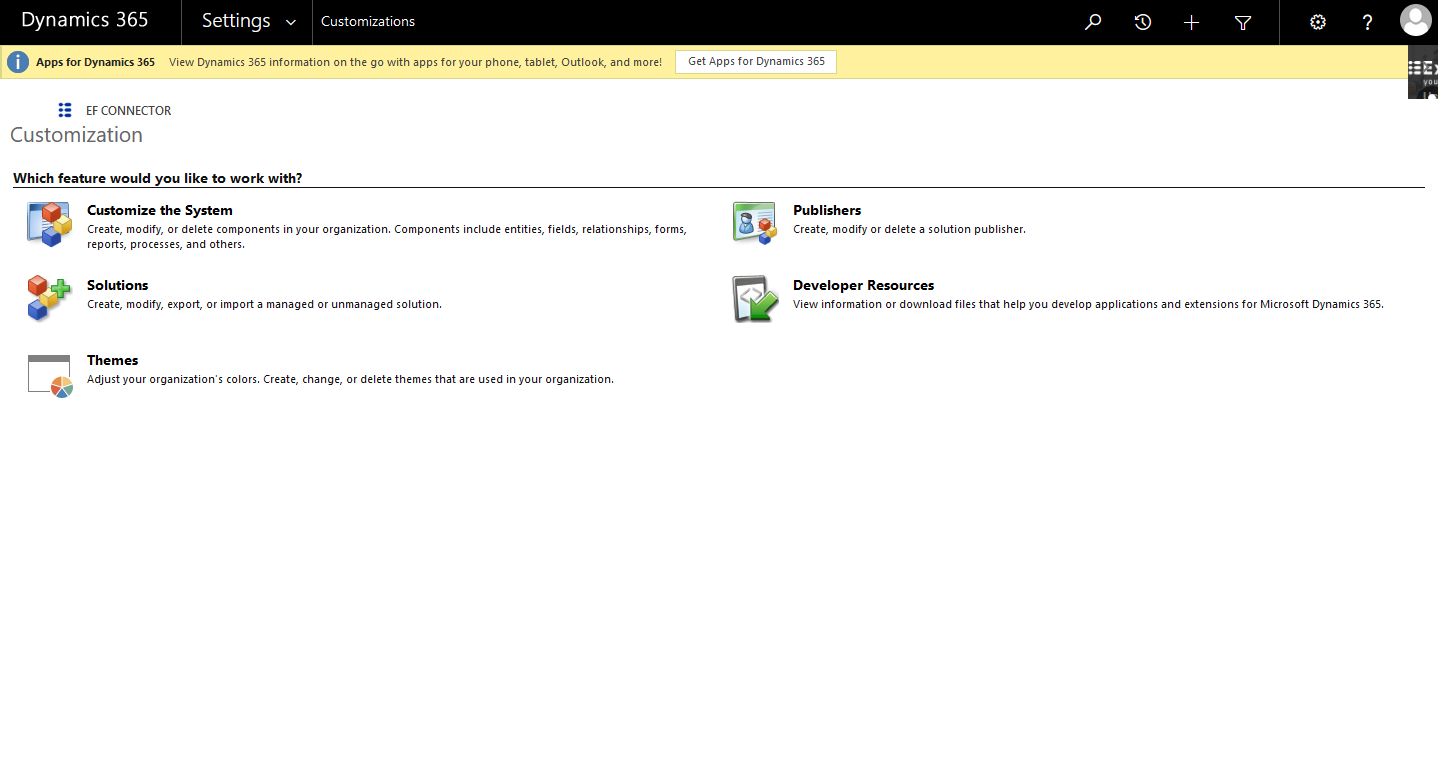
Go to settings -> Customizations -> Customize the System
Opens image in full screen open

double click phone field -> controls ->add controls -> add ‘ channel communication control ’.
Save and publish
After following all these steps, your EFCX Connector is configured properly and now you can use the EFCX MS CRM WEB-CTI Connector
