Deployment Guide
This deployment guide provides detailed, step-by-step instructions to deploy the Quality Management (QM) as part of the Expertflow CX platform. It also includes guidance for deploying the QM-Connector, which extends quality management capabilities to conversations conducted via Cisco Contact Center.
This document outlines the Prerequisites required for deployment, including QM backend Deployment, QM Connector deployment. After deploying QM, one has to configure IAM (Keycloak) configurations for QM.
Prerequisites
Software Requirements
- Expertflow CX Helm-based Deployment for Expertflow CX
Hardware Requirements
Cores | RAM |
|---|---|
1 | 2 GB |
QM Backend Deployment
The Quality Management (QM) backend is the core engine for evaluating and improving agent performance in Expertflow Contact Center. It enables evaluators to score agent-customer interactions, provide feedback, and ensure high-quality service delivery. This deployment is the first step to enable comprehensive quality assurance for your contact center operations.
First, move to the kubernetes directory in the cloned Expertflow CX branch
cd CX-5.0/kubernetes1. Create the database in Postgres
QM Backend requires a db named qm_backend in Postgres, already deployed in the ef-external namespace. Follow the steps below to create one.
execinto theef-postgresql-0pod in theef-externalnamespace
kubectl -n ef-external exec -it ef-postgresql-0 -- bashexecute the environment setup for
ef-postgresql-0( Only needed when the postgresql is running in non-HA mode , like no pgpool and multiple replicas of postgresql are running )
/opt/bitnami/scripts/postgresql/entrypoint.sh /bin/bashLog into Postgres using the following command
psql --host ef-postgresql -U sa postgres -p 5432The system will ask for the password for the user
sa. Enter the password, configured during deployment of Postgres. You should now be logged into the Postgres shell.Create the required database and extensions using the following commands.
If you are creating the database for MTT deployment, the name of the db must be different for each tenant. Replace the name “qm_db” in the commands below with the ID of the tenant in case of MTT only.
CREATE DATABASE qm_db;
\c qm_db;
CREATE EXTENSION IF NOT EXISTS "uuid-ossp";
Then to exit from the shell
\q
exit
exit
2: Deploy QM Backend
Create and Customise cx-qm-custom-values.yaml
Finally, deploy the QM using the following command.
helm upgrade --install --namespace=expertflow --set global.efCxReleaseName="ef-cx" qm --debug --values=helm-values/cx-qm-custom-values.yaml expertflow/qm --version 5.0To see the QM-related options in Unified Admin, you also need to do some configuration on IAM (Keycloak) and assign related roles to the users. Follow these instructions for the configurations.
QM Connector Deployment for Cisco Contact Center Integration
QM Connector is an optional component. It only needs to be deployed if you want to perform quality management on the conversations done through Cisco Contact Center. It pushes the call recordings as conversations into the Expertflow CX from VRS. VRS is a Voice Recording Solution, which lets you record and playback recordings for future use. See the following guide to install VRS
Prerequisites
VRS for Cisco Installation Guide
1. Configure Channel on Unified Admin
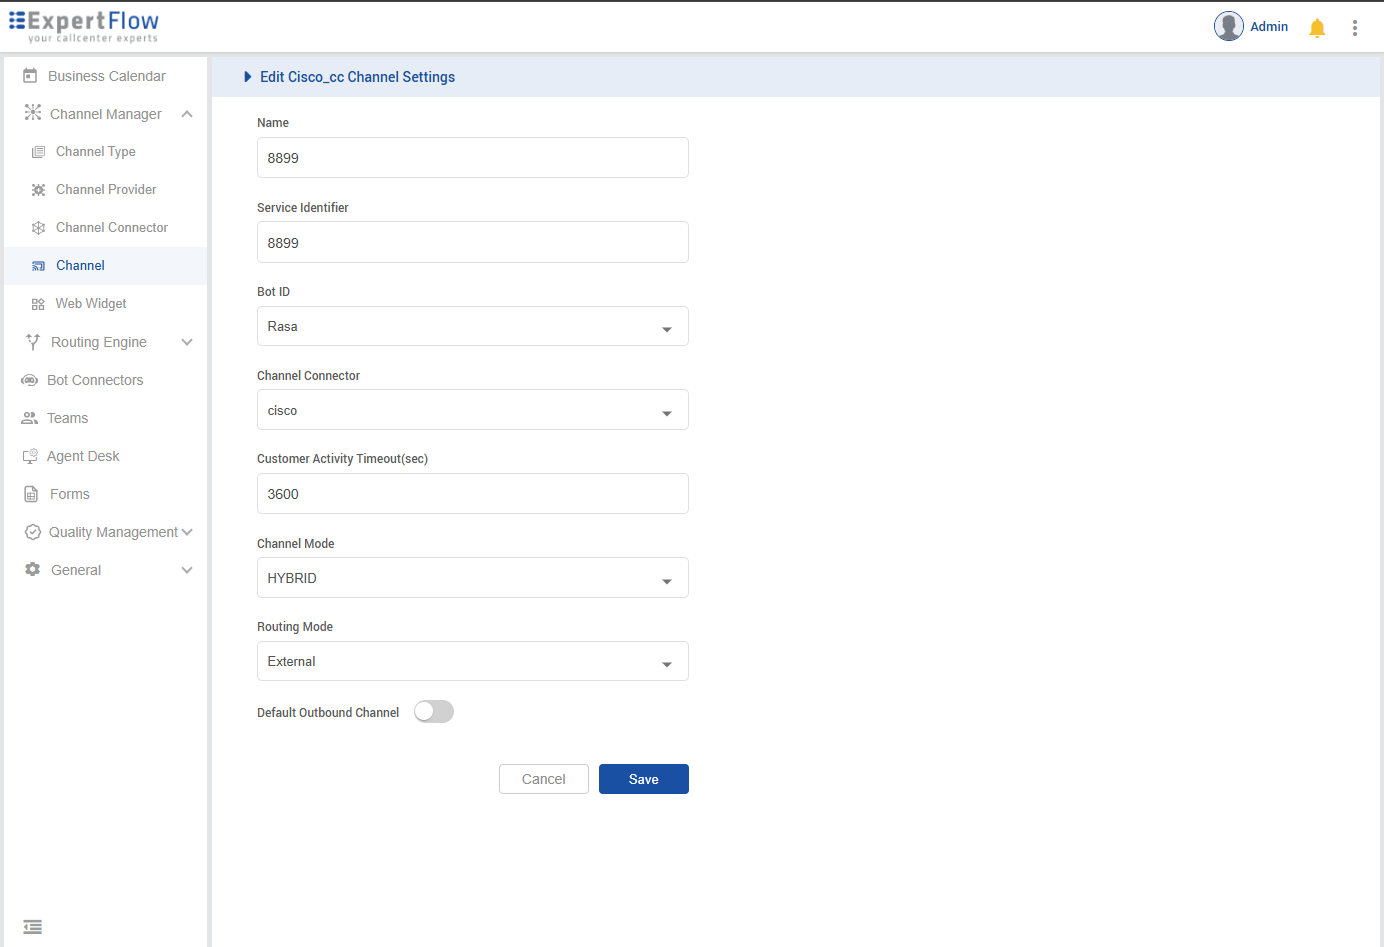
One needs to create a channel of type CISCO_CC for both Inbound and Outbound, for communication between Expertflow CX and the QM Connector.
For outbound, select a 4-5 Digit Number, and set it as
UCCE_OB_SERVICE_IDENTIFIERinhelm-values/cx-qm-custom-values.yaml
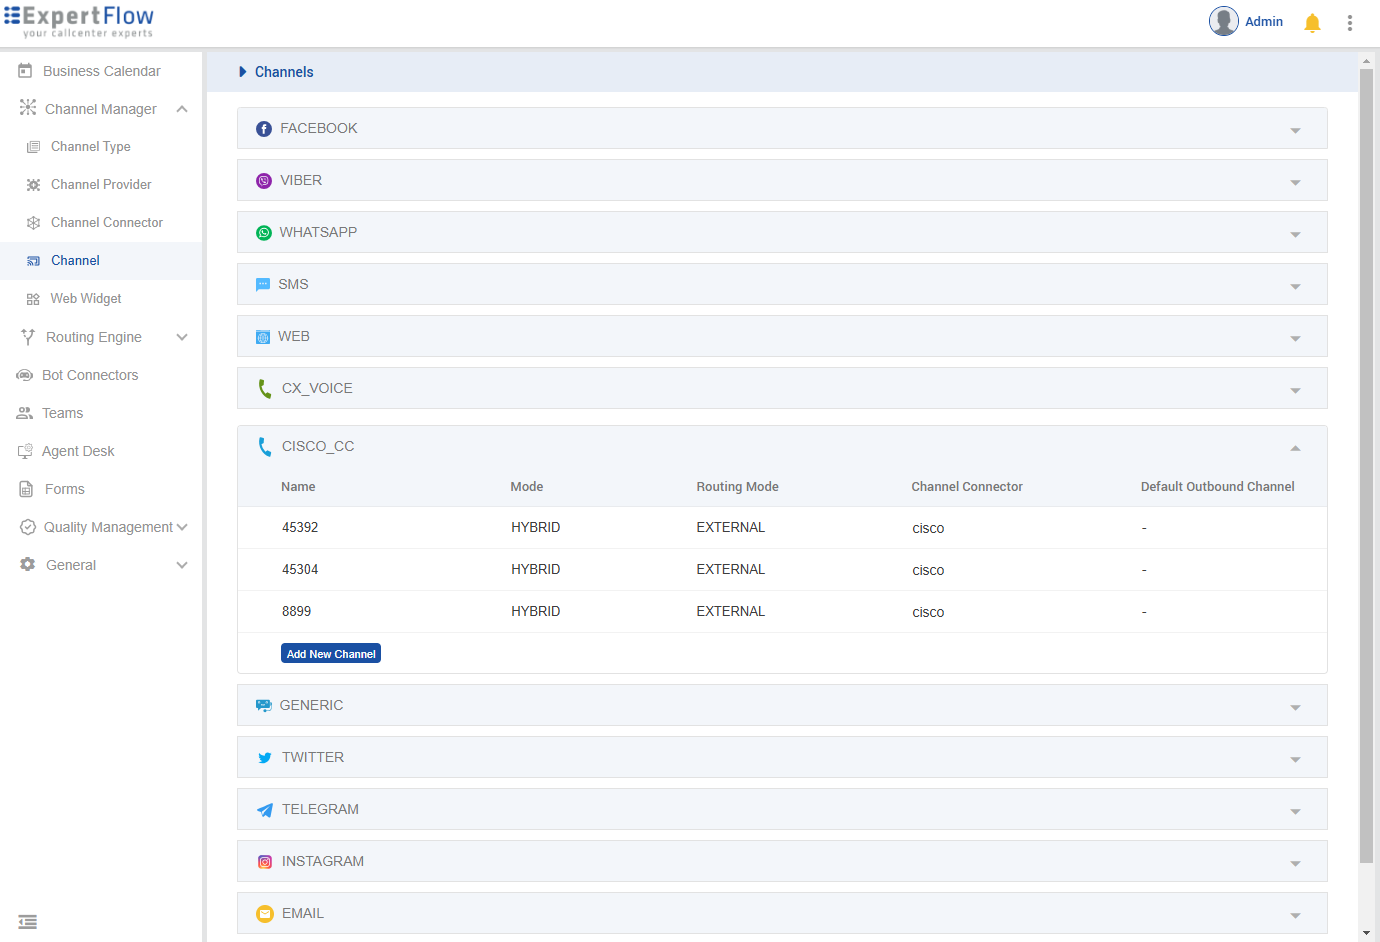
Configure Channel
Set Routing Mode as External
Set the Channel Model as HYBRID
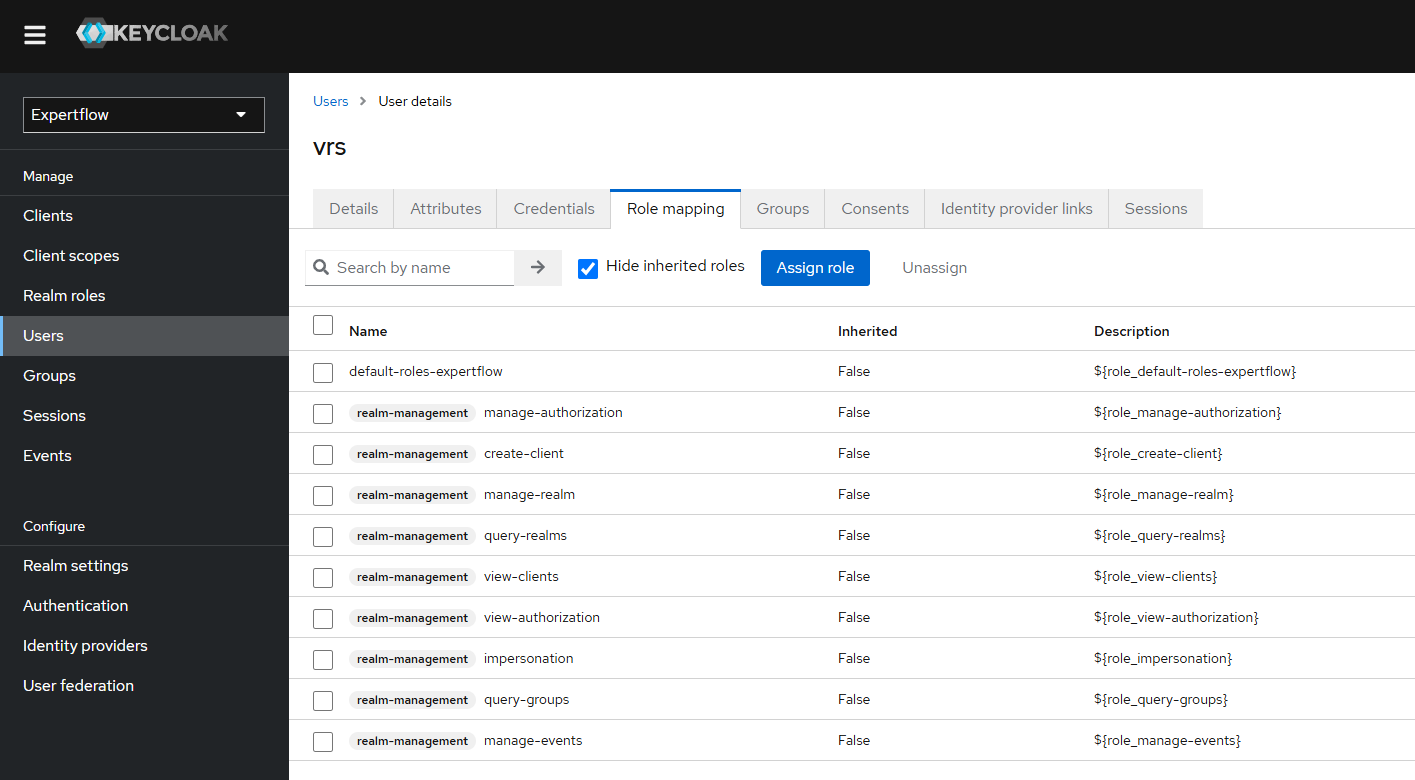
Create a new user in Realm, set its name & password as ‘vrs’, and assign all 21 ‘realm-management’ roles to that user. Set
KEYCLOAK_USERNAME & KEYCLOAK_PASSWORDinvalues.yaml
2. Deploy QM Connector
By default QM Connector is not enabled for deployment in the
helm-values/cx-qm-custom-values.yamlfile. Edit thehelm-values/cx-qm-custom-values.yamlfile to set theenabledflag totrueforqm-connector.Update the environment variables given in the table below, under QM-Connector in the
helm-values/cx-qm-custom-values.yamlfile, according to the channel, VRS, and UCCE configuration.Run the deploy command.
helm upgrade --install --namespace=expertflow --set global.efCxReleaseName="ef-cx" --version 4.10.0 qm --debug --values=helm-values/cx-qm-custom-values.yaml expertflow/qmEnv var | Description | Example values |
|---|---|---|
RECORDING_SERVER_FQDN | Recording Server IP | * |
EFCX_FQDN | CX FQDN | |
CALL_BACK_URL | Webhook for conversation creation | |
UCCE_ENGINE | UCCE DB Engine | sqlserver |
UCCE_IP | UCCE IP | * |
UCCE_PORT | UCCE DB port | * |
UCCE_DATABASE | UCCE | * |
UCCE_USERNAME | UCCE | * |
UCCE_PASSWORD | UCCE | * |
UCCE_OB_SERVICE_IDENTIFIER | Service Identifier for outbound calls | 8899 |
KEYCLOAK_REALM_NAME | Realm name from EFCX IAM (keycloak) | expertflow |
KEYCLOAK_CLIENT_ID | KeyCloak client ID from IAM (keycloak) | cim |
KEYCLOAK_CLIENT_SECRET | Add the client secret from the IAM (keycloak) | ef61df80-061c-4c29-b9ac-387e6bf67052 |
KEYCLOAK_USERNAME | IAM (Keycloak) User with all the realm-management Roles | vrs |
KEYCLOAK_PASSWORD | The password of the IAM (keycloak) User with all the realm-management Roles | vrs |
KEYCLOAK_AGENT_ROLE_NAME | The role that needs to be assigned to the new Agent created with QM-connector | agent |
KEYCLOAK_AGENT_ROLE_ID | Role-Id that needs to be assigned to new Agent created with QM-connector | 1903735d-5bcc-4253-a05e-ea1487195c9c |
DB_NAME | Name of the VRS database | * |
DB_USER | Username for VRS database | * |
DB_PASSWORD | Password for the VRS database | * |
DB_ENGINE | The engine on which the VRS database is running i.e MySQL | sqlserver |
DB_HOST | Name or IP of the host on which the VRS database is active | * |
DB_PORT | Port of the VRS Database | * |
DB_DRIVER | Driver on which VRS database is running i.e mysql drive | com.microsoft.sqlserver.jdbc.SQLServerDriver |
CALL_START_DATE | The cutoff date; only TCD records with a start time after this date are fetched | 2025-01-01 |
MAX_BATCH_SIZE | The maximum number of users to fetch from Keycloak in a single batch. | 30000 |