IAM Configuration For QM
IAM (Keycloak) Configuration for Quality Management
Quality Management has introduced two new roles that a user needs to be assigned to interact with the available options through Unified Admin.
Quality Manager
Evaluator
First, need to create the following new realm roles (all compulsory)
conversation-studio-admin
quality-manager
evaluator
And then import the following auth file to get all the quality-management related permissions.
Step-by-step process:
Step 1: Login to IAM (Keycloak)
Access the Application (Keycloak) Administration console by opening this URL in your browser: https://<FQDN>/auth. and click on Administration Console.
The default username and password are “admin” and “admin” respectively.
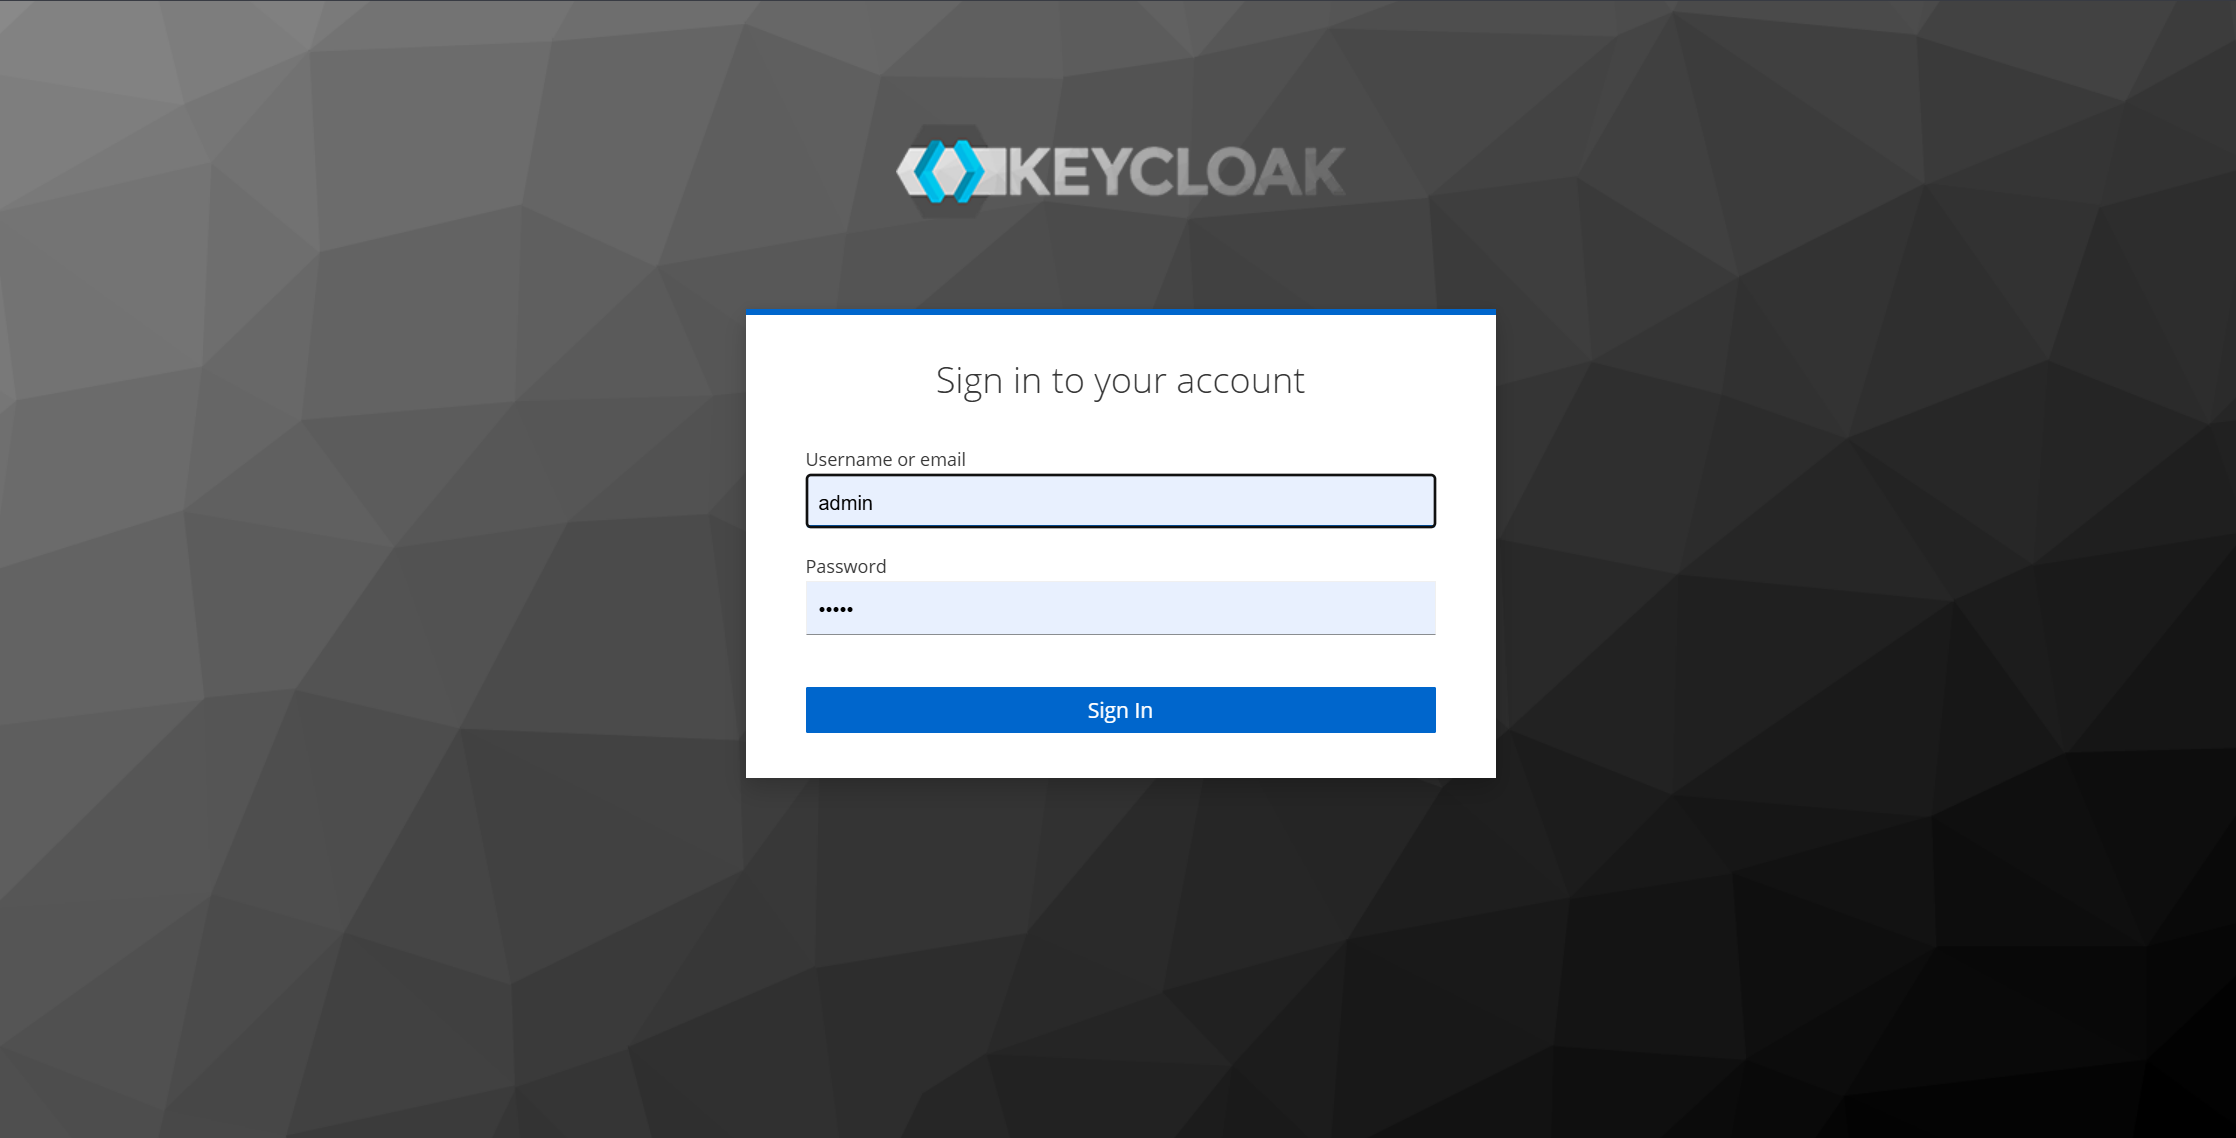
Step 2: Adding Realm roles.
Important Note:
First, make sure you are in the right realm. When you login to IAM (Keycloak), it takes you to the Master realm by default. You need to change that by clicking on the realm dropdown in the top left and choosing Expertflow from there. For reference, you may see the screenshot below where Expertflow Realm is already selected in the top left dropdown.
After that, choose Realm roles from the left sidebar, as shown in the screenshot below.
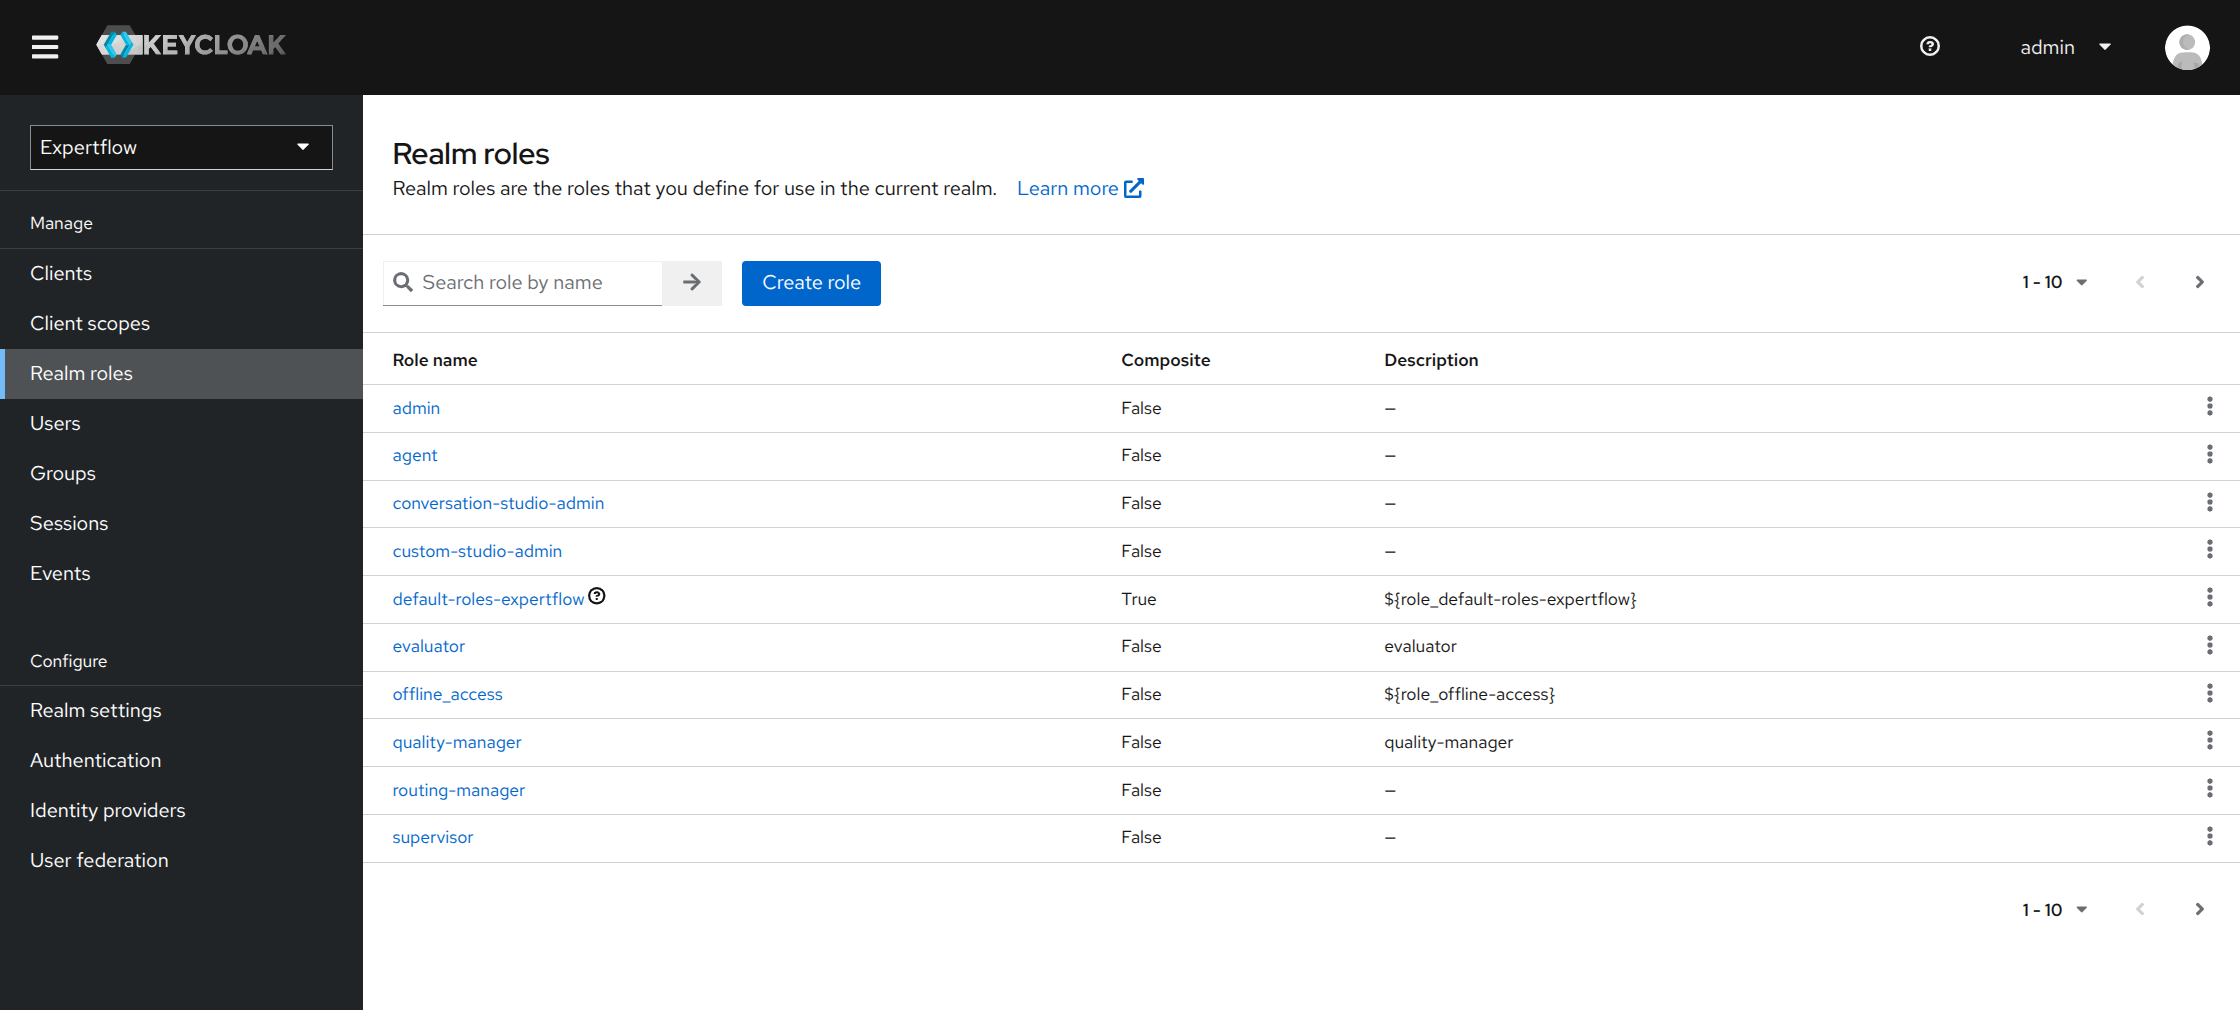
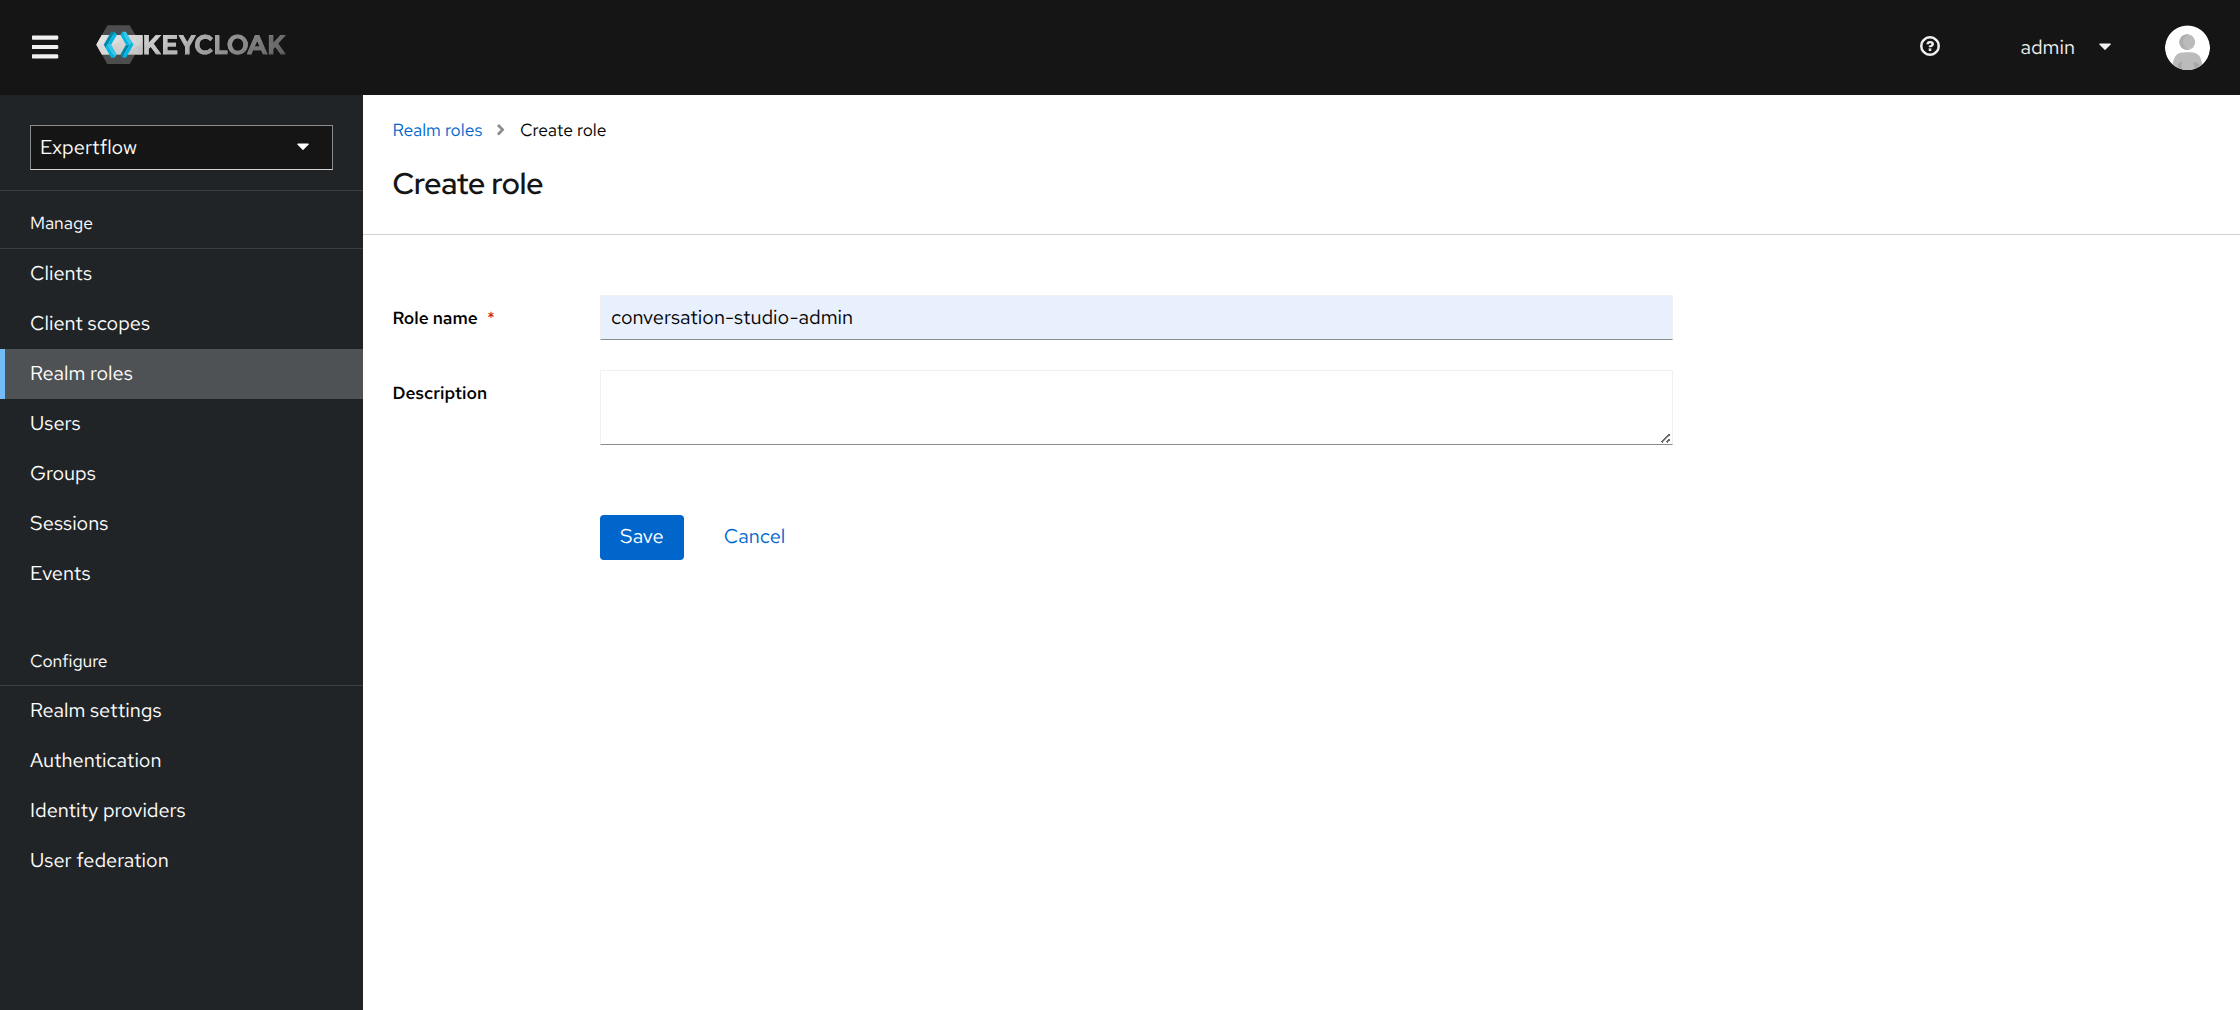
Step 3: Click on Create role and add the role name, and save
Here, need to add three roles:
conversation-studio-admin
quality-manager
evaluator
Add the above-mentioned roles, and save them one by one. You can now see the screenshot below, where all three listed roles will be shown once saved.
Step 4: Now go to Clients on the left side navigation bar and click on cim from the client list.
Now, click on the Authorization tab as follows and click on import.
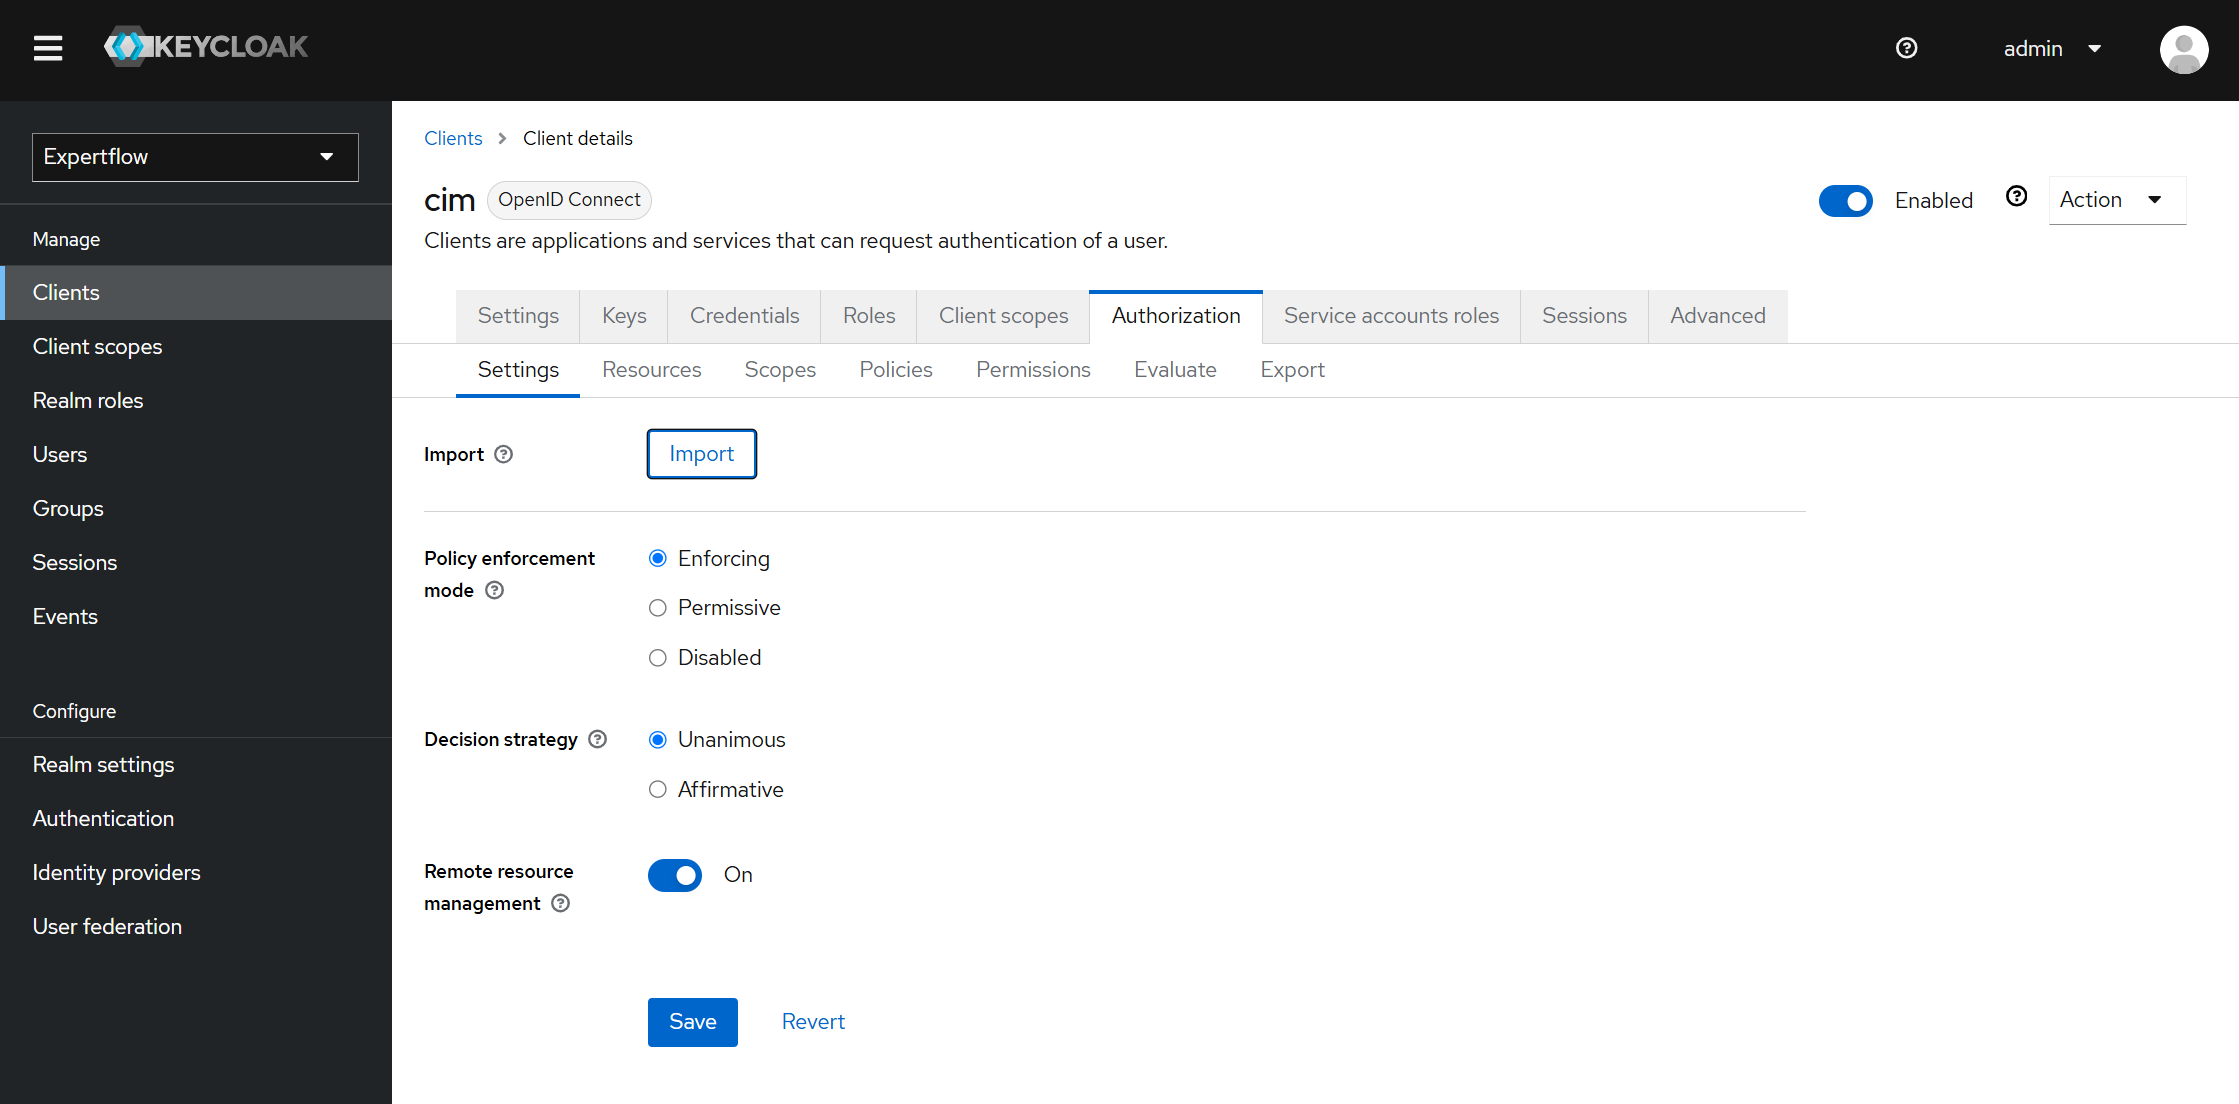
Step 5: Import the Auth file here (provided at the start of the IAM (Keycloak) configuration part using browse and click on Confirm.
In case there is an error while importing, delete all the resources, scopes, policies, and permissions, and then import the file again.
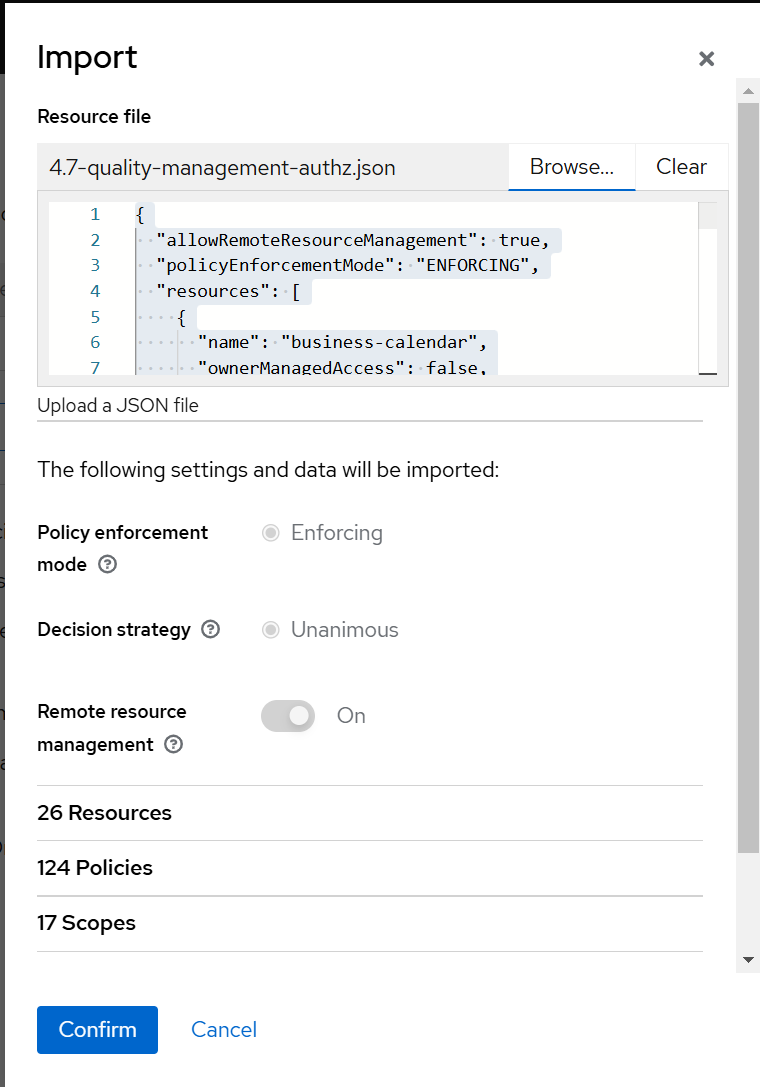
Now, all is done for adding roles and auth in IAM(Keycloak) for Quality Management.
In the next section, you will see how to create users in IAM (Keycloak) and assign Quality Manager and Evaluator roles to them with groups.
Assigning role and group to users in IAM(Keycloak)
Step 1: Create a user in IAM(Keycloak)
Click on users on the left sidebar navigation and click on Add user.
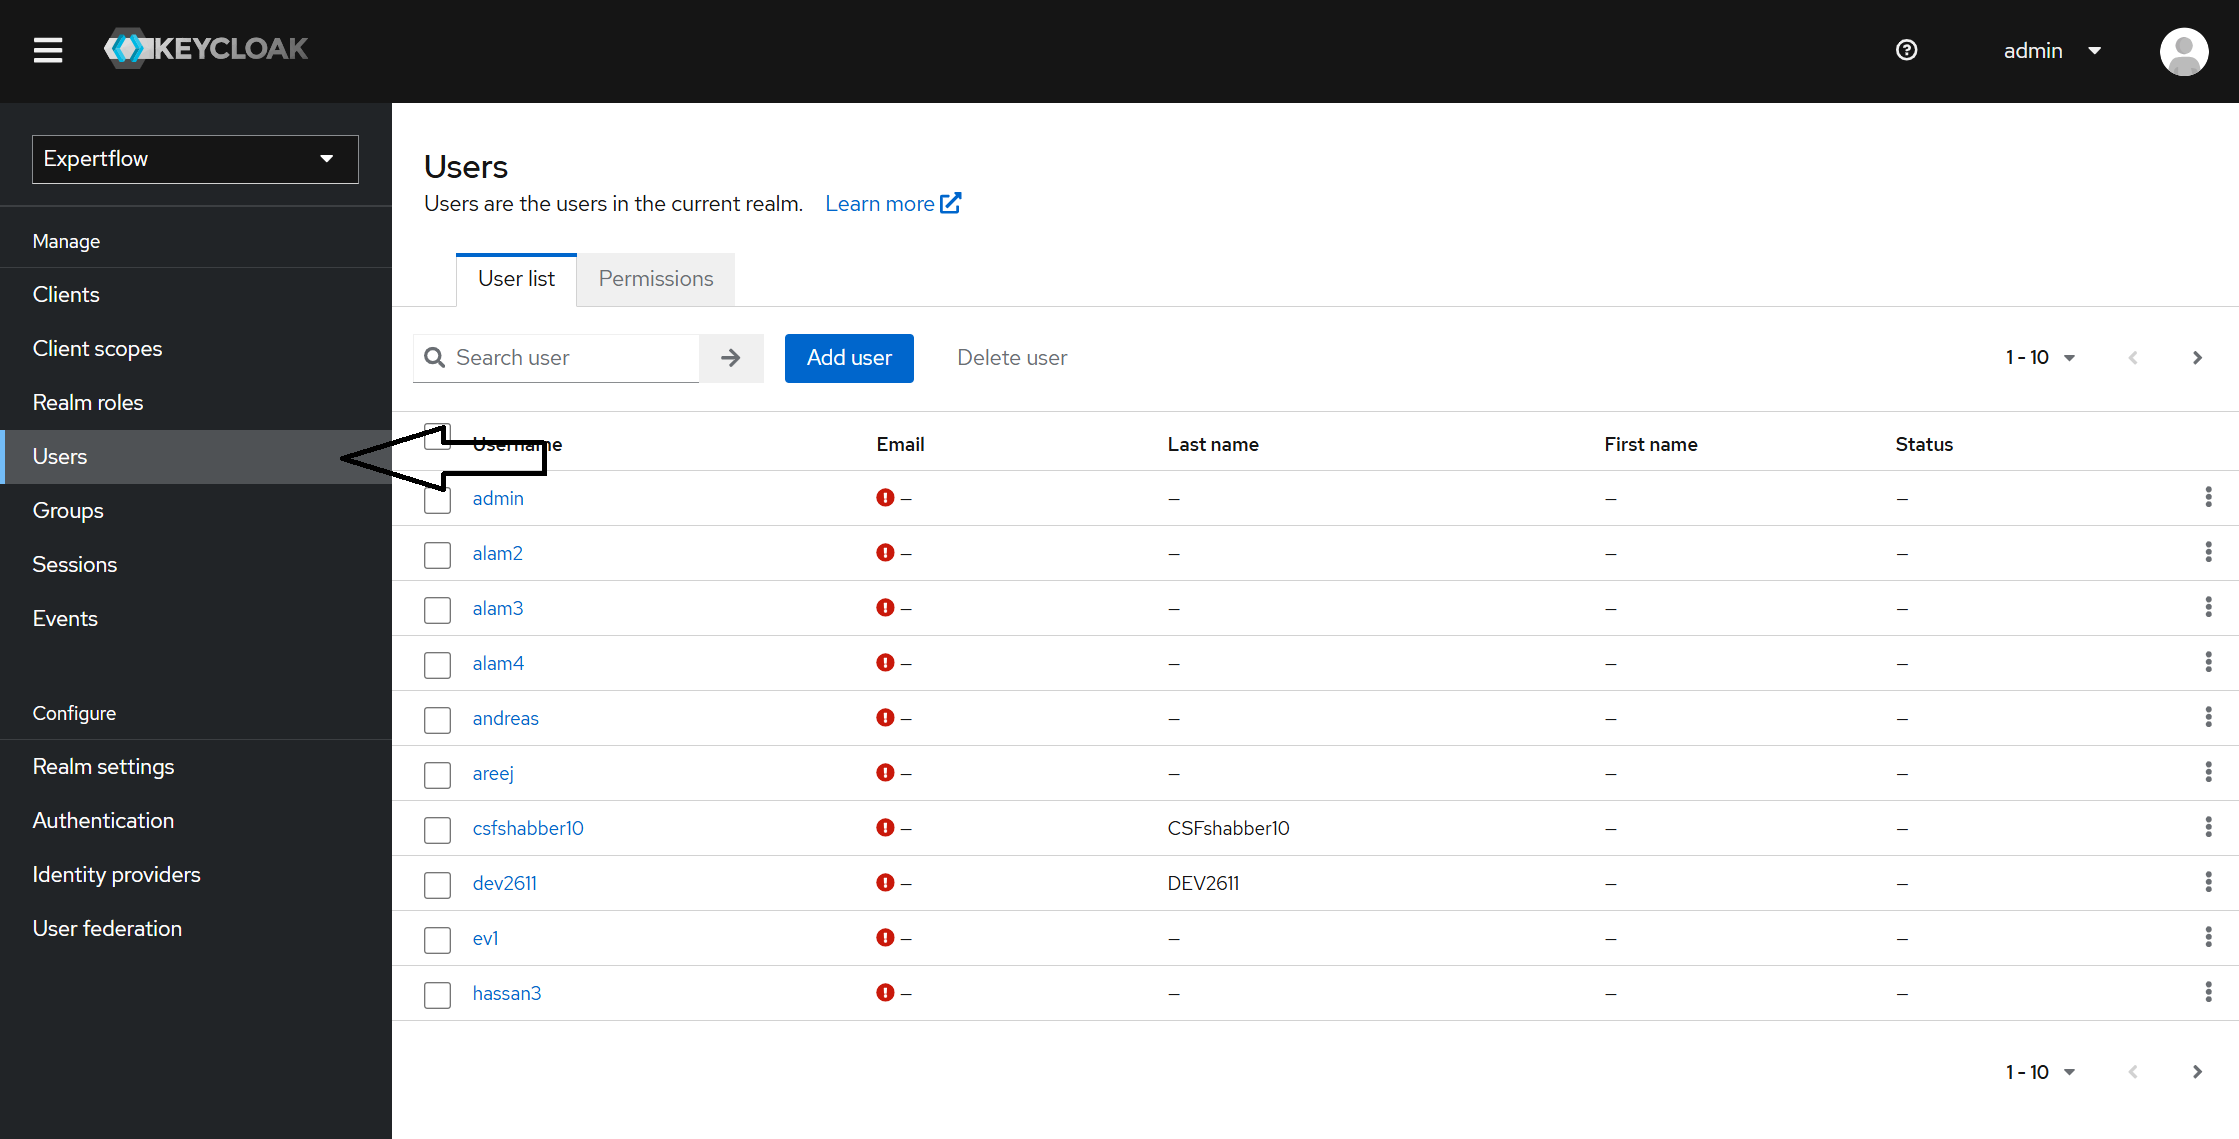
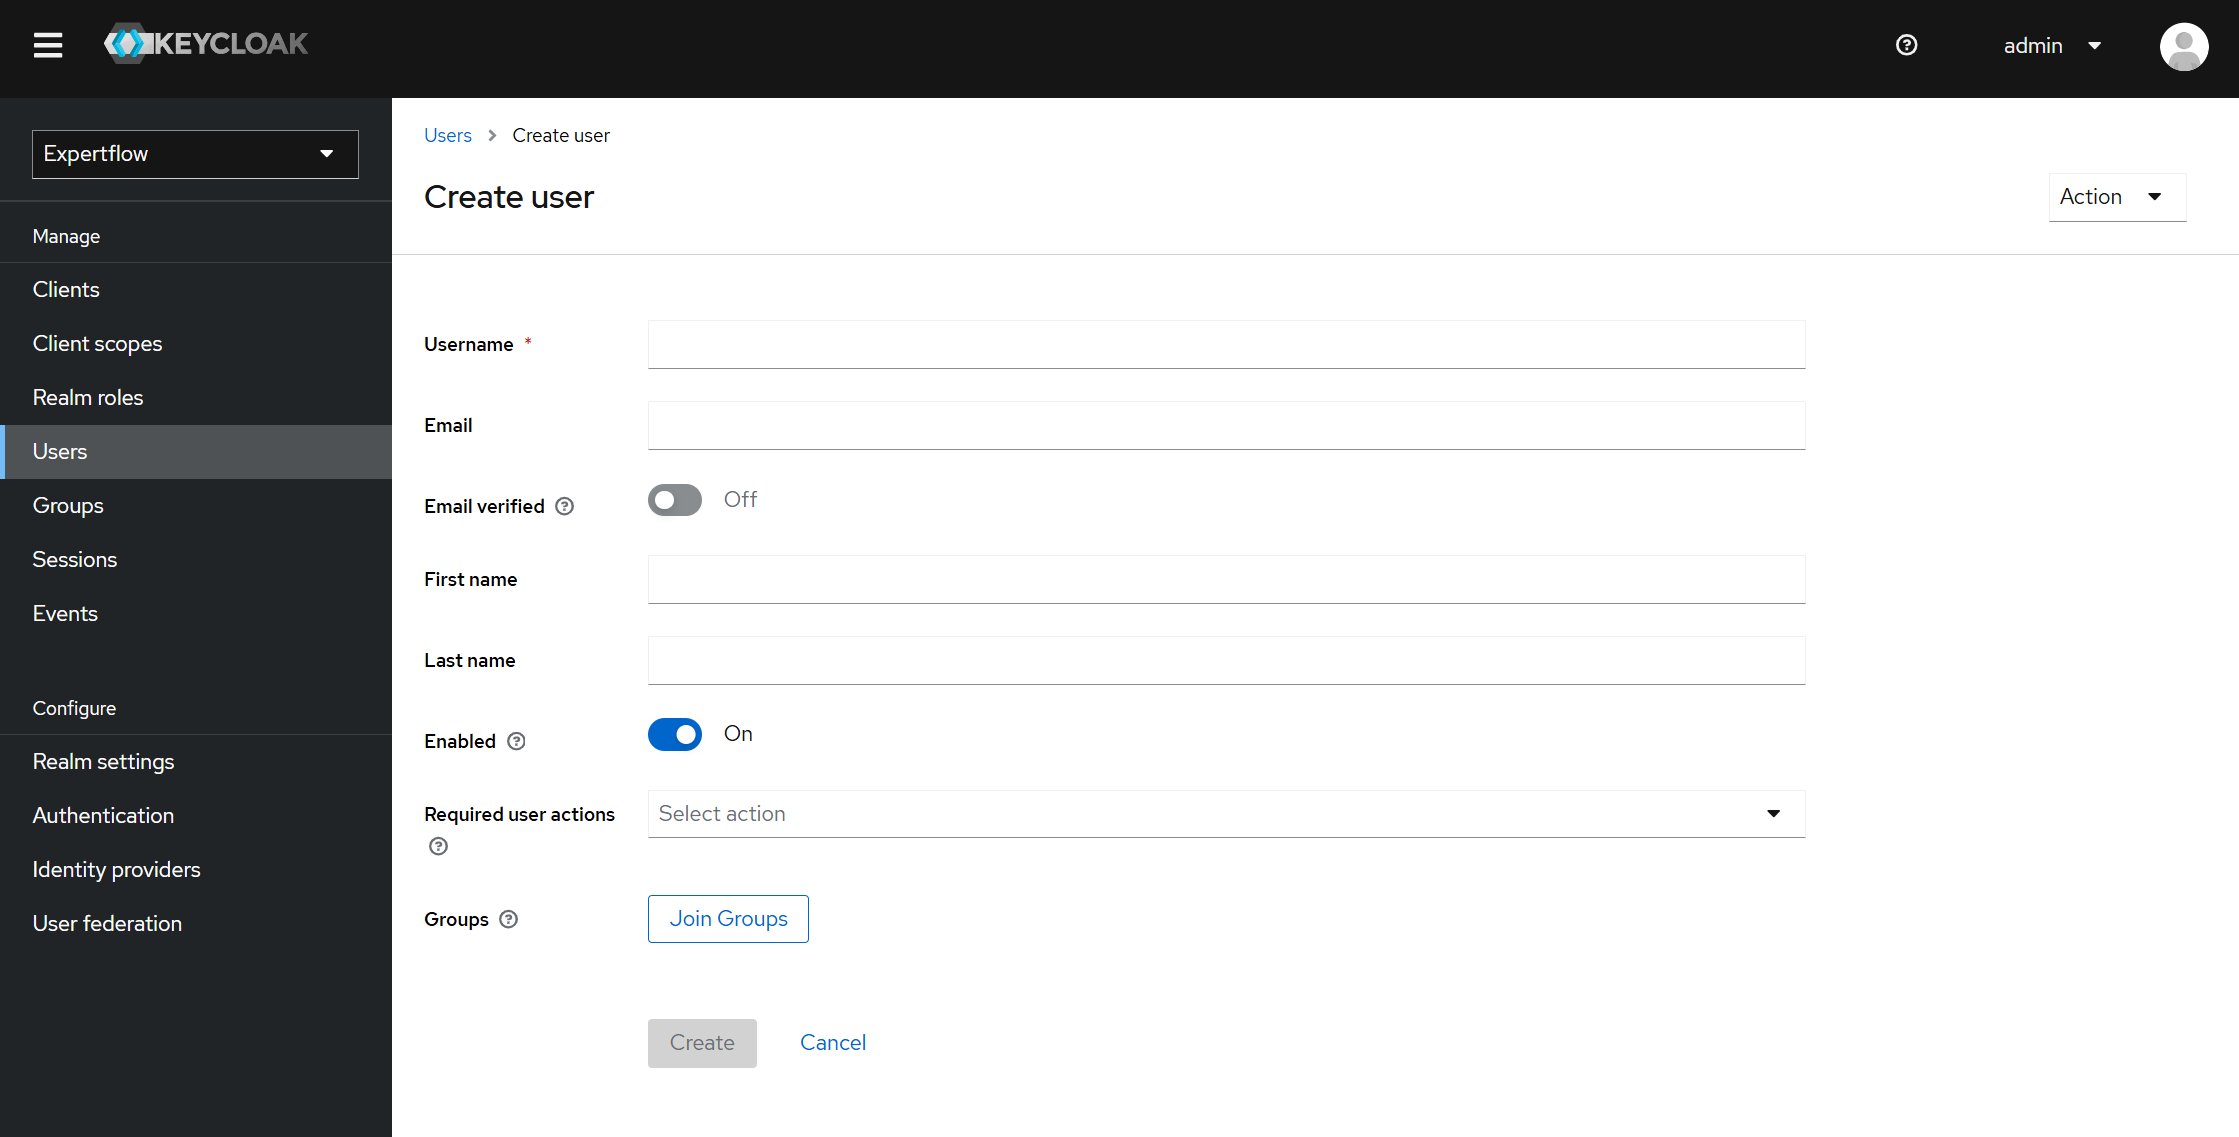
Step 2: Fill the following form
Fill the form. Username is compulsory here, and click on the Create button below.
Step 3: Setting the Password
After creating the user, you need to set passwords, using the Credentials tab.
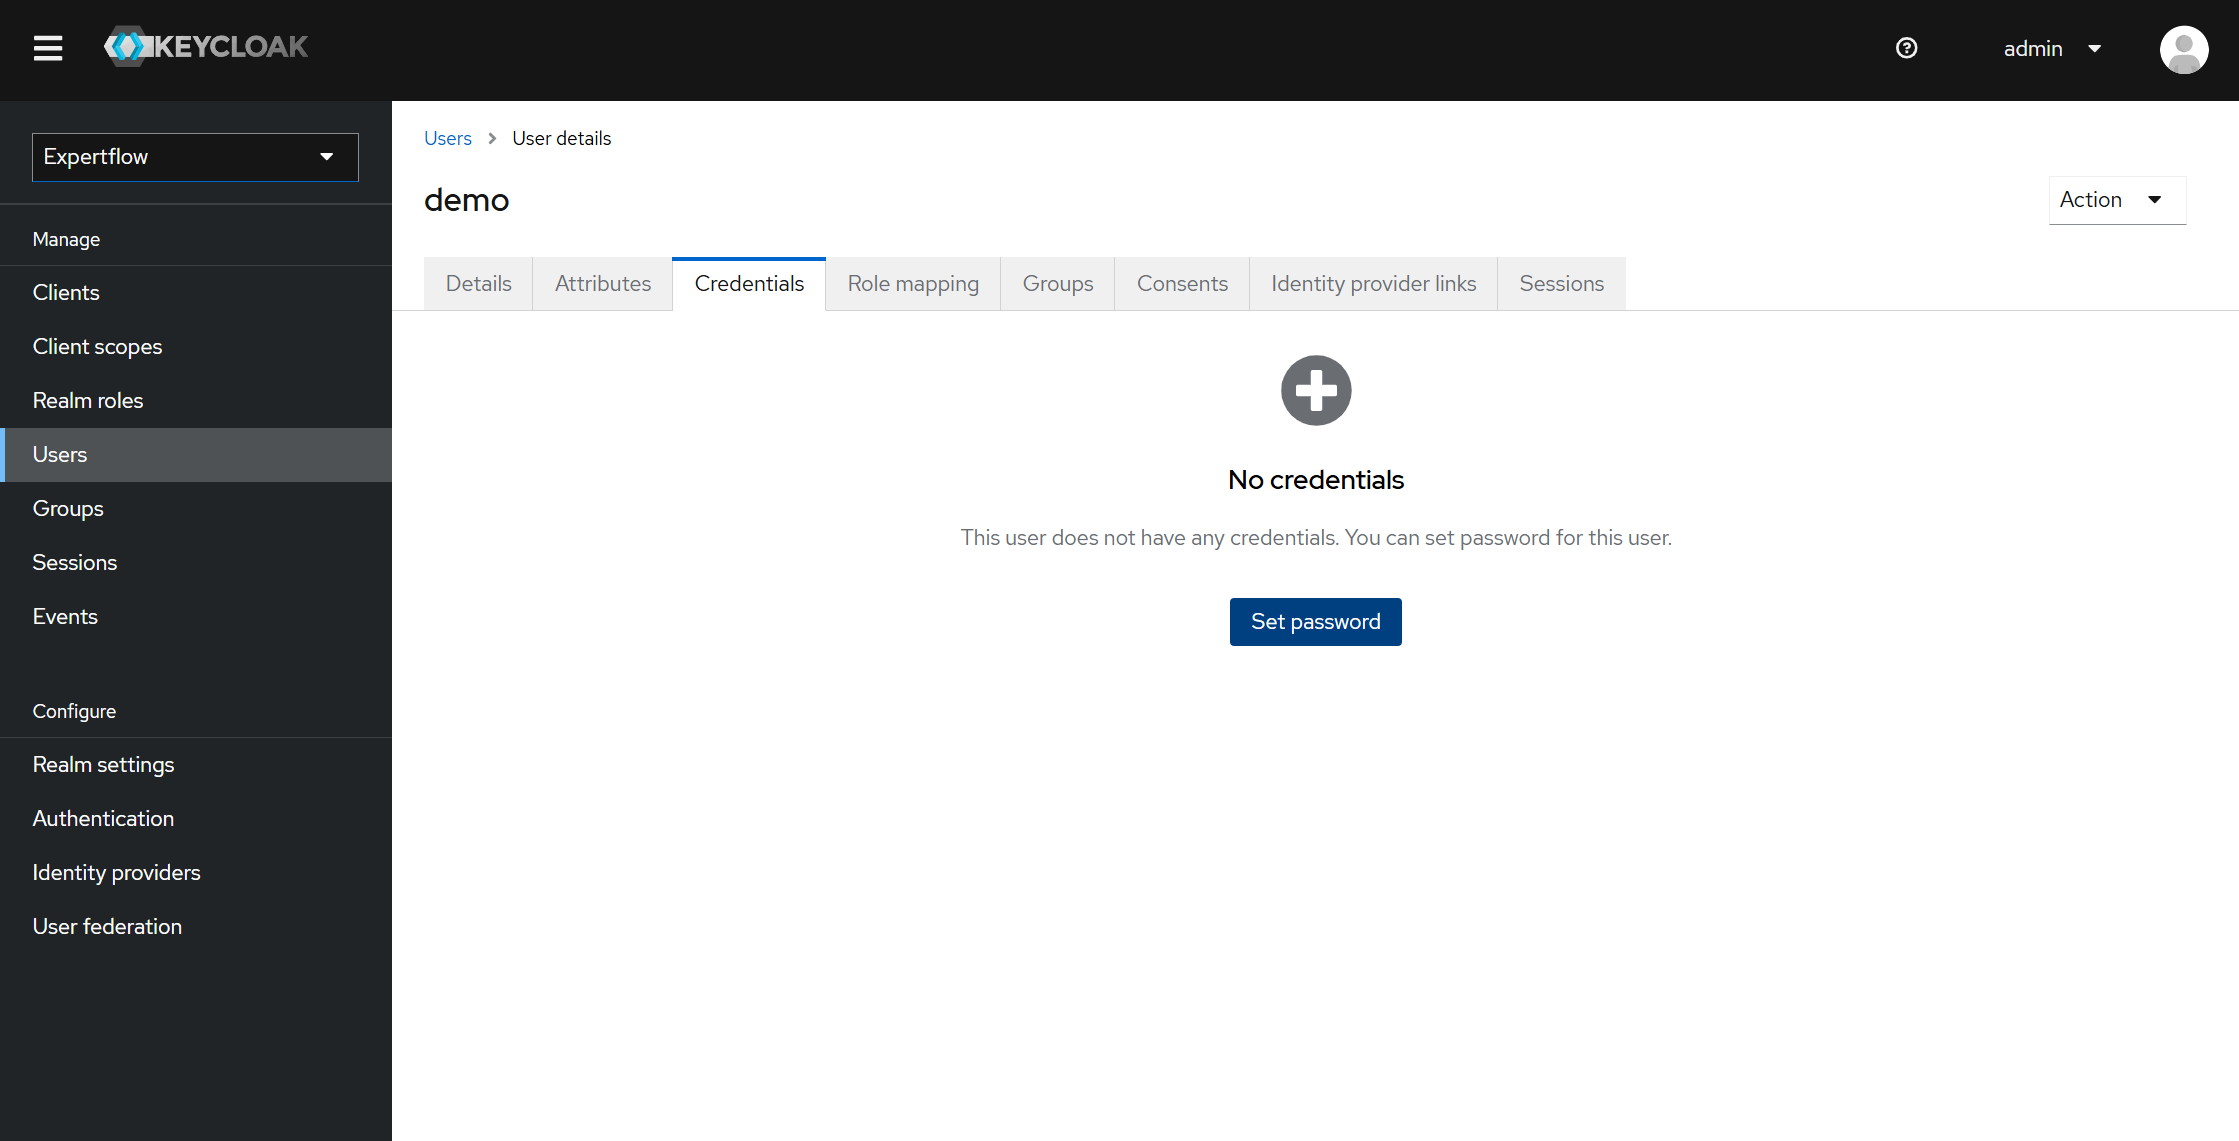
Click on Set Password. The following screen will pop up.
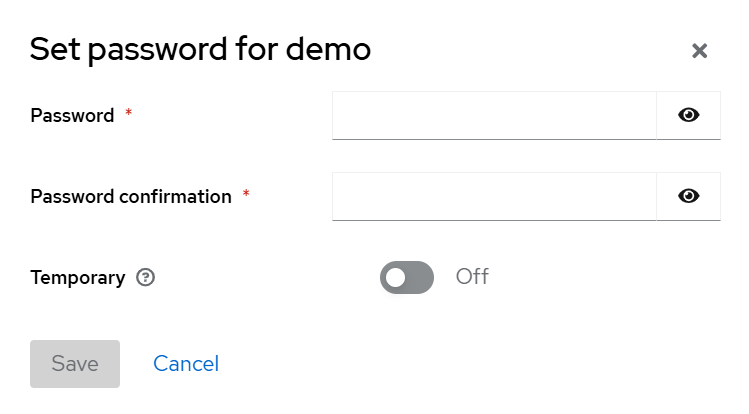
Fill out the password and confirm password fields. Here, need to ensure to toggle off the Temporary field; otherwise, your credentials won't be valid after the first login, and it will be set as a temporary password. Now, click Save. You will be asked for confirmation. Click on Save Password.
Step 4: Assigning Roles to user:
Click on Role Mapping tab. You will see following screen. Click on Assign Role button in blue color.
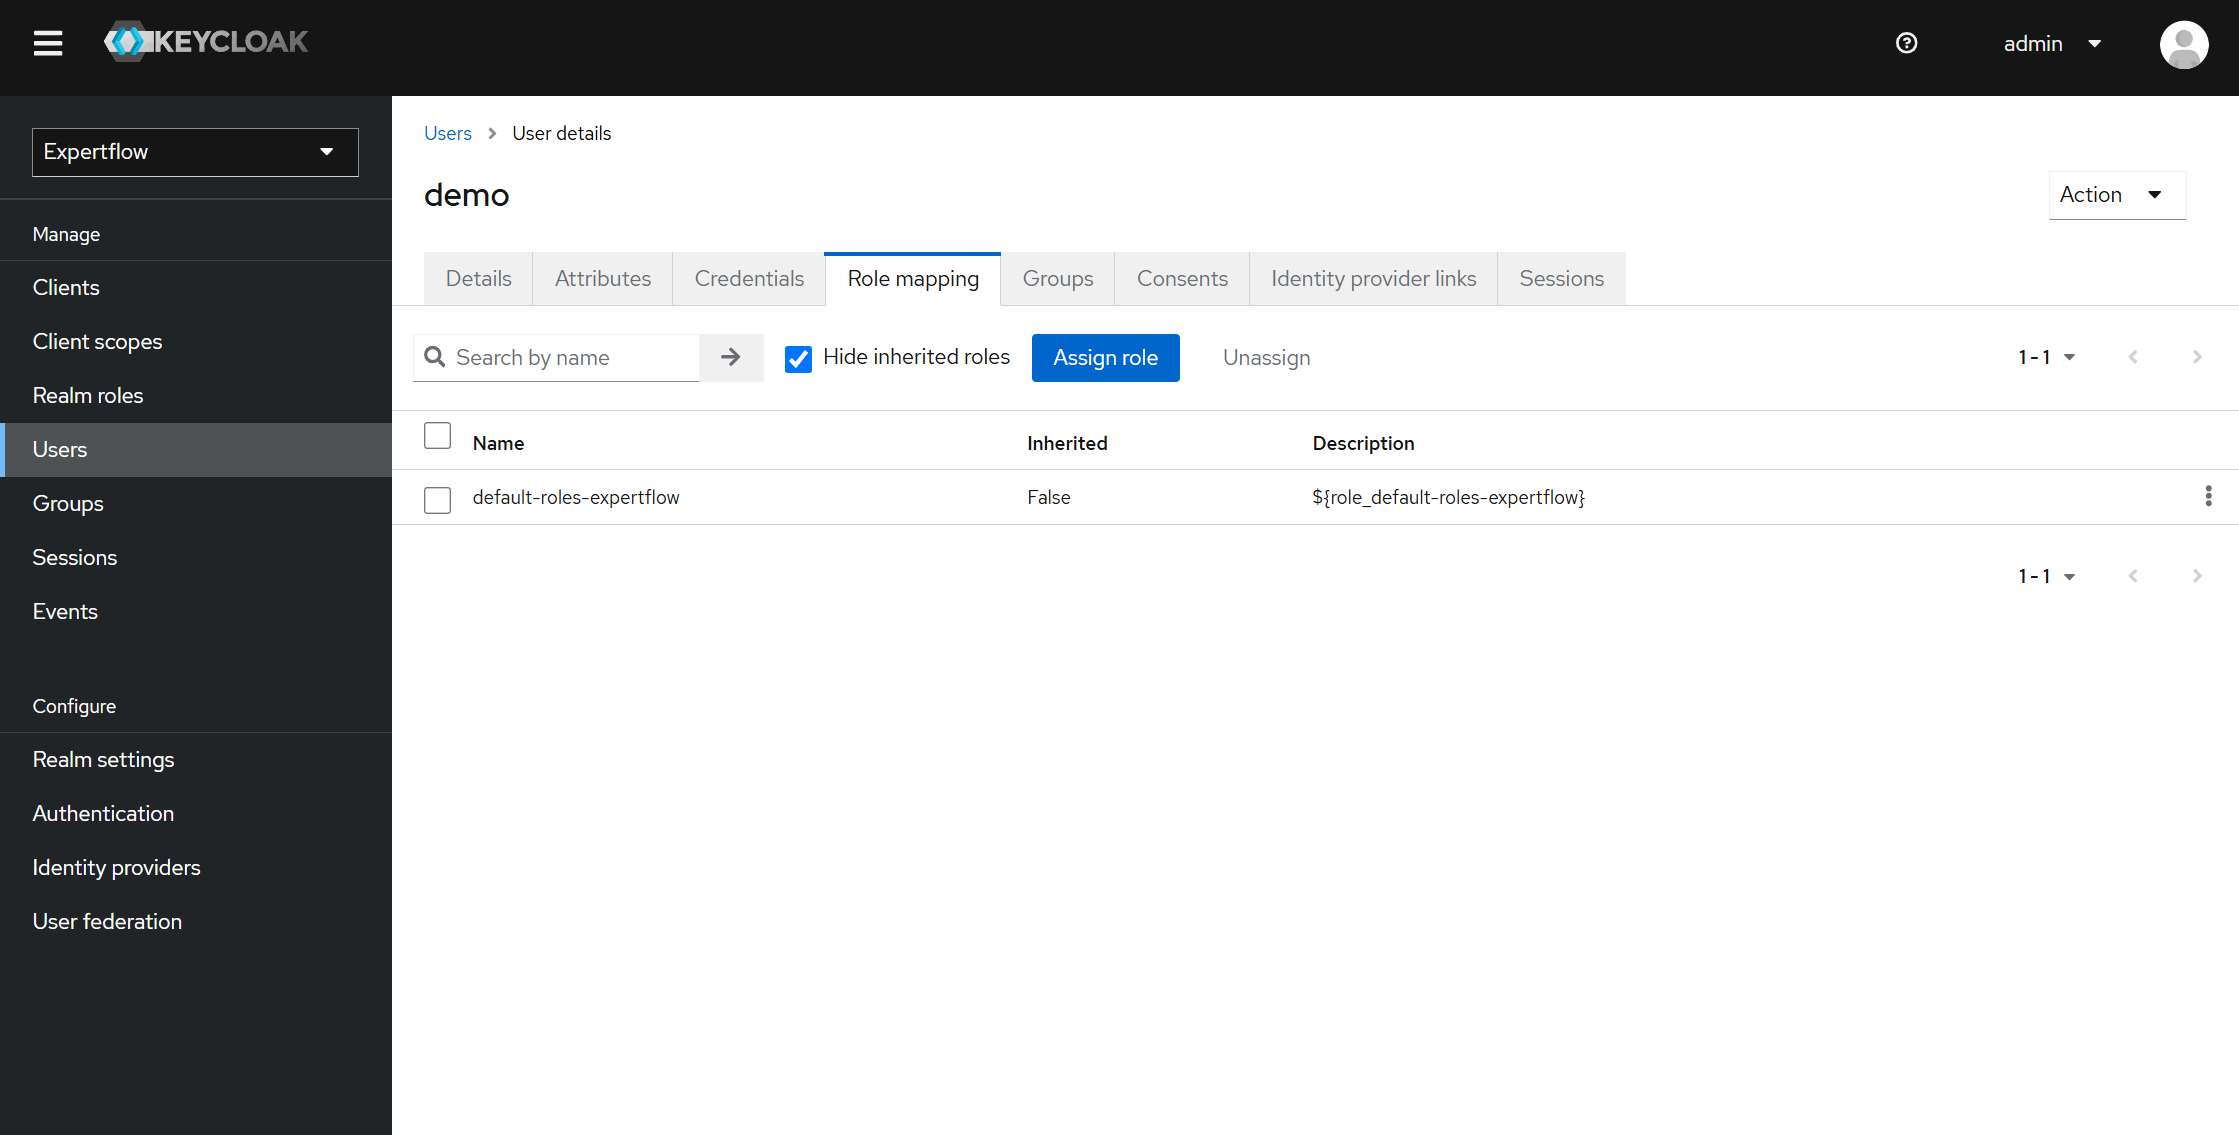
You will meet following screen.
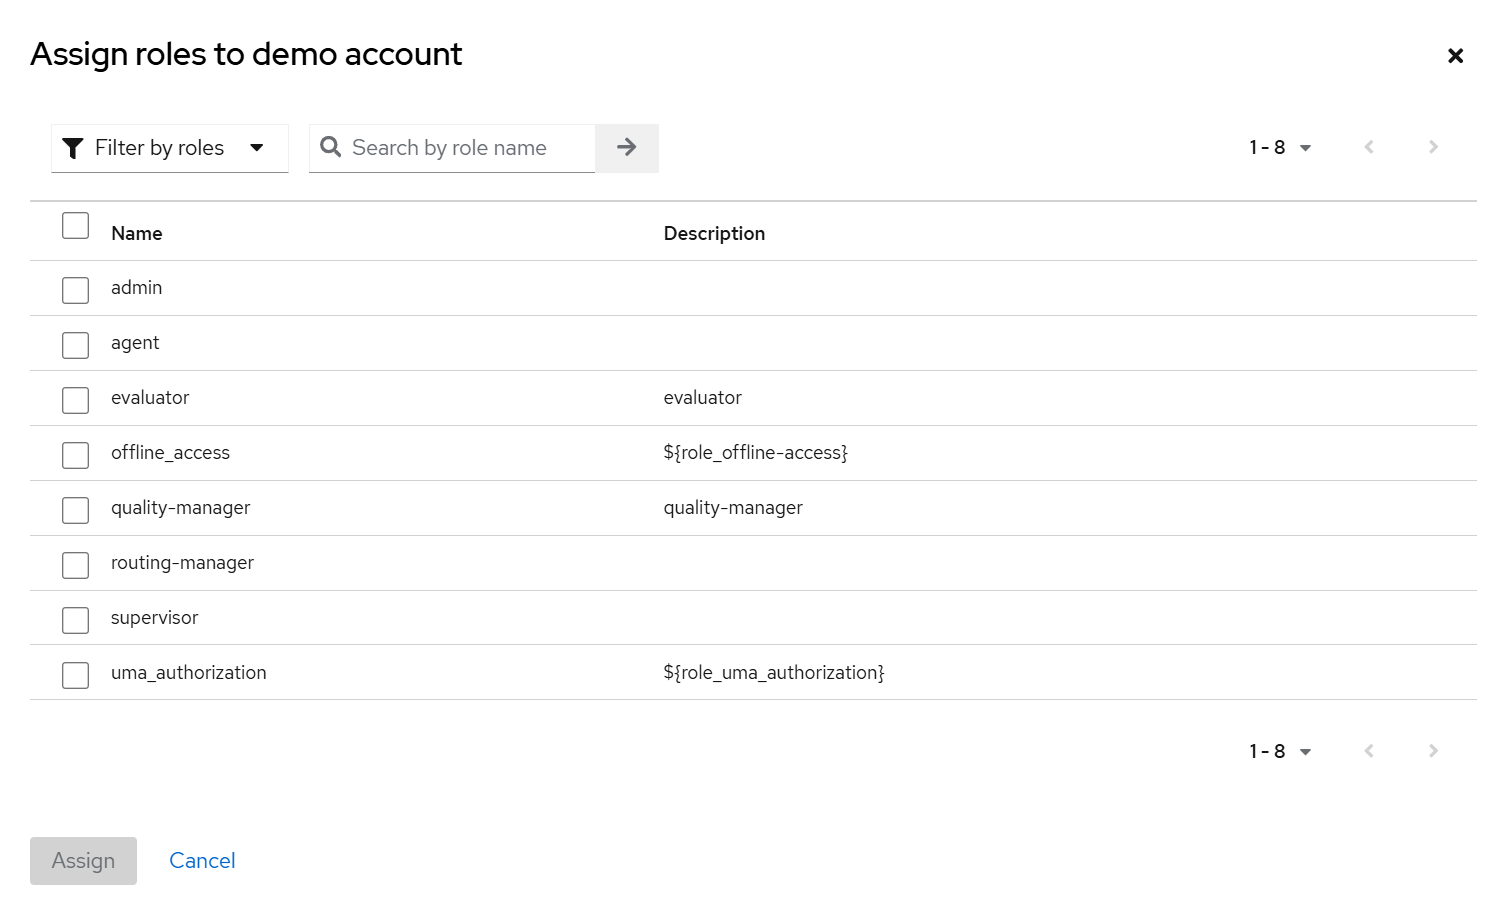
Now select the roles to want user to have. These roles will give permission to user to login and access Quality Management screens according to role like evaluator can only access Reviews List screen while Quality Manager can access Reviews List as well as Schedules and Conversation List.
Following role is compulsory:
agent
Other than this, you have quality-manager and evaluator role, also check which one you want user to have and click on Assign.
Step 5: Assigning Group to user:
Click on Groups tab. You will see following screen. Click on Join Group button in blue color.
Groups can also be assigned from Step 2 screen using Join Groups.
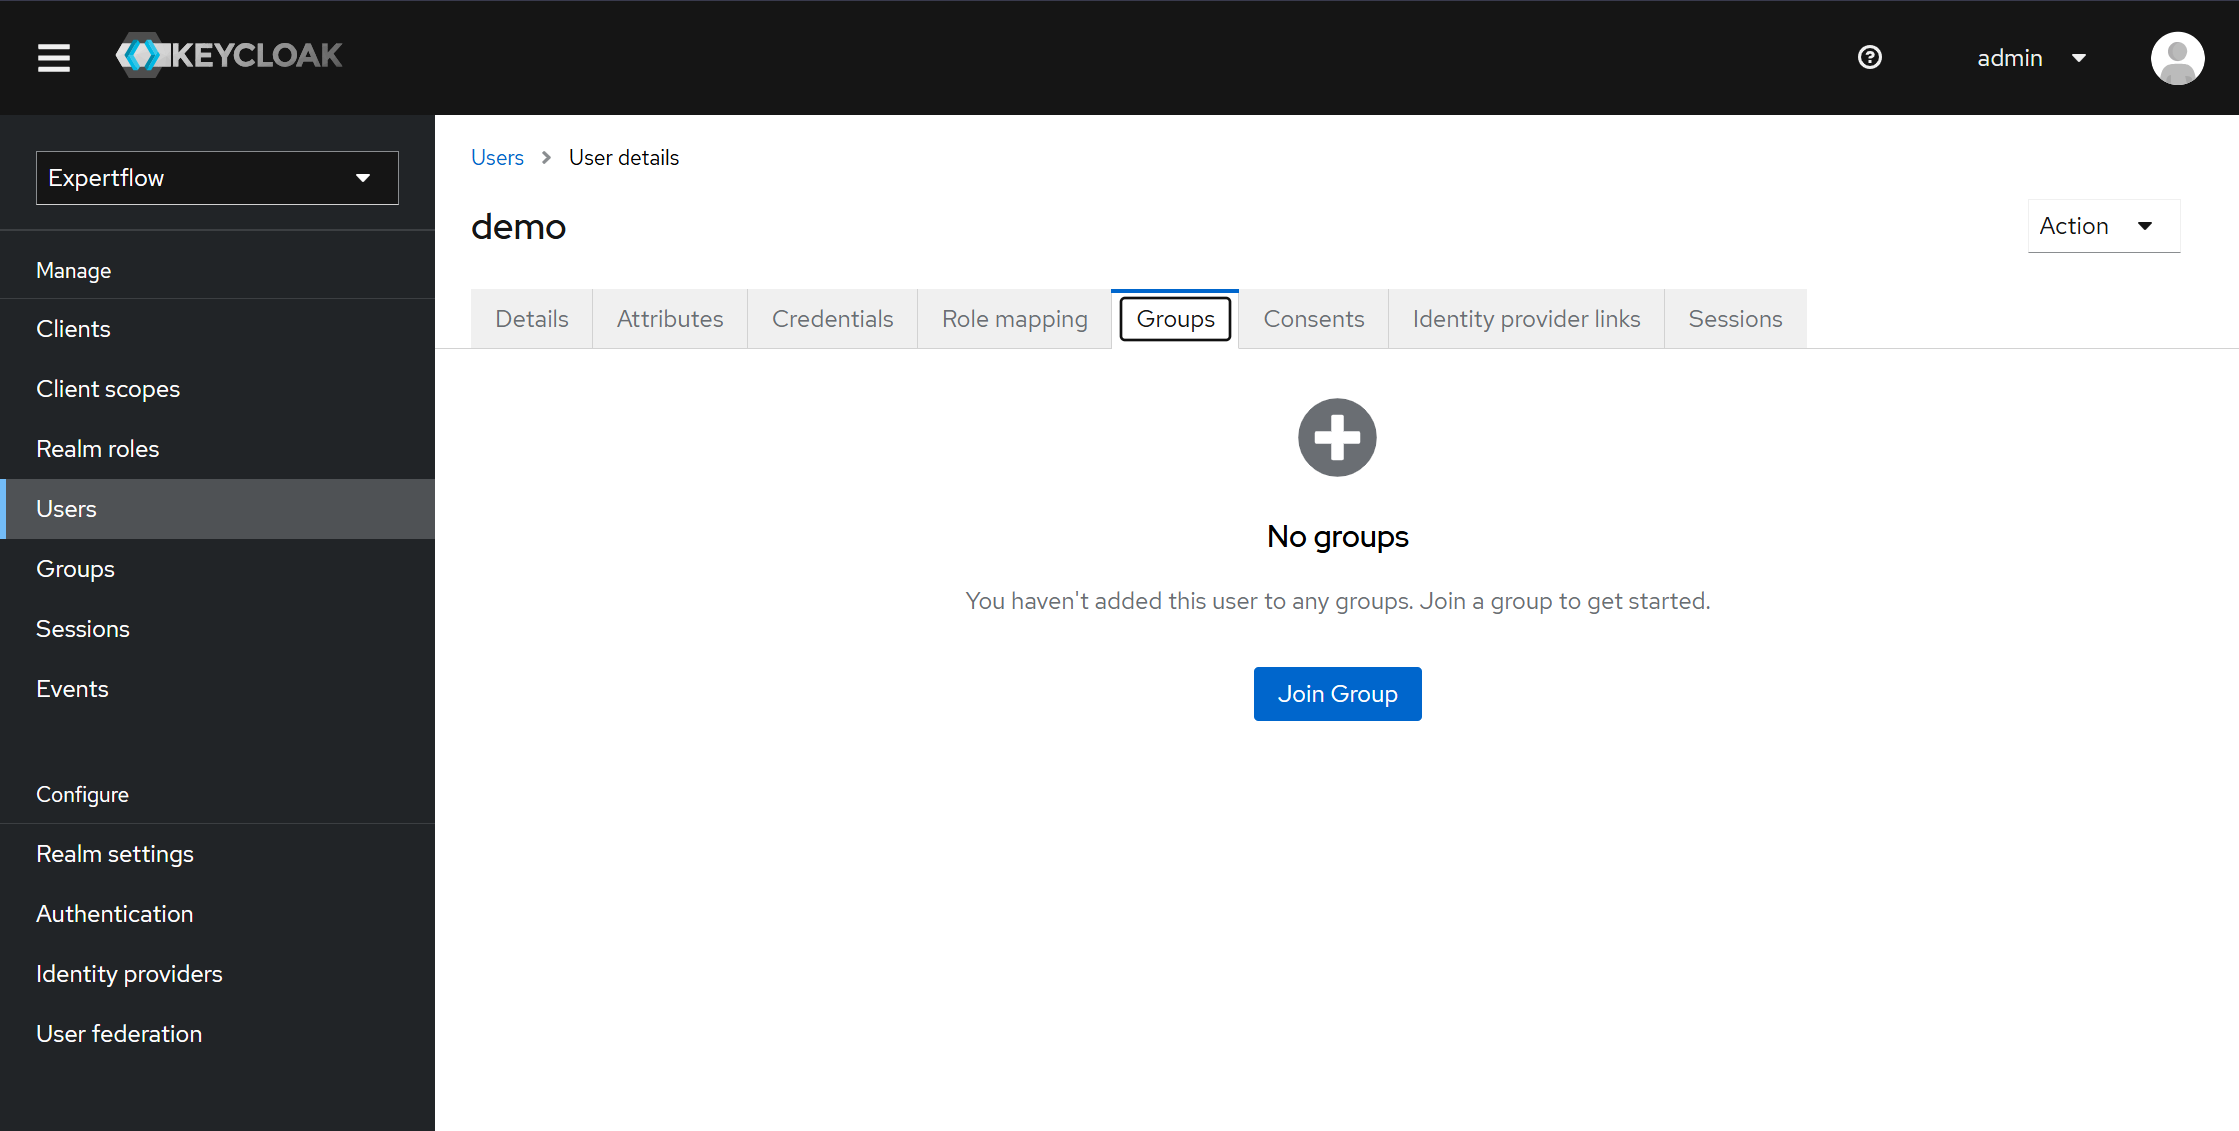
You will meet following screen.
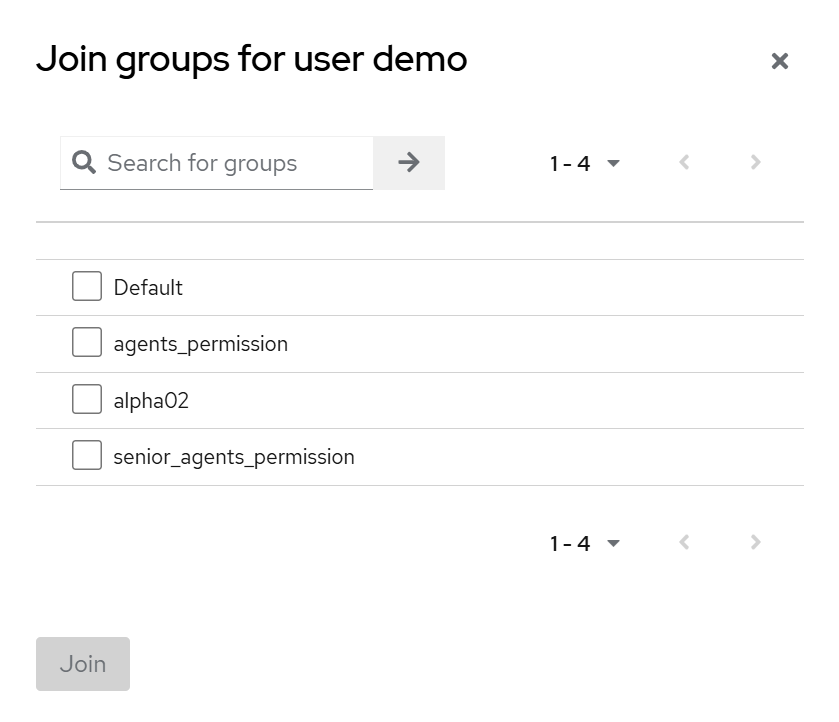
Check the following and click Join:
agents_permission
You have successfully created user with required roles, group and configuration.
For logging in to Unified Admin, your user must have role of agent with group assigned and part of a team otherwise you won’t be able to login.
Configuration Component accessibility:
By default, when you login into Unified-admin with admin user, you will be able to see configuration component on left sidebar under Quality Management. Admin is the only role which can access and edit the configuration component settings. When you login with Quality-manager assigned role user other then admin, you can see the configuration component but cannot change the settings in it means they are view only for Quality-Manager (other than admin) and view and manageable for Admin user.
Follow the following section to add agent to team using admin.
Assigning team to Keycloak User:
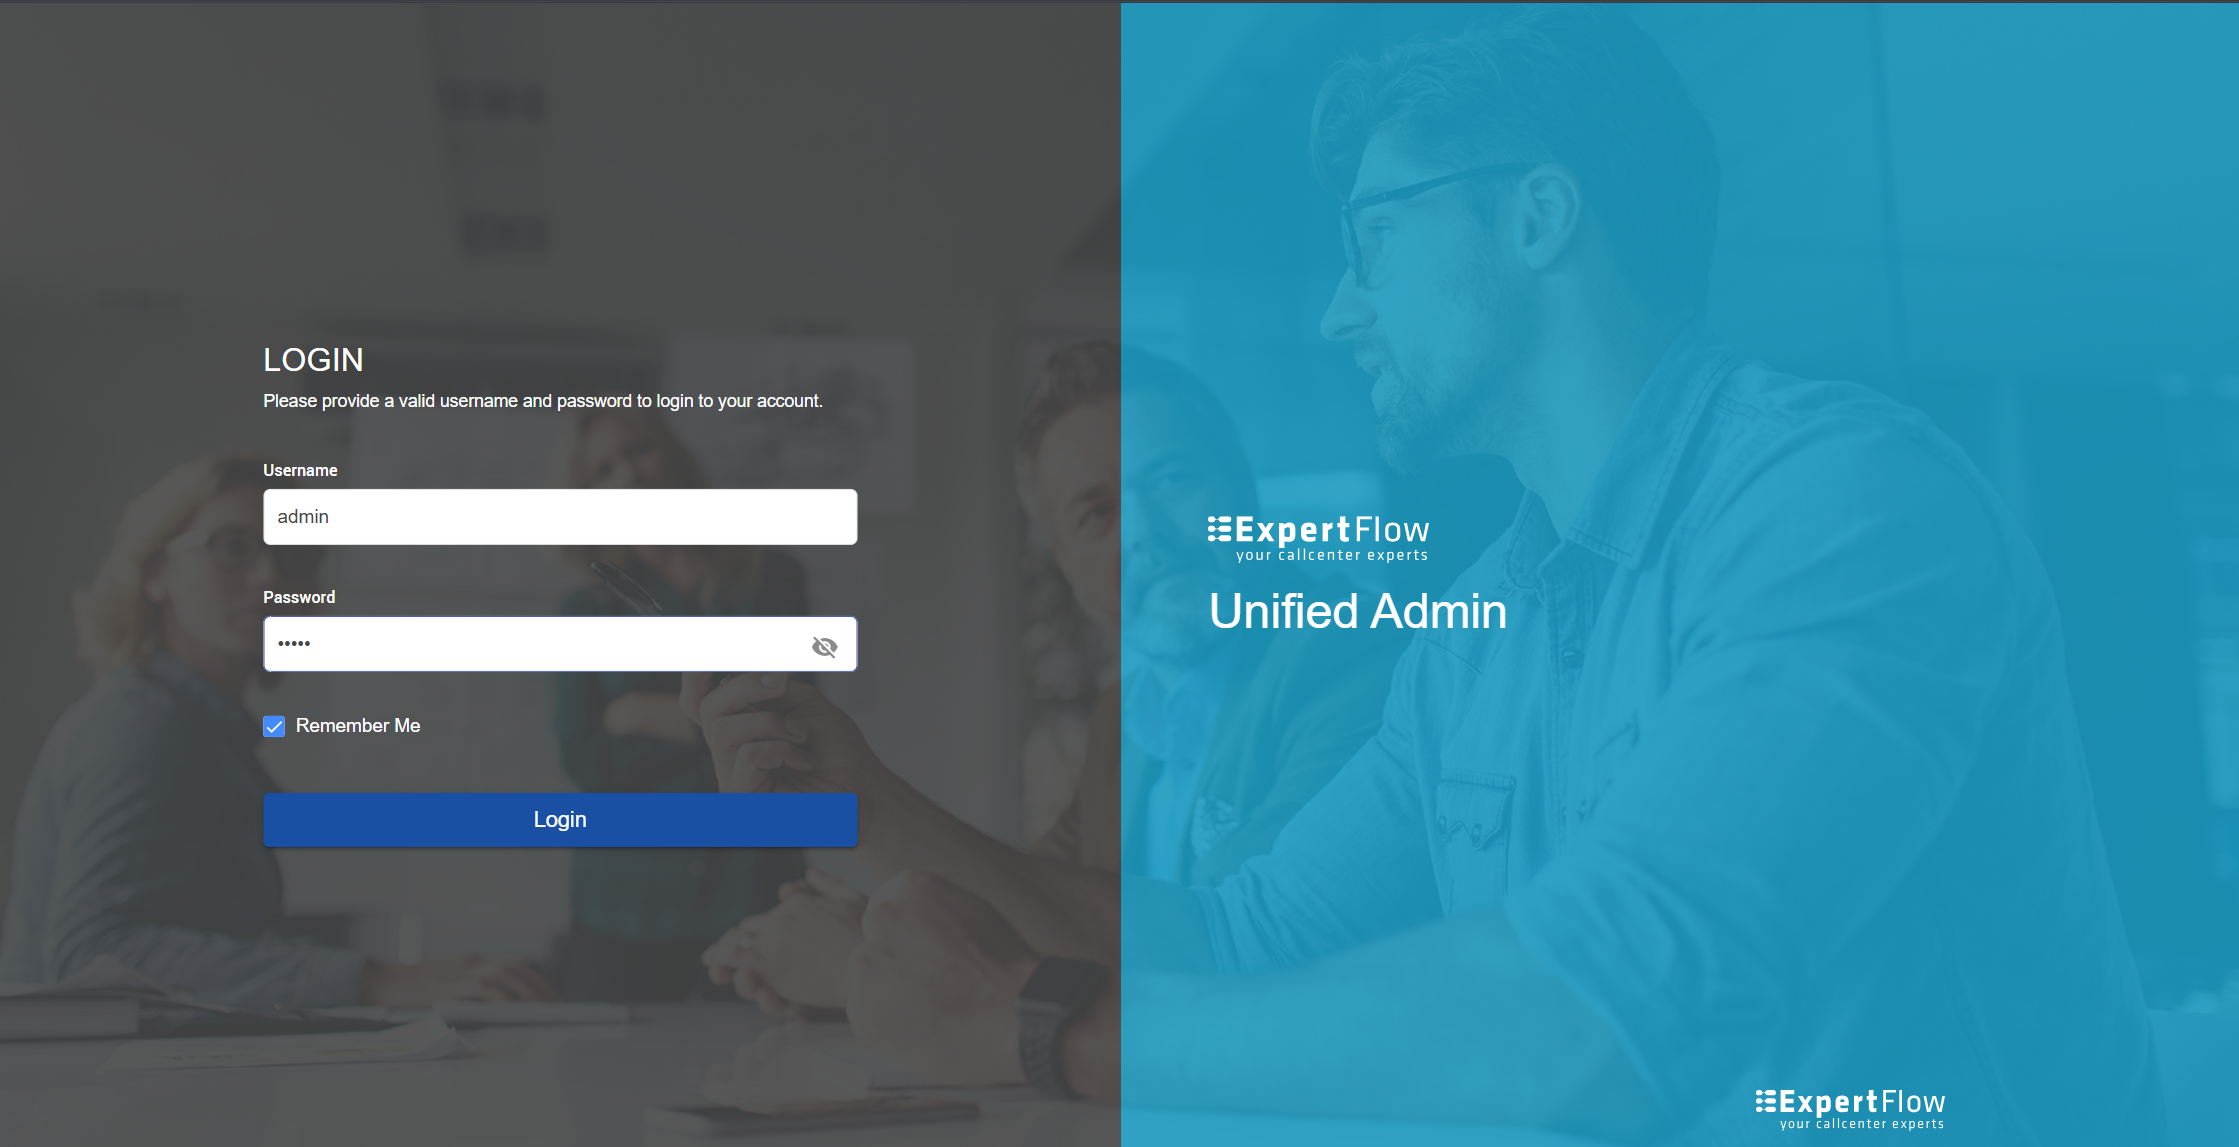
Step 1: Login to https://<FQDN>. Enter admin and admin for username and password respectively.
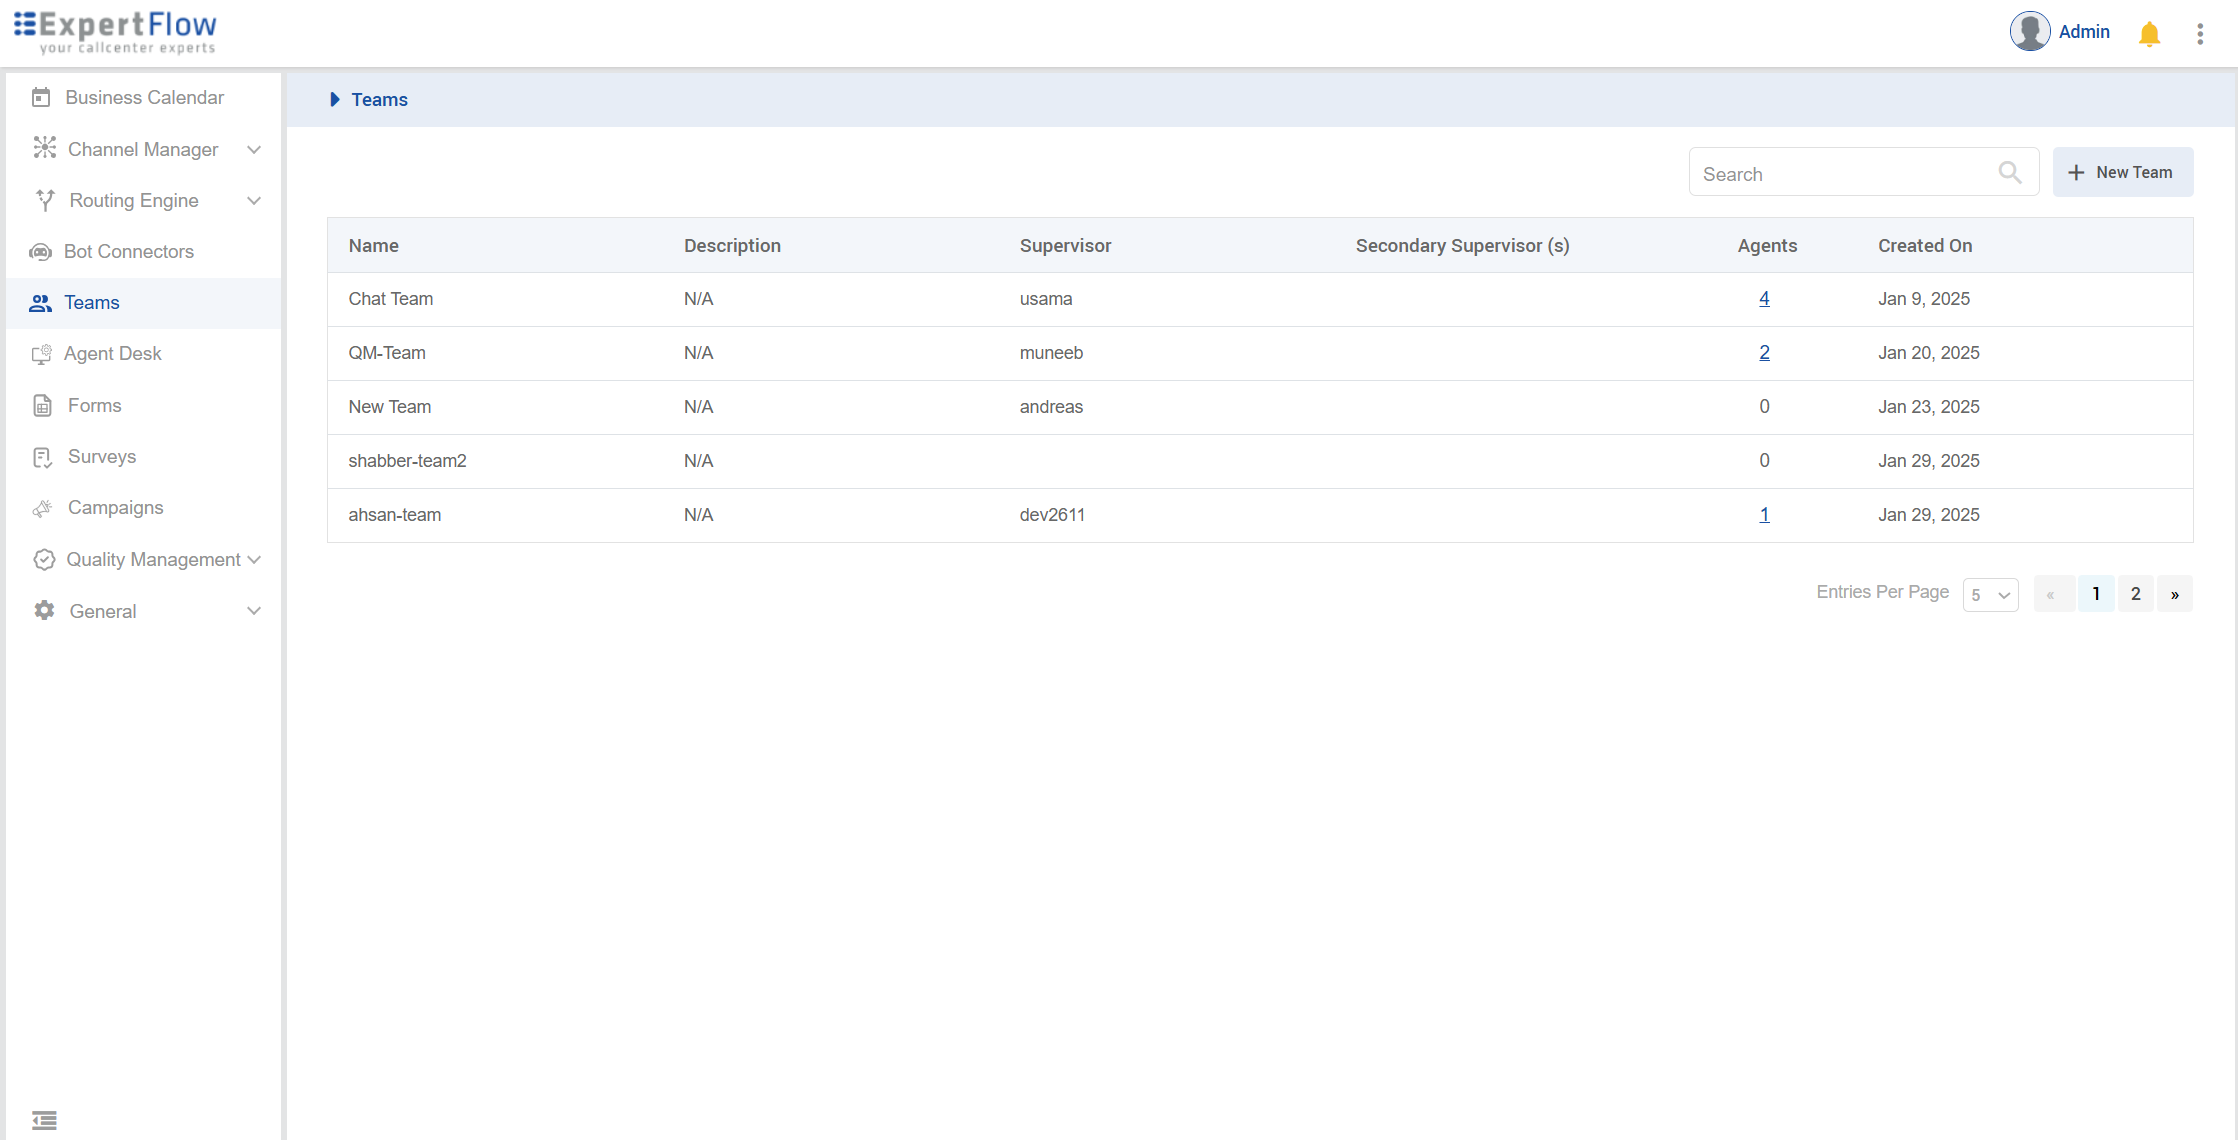
Click on Teams from left sidebar navigation and then click on + New Team button on left top with search box.
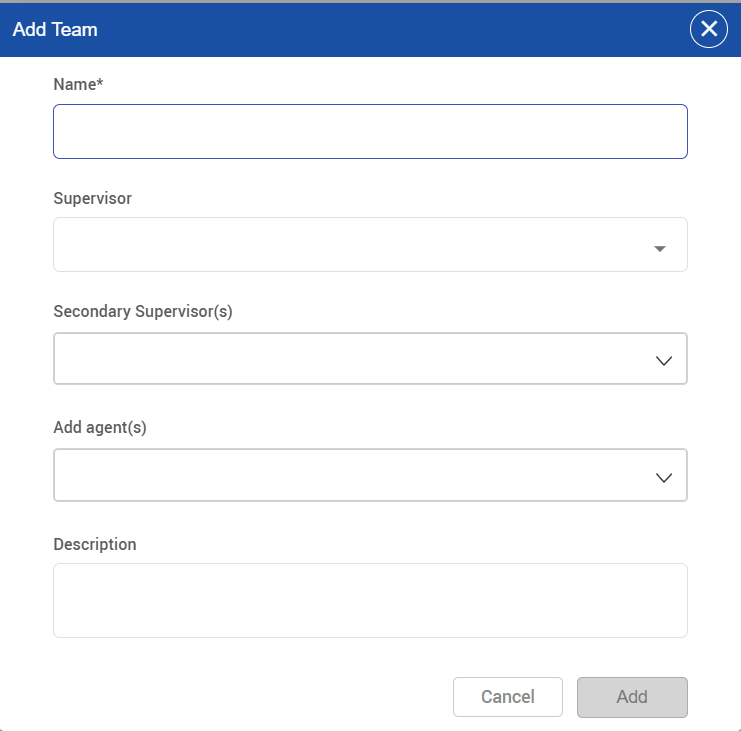
Step 2: Creating team with agent:
On clicking New Team button, a popup will appear. Fill it accordingly and click on Add. Add team name and add agent from dropdown. Your created user will be available here. Also, only user which have agent role will be available. So make sure you have assigned roles correctly.
Now user will be able to login into EFCX. Logout from top left by clicking on more button and select Logout. Try to login your user with username and password. You will be successfully able to login to EFCX.
LIMITATIONS:
If a wrap-up code is not found in the search, it must be added manually to retrieve the specific result.
Cisco wrap-up codes must exist in Unified-Admin wrap-up codes to enable schedule creation and apply conversation list filters.
Conference calls are not available for both inbound and outbound calls. Similarly, consult calls are also not available for outbound calls.
When a consulted call is transferred to the next agent, it currently does not create a conversation, leading to potential call loss. A conversation should be created to prevent this issue.
There are some limitations on agent-team part regarding agent deletion from keycloak. Please go through Agent Team Document limitation part for better guidance.
