Before you proceed
-
Download
Communication Gateway.zipfrom provided url and extract it toC:\ -
Make sure you have the machine ready with the recommended specs in the internet facing DMZ.
-
Domain signed certificates from the customer. The customer should provide the following two files:
Note: Make sure the file names are exactly the same. Also, “Certificate.key” should not be encrypted.
Deployment Steps
-
Download the package folder from provided link.
-
Extract the zip file and place the folder in the C:/ drive. (replace c with the drive letter where you want to place the folder.)
-
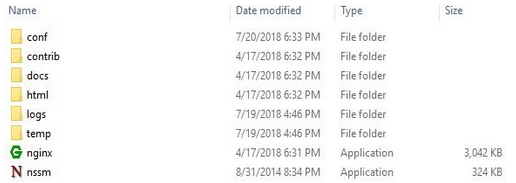
Open communication gateway folder. The folder structure should look like this:
-
Move to conf>SSL folder.
-
Place “certificate.pem” and “certificate.key” in SSL folder.
-
Now go back to conf folder.
-
Open nginx.conf file with notepad.
-
Give paths of hybrid-chat-core machine in following locations:
-
/chat/
-
/socket.io/
-
/mre/
-
/mre-microservice/
-
/eabc/
-
/umm-frontend/
-
/database-connector/
-
/file-engine/
-
/mre-frontend/
-
/ecm-frontend/
-
/agent-gadget/
-
-
Save and close the file.
-
Now run cmd as an administrator
-
Move to communication gateway folder in c drive by this command
cd “C:\Communication Gateway”. (replace c with the drive letter where you have placed the folder.) -
Write “nssm install” and hit enter, which will open the nssm service installer dialog. Add values as per the following table:
|
Label |
Value |
|
Path |
C:\Communication Gateway\nginx.exe |
|
Startup directory |
C:\Communication Gateway |
|
Service name |
Communication Gateway |
-
Press install service to proceed.
-
Press “win+R” to open Run dialog, type services.msc and press enter. It will open the following window.
-
Locate Communication Gateway and start.
-
Communication gateway is up and running.