|
Features |
Description |
|---|---|
|
WebRTC Video Support in Customer widget via Secure link |
The WebRTC Video Call feature via secure link enhances the customer widget by allowing standalone video calls without relying on the chat features. This is facilitated through secure link and token authentication, ensuring privacy and security. The feature is activated based on a specific secure link and session code generated by the agent during an active chat with the customer on any chat channel, The Generated Link will be valid for the next 30 minutes allowing the customer to rejoin if mistaken disconnect any active video call session. Once the secure link expires, will through Session Expired error on the screen. |
Secure Link APIs Deployment:
Step 1: Clone the repository
git clone -b main https://efcx:RecRpsuH34yqp56YRFUb@gitlab.expertflow.com/cti/securelinkgenreation_deployment.git
cd securelinkgenreation_deployment
Step 2: Update configMap
FQDN and Widgetidentifier must be the same as the EFCX WebRTC widget.
-
Open securelinkgenreation_deployment/ConfigMaps/ef-securelinkgeneration-configmap.yaml file and add the following parameters
   SPRING_DATASOURCE_URL : jdbc:postgresql://ef-postgresql.ef-external.svc.cluster.local:5432/securelinkgeneration_db
   SPRING_DATASOURCE_USERNAME : "sa"
   SPRING_DATASOURCE_PASSWORD : "Expertflow123"
   ENCRYPTION_KEY: "1234567890123456"
   fqdn : https://cim.expertflow.com/customer-widget/#/widget
   source : "SLG"
   linktimeout : "30"
   widgetIdentifier : "webrtc-widget"
Step 3: Update FQDN
Expertflow CX should be accessible by a fully qualified domain name. Assign the FQDN that resolves to the control plane node or KubeVIP.
Replace <FQDN> with your FQDN for Expertflow CX and run this command.
sed -i 's/devops[0-9]*.ef.com/<FQDN>/g' ConfigMaps/* Ingresses/nginx/* Ingresses/traefik/*
Step 4: Update Deployment
kubectl apply -f ConfigMaps/ef-securelinkgeneration-configmap.yaml
kubectl apply -f Services/ef-securelinkgeneration-service.yaml
kubectl apply -f Deployments/ef-securelinkgeneration-deployment.yaml
#Apply Ingresses
#for RKE
kubectl apply -f Ingresses/nginx/ef-securelinkgeneration-ingress.yaml
#or
#for Traefik
kubectl apply -f Ingresses/traefik/ef-securelinkgeneration-ingress.yaml
Customer Widget Deployment Steps:
In Expertflow CX Deployment:
-
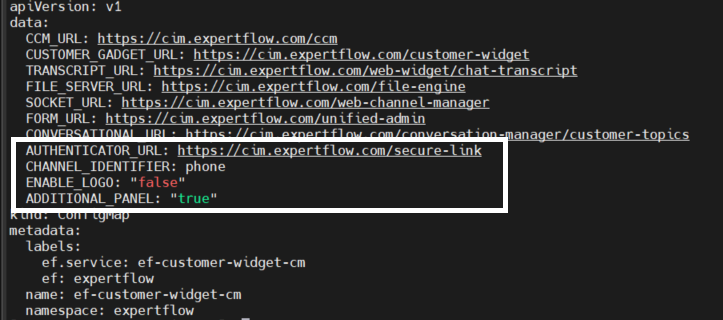
Navigate to the ConfigMaps folder and open ef-customer-widget-configmap.yaml file.
-
Add a new config with the following names:
-
AUTHENTICATOR_URL : https://<FQDN>/secure-link → FQDN of a secure link verification API to verify session code.
-
-
Run the following commands to update the configMaps of the customer widget
kubectl delete -f ef-customer-widget-configmaps.yaml -n expertflowkubectl delete -f ef-customer-widget-configmaps.yaml -n expertflow -
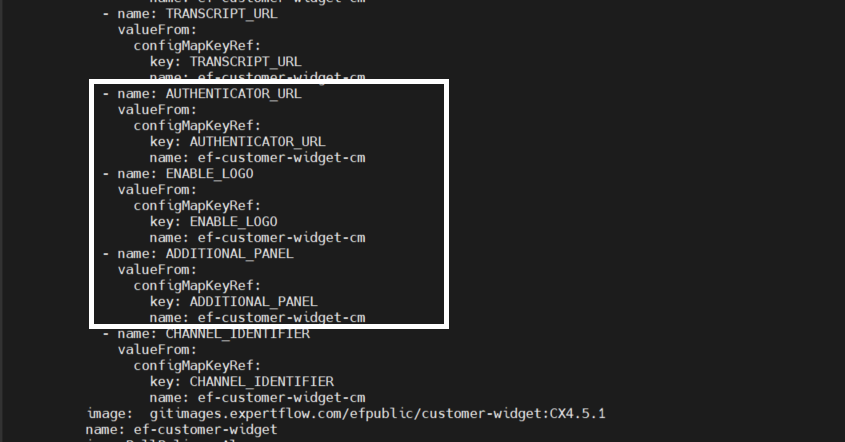
Navigate to the Deployments folder and open ef-customer-widget-deployment.yaml file.
-
Map three new configs in the deployment file as shown in the screenshot:
-
Update the Image Tag to the latest
-
Run the following commands to update the deployment container of the customer widget
kubectl delete -f ef-customer-widget-deployment.yaml -n expertflowkubectl delete -f ef-customer-widget-deployment.yaml -n expertflow
Unified Agent:
In Expertflow CX Deployment:
-
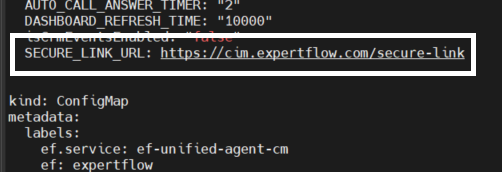
Navigate to the ConfigMaps folder and open ef-unified-agent-configmap.yaml file.
-
Add a new config with the following name:
-
SECURE_LINK_URL : https://<FQDN>/secure-link → FQDN of a secure link generation API with session code to push to customer active channel.
-
-
Run the following commands to update the configMaps of the unified-agent
kubectl delete -f ef-unified-agent-configmaps.yaml -n expertflowtkubectl delete -f ef-unified-agent-configmaps.yaml -n expertflow -
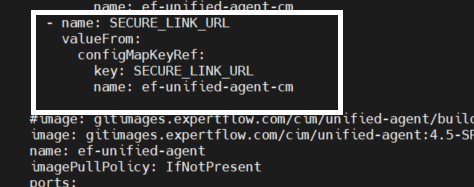
Navigate to the Deployments folder and open ef-customer-widget-deployment.yaml file.
-
Map three new configs in the deployment file as shown in the screenshot:
-
Update the Image Tag to the latest
-
Run the following commands to update the deployment container of the unified-agent
kubectl delete -f ef-unified-agent-deployment.yaml -n expertflowkubectl delete -f ef-unified-agent-deployment.yaml -n expertflow
EFSwitch
Configure SIP Trunk for outbound calls
-
Open in browser: https://IP-addr, where IP-addr is the IP address of the server that EFSwitch is deployed on.
-
Add the username and password that was shown upon installation of EFSwitch and press LOGIN.
-
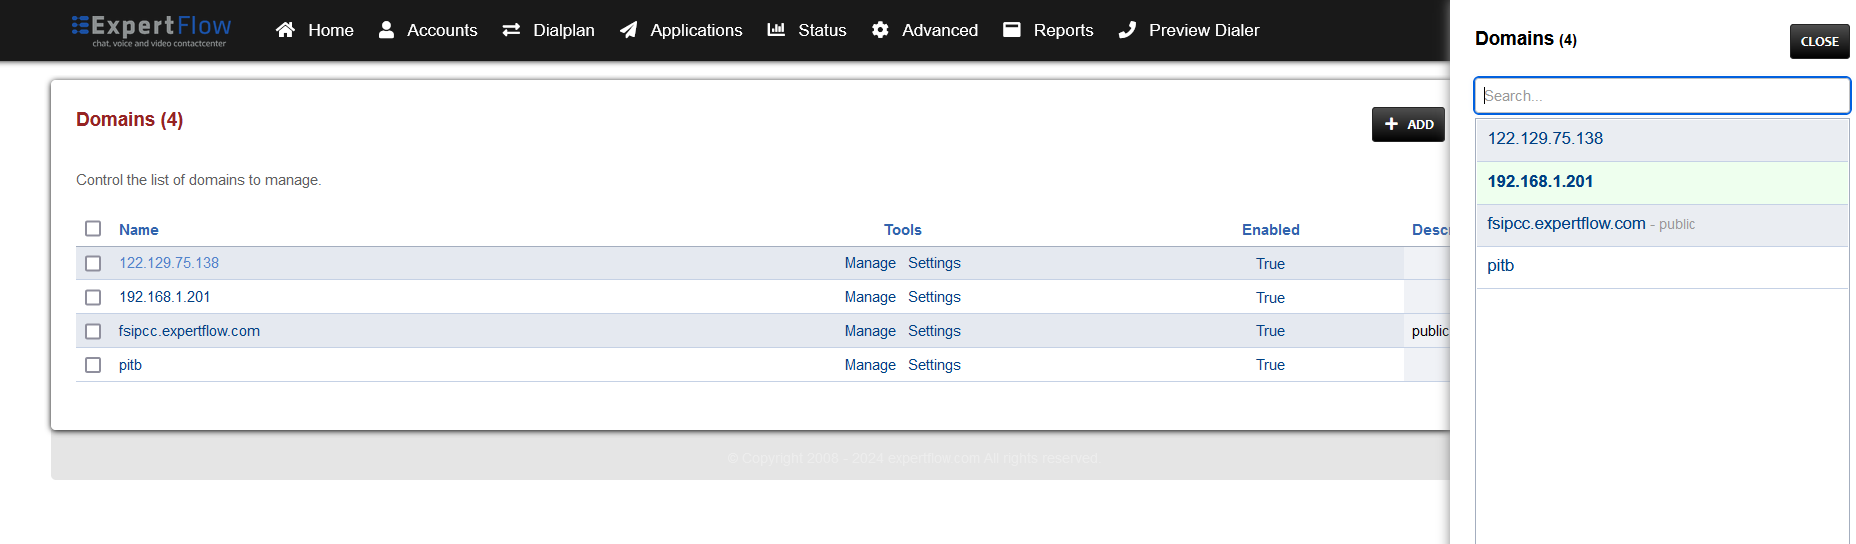
Press the IP address in the top right and select the Domain created in the Domain creation section of the EFSwitch Configuration document.
-
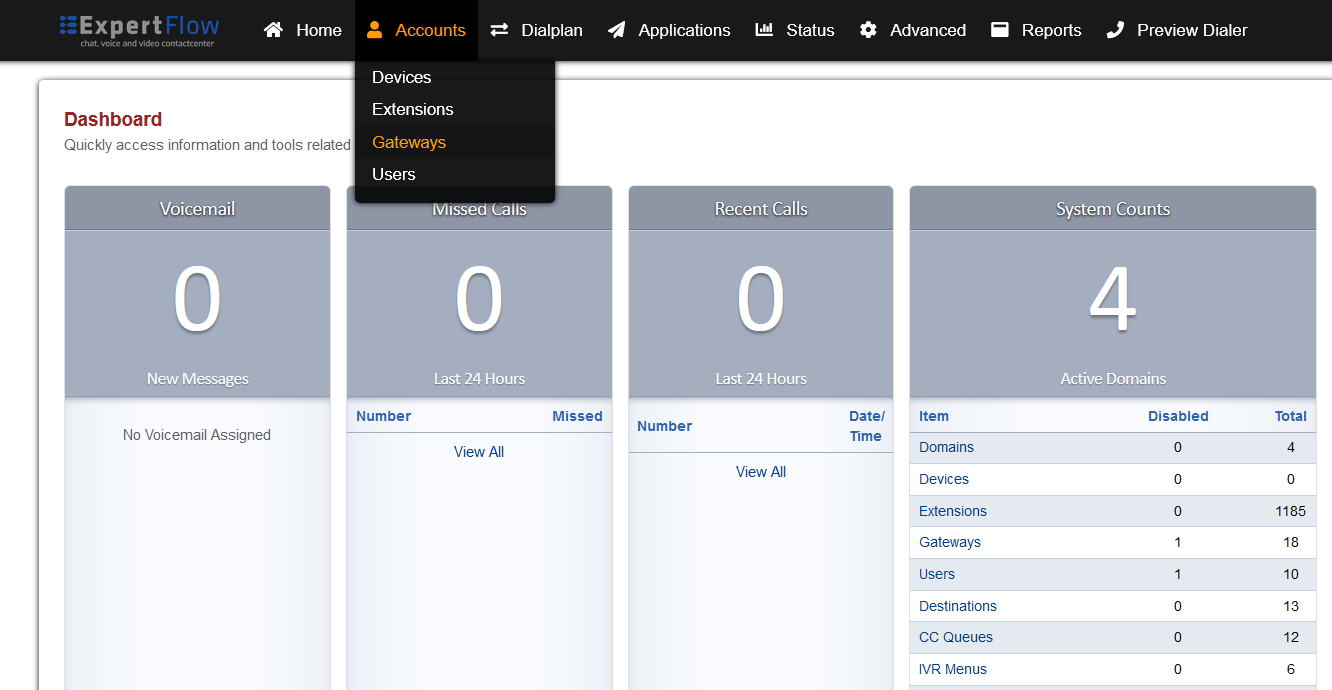
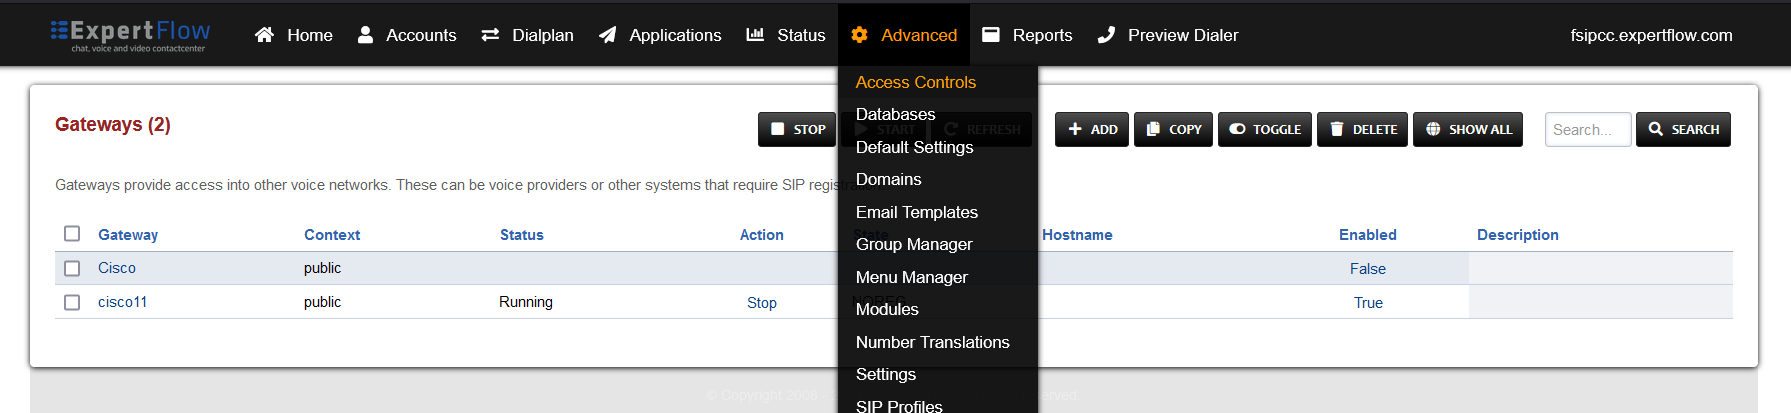
Open the Gateways section under the Accounts tab.
-
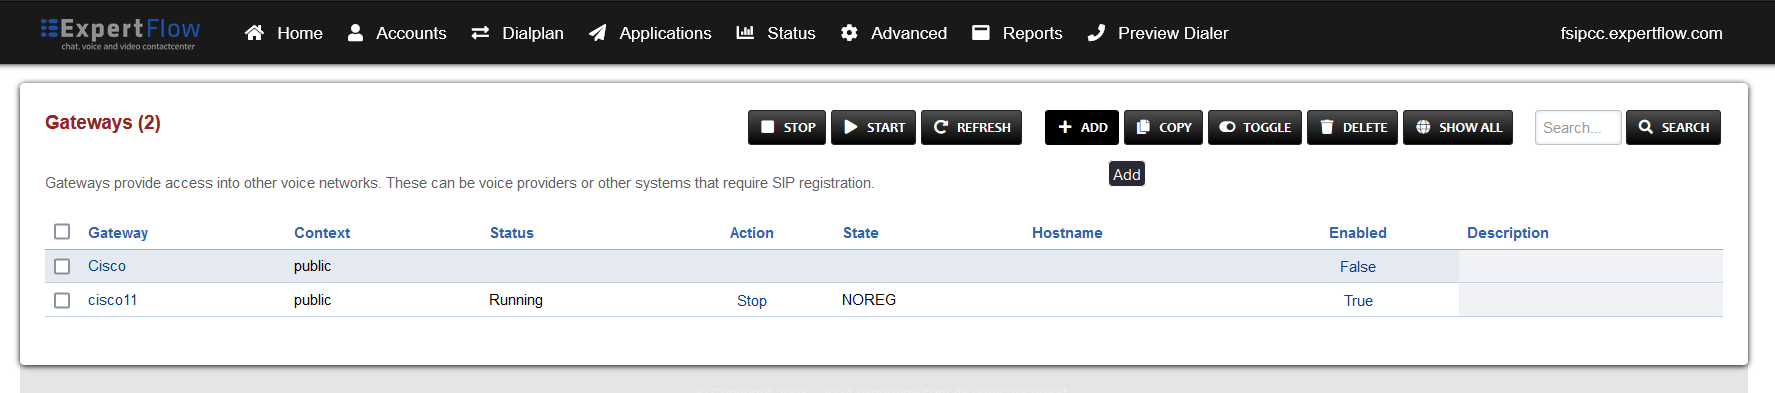
Press the ADD button in the top right.
-
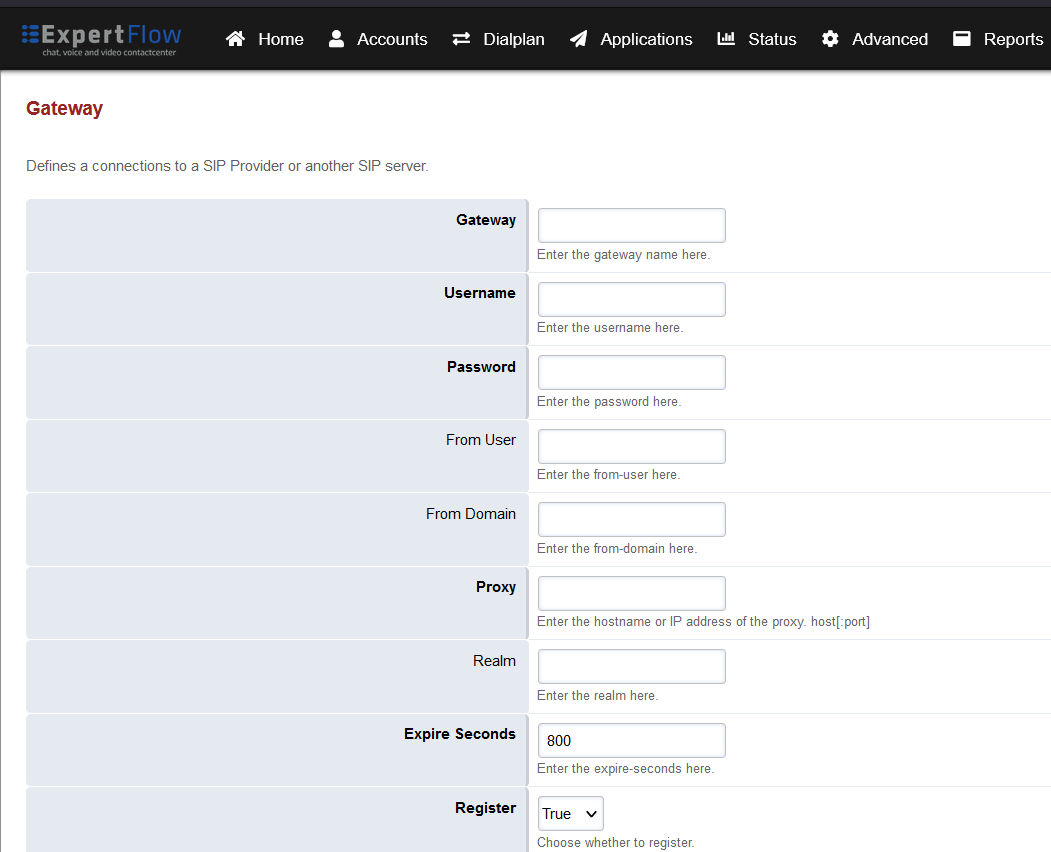
Set the following fields:
-
Gateway: A name of your choice e.g. MySipTrunk
-
Username: The username of the SIP Trunk. Not needed for IP-based SIP trunks.
-
Password: The password of the SIP Trunk. Not needed for IP-based SIP trunks.
-
Proxy: The IP address and port of the SIP trunk e.g. 192.168.25.35:5060.
-
Register: Set to True. Set to False for IP-based SIP trunks.
-
-
-
Press the SAVE button on the top right.
-
Open this newly created gateway and note the URL opened in the browser.

-
From this URL note the gateway ID , i.e. :
-
For the URL https://192.168.1.201/app/gateways/gateway_edit.php?id=becc1f43-68b9-459a-908d-bbac57d042d5
-
The gateway ID is becc1f43-68b9-459a-908d-bbac57d042d5 (everything after ?id=)
-
-
Add the IP address of the SIP trunk to the EFSwitch ACL:
-
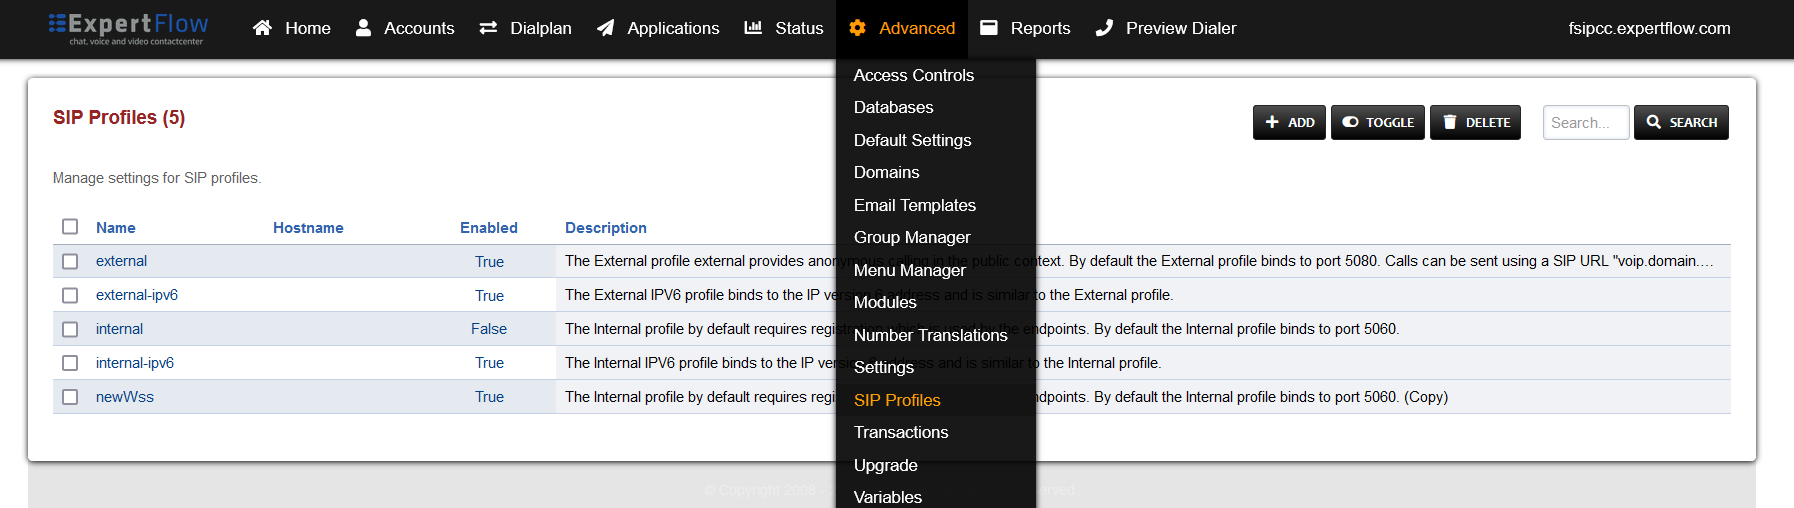
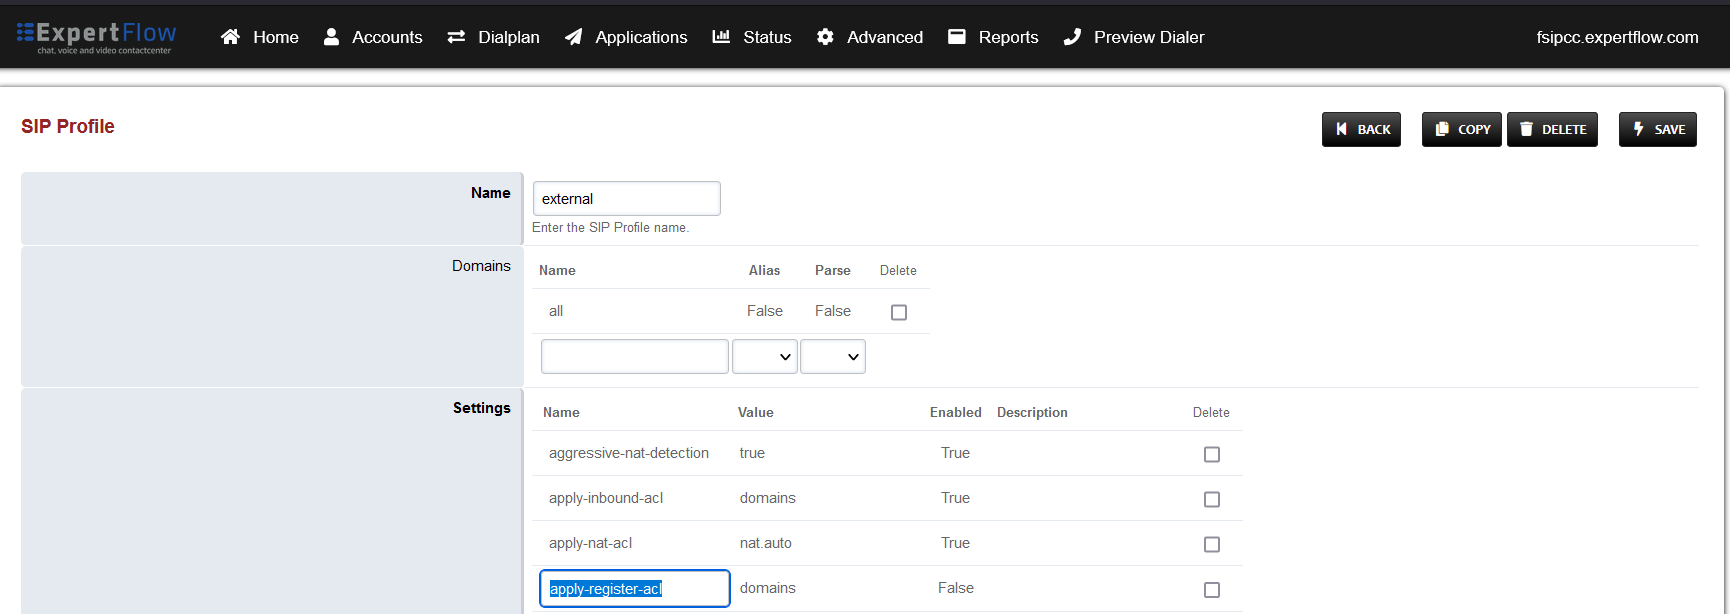
Open SIP Profiles under the Advanced tab.
-
Open the external profile and note the value of the apply-register-acl field.
-
Open Access controls under the Advanced tab.
-
Open the entry that matches the aforementioned apply-register-acl field.
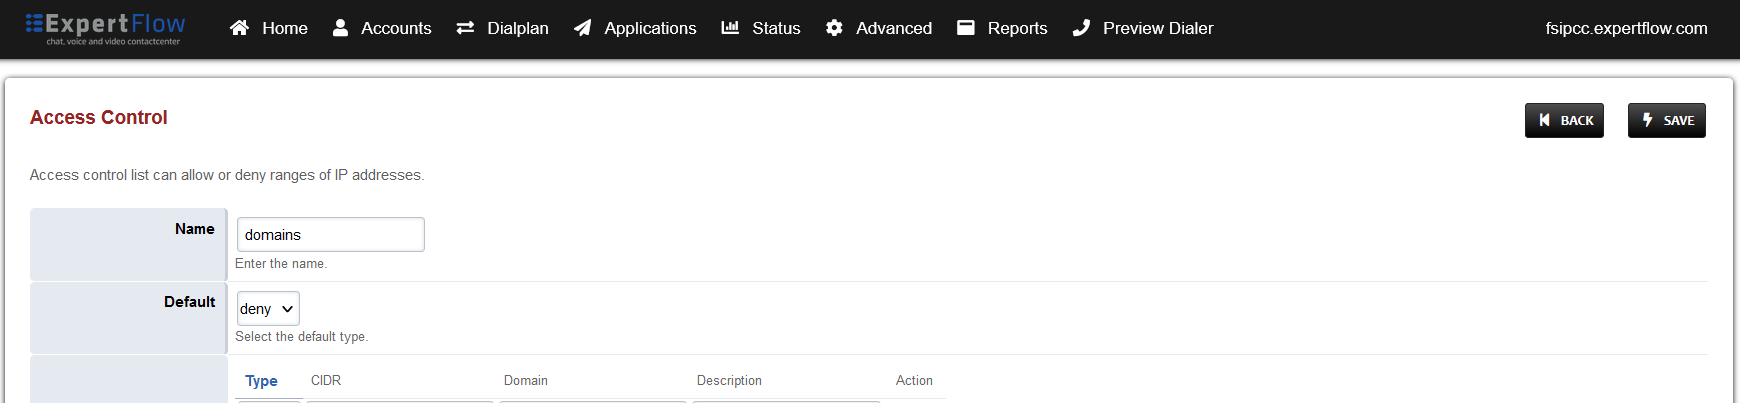
-
At the bottom add an entry where the the Type is set to ‘allow’ and the CIDR field contains the address of the SIP Trunk.
-
Press the SAVE button on the top right.
-
Open SIP Status under the Status tab.
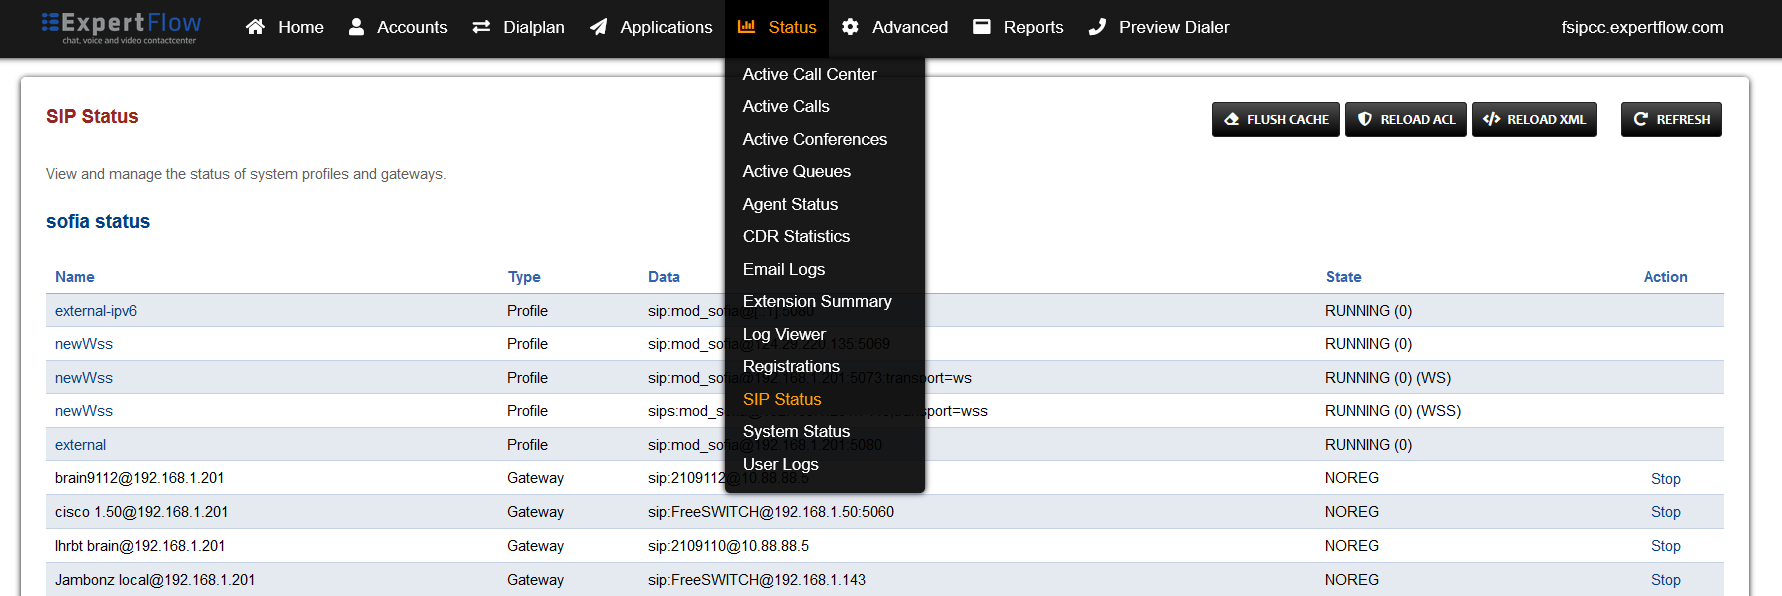
-
Press the Reload ACL button at the top right.
-
-
Open SIP Profiles under the Advanced tab.
-
Open the external profile and note the value of the sip-port field.
-
Back out via the BACK button on the top right.
-
Open the internal profile and note the value of the sip-port field.
-
Open a terminal and SSH into the EFSwitch machine via the command
ssh EFSwitch-Server-Username@EFSwitch-Server-IP-Address -
Enter the EFSwitch server SSH password when prompted.
-
Enter and run the command
su -
And enter the EFSwitch server root password.
-
Run the command
sudo iptables -A INPUT -p tcp -m tcp --dport PORT -j ACCEPT-
Where PORT is the port noted down in the previous steps. Run the command once for each port.
-
-
Run the command
sudo iptables-save -
Contact the SIP Trunk provider and have all traffic from the EFSwitch machine public IP address allowed.
Configuring Call Dialplan
-
Open Unified Admin via the link https://CX-FQDN/unified-admin
-
Where CX-FQDN is the fully qualified domain name of the EF CX.
-
-
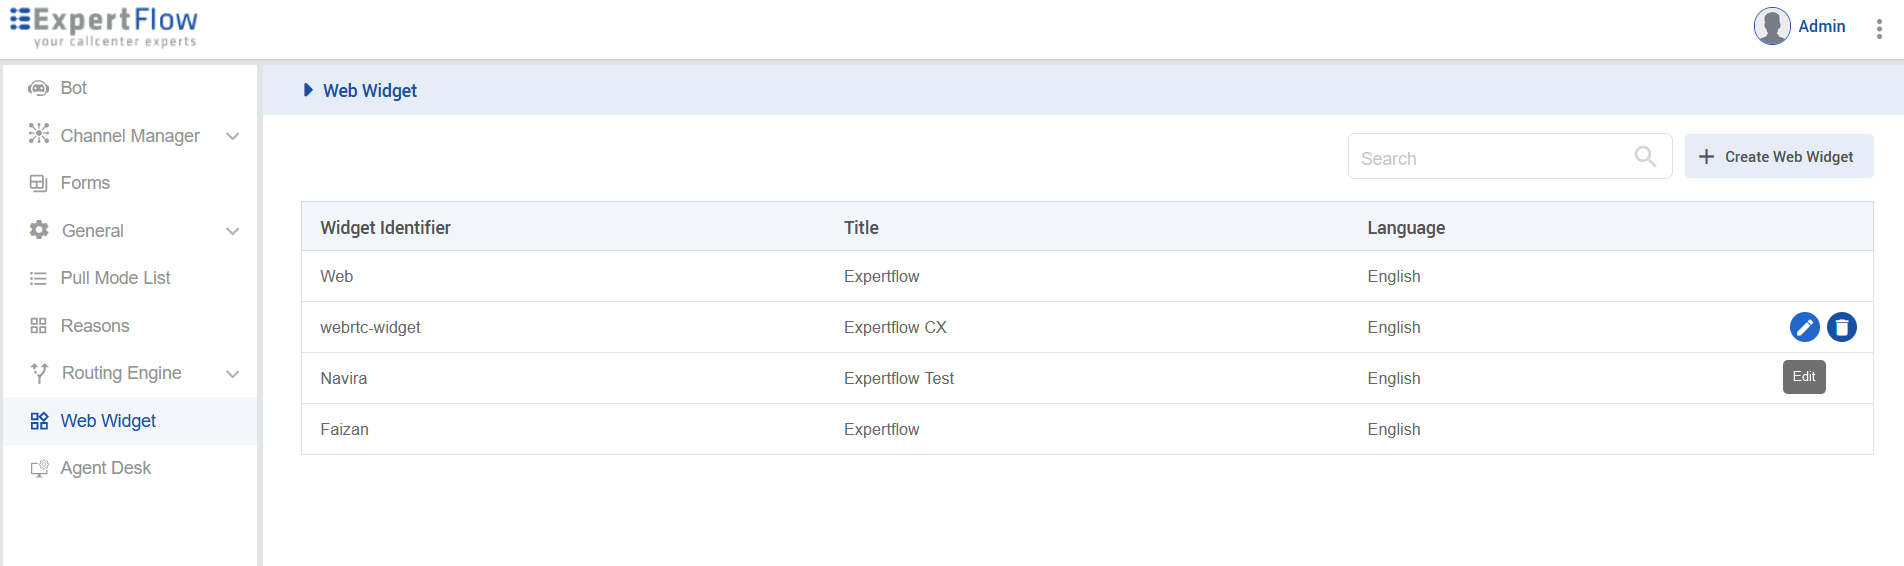
Open the Web Widget section.
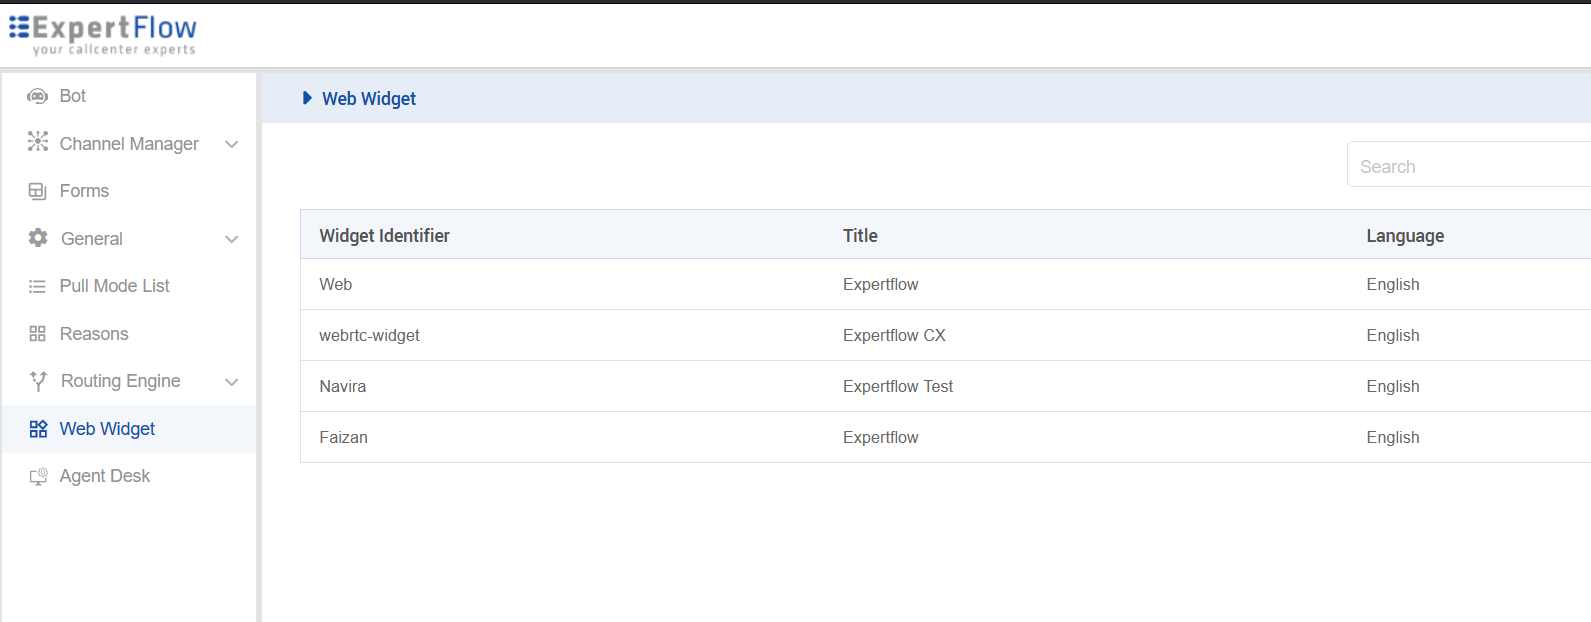
-
Open the Widget created for video calling, via the Edit option.
-
Scroll down and note the value of the Dialing URI field.
-
Open in browser: https://IP-addr, where IP-addr is the IP address of the server that EFSwitch is deployed on.
-
Add the username and password that was shown upon installation of EFSwitch and press LOGIN.
-
Press the IP address in the top right and select the Domain created in the Domain creation section of the EFSwitch configuration document.
-
Open the Dialplan Manager section under the Dialplans tab.
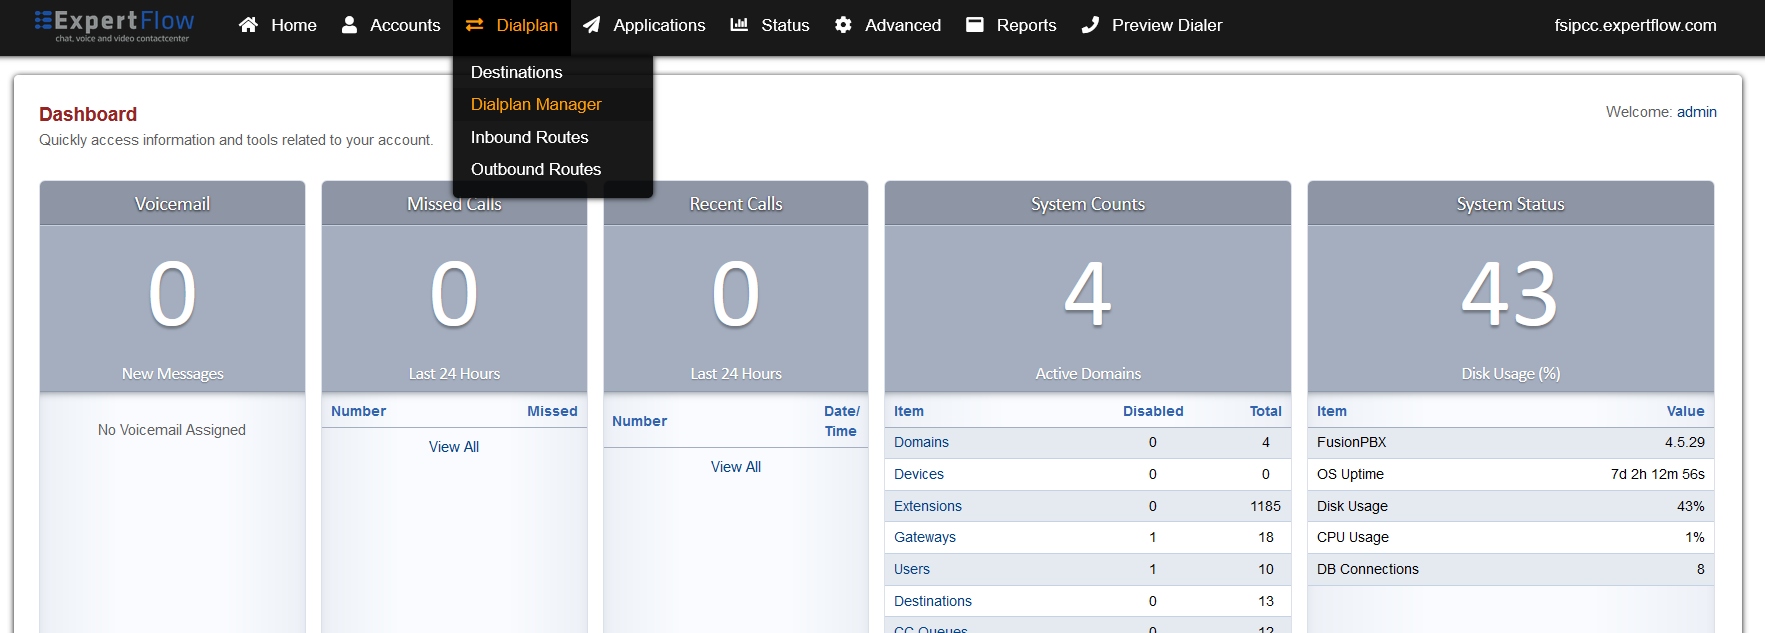
-
Press the ADD button in the top right.
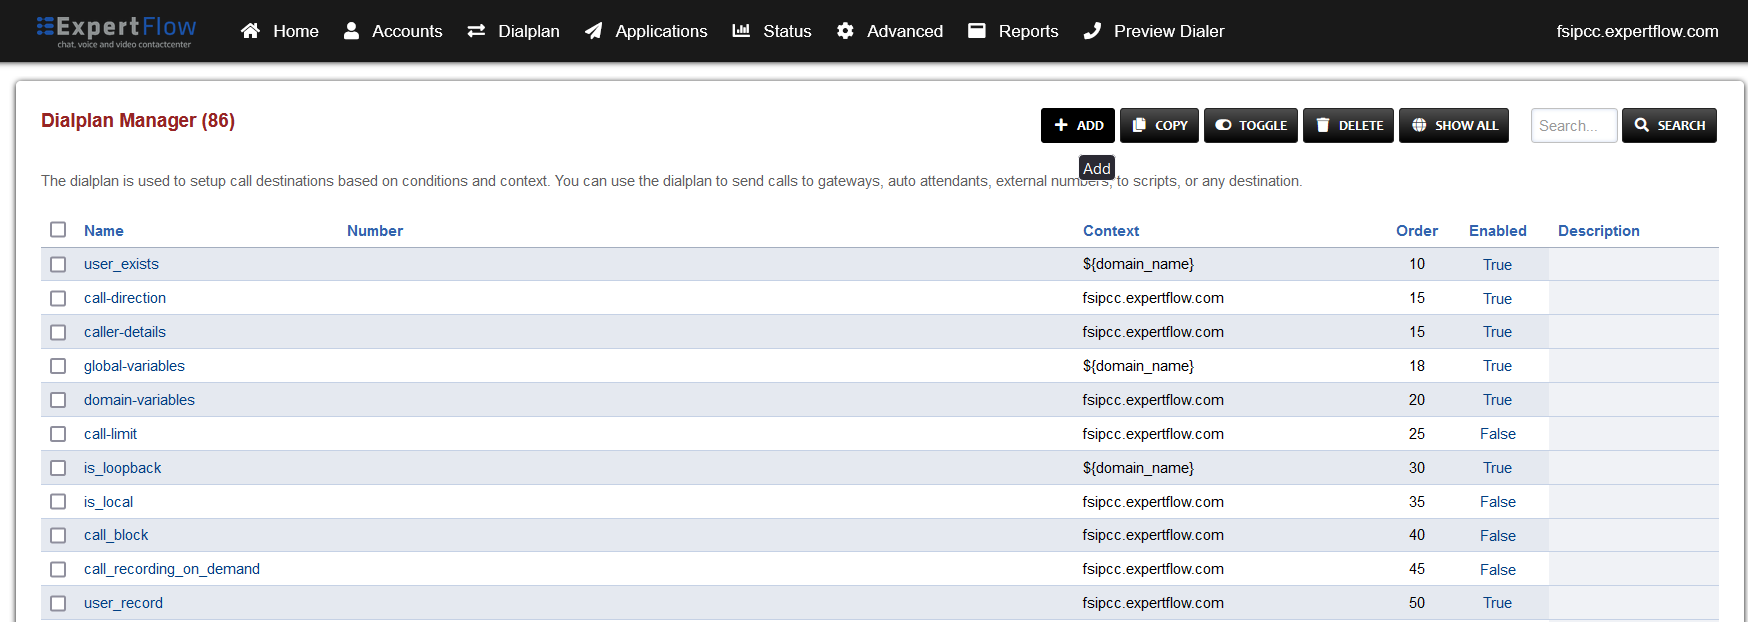
-
Fill the form with following details :
-
Name = WebRTC Video Call
-
Condition 1 = Select destination_number from list and set the value to the value of the Dialing URI noted in the previous steps.
-
Action 1 = Select first item from the list
-
-
Press the SAVE button on top right Corner.
-
Re-open the WebRTC Video Call dialplan.
-
Set the Context field to the value of the Domain set in the Domain creation section of the EFSwitch configuration document.
-
Set the Domain field to the value of the Domain set in the Domain creation section of the EFSwitch configuration document.
-
Change the value of the Type column in the Action row to bridge and the Data field to sofia/gateway/GATEWAY-ID/55${sip_h_X-Agent-Extension}@DOMAIN
-
Where GATEWAY-ID is the SIP Trunk gateway ID noted in the previous section.
-
And DOMAIN is the value of the Domain set in the Domain creation section.
-
-
Press the SAVE button on top right Corner.
CX 4.5.1 Limitations
Epic Link