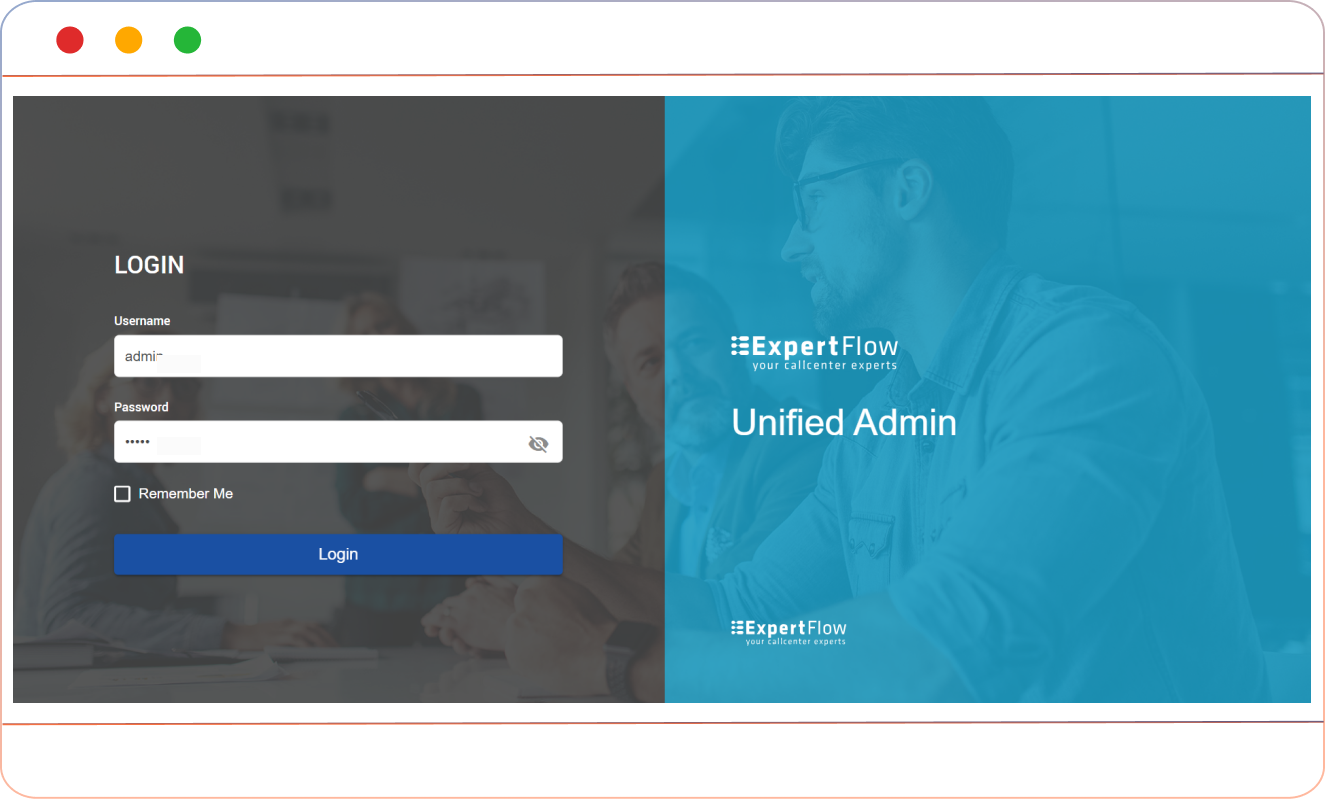
Login to Unified Admin
As an administrator, you can login to Unified Admin by using the credentials.
-
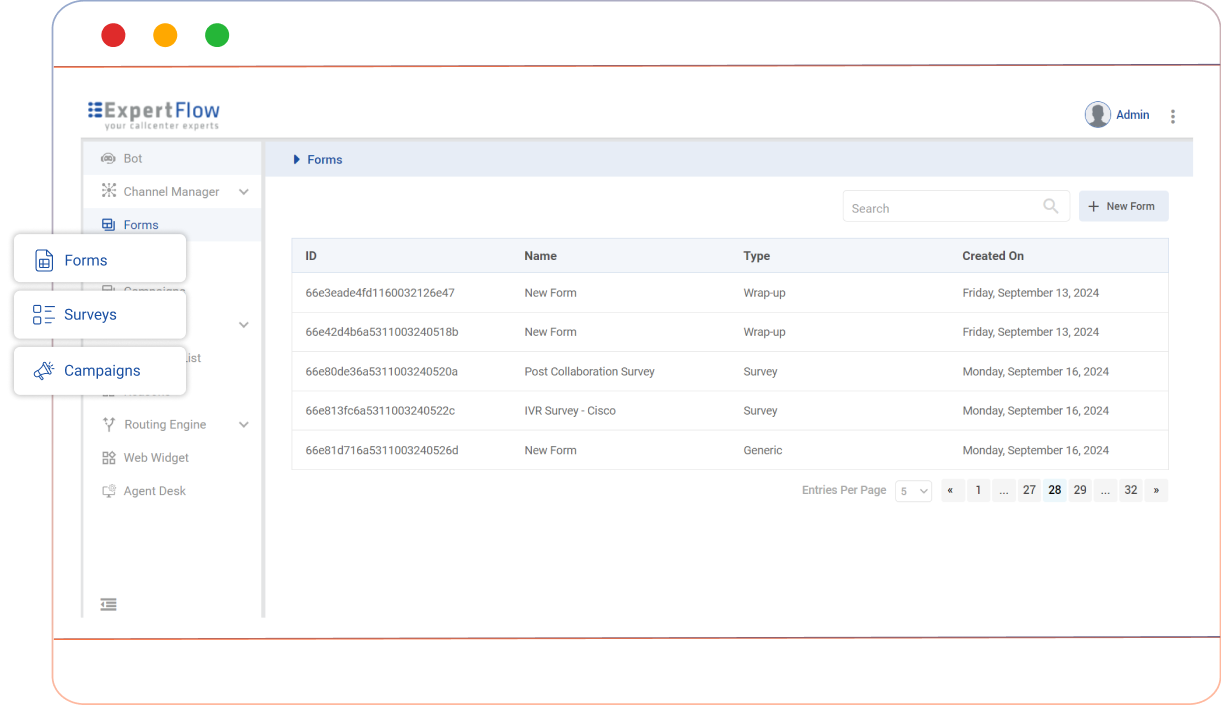
Upon login, you will land on the dashboard, which will give you access to various solutions, including Forms, Surveys, Campaigns, and more.
Creating a New Survey Form
To start a survey, first you need to have a form. If you already have a form for your survey then move to the next step (Creating a new survey), otherwise navigate to the form creation guide and create your new form for survey.
Creating a New Survey
To create a new survey:
-
Go to the Surveys tab from the left side panel.
-
Click Add New Survey.
-
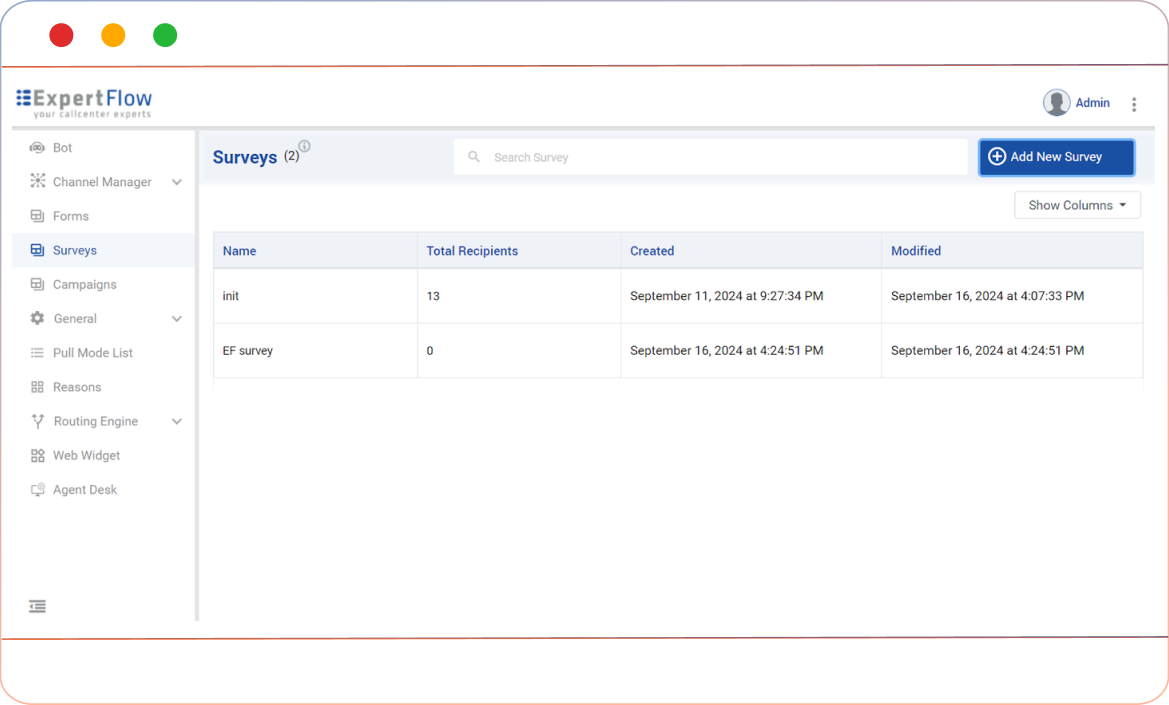
Enter a name for your survey (e.g., "EF Survey"), then click on the “Create” button.
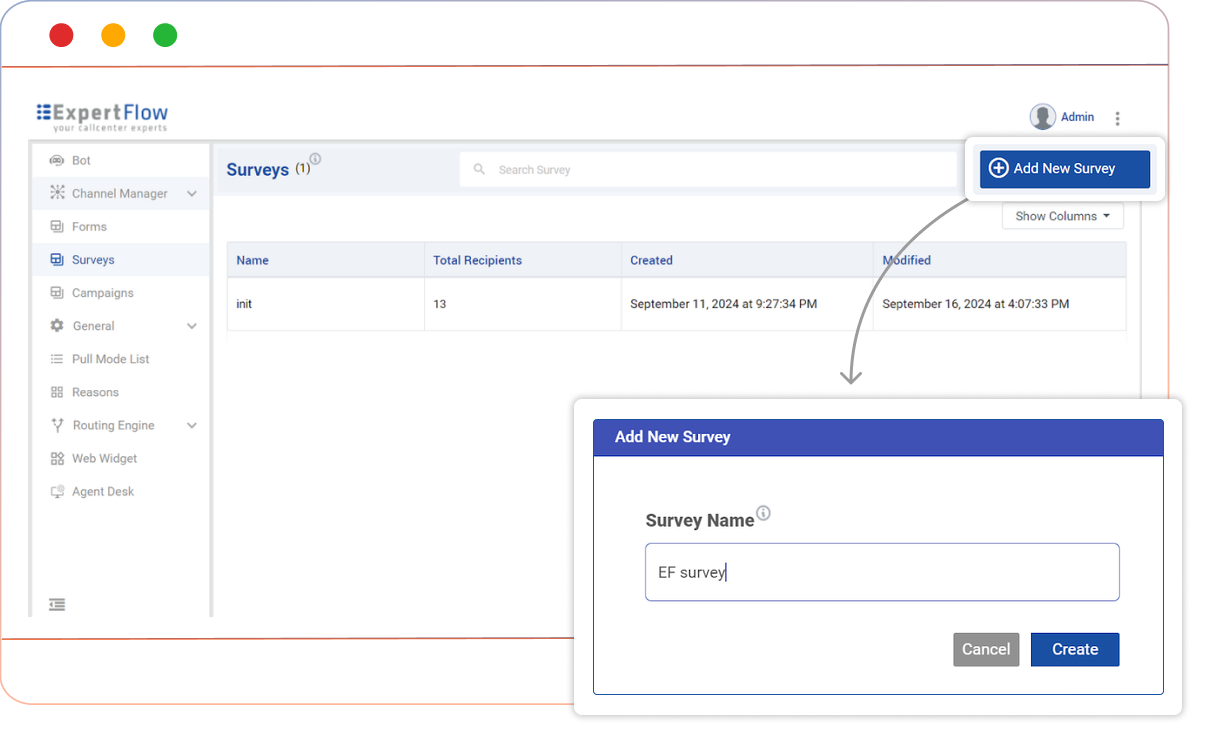
Once the survey is created, it will appear in the list with details such as total recipients, creation date, and modification date. You can also select the columns you want to view from the “Show Columns” tab, on the top right corner under “Add new survey” button.
Configuring the Survey Flow
After the creation of survey, the administrator/user has to route towards Conversation Studio. Conversation studio allows user to customize the survey flow and its conditions according to the business needs.
Click on the Flow button under the survey's Modified tab,
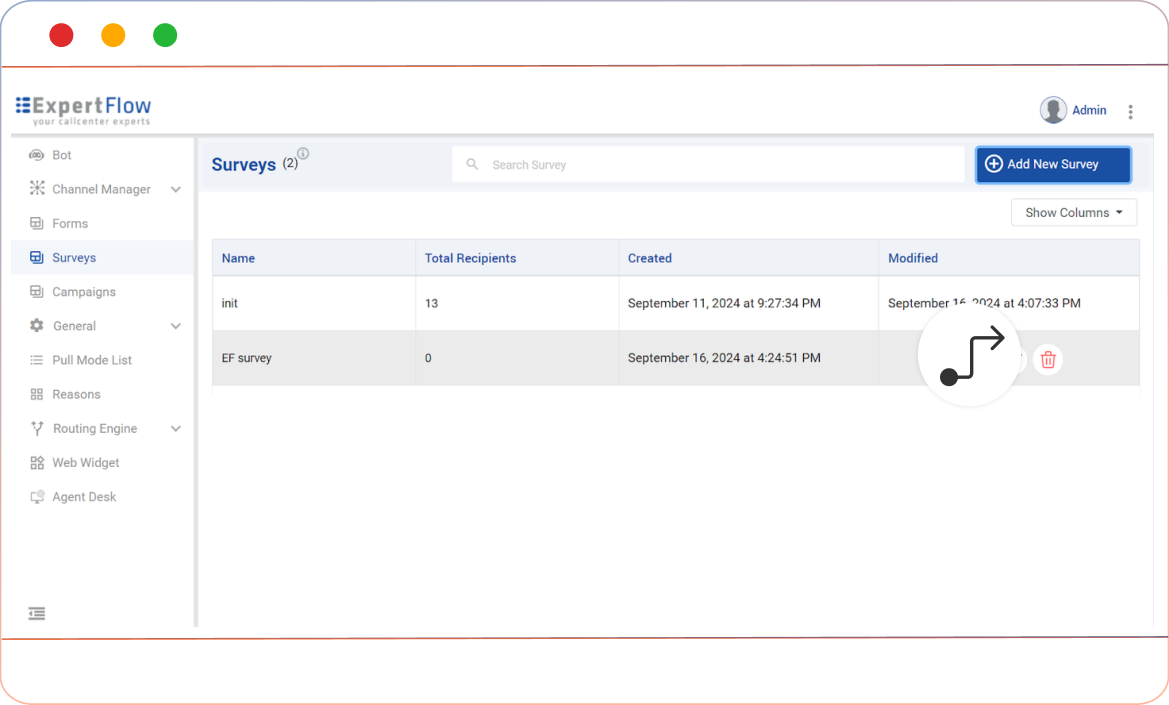
This will redirect you to Conversation Studio.
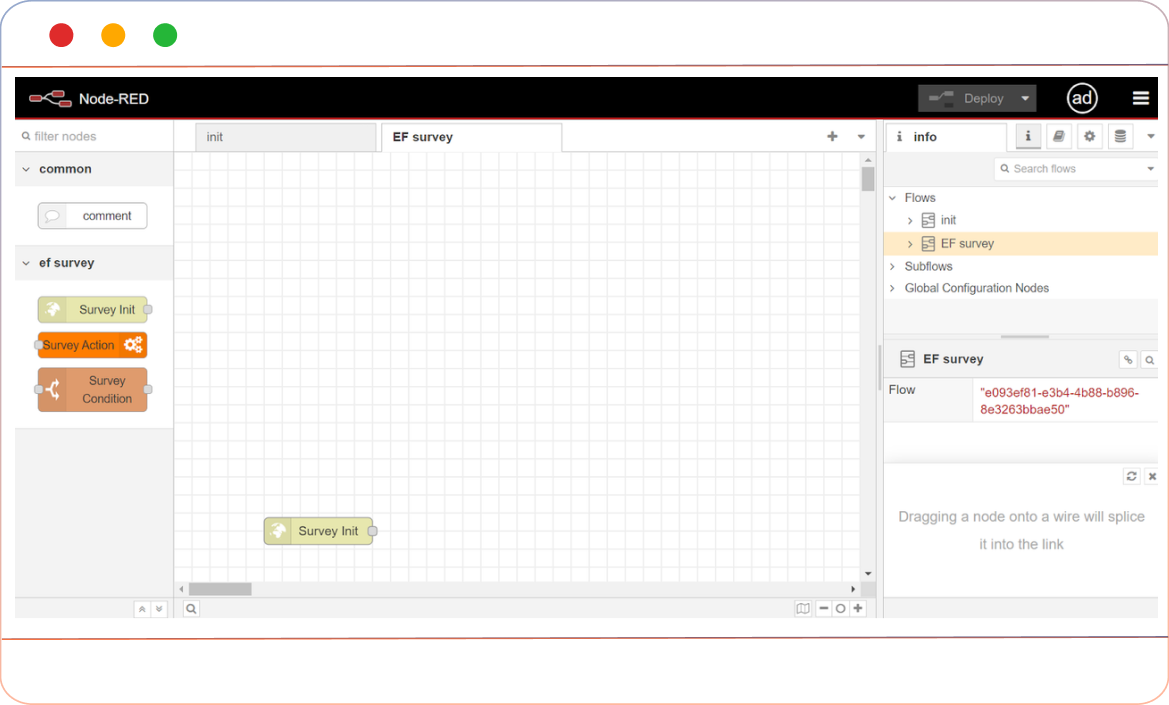
In the Conversation Studio, On the left, you will see three nodes;
i) Survey Init: Use for the initiation of survey
ii) Survey Condition: Use to add condition that a survey needs to follow.
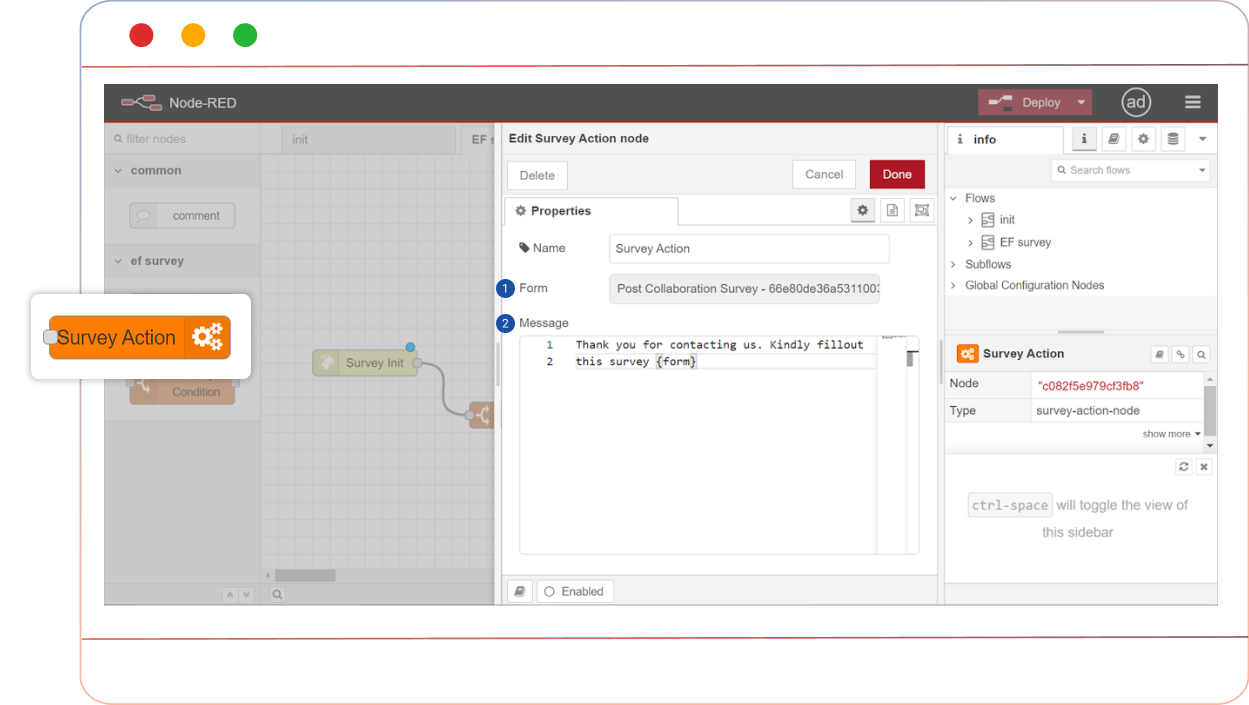
iii) Survey Action: Use to trigger a survey towards end customer.
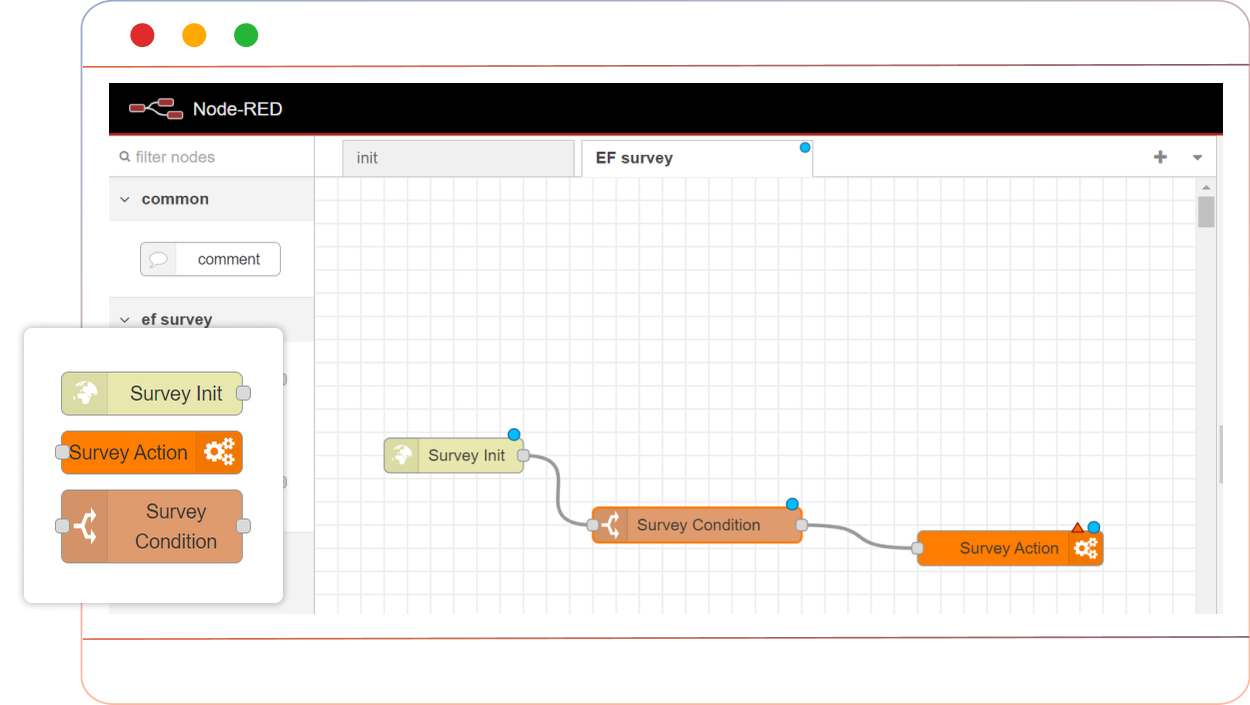
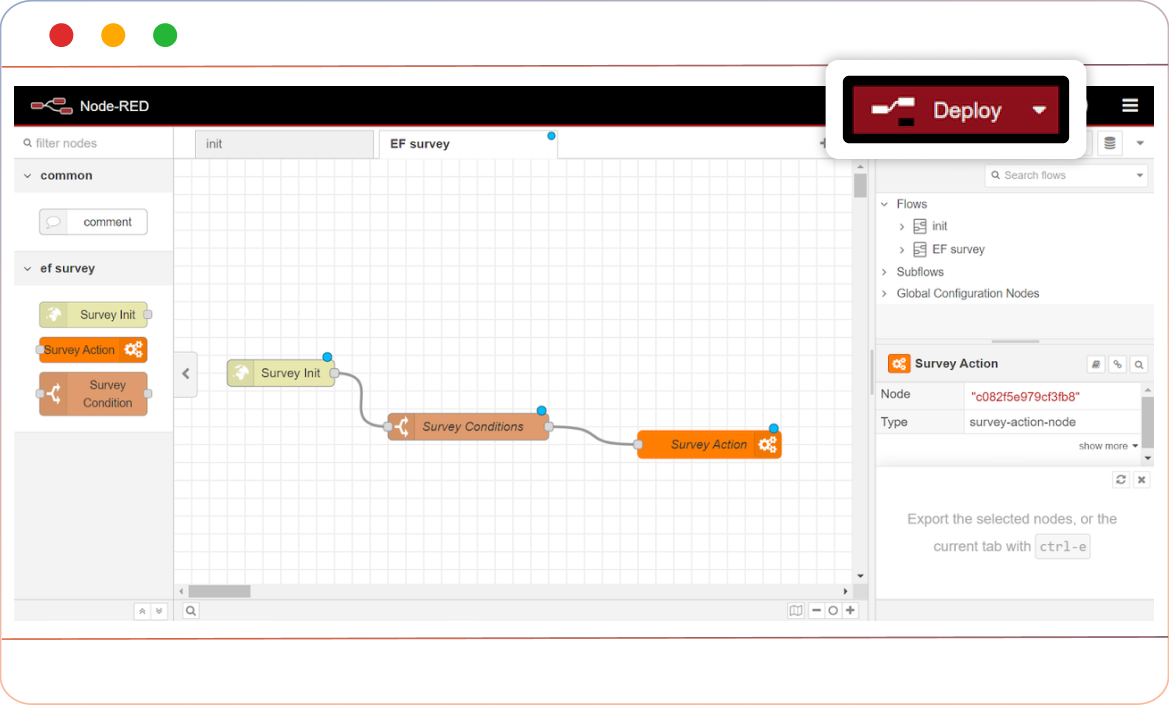
Combine the survey nodes according to your business requirement. An example is shown here:
Survey Init → Survey Condition → Survey Action.
Setting up Survey Conditions:
Double-click the Survey Condition node to configure the conditions.
Add conditions such as:
-
Total number of surveys you want to receive in 24 hours.
-
Click on the “+add” button on the lowest left side.
-
Choose “Total Recipients in last 24 hours” condition from the dropdown list of conditions.
-
Set the condition state (e.g., “equals”).
-
Enter the survey number, you want to receive in 24 hours.
-
-
Number of recipients (Total number of surveys you want to receive).
-
Click on the “+add” button.
-
Choose “Total Recipients” from the dropdown condition.
-
Set the condition state(e.g., “equals”, or “less than”)
-
Enter the total number of surveys you want to receive before ending the survey.
-
-
Set time limit: Survey can be design to send in the set time frame. For example, send survey only from 9:00 AM to 6:00 PM.
-
Click on the “+add” button.
-
Choose “Time”.
-
Set condition greater than.
-
Enter the survey starting time.
-
Again click on the “+add” button.
-
Choose “Time”.
-
Set condition less than.
-
Enter the survey ending time of the day.
-
-
Waiting time before sending the next survey to the same customer.
-
Click on the “+add” button.
-
Choose “Time after last survey”.
-
Set condition (greater than).
-
Enter the time in minutes after which you can send survey to the same customer.
-
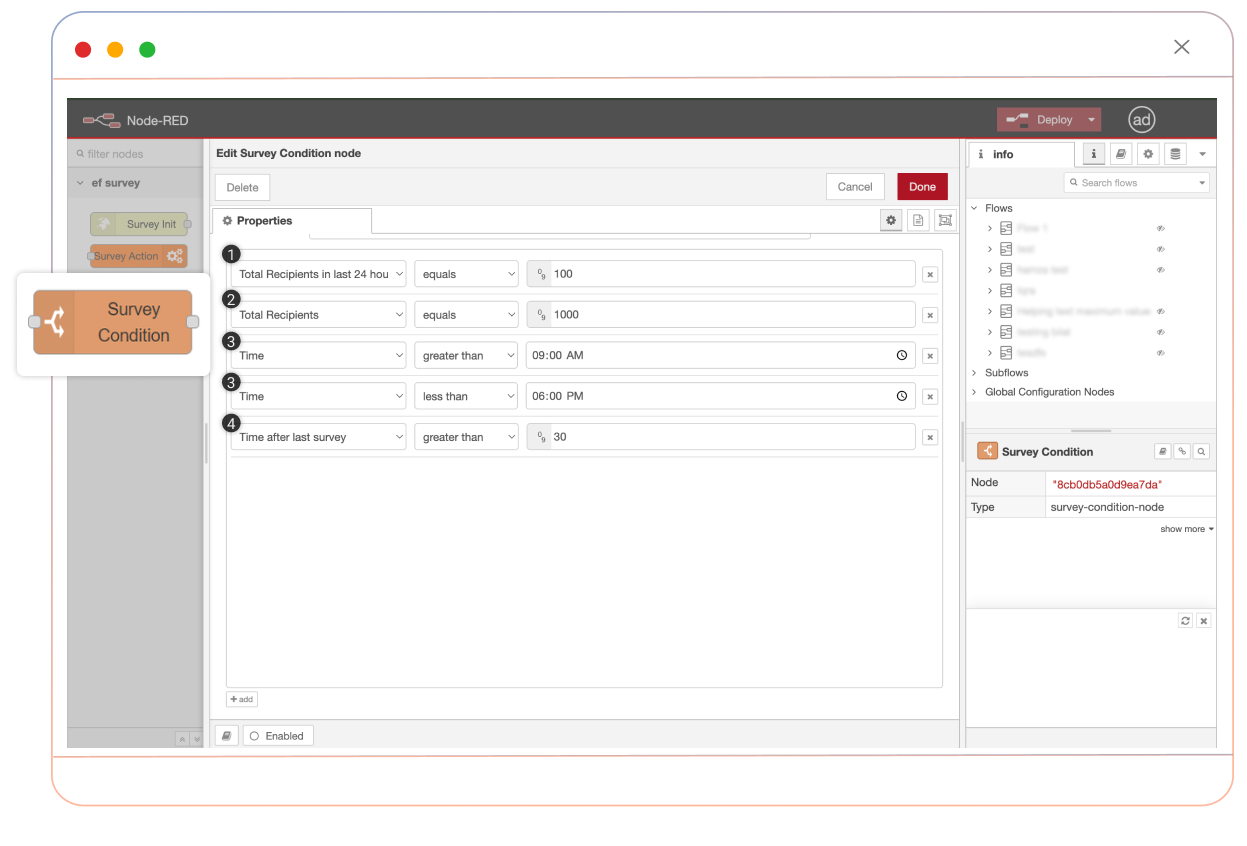
You can modify the above conditions according to your business requirements.
Setting up Survey Action:
Double-click the Survey Action node.
-
Select the form to send from the dropdown list (e.g., the Post Collaboration Survey created earlier).
-
Customize the message to be sent along with the survey form. For example: "Thank you for contacting us, kindly fillout this survey {form}" (the {form} placeholder will be replaced by the survey form's URL).
Deploying the Survey:
Once all configurations are completed, click the Deploy button to activate the survey.
Monitoring and Editing the Survey
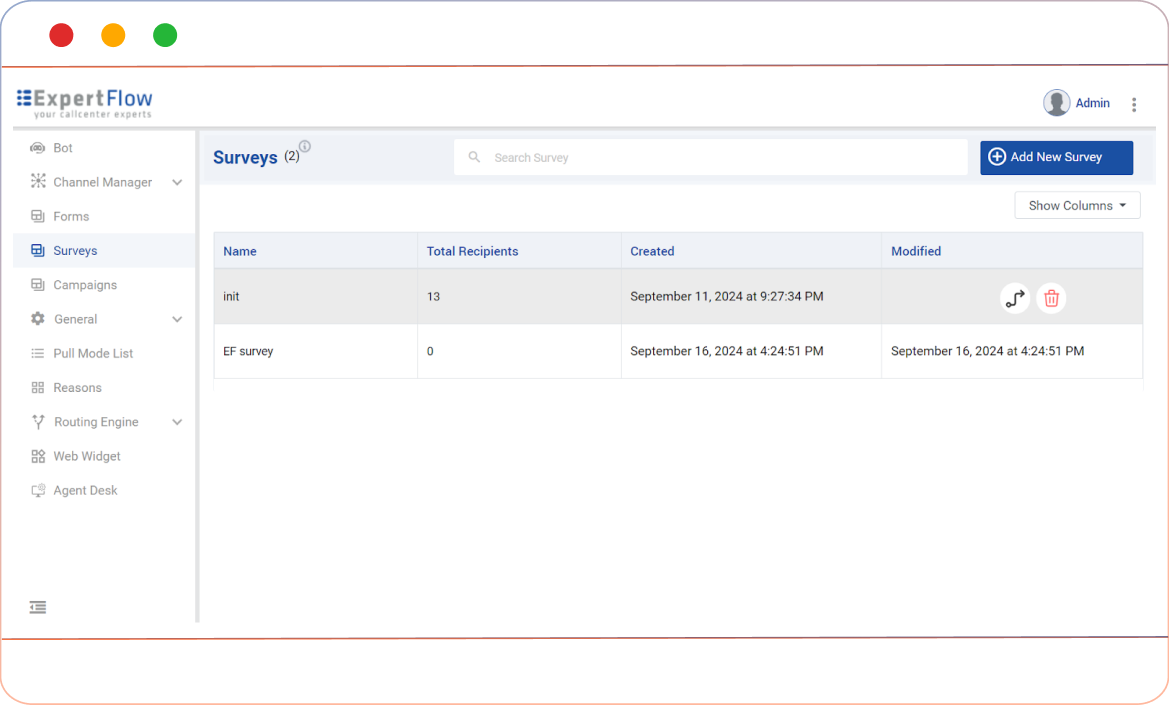
You can see the recently created Survey in the Survey section of the Unified Admin Console
You can view survey details such as Name, Total Recipients (total surveys offered), Created, and Modified.
Under the Modified column, you can click Flow to return to conversation studio for further adjustments or delete the survey if no longer needed.
