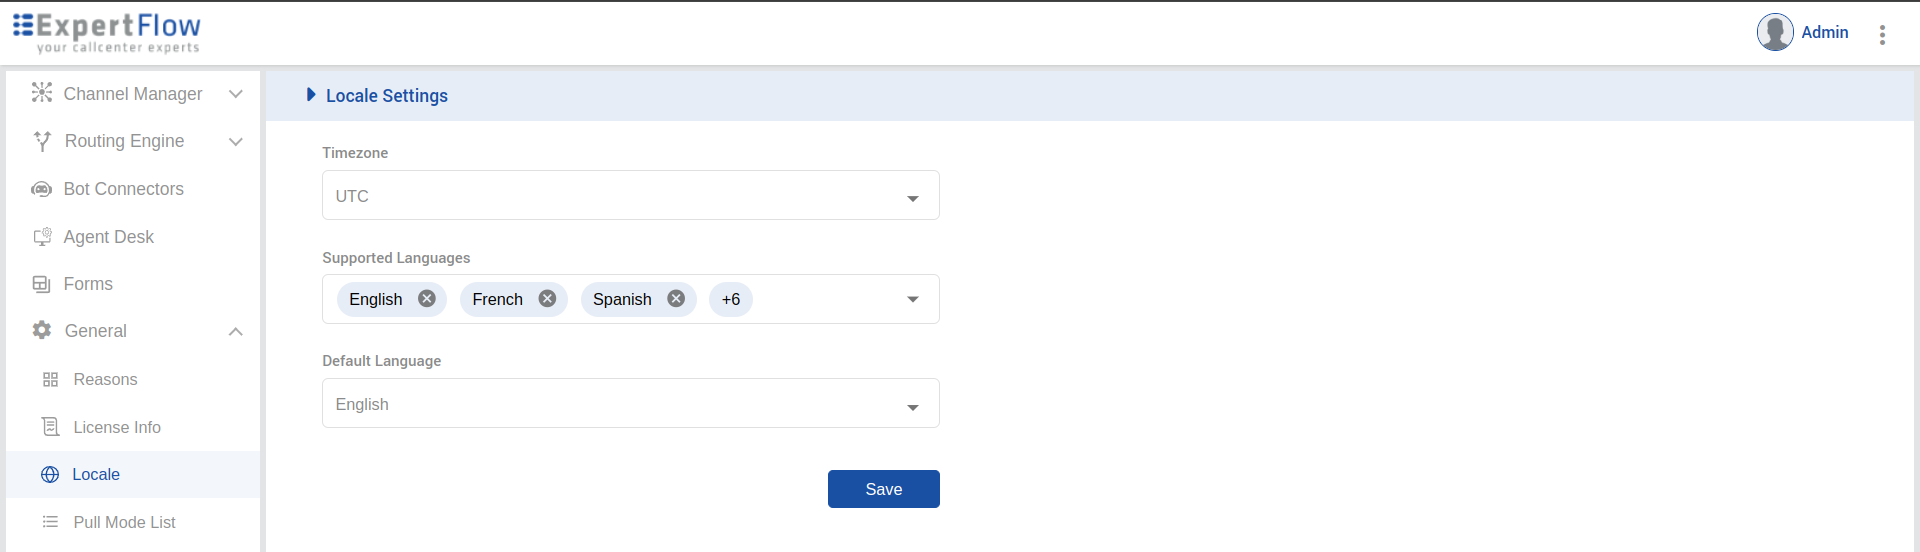
Setting up Supported Languages at Unified Admin
-
Open the Unified Admin with an admin account
-
From the left panel, expand the general drop-down
-
Go to local
-
Open the supported languages drop and check your desired languages
-
Click on save
Selecting a language at the Agent Desk
Follow Change Agent Desk Language
Procedure for updating languages and canned messages files at Server
Supported Languages:
|
Sr. |
code |
Language Name |
Filename |
|---|---|---|---|
|
1 |
ar |
Arabic |
ar.json |
|
2 |
bg |
Bulgarian |
bg.json |
|
3 |
en |
English |
en.json |
|
4 |
fr |
French |
fr.json |
|
5 |
ger |
German |
ger.json |
|
6 |
ita |
Italian |
ita.json |
|
7 |
spa |
Spanish |
spa.json |
|
8 |
sw |
Swahili |
sw.json |
|
9 |
ur |
Urdu |
ur.json |
While configuring the language files or canned-messages file, follow the language code and filename standards in the above table.
To know more about canned messages: Send a Message | Send a Canned Message
1. For adding a new Language
If updating the language files
Open i18n directory by running cd /root/cim-solution/kubernetes/pre-deployment/app-translations/unified-agent/i18n
-
If the respective language files are not present, Upload the language files following the format {language_code}.json
-
If all the required files are available, there is no need to do anything
If updating the canned messages file
-
open the canned-messages directory by running
cd root/cim-solution/kubernetes/pre-deployment/app-translations/unified-agent/canned-messages/-
If the canned-messages.json file is not present, Upload the canned messages file following the format
canned-messages.json -
If all the canned messages file is available, there is no need to do anything
-
2. Check the format for the files available
Locate to the directory where your files are present
-
In the case of Canned messages
cd /root/cim-solution/kubernetes/pre-deployment/app-translations/unified-agent/canned-messages/ -
In the case of language files
cd /root/cim-solution/kubernetes/pre-deployment/app-translations/unified-agent/i18n
Run the command file -bi *
The formats of all the files will be printed on the console, if there exists no “iso” format file skip steps 3
3. Run the script, in the same directory where files are present
Before running the script, you must have “recode“ tool installed. You can install recode by running the following command:-
For RHEL:-
Prepare for `recode ` utility prerequisites ( Skip if already deployed )
update the dnf cache
dnf update -y
Install the epel-release rpm package for your RHEL Release ( change the version to match your RHEL major version )
subscription-manager repos --enable codeready-builder-for-rhel-9-$(arch)-rpms
dnf install https://dl.fedoraproject.org/pub/epel/epel-release-latest-9.noarch.rpm -y
yum --enablerepo=epel install recode -y
For Ubuntu:-
apt install recode
The below script will change all the “ISO” format files into utf-8, because There exist characters of different languages those aren’t supported in ISO-8859-1 format
convert_to_utf8() {
    local input_file=$1
    local backup_file="${input_file}.bak"
    local temp_file=$(mktemp "${input_file}.XXXXXX")

    cp -f "$input_file" "$backup_file"
    current_encoding=$(file -bi "$input_file" | grep -o 'charset=[^;]*' | sed 's/charset=//')
    if [ "$current_encoding" = "utf-8" ] || [ "$current_encoding" = "us-ascii" || [ "$current_encoding" = "binary" ]; then
        echo "The file $input_file is already in UTF-8 encoding."
        rm -f "$backup_file"
        rm -f "$temp_file"
    else
        # Convert the file using recode
        if ! recode "$current_encoding..utf-8" < "$input_file" > "$temp_file"; then
            echo "Conversion failed for $input_file. Restoring from backup."
            mv -f "$backup_file" "$input_file"
            rm -f "$temp_file"
            return
        fi
        echo "Conversion successful for $input_file."
        mv -f "$temp_file" "$input_file"
        rm -f "$backup_file"
    fi
}
for file in *; do
    if [ -f "$file" ]; then
        convert_to_utf8 "$file"
    fi
done
find . -maxdepth 1 -type f -name '*.utf8' -exec rm -f {} +
find . -maxdepth 1 -type f -name '*~' -exec rm -f {} +
echo "Cleanup complete. Removed all .utf8 files and backup files."
4. Make the Necessary Changes
After following all the above steps you can now Open the language files or canned-messages file and edit them according to your requirements. After making your changes save the files.
In the same directory where the files are present run file -bi *, because there are few editors those convert file format from US-ASCII to ISO-8859-1 upon saving. if there exists a “ISO” format file then user will have to manually run the script https://expertflow-docs.atlassian.net/wiki/spaces/CX/pages/edit-v2/424214601#3.-Run-the-script%2C-in-the-same-directory-where-files-are-present
5. Update the config map
-
For language files
-
Delete the config map:
kubectl delete cm ef-app-translations-cm -n expertflow -
Go to directory cim-solution/kubernetes/
-
Apply new config map:
kubectl -n expertflow create configmap ef-app-translations-cm --from-file=pre-deployment/app-translations/unified-agent/i18n/
-
-
For Canned messages
-
Delete the config map:
kubectl -n expertflow delete configmap ef-canned-messages-cm -
Go to directory cim-solution/kubernetes/
-
Create config map
kubectl -n expertflow create configmap ef-canned-messages-cm --from-file=pre-deployment/app-translations/unified-agent/canned-messages
-
6. Redeploy the Agent Desk
-
cd /root/cim-solution/kubernetes/cim/Deployments -
kubectl delete -f ef-unified-agent-deployment.yaml -n expertflow -
kubectl apply -f ef-unified-agent-deployment.yaml -n expertflow
Open the Agent Desk and you will be able to see the changes you made for languages in canned messages and languages files ( make sure to clean your cache or open the Agent Desk in incognito mode)
Limitations
-
Even after following the procedure if there still exists garbage content in the languages or canned messages files, then user will have to manually remove and add the content