
Step 1 :
CX SIP Proxy Control Panel :
Access the EF SIP Proxy Control Panel by navigating to the following URL: http://192.168.1.19/cp/index.php.
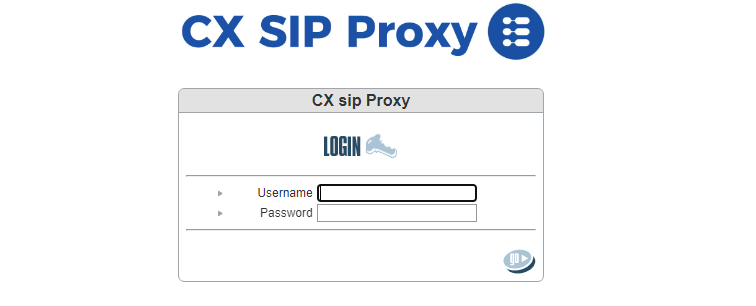
Once logged in, proceed to the 'System' section, followed by 'Load Balancer'.
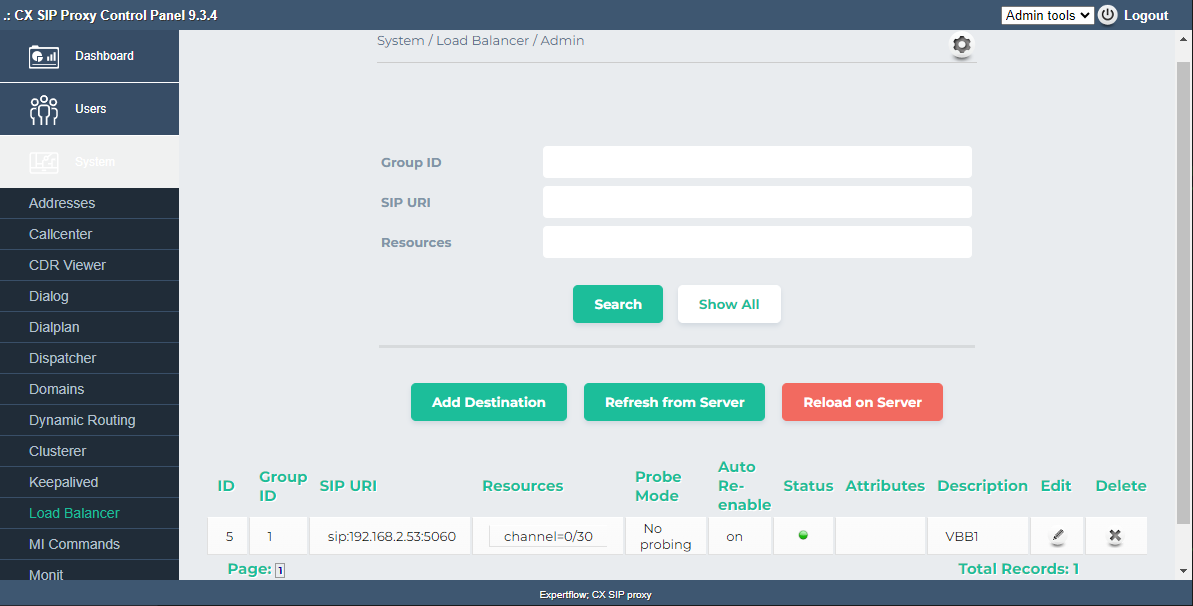
Select 'Add Destination' to input new details.
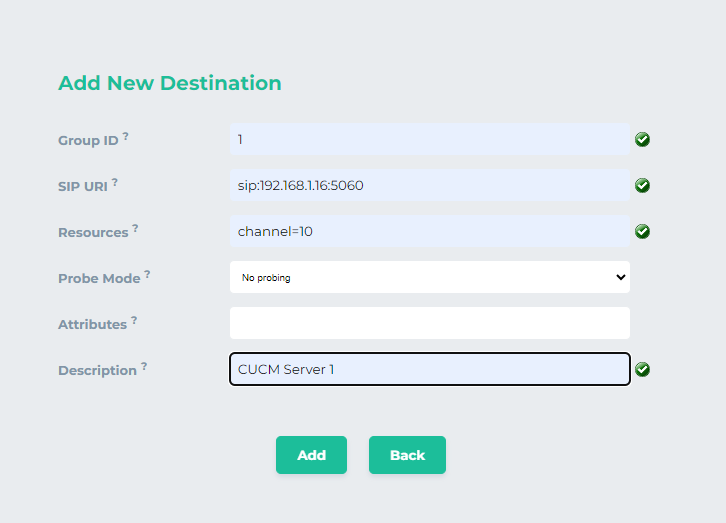
Ensure to save these settings after entering them.
Proceed to add comprehensive details for each server type, including CVP, CUCM, CUBE, and VBB. Assign a unique Group ID to each Cisco element, such as 1 for CVP, 2 for CUCM, and so on, ensuring each ID is distinct.
ssh