This document cover how to to setup OAuth for grafana using keycloak for Grafana. Keycloak is another best opensource tool which can be used for SSO authentication.
Keycloak Configuration
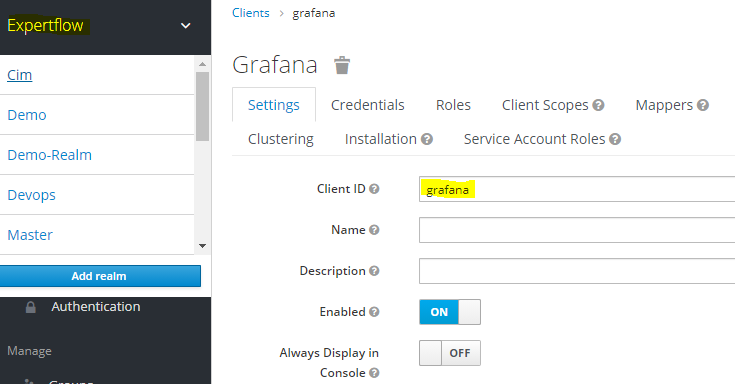
To configure Grafana with Keycloak, first navigate to Keycloak administration page and create a client. I have created a client named, grafana in realm of expertflow.
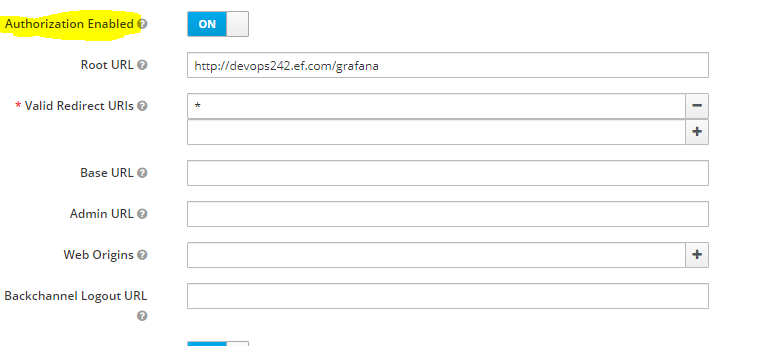
Now navigate the page bit lower and turn on the Authorization Enabled. Put the Root URL of Grafana, the one you use to access the welcome page of Grafana. Put an Asterisk * in Valid Redirect URLs
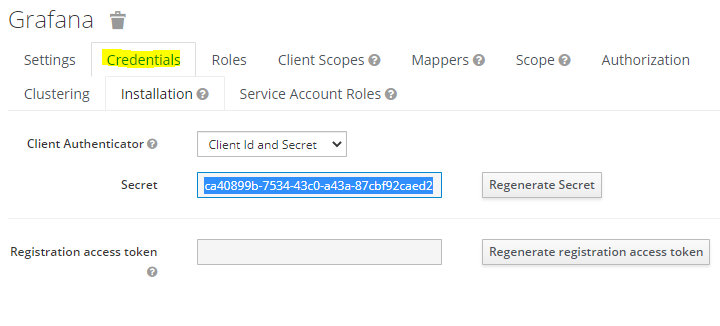
Now click on the Credentials tab and copy the secret. We will use it later.
Grafana Configuration
Navigate to prometheus/ deployment directory and go to the grafana/ directory and edit the default.ini file
cd prometheus/grafana
vi default.ini
Now add the following piece of code to the file.
########ADDED FOR KEYCLOAK############

[auth.generic_oauth]
enabled = true
scopes = openid email profile
name = Oauth
tls_skip_verify_insecure = true
allow_sign_up = true
client_id = grafana
client_secret = <client_secret_copied_earlier>
auth_url = https://192.168.1.204/auth/realms/expertflow/protocol/openid-connect/auth
token_url = https://192.168.1.204/auth/realms/expertflow/protocol/openid-connect/token
api_url = https://192.168.1.204/auth/realms/expertflow/protocol/openid-connect/userinfo
That's all the configuration required. You can now docker-compose down && docker-compose up -d the solution and it will show the login option Sign in with Oauth like below:
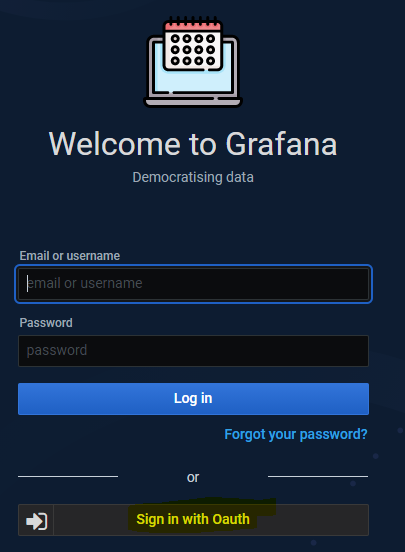
Click on it and it will take you to the Keycloak login page. By default, any user being a member of Expertflow realm can access to grafana client. Use any user to authorize with Keycloak.