This document contains all the configurations required for the setup of application gateway for API Authentication in CX. Following configurations are the prerequisite before enabling the authentication.
Application gateway configurations
In the case of an on-prem or single tenant deployment, instead of using the FQDN, the Keycloak service name should be used..
Use your realm name or tenant ID instead of “expertflow“. For example: http://keycloak.ef-external.svc/auth/realms/tenantID/authz/....
To enable API authentication on specific routes, uncomment the following openid-connect plugin snippet under the plugins section of the route definition in helm-values/apisix-custom-values.yaml
         openid-connect:
           enable: true
           discovery: "http://keycloak.ef-external.svc/auth/realms/expertflow/.well-known/openid-configuration"
           realm: "expertflow"
           client_id: "cim"
           client_secret: "ef61df80-061c-4c29-b9ac-387e6bf67052"
           bearer_only: true
           token_signing_alg_values_expected: "RS256"
           set_access_token_header: false
           set_userinfo_header: false
           audience: ["cim", "account", "realm-management"]
           required_scopes: ["email", "profile"]
Run the following command to redeploy apisix
helm upgrade --install --namespace ef-external --values helm-values/apisix-custom-values.yaml apisix expertflow/apisix
To disable authentication, simply comment the above lines from the route definition in helm-values/apisix-custom-values.yaml file and run the following command to redeploy apisix.
helm upgrade --install --namespace ef-external --values helm-values/apisix-custom-values.yaml apisix expertflow/apisix
Keycloak Configurations
-
F.irst go to your Keycloak instance and login, then go to the expertflow realm.
-
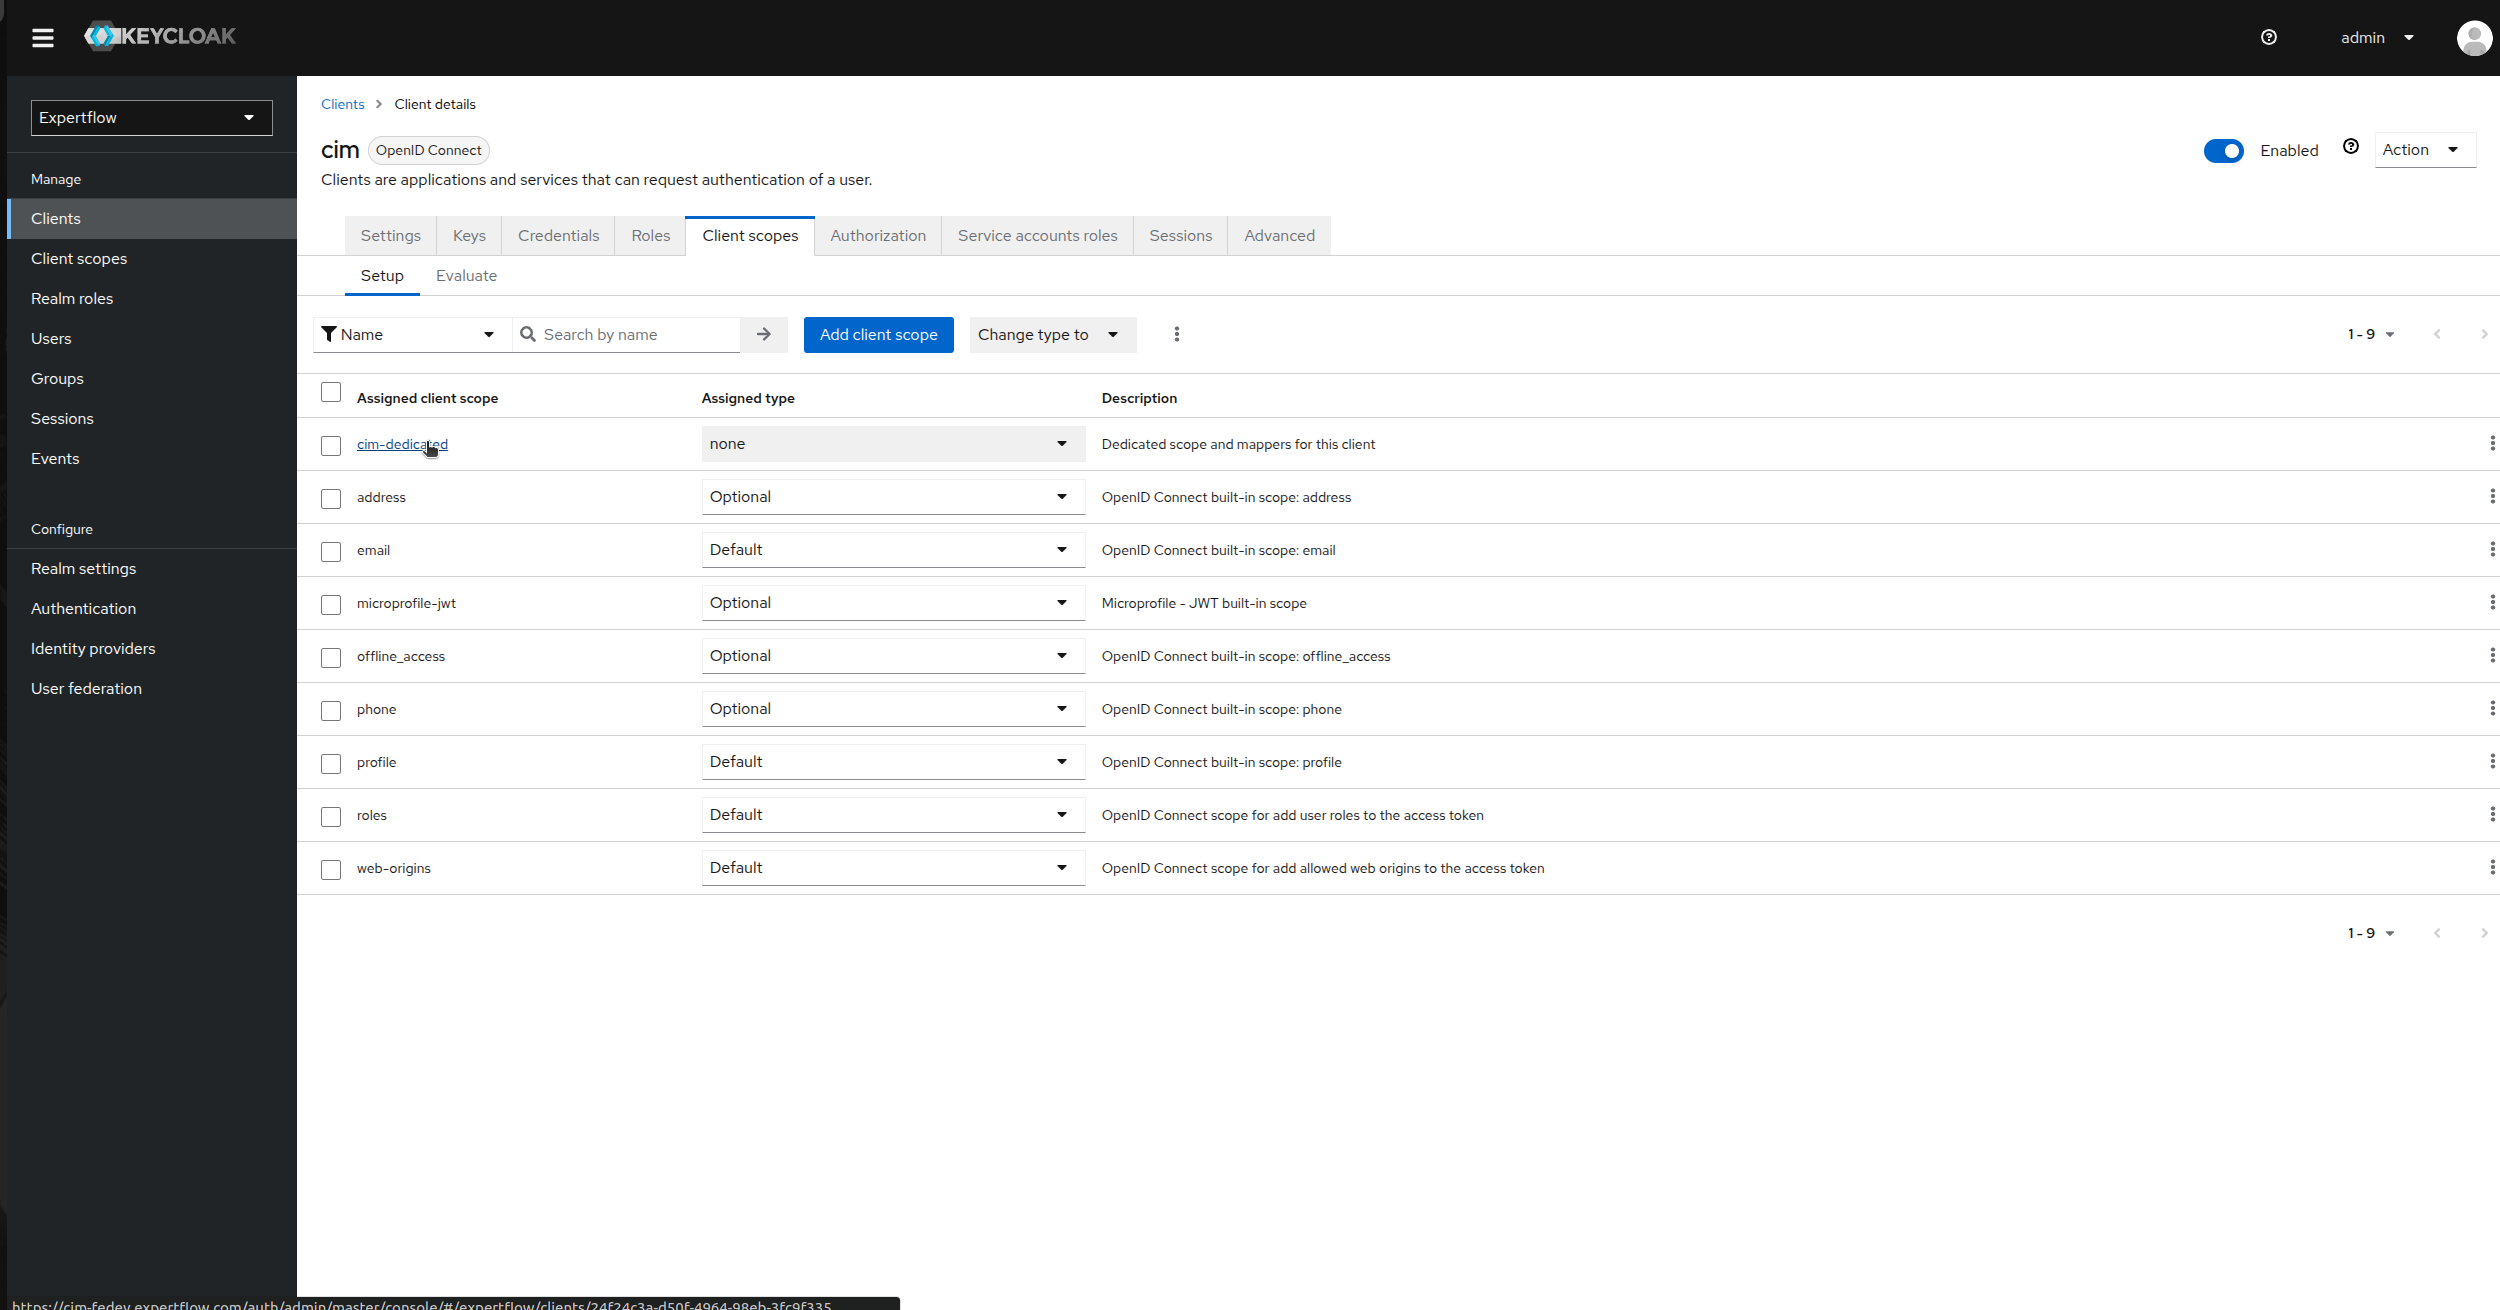
Then click on clients option in left panel and then select cim.

-
Now, go to the client scopes and click on cim-dedicated under Assigned client scope.
-
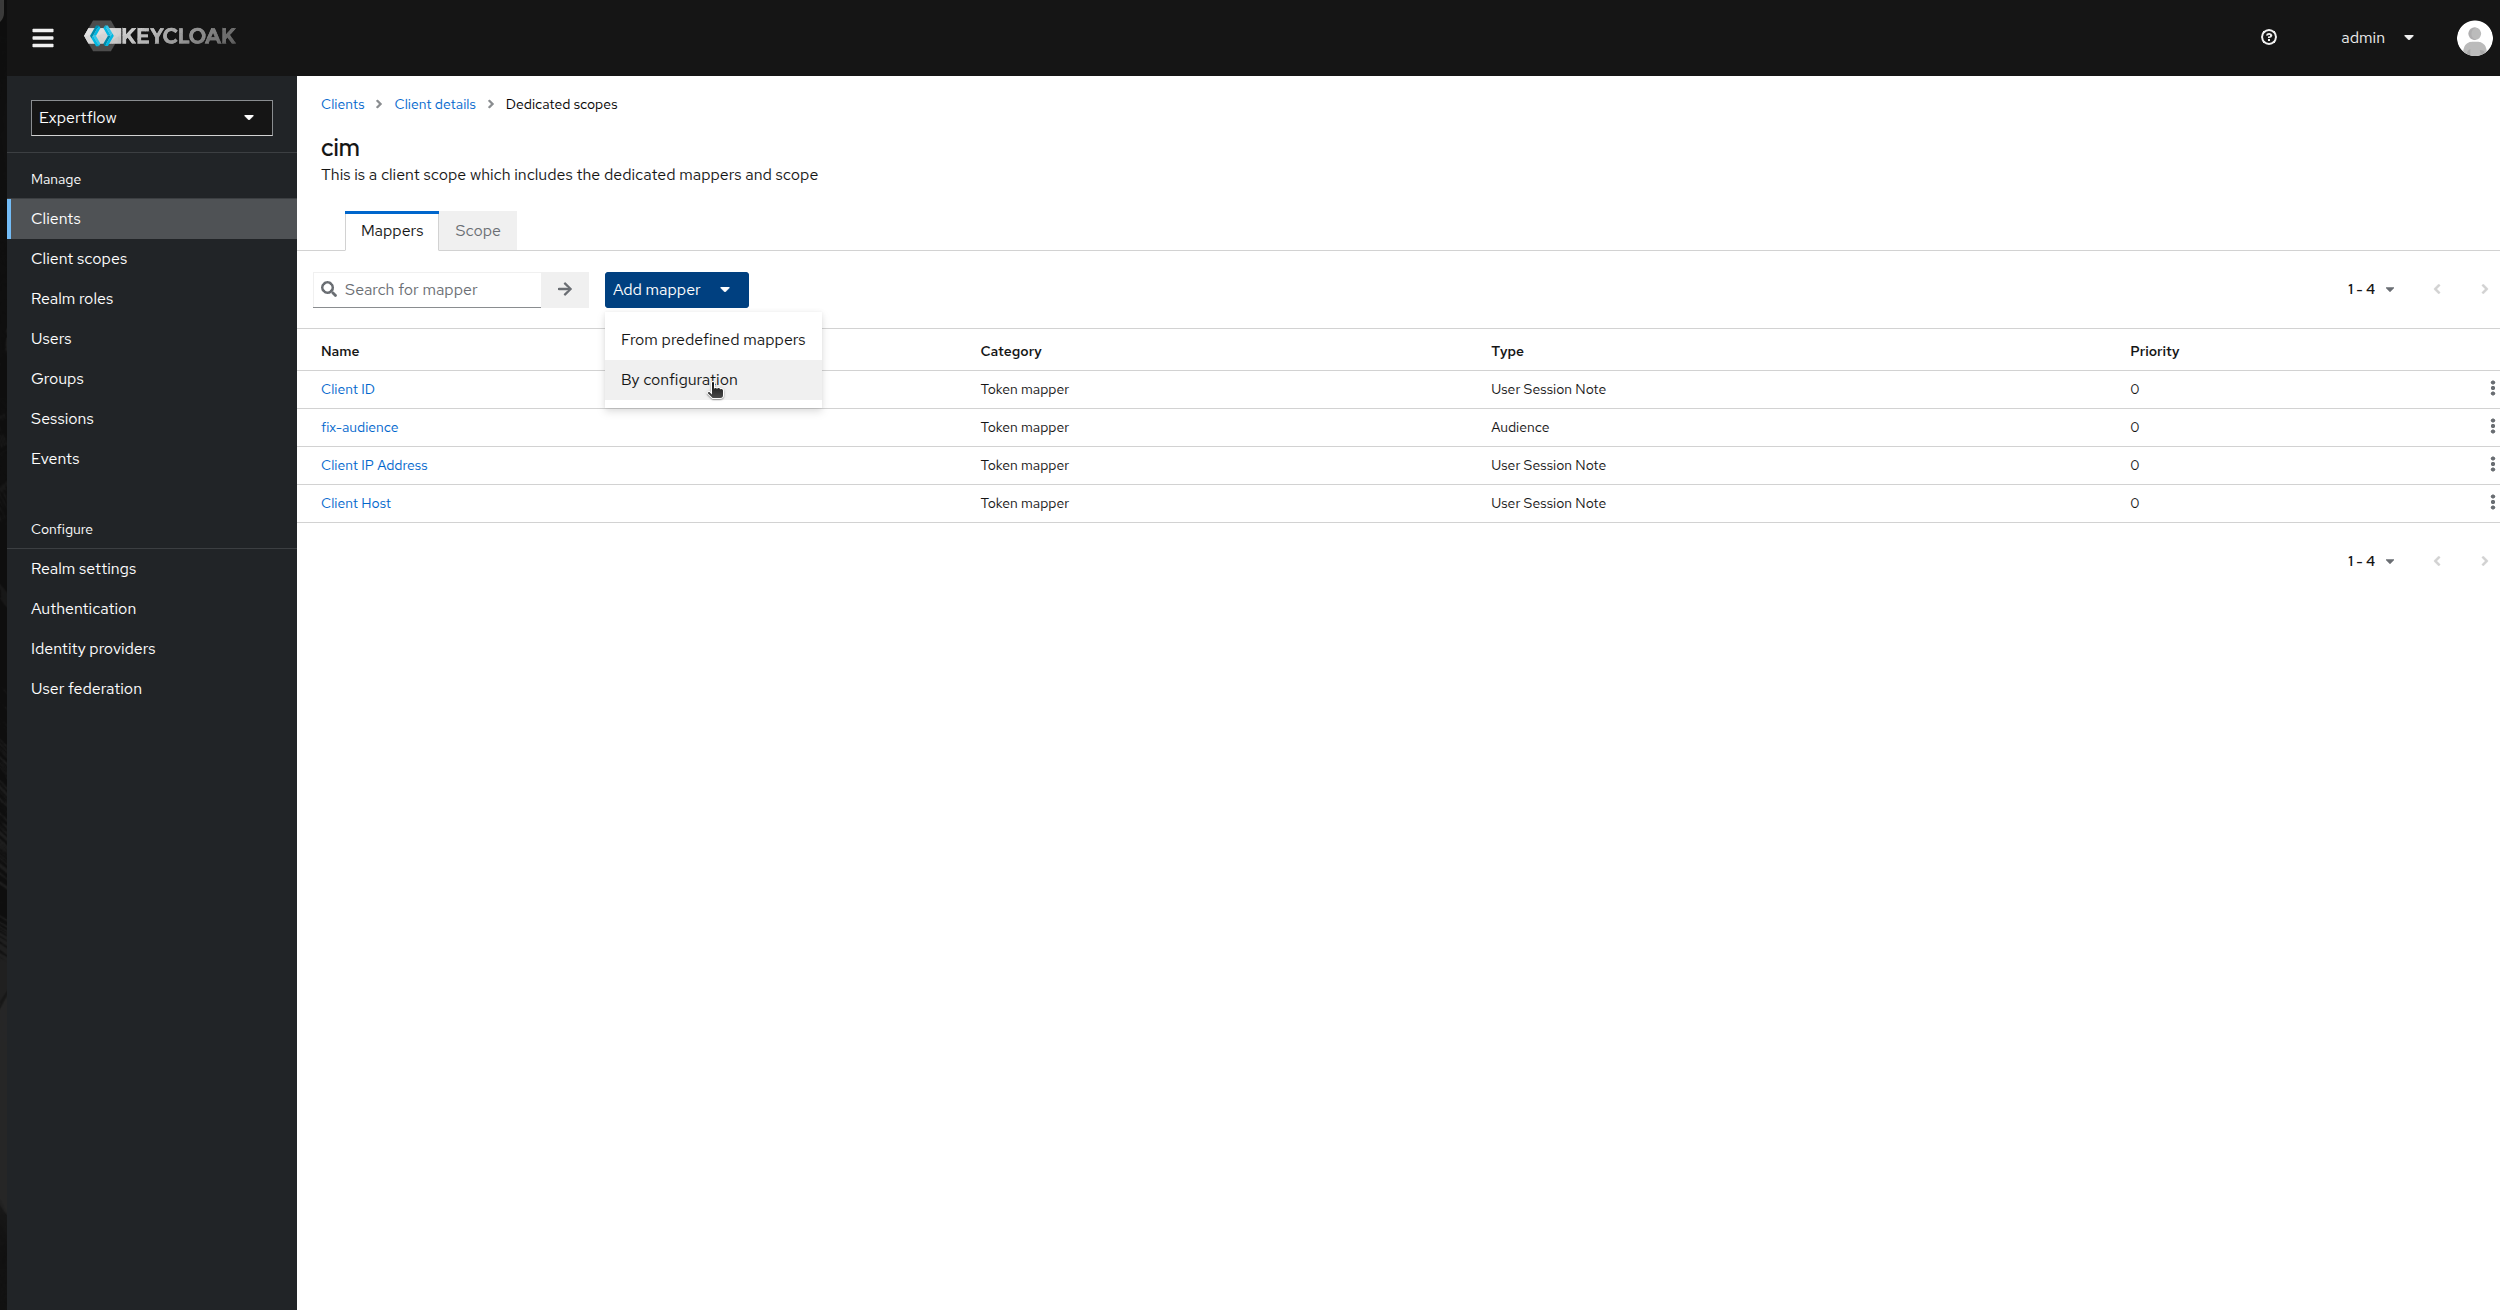
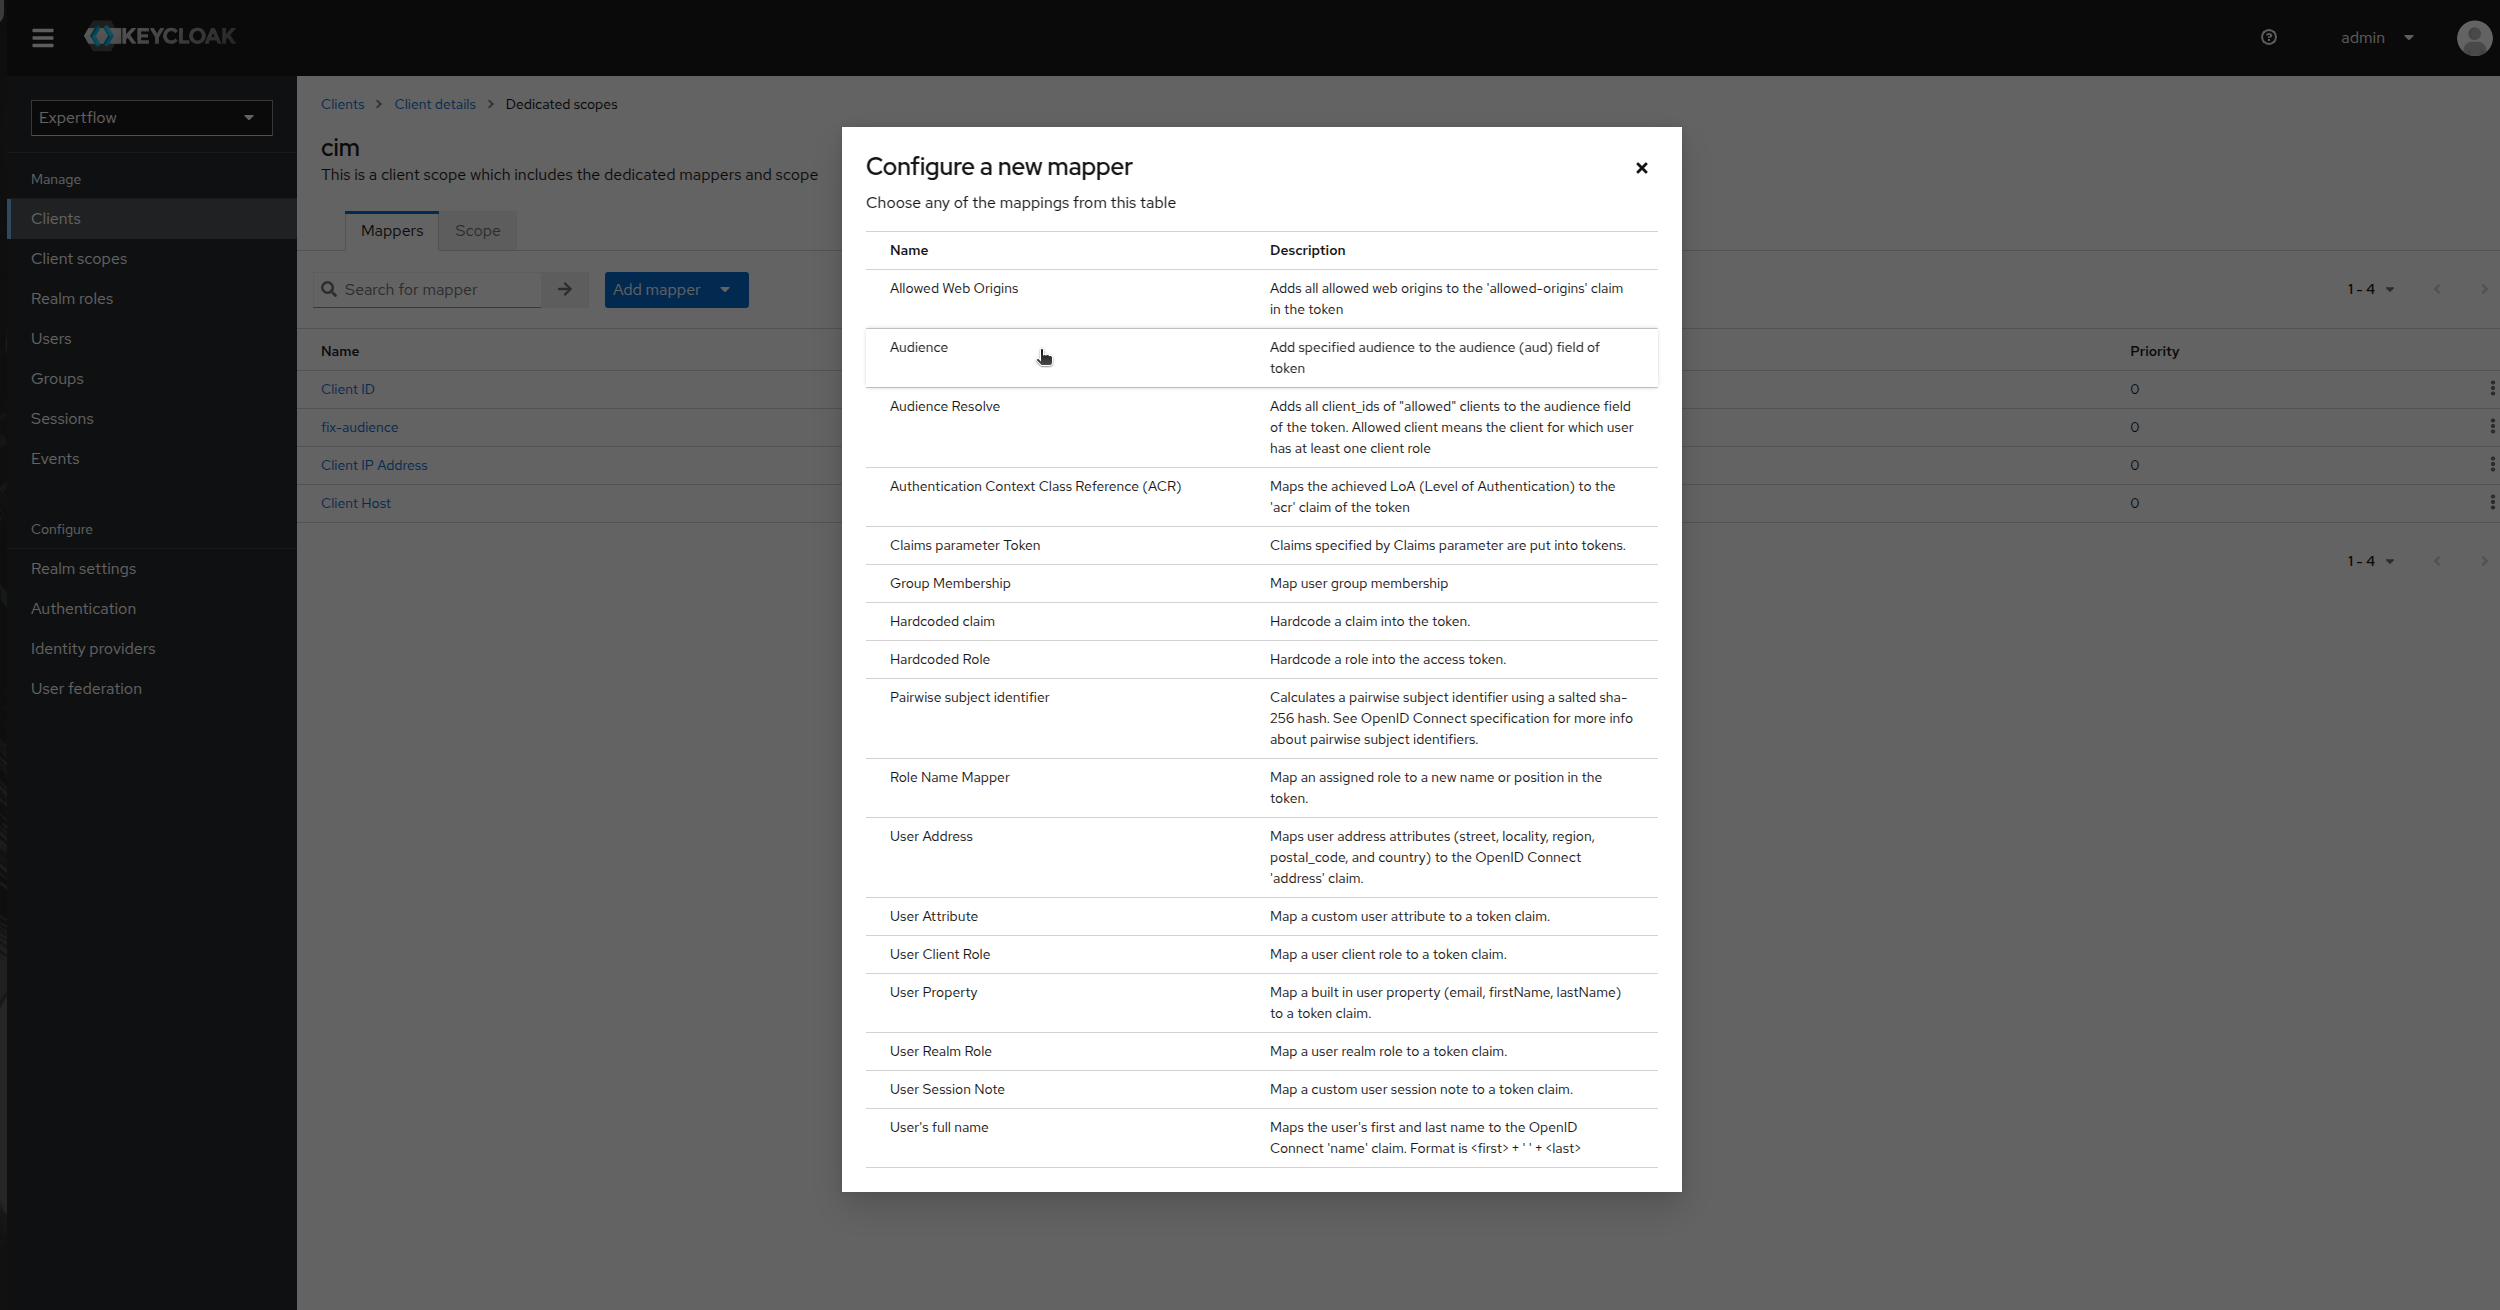
Click on Add Mapper and then select By configuration.
-
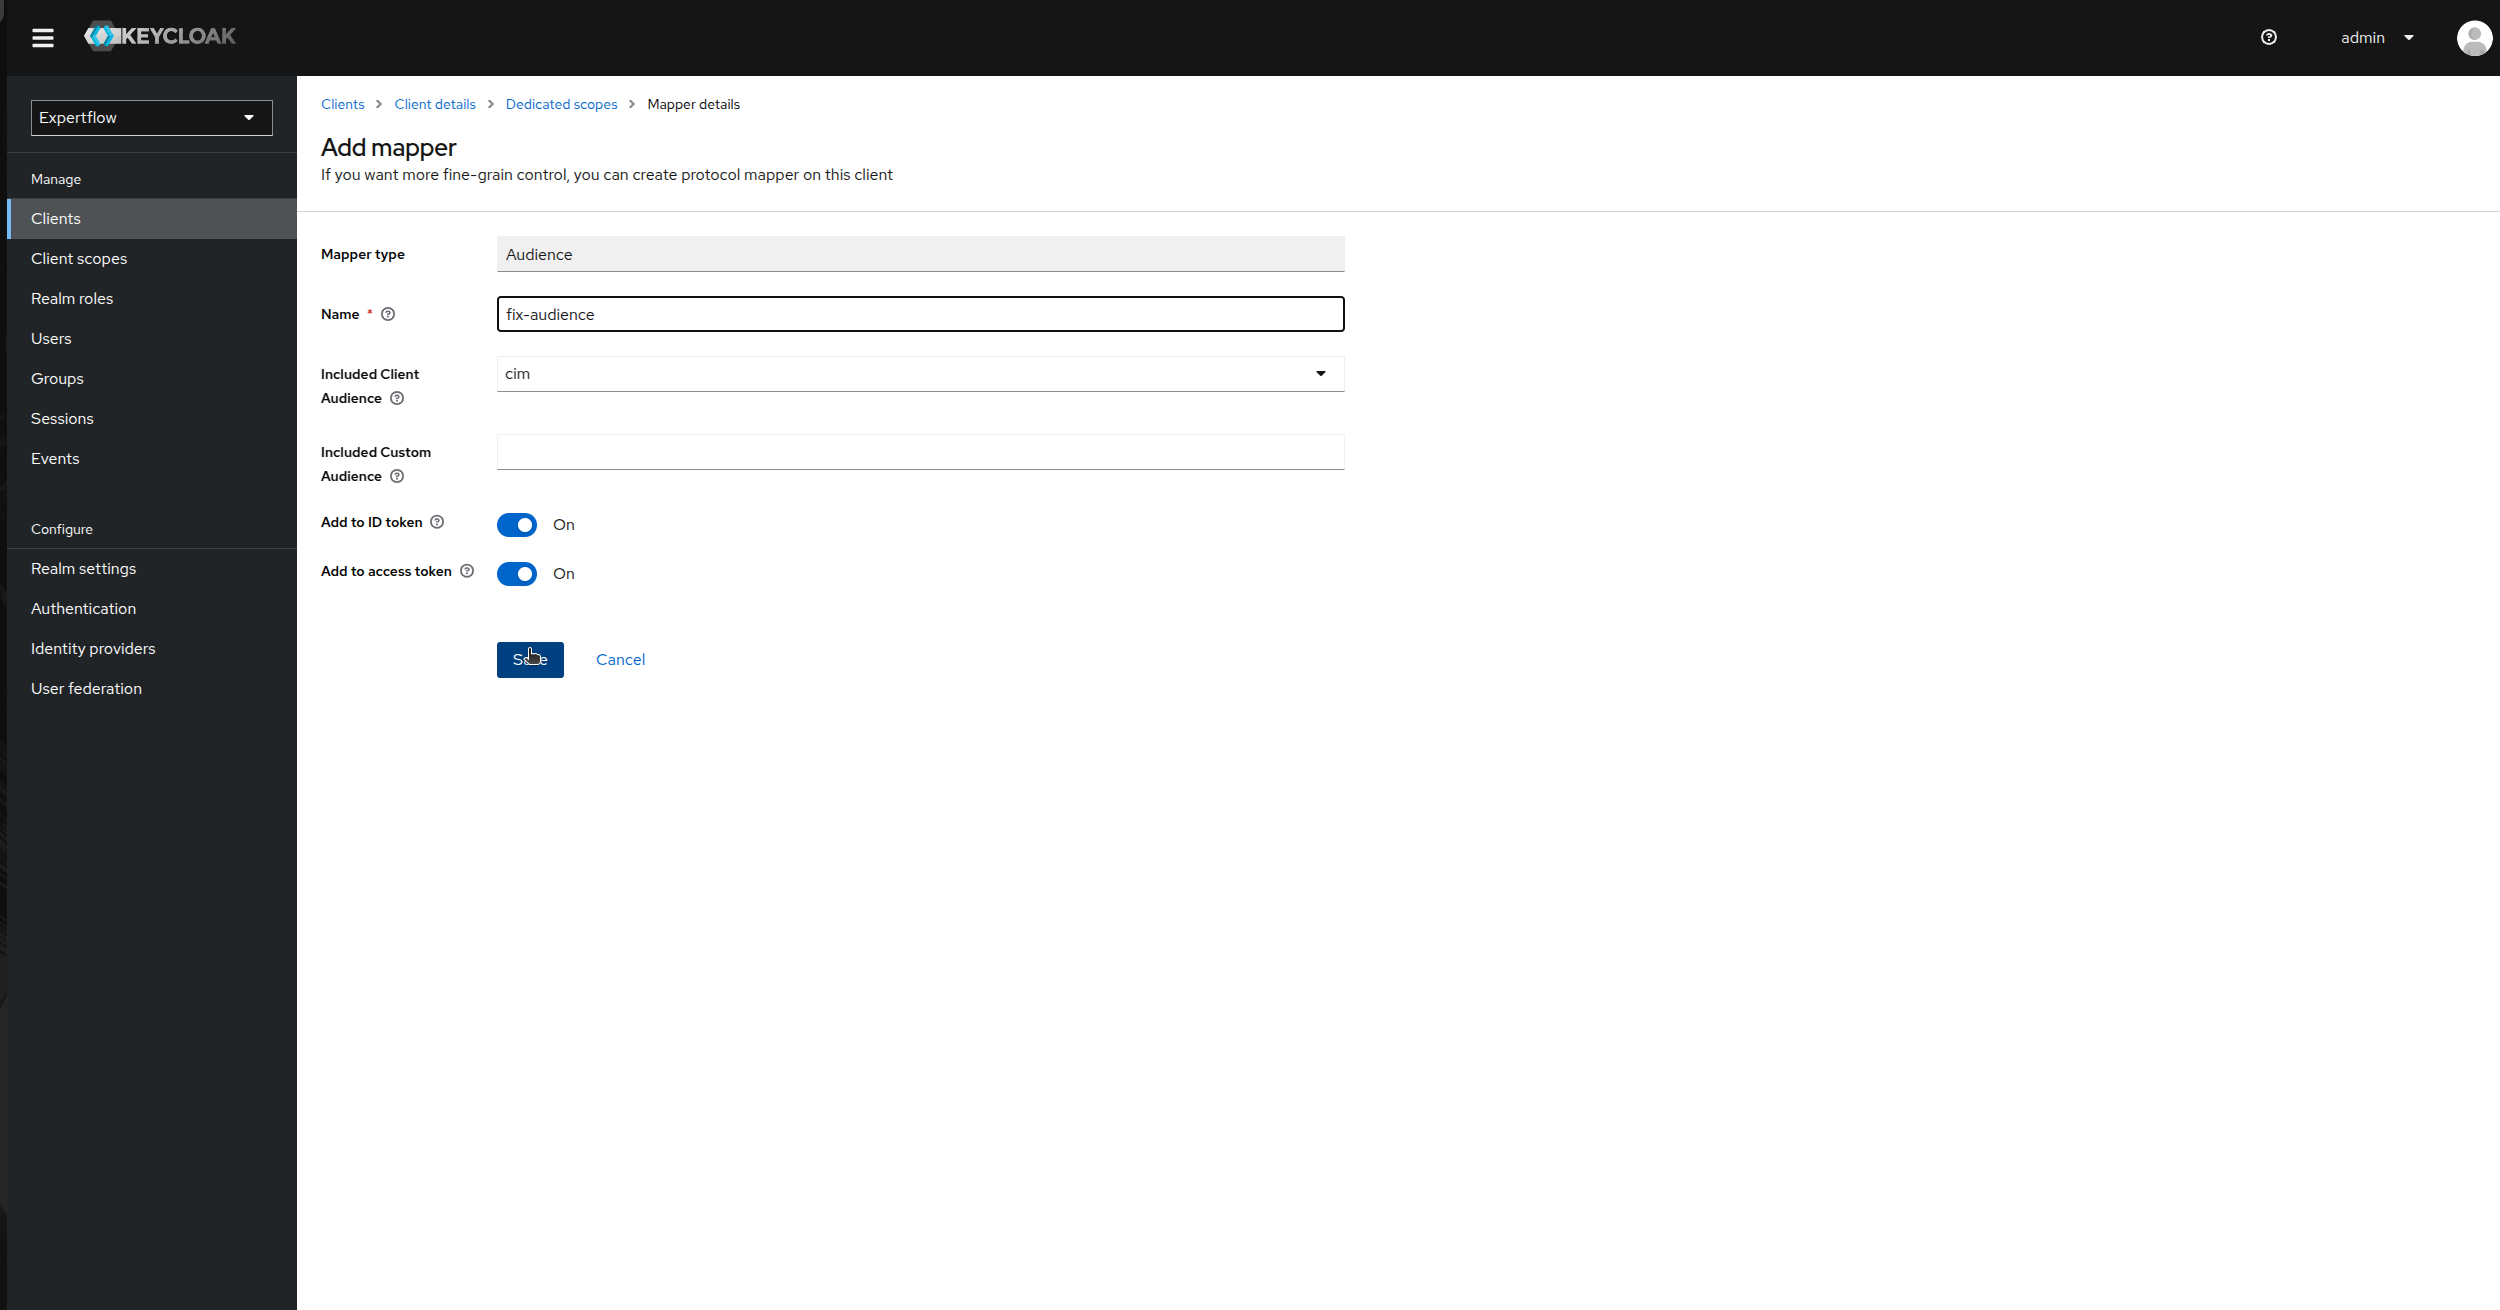
Click on Audience.
-
Provide Name as “fix-audience”, select cim in Included Client Audience. Check “Add to ID Token” toggle as On and Save.
Create a Customer User:
This user is responsible for creation of Access Token for each customer in Customer Widget.
-
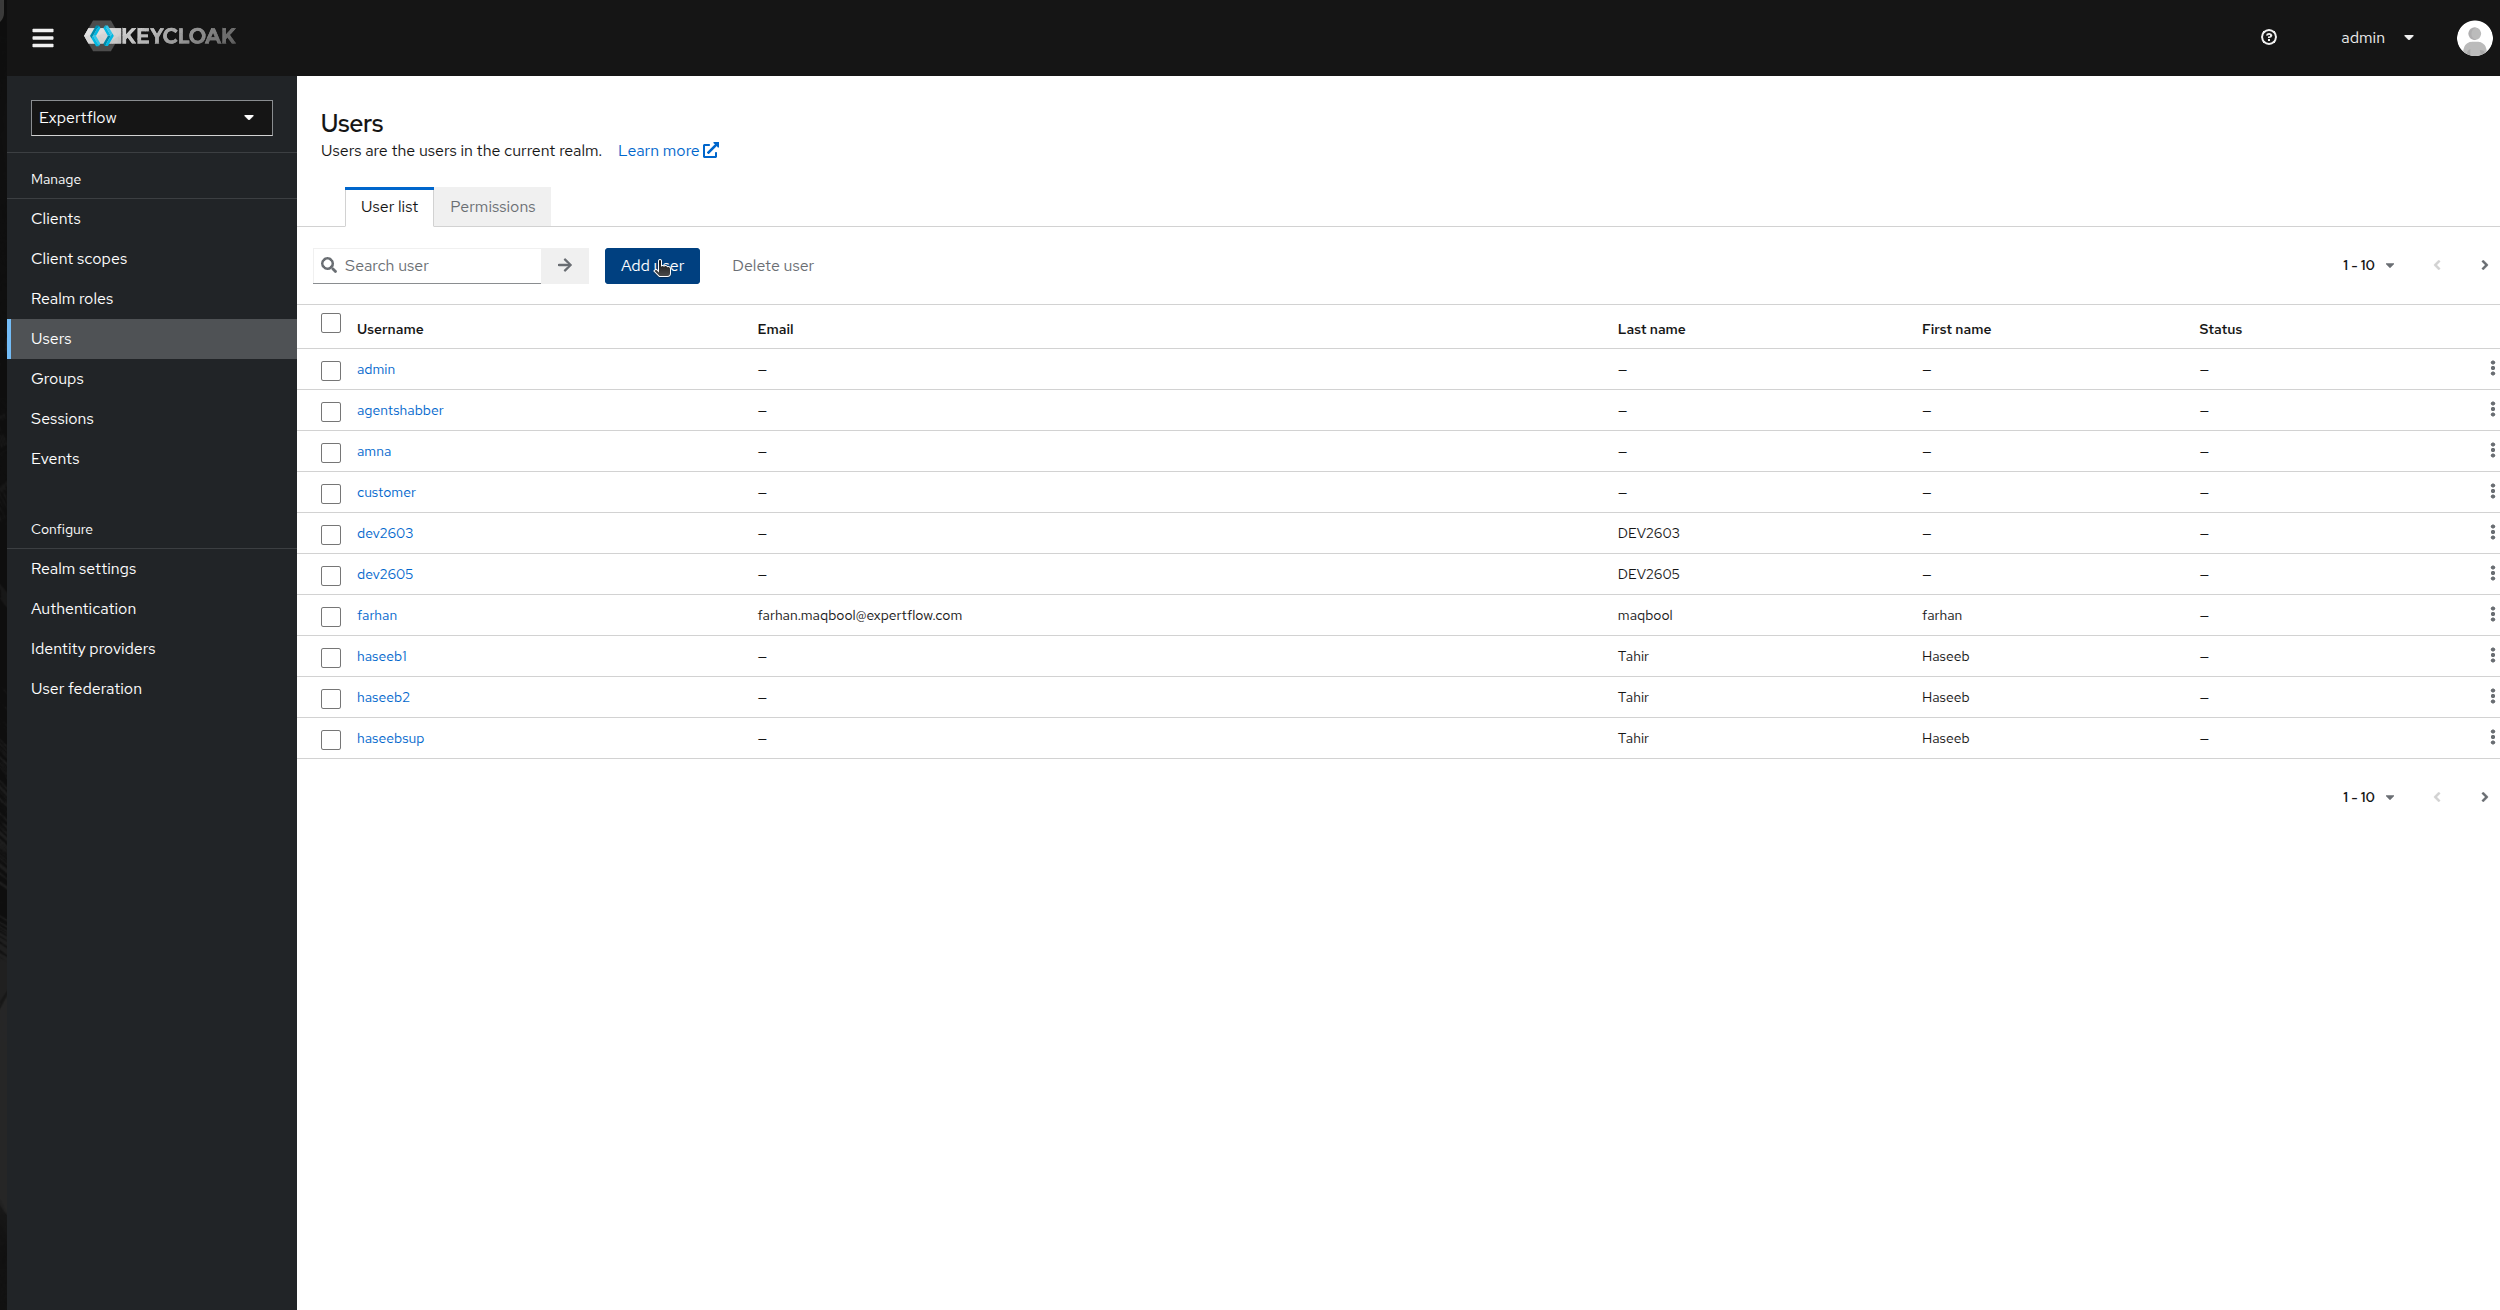
Go to the Users tab in left Control Panel.
-
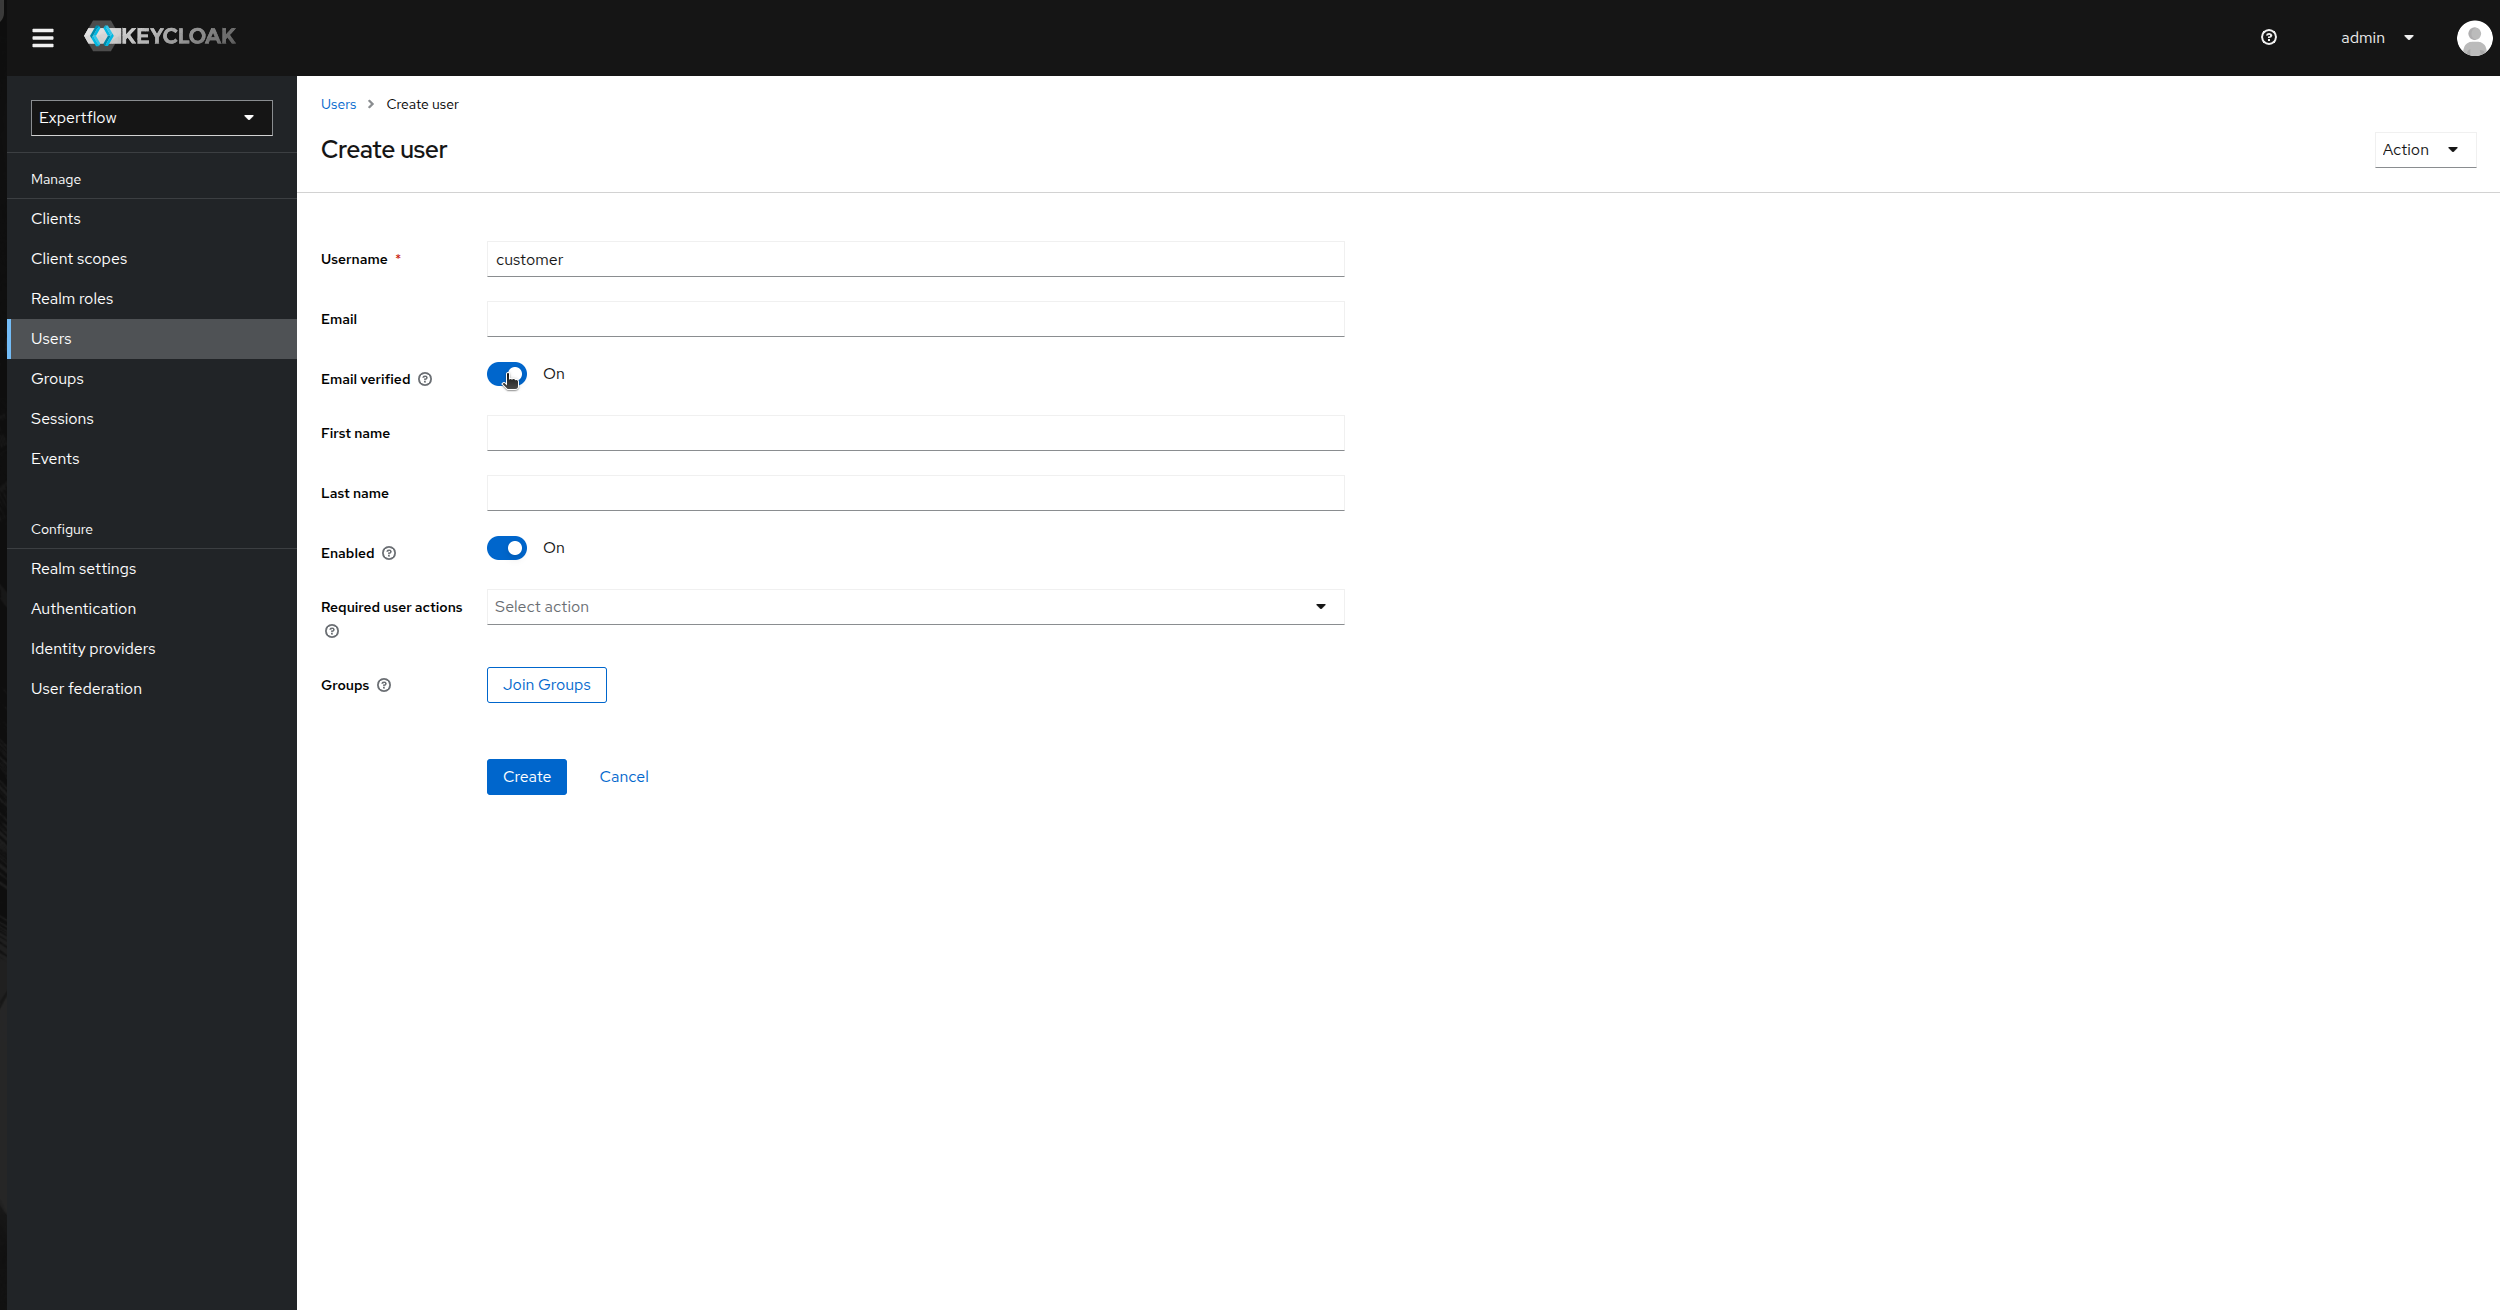
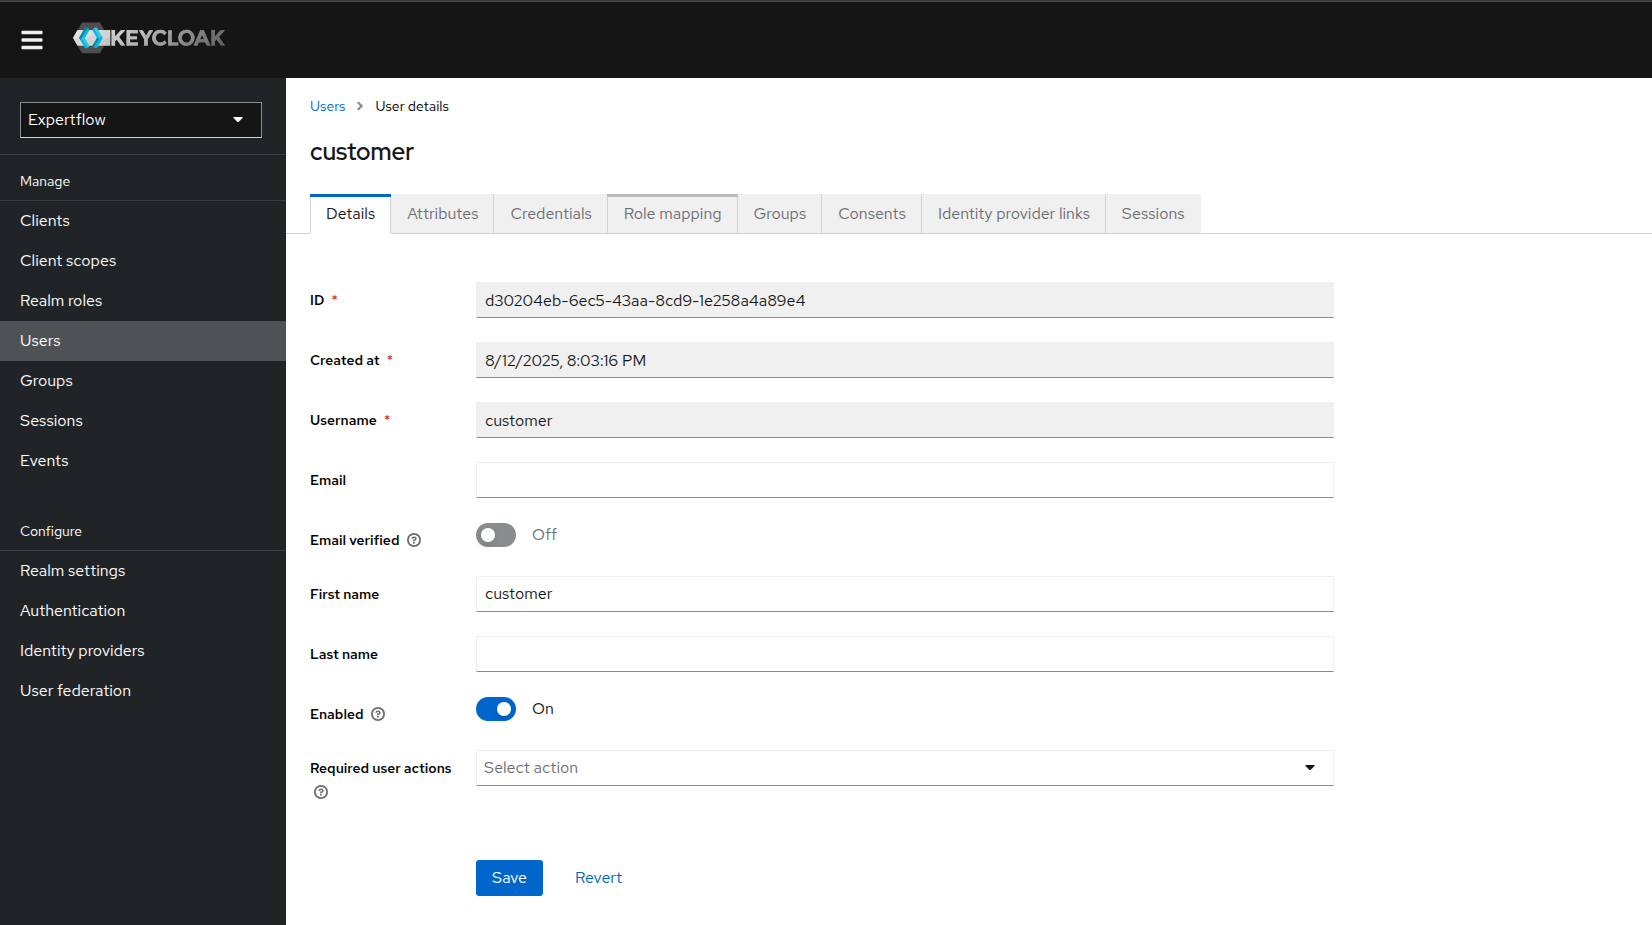
Click on Add User and provide username as “customer” and enable Email Verified toggle to On and click save.
-
Once user is created, go to Credentials and click on Set Password, provide credentials as customer and toggle temporary to false. Click save

-
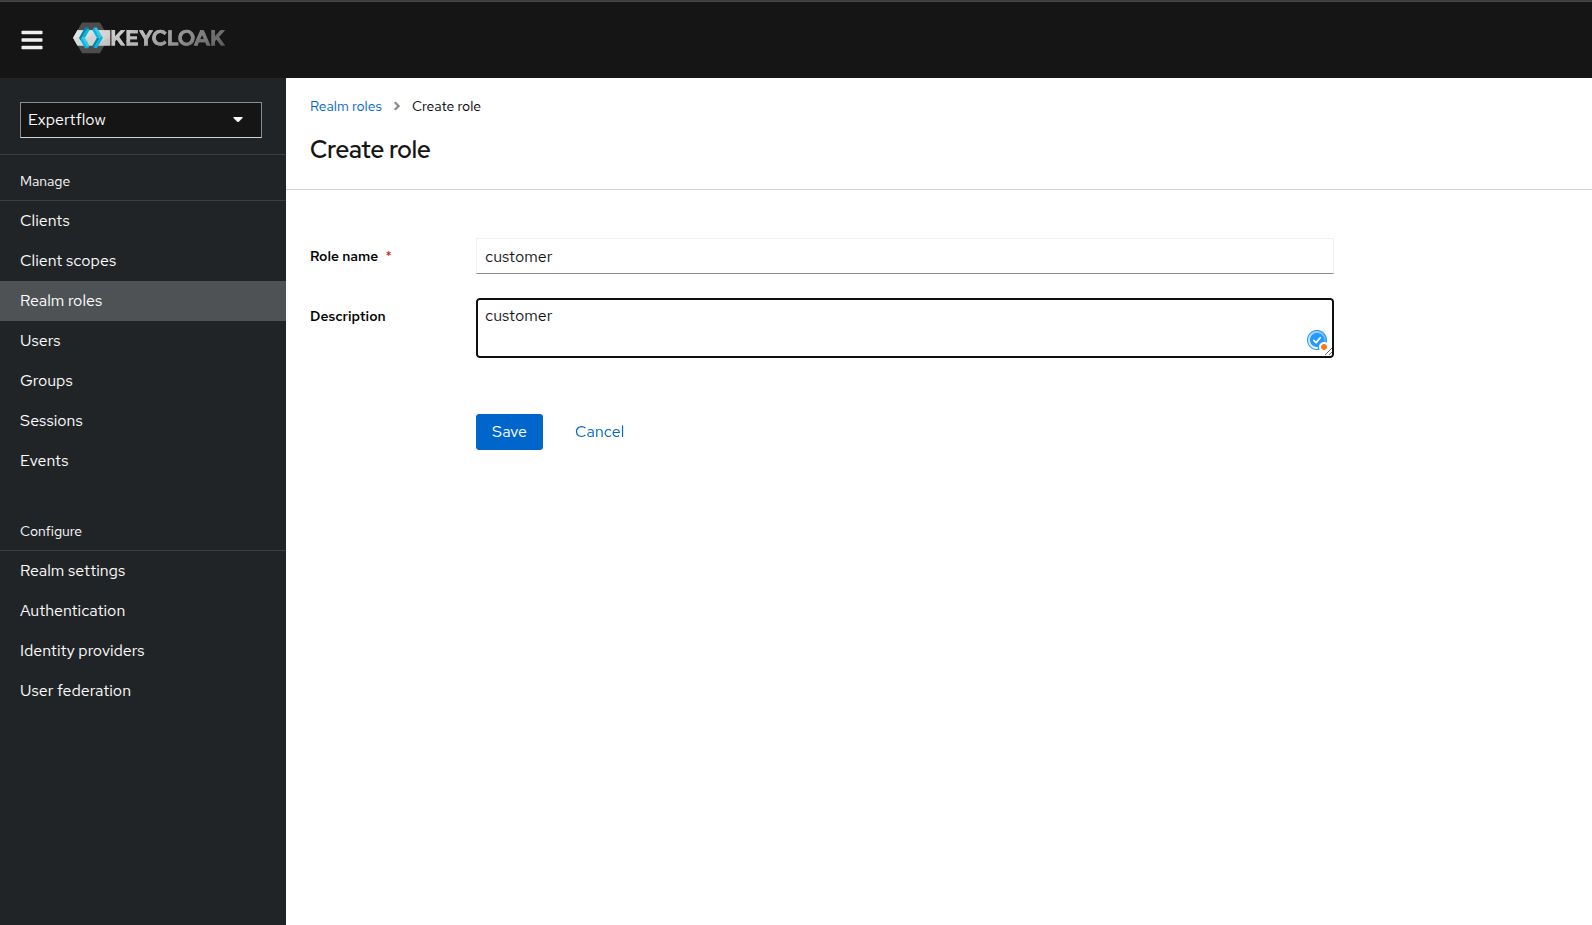
(Included steps after 4.10.1 onwards) After creating customer, assign it a customer role. Click on the Realm roles and check if the customer role exists. If it exists then skip the creation process, else create a customer role.
-
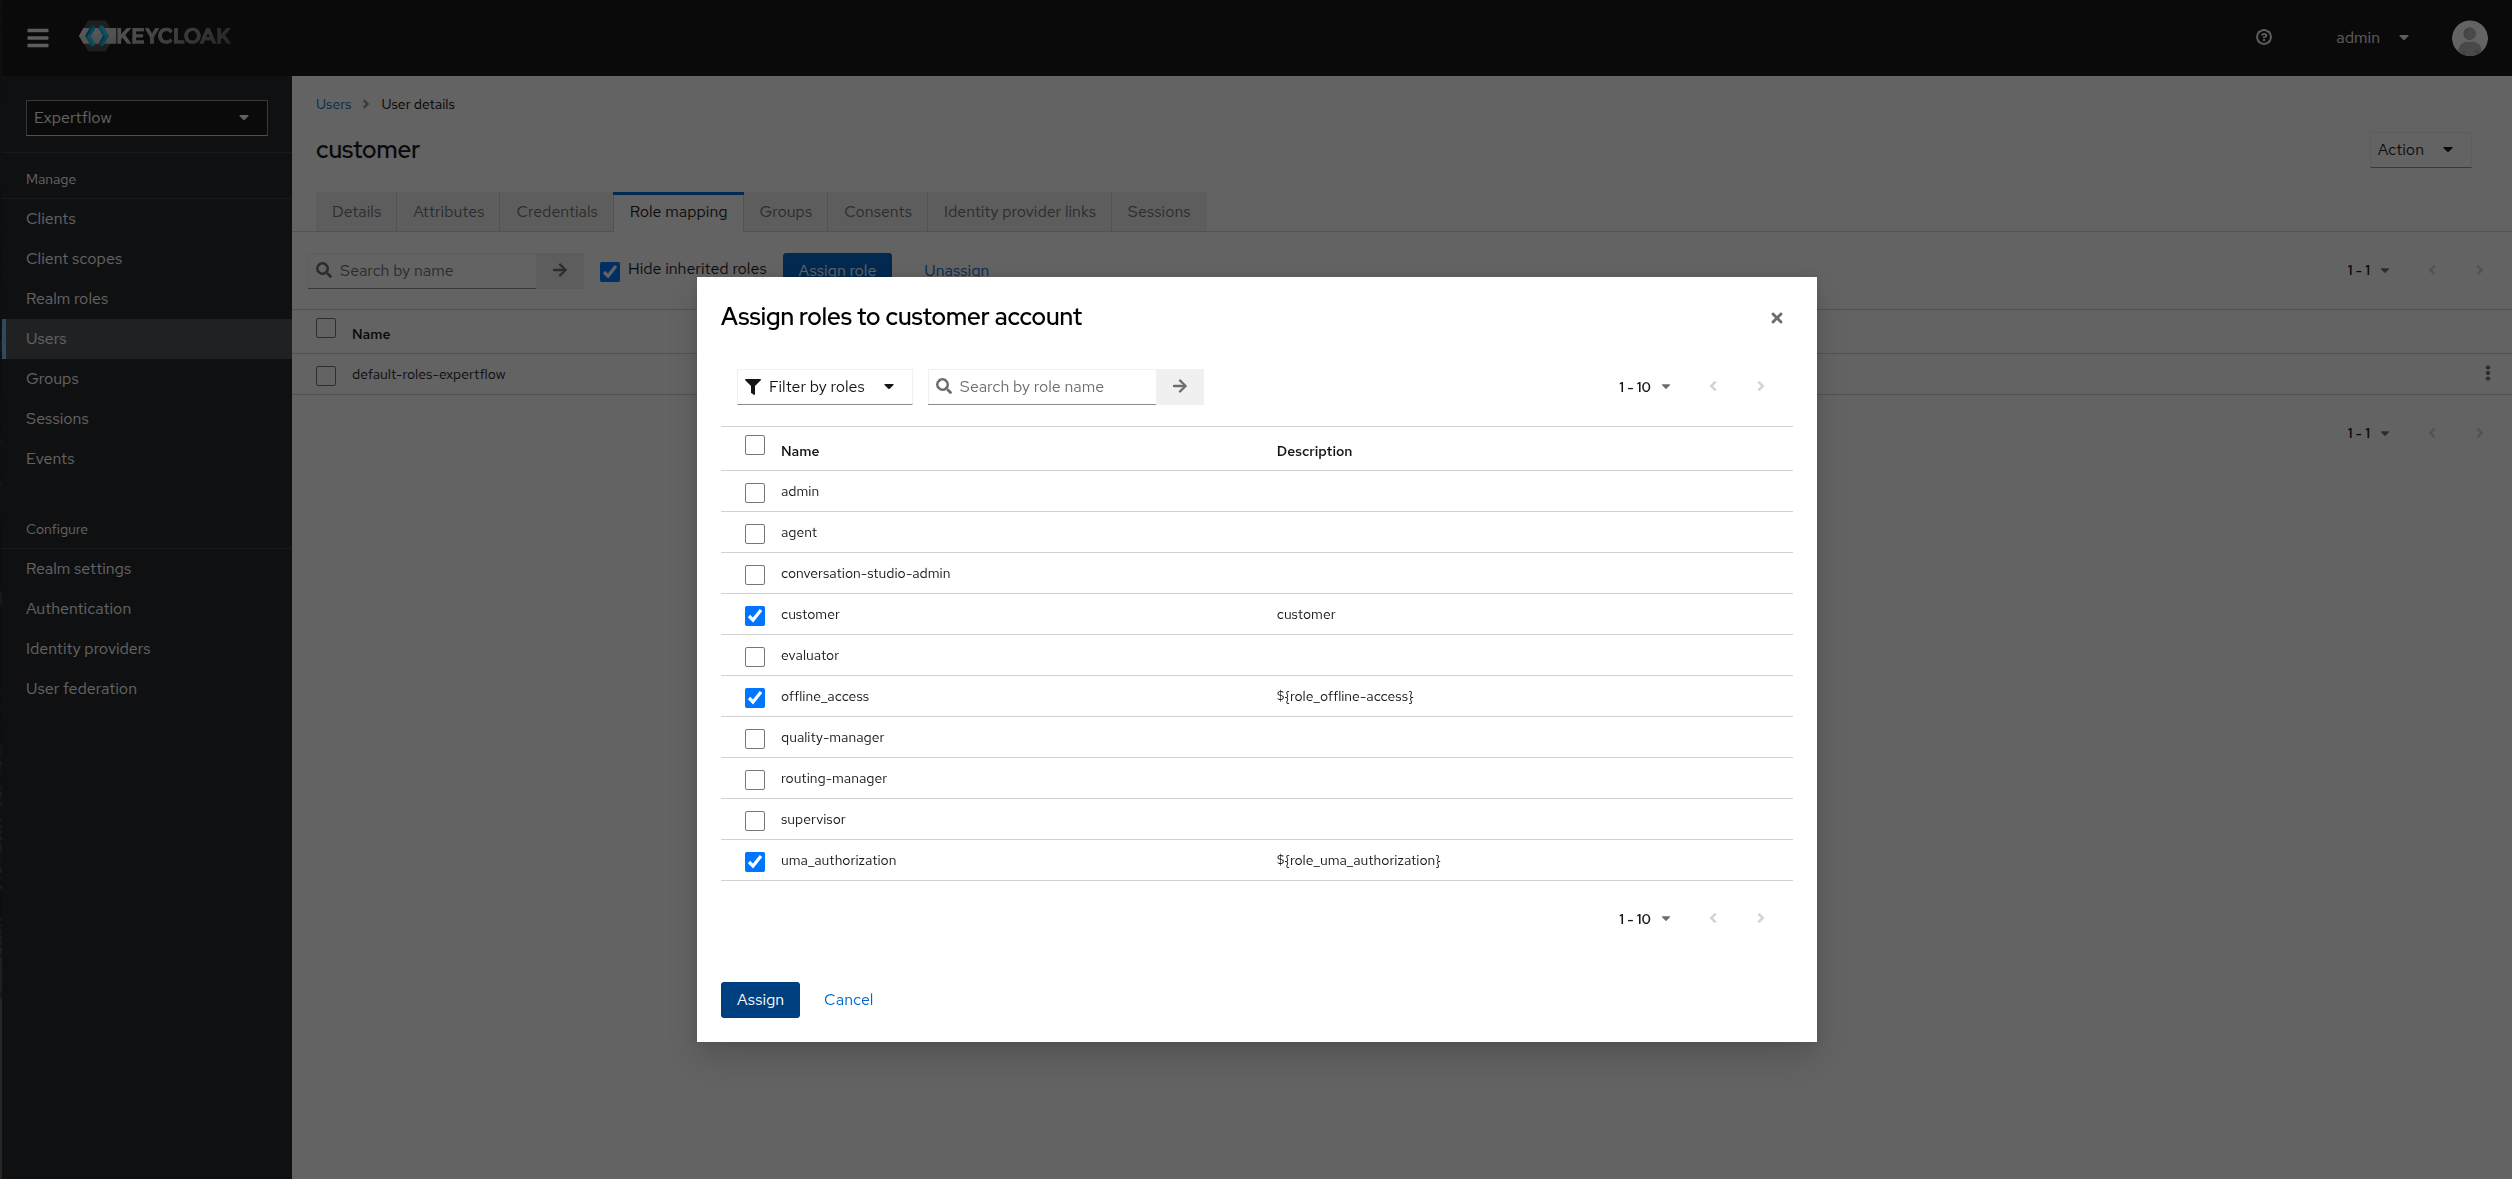
Go to the customer user and the click on Role mapping.
-
Assign customer role to user along with offline_access and uma_authorization.