Description
The Dispatcher module is a component for traffic distribution. This module implements a dispatcher for destination addresses. It computes hashes over various parts of the request and selects an address from a destination set. The selected address is then used as an outbound proxy. This module can be used as a stateless load balancer, having no guarantee of fair distribution. Also, it is fast as nothing more than a transaction state is needed.
Dispatcher module vs Load balancer module
The Load Balancer module maintains SIP dialogs to accurately distribute incoming calls among media servers, ensuring optimal resource utilization and fair distribution. However, this approach adds complexity and resource overhead, particularly in high-traffic environments. In contrast, the Dispatcher module offers a lightweight and simple routing mechanism without dialog management, making it suitable for fast and scalable call routing. It has predefined algorithms for the distribution of calls. While it lacks fair distribution, it provides efficient routing capabilities with minimal overhead, ideal for deployments prioritizing simplicity and speed over advanced functionality. So in a high-load scenario dispatcher module is more suitable with less chance of failure due to server resource consumption.
Requirements
To do load balancing we need EF SIP proxy server. Also, ensure that PHP 7.4 is installed on it. The control panel may not function smoothly with other PHP versions.
Step 1: Adding the dispatcher module
-
Open
opensips.cfgfile to add the Dispatcher module in the modules section.nano /etc/opensips/opensips.cfg -
Add the following lines in the modules section. “db_mysql.so” module is a prerequisite for the dispatcher module.
#### MYSQL module loadmodule "db_mysql.so" #### Dispatcher module loadmodule "dispatcher.so" modparam("dispatcher","db_url", "mysql://opensips:opensipsrw@localhost/opensips") modparam("dispatcher", "ds_ping_interval", 10) modparam("dispatcher", "ds_ping_from", "sip:ds@sip.domain.com") modparam("dispatcher", "ds_probing_threshhold", 1) -
Ensure that no module is repeated.
-
Save this file and restart opensips.
-
For further information about the dispatcher module click here.
Step 2: Implement the dialplan for each route
-
Follow the first step of this guide to add the dialplan for each route.
-
At the end, restart opensips.
Step 3: Adding the routes for each destination
We’ll add custom branch routes to dispatch the SIP request to our desired destination(outbound proxy). Each DN would have a specific route.
-
To add routes open the
opensips.cfgfile as instructed in step 1. -
Add the following lines/route in the routing logic section.
# Route to handle traffic destined for media VBB servers via dispatcher route[to_media_vbb] { # Log the routing action xlog("Routing to media VBB servers via dispatcher\n"); # Select destination server via the dispatcher module using hash over To URI if (!ds_select_dst(1, 2 ,"f")) { # If no route is available, send a 500 error response send_reply(500,"No route to Media"); exit; } # Log the selected media server xlog("Using media server $du (RURI=$ru) \n"); # Set up failure handling mechanism t_on_failure("media_failover"); # Relay the SIP request t_relay(); exit; } -
ds_select_dst(1, 2, “f”) is selecting one destination from a group with Set ID 1. The second parameter defines the algorithm used to select one destination from the group and “f” is the flag. To learn more about this function click here.
-
t_on_failure(“media_failover”) is provoked if the transaction is completed with a negative result before sending a final reply. To learn more about this function click here.
-
Add the required routes for all the destinations(outbound proxies) by repeating the same steps.
-
Save the file after adding all the routes.
-
Make sure that the Set ID is unique for the destinations of different groups.
Step 4: Adding failure route
We need to add the failure route that will select the next destination from the same group if the requested destination is not accessible.
-
To add routes open the
opensips.cfgfile as instructed in step 1. -
Add the following lines/failure route at the end of the routing logic section.
# Failure route for handling media server failover scenarios failure_route[media_failover] { # Check if transaction was cancelled if (t_was_cancelled()) exit; # Check for specific SIP response codes indicating failure if ( t_check_status( "[56][0-9][0-9]" ) || (t_local_replied("all") && t_check_status("408"))) { # Media server routing failed, mark it as probing so it will not be accessed further xlog("Media server routing failed with reply $T_reply_code\n"); ds_mark_dst("p"); # Try another media server, if available if (!ds_next_dst()) { # If no more media servers are available, return 503 Service Unavailable xlog("no more media servers available\n"); t_reply(503,"Service Unavailable"); exit; } # Send the call to the new media server xlog("Trying the new $du media server\n"); t_on_failure("media_failover"); t_relay(); } } -
Save the file.
Step 5: Adding destination through EF SIP proxy control panel
To add destinations/outbound proxies we’ll use EF SIP Proxy control panel.
-
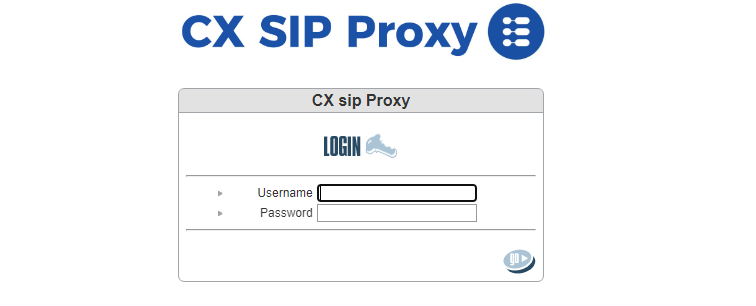
To access the EF SIP Proxy Control Panel, navigate to the following URL: http://server-ip/cp, where 'server-ip' represents the IP address of the server hosting the EF SIP proxy. The login credentials are as follows: Username: admin & Password: opensips.

-
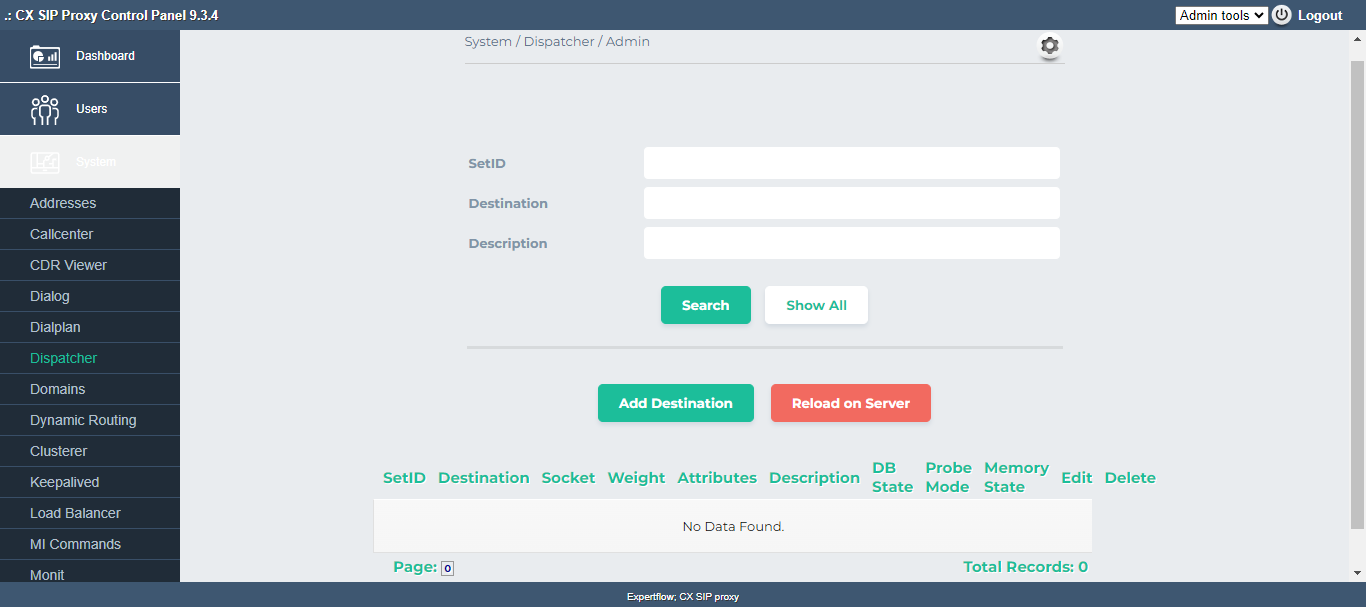
Once logged in, proceed to the 'System' section, followed by 'Dispatcher'.

-
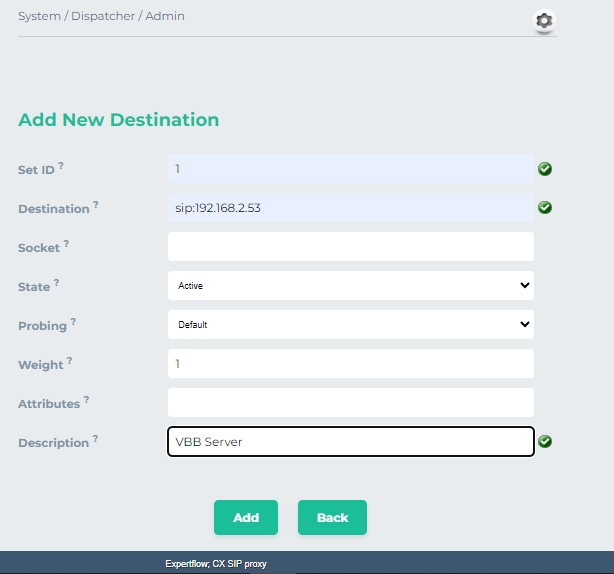
Click on Add Destination and add the required information.

-
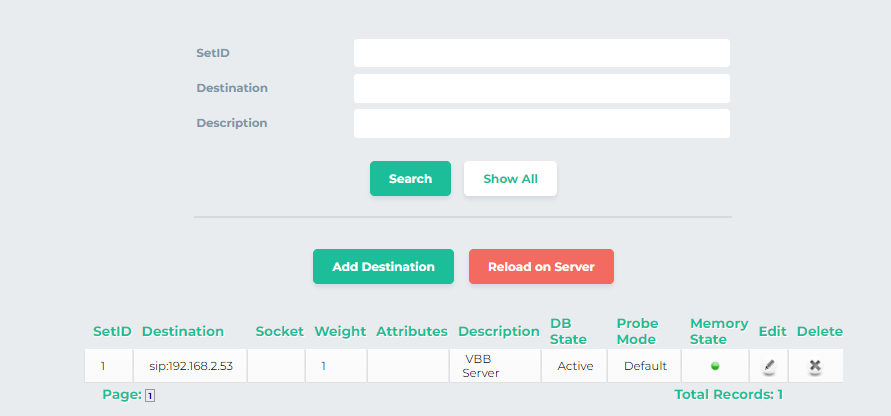
Click on Add and it will look like

-
If destination is not displayed here then it is not added in the DB as well.
-
For the control panel version 3.4 we need to edit the
/var/www/html/opensips-cp/web/tools/system/dispatcher/dispatcher.phpfile. -
Open this file
nano /var/www/html/opensips-cp/web/tools/system/dispatcher/dispatcher.php
-
Update this query
$sql = "INSERT INTO ".$table." (setid, destination, socket, state, weight, attrs, probe_mode, description) VALUES ".
                        "(?, ?, ?, ?,?, ?, ?, ?)";
There was a small mistake in this query where the number of question marks was 7 earlier. It should be 8 for control panel version 9.3.4.