-
Login to EFSwitch web interface.
-
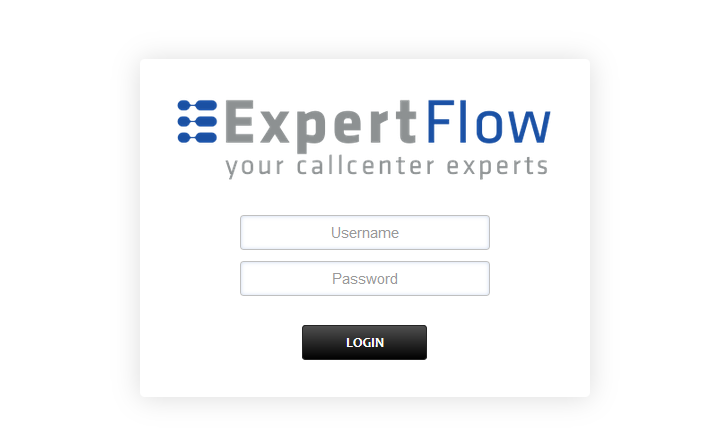
Open in browser: https://IP-addr, where IP-addr is the IP address of the server that EFSwitch is deployed on.
-
-
Add the username and password that was shown upon installation of EFSwitch and press LOGIN.
-
-
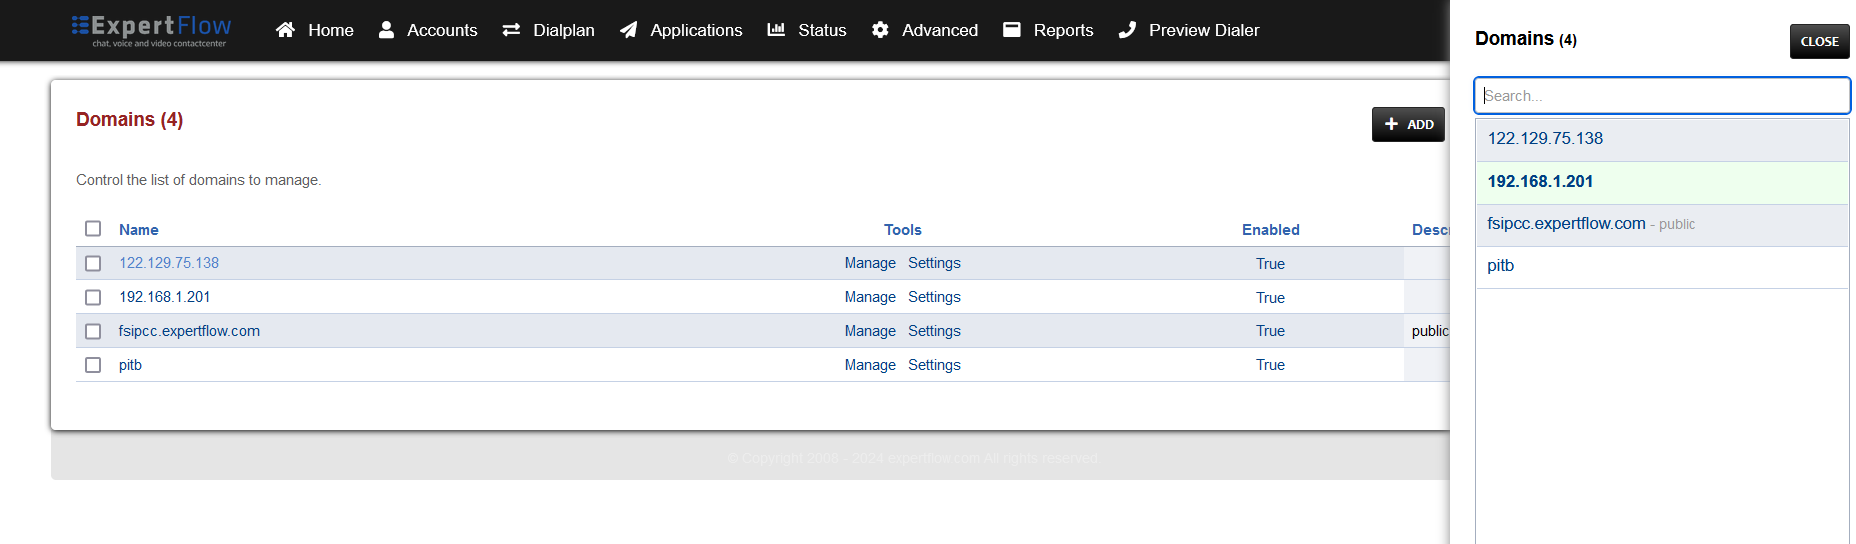
Press the IP address in the top right and select the Domain created in the configuration document:
-
-
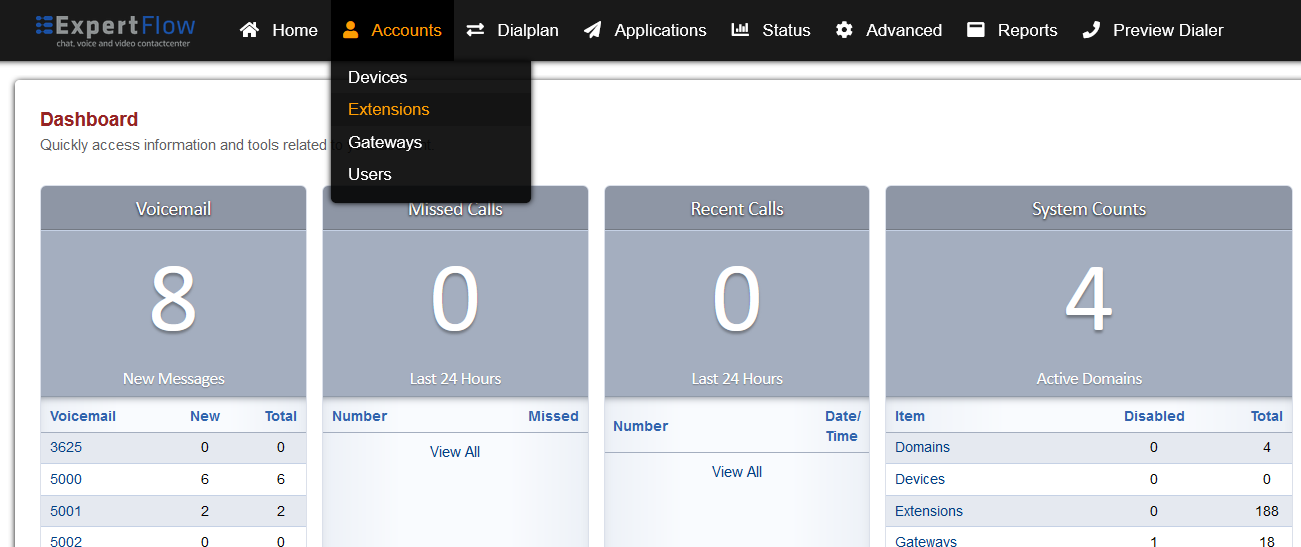
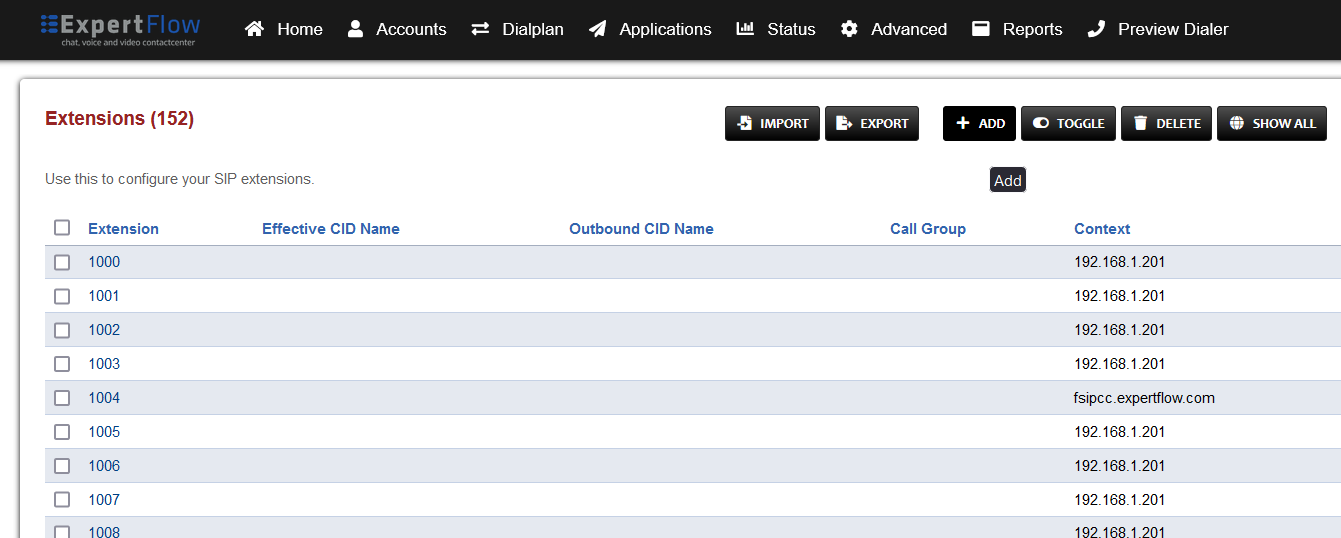
Open the Extensions section under the Accounts tab.
-
-
Press the ADD button.
-
-
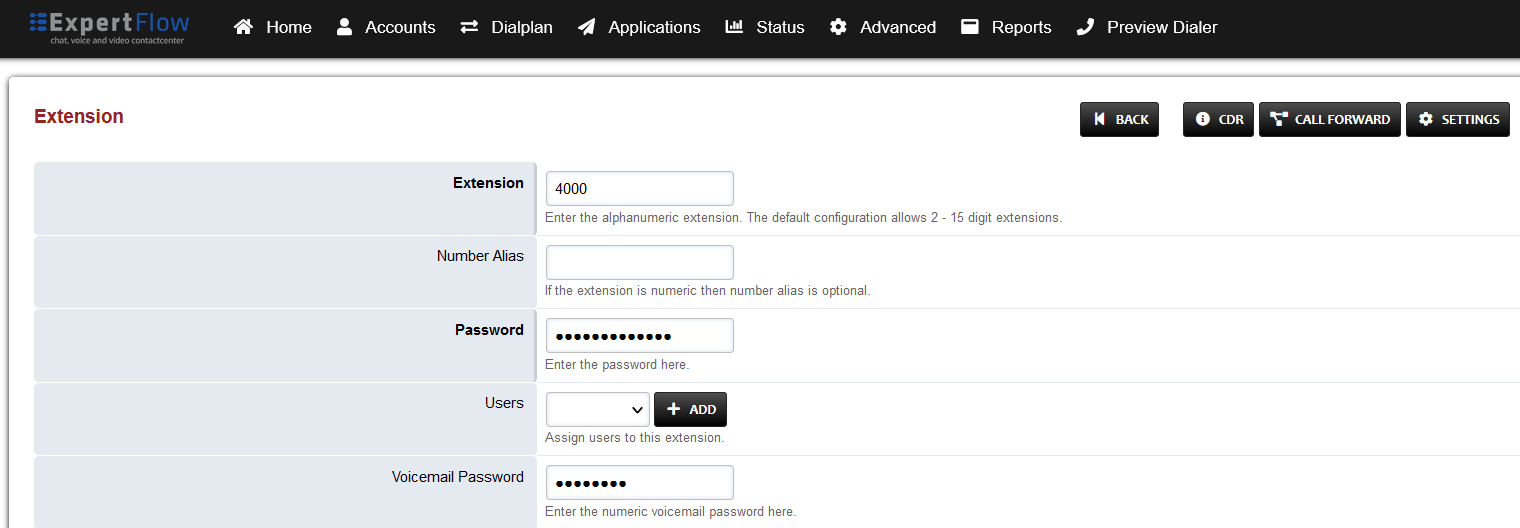
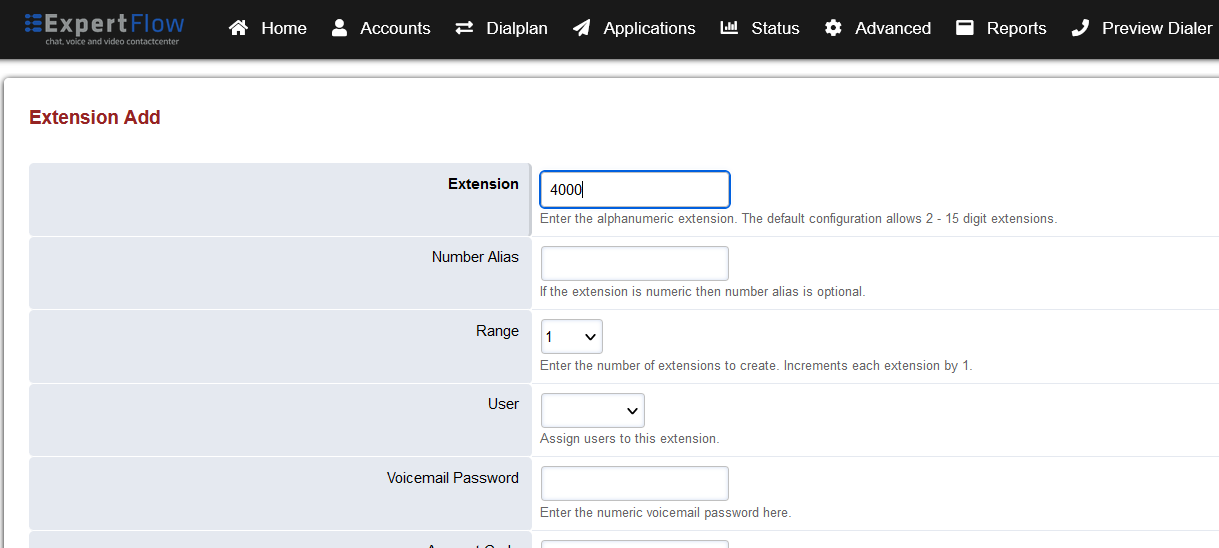
Add a number in the Extension field e.g. 4000.
-
-
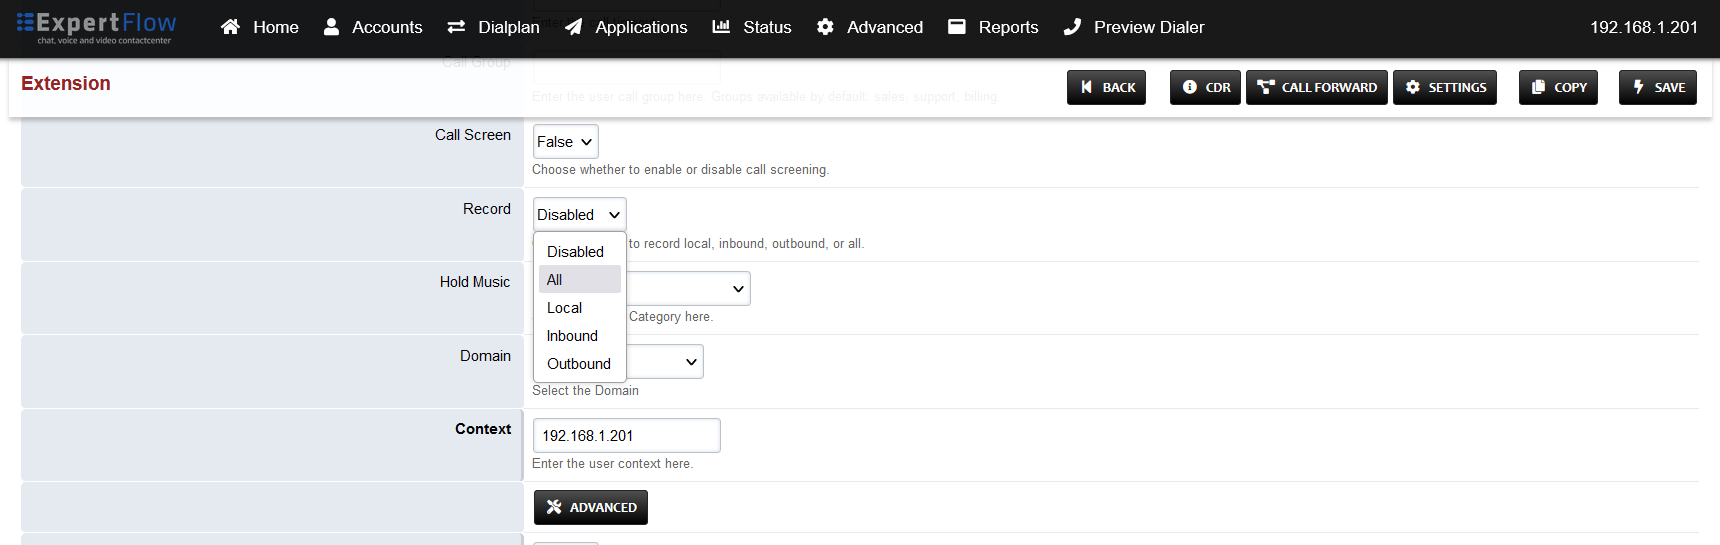
Scroll down to the Record option, select the All option and press the SAVE button in the top right.
-
-
Also note the Call Timeout field, which is used to set how long calls will ring on this extension before timing out. Changing this affects the RONA (Re-route on no answer) timer when using the extension with EF CX Voice agents.

-
Re-open that Extension created e.g. 4000, change the Password field value to a password of your choice and press the SAVE button in the top right.
-