Web Widget is developed by Expertflow under Expertflow CX as a sample implementation of the web channel. For deployment/hosting of web widget follow this Deployment Guide.
Customization of Web Widget
Customers can start the chat by using the web widget. Businesses can customize the widget as per their requirement.
The Web Widget can be embedded on the client site with GTM (Google Tag Manager) or without GTM. See the following section to learn how to embed the widget.
With Google Tag Manager
-
GTM Tag Template: Web Widget Deployment Guide under the section Deploy Via Tag Template. Customer.
-
GTM Custom HTML Tag: Web Widget Deployment Guide under the section Embed Via Script in Google Tag Manager.
Customer Identification by using GA (Google Analytics)
When the web widget is deployed via Google Tag Manager, the customer is identified by a unique customer identifier (fetched from the browser cookie). The system fetches GA Unique ID from the browser cookie as a customer channel identifier. GA Unique ID can only be available if a Google Analytics account is integrated. To identify customers via Google Analytics, see Web Widget Deployment Guide => Customer Identification via GA.
Direct Embed in the Website:
-
Script in head: To see how to embed into the head of the client's website is explained in Web Widget Deployment Guide => Embed Via Script.
Customer Identification by Channel Identifier
When the web widget is embedded within the customer website, the customer is normally identified by the customer channel identifier field created in unified-admin’s pre-chat form and this field contains the value of a cookie like Mautic (mtc_id), GA (_ga), or any other third party marketing tool. If and when the customer initiates the chat, this field gets populated with available cookie value and it remains the same until and unless the Cookie expires or is removed, the system will identify and link the chat with that conversation.
Create a Web Widget in Unified Admin
The Business administrators can create customized web widgets and that customization can be fetched in web widget applications using a unique Widget Identifier eg: “Web“. This identifier is case-sensitive.
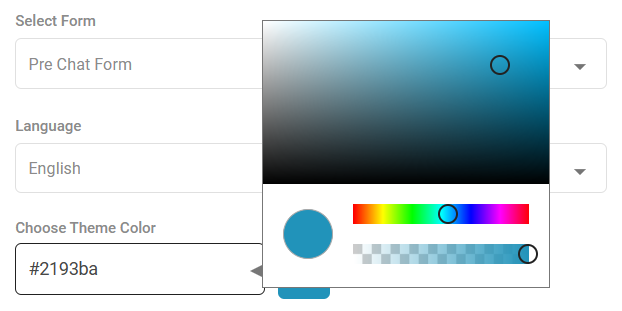
The following configurations can be created in the unified-admin => web widget component as per their requirements:
|
Widget Identifier |

|
|---|---|
|
Widget Title |

|
|
Widget Subtitle |

|
|
Pre Chat Form |

Dynamic Form coming from Unified-admin’s form component. |
|
Language |

|
|
Theme Color |
|
|
Enable Emoji |
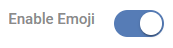
|
|
Enable File Transfer |
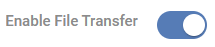
|
|
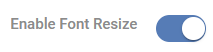
Enable Font Resize |
|
|
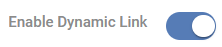
Enable Dynamic Link |
|
|
Enable Download Chat Transcript |

|
|
Enable Web-RTC |
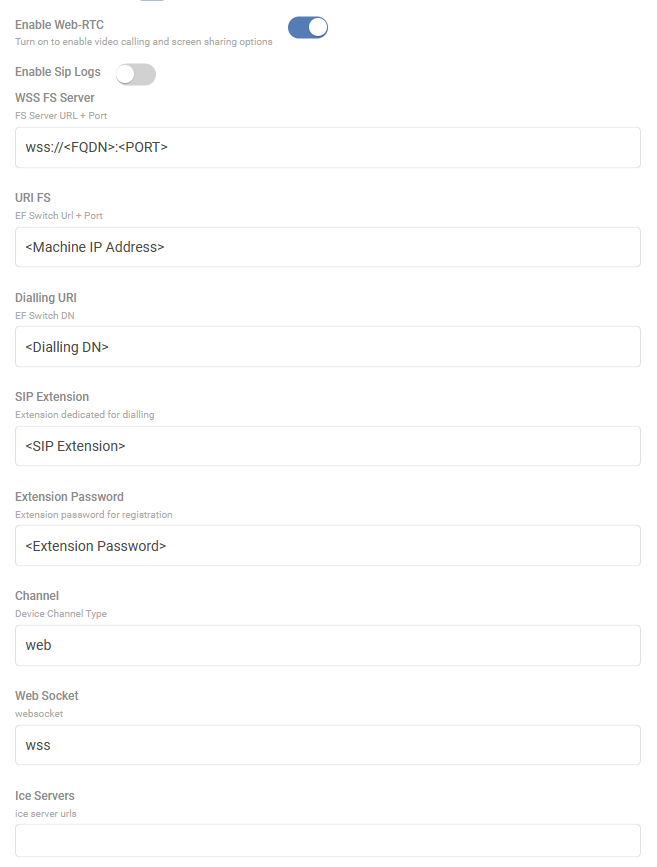
Note: Refer to the RTC Team for FS Configurations. |
|
Enable Callback |
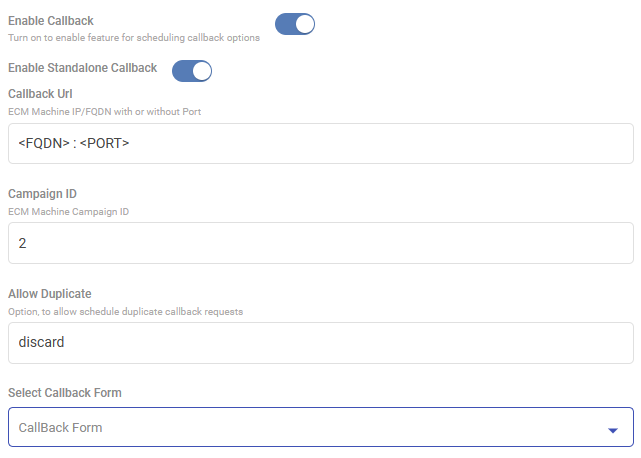
Note: Currently callback is only supported with Expertflow’s ECM. |
|
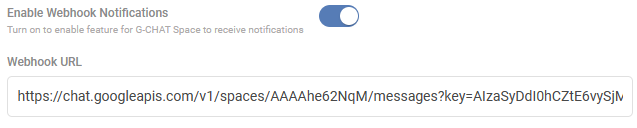
Enable Webhook Notification |
|
Pre-Chat Form in Unified Admin
Business Administrators can create and customize the Dynamic Pre-chat form from unified-admin => Form Component to have their pre-chat form on the web widget.
Customer Identification in CX:
When it comes to identifying customers during the pre-chat process, there's a need to create a specific field in Unified Admin's Pre-Chat Form. The default choice for this is the 'Phone' field, serving as the Channel Customer Identifier. However, Business Administrators have the flexibility to customize this according to their needs.
To set up customer identifiers in CX for Web Chat,
-
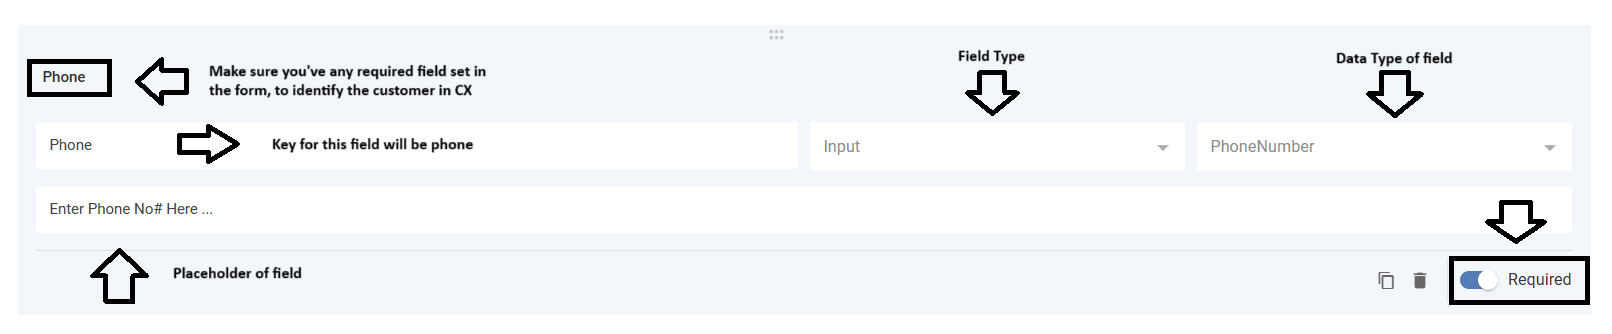
Ensure you have at least one required field in the pre-chat form, such as 'Phone' or 'Email'.
-
When creating a new required field, like 'First Name', just input the label as 'First Name' in the Attribute Name.
-
The system will automatically generate an Attribute Key in lowercase, replacing spaces with underscores. For instance, the Attribute Key for 'First Name' will be 'first_name', and for 'Phone', it will be 'phone', and it is case-sensitive.
-
Use the auto-generated key of the chosen field as your customer identifier in the 'ef-customer-widget-configmap.yaml' file.
-
By default, the 'phone' key is defined in 'CHANNEL_IDENTIFIER' as the customer identifier in the 'ConfigMaps/ef-customer-widget-configmap.yaml' file, but you can easily replace it with your preferred choice.
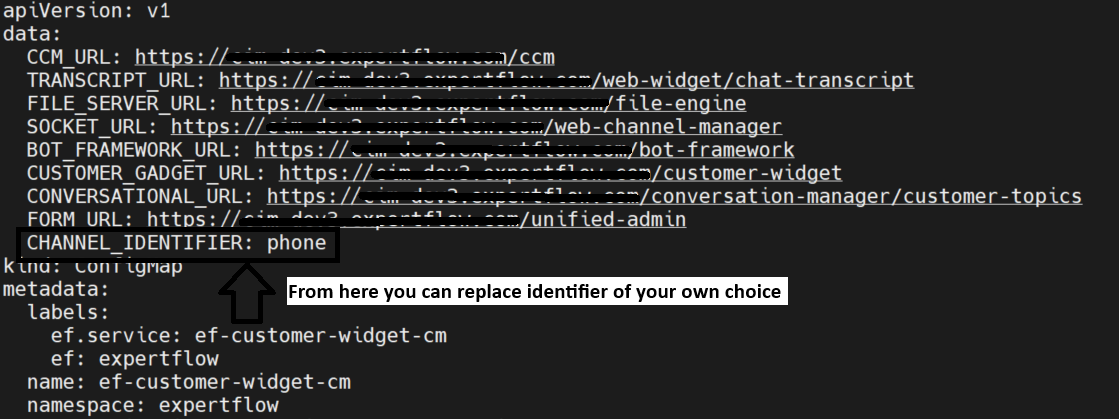
Below is the Screenshot for understanding:
Customer Name in Conversation View
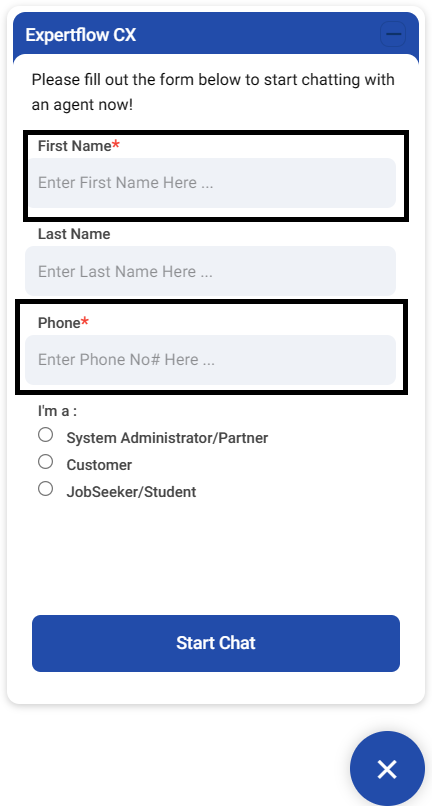
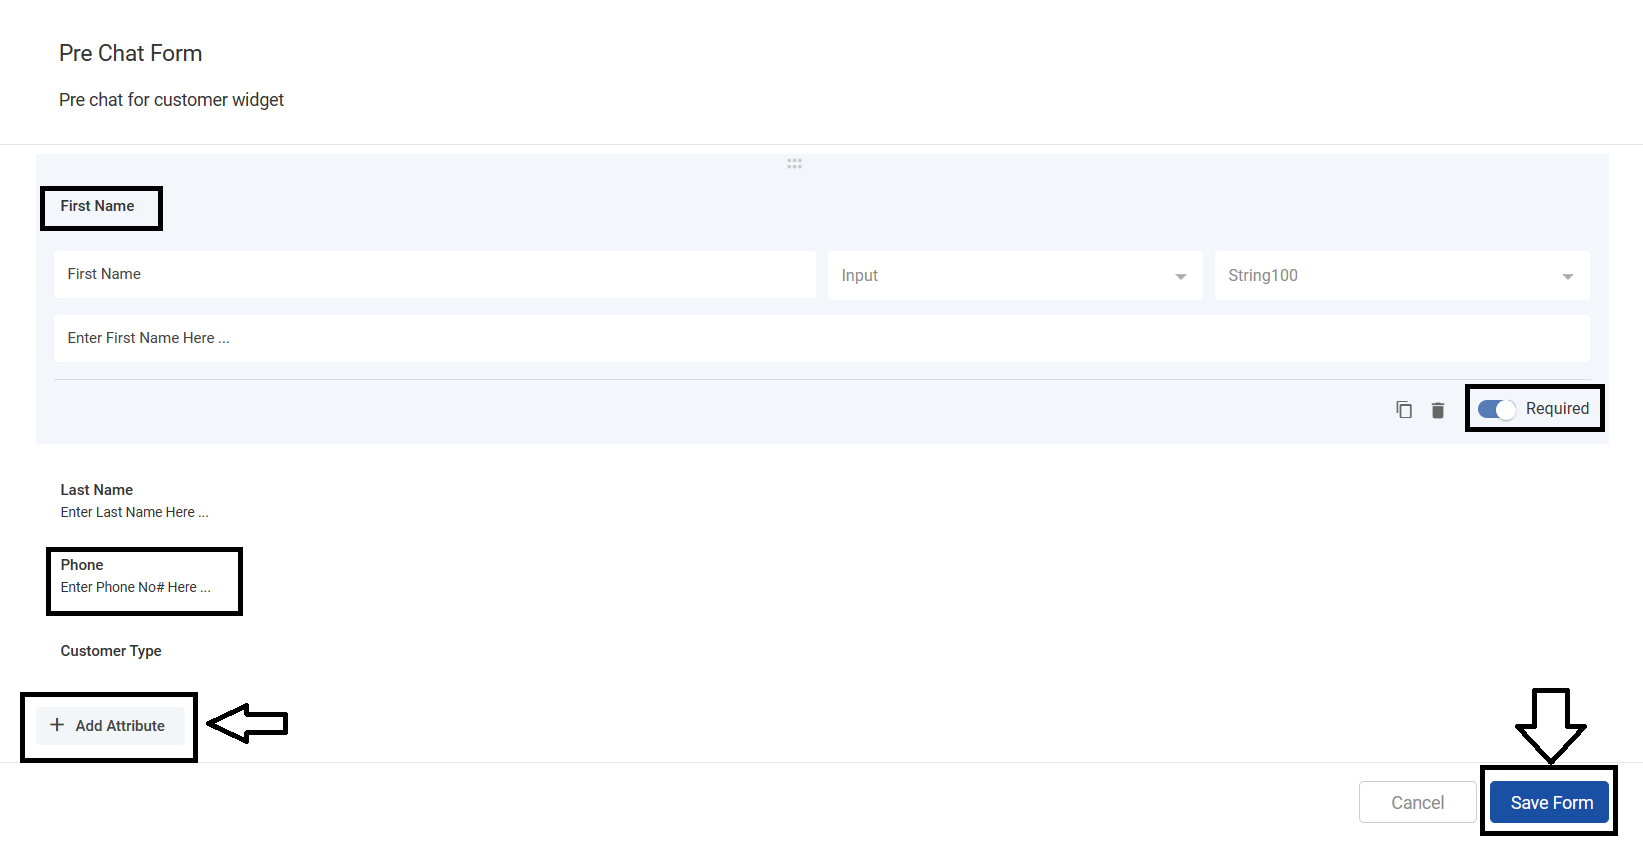
To ensure personalized interactions in the unified agent conversation view, it is mandatory to create a 'First Name' field for customer naming. The key for this field should be 'first_name', and it is case-sensitive.
While the 'First Name' is compulsory, other fields can be tailored based on business requirements.
For instance, the 'Last Name' field, with the key 'last_name' is optional. If provided, the customer's name in the conversation view will display both the first name and last name, creating a more comprehensive and personalized engagement.
-
First Name → first_name (Compulsory and Case Sensitive)
-
Last Name → last_name (Optional)
Below is the Screenshot for understanding:

Below is the sample pre-chat form Screenshot for understanding:
Once the pre-chat form is created just select that form from the web widget configuration setting to render it on the Web Widget.

Below is the actual Pre-chat form rendering on the web widget user interface: