This document provides deployment details of the SAP Connector for Webex Contact Center.
Prerequisites
The following are the prerequisites for the deployment of the SAP Connector for Webex CC.
-
You must have SAP Sales and Service Cloud.
-
You must have Webex Contact Center instance.
-
You must have administrative rights for both SAP Sales and Service Cloud and Webex Contact Center instance.
-
Provide Webex Contact Center Desktop URL (for example
<https://desktop.webexcc.com>) to Expertflow team, so that we can configure the connector as per your environment.
Configuring Webex Contact Center Desktop Layout
To ensure a seamless integration between Webex Contact Center and SAP Sales & Service Cloud CRM, follow these steps to configure and update the Webex Contact Center Desktop Layout:
if you are using partner account then first you need to launch the organization.
-
Log in to Webex Control Hub as an administrator.
-
Navigate to Services -> Contact Center.
-
Under Desktop Experience, select Desktop Layouts to access the configuration options.
-
Click Global Layout, choose Replace File to upload the JSON file
SAP_CRM_WebExCC_DesktopLayout.jsonattached below, then click Save.
Assign this desktop layout file to the relevant teams as needed under User Management -> Teams. In the Team Settings section, make sure you have Global Layout selected in Desktop Layout
SAP Sales and Services Cloud CRM Configurations
Follow these steps to configure the SAP Webex CC Connector inside SAP Sales and Services Cloud CRM:
-
Log in to SAP with administrative privileges.
-
Go to Settings --> All Settings, search for General, and select the one for Agent Desktop then make sure to activate all options.
-
Go to Settings --> All Settings, search for Content Security Policy, then add the Expertflow Deployed application URL for SAP connector for Webex CC (*.domain.com) to all available sections.
-
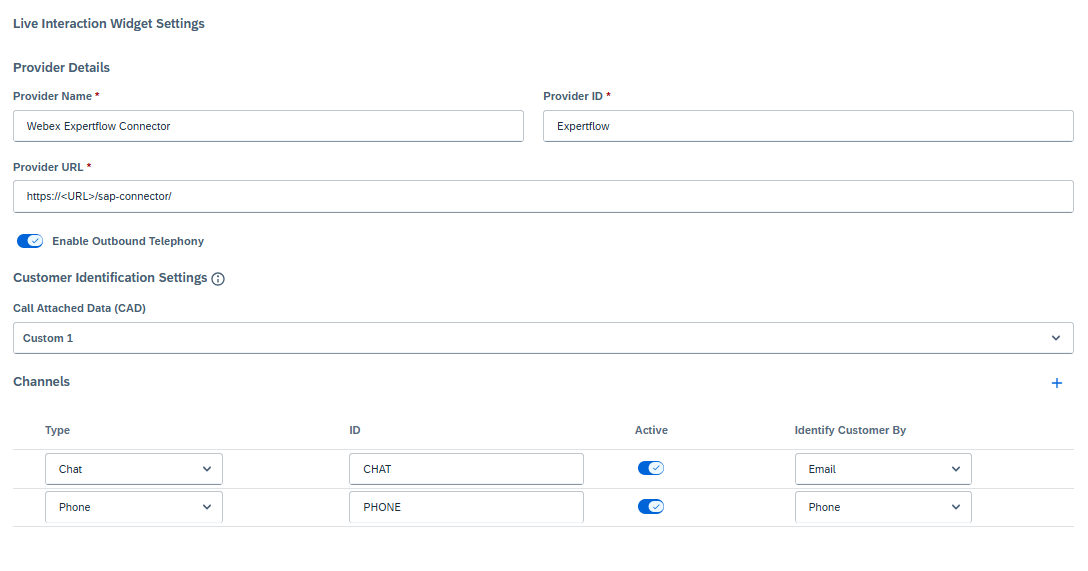
Go to Settings --> All Settings, search for CTI Configuration, then add the following configuration:
|
Label |
Value |
|---|---|
|
Provider Name |
Add a name to be displayed as the title. e.g. |
|
Provider ID |
This is the CTI toolbar provider, e.g. |
|
Provider URL |
This should point to the Deployed application URL. |
|
Enable Outbound Telephony |
Activate this option to support the click-to-dial feature. |
|
Call Attached Data |
Select Custom 1. |
|
Channels |
Add all supported channels, such as phone and chat, and activate them. For Chat, ID = CHAT, Identify Customer By = Email For Phone, ID = PHONE, Identify Customer By = Phone |
-
After adding the details for provider, click on Save button.
-
Toggle the button to make the Agent Desk Active.
-
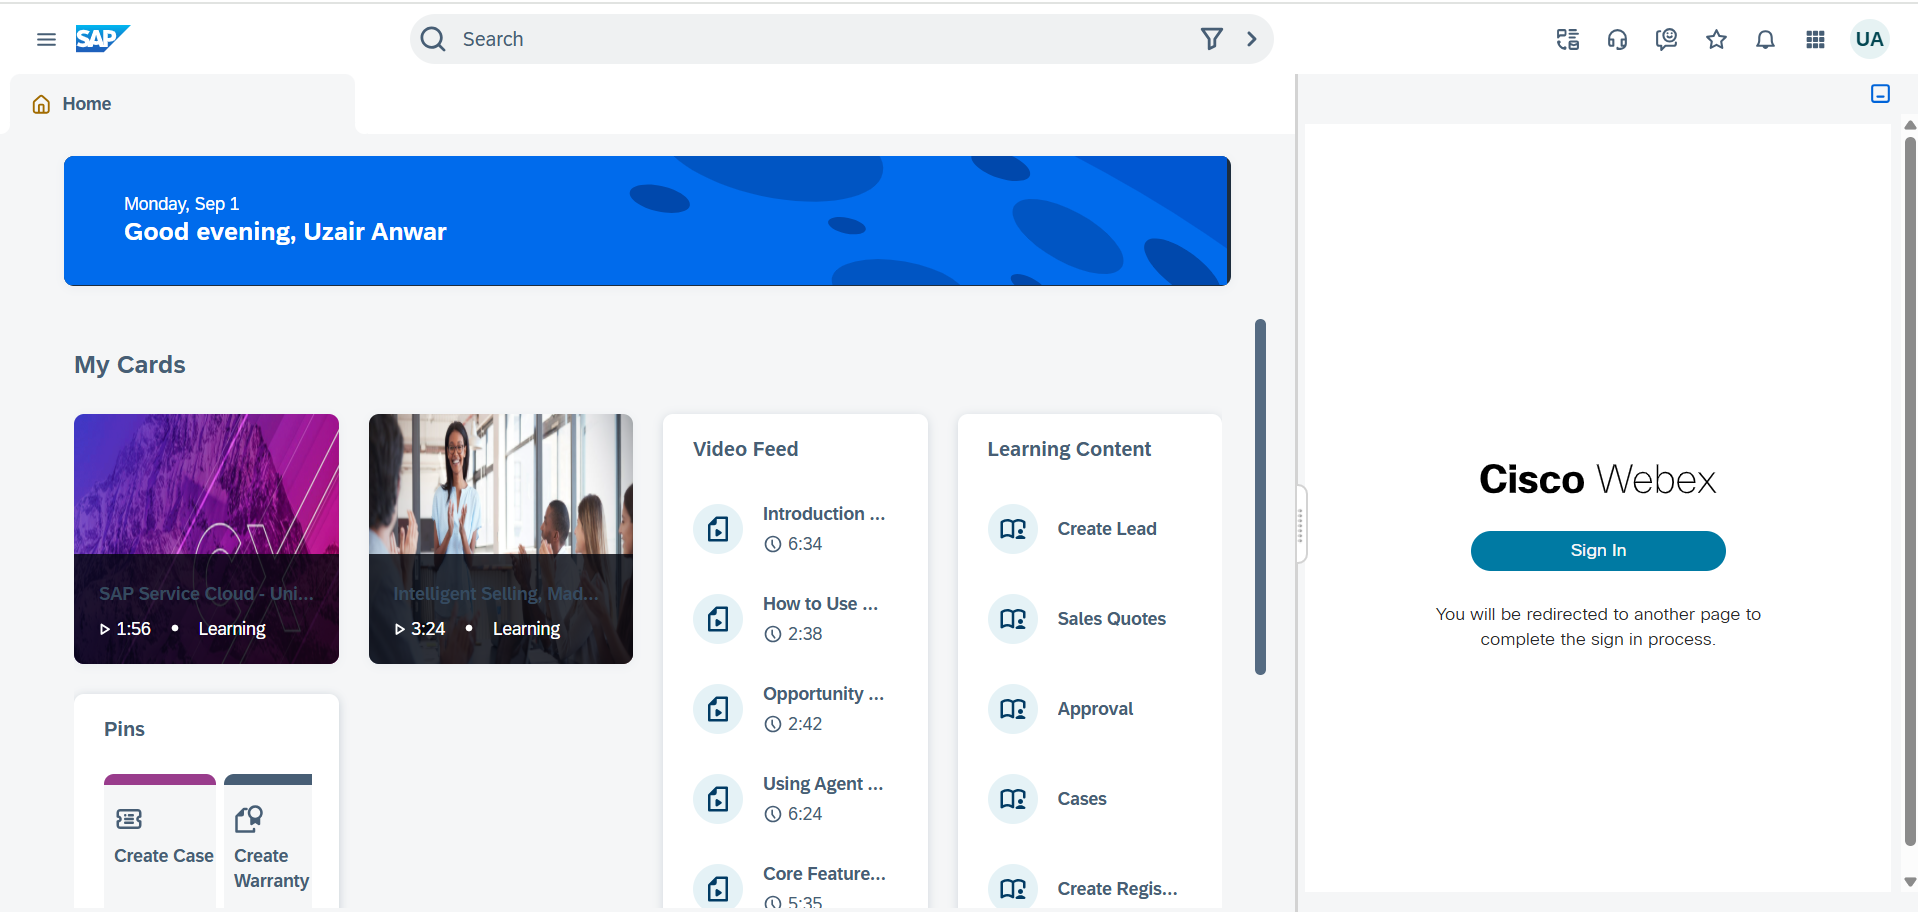
Then reload the SAP and click on CTI Widget option on the top right header options. The deployed application will be loaded.