Problem Statement:
Whenever we upgrade a realm from older to newer version as explained in document Script to Upgrade the realm with users being intact, we also import the users through partial-import feature of Keycloak, the problem with this process is that users are recreated against new Ids in keycloak db, this process creates several problems in our existing application components that rely on already existing user ids.
Solution:
To avoid recreation of users in partial-import, we have formalized a way to upgrade the AgentDesk permissions in an existing realm while keeping users intact, using the process explained below.
Steps for the Upgradation of Permissions/Policies Realm:
Following are the steps for the upgrade of Permissions/Policies of realm (containing new permissions, groups, roles etc.) without losing its users.
-
Go to the Admin Console of your keycloak instance, select targeted Realm and check its users, their roles, client and permissions inside your targeted client.
-
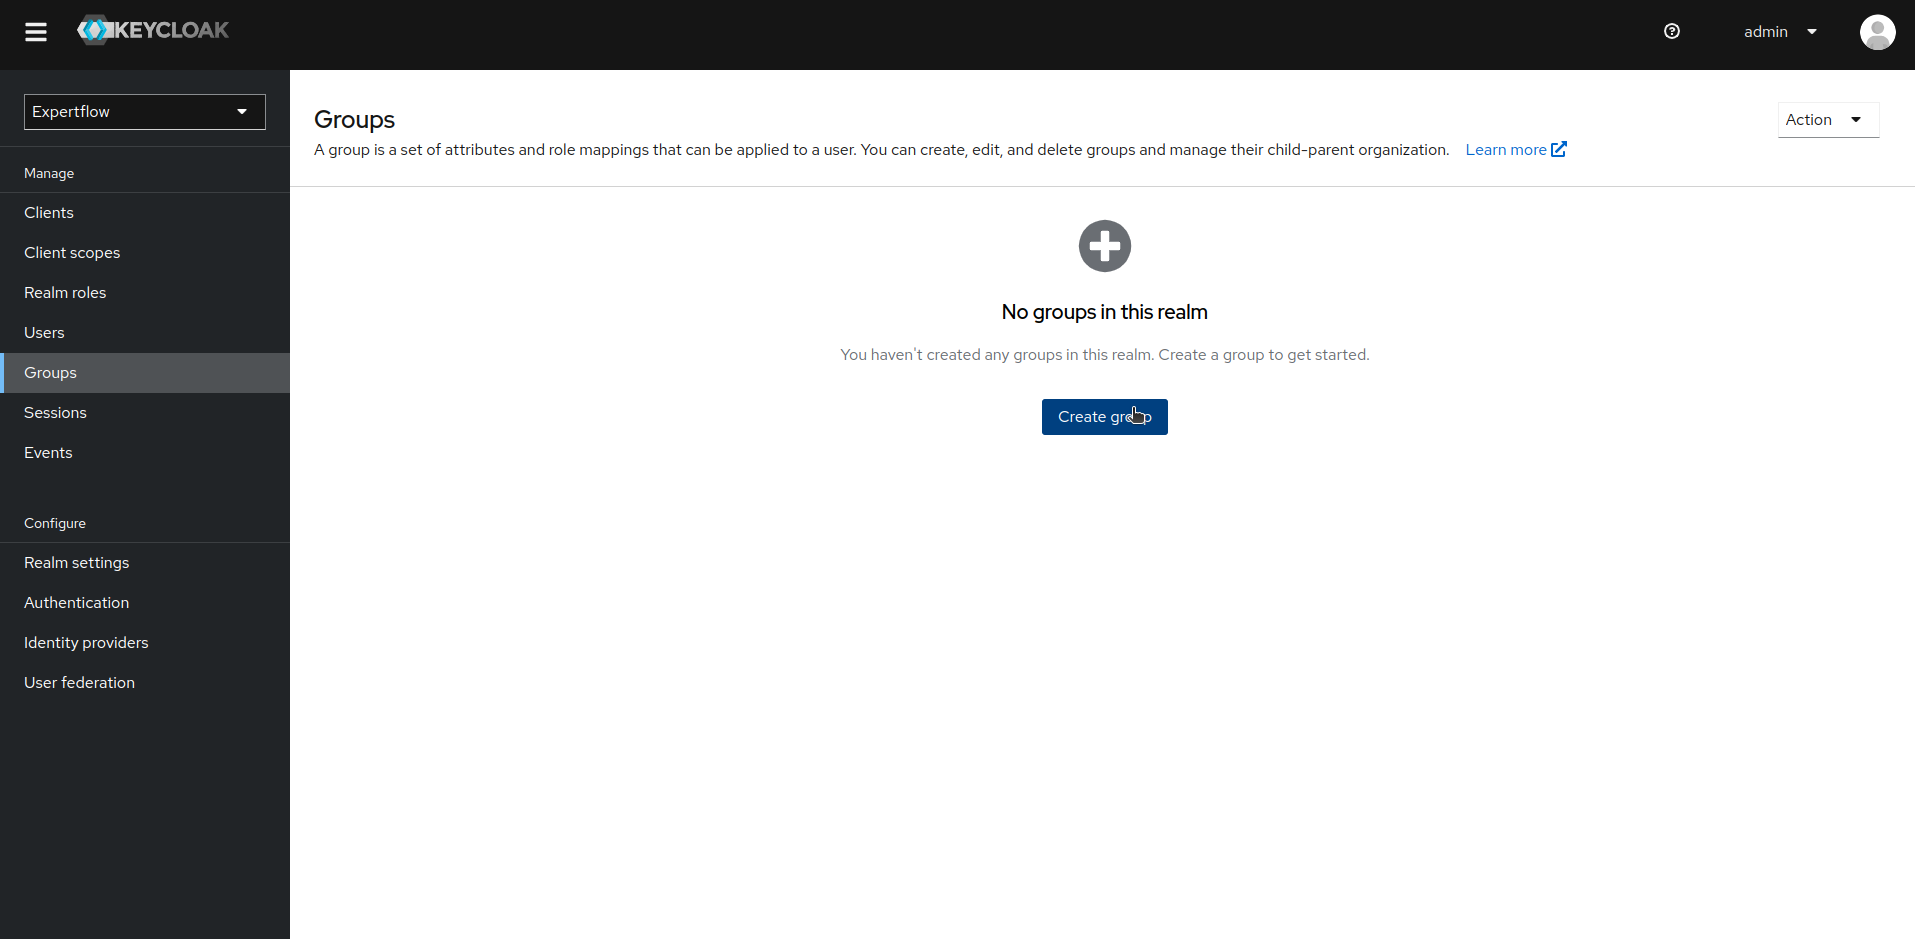
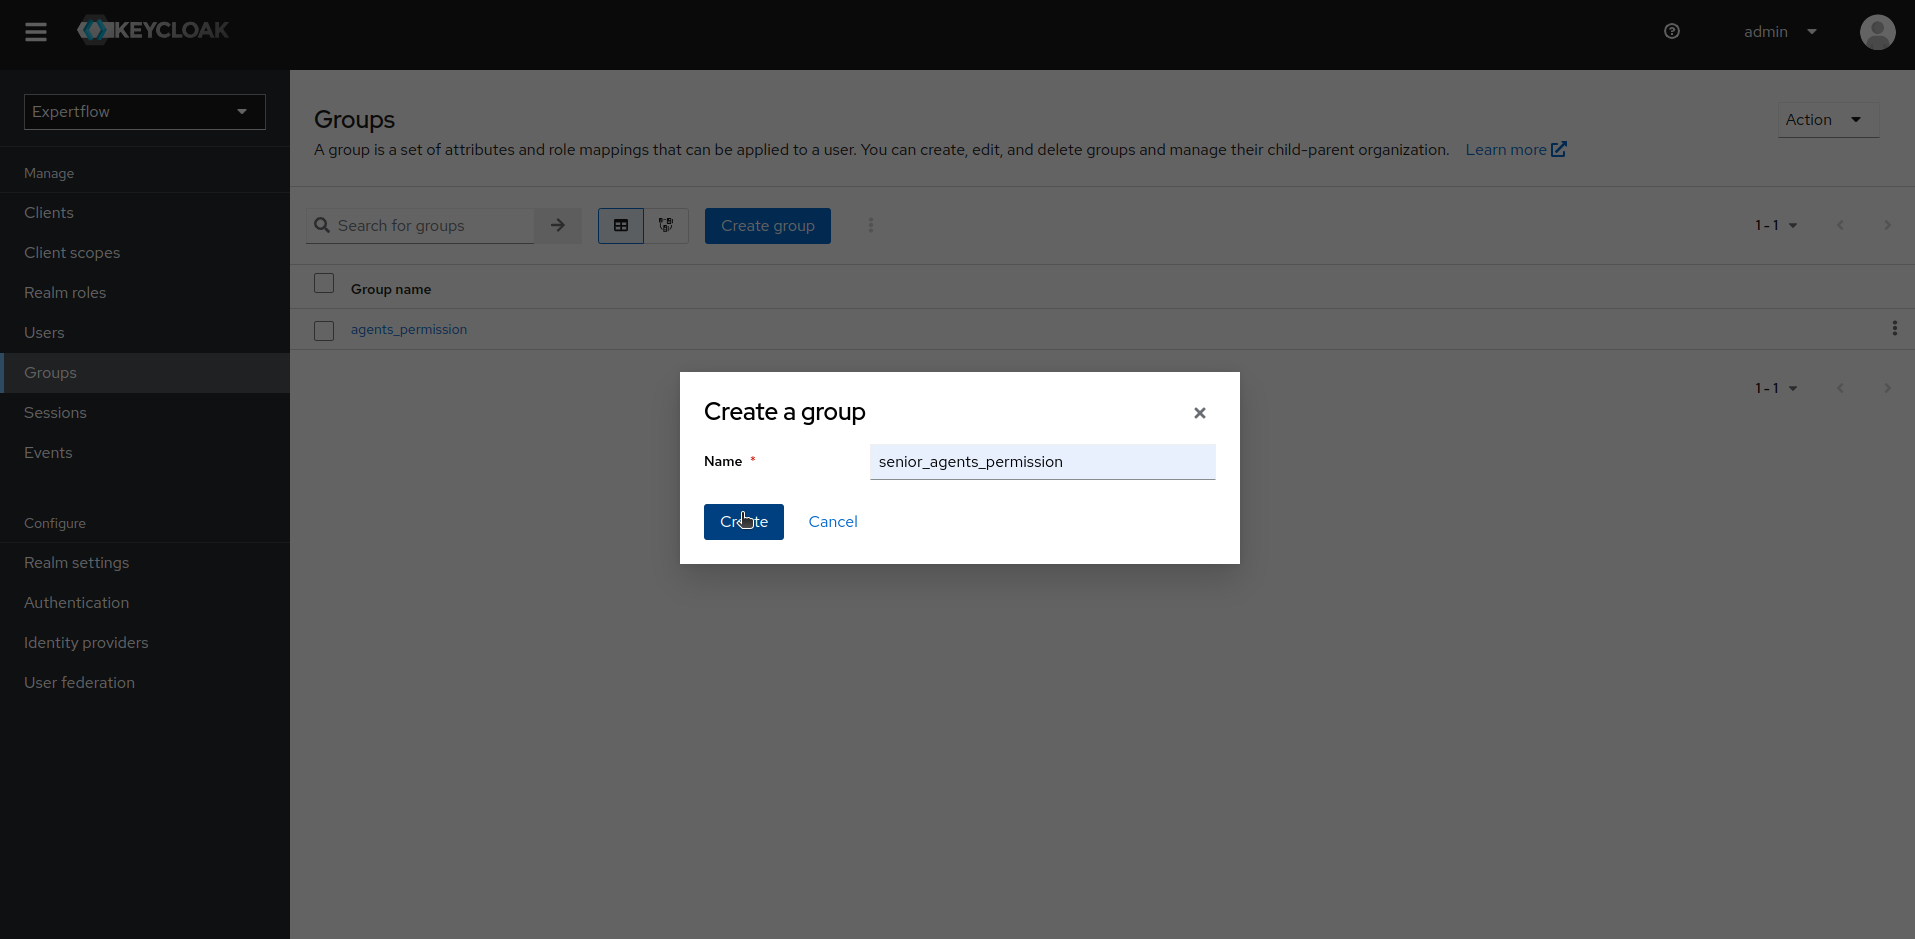
Go to Groups section in your target realm and create agents_permission and senior_agents_permission groups.
-
Run the postgreSql transaction block inside keycloak db to assign agentdesk permission groups (agents_permission, senior_agents_permission) to keycloak users according to their roles.
Make sure to not assign any teams group to users, teams assignment has already been managed in previous release. -
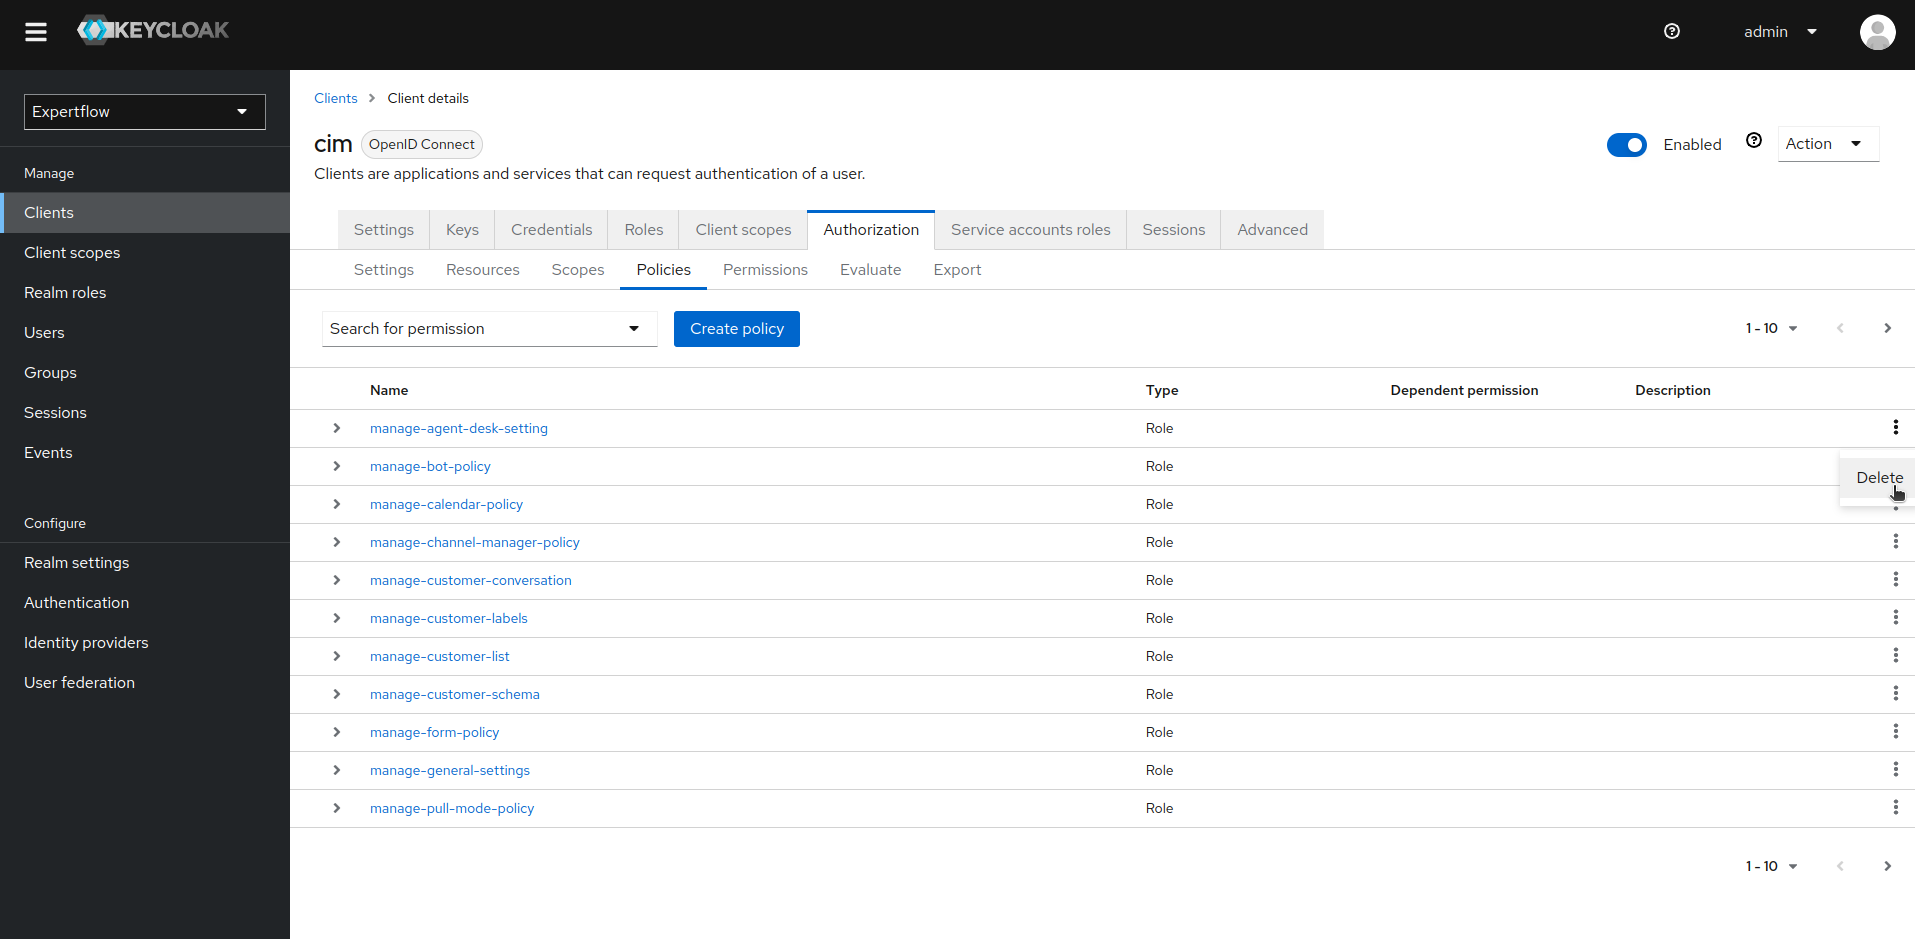
Go to the cim client in Expertflow realm, go to Authorization menu and delete resources, scopes and policies manually.
-
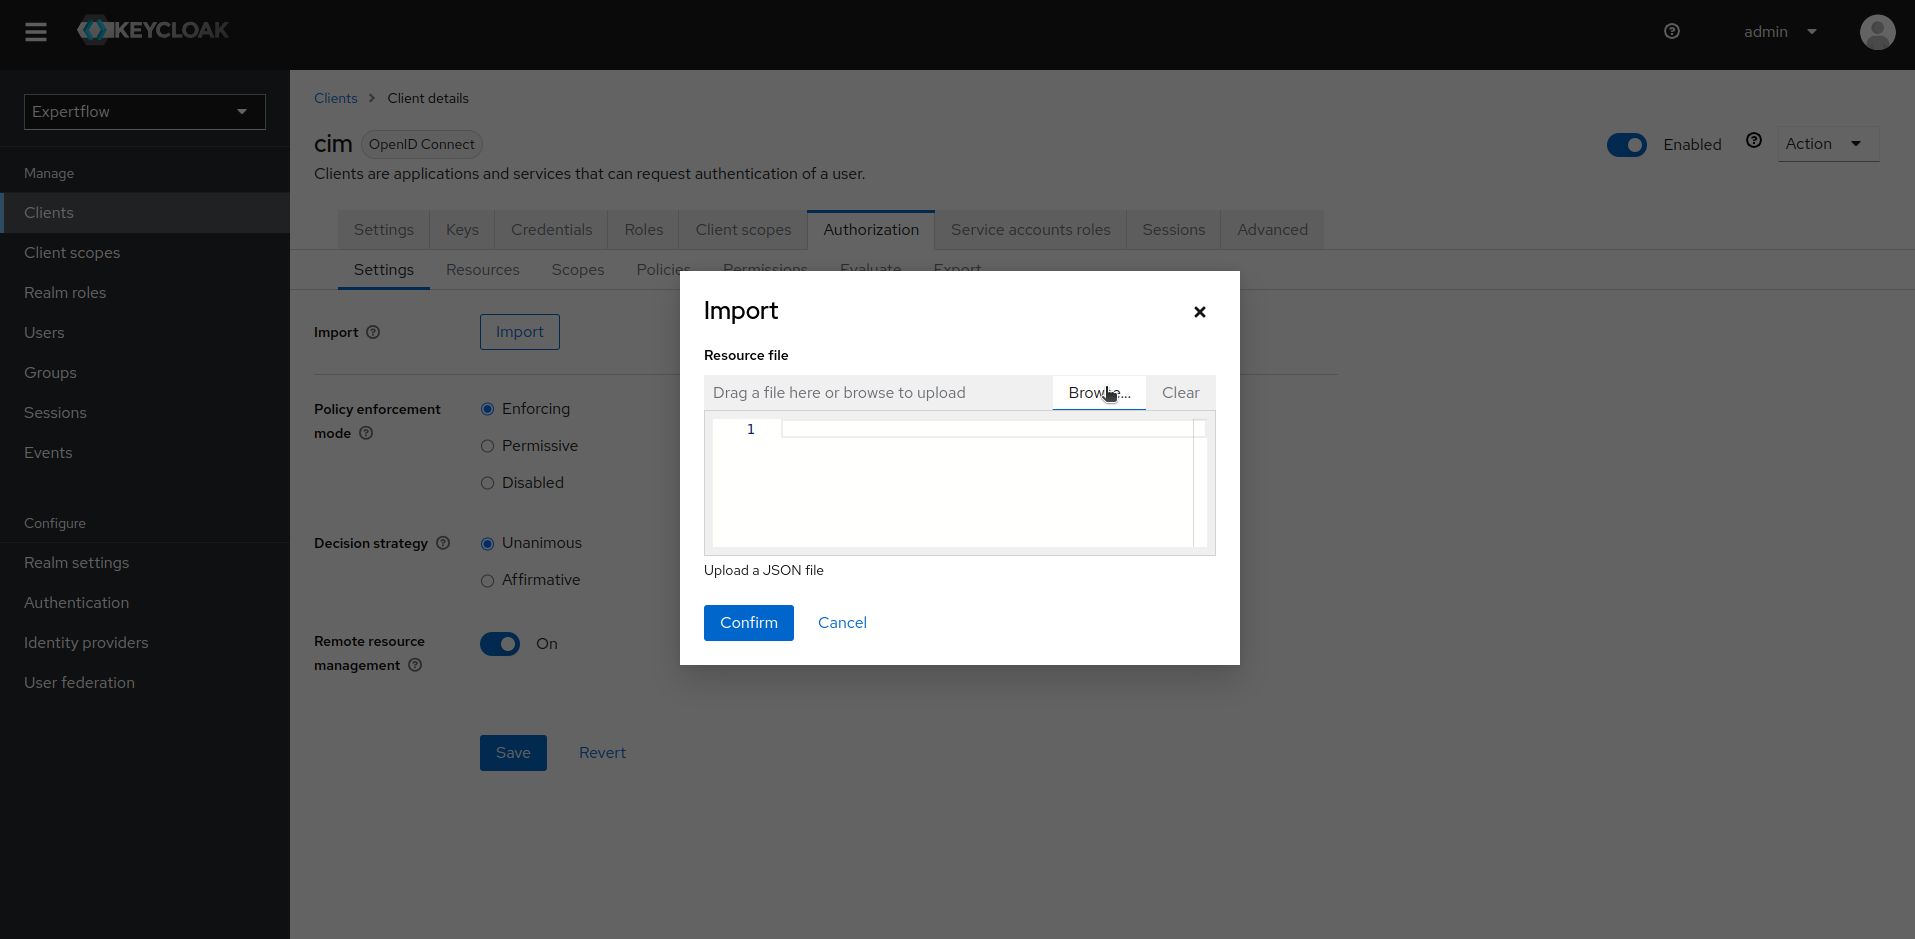
Import new set of permissions/policies. Go to the Authorization Settings in cim client. click on import button and select the file containing agentdesk permission/policies.
-
Test new set of permission/policies by going to Evaluate tab inside Authorization sub-menu and select desired user, its role and desired resource/scope to check whether permissions are working accurately or not.
Setup of AgentDesk Permissions in Keycloak Admin Console:
-
Enter the Admin Console of Keycloak instance, select your targeted Realm and go to Groups section.
-
Create agents_permission and senior_agents_permission groups:
-
Run the postgreSql transaction block inside keycloak db: (Linking Agent-desk Permission Groups to Old Users)
In this step, we sync the groups created for AgentDesk Permissions i.e agents_permission & senior_agents_permission to the users according to their assigned roles i.e agent, supervisor,admin. Download the Keycloak DB upgrade file from this keycloak_upgrade.sql
We won't assign default group or any group related to Keycloak Teams functionality, this has already been managed in last release. In case teams are not already assigned then we need to assign default group to all users.
Copy the SQL Script inside the PostgreSQL Server POD using
kubectl -n ef-external cp $HOME/keycloak_upgrade.sql ef-postgresql-0:/tmp/keycloak_upgrade.sql
Copy the current password for your postgresql server pod
kubectl get secret --namespace ef-external ef-postgresql -o jsonpath="{.data.password}" | base64 -d
you will need this password in next command as POSTGRES User's password to connect and run the SQL Script.
kubectl -n ef-external exec -ti ef-postgresql-0 -- /opt/bitnami/scripts/postgresql/entrypoint.sh /bin/bash -c "psql --host localhost -U sa -d keycloak_db -p 5432 -f /tmp/keycloak_upgrade.sql"
when prompted for the password, enter the password retrieved in previous step.
The transaction block that we are running above contain given queries:
BEGIN;

--- admin groups assignment against roles INSERT INTO USER_GROUP_MEMBERSHIP (Group_ID, USER_ID)
SELECT DISTINCT (SELECT ID FROM KEYCLOAK_GROUP WHERE NAME = 'agents_permission') AS Group_ID, rm.USER_ID
FROM KEYCLOAK_ROLE r
INNER JOIN USER_ROLE_MAPPING rm ON r.ID = rm.ROLE_ID
WHERE r.REALM_ID = 'expertflow' AND r.CLIENT_ROLE = 'f' AND r.NAME = 'supervisor'
ON CONFLICT DO NOTHING;

INSERT INTO USER_GROUP_MEMBERSHIP (Group_ID, USER_ID)
SELECT DISTINCT (SELECT ID FROM KEYCLOAK_GROUP WHERE NAME = 'senior_agents_permission') AS Group_ID, rm.USER_ID
FROM KEYCLOAK_ROLE r
INNER JOIN USER_ROLE_MAPPING rm ON r.ID = rm.ROLE_ID
WHERE r.REALM_ID = 'expertflow' AND r.CLIENT_ROLE = 'f' AND r.NAME = 'supervisor'
ON CONFLICT DO NOTHING;


--- supervisor groups assignment against role

INSERT INTO USER_GROUP_MEMBERSHIP (Group_ID, USER_ID)
SELECT DISTINCT (SELECT ID FROM KEYCLOAK_GROUP WHERE NAME = 'agents_permission') AS Group_ID, rm.USER_ID
FROM KEYCLOAK_ROLE r
INNER JOIN USER_ROLE_MAPPING rm ON r.ID = rm.ROLE_ID
WHERE r.REALM_ID = 'expertflow' AND r.CLIENT_ROLE = 'f' AND r.NAME = 'supervisor'
ON CONFLICT DO NOTHING;

INSERT INTO USER_GROUP_MEMBERSHIP (Group_ID, USER_ID)
SELECT DISTINCT (SELECT ID FROM KEYCLOAK_GROUP WHERE NAME = 'senior_agents_permission') AS Group_ID, rm.USER_ID
FROM KEYCLOAK_ROLE r
INNER JOIN USER_ROLE_MAPPING rm ON r.ID = rm.ROLE_ID
WHERE r.REALM_ID = 'expertflow' AND r.CLIENT_ROLE = 'f' AND r.NAME = 'supervisor'
ON CONFLICT DO NOTHING;

--- agents group assignment.

INSERT INTO USER_GROUP_MEMBERSHIP (Group_ID, USER_ID)
SELECT DISTINCT (SELECT ID FROM KEYCLOAK_GROUP WHERE NAME = 'agents_permission') AS Group_ID, rm.USER_ID
FROM KEYCLOAK_ROLE r
INNER JOIN USER_ROLE_MAPPING rm ON r.ID = rm.ROLE_ID
WHERE r.REALM_ID = 'expertflow' AND r.CLIENT_ROLE = 'f' AND r.NAME = 'agent'
ON CONFLICT DO NOTHING;


COMMIT;
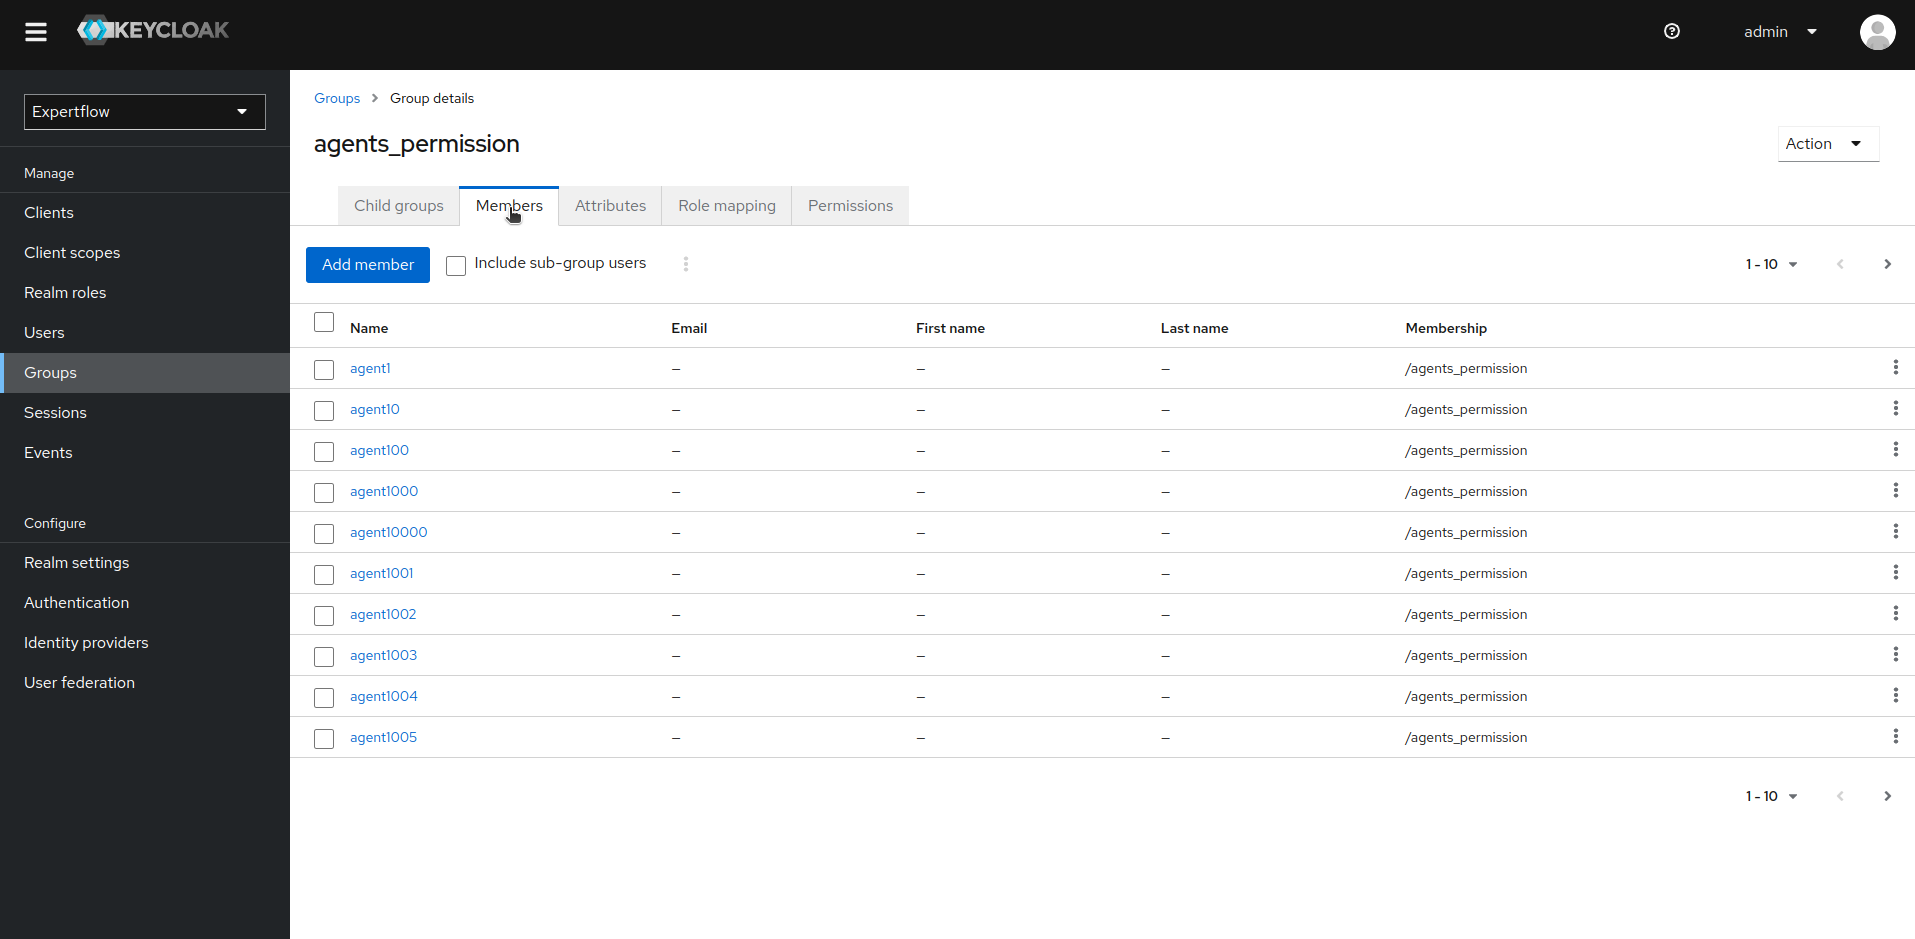
4. Check the members of agents_permission and senior_agents_permission groups to confirm whether users are added to groups or not after running above db script.
5. Go to the Clients section and select your targeted client. (In our case its cim)
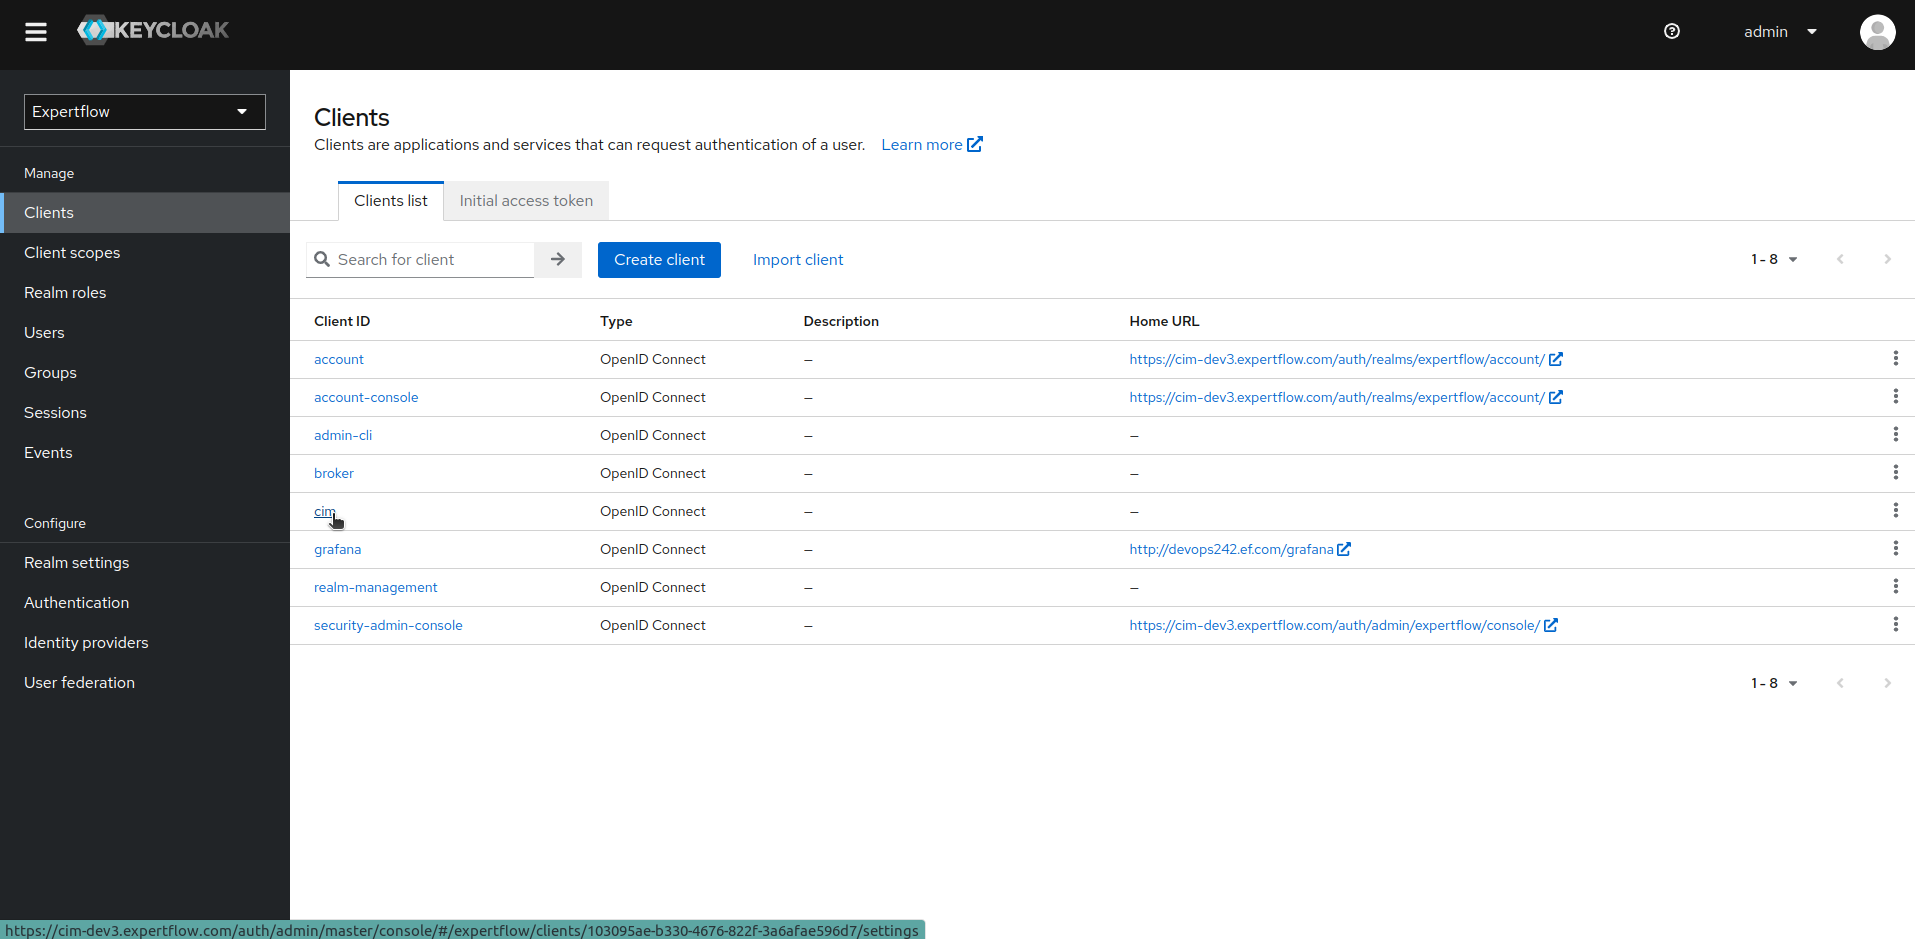
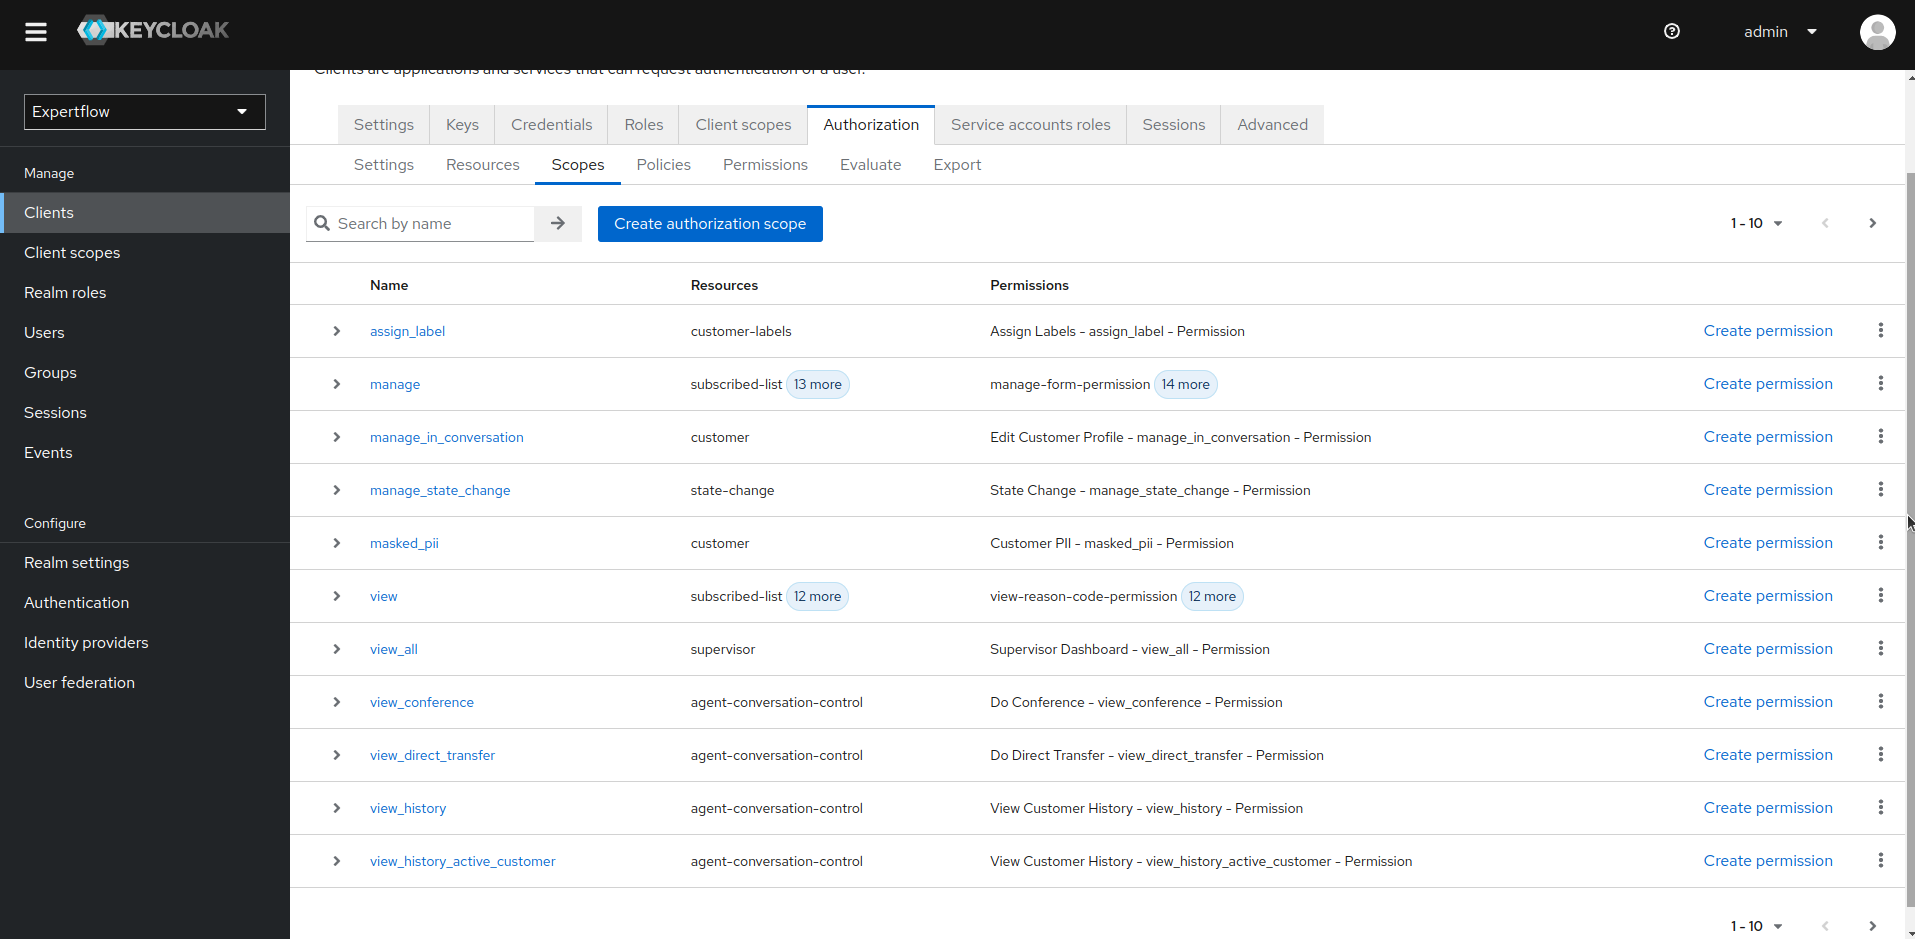
6. Go to the Authorization tab and click on Resources to see all the existing Permission Resources.
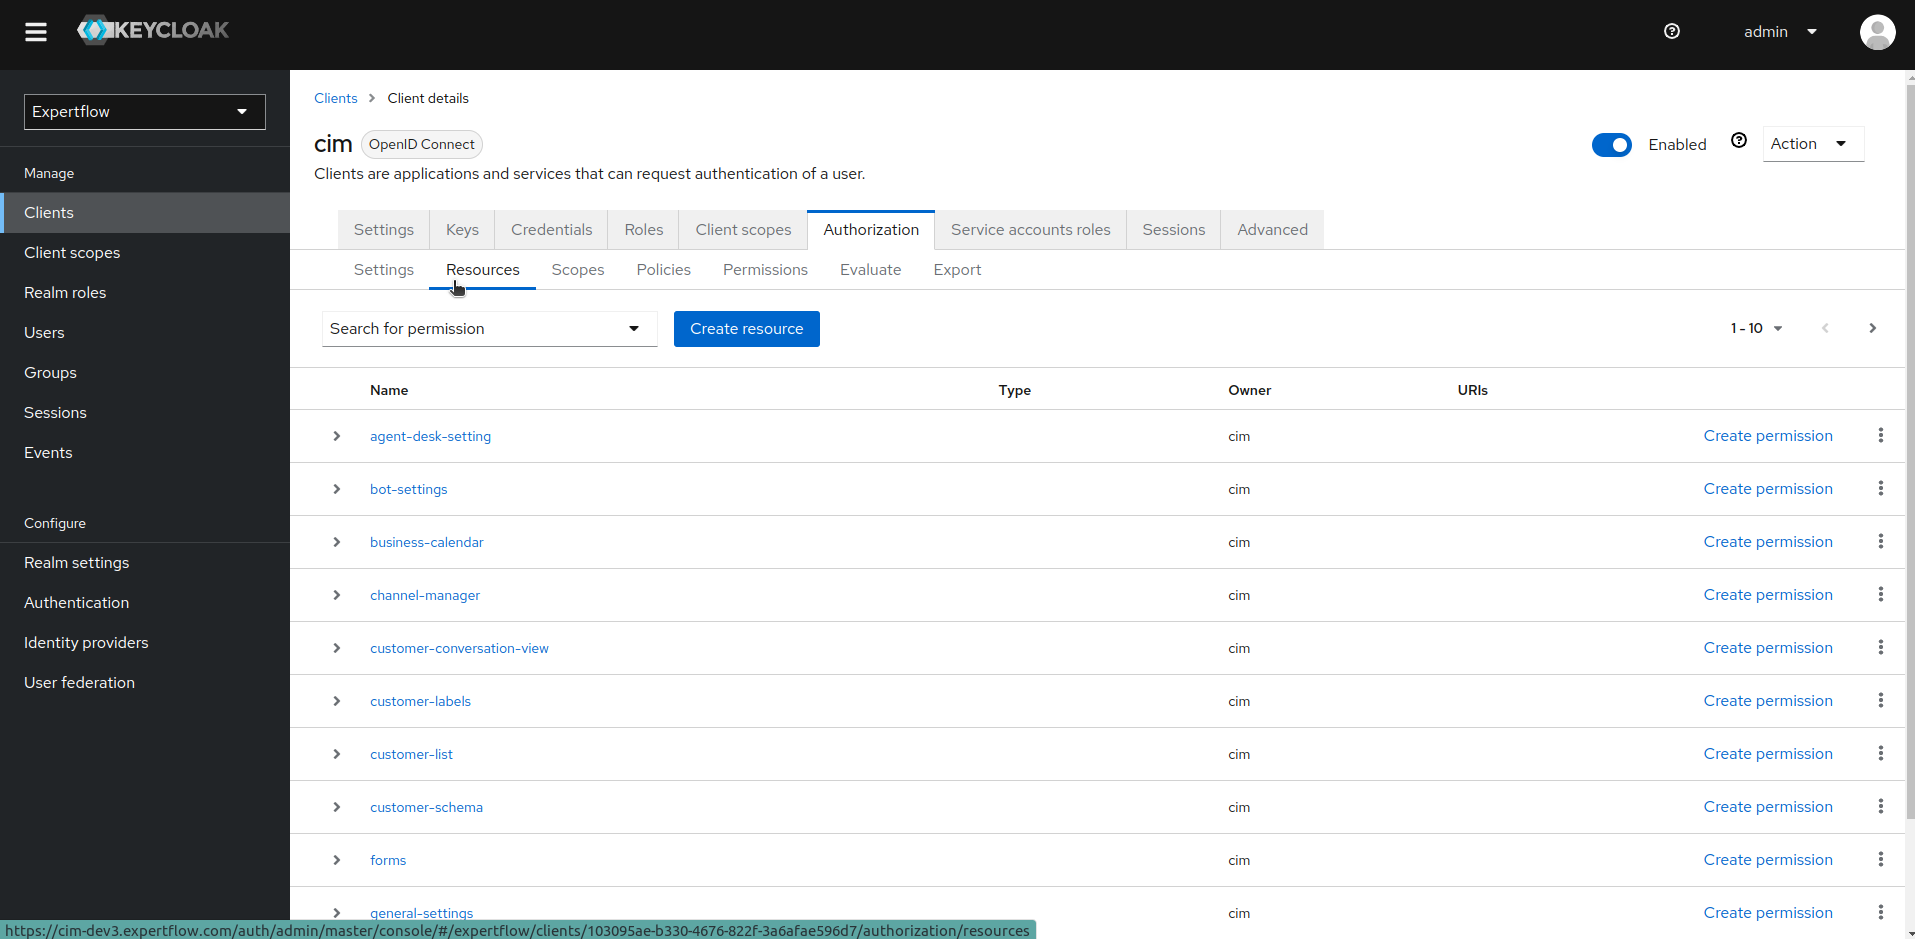
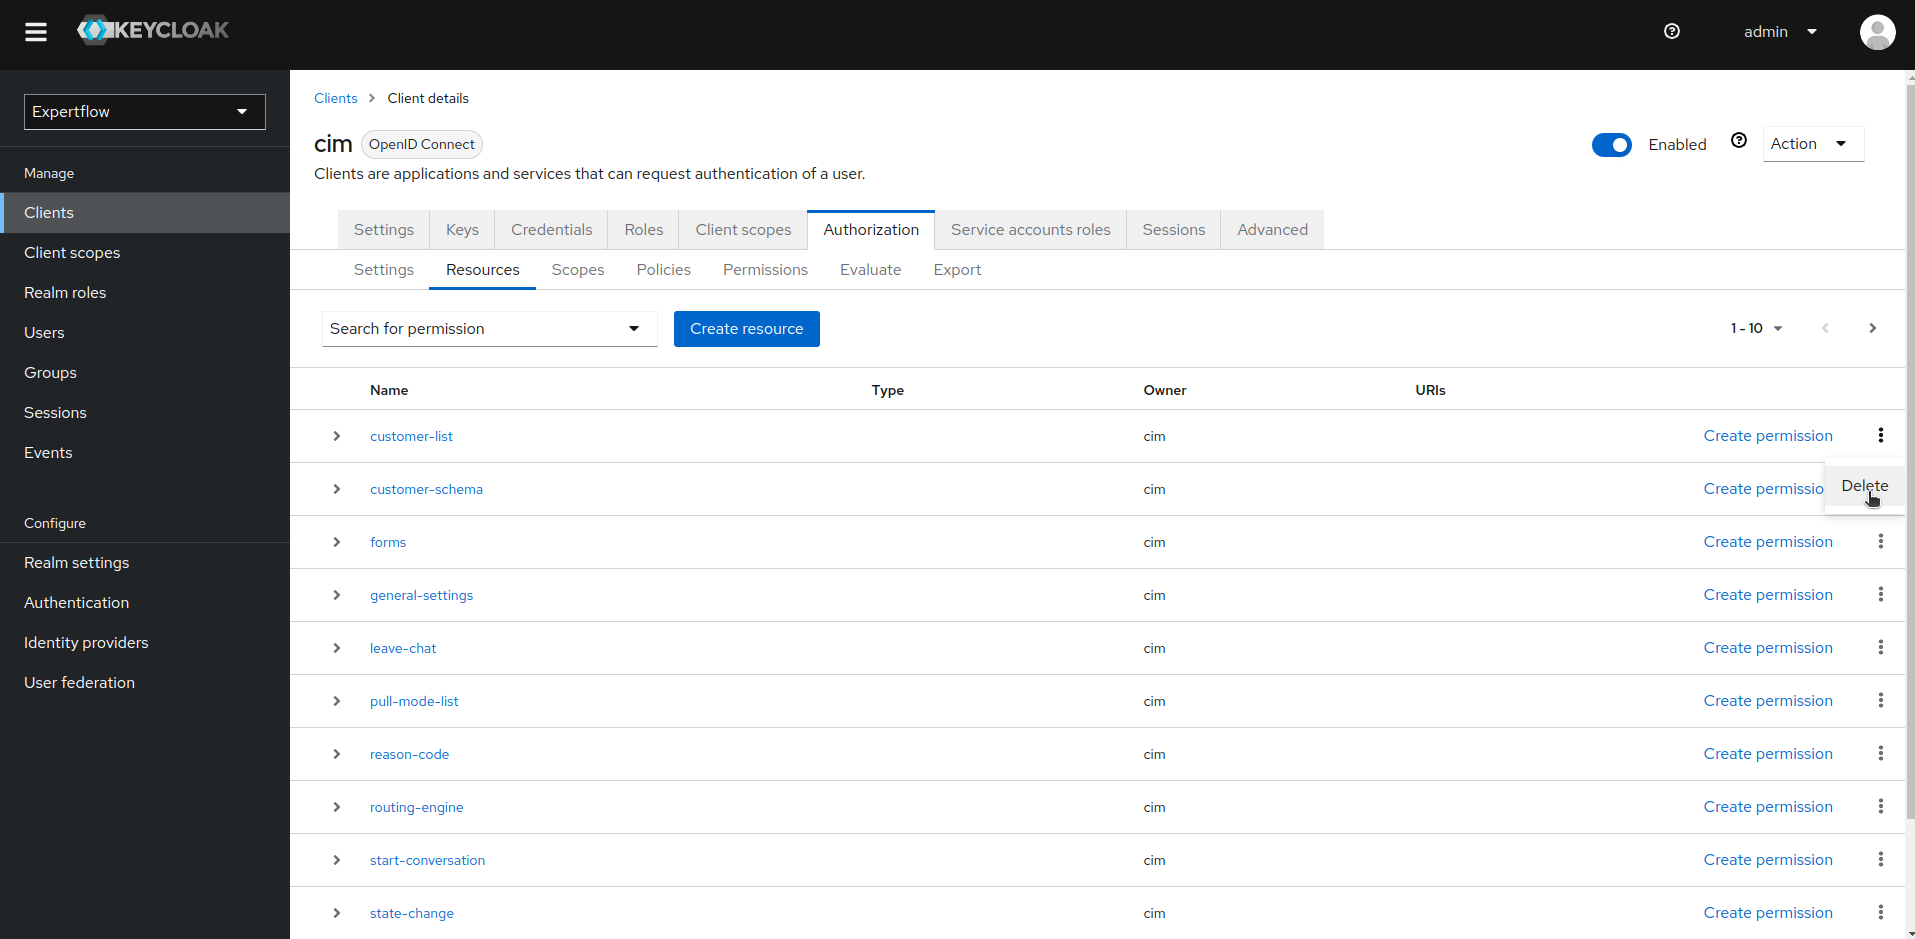
7. Start deleting the resources manually, this will automatically delete all the linked Permissions as well.
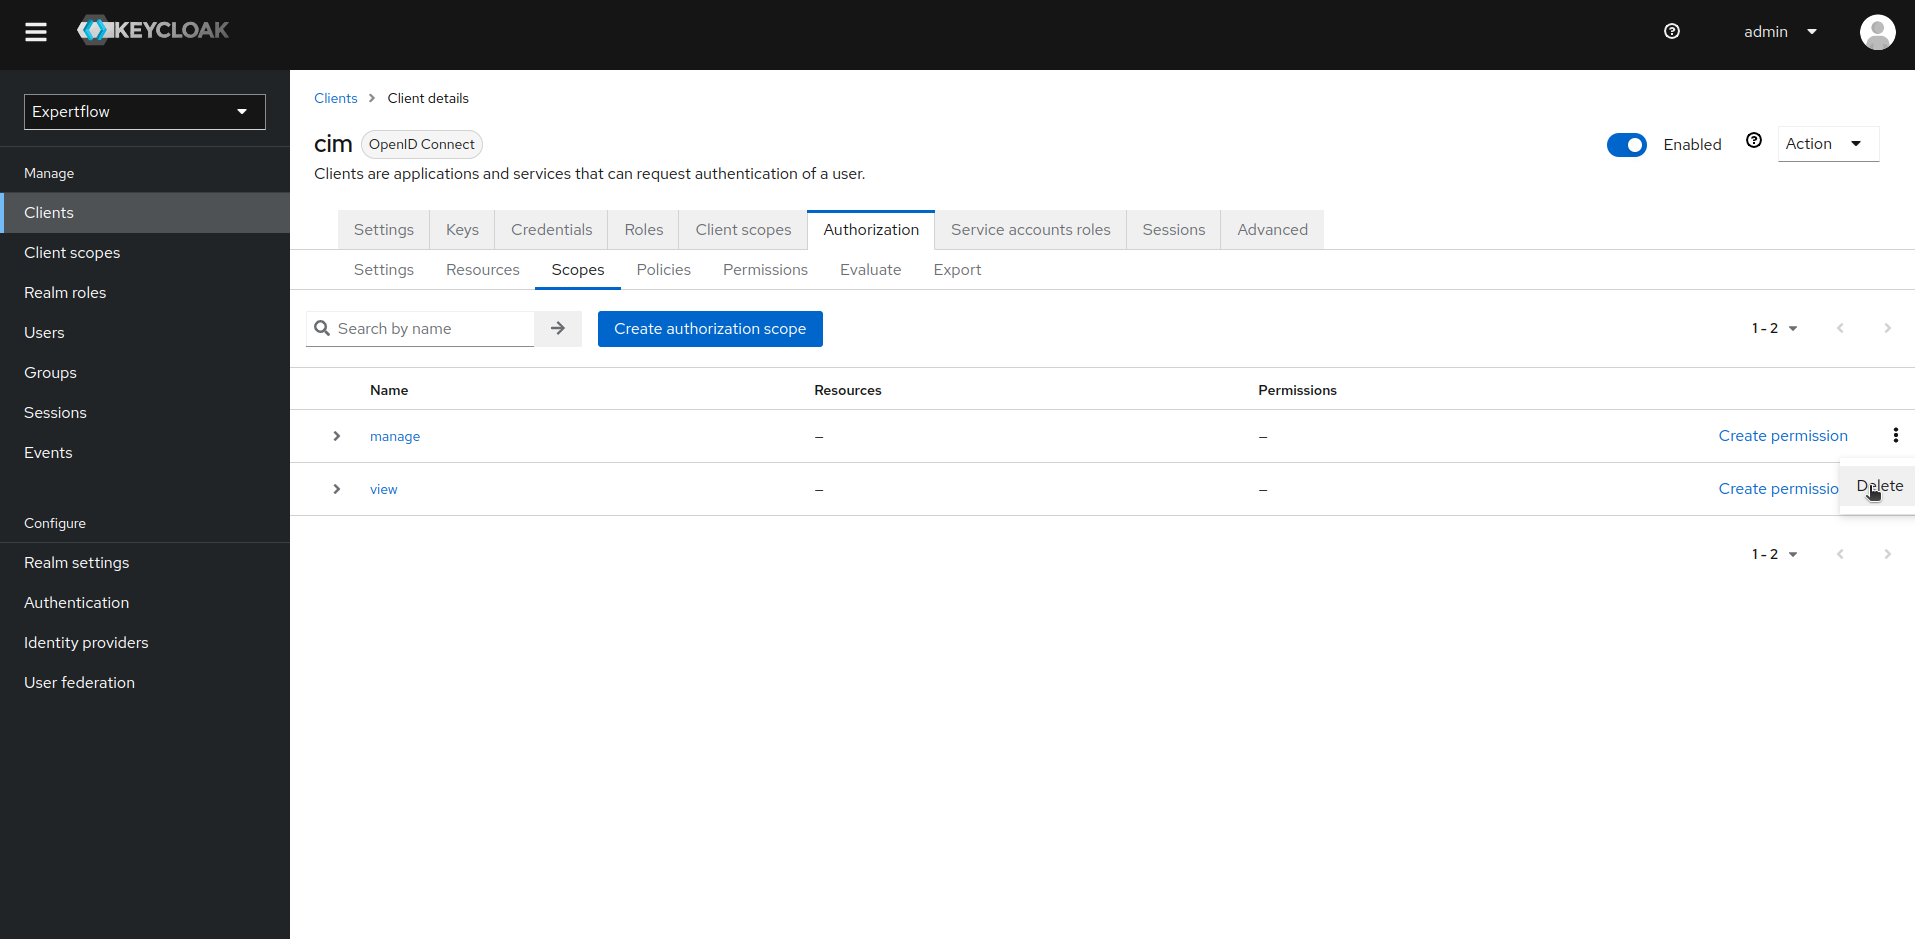
8. Once Resources are deleted, go to Scopes tab and delete all the existing Scopes.
9. Similarly, go to Policies tab and delete all the existing Policies manually.
10. Once all the old Resources, Scopes, Policies and Permissions are deleted, we are now ready to import new Permissions/Policies containing AgentDesk Permissions. Download the AgentDesk Permissions file from here: cim-authz-config.json
11. Go to the Settings tab inside Authorization menu, click on import button and select the file containing AgentDesk Permissions given above:
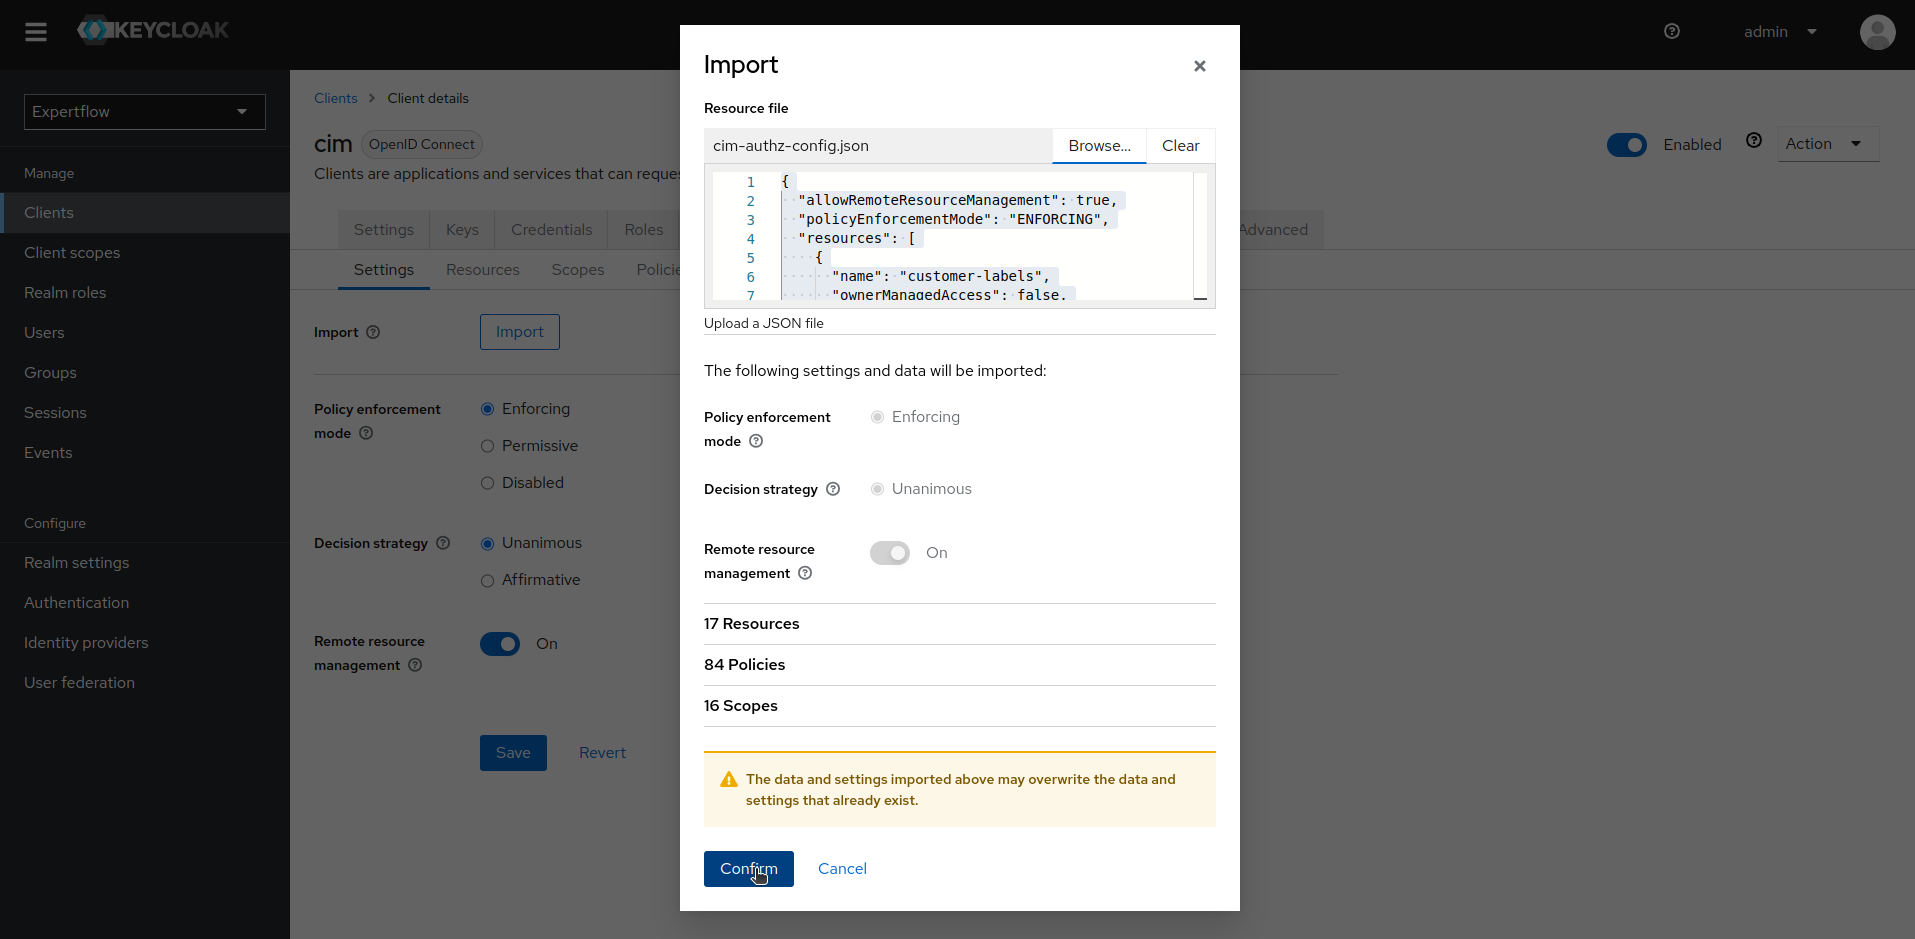
12. Once AgentDesk Permissions are imported, we can go to Scopes to confirm whether all the new Permissions/Policies are imported or not. Similarly, we can go to Evaluate tab to test the new set of permissions with existing users.