Follow the steps below for setting up Keycloak for VRS
-
Go to FQDN:8088/auth and click on the Administration console
-
Log in to the administration console using the password set in environment variables (KEYCLOAK_USER and KEYCLOAK_PASSWORD). The default username is admin, and the password is admin
-
Bring the cursor to the Master (below the Keycloak logo) and click on the Create realm button
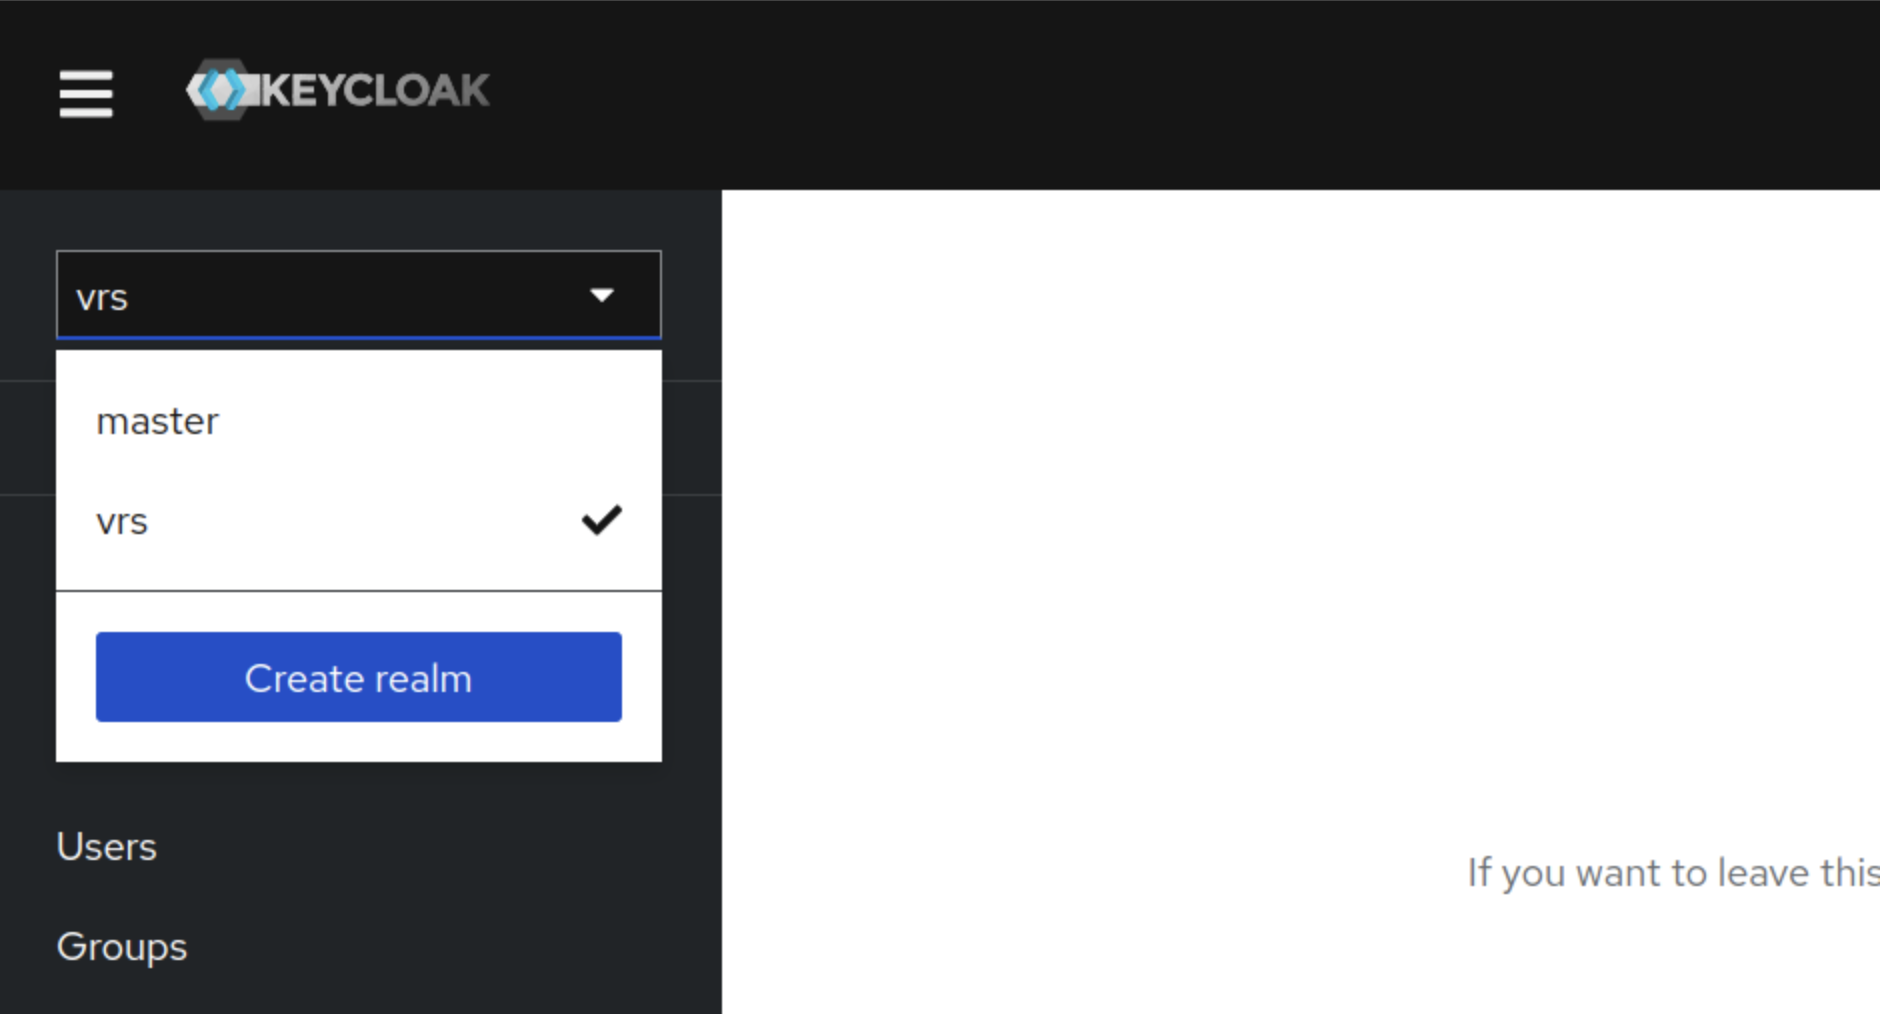
-
Enter the Realm name and click on the Create button
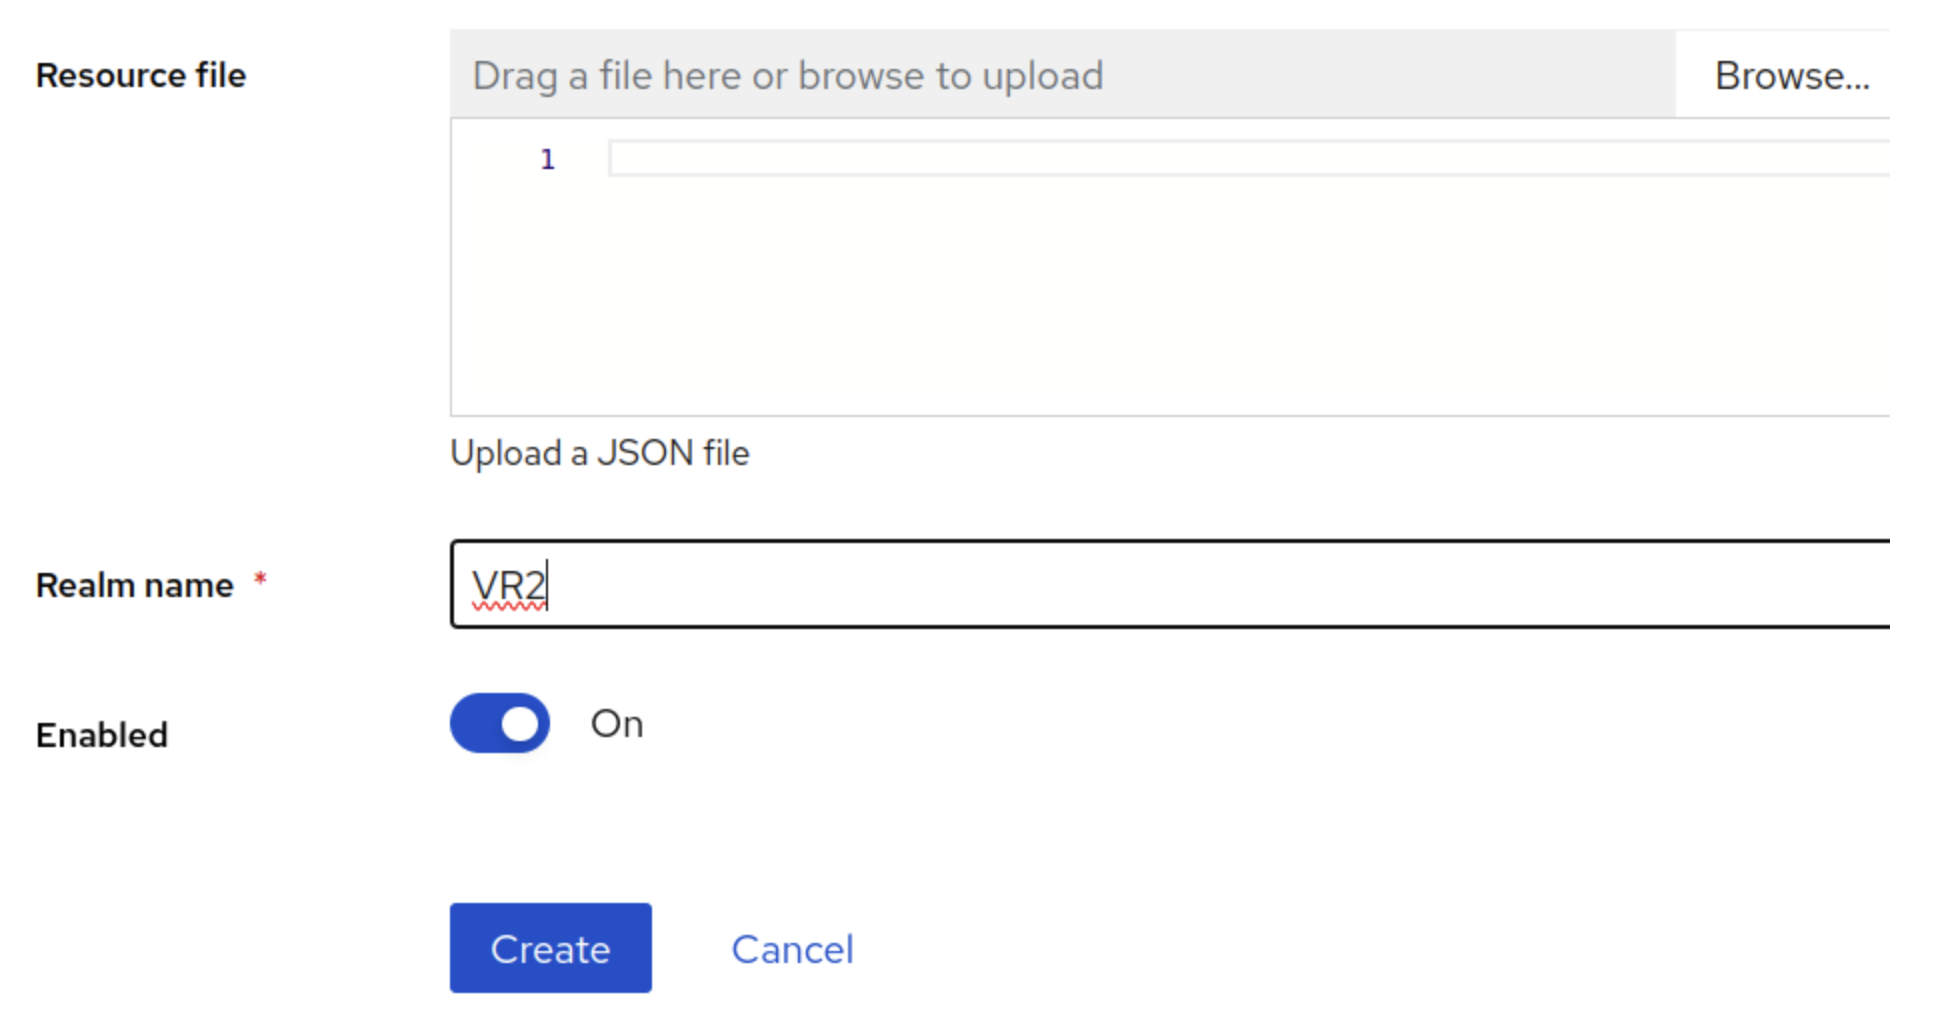
-
Once the Realm is created, click on clients under the created realm, and then click the create client button
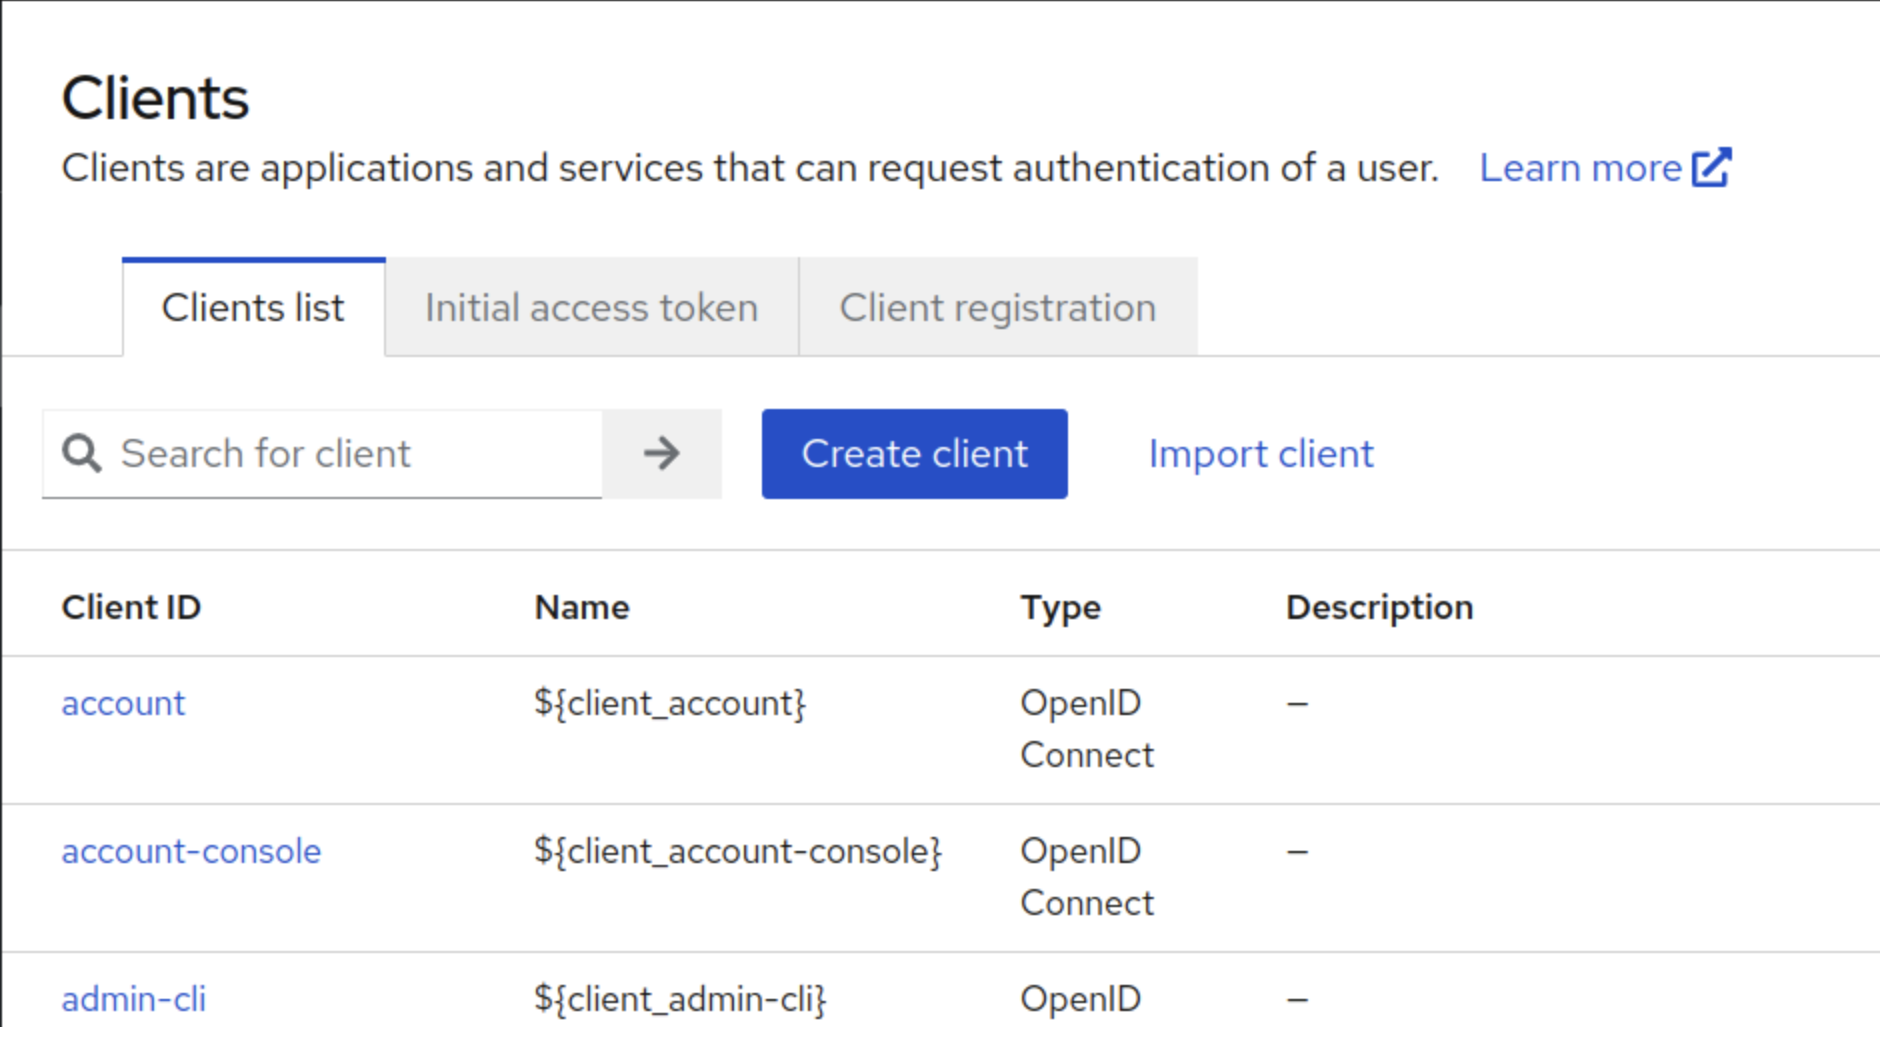
-
Enter Client ID vrs and click on Next.
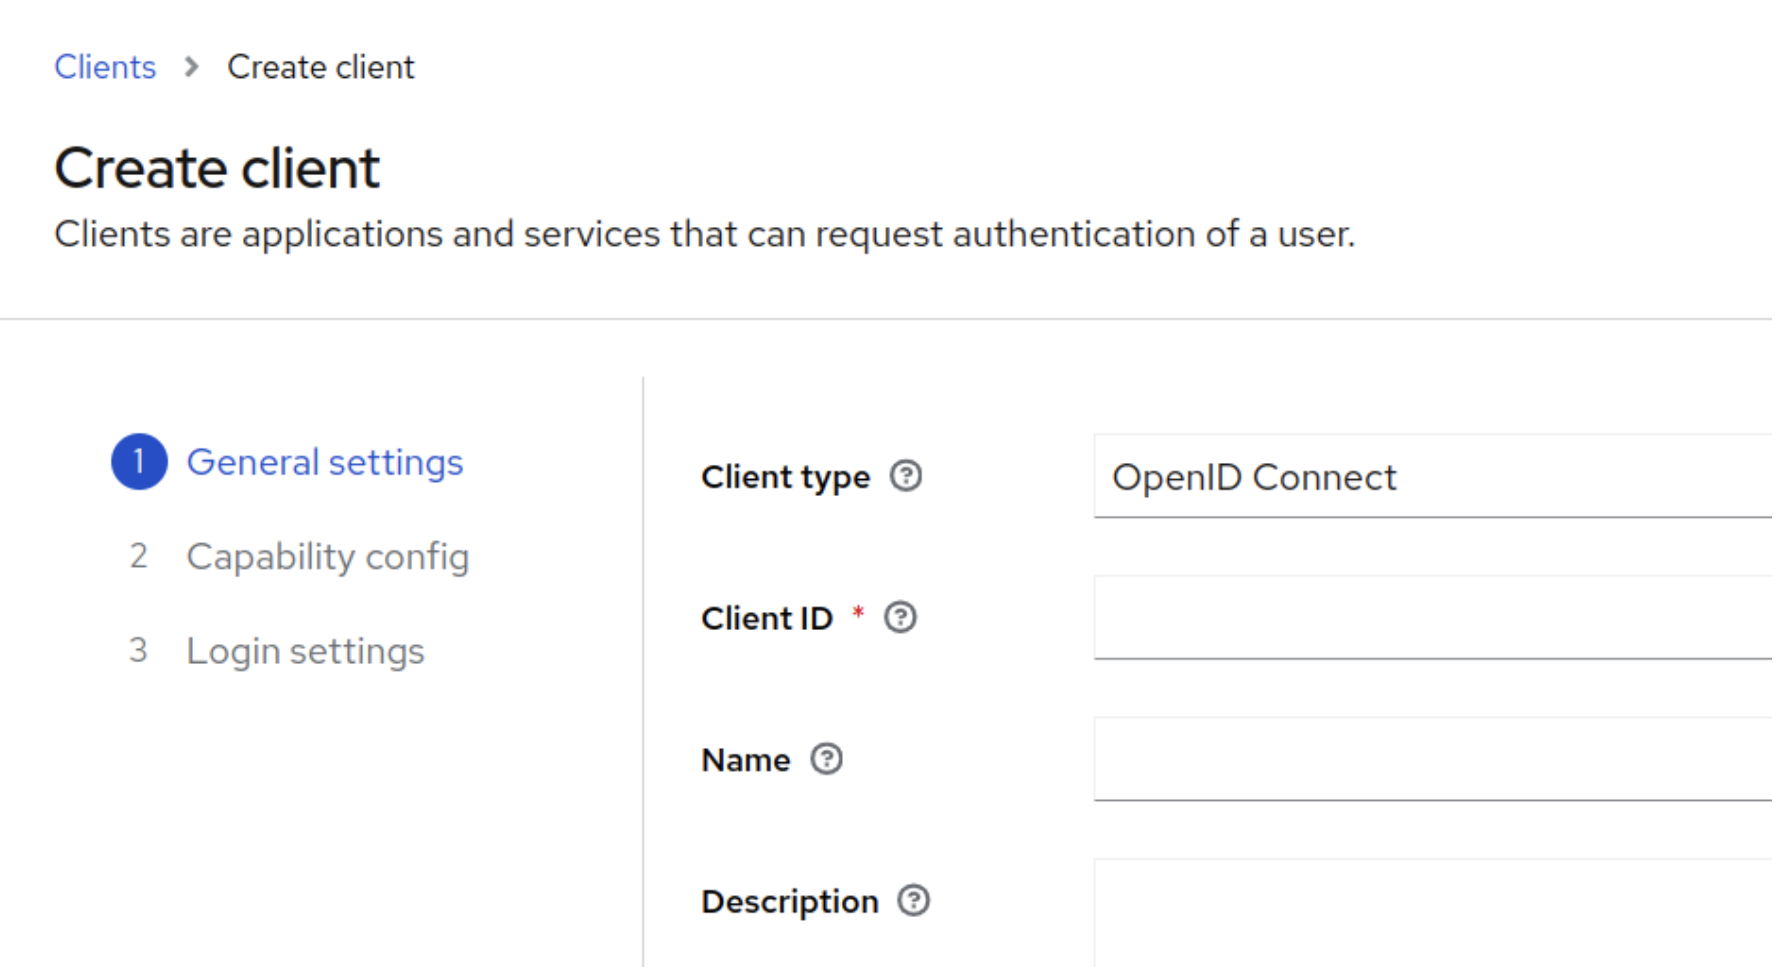
-
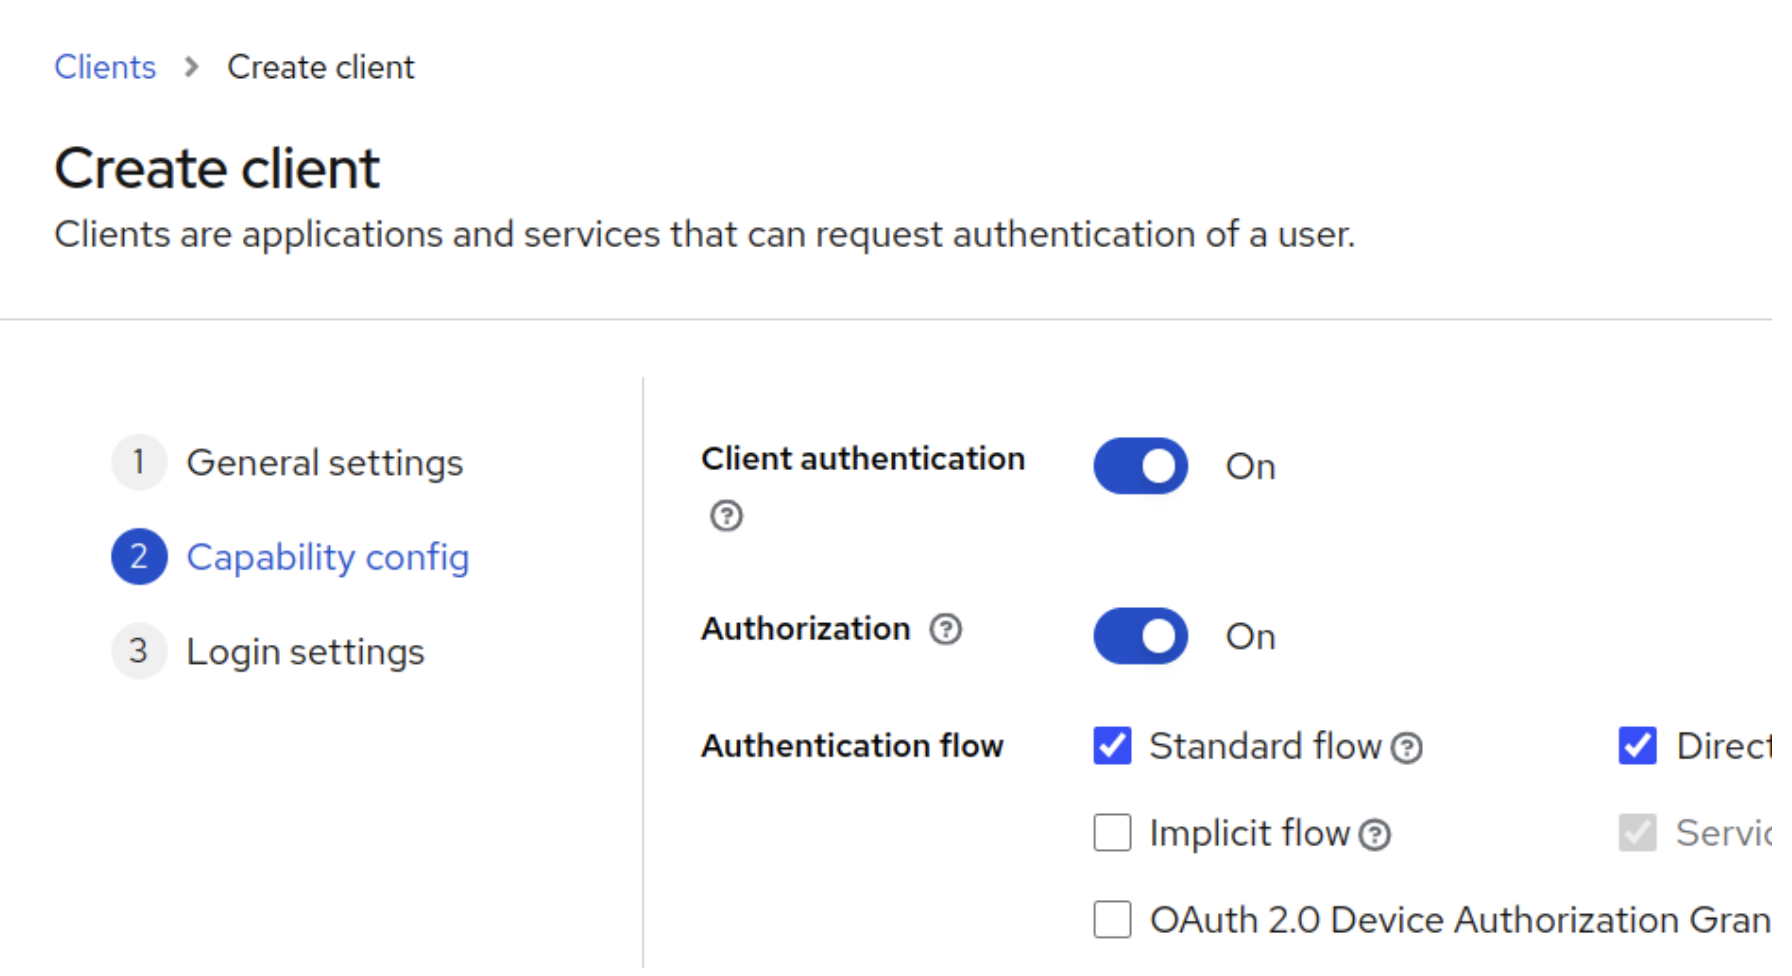
Toggle the Client authentication and Authorization to ON, click Next, and click Save
-
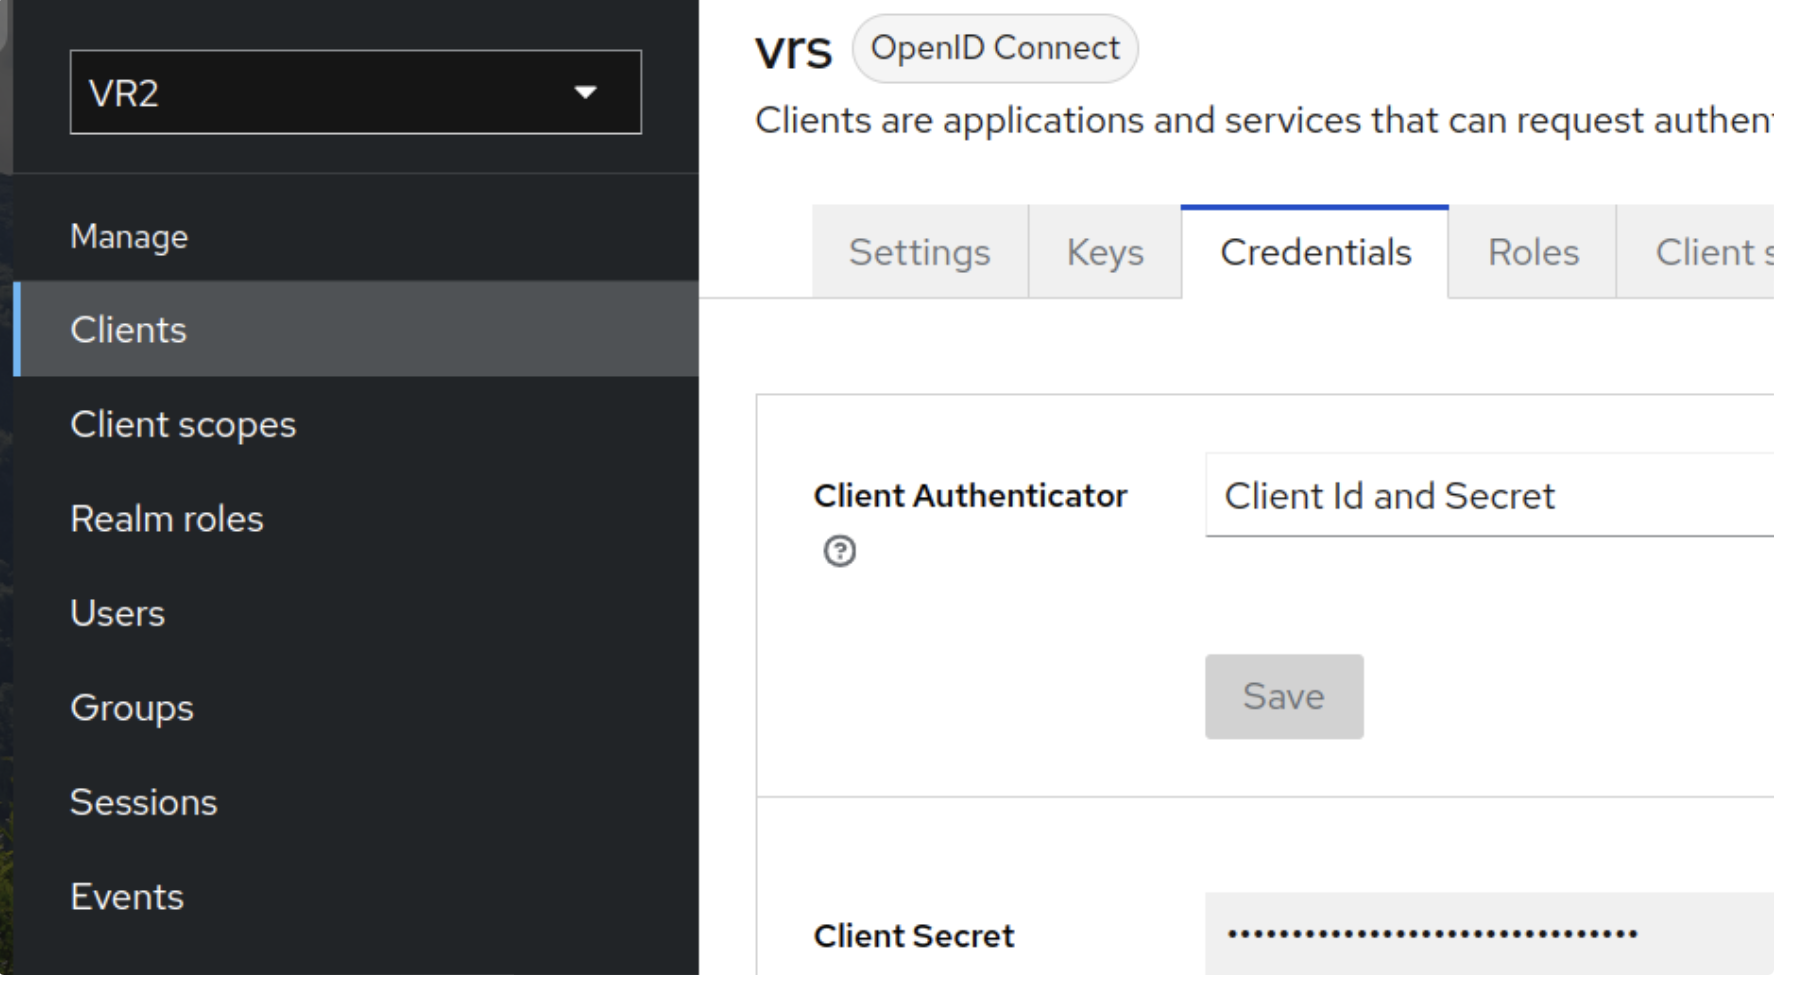
Once the client is saved, go to the Credentials tab and copy the client secret. The Client ID (vrs) and Secret will be used in environment variables (KEYCLOAK_CLIENT_ID and KEYCLOAK_CLIENT_SECRET)
-
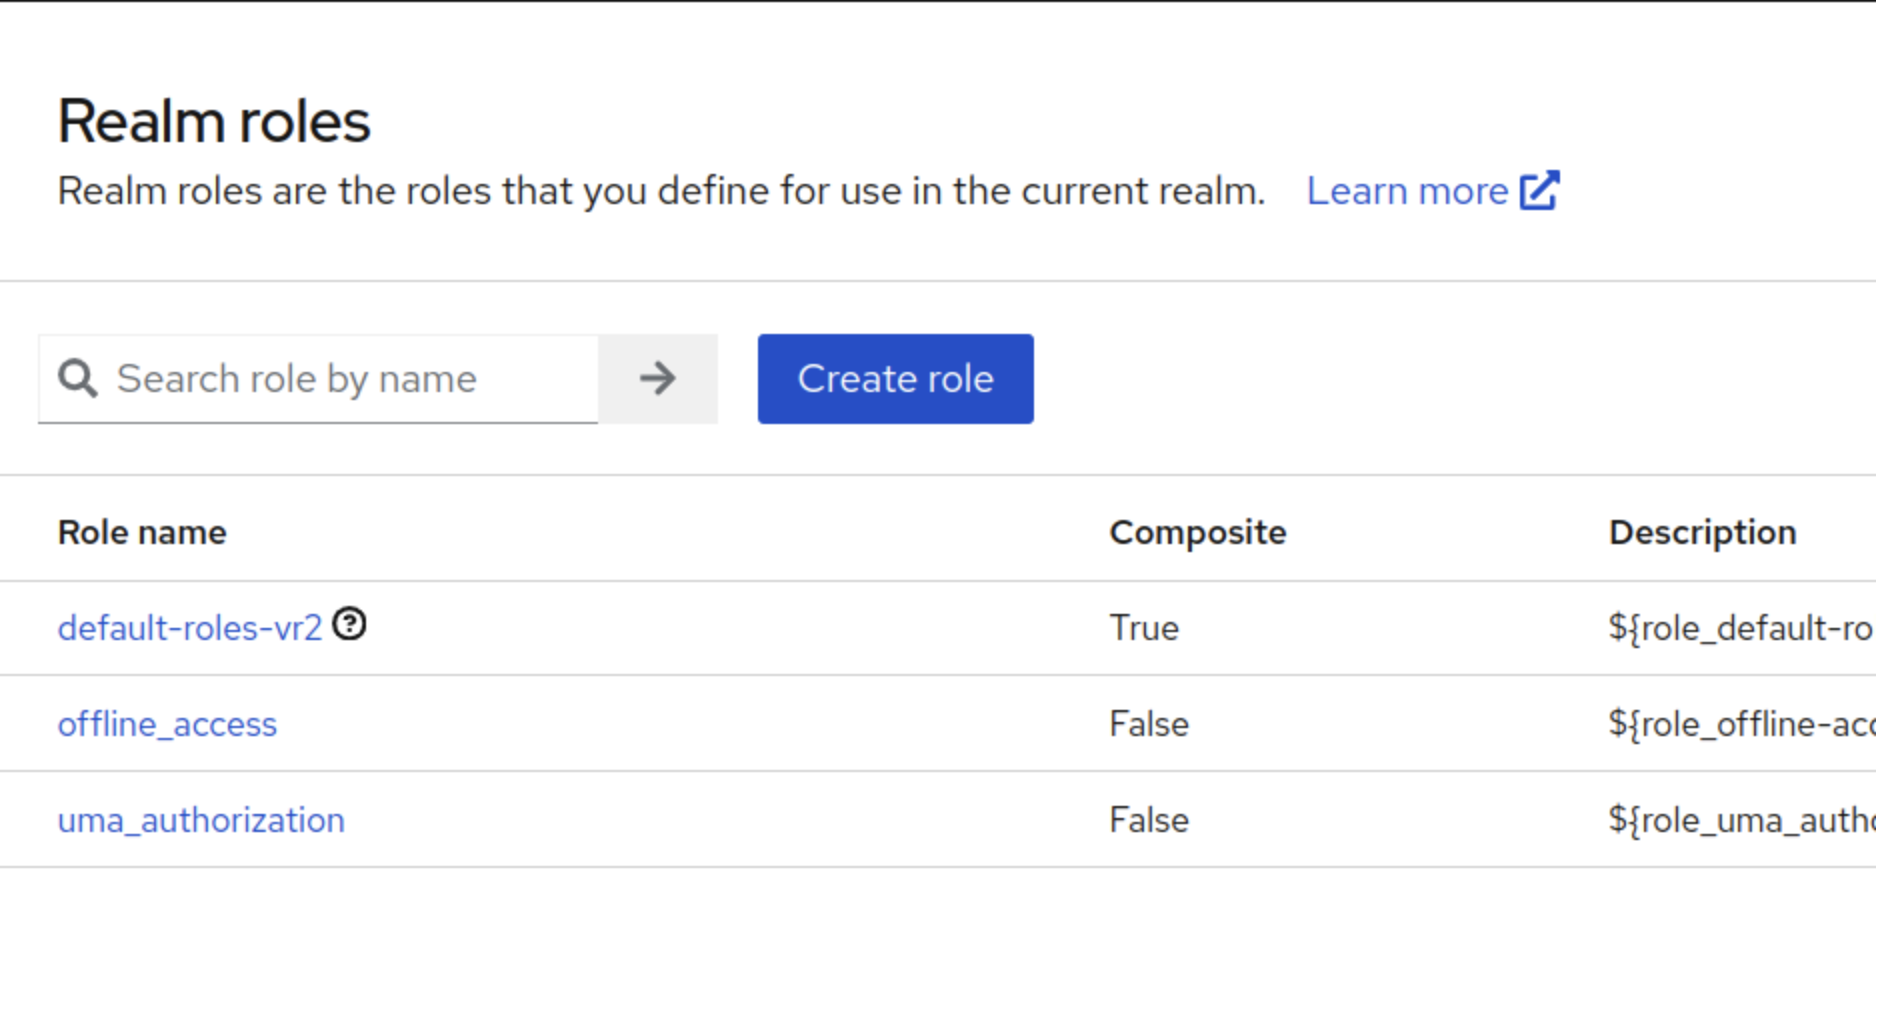
Click on Realm Roles in the left panel and create the desired roles, i.e., admin and agent.
-
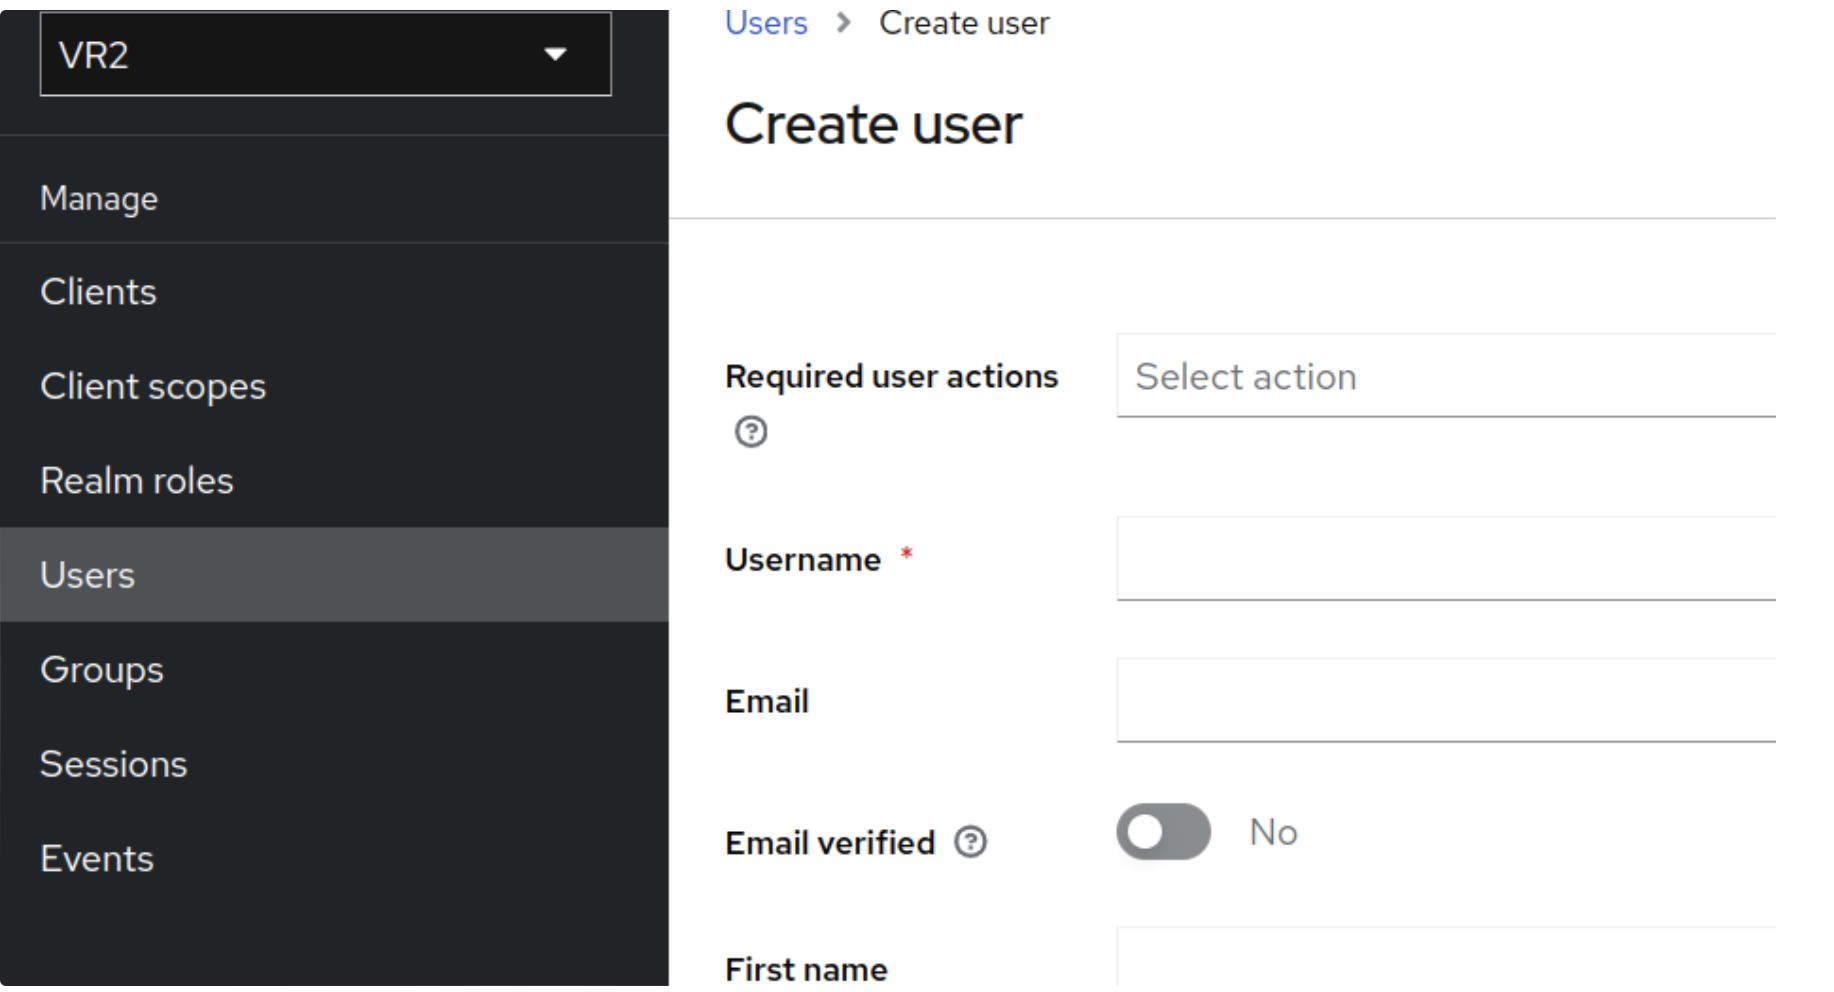
Go to Users and create user by entering Username and click Create.
-
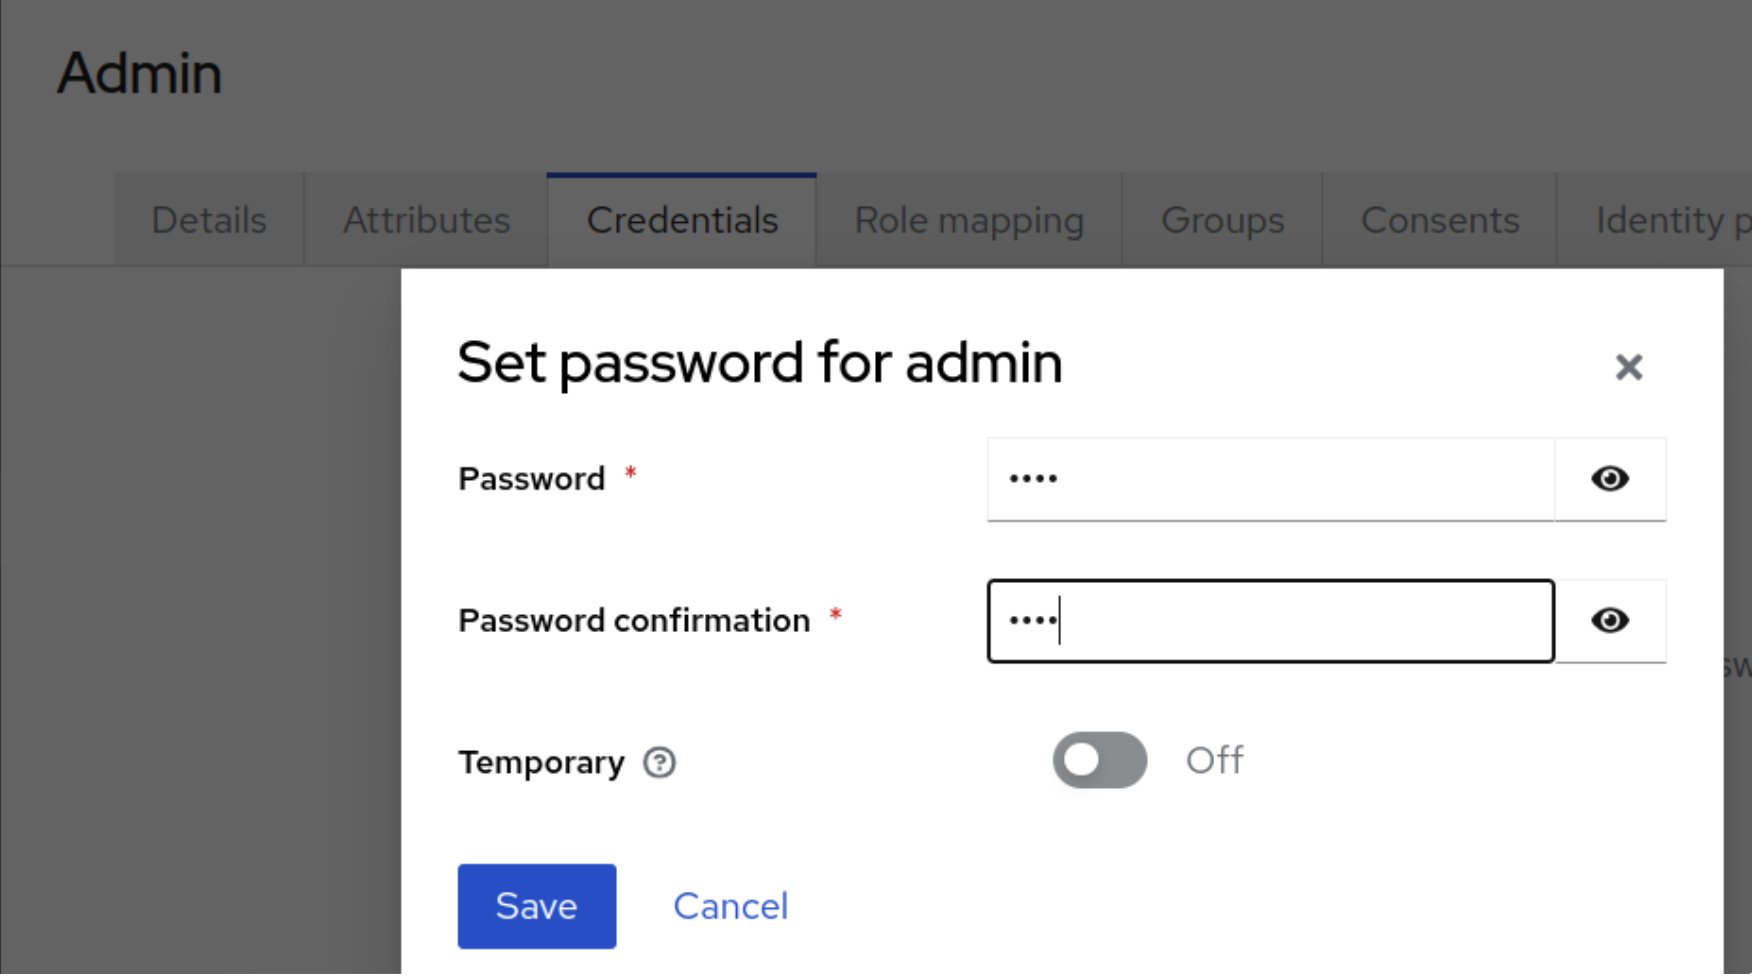
Go to the Credentials tab of the created user and set a password, toggle the Temporary button to OFF, and click Save.
-
Go to the Roles Mappings tab on the created user details, click on Assign Role, select the desired role, and click on Assign.
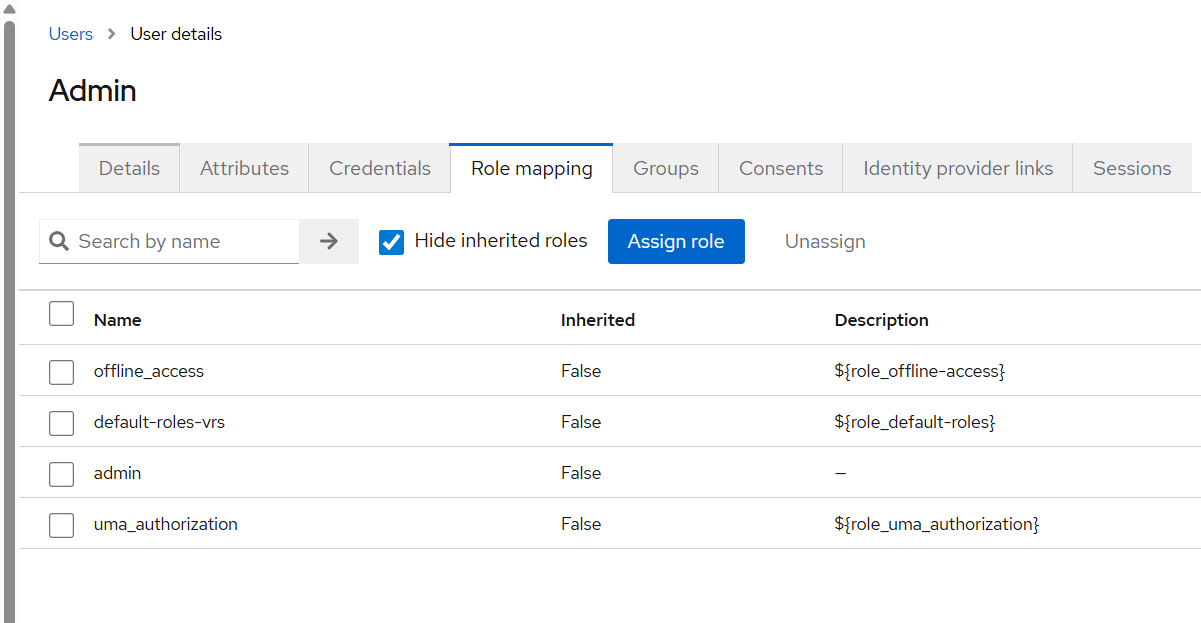
While role mapping, the default roles should be kept assigned to the user for the purpose of authentication and authorization.
-
This created user should be able to log in to VRS once the Keycloak env variables are updated in config.env and ./install.sh executed.