Preface
This document provides deployment details of the product inside MS Dynamics CRM.
Prerequisites
The following are the prerequisites for the deployment of the Javascript CTI Toolbar.
-
Dynamics 365 should be installed.
-
Channel Integration Framework 2.0
-
The user must have administrative rights
Install Javascript CTI Toolbar for MS Dynamics CRM
-
-
To install the Javascript CTI Toolbar, please follow this guide
-
Expertflow SSO Server Deployment Guide
-
The Deployment Guide is available here. This is only required if Cisco Finesse is Configured with SSO. If Finesse is running without SSO, then please ignore this.
Configuration
-
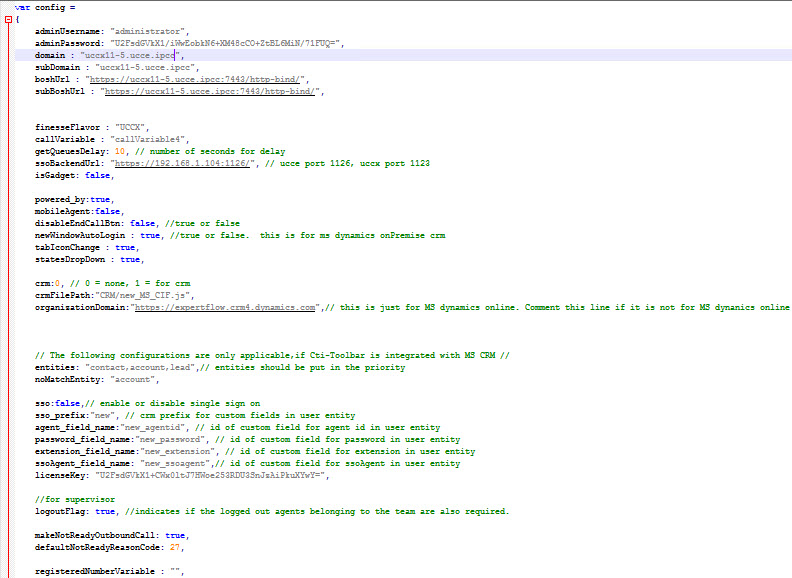
Open the new_config.js file located on `c:\inetpub\wwwroot\CIF-JavaScript-CTI\config.js` path. Set the properties as per the below table.
S.No
Property Name
Value
Description
1
adminUserName
admin
The Finesse Admin Username, This username is used to call the different Finesse APIs
2
adminPassword
*******
The Finesse Admin Password. (You'll first need to encrypt the password and then use the encrypted string here as adminPassword)
3
domain
https://<finesseFQDN>:8445
The domain name for finesse with which we are integrating
4
subDomain
https://<subscriberfinesseFQDN>:8445
The domain name for subscriber finesse with which we are integrating
5
boshURL
https://<finesseFQDN>:7443/http-bind /
The bosh URL variable basically append the same Finesse Domain with a predefined URL
6
subBoshUrl
https://<subscriberfinesseFQDN>:7443/http-bind/
The sub bosh URL variable basically appends the same subscriber Finesse Domain with a predefined URL
7
finesseFlavor
UCCE/UCCX
This property can have 2 values
-
UCCE
-
UCCX
Note: In the case of PCCE, we need to provide value UCCE.
8
callVariable
callVariable1
Our Connector required an empty one variable which it needs to use for some internal mechanism. That variable can be any callVariable like callVariable1,callVariable2, callVariable3....callVariable10, or any ECC variable as well.
In the case of the ECC variable, we need to provide names like ECC.variableName
9
powered_by
True
System variable should always remain True
10
disableEndCallBtn
false
This should always remain false
11
CRM
0/1
A possible value for this key would be 0 or 1
0= When web CTI is deployed as a standalone project without any CRM Integration
1= When Web CTI is deployed with some CRM, The CRM can be any. If the value for this property is 1, then the crmFilePath variable must be set
12
crmFilepath
The predefined path of the CRM file
To make this property work, the above property CRM must be set 1 . Value for this property depends on the CRM you are using. Possible values are
CRM
Value
MS CRM Online
CRM/ new_MS_CIF.js
13
organizationDomain
https://expertflow.dynamics.com
This value can only be set when you are using Microsoft CRM Online (CIF enabled) else you can ignore this property. This is the organization domain of your online CRM
14
entities
"contact,account"
The searching priority user can define in the config file. For example, as per this configuration, the CTI connector first searches the record in the contact and then accounts. If you wanted to search the record first in the account, you can simply change the order as per your requirement and the searching order will be changed.
In online CRM entities name should be in the small latter
entities: "contact, account"
15
noMatchEntity
"lead"
In case there is no record found in the entities searched, then we need to tell the CRM which entity should be created. For example, as per this configuration, the CTI connector will open the Lead entity form, then you can save it by providing necessary information like name etc.
We can also set the value to "phonecall" so that in case of no match, an anonymous activity(not linked to any CRM account/contact/lead) is created.
16
sso
true
This configuration is for auto-login in CTI connector. It is a boolean field, it can have 2 values:
-
true
-
false
For mobile agent this configuration value will always remains false.
17
sso_prefix
"new"
This is a CRM prefix for custom fields in the user entity. It is "new" by default.
18
agent_field_name
"new_agentid"
Id of custom field in CRM for agent id in user entity
19
password_field_name
"new_password"
Id of custom field in CRM for the password in user entity
20
extension_field_name
"new_extension"
Id of custom field in CRM for extension in user entity
21
ssoAgent_field_name
"new_ssoagent"
Id of custom field in CRM for SSO agent in user entity
22
licenseKey
"licenseKey"
License key generated by Expertflow
23
getQueuesDelay
6000
This is only applicable for UCCE/PCCE deployment. This is the time by which CTI Toolbar queries the UCCE Database to display the Queue Stats
24
logoutFlag
True
Used in Team Performance gadget, to display the logout agent as well.
25
ssoBackendURL
https://192.168.*.*:8084
Javascript CTI Toolbar supports Finesse SSO login as well, and for that EF has developed its own Utility which needs to be deployed First. The Deployment Guide for SSO is available
here
. Once you deploy that Utility, you can then provide the link here. If Finesse is not SSO enabled, please ignore this property
26
isGadget
False
A System property should remain false always.
27
registeredNumberVariable
"callVariable5"
This is a property used for the popup, the possible values for this property can be any call variable name or "Ani". By default we pop up on Ani, if you want the popup to happen on a number other than Ani then you can set any call variable.
28
makeNotReadyOutboundCall
false
This property is used for making outbound calls in a Ready state, for CCE 12.5+ we can make calls in Ready state without any issues, but for below versions we need to set this property to true in order to make calls in ready state.
Note: The agent will be in Not Ready state after the call ends if the property is set to true.
29
defaultNotReadyReasonCode
27
This property is used for changing the agent state to Not ready for the outbound calls if made in Ready state and the makeNotReadyOutboundCall property is set to true.
30
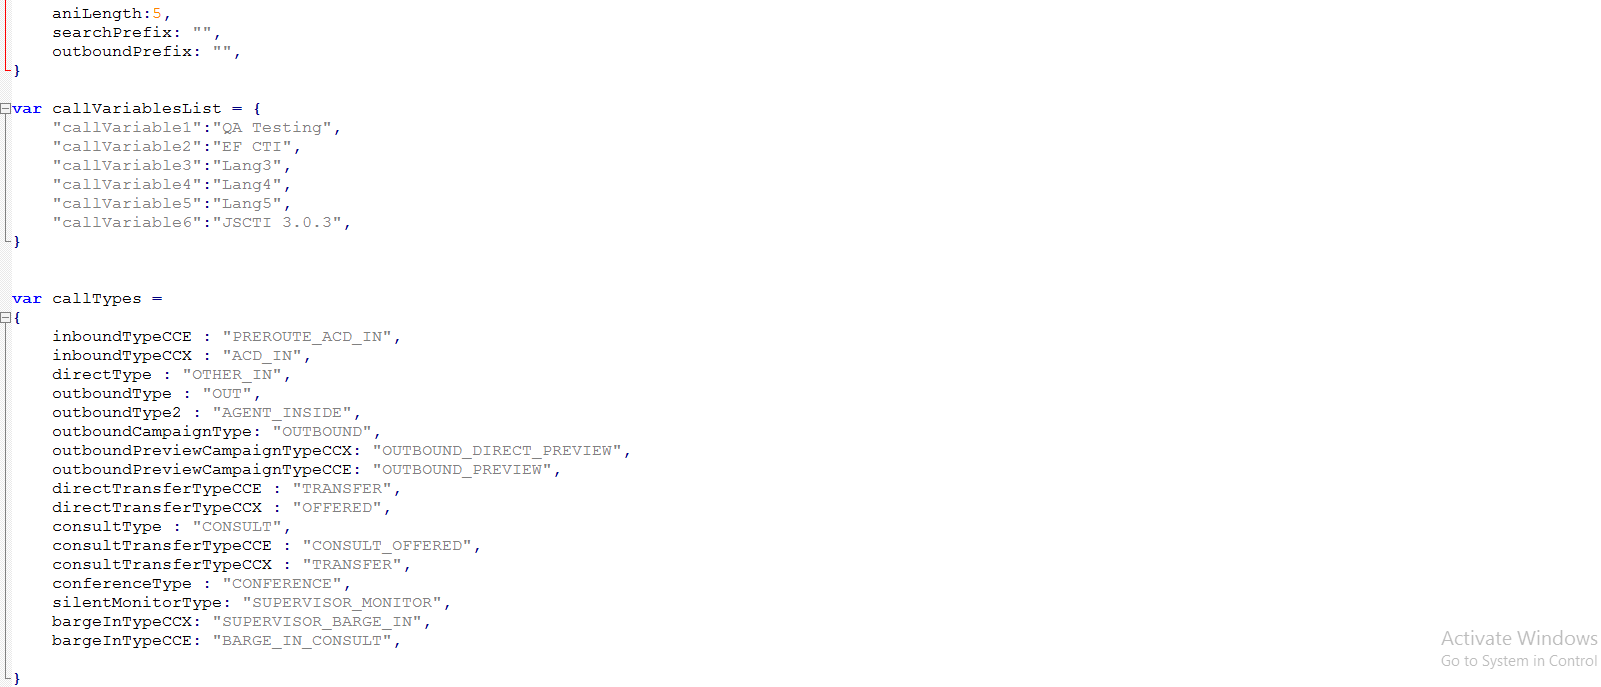
aniLength
7
This is the number of digits from (right to left) that need to be considered for searching records
31
searchPrefix
"92"
This is the searrch prefix that is appended to the ani, if you don't want any search prefix to be appended then you can set it's value to empty string.
32
outboundPrefix
"0"
This is the outbound prefix that is appended to the ani, if you don't want any outbound code to be appended then you can set it's value to empty string.
33
callVariablesList
{"callVariable1": "Language"}
The call variables list is the config where you can decide which variables you want to display on the UI and with what name they should appear on the UI. In the list, you mention the call variable name followed by the value that will appear on the UI. So for example, if you want only call variable 1 to be displayed with the key 'language' then your config should be {"callVariable1": "Language"}.
34
newWindowAutoLogin
true/false
This is for auto login to new tab of same browser. If value is true then it will allow to auto login to new tab else will not allow. This will work everywhere except in Ms Dynamics crm on premise version when SSO is true.
35
tabIconChange
true/false
This will change the icon of browser tab where it is currently login after logout it will changed the icon to normal. This will not work in Ms Dynamics Online(CIF).
36
statesDropDown
true/false
This will block the agent states drop down list on CTI by default it value must be false.
-
-
Update the configurations and save the file.
Browse the configured FQDN and the application should be accessible as shown below.

Configure the CIF on Dynamics CRM UCI for javascript-cti-toolbar
Login to the CRM and go to the 'Customer service admin center' app ’.
Note: If CIF is not installed on your CRM then you can follow this guide to install on your CRM.
-
In the left panel, Go to Agent Experience
-
Select Workspaces
-
On the right side of the workspaces, select Third party voice channel provider and click on Manage>
-
Click on the New option to configure the channel
Perform the following steps:
|
Field |
Description |
|---|---|
|
Name |
Name of the channel provider e.g. EF |
|
Unique Name |
A unique identifier in the <prefix>_<name> format. IMPORTANT: The following are required for the unique name: The prefix has to be alphanumeric with a length of 3-8 characters. The prefix must include an underscore e.g.EFCX_Voice |
|
Label |
The label is displayed as the title on the widget e.g. EFCX Voice |
|
Channel URL |
The URL of the provider to host in the widget e.g. https://www.cifjsctitoolbar.com:4432? ucilib=https://expertflow.crm4.dynamics.com/webresources/Widget/msdyn_ciLibrary.js |
|
Enable Outbound Communication |
Selecting a phone number in the Dynamics 365 Unified Interface page, the widget initiates the call or outbound communication e.g. Yes |
|
Channel Order |
The order of precedence of the channel providers. That is, the priority to display the channel for the agents and Unified Interface apps e.g. 1 |
|
Api Version |
The version of the Channel Integration Framework APIs e.g. 2 |
|
Trusted Domain |
--- |
|
Custom Parameters |
--- |
|
Enable Analytics |
No |
Once these are done, Select Save & Close.
Configure Agent experience profile
Note: The user must have administrative rights to do the following changes
-
Go to the Customer service admin center app
-
In the left panel, Go to Agent Experience
-
Select Workspaces
-
On the right side of the workspaces, select Agent experience profile and click on Manage>
-
Click on the New option to configure the profile
-
Fill the Name e.g. EFAgentProfile and Unique name e.g. EF_AgentProfile fields according to the instructions.
Note: The unique name must include a prefix + name in this format: prefix_name. The prefix must include: Only alphanumeric characters 2-8 characters. The name portion can be any length, but can't include spaces. -
Click on Create to create the profile
Open the profile EF_AgentProfile
-
In the users section, add the users that need to see the widget.
-
In the Channel Provider section, add the channel EF that we configured above.
-
Select your Agent experince profile and set rank and roles by clicking on “Set rank and roles” button.
The Agent experince profile must have all administrative roles.
Configure Click-to-Call
Follow the steps to configure and click to call on the Account page. You can configure it on multiple entities as per your requirement like Contact, and Leads.
-
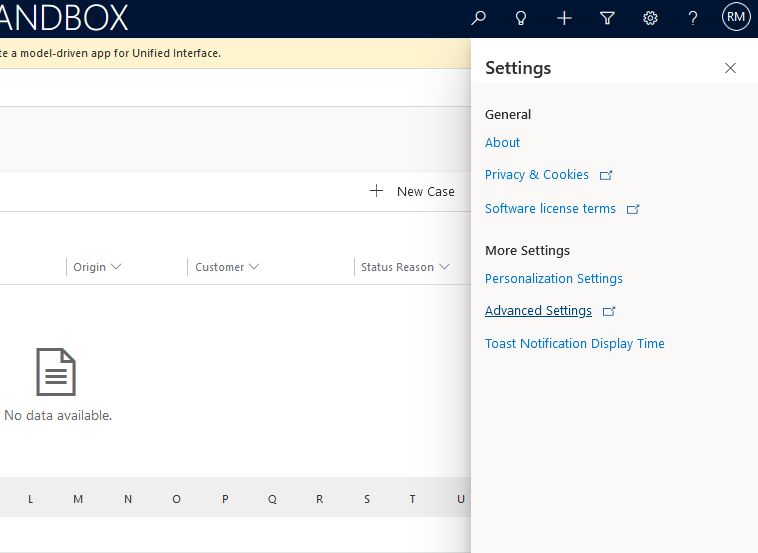
Click on the setting button → Advance Setting
-
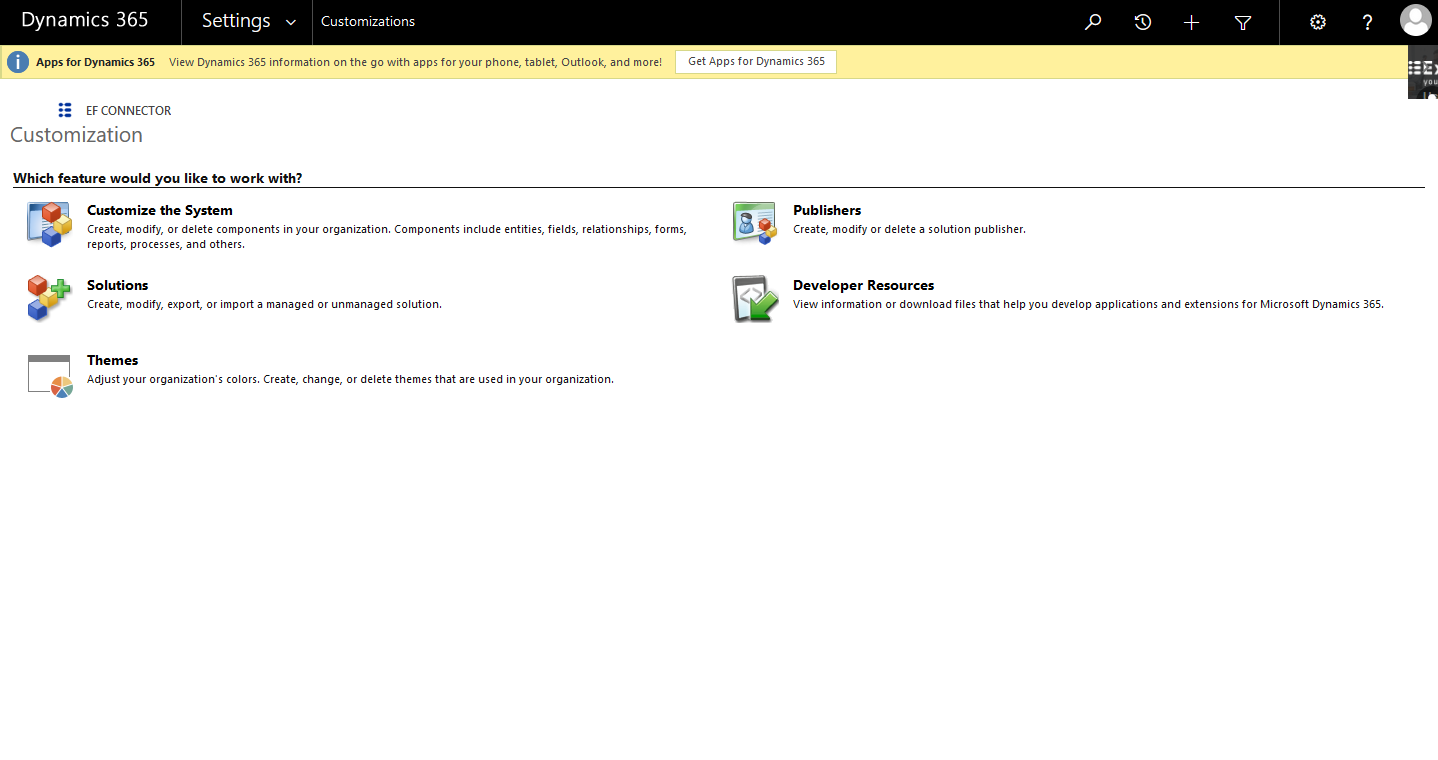
Go to setting -> Customizations -> Customize the System
-
double click phone field -> controls ->add controls -> add ‘ channel communication control ’.
-
Save and publish
After following all these steps, your CTI is configured properly and now you can use EF MS CRM WEB-CTI Connector
CRM Configurations for Single Sign On
To configure SSO for CRM, follow this guide and go Configure Single Sign-On Section. After completing the section, do the following steps.
-
Go to Setting → Security → User
-
Select the CRM user and open it.
-
Provide Cisco Agent details in Agent id, password and extension fields and click Save. Refresh the page.