Purpose
The purpose of creating a deployment guide for the EFCX connector in Zendesk is to provide instructions and guidance for successfully installing, configuring, and utilizing the connector within Zendesk Support CRM.
Intended Audience
This document is intended for IT operations personnel and system administrators who want to deploy a Zendesk-embedded EFCX connector.
Prerequisites
-
Zendesk Account. Visit Zendesk Trial Account to create one if you do not have one.
-
You must have admin access to install the EF-Zendesk Connector as a private app.
-
You must have installed the EFCX on your server before integrating with Zendesk.
-
Existing packages should be uninstalled or deleted before installing a new package.
Expertflow Package Installation
Following are the to-dos for deployment:
-
Download the EFCX Zendesk for Zendesk EFCX Connector.
-
Go to Zendesk Admin Center by clicking on apps on top right corner.
-
On the admin Center, click on Apps and Integrations from the left panel.
-
Under the Apps and Integrations, click on Zendesk Support apps under Apps.
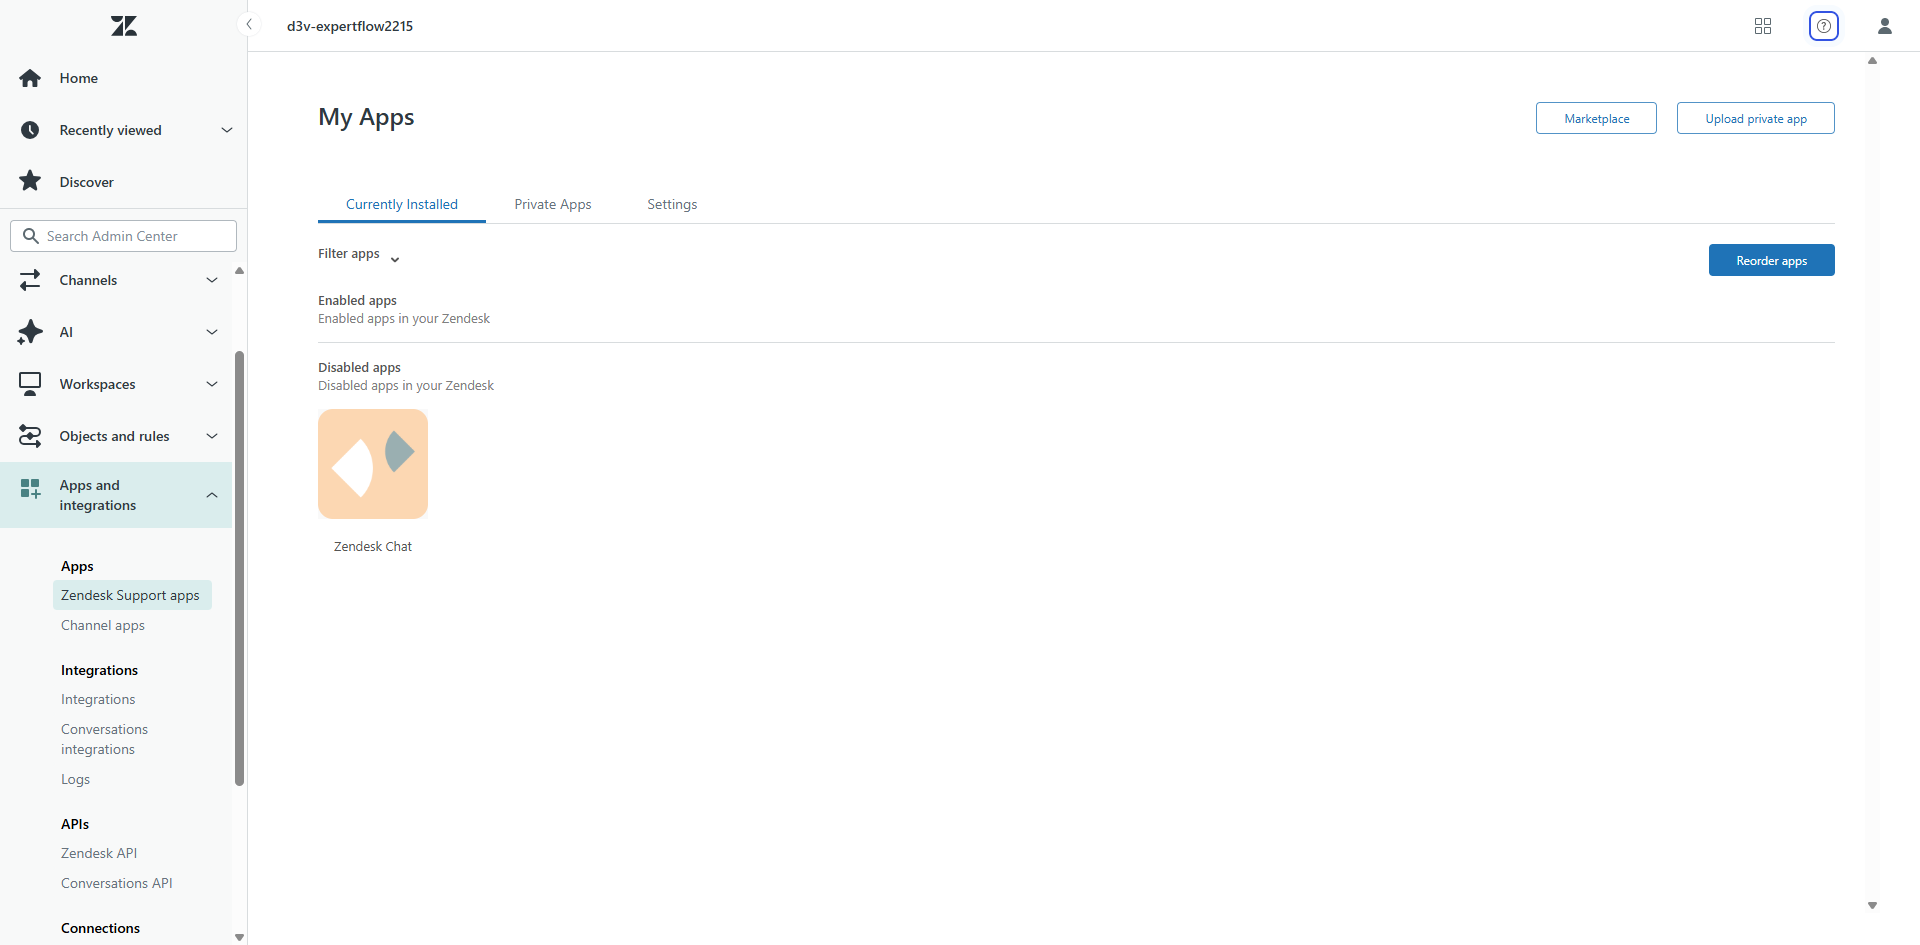
-
Click on Upload Private app from the top right corner.
-
Add a name for your app and the upload the zip file which you have already downloaded.
-
Click on Upload button to upload private app for EF Zendesk Connector.
-
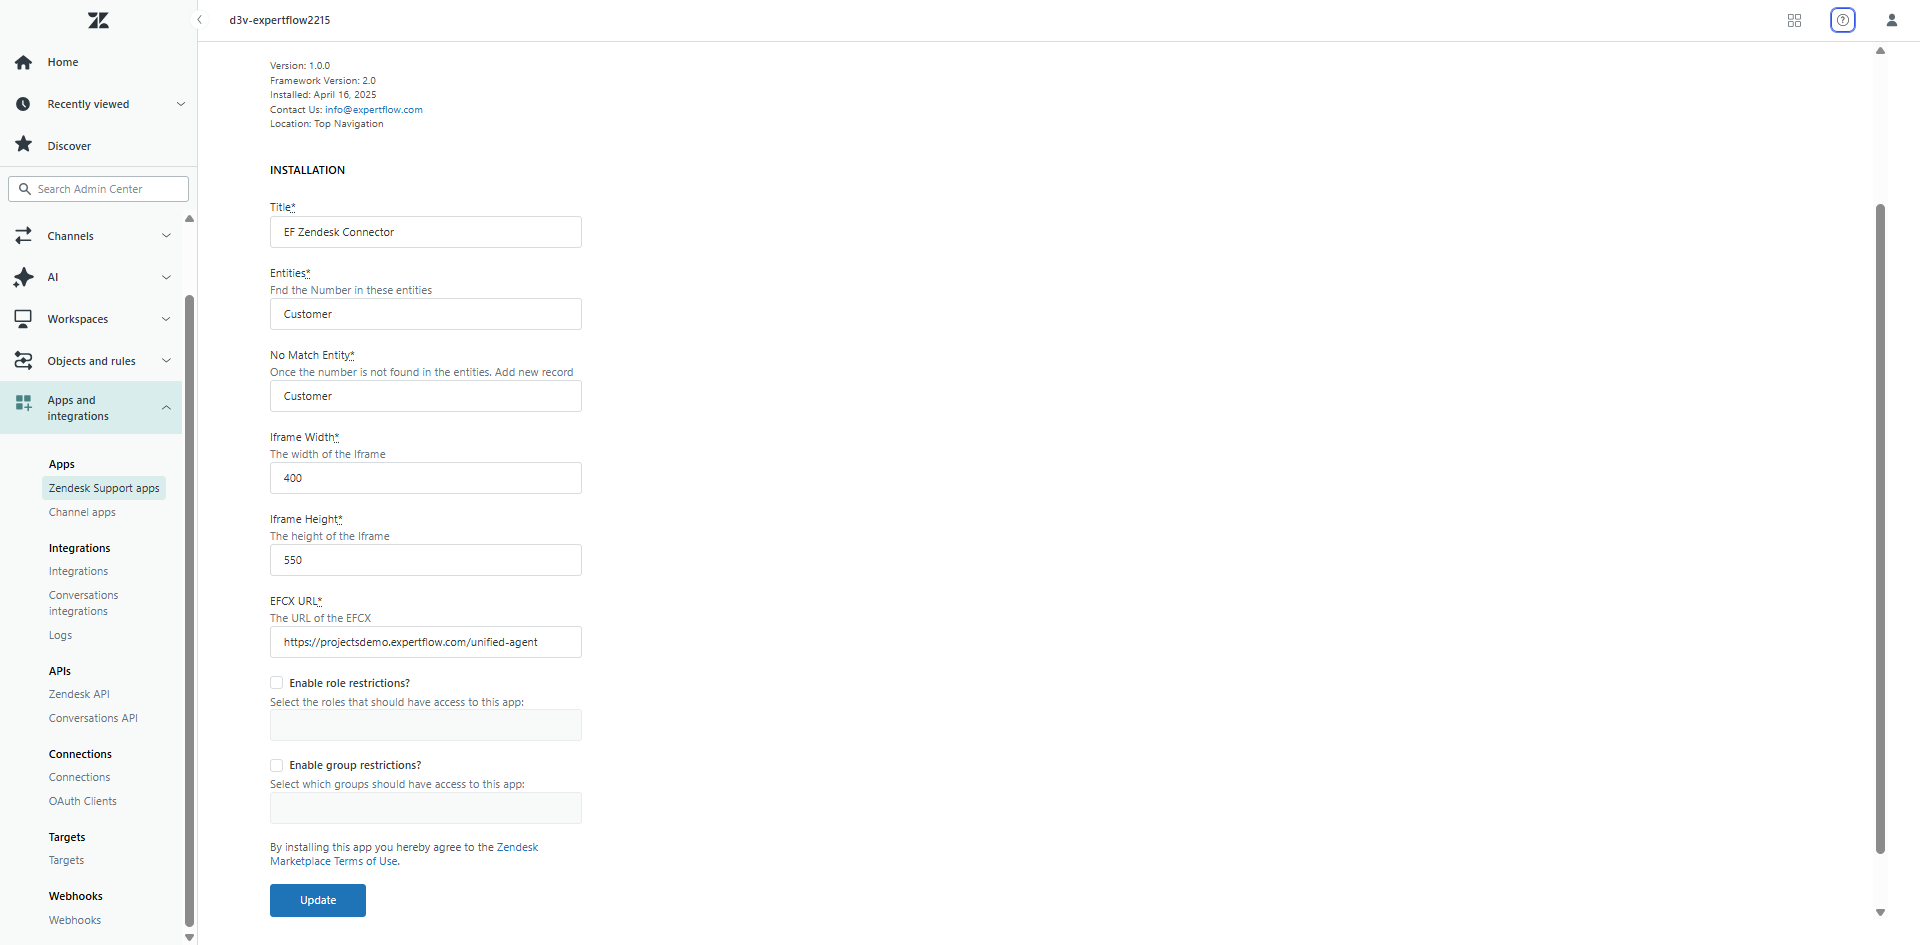
Once the app will be uploaded successfully, you will be redirected to Installation page.
-
You can update the custom values as per your requirements. Custom Values include:
|
Field Name |
Values |
|---|---|
|
Title |
EF Zendesk Connector |
|
Entities |
Customer |
|
No Match Entity |
Customer |
|
Width |
400 recommended |
|
Height |
550 recommended |
|
EFCX URL |
Agent Desk URL (e.g. |
You can update the custom settings anytime by clicking on Private application on admin center.
-
Click on Install button to install your application.
For EF Zendesk Connector, Zendesk Support CRM has only one entity named as Customer.
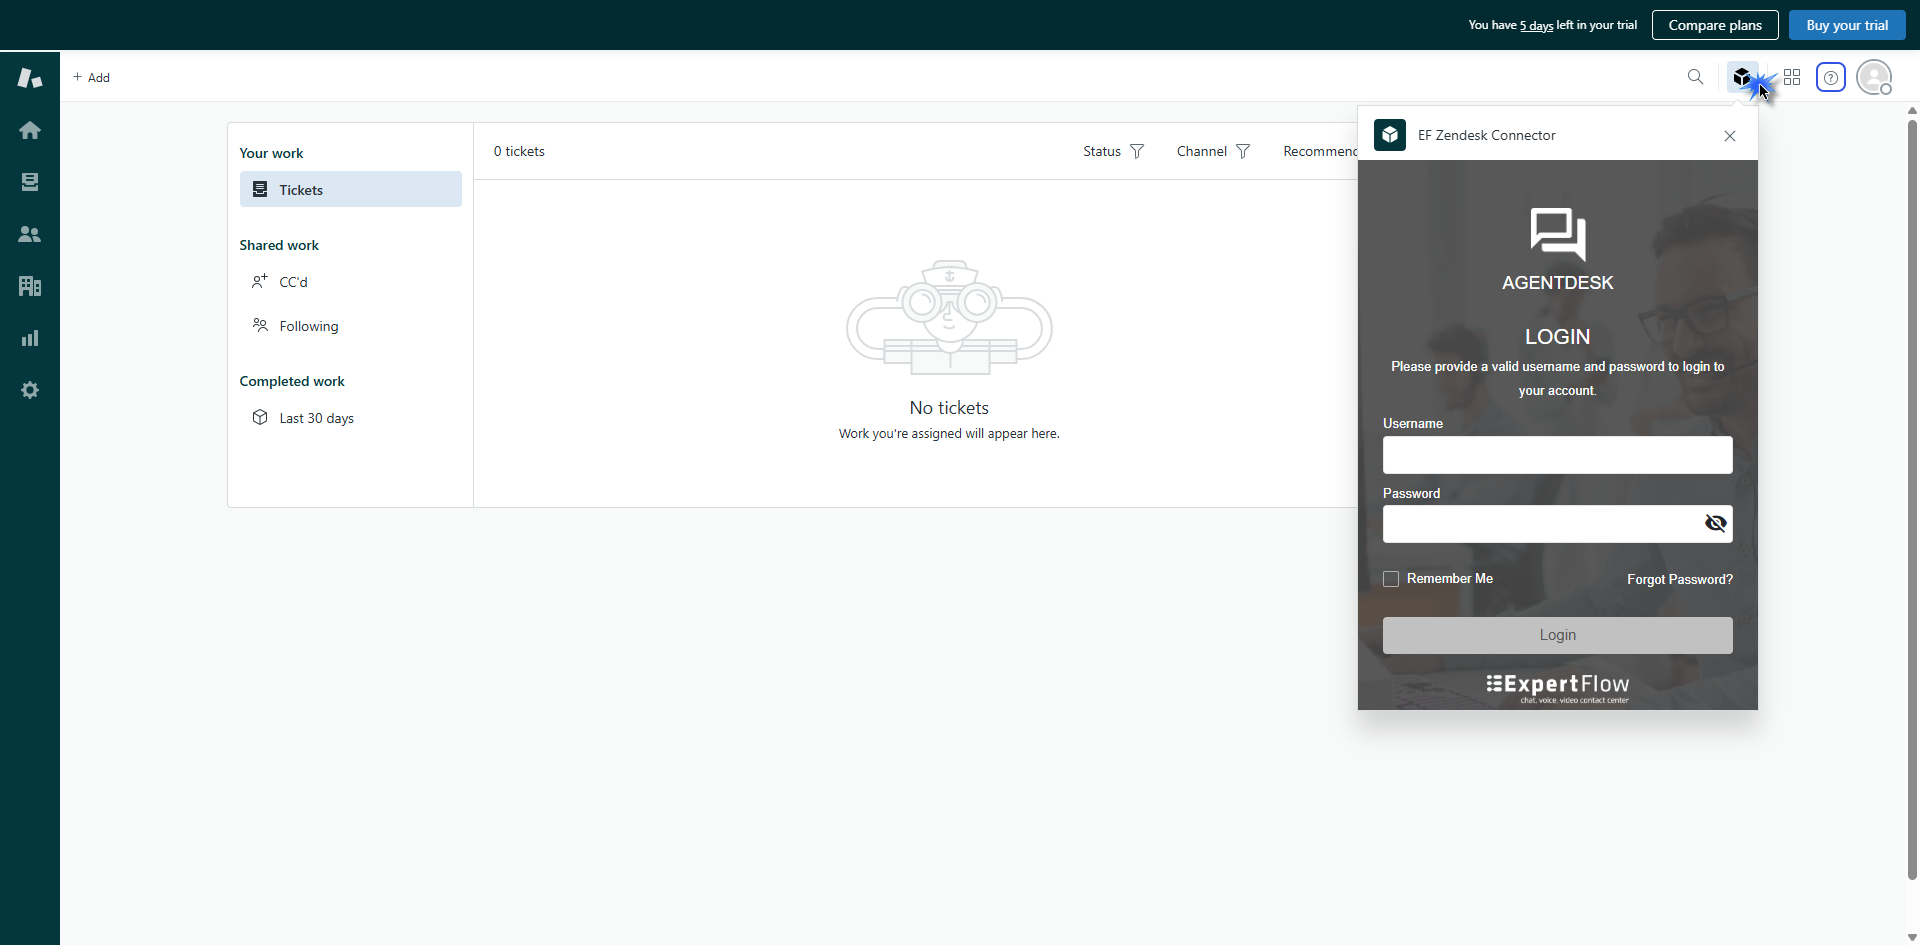
Login to EF Zendesk Connector
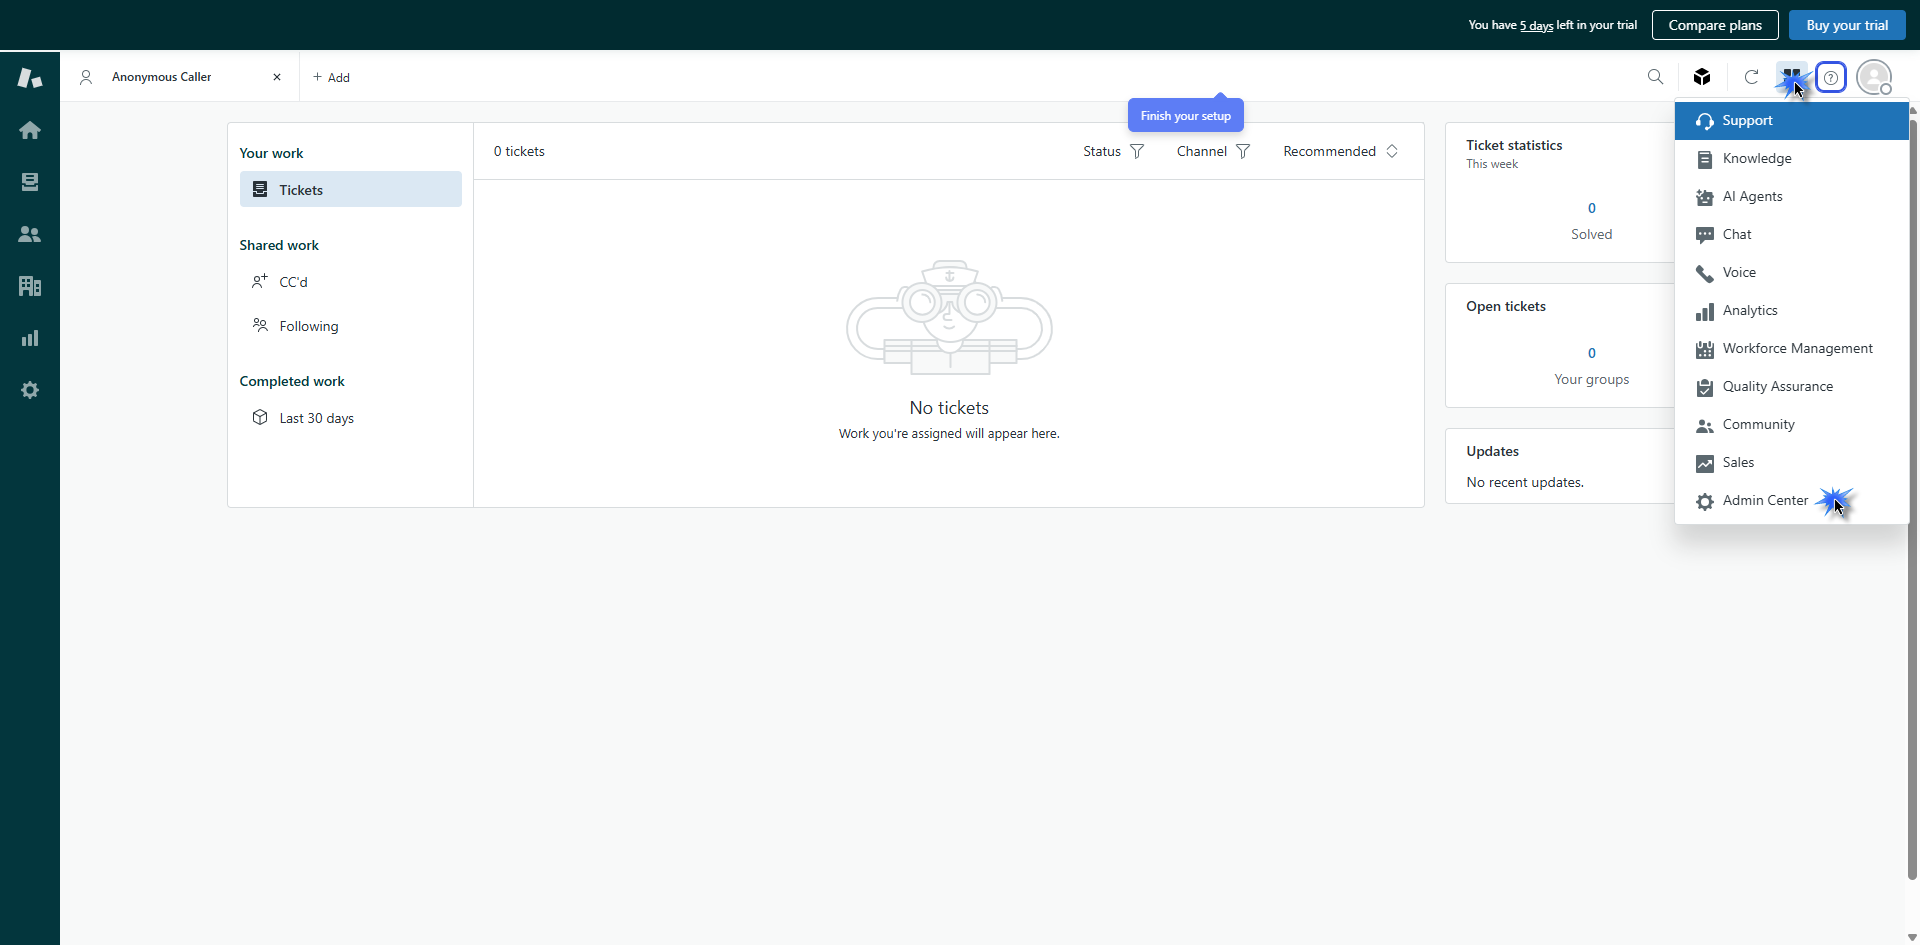
-
Click on Apps from the top right corner and Click on Support.
-
Click on the top right icon for EF Zendesk Connector.