
This guide explains how to enable Keycloak Audit Logging and Event Tracing. Logging helps us monitor security-related activity and maintain visibility into events within Keycloak. The logs emitted by Keycloak are captured by Fluent Bit and forwarded to a log backend such as OpenSearch. This guide also explains how to verify that the logs are being captured correctly by Fluent Bit.
Prerequisites
-
Fluent Bit is deployed/installed on your server or VM. Refer to the Fluent Bit Deployment Guide for instructions.
-
A working instance of OpenSearch (or any SIEM tool) is available to receive logs forwarded by Fluent Bit. Refer to the OpenSearch Deployment Guide for setup details.
-
If no SIEM tool is configured, Fluent Bit will only retain logs within its container and will not forward them to any external system.
-
Types of Logging
Keycloak supports two types of logging:
-
Audit Logging
Audit logging primarily targets admin events. Admin events are actions (create, update and delete) performed by administrators using the Admin Console on various resources. These resources include users, clients, realms, groups, etc.
-
Events Logging
Event logging primarily targets user events. User events are actions performed by end users. These events include LOGIN, LOGIN_ERROR, LOGOUT, LOGOUT_ERROR, INTROSPECT_TOKEN, etc.
Audit and user events are not only generated via the Admin Console or UI actions. Actions performed through Keycloak’s REST API, such as creating users, updating clients, or user logins, also generate the corresponding audit or event logs. This ensures that both UI and API activities are captured consistently.
Enable Logging in Keycloak
You need to enable Keycloak event logging in the Admin Console to capture all audit logs and user event logs generated by Keycloak in Kubernetes. These logs will then be processed by Fluent Bit and forwarded to a log backend.
Steps:
-
Log in to the Keycloak Admin Console.
-
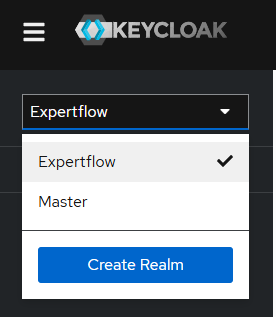
Select your realm from the left-hand menu (for example, Expertflow).
-
Go to Realm Settings → Events. From the Event listeners drop-down menu, select
jboss-logging, then click Save.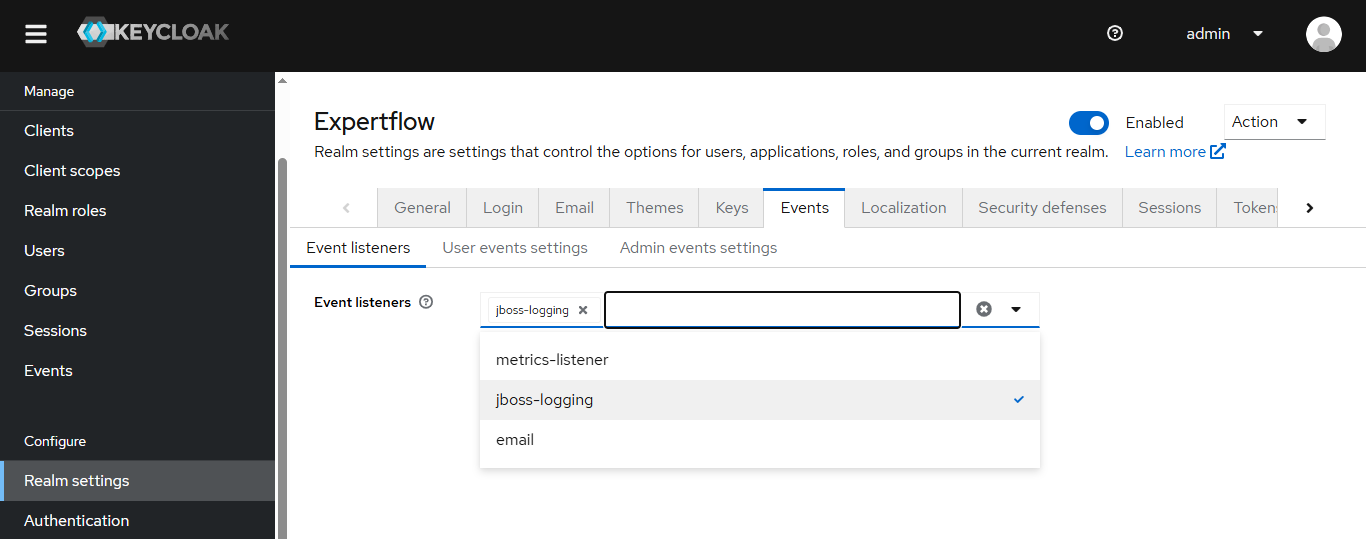
-
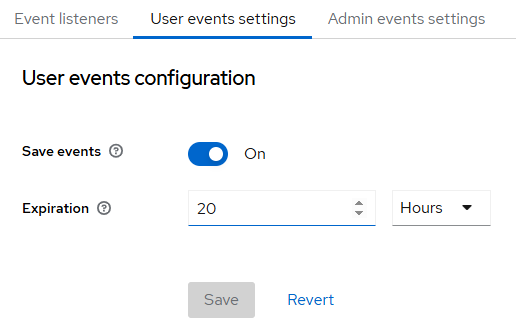
In the User events settings section:
-
Ensure that Save events is enabled.
-
The Expiration field defines the number of hours after which the logs will be deleted from the Keycloak database. Set it as per your requirement.
-
-
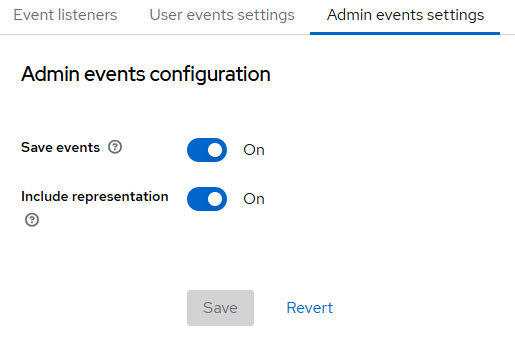
In the Admin events settings section:
-
Enable Save events.
-
Enable Include representation.
-
You have now successfully enabled logging (both audit and event logging) in Keycloak. After applying these settings, all Keycloak events and audit logs will be emitted to the console (stdout) of the Keycloak pod running in Kubernetes. These logs will then be captured by Fluent Bit and forwarded to the configured log backend.
Logs Verification
To verify that the logs are being generated by Keycloak and captured by Fluent Bit for forwarding to a log backend, check the logs of the Fluent Bit pod in your Kubernetes environment using the following command:
k logs -n expertflow <fluent-bit-pod-name> | grep -E '"service":"KEYCLOAK"'
To follow the logs in real time while performing actions, use following command:
k logs -f -n expertflow <fluent-bit-pod-name> | grep -E '"service":"KEYCLOAK"'
This will help you confirm that Keycloak logs are being captured and processed correctly by Fluent Bit.
In some cases, certain fields in the logs may be empty. This is expected behavior and does not indicate an issue with logging.
Logs Format
Both Audit Logs and Event Logs follow the OTLP format. The structure and expected fields for each type of log are described below.