IAM (Keycloak) Configuration for Quality Management
Quality Management has introduced two new roles that a user needs to be assigned to interact with the available options through Unified Admin.
-
Quality Manager
-
Evaluator
First we need import the following auth file to get all the quality-management related permissions.
Importing Auth File into Keycloak
Step 1: Login to IAM (Keycloak)
Access the Application (Keycloak) Administration console by opening this URL in your browser: https://<FQDN>/auth. and click on Administration Console.
The default username and password are “admin” and “admin”.
Important Note:
First, make sure you are in the right realm. When you login to IAM (Keycloak), it takes you to the Master realm by default. You need to change that by clicking on the realm dropdown in the top left and choosing tenant from there. For reference, you may see the screenshot below where Expertflow Realm is already selected in the top left dropdown.
Step 2: Adding Realm roles.
After that, choose Realm roles from the left sidebar, as shown in the screenshot below.
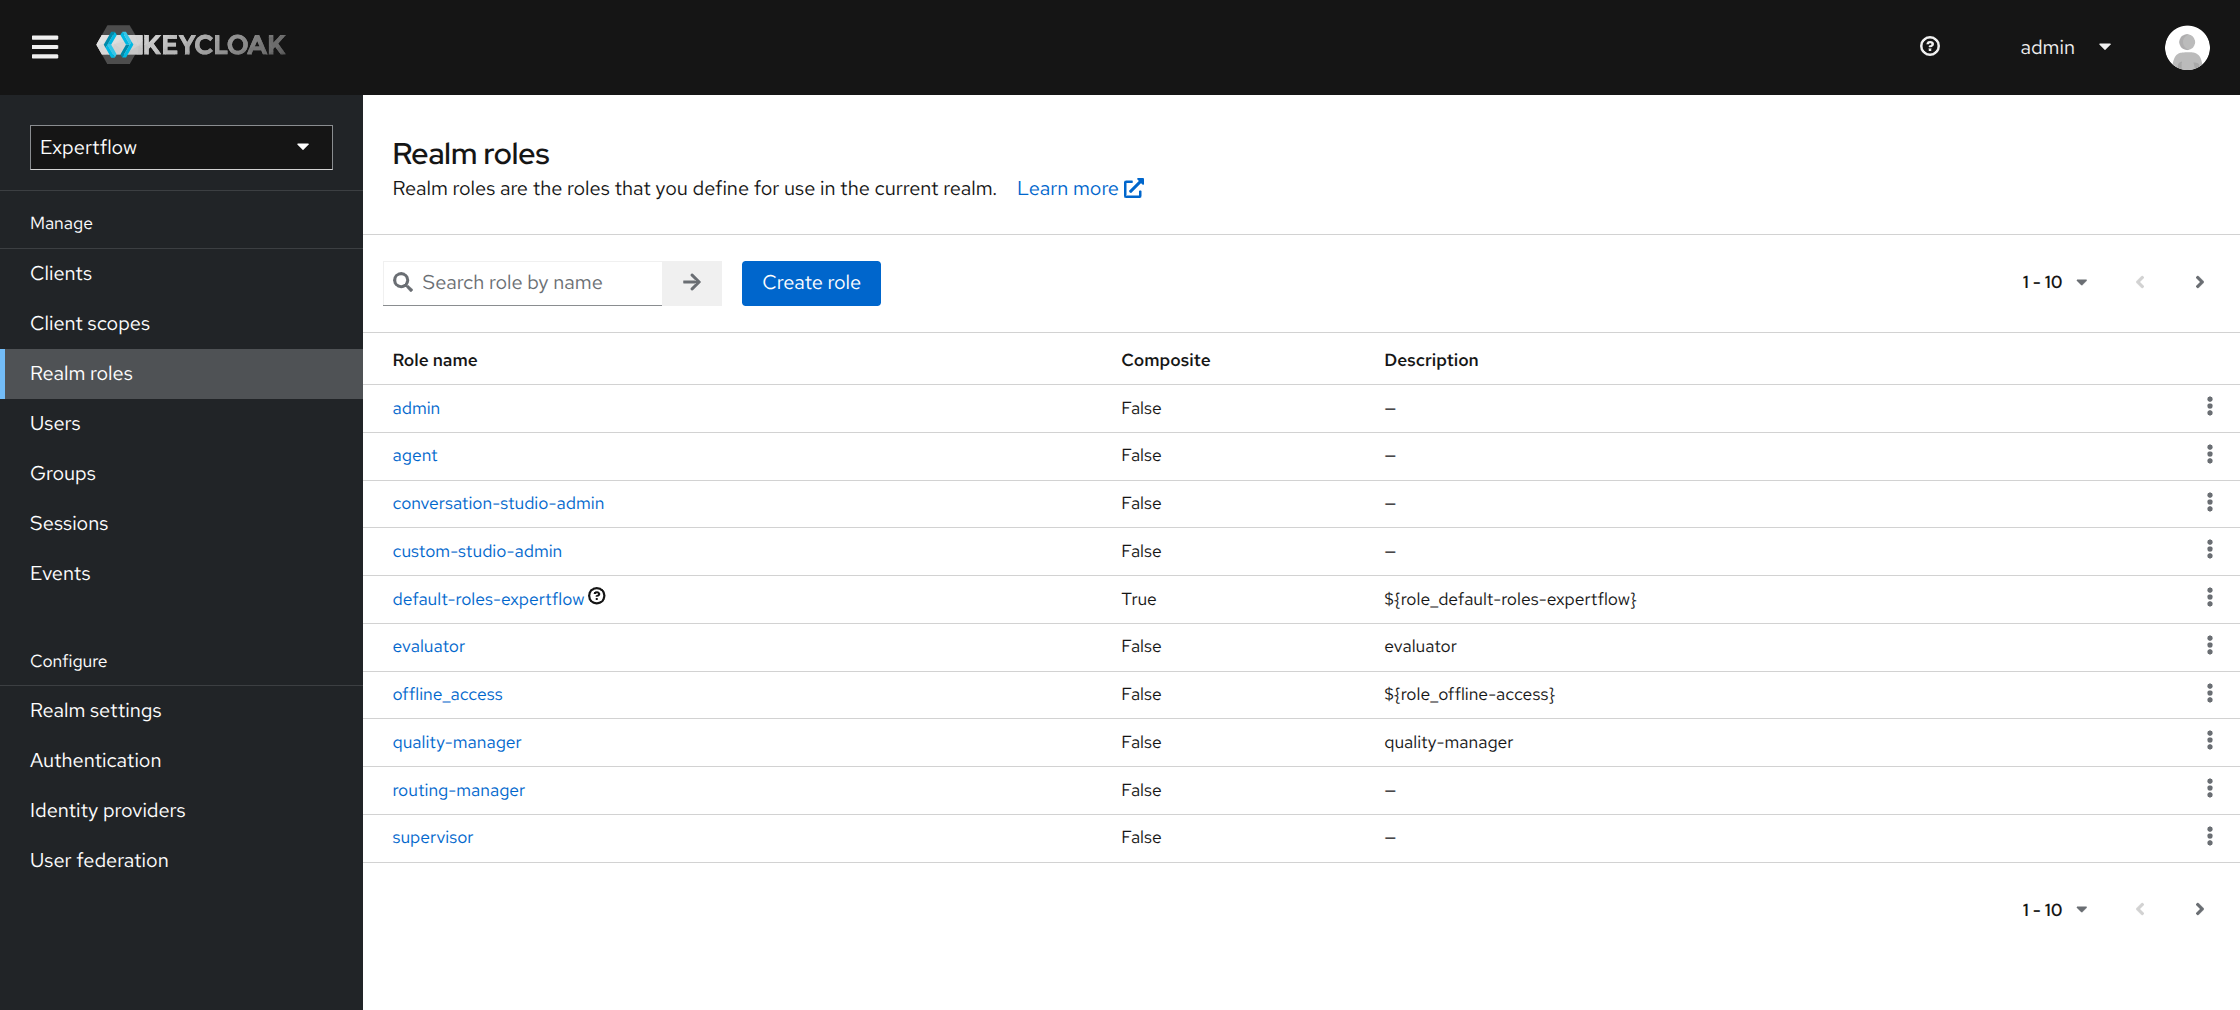
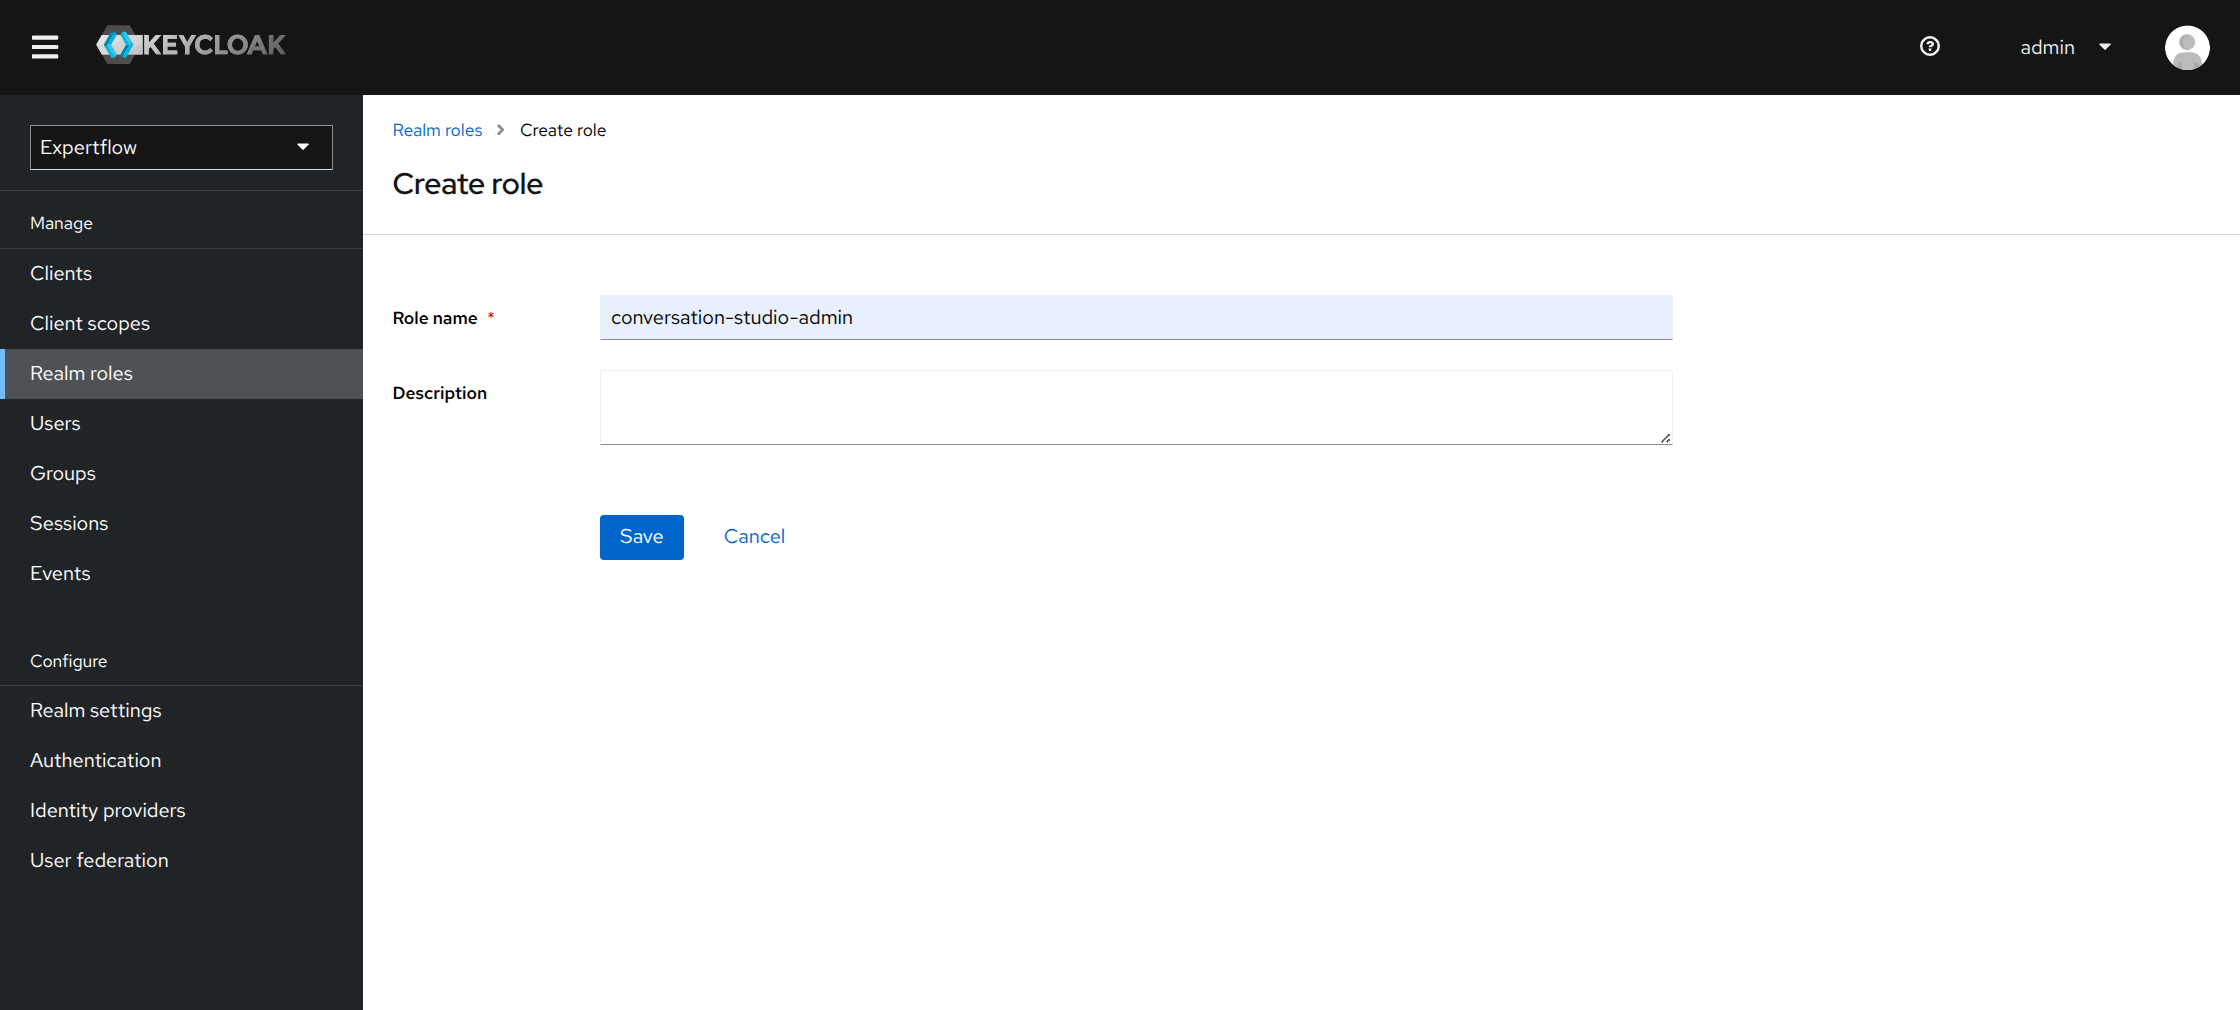
Step 3: Click on Create role and add the role name, and save
Here, need to add three roles:
-
conversation-studio-admin
-
quality-manager
-
evaluator
These above mentioned roles to be added only if they are not present already.
Add the above-mentioned roles, and save them one by one. You can now see the screenshot below, where all three listed roles will be shown once saved.
Step 4: Now go to Clients on the left side navigation bar and click on cim from the client list.
Now, click on the Authorization tab as follows, and click on import.
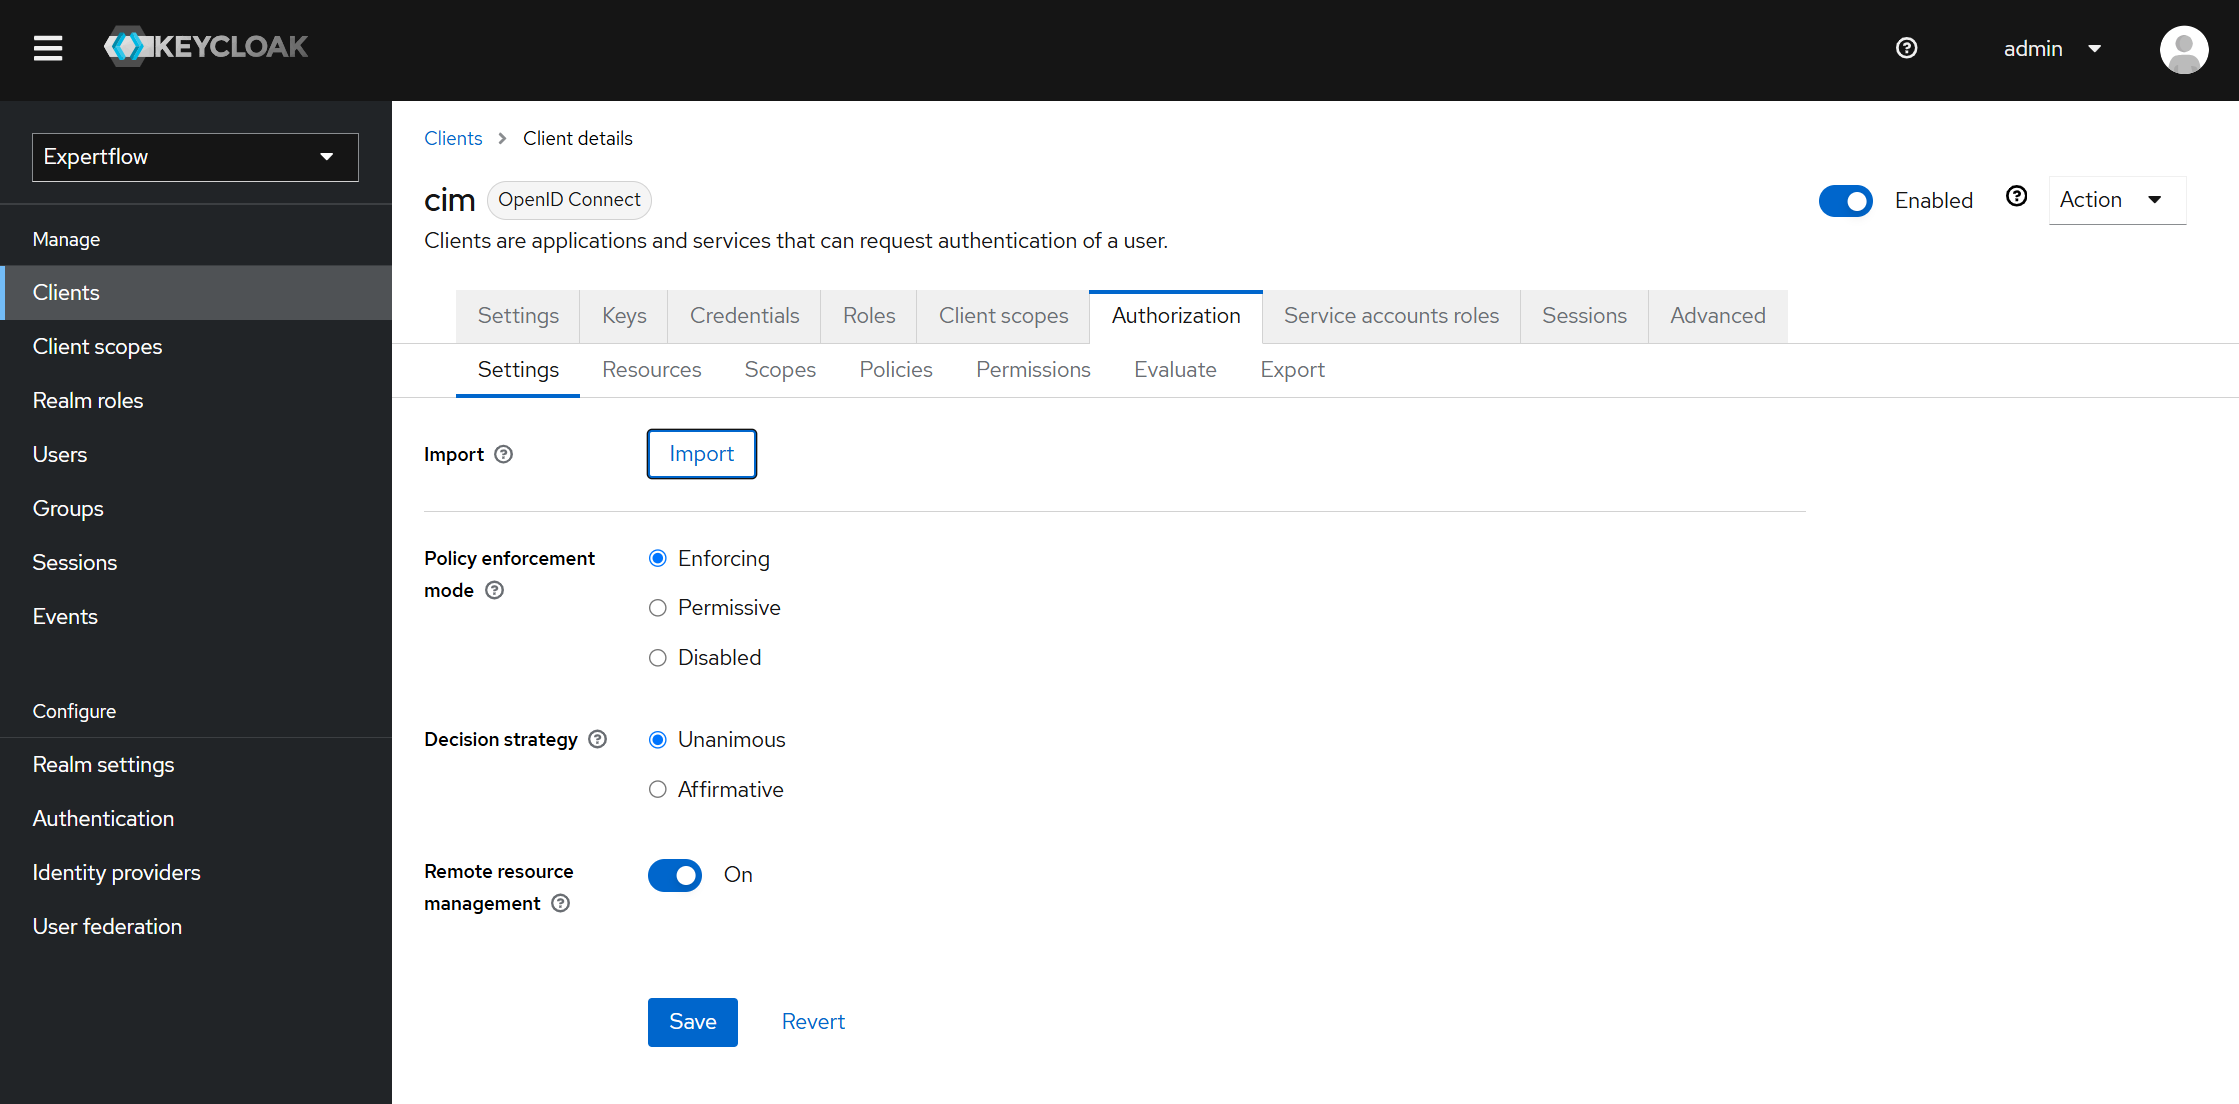
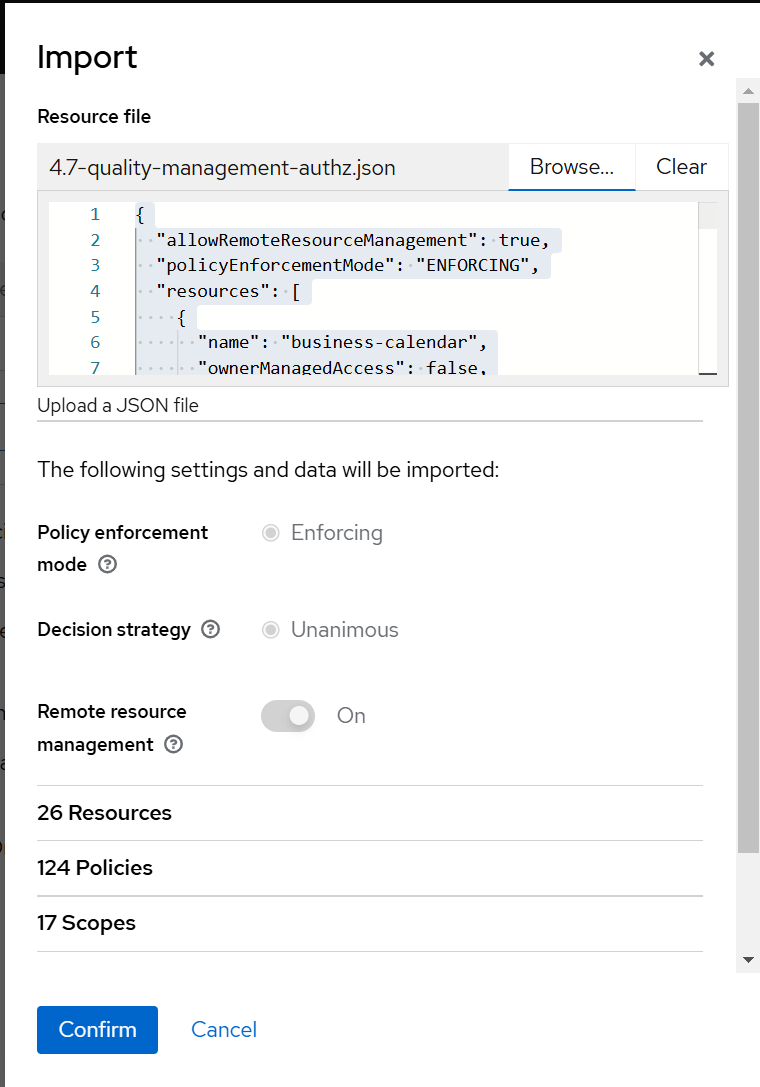
Step 5: Import the Auth file here (provided at the start of the this page) using browse and click on Confirm.
In case there is an error while importing, delete all the resources, scopes, policies, and permissions, and then import the file again.
Now, all is done for adding roles and auth in IAM(Keycloak) for Quality Management.
Creating an user and assigning Quality-Manager / Evaluator role
If a user is already created and you just want to assign role, then start from step 4.
Step 1: Create a user in IAM(Keycloak)
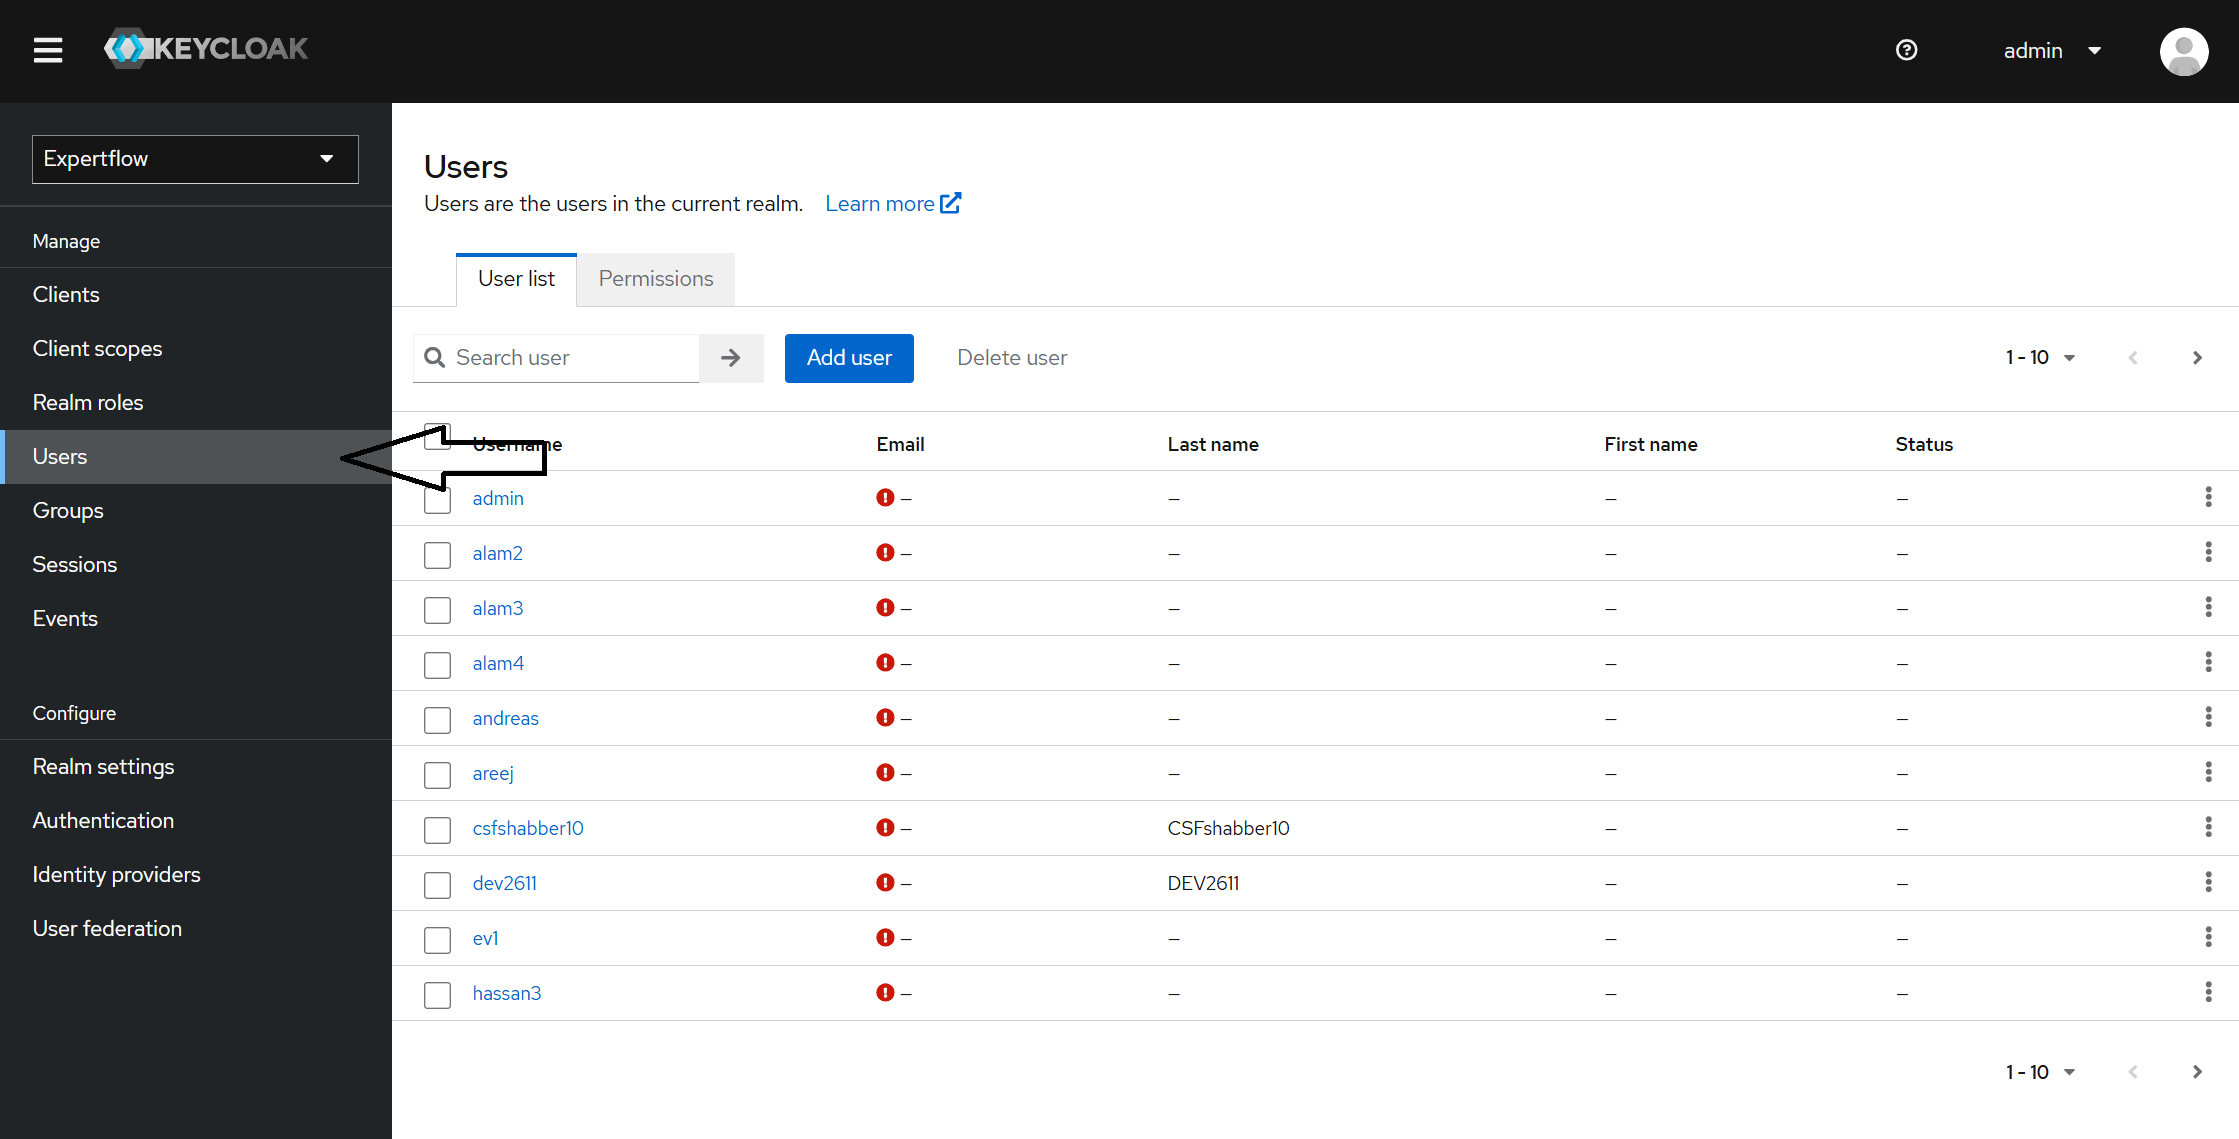
Click on Users on the left sidebar navigation and click on Add user.
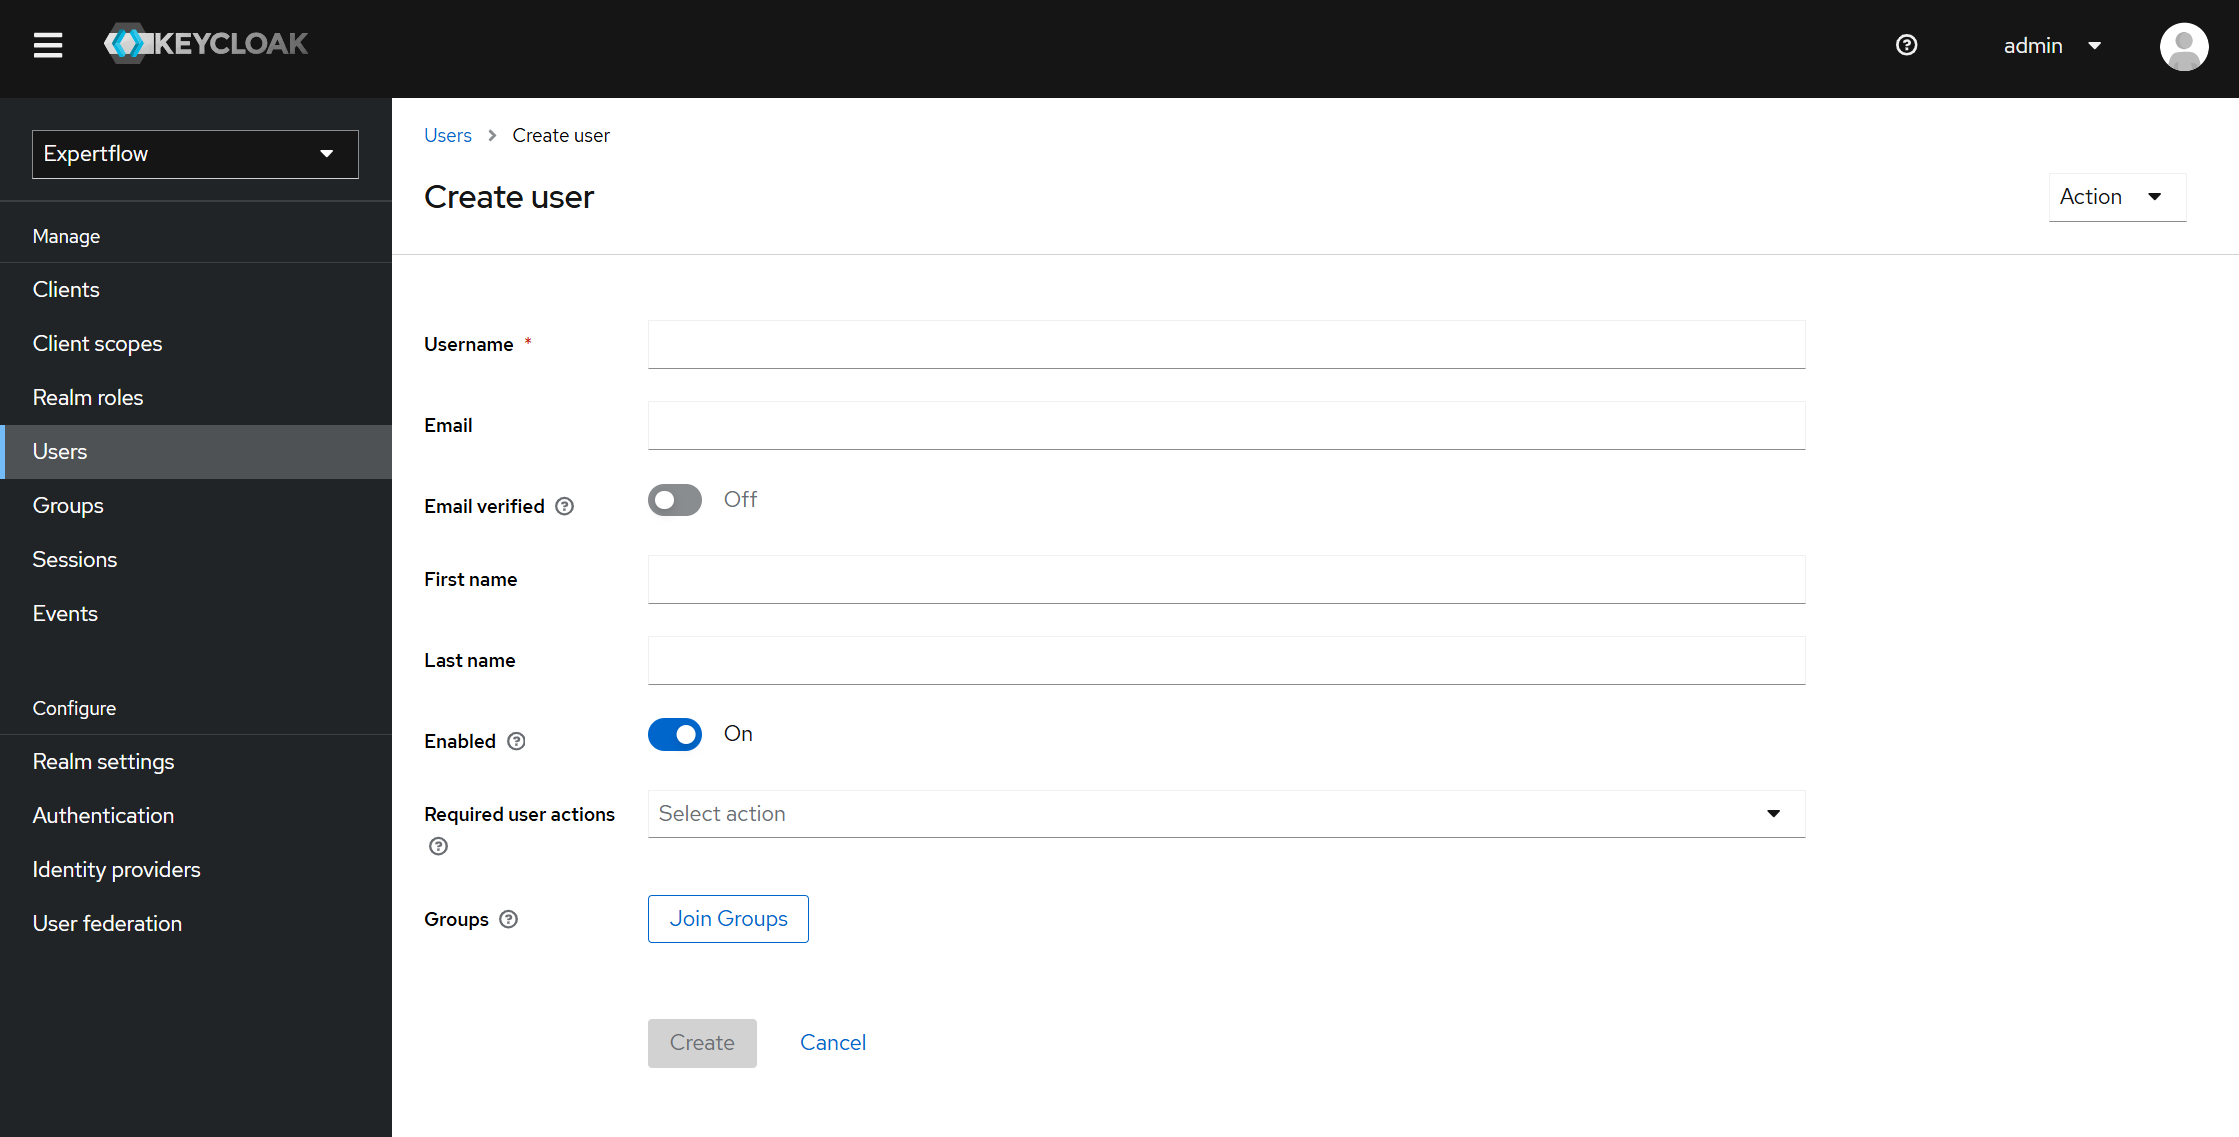
Step 2: Fill in the following form
Fill the form. Username is compulsory here, and click on the Create button below.
Step 3: Setting the Password
After creating the user, you need to set passwords, using the Credentials tab.
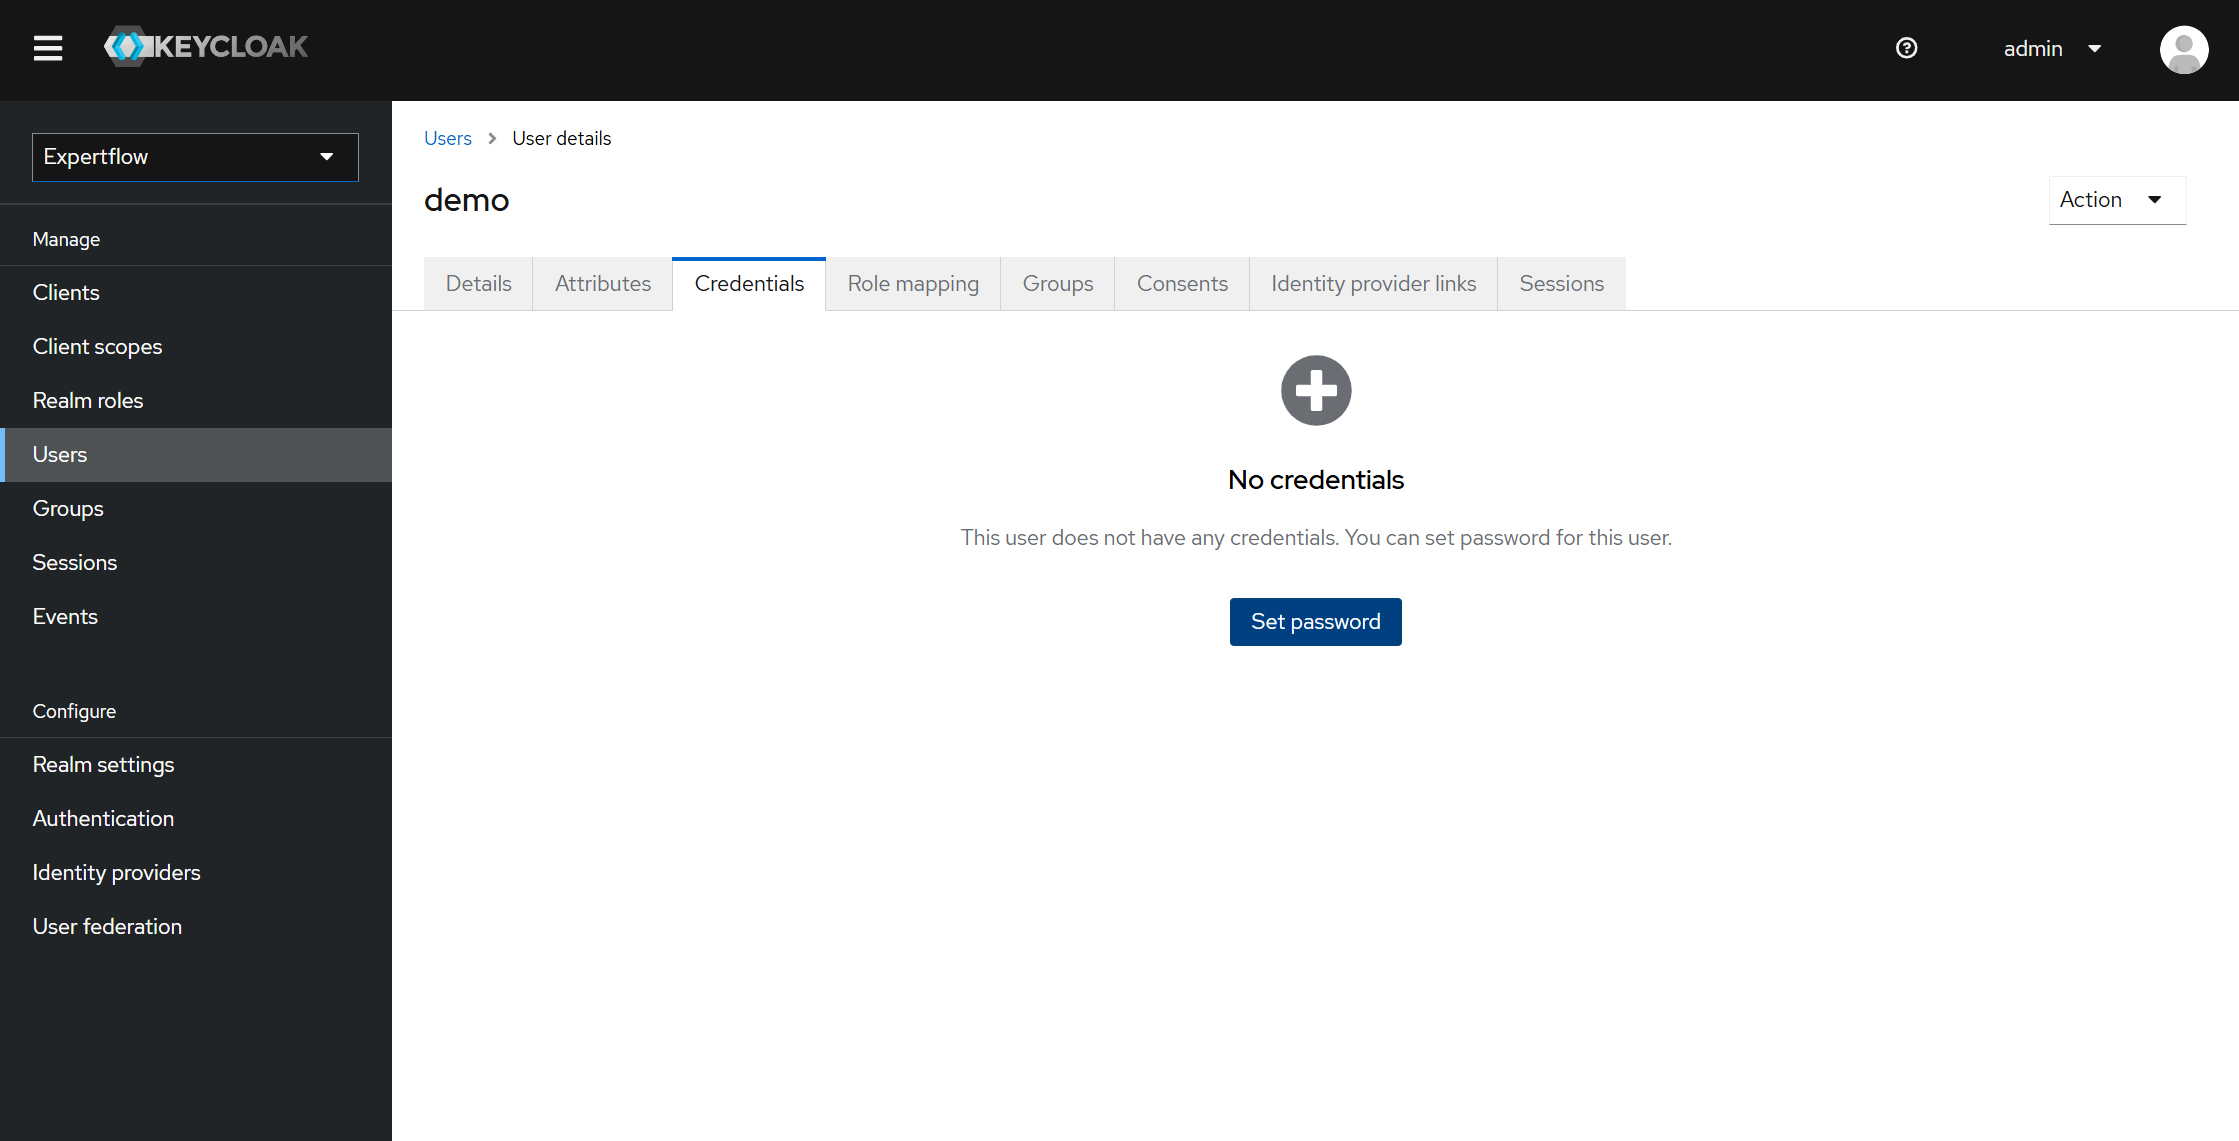
Click on Set Password. The following screen will pop up.
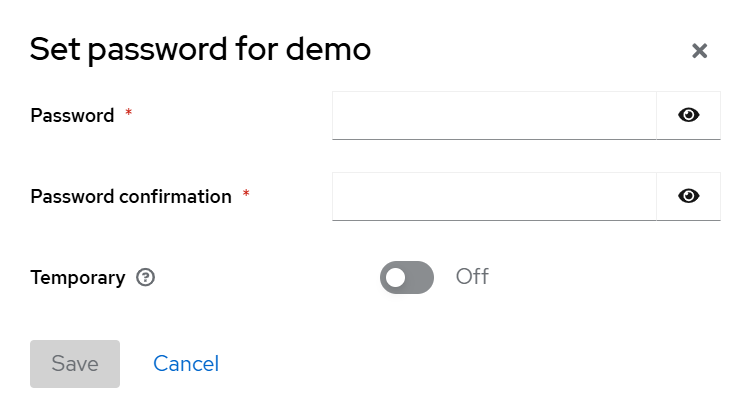
Fill out the password and confirm password fields. Here, need to ensure to toggle off the Temporary field; otherwise, your credentials won't be valid after the first login, and it will be set as a temporary password. Now, click Save. You will be asked for confirmation. Click on Save Password.
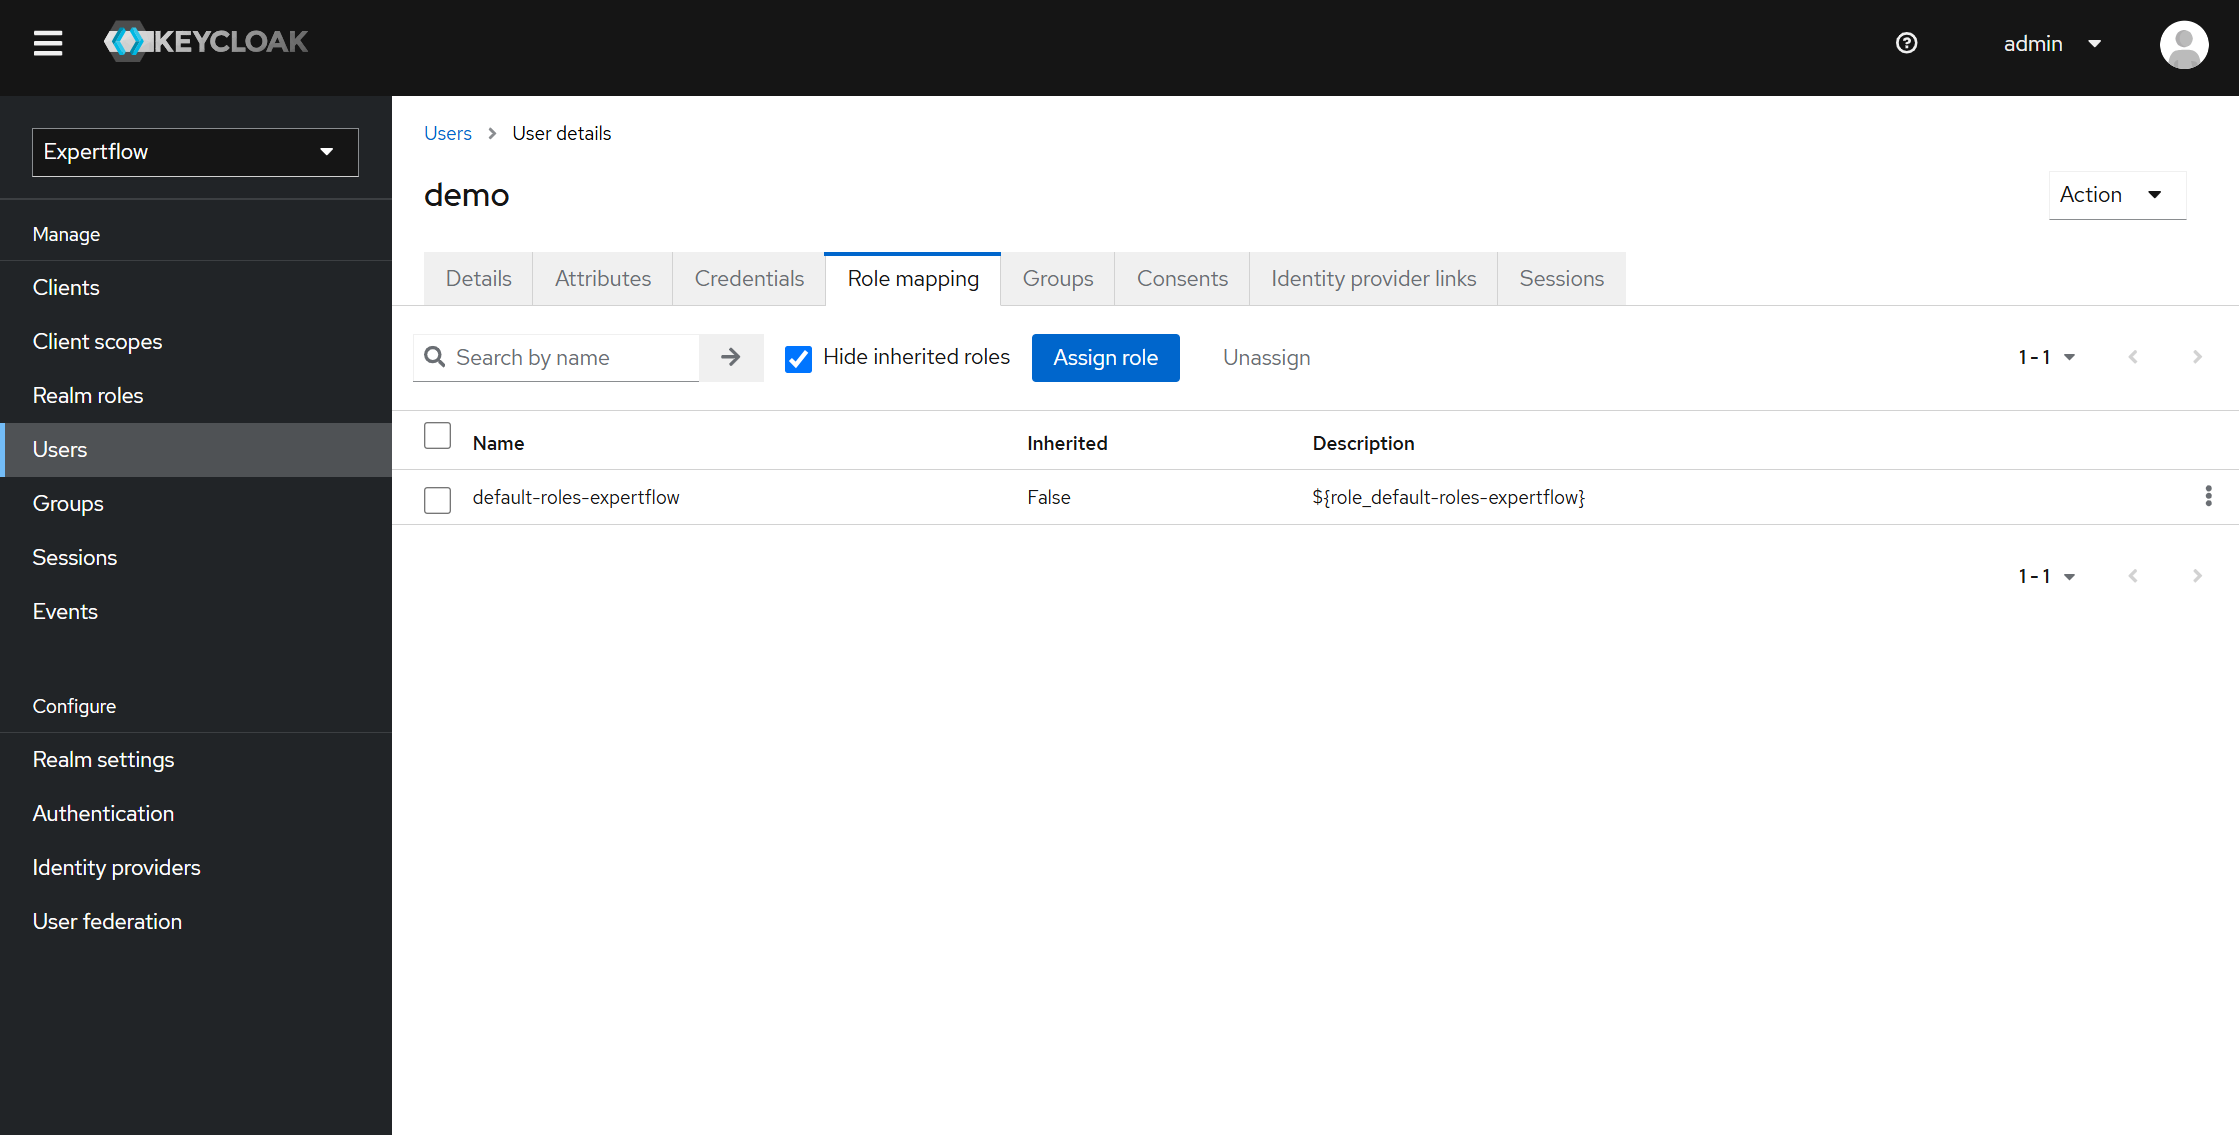
Step 4: Assigning Roles to the user:
Click on the Role Mapping tab when a user is selected. You will see the following screen. Click on the Assign Role button in blue.
The following screen will pop up.
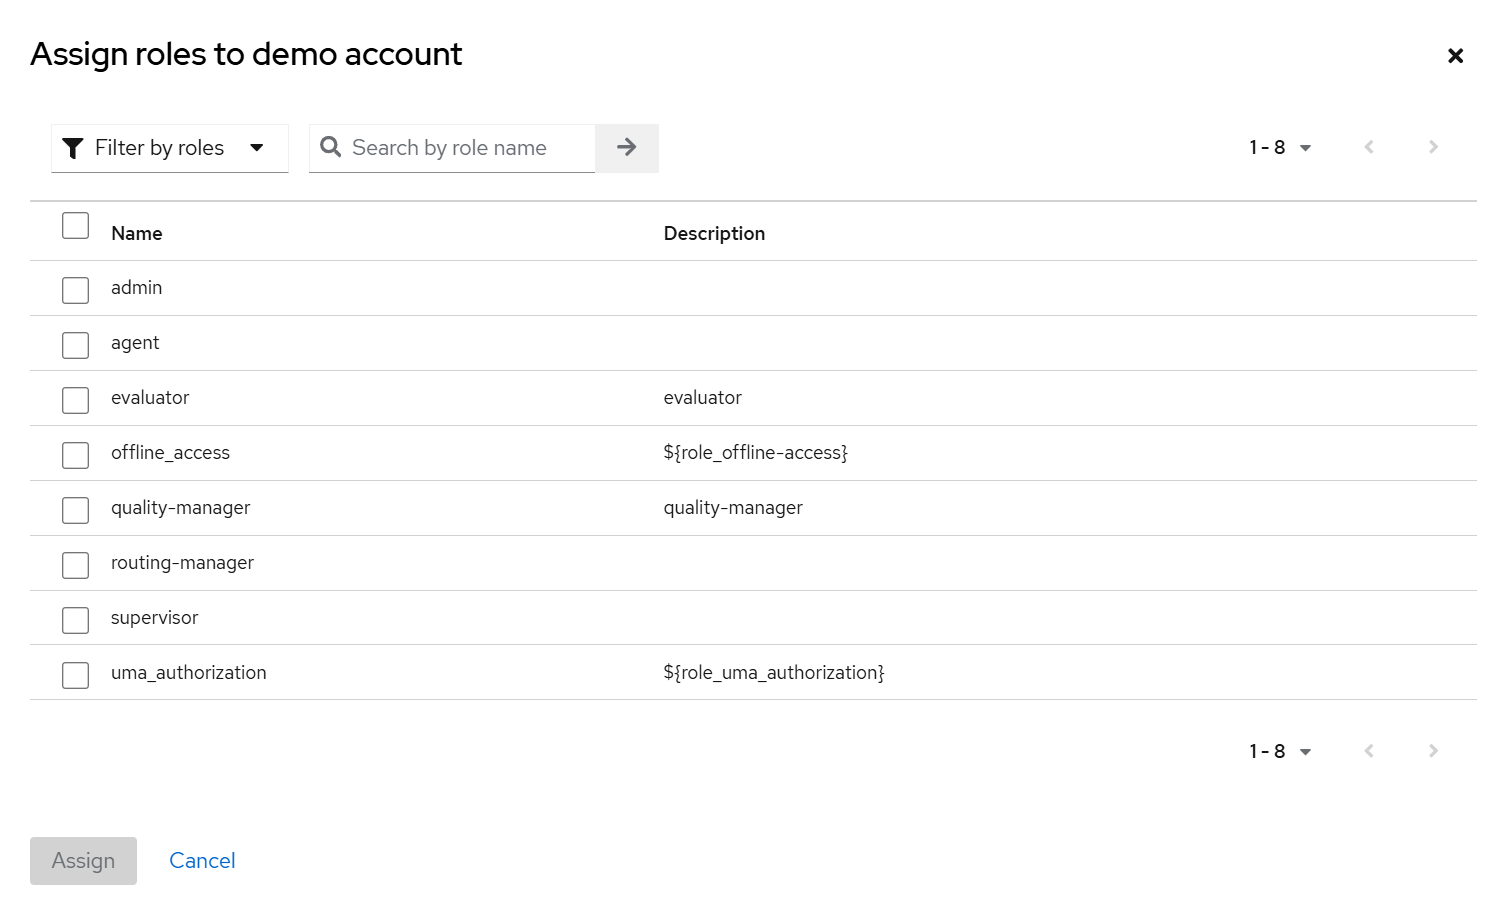
Select the roles you want to assign to the user, as these roles determine their access within the Quality Management module.
-
Evaluator: Has access only to the Reviews List screen.
-
Quality Manager: Has access to all Quality Management screens, including Reviews List, Schedules, Conversation List, and Configuration (view only).
Choose the appropriate role(s) based on the user’s responsibilities and click Assign to confirm.
Once assigned, the setup is complete. You can now log in to Unified Admin using the user’s credentials to verify that access has been granted successfully.
Configuration Component accessibility:
By default, when you login into Unified-admin with admin user, you will be able to see configuration component on left sidebar under Quality Management. Admin is the only role which can access and edit the configuration component settings. When you login with Quality-manager assigned role user other then admin, you can see the configuration component but cannot change the settings.