Introduction
This document provides a comprehensive guide to configuring and managing password policies within Keycloak. It outlines the available options and best practices for securing user accounts. There are 14 password policies available in Keycloak that you can configure and use. This document will cover each policy in detail.
Before diving into the individual policies, let’s first take a look at where you can find them.
Access Password Policies Tab
To access password policies tab, follow these steps:
-
Log in to the Keycloak Admin Console.
-
Select the Expertflow realm from the drop-down menu in the top left corner.
-
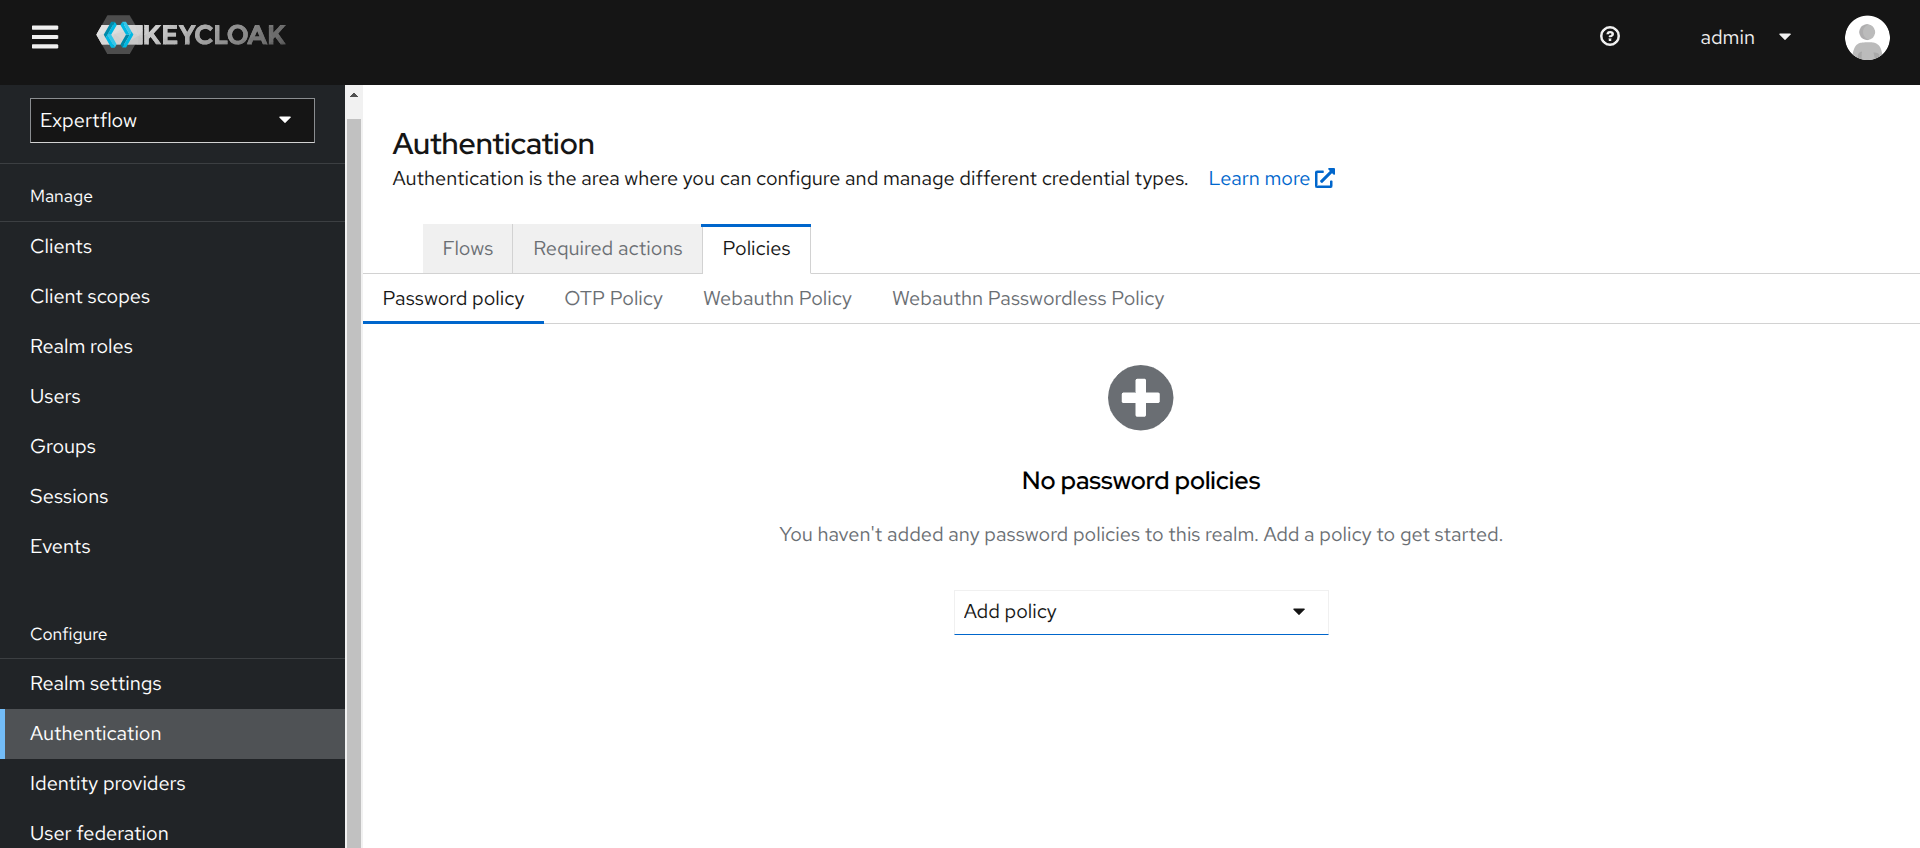
Navigate to the Authentication tab under the Configure section in the left sidebar.
-
Click on the Policies tab, then select Password policy within that tab.
-
Here, you can add different policies using the drop-down menu labeled Add policy.
The next section outlines the steps from here onward.
Configure Password Policies
In this section, you’ll learn how to configure various password policies according to your needs. We’ll cover each policy one by one. After adding the first policy, the Add policy drop-down menu will move to the top, as shown below. You can also remove a policy by clicking the minus icon next to it.
If any policy requirement is not met, an error related to that policy will be displayed.
Keycloak Limitation
To update a policy, you must remove the existing policy and add a new one. Follow these steps:
-
Remove the current or old policy by clicking the
icon next to the policy.
-
Click Save. The policy will be removed.
-
Click Add policy.
-
Select the desired policy and set the new value.
-
Click Save. The policy will be updated.
1. Password Length Policies
This category allows you to define both the minimum and maximum lengths for user passwords. It ensures that users create passwords that are neither too short nor excessively long, by enforcing the specified character limits.
Policies Covered (2):
-
Minimum Length
-
Maximum Length
Steps:
-
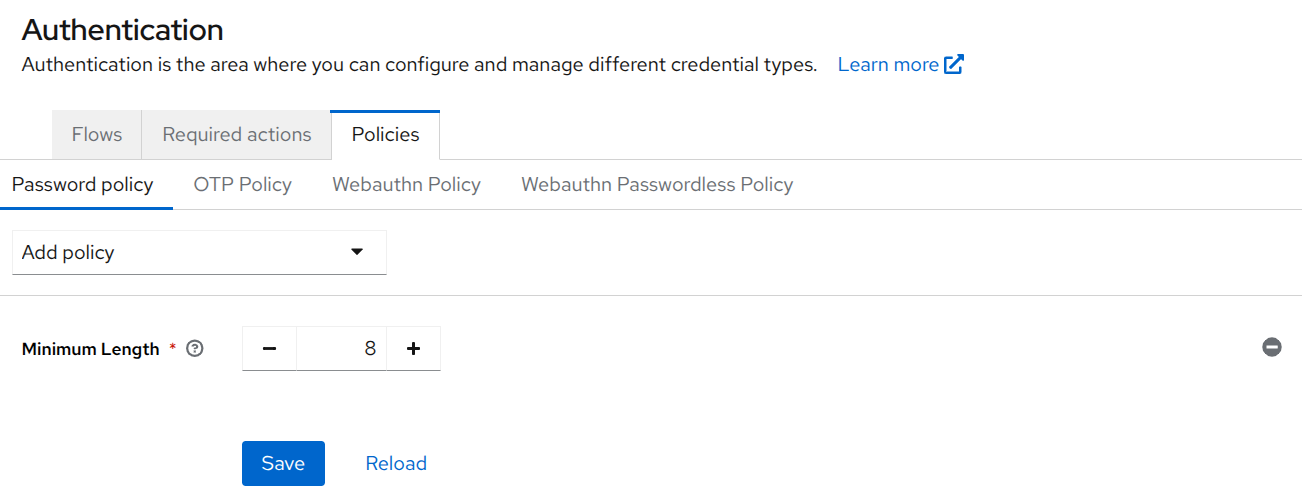
Select Minimum Length or Maximum Length from the drop-down menu, depending on the setting you want to configure.
-
You’ll see the option to set the password length.
-
For Minimum Length, specify the minimum number of characters required (e.g., 8 characters).
-
For Maximum Length, specify the maximum number of characters allowed (e.g., 64 characters).
-
-
Click Save.
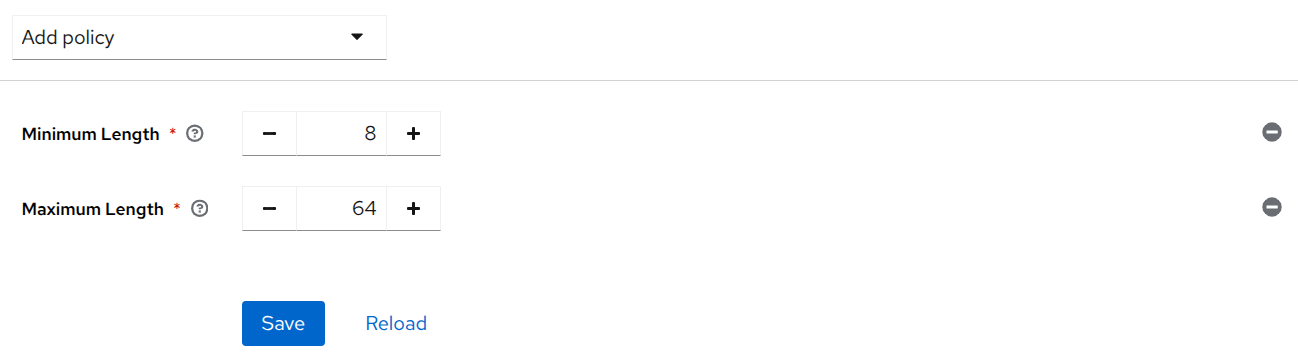
When configuring password length policies, make sure the values you set are logically valid. The Minimum Length must always be less than the Maximum Length. If you set contradicting values, the policy becomes impossible to satisfy.
For example, if the maximum length is less than the minimum length, no user will be able to create or update their password because at least one of the policies will always be violated.
2. Characters’ Requirements Policies
This category allows you to enforce the use of specific character types in user passwords. You can define the minimum number of special characters, uppercase letters, lowercase letters, and digits required to strengthen password complexity.
Policies Covered (4):
-
Special Characters
-
Uppercase Characters
-
Lowercase Characters
-
Digits
Steps:
-
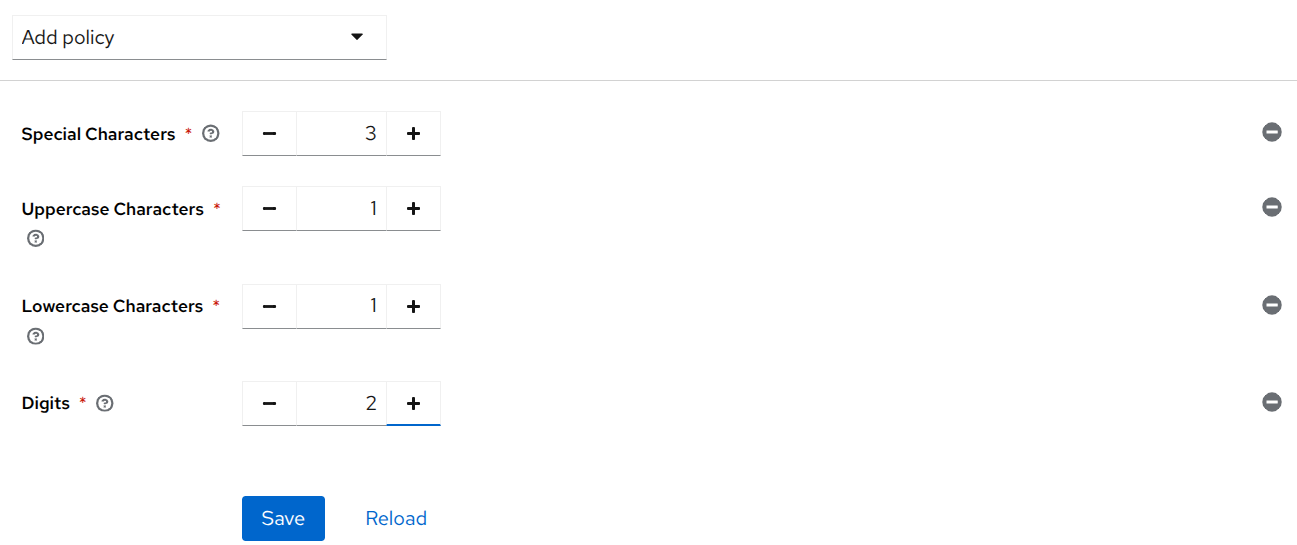
From the drop-down menu, select the character type you want to configure:
-
Special Characters
-
Uppercase Letters
-
Lowercase Letters
-
Digits
-
-
You’ll see an option to configure the minimum number required for the selected character type. For example, you can specify 3 special characters, 1 uppercase letter, 1 lowercase letter, or 2 digits, based on your password policy requirements.
-
Enter the desired value in the input field.
-
Click Save.
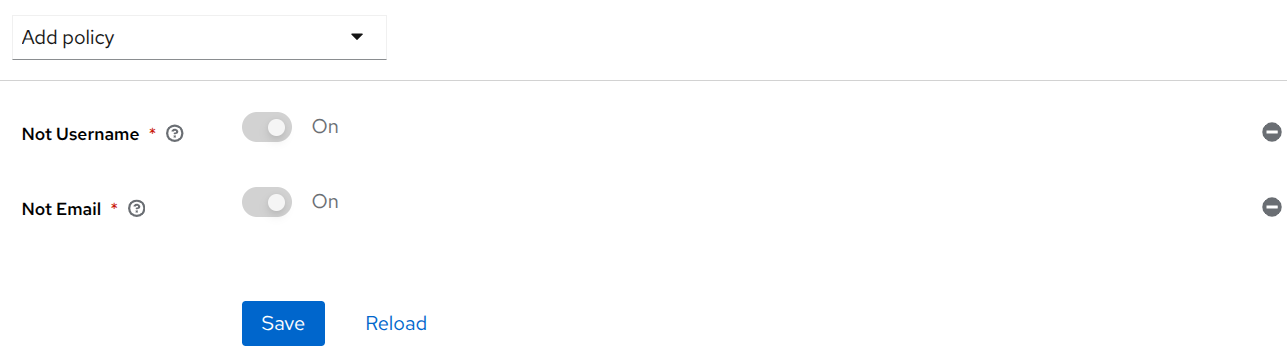
3. Username and Email Restriction Policies
These policies prevent users from using their username or email address as their password, helping to reduce predictable and insecure password choices.
Policies Covered (2):
-
Not Username
-
Not Email
Steps:
-
From the drop-down menu, select either:
-
Not Username: To restrict users from using their username as a password.
-
Not Email: To restrict users from using their email address as a password.
-
-
Enable the selected restriction by toggling the option ON. It will be ON by default.
-
Click Save.
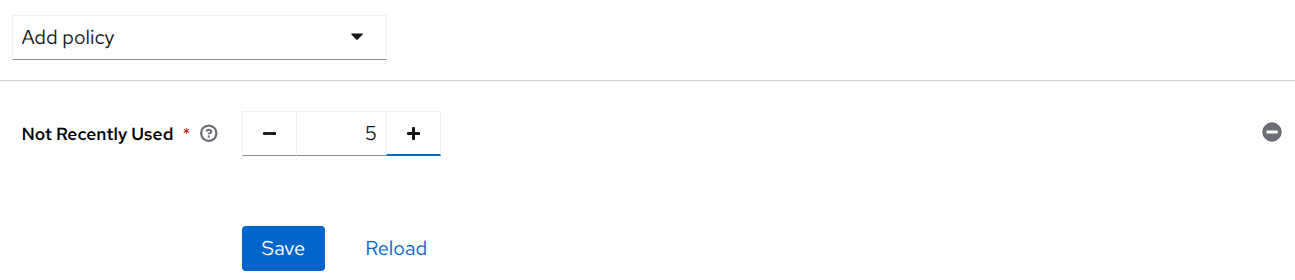
4. Password History Policy
This policy ensures that users do not reuse any of their recently used passwords. It helps maintain strong passwords by enforcing the use of new and unique passwords during updates or resets.
Steps:
-
Select Not Recently Used from the drop-down menu.
-
You’ll see an option to specify how many previous passwords should be remembered and blocked from reuse (e.g., last 5 passwords).
-
Enter the desired number in the input field.
-
Click Save.
-
Setting the value to 5 means Keycloak will consider your current password as the 5th in the history and will block it along with the previous four passwords.
-
Keycloak starts tracking password history only after the policy is set. At the time the policy is set, it will only recognize the current password, and history will be maintained from that point onward.
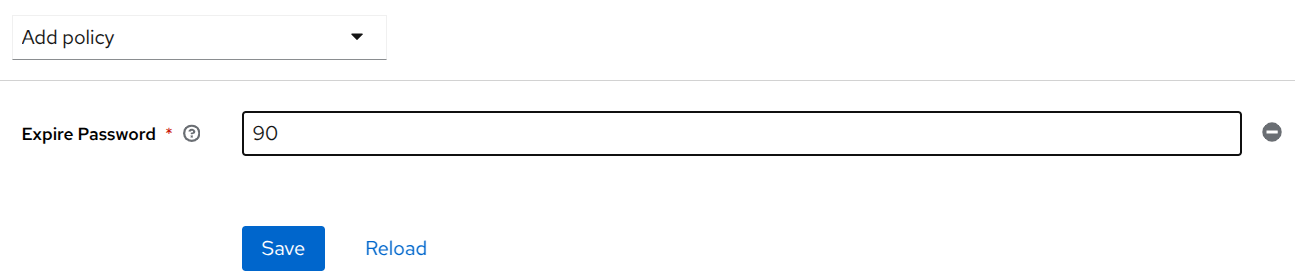
5. Password Expiration Policy
This policy enforces a time limit for how long a password remains valid. After the specified duration, users are required to update their passwords, helping to reduce the risk of compromised credentials over time.
Steps:
-
Select Expire Password from the drop-down menu.
-
You’ll see an option to configure the expiration period. Specify the number of days after which the password should expire (e.g., 90 days).
-
Enter the desired value in the input field.
-
Click Save.
-
Once a password expires, updating it is mandatory and can not be bypassed even if the policy is removed.
-
Number of days specified must be greater than 0 (1 to N).
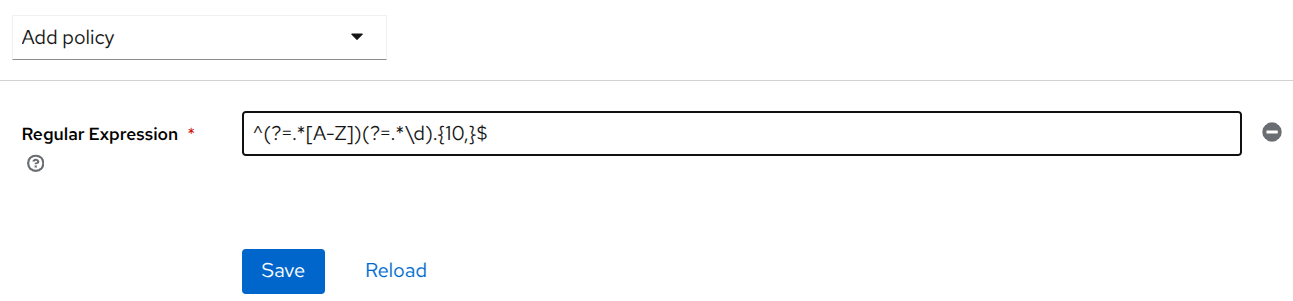
6. Regular Expression Policy
This policy allows you to define custom password rules using regular expressions. It provides maximum flexibility to enforce advanced password patterns according to specific organizational or security requirements.
Steps:
-
Select Regular Expressions from the drop-down menu.
-
You’ll see an input field where you can enter a regular expression pattern to validate passwords. For example, enter this
^(?=.*[A-Z])(?=.*\d).{10,}$regular expression to require at least one uppercase letter, one digit, and a minimum length of 10 characters. -
Click Save.
Be careful when setting Regular Expression policy, and ensure you have a strong understanding of regular expressions. Learn more here.
7. Password Blacklist Policy
This policy prevents users from setting passwords that are commonly used or considered insecure. You can upload a custom blacklist file containing disallowed passwords to enforce stronger password choices across your realm.
Steps:
-
Select Password Blacklist from the drop-down menu.
-
You’ll see an input field to specify the filename of the blacklist. Enter the name of the file that contains the list of blacklisted passwords (e.g., blacklistFile.txt).
-
The blacklist file should be stored in the
/opt/bitnami/keycloak/data/password-blacklists/directory on the Keycloak server. You’ll need the help of Operations team and this guide to place the file in appropriate directory. -
Make sure the file is placed here before activating the policy.
-
Click Save.

-
Blacklist file must be a text file with a
.txtextension. -
Blacklist files are UTF-8 plain-text files with Unix line endings. Every line represents a blacklisted password.
-
Keycloak compares passwords in a case-insensitive manner.
-
All passwords must be in lowercase to enable case-insensitive comparisons.
-
The value of the blacklist file must be the name of the blacklist file, for example, blackList.txt.
The password blacklist policy is causing an issue. We manually place the file inside the Keycloak pod, but in case of a restart, the file gets removed. As a result, the Keycloak UI fails to render. This is a limitation, and therefore, we do not recommend using this policy.
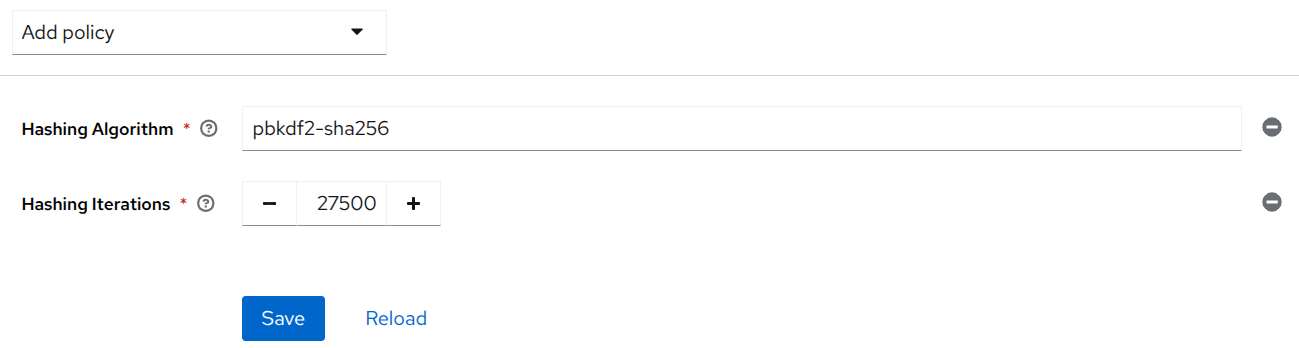
8. Password Hashing Policies
These policies allow you to configure how passwords are securely stored by selecting a hashing algorithm and specifying the number of hashing iterations. It enhances password security by making stored hashes more resistant to brute-force attacks.
Policies Covered (2):
-
Hashing Algorithm
-
Hashing Iterations
Steps:
-
Select Hashing Algorithm from the drop-down menu.
-
You’ll see an option to enter the name of the algorithm used to hash passwords. Enter the name of the desired algorithm. Available options are pbkdf2, pbkdf2-sha256, and pbkdf2-sha512. The default algorithm is pbkdf2-sha256.
-
Next, select Hashing Iterations from the drop-down menu.
-
You’ll see an option to set the number of iterations. Specify the desired value in the input field. Keycloak’s default value is 27500.
-
Click Save.
-
In most cases the hashing iterations should not be changed from the recommended default values. Lower values for iterations provide insufficient security, while higher values result in higher CPU power requirements.
-
To configure these policies, you must have a strong understanding of Hashing.
Advanced Policies
Advanced policies are those not natively available in Keycloak and are implemented exclusively in CX using the Expertflow Keycloak Connector (ef-keycloak-connect). They also include add-ons that extend the natively available Keycloak password policies. Configuring these policies requires technical knowledge of the CX system and its deployment.
Please refer to the following guides for setting up these advanced policies: