Changes for Recording Components(Middleware and Recording Link Uploader)
The Following New environment variables will be added for Recording Link Uploader
-
CX_ROOT_DOMAIN: Root domain of the CX solution (e.g., expertflow.com or ptcl.com). Should be “expertflow” in case of upgradation towards Single Tenant.
-
CX_TENANT_URL: CX tenant url to fetch tenants (e.g., https://tenant4.expertflow.com/cx-tenant). We can use any of the tenant subdomains in place of tenant4, which is configured in CX.
-
And update the image/tag in docker_compose.yml file for Recording Link Uploader
Deployment of Domain Utility
Upgradation of Media Server Scripts
Changing the Extension
Extensions
-
Login to Media Server web interface.
-
Open in browser: https://IP-addr, where IP-addr is the IP address of the Media Server.
-

-
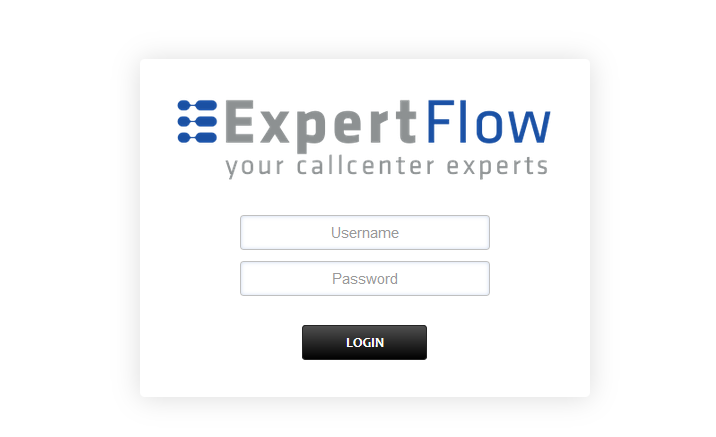
Add the username and password that was shown upon installation of Media Server and press LOGIN.
-
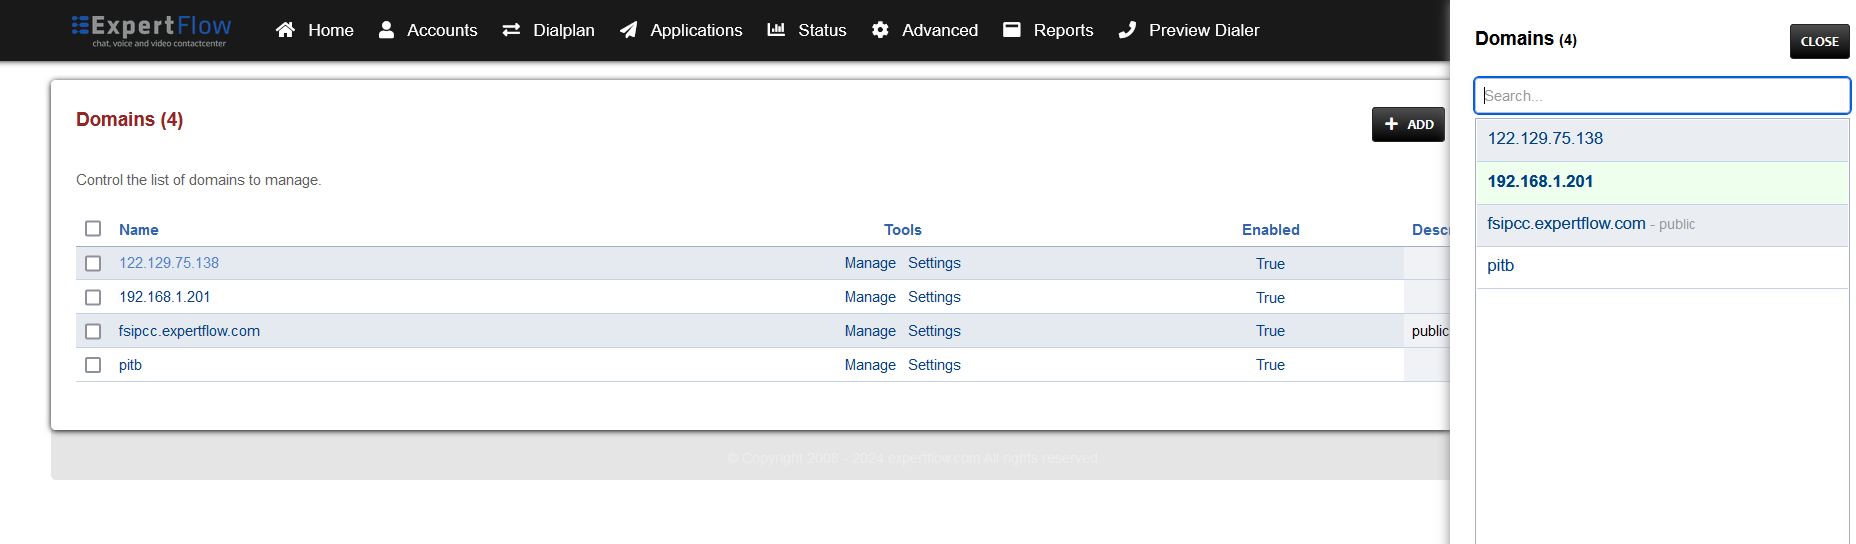
Press the IP address in the top right and select the previously created Domain where all the extension were created before:

-
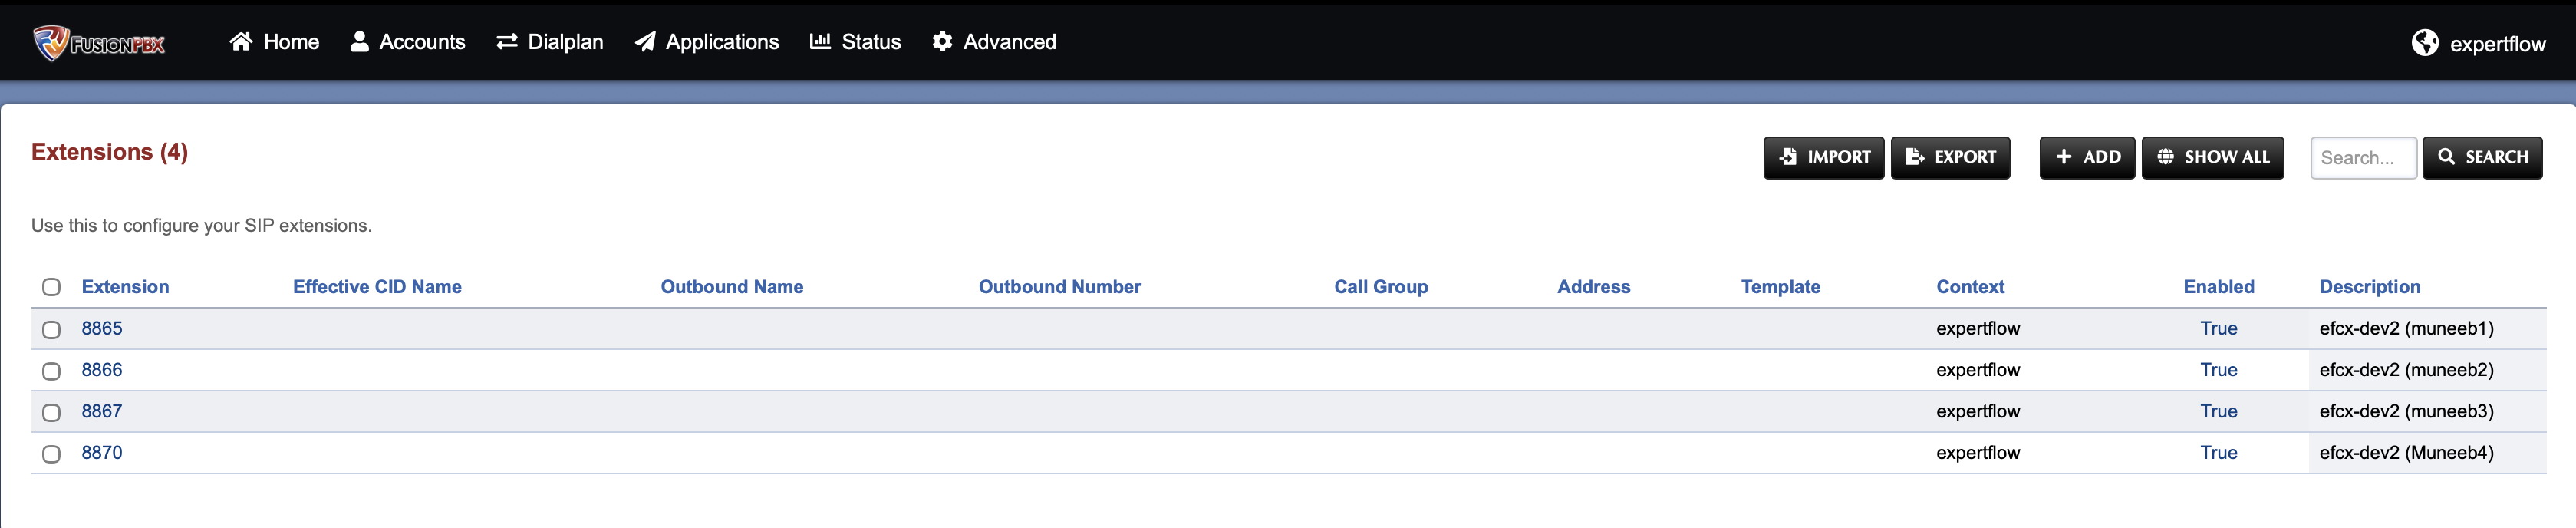
Open the Extensions section under the Accounts tab.

-
Open the extension one be one and scroll down to Domain and context.
-
Change the context and domain name to your newly created Domain e.g expertflow, tenant1.

-
All the Extension will start to appear in the newly created Domain. It can be check by selecting your newly created Domain and to Extensions.
Changes in Dialplans
Domain Specific Dialplan
-
Login to Media Server web interface.
-
Open in browser: https://IP-addr, where IP-addr is the IP address of the Media Server.
-
-
Add the username and password that was shown upon installation of Media Server and press LOGIN.
-
Press the IP address in the top right and select the Old Domain that was in use so far in the Domain creation section above:
-
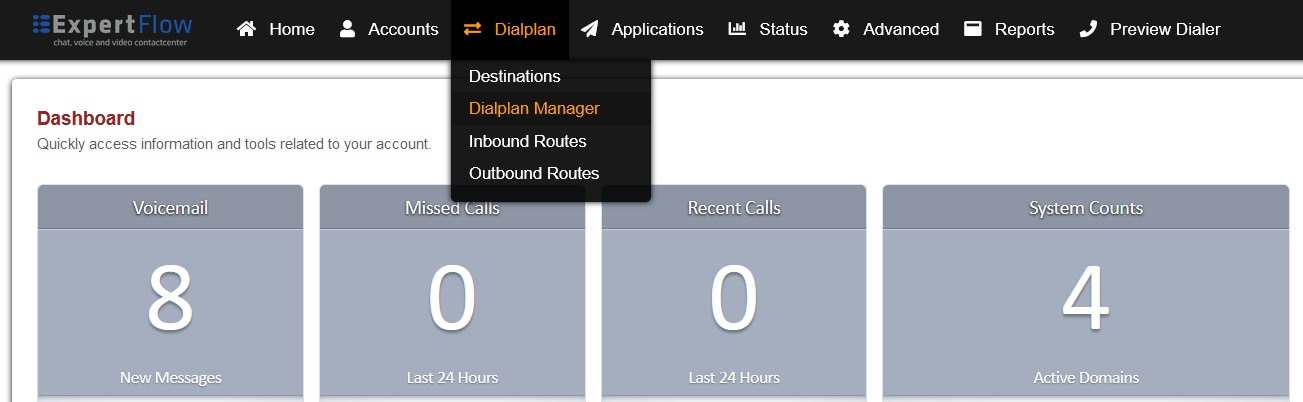
Open the Dialplan Manager section under the Dialplan tab.
-
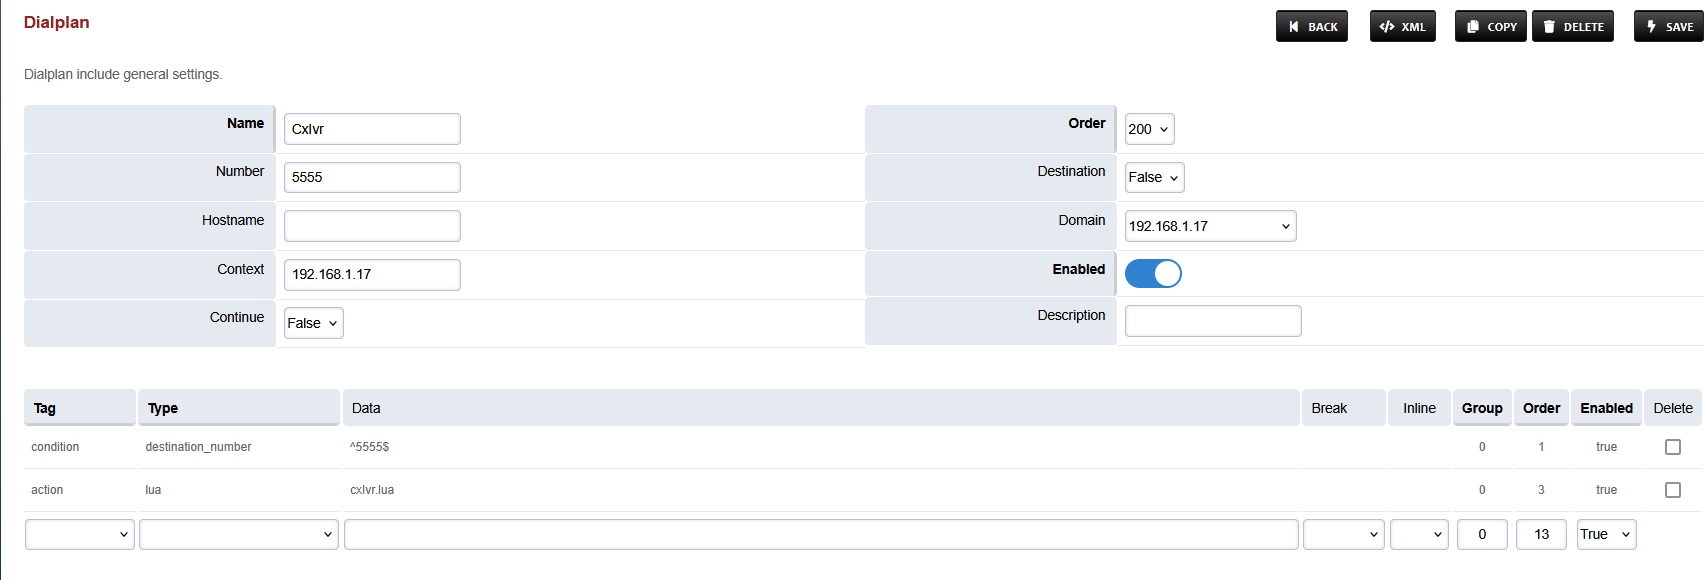
Open the Inbound IVR Dialplan could be named as CxIvr. This is the dialplan where DN is mentioned.
-
Set the Context field to the value of the Domain set in the Domain creation section.
-
Set the Domain field to the value of the Domain set in the Domain creation section.
In case of Multi Tenants, each Domain has it dedicated DN so set the Domain and Context accordingly.
In case of Single Tenant the Domain name and Context would be ‘expertflow’
-
Save the changes by pressing SAVE button in top right corner.
-
Do the same for the following Dialplan
-
WebRTC
-
Post Call Survey Dialplan (If using Post Call Survey other wise ignore it)
-
Global Dialplan
-
Login to Media Server web interface.
-
Open in browser: https://IP-addr, where IP-addr is the IP address of the Media Server.
-
-
Add the username and password that was shown upon installation of Media Server and press LOGIN.
-
Press the IP address in the top right and select the Domain created in the Domain creation section above:
-
Open the Dialplan Manager section under the Dialplan tab.
-
Open the Outbound IVR Dialplan.
-
Set the Context field to the value of global.
-
Set the Context field to the value of global.

-
Save the changes by pressing SAVE button in top right corner.
-
Do the same for the following Dialplan
-
Direct_Transfer Dialplan (CxQueue)
-
External Consult and Transfer Dialplan
-
Progressive Outbound Dialplan
-
Manual Outbound Dialplan
-
Custom Hangup Dialplan
-
Silent Monitoring Dialplan
-
Conference Dialplan
-
Changes in Call Recording Dialplan
-
Login to Media Server web interface.
-
Open in browser: https://IP-addr, where IP-addr is the IP address of the Media Server.
-

-
Add the username and password that was shown upon installation of Media Server and press LOGIN.
-
Press the IP address in the top right and select the Existing Domain, which was in use, in the Domain creation section above:

-
Open the Dialplan Manager section under the Dialplan tab.
-
Find and open the user_record dialplan.
-
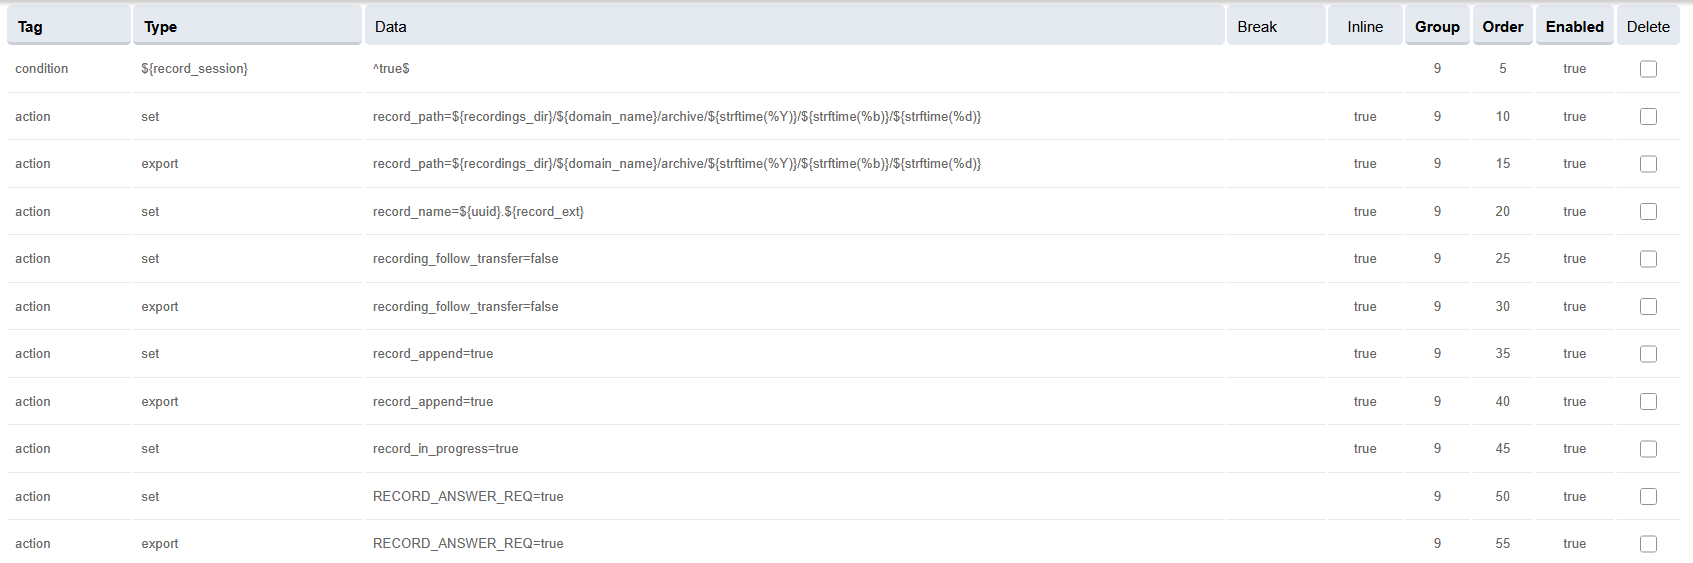
Make sure to delete the lines present previously in Group 9 apart from the first one, and NOT in the table and image below.
-
Add the following data to the table, such that the final version of Group 9 looks like the image below:
|
Tag |
Type |
Data |
Inline |
Group |
Order |
Enabled |
|---|---|---|---|---|---|---|
|
condition |
${record_session} |
^true$ |
|
9 |
5 |
true |
|
action |
set |
record_path=${recordings_dir}/${domain_name}/archive/${strftime(%Y)}/${strftime(%b)}/${strftime(%d)} |
true |
9 |
10 |
true |
|
action |
export |
record_path=${recordings_dir}/${domain_name}/archive/${strftime(%Y)}/${strftime(%b)}/${strftime(%d)} |
true |
9 |
15 |
true |
|
action |
set |
record_name=${uuid}.${record_ext} |
true |
9 |
20 |
true |
|
action |
set |
recording_follow_transfer=false |
true |
9 |
25 |
true |
|
action |
export |
recording_follow_transfer=false |
true |
9 |
30 |
true |
|
action |
set |
record_append=true |
true |
9 |
35 |
true |
|
action |
export |
record_append=true |
true |
9 |
40 |
true |
|
action |
set |
record_in_progress=true |
true |
9 |
45 |
true |
|
action |
set |
RECORD_ANSWER_REQ=true |
- |
9 |
50 |
true |
|
action |
export |
RECORD_ANSWER_REQ=true |
- |
9 |
55 |
true |
-
Save the changes by pressing SAVE button in top right corner.
-
Repeat this step for the newly created Domain as well.
Turn OFF the voicemail Dialplan
-
Login to Media Server web interface.
-
Open in browser: https://IP-addr, where IP-addr is the IP address of the Media Server.
-

-
Add the username and password that was shown upon installation of Media Server and press LOGIN.
-
Press the in the top right and select the Domain created in the Domain creation section above:

-
Once the domain is selected then click on the dilaplan menu and on the drop down section click the dialplan manager. once the dial plan are open search for the
voicemaildilaplan
-
Cline on the voicemail dialplan is opened like below, then turned off the
Enabledbutton to make the dialplan false/turnoffUnknown Attachment
Upgradation of Voice Connector
Voice Connector
-
SSH into the Debian server.
-
Use command:
-
ssh username@server-ip
-
-
Enter the ssh password and press Enter.
-
Use command:
-
su
-
-
Enter the root user's password
-
Container deployment
The voice connector is deployed as a docker image.
-
Navigate to the existing Voice connector directory
-
cd voice-connector -
Stop the previously running container
-
docker compose down -
Open the file docker-compose.yml.
-
vi docker-compose.yml
-
-
Enter editing mode with the 'I' or 'Insert' keys.
-
Replace the previous the tag with 5.0
version: "3.8"
services:
  voice-connector:
    image: gitimages.expertflow.com/freeswitch/ecx_generic_connector:<TAG>
    deploy:

    ...
    ...
-
-
Save the file and exit by :
-
Press the Esc key.
-
Enter the phrase :wq to save and exit.
-
-
Open the env.txt
-
vi env.txt
-
-
Enter editing mode with the 'I' or 'Insert' keys.
-
Add these environment variables into the file env.txt :
AUTH_ENABLED=true API_USERNAME=voice_auth API_PASS=pass CLIENT_ID=cim CLIENT_SECRET=secret ROOT_DOMAIN=expertflow ESL_DEFAULT_DOMAIN=192.168.1.17-
AUTH_ENABLED: true or false depending on whether APISIX authentication is enabled in EFCX. The four settings below are set if this value is true.
-
API_USERNAME: The username created in Keycloak for API authentication.
-
On Keycloak create a user in the Expertflow realm.
-
Assign the admin and default roles, and have Email-Verified option enabled.
-
Assign a non-temporary password to this user as well.
-
-
API_PASS: The password for the above user created in Keycloak for API authentication
-
CLIENT_ID: Should always be cim.
-
CLIENT_SECRET: Found on Keycloak in the cim client.
-
ROOT_DOMAIN: Keep it as “expertflow” as realm name will be expertflow in Migration.
-
ESL_DEFAULT_DOMAIN: Media Server IP through which ESL connection can be established
-
-
Run the command:
-
docker login gitimages.expertflow.com -
Enter your username and password as prompted (make sure that you were granted access to the repository).
-
-
Within the folder run the command:
-
docker compose up -d
-
-
Confirm that the new docker container is running by using the command:
-
docker ps
-

-
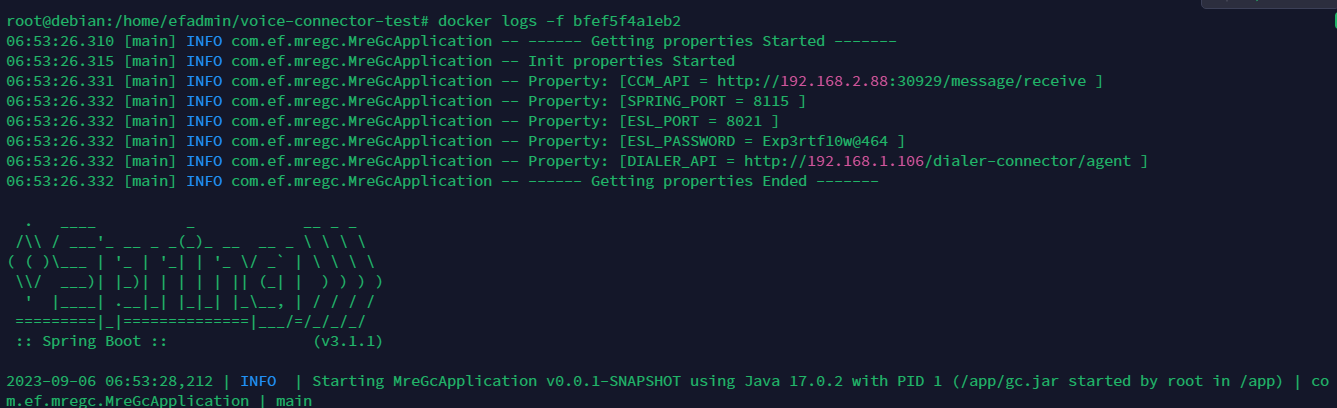
Confirm that the container is running correctly by opening the logs with command:
-
docker logs -f containerID
-
-
If there are multiple Voice Connectors running update all of them if needed.
Access Control List
Configure Access Control List (ACL)
For the Voice Connector to be able to access the Freeswitch ESL for communicating with Media Server, their IP address must be added to the ACL.
-
Login to Media Server web interface.
-
Open in browser: https://IP-addr, where IP-addr is the IP address of the Media Server.
-
-
Add the username and password that was shown upon installation of Media Server and press LOGIN.
-
Press the IP address in the top right and select the Domain created in the Domain creation section above:
-
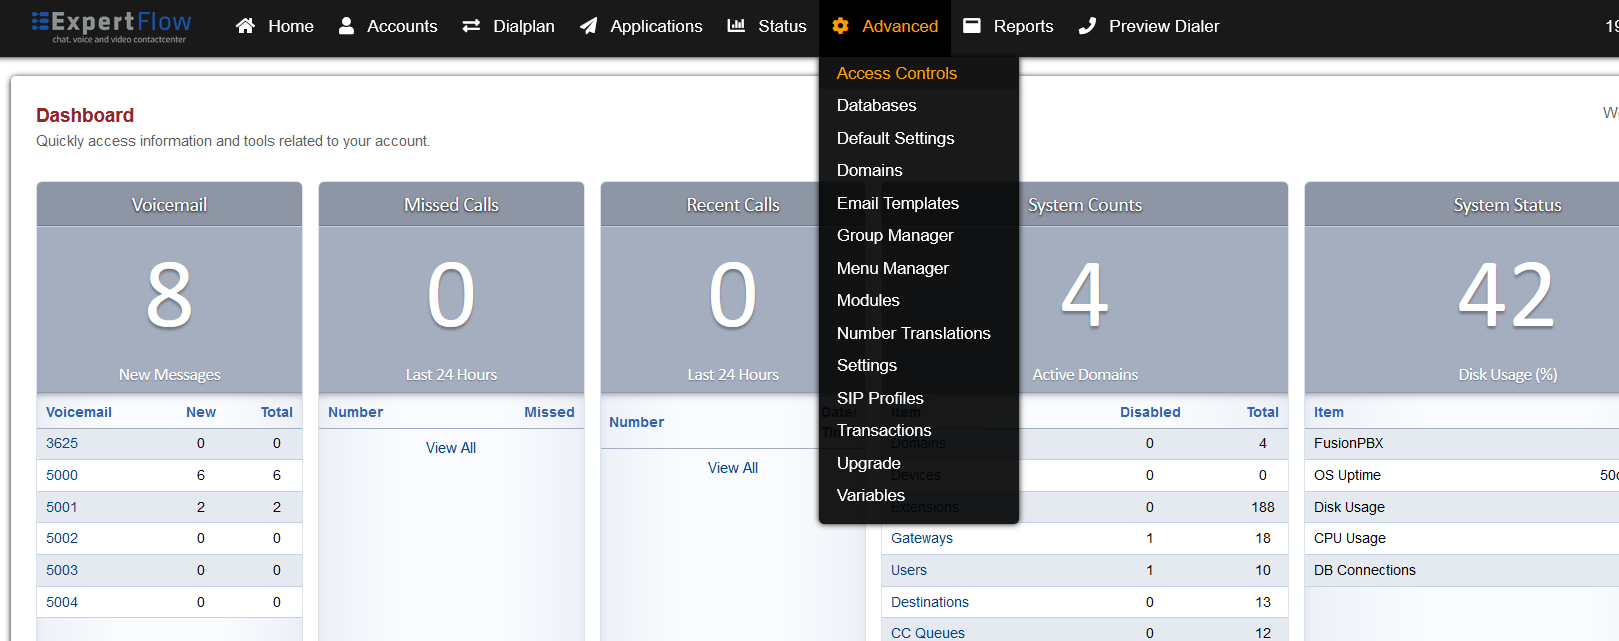
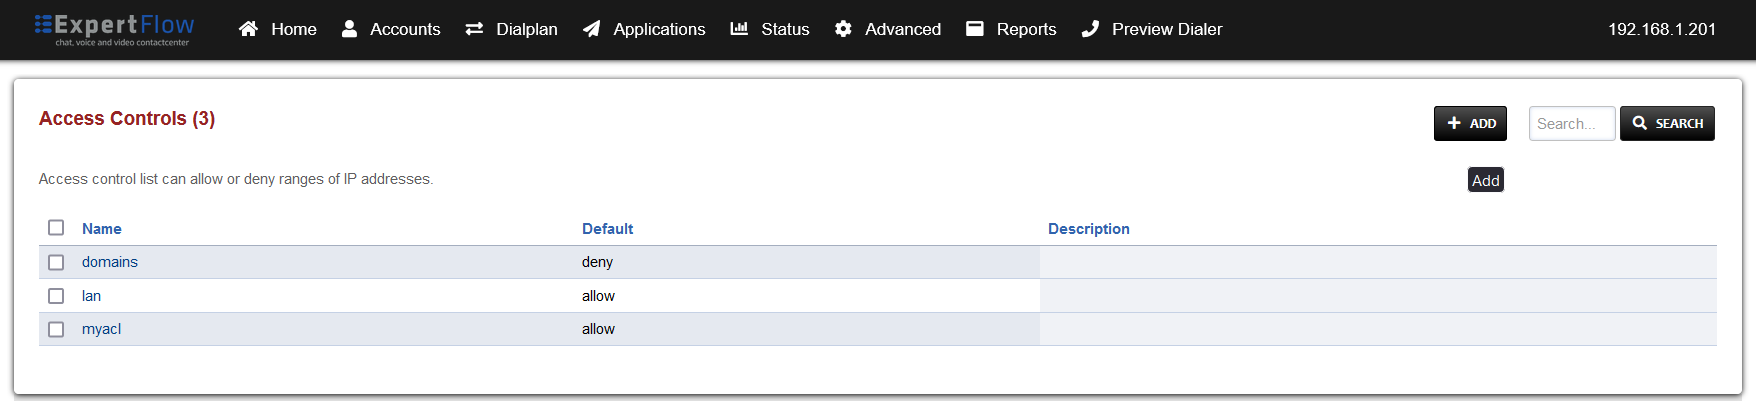
Open the Access Control List from the Advanced tab.
-
Open ACL by clicking the name esl
-
In the esl:
-
It is required to add the IP addresses of the Voice Connector docker containers.
-
On the Voice connector servers, use the command docker ps to list the containers.
-
-

-
Run the command:
-
docker inspect containerID -
Scroll down to the Networks object and find the Gateway and IPAddress fields.
-
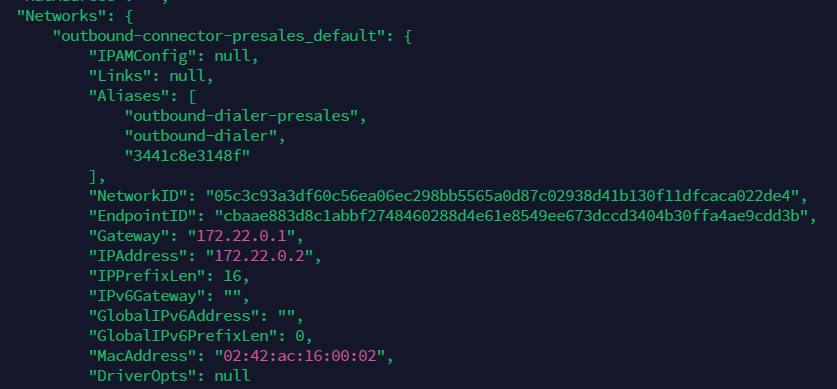
-
Verify if the value of Gateway and IPAddress is added in esl ACL.
-
If it is already added ignore the remaining steps.
-
If it is not added follow next steps to add it in esl ACL.
-
Copy these two addresses to the esl ACL.
-
Click the Save button and go to the SIP Status with from the Status tab.
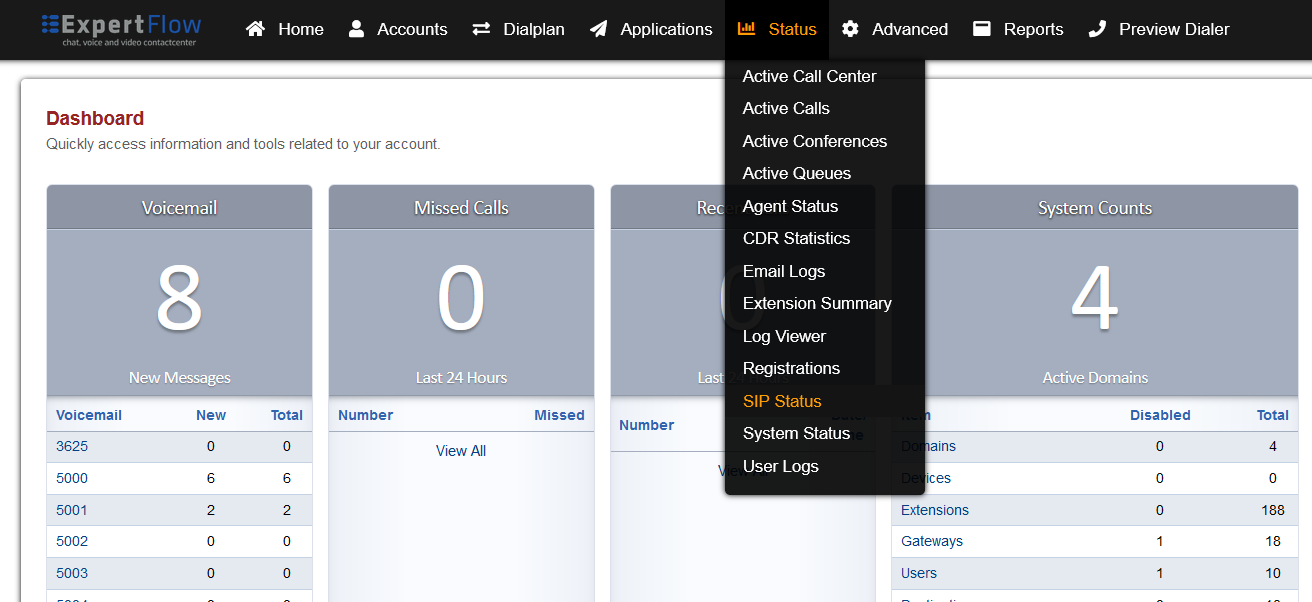
-
Click the Reload ACL button on the top right.
Unknown Attachment
VRS Upgrade Guide (15.5 → 14.6)
Here is the upgrade guide link tp upgrade the VRS from 14.5 to 14.6