
Prerequisites
Software Requirements
|
Item |
Recommended |
Installation guide |
|
Operating System |
Debian 12 |
- |
Hardware Requirements
|
Item |
Minimum |
|---|---|
|
RAM |
16GB |
|
Disk space |
150GB |
|
CPU |
8 cores |
Port Utilization Requirements
The following ports must be open on the server for the voice setup to function.
|
FireWall Ports/Port range
|
Network Protocol |
Description |
|
5060:5091 |
udp |
Used for SIP signaling. |
|
5060:5091 |
tcp |
Used for SIP signaling. |
|
8021 |
tcp |
Media Server Event Socket |
|
16384:32768 |
udp |
Used for audio/video data in SIP, WSS, and other protocols |
|
7443 |
tcp |
Used for WebRTC |
|
Opened in VC deployment |
tcp |
Voice Connector API |
|
5432 |
tcp |
Postgresql Database |
|
3000 |
tcp |
Outbound Dialer API |
|
22 |
tcp |
SSH |
|
80 |
tcp |
HTTP |
|
443 |
tcp |
HTTPS |
|
1194 |
udp |
OpenVPN |
The ports can be opened as follows:
If you are already in the VM where you want to install the Media Server, skip step one. Otherwise, SSH into the VM where you want to install the Media Server.
-
SSH into the Debian server.
-
Use command
ssh username@server-ip -
Enter user password.
-
Use command
su -
Enter root password
-
-
Verify whether iptables is installed. If it is not installed, proceed with the installation. These commands disable the cdrom apt source if present (common on fresh Debian installs from ISO)
sudo sed -i '/cdrom:/s/^/#/' /etc/apt/sources.list
sudo apt update
sudo apt install -y iptables
-
Run the following command to open all ports
-
iptables -A INPUT -i lo -j ACCEPT; iptables -A INPUT -m conntrack --ctstate ESTABLISHED,RELATED -j ACCEPT; for rule in "5060:5091 udp" "5060:5091 tcp" "8021 tcp" "16384:32768 udp" "7443 tcp" "8115 tcp" "5432 tcp" "3000 tcp" "22 tcp" "80 tcp" "443 tcp" "1194 udp"; do port=$(echo $rule | cut -d' ' -f1); proto=$(echo $rule | cut -d' ' -f2); iptables -A INPUT -p $proto -m $proto --dport $port -j ACCEPT; done; iptables -A INPUT -p icmp --icmp-type echo-request -j ACCEPT; iptables -P INPUT DROP; iptables -P FORWARD DROP; iptables -P OUTPUT ACCEPT
-
Save this port configuration with command:
sudo apt install -y iptables-persistent
sudo netfilter-persistent save
Install Media Server
-
Run commands: Run one by one don’t repeat any command.
-
sudo apt update
sudo apt install -y lua-sec certbot lua-socket lua-json lua-dkjson git lsb-release
rm -rf /usr/src/freeswitch* /usr/src/fusionpbx* /usr/src/*.zip*
mkdir -p /usr/src/fusionpbx-install.sh
# Make sure you have gitlab acess before running below command
git clone -b 5.3 https://efcx:RecRpsuH34yqp56YRFUb@gitlab.expertflow.com/rtc/media-server-setup.git "/usr/src/fusionpbx-install.sh"
chmod -R 777 /usr/src/fusionpbx-install.sh
cd /usr/src/fusionpbx-install.sh/debian && ./install.sh
-
-
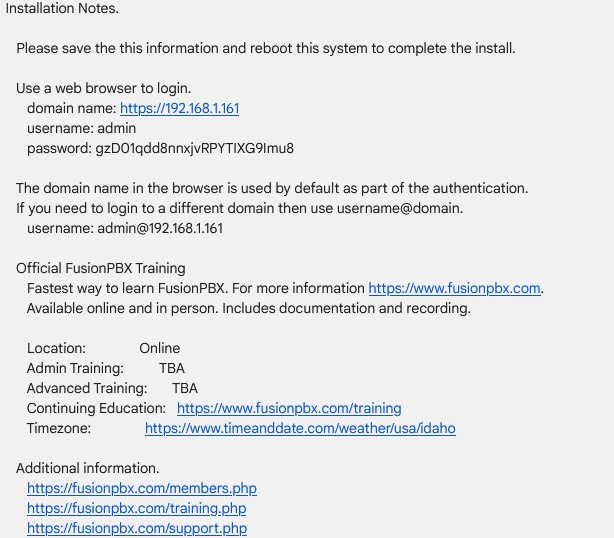
Once the installation has finished, some information will be shown as below Copy and save the username and password:
-
Now run the below command and go to VC directory update ESL_PASSWORD in your voice connector env.txt file.
find /etc /usr/local /opt -path "*autoload_configs/event_socket.conf.xml" 2>/dev/null \ | grep -v -E "\.orig|vanilla|/usr/src" \ | head -1 \ | xargs grep -oP 'name="password"\s+value="\K[^"]+' -
Run below commands, down and then up container.
docker compose down
docker compose up -d
docker ps # verify ports showing
-
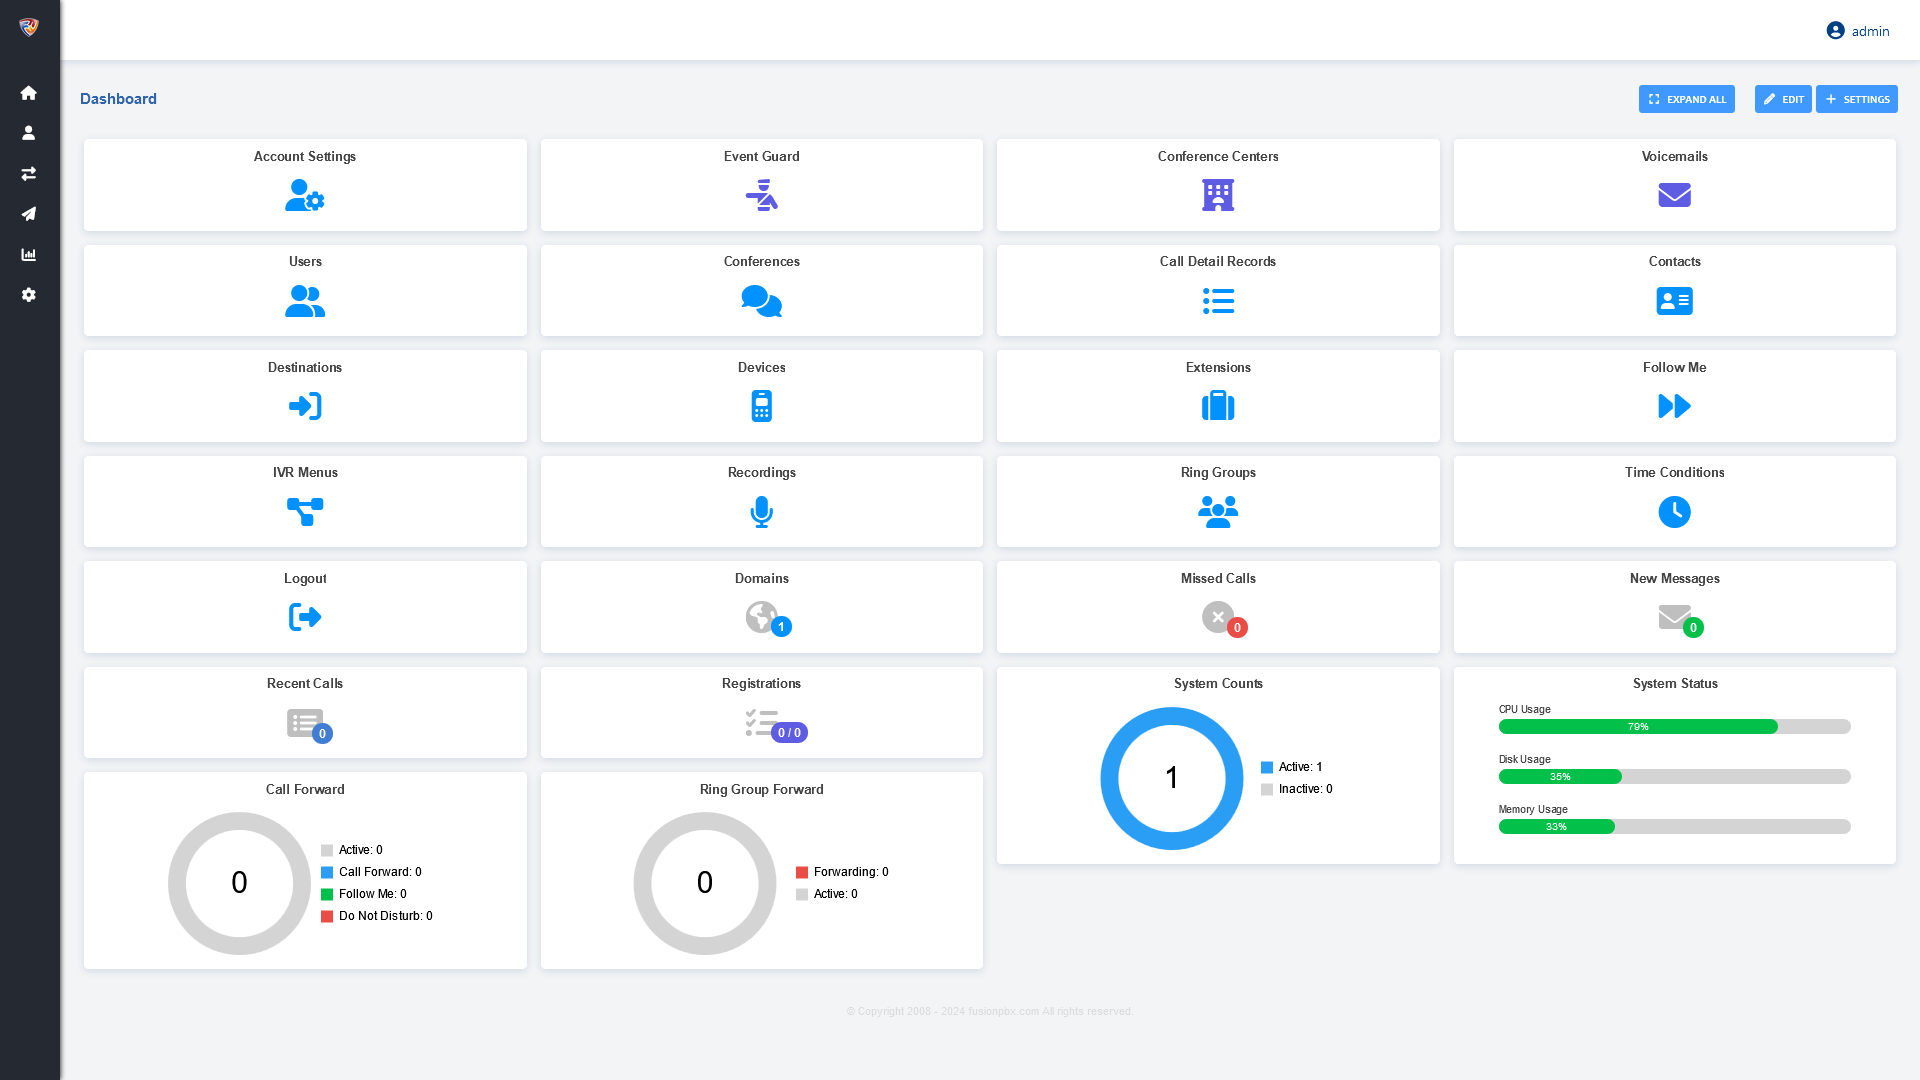
In a web browser, open the domain name URL that you got from above step and use the provided username and password to log on.
-
A screen like the one below (panel can be on top) should open after a successful installation:
-
-
If the page does not open, then go to the command line, stop apache2 if it exist then restart nginx, run the below 2 commands
systemctl stop apache2 systemctl restart nginx -
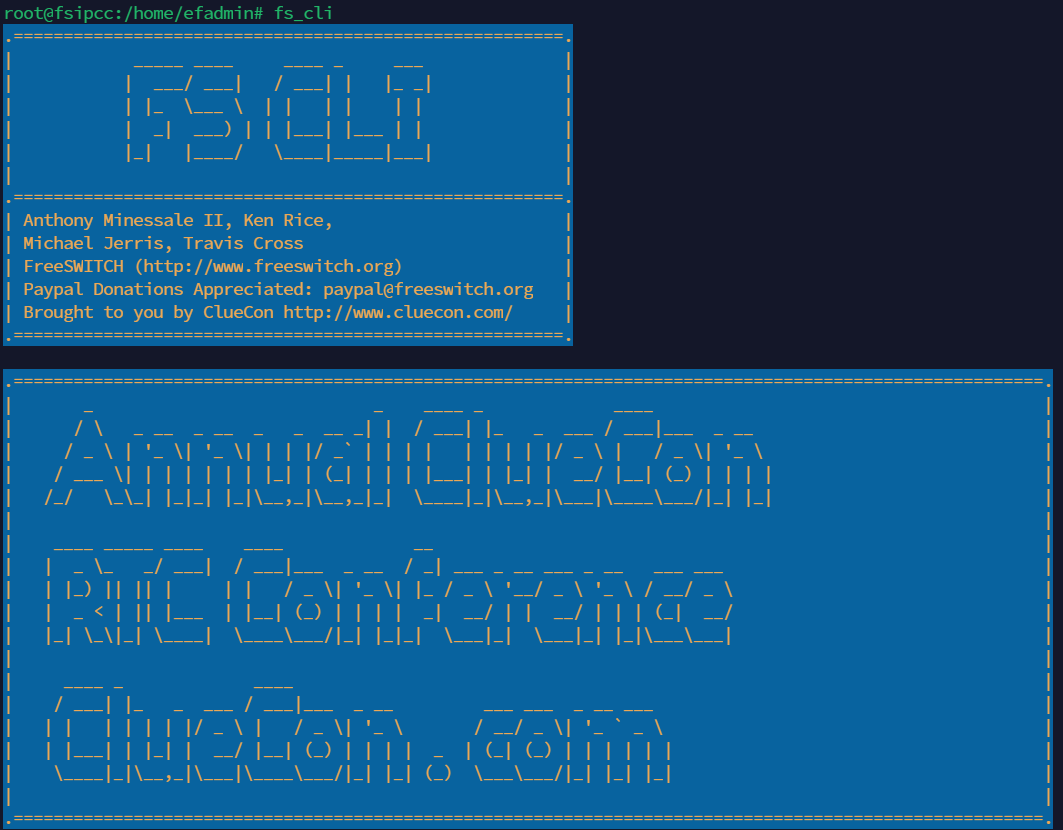
In the command line, use the command to access the Freeswitch command line as shown below:
fs_cli
-
Exit this fs_cli interface by pressing Ctrl + D or typing
/exit,/quit, or/byefollowed by Enter.