-
Login to the cxSIPproxy control panel by visiting http://host-ip/cp (replace host-ip with the actual IP of your VM) and use the following credentials( username: efuser, password: efuser)
-
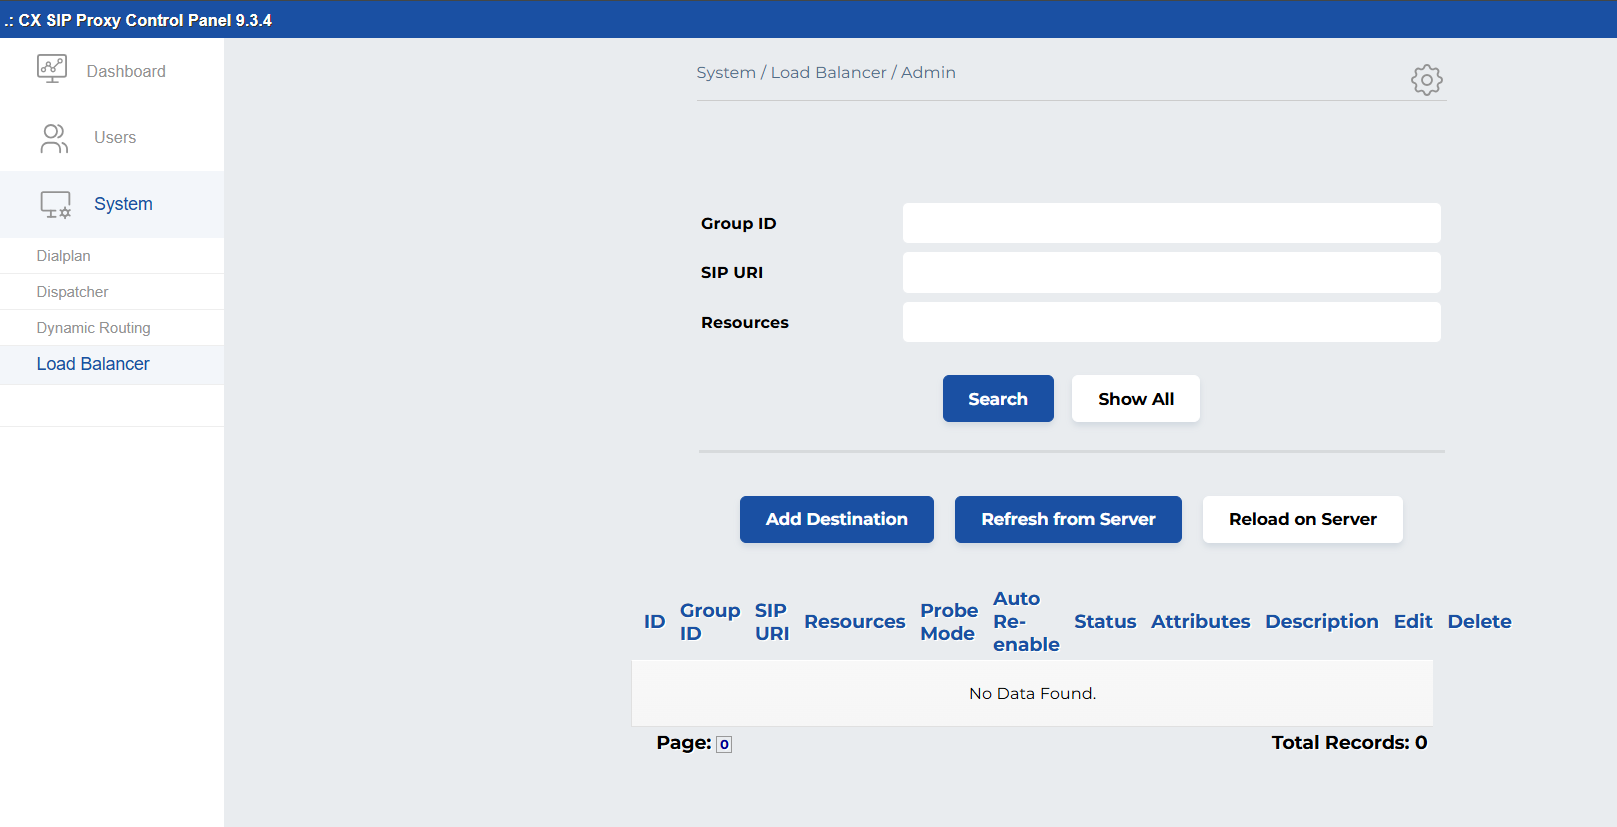
To add a Load balancer go to System > Load Balancer
-
To add a destination click on Add Destination.
We need to organize destinations into specific groups based on their type. Each destination type will be organized into a distinct group. For example, All CVP destinations will belong to Group ID 1. Similarly, other destinations like Cube, VVB, CUCM, and Dialer will have their own respective groups like:
-
Group 1: CVP destinations
-
Group 2: Cube destinations
-
Group 3: VVB destinations
-
Group 4: CUCM
-
Group 5: Dialer.
The grouping ensures that when a call is routed to a specific group (e.g., Group ID 1 for CVP), the load balancer will dynamically select the least loaded destination within that group to handle the call.
-
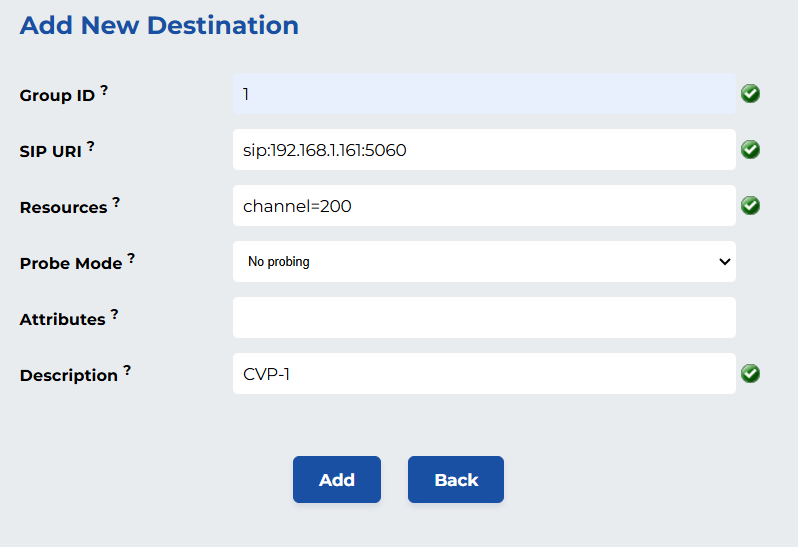
Now add the required information as specified below.
|
Parameter |
Explanation |
|---|---|
|
Group ID |
The numerical ID of the load balancer set/group for the new destination(should be between 1 to 5). |
|
SIP URI |
SIP URI pointing to the destination. To define the destination, use the following SIP URI format:
Example:
|
|
Resources |
The resources/channels offered by this destination. To assign resources to a destination, use the following format:
Example:
|
|
Probe Mode |
Probing determines the health status of each destination to ensure calls are not routed to unavailable destinations. There are three probing modes to decide when the destination should be probed/pinged via SIP messages (for availability).
|
|
Attributes |
String of custom Attributes, to be passed to the cxSIPproxy script. Leave this column empty. |
|
Description |
The description is in DB and is not used by cxSIPproxy. Provide clear and concise descriptions for each destination. For example, if the destination is a CVP, include "CVP" in its description for easy identification. |
-
After adding the data it should look like this
-
Now click on Add to save it and it should look like this.
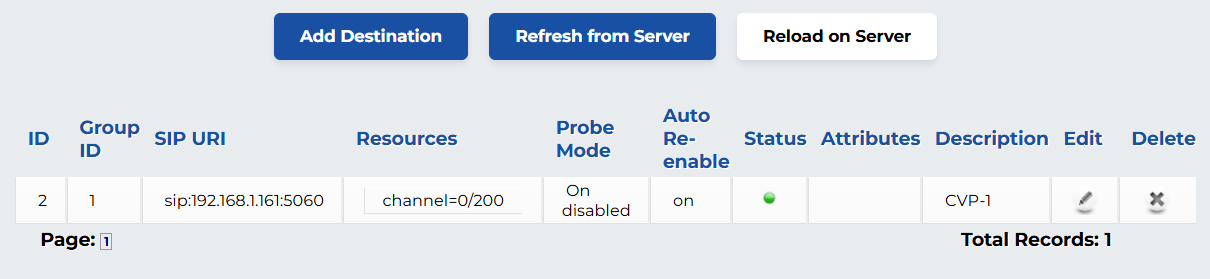
If the status indicator is not shown as green, click on Reload on Server, if the status is successful then click on Refresh from Server. If it’s still not green, confirm that the destination is up and accessible.
The load balancer destination has been added.
To add destinations for other groups, repeat these steps for those groups. More than one destination can be added similarly by providing the same group ID.
-
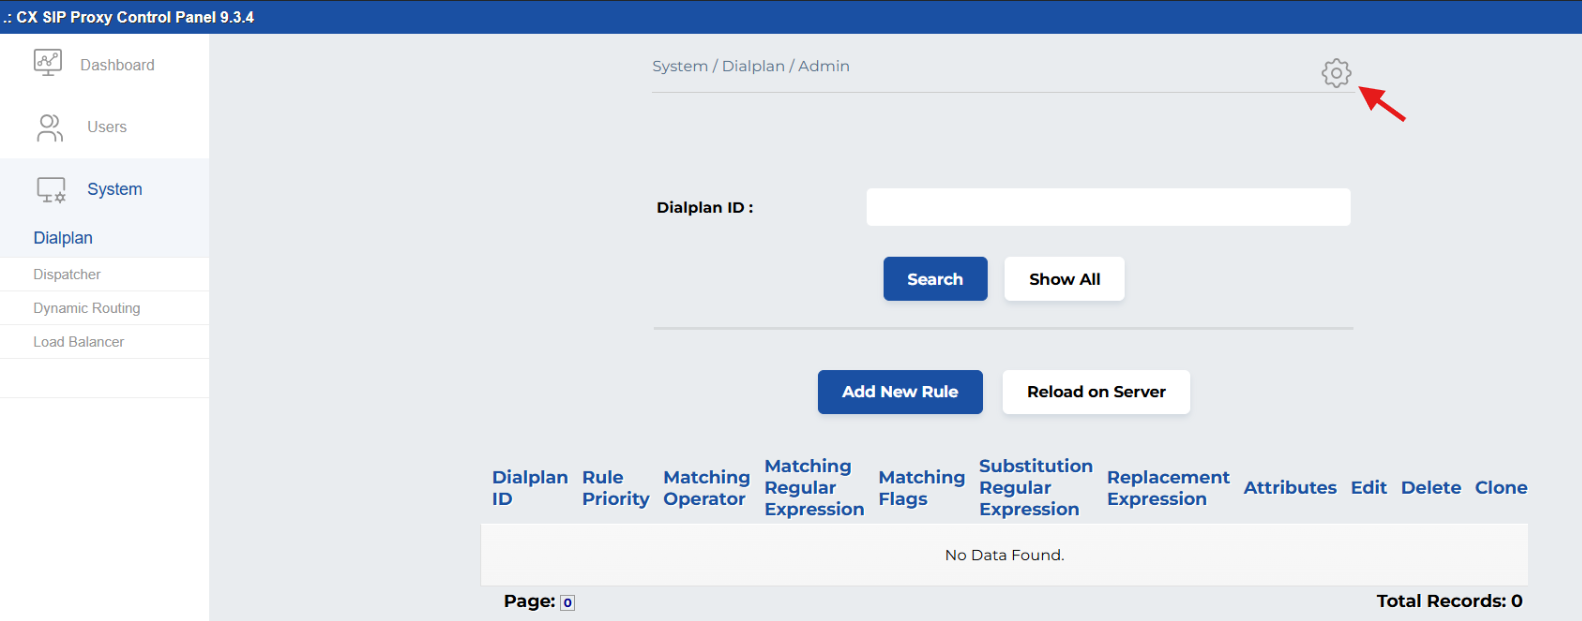
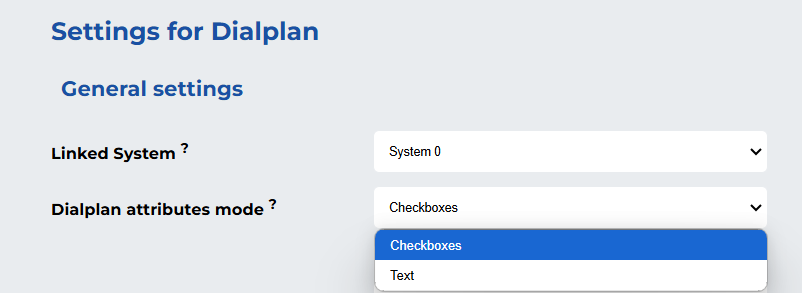
Now go to System> Dialplan and click on the gear icon
-
In General settings from the Dialplan attributes modes drop-down select
Checkboxes
-
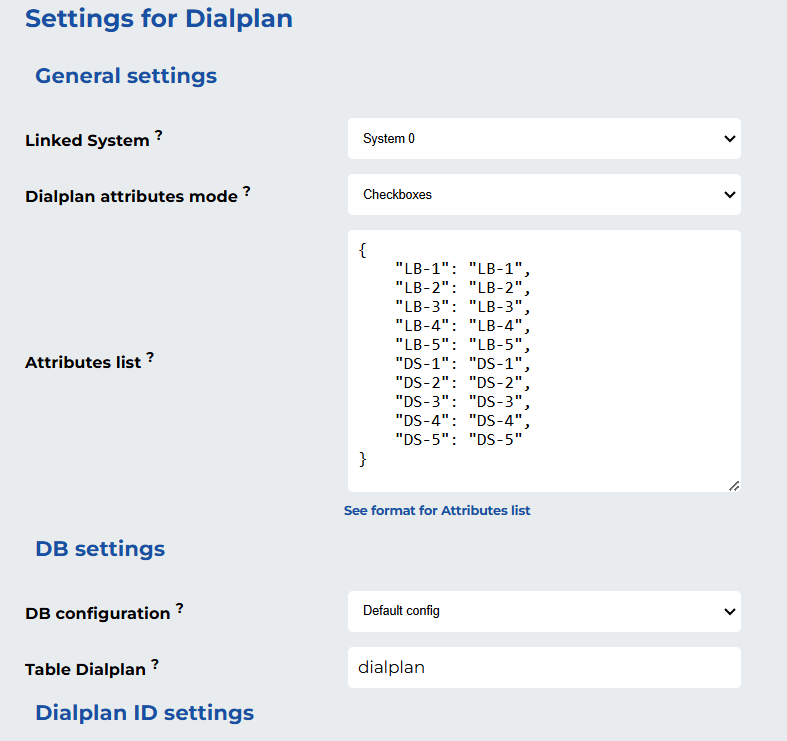
Now replace the following attributes into the Attributes list data. The code below will add attributes for five groups of load balancers and five groups of dispatchers. You can add more attributes in a similar manner.
{
    "LB-1": "LB-1",
    "LB-2": "LB-2",
    "LB-3": "LB-3",
    "LB-4": "LB-4",
    "LB-5": "LB-5",
    "DS-1": "DS-1",
    "DS-2": "DS-2",
    "DS-3": "DS-3",
    "DS-4": "DS-4",
    "DS-5": "DS-5"
}
It will look like this. Click on Save to save these settings.
-
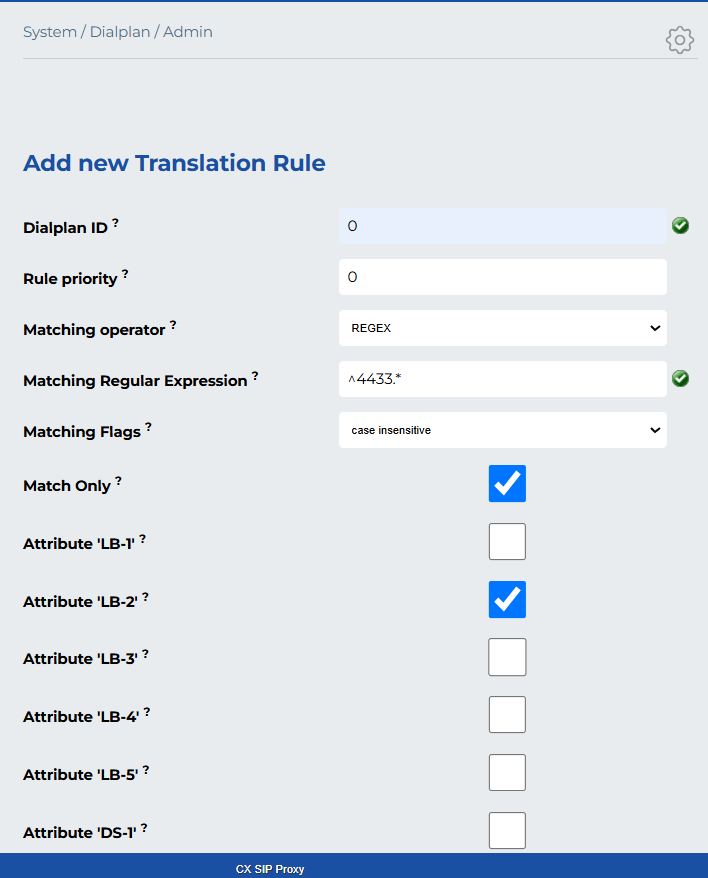
To add a new rule, click on Add New Rule in the System > Dialplan section and enter the required information as specified below.
|
Parameter |
Explanation |
|---|---|
|
Dialplan ID |
This is the unique ID that is used in the cxSIPproxy script. Always keep it equal to 1. |
|
Rule priority |
Assign a priority value or level to the rule. Use lower values for higher priority, set it to 0 for the highest priority. |
|
Matching operator |
What method will be used to match the string/username of the “To” header of the SIP message?
Select one of these options accordingly. |
|
Matching Regular Expression |
For this rule, the exact regex or string used to be matched against the string/username of the incoming message. For regex, you can use this link to confirm the regex. For prefix-based routing, a common regex used in SIP proxies is ^<prefix>.*, where, for example, a regex of ^4433.* will capture all traffic that starts with "4433," such as 434466779788@domainA, 4433322344@domainB, and so on. |
|
Matching Flags |
The case of the characters can be ignored by selecting case insensitive, or the matching can be kept case sensitive by choosing the case sensitive option. |
|
Match Only |
Check this option if you want to route SIP traffic to the next destination without substituting the prefix or username. |
|
Substitution Regular Expression |
If the Match Only option is not checked, enter the exact value used in the Matching Regular Expression here. This means that the username/prefix part of the “To” header in the SIP message will be updated by the Replacement Expression (the value provided below). |
|
Replacement Expression |
Provide the value that will replace the username of the “To” header of the SIP message. |
|
Please choose only one attribute from the list below. Attributes beginning with "LB" will route the call to specific groups of load balancers. For example, select "LB-1" to route the call to group 1 of the load balancers, or "LB-2" for group 2. After adding this information, the final result should resemble the image provided below. |
|
Click on Add to save it.
Prefix-based routing can be implemented for CVPs, CUCM, or any other group of destinations this way.