-
Login to Media Server web interface.
-
Open in browser: https://IP-addr, where IP-addr is the IP address of the server that Media Server is deployed on.
-
-
Add the username and password that was shown upon installation of Media Server and press LOGIN.
-
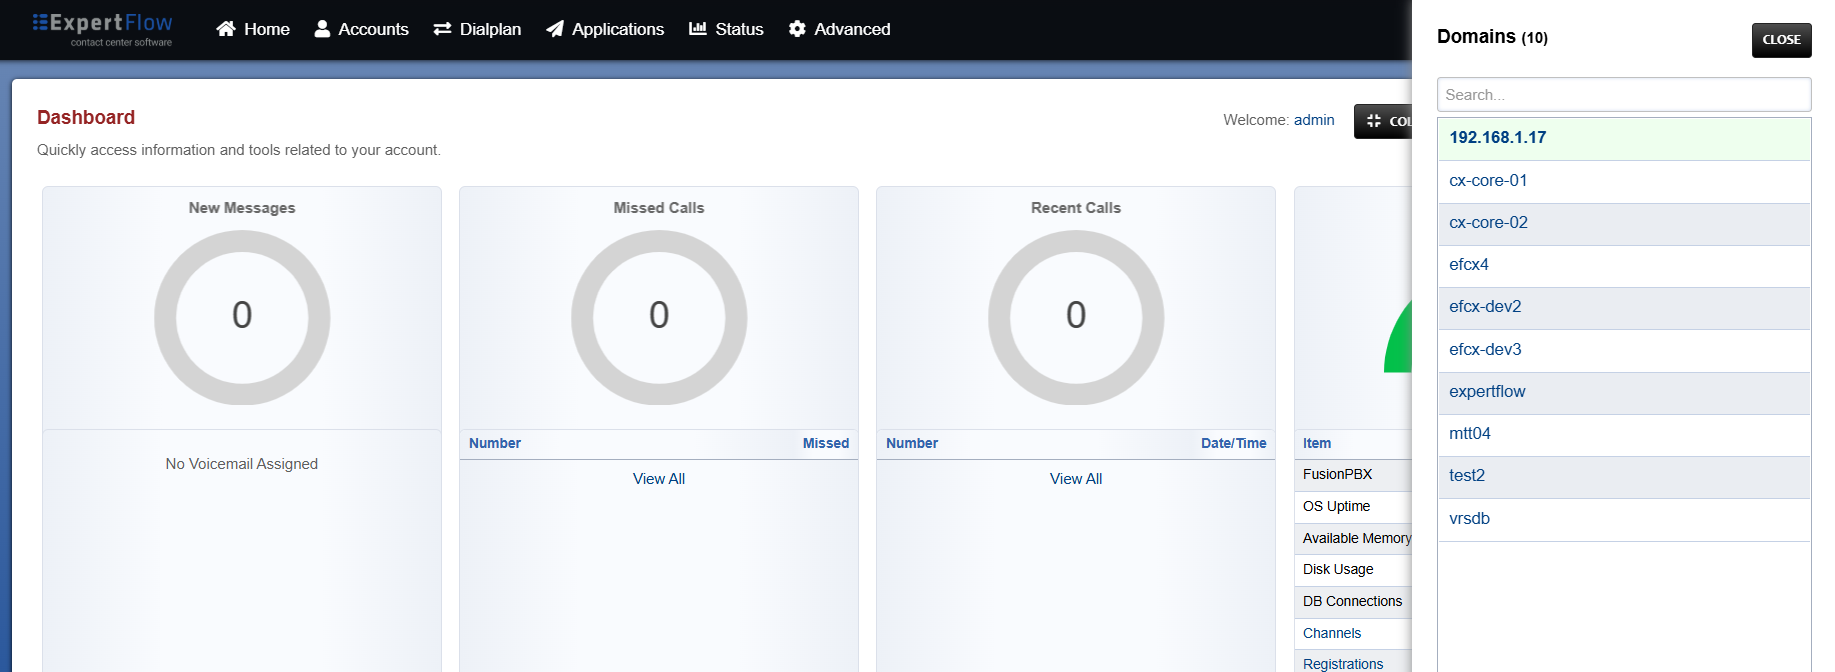
Press the IP address in the top right and select your working domain, the Domain created in the configuration document:
-
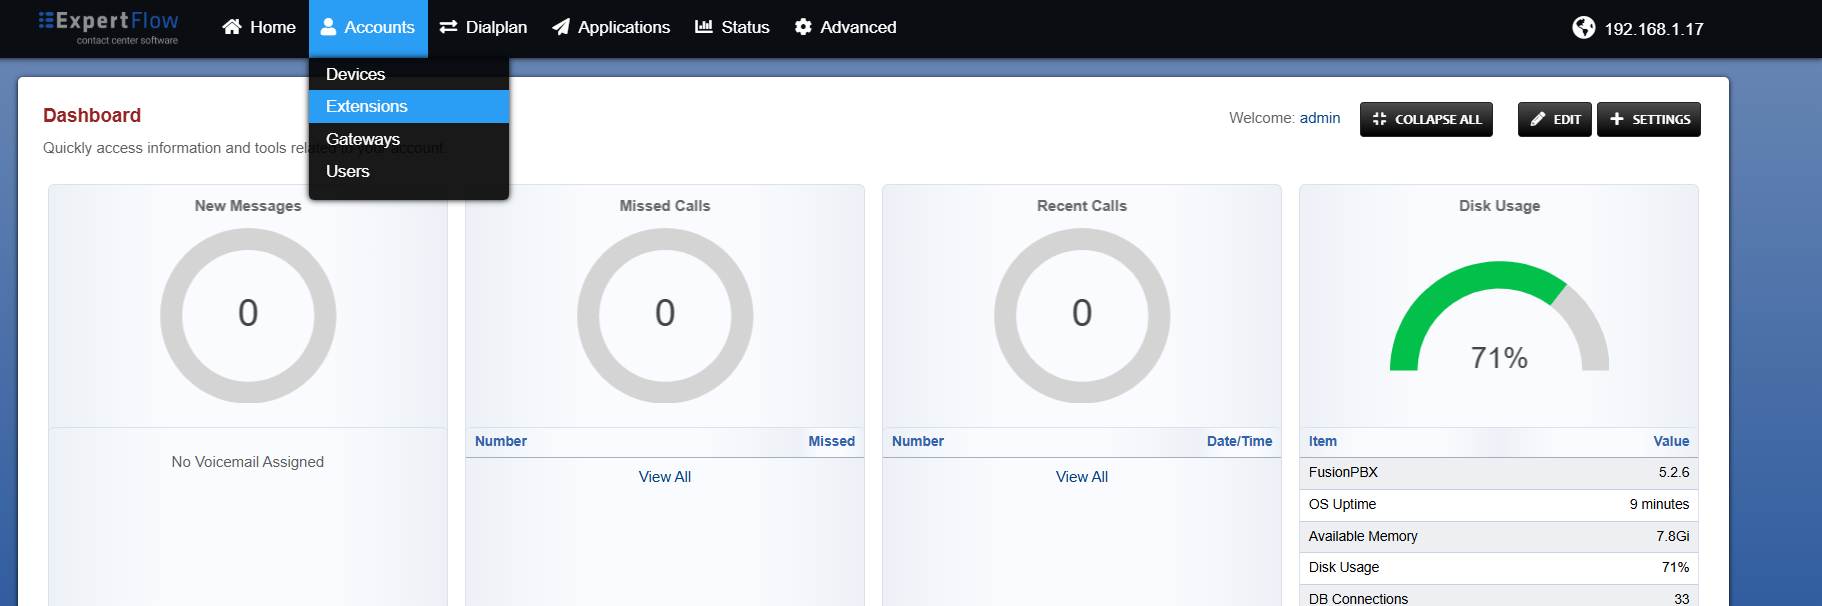
Open the Extensions section under the Accounts tab.
-
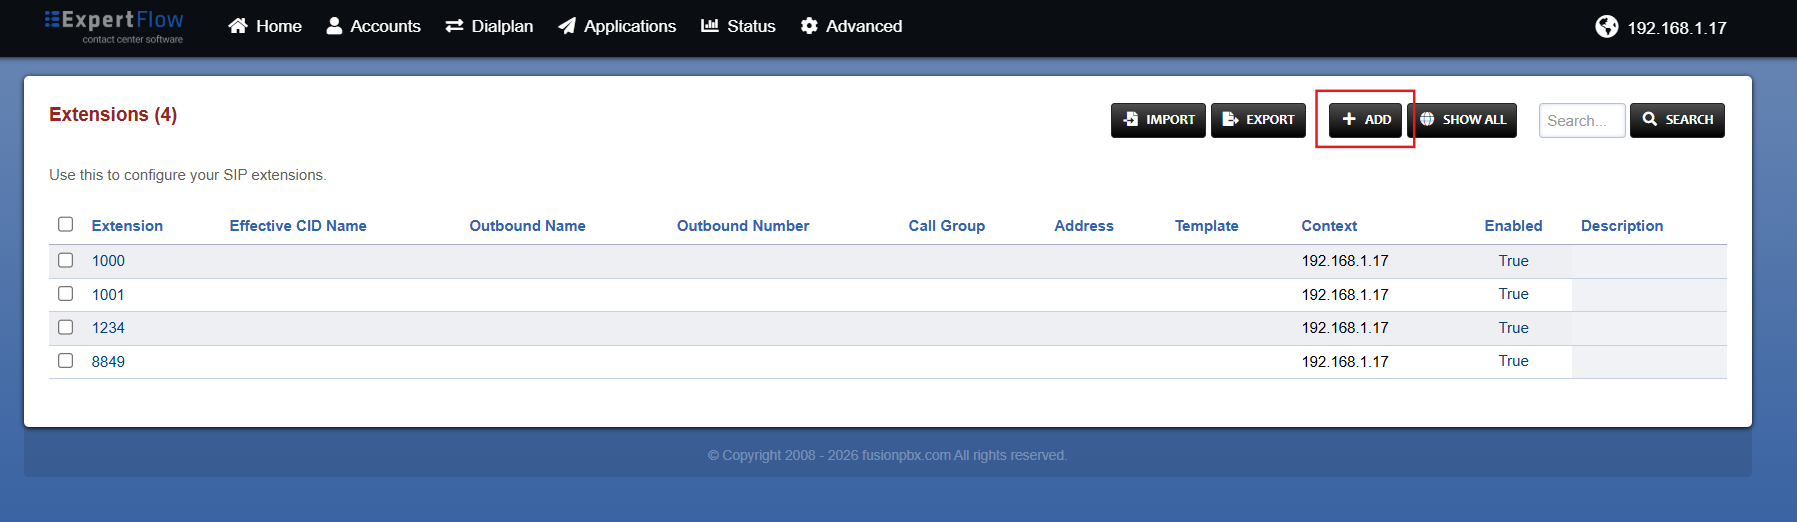
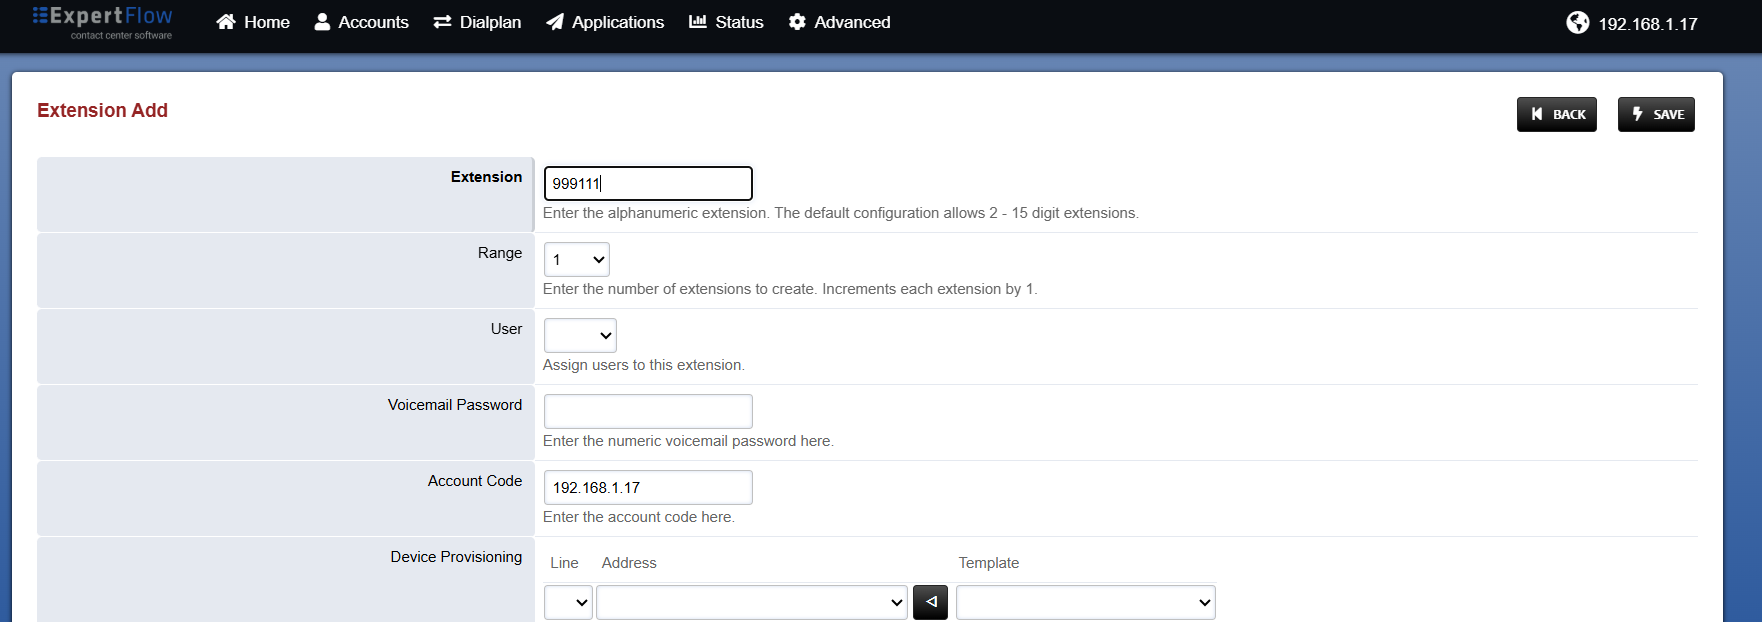
Press the ADD button.
-
Add a number in the Extension field e.g. 999111 (Can use alphanumeric extension but recommended to use number)
-
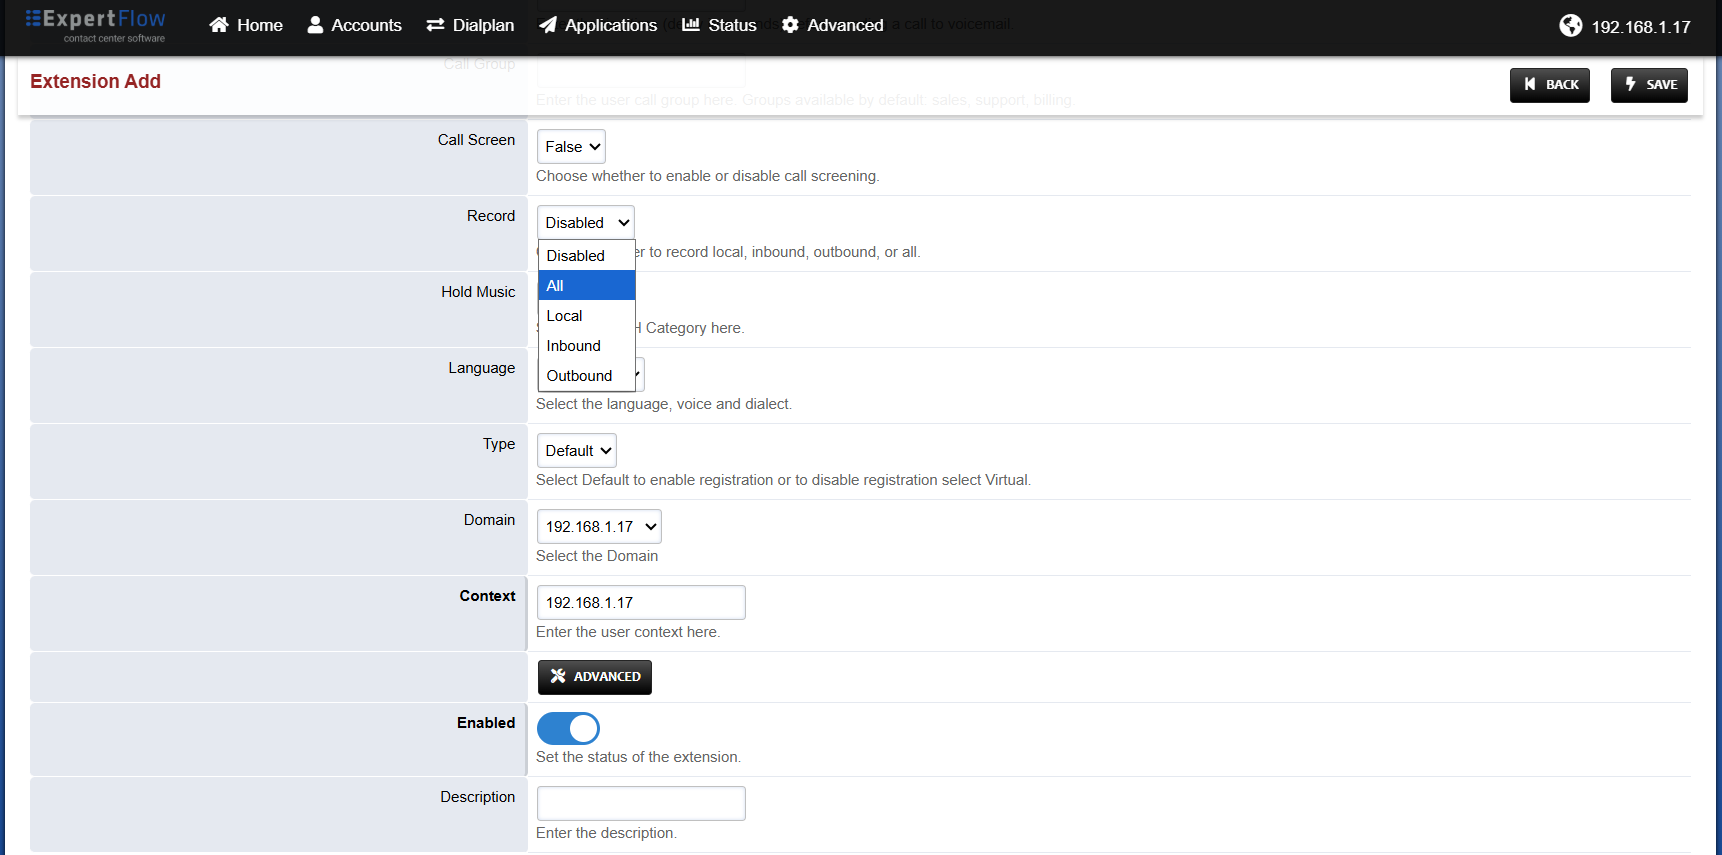
Scroll down to the Record option, select the All option and press the SAVE button in the top right.
-
Also note the Call Timeout field default we use 30, which is used to set how long calls will ring on this extension before timing out. Changing this affects the RONA (Re-route on no anwer) timer when using the extension with EFCX Voice agents.

-
-
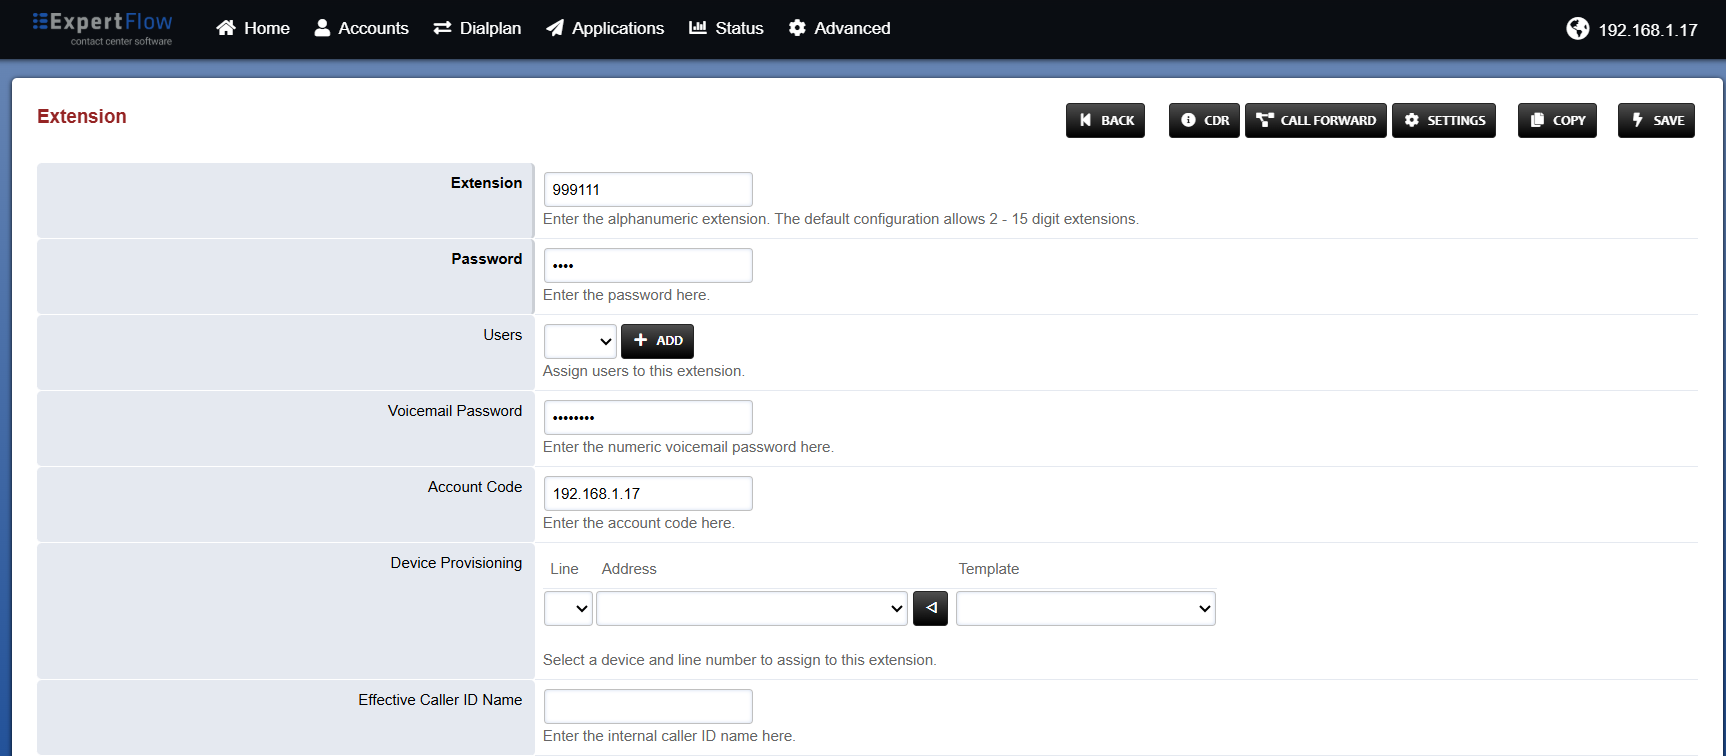
Re-open that Extension created e.g. 999111, change the Password field value to a password of your choice (Better to use 1234) and press the SAVE button in the top right.
-
Repeat this step to create another extension for agent desk in the same domain, then follow this guide for agent extension configuration in keyclock.
For multi-tenant (domain-based) setups, extensions must be created within their respective domains.
For example, if CX has two tenants — mtt01 and mtt02 — create agent extensions under the corresponding domain for each tenant.