Requirement:
In our current implementation, any user with admin role can view and edit all the settings inside unified-admin i.e bot settings, channel manager settings etc. We want some users to only manage routing-engine settings, user can view all other settings but shouldn't be able to edit them apart from routing-engine.
Overview:
An introduction of new role named routing-manager. Users with this role will only be able to manage these routing-engine attributes settings: agent-attributes and agent-mrd, while they can view all other setting but can't edit them.
Setup of Routing-Manager in Keycloak Admin Console:
-
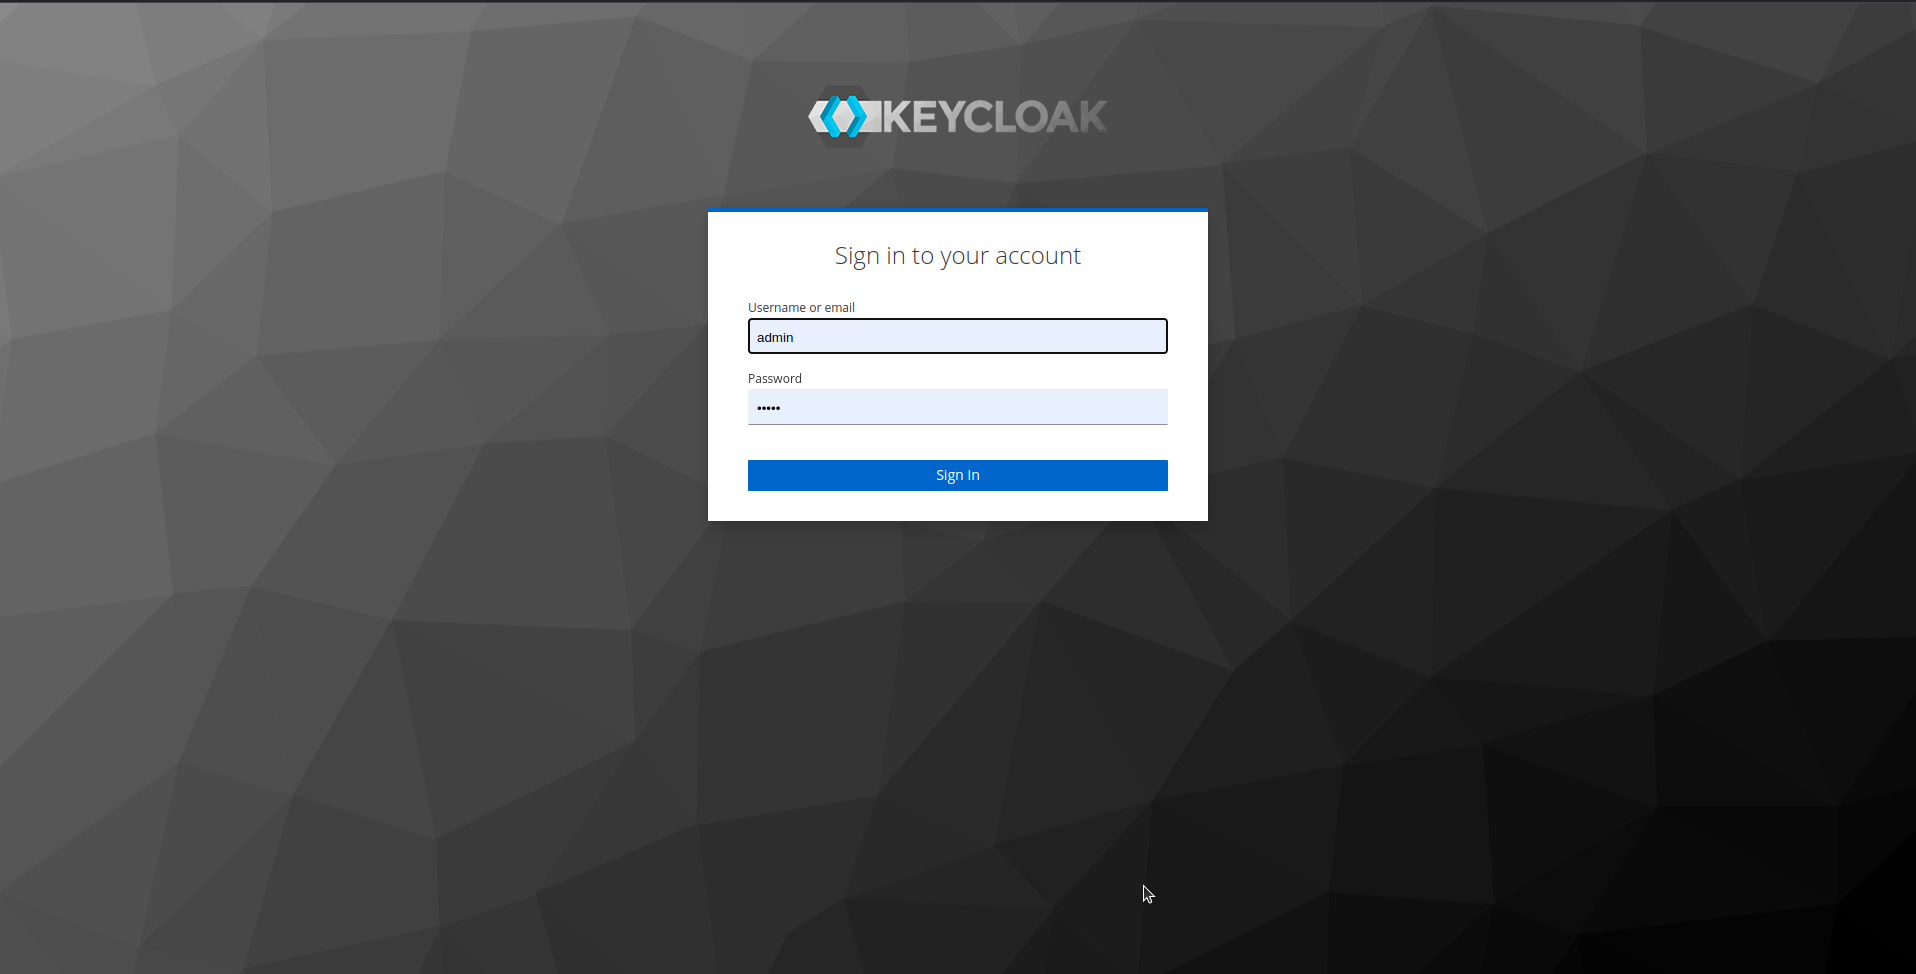
Login into Keycloak Admin Console:
-
In Realm Dropdown list, select Expertflow realm:

-
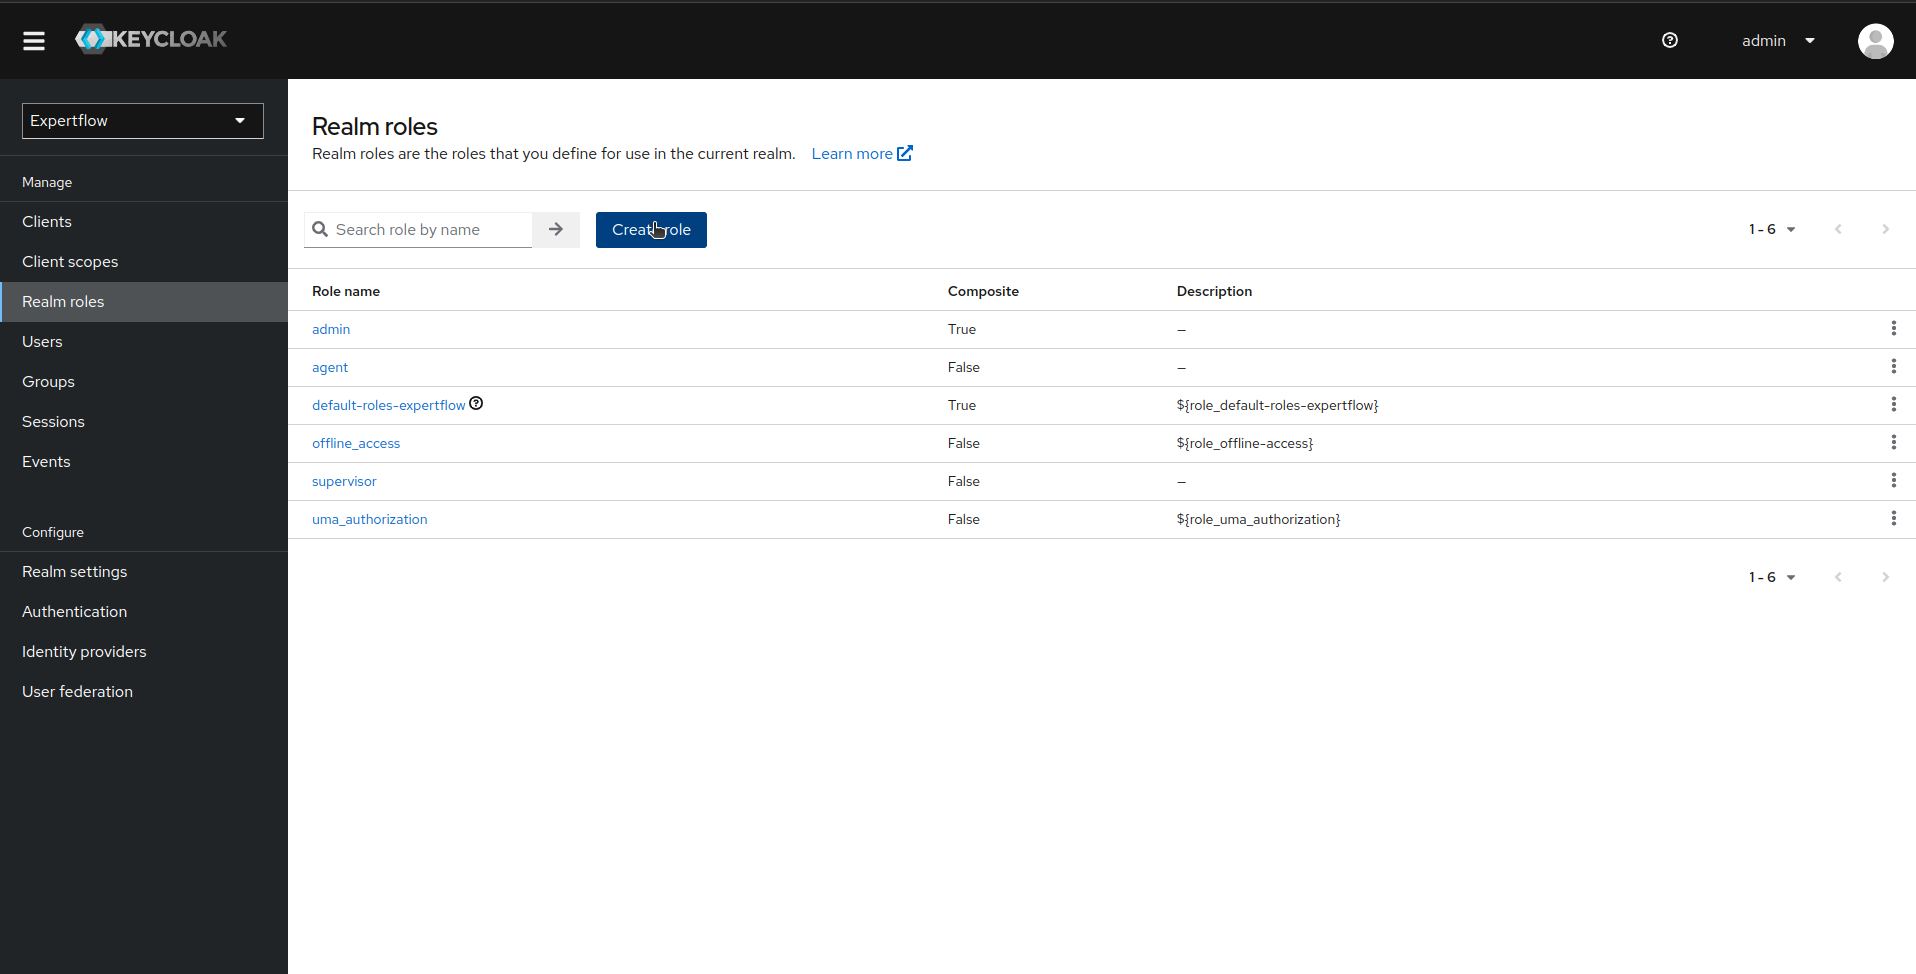
Click on Realm Roles and then click on Create role:
-
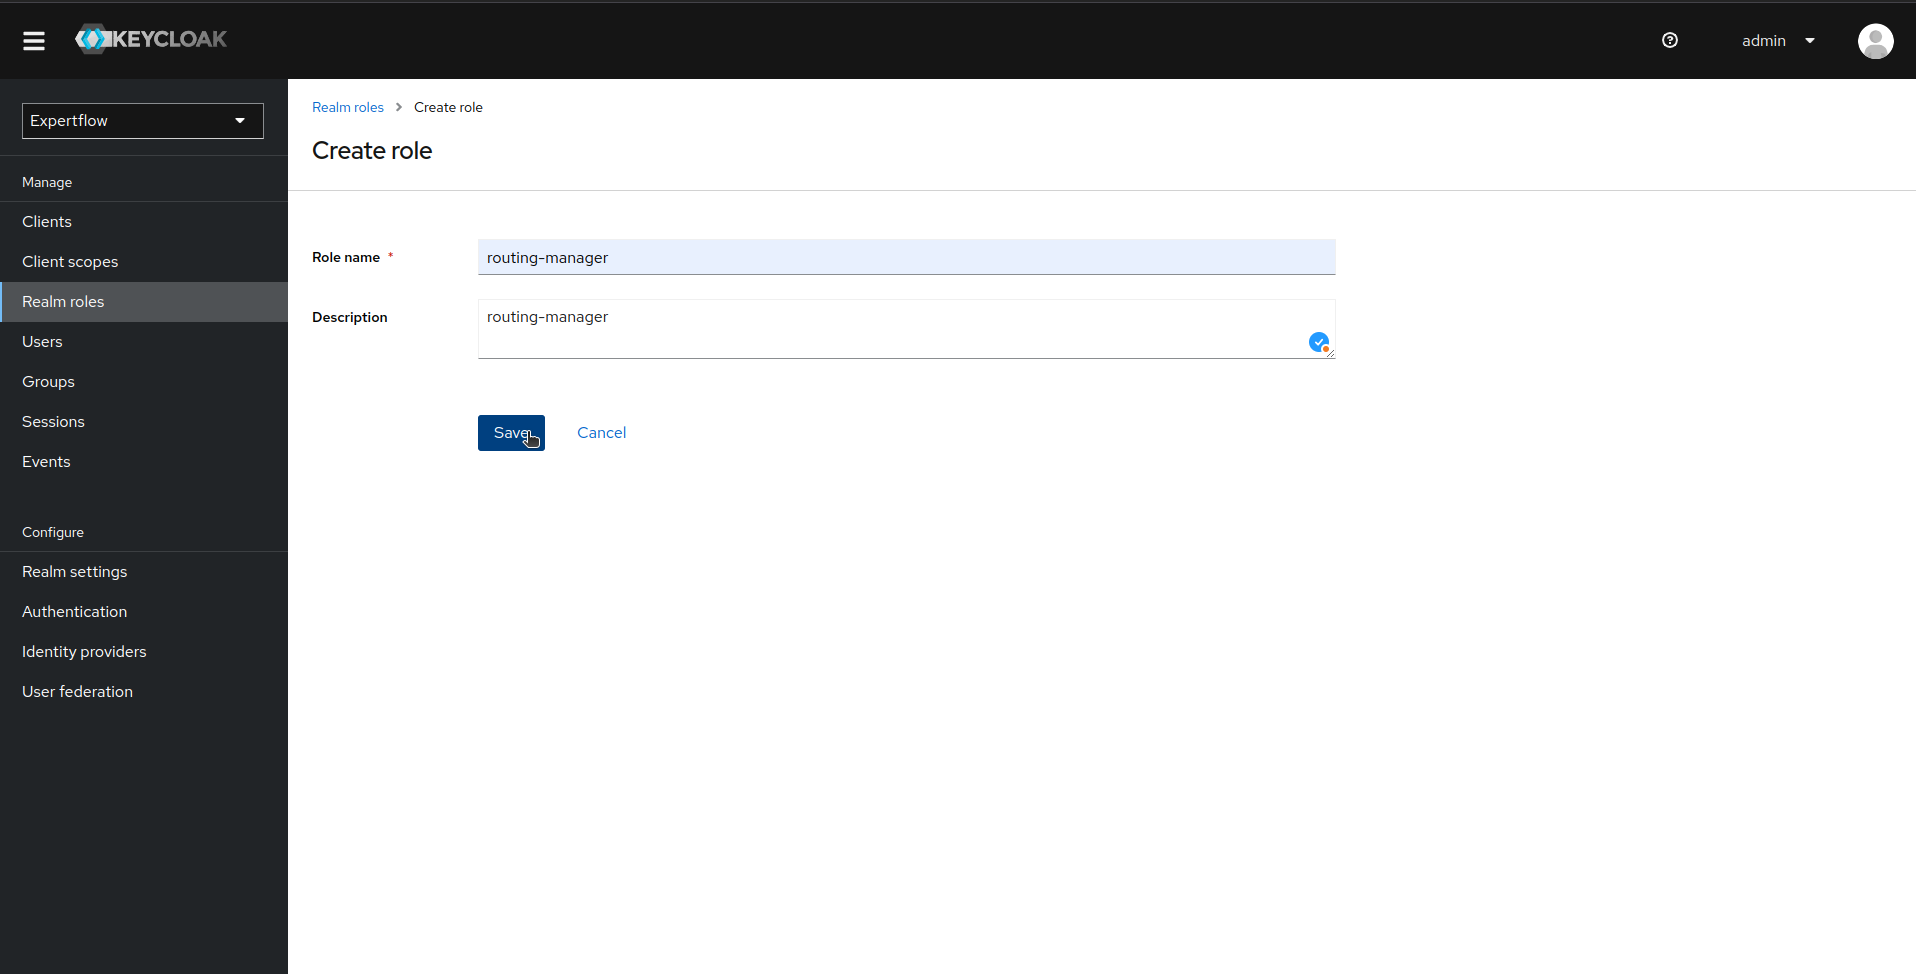
In Create Role, provide routing-manager as Role Name and Description:
-
Now, click on Clients menu and then click on cim client:
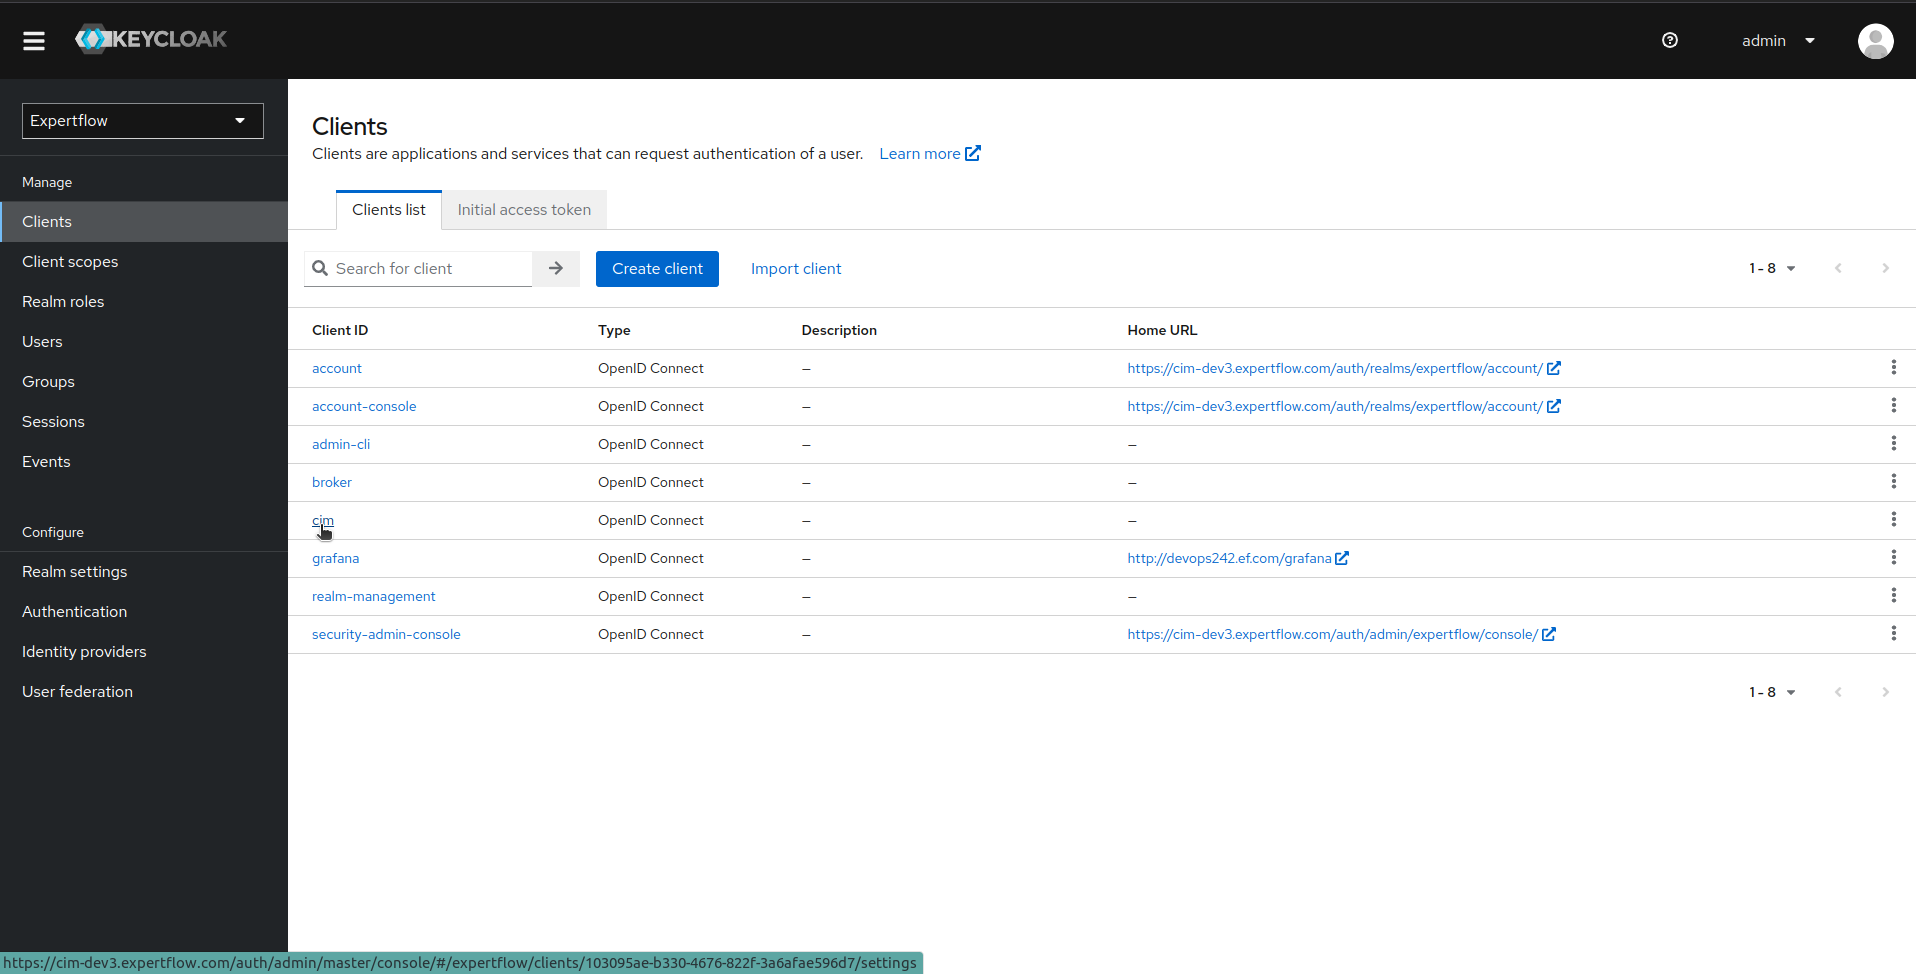
-
Click on Authorization tab and then click on Import in Authorization Settings:
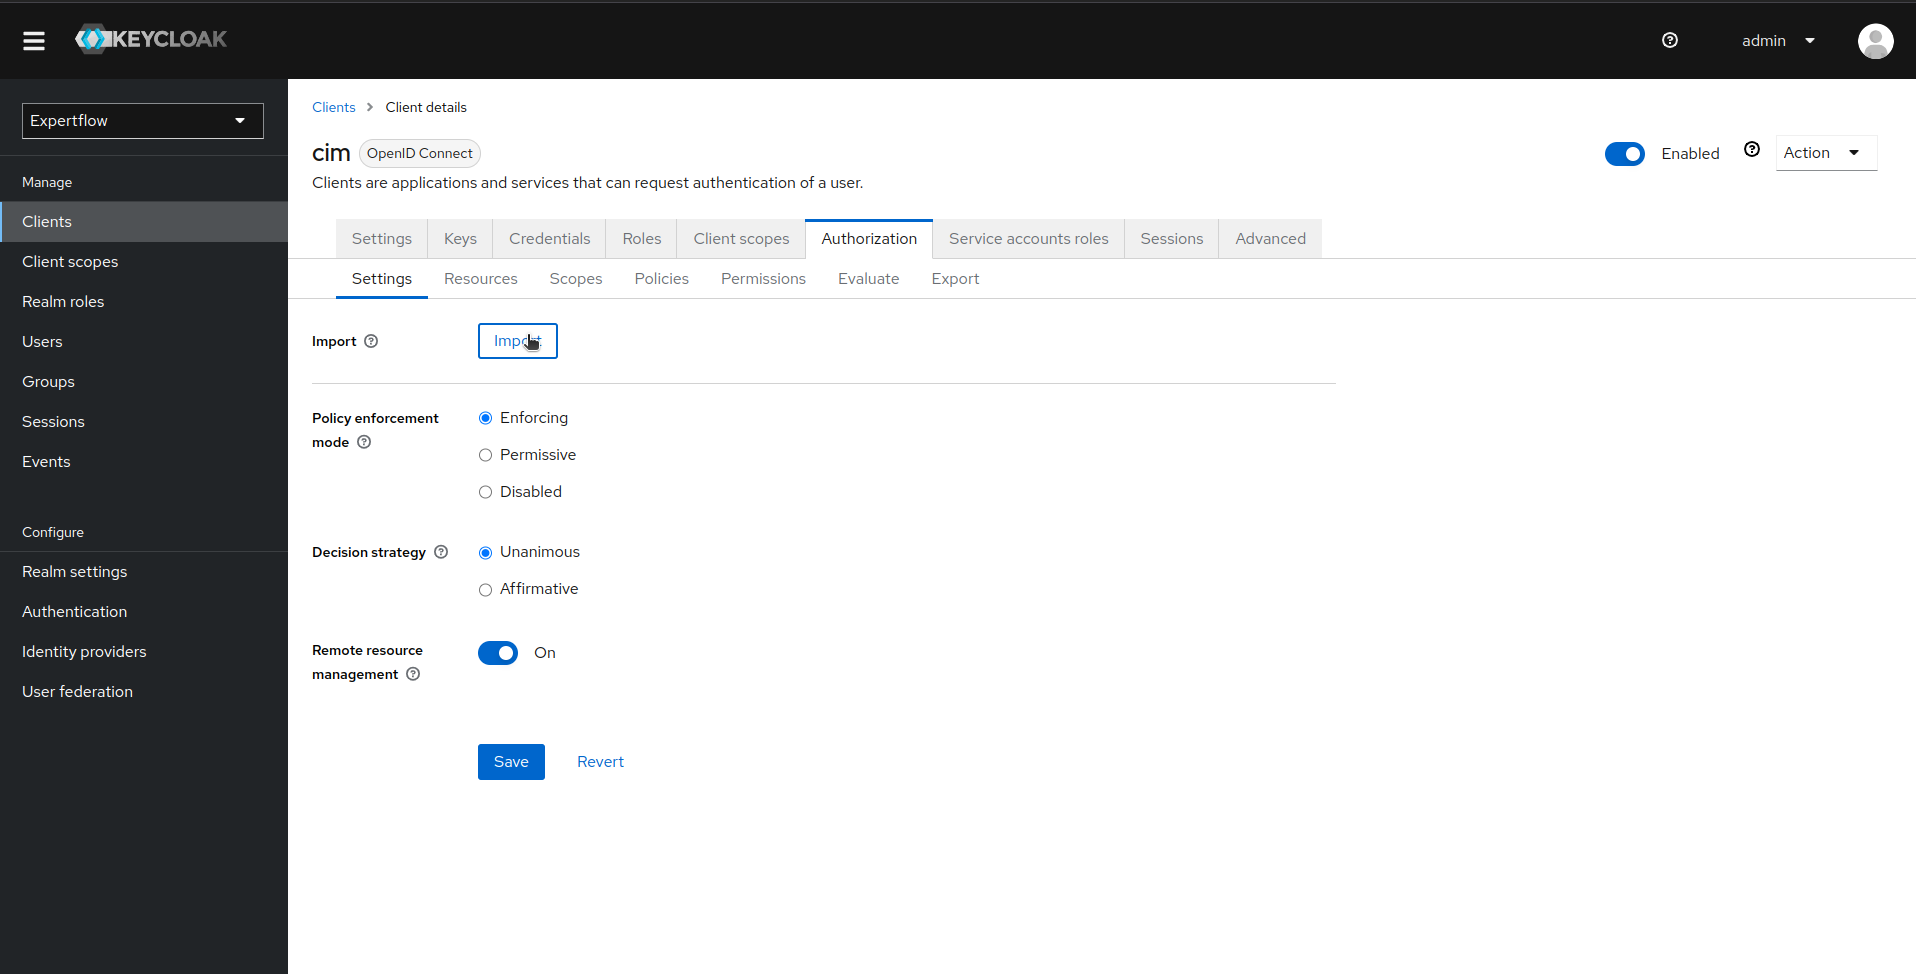
-
Provide the updated Auth file containing routing-manager. Use this file to import new routing-manager permissions/policies: routing-engine-attr-authz-config.json
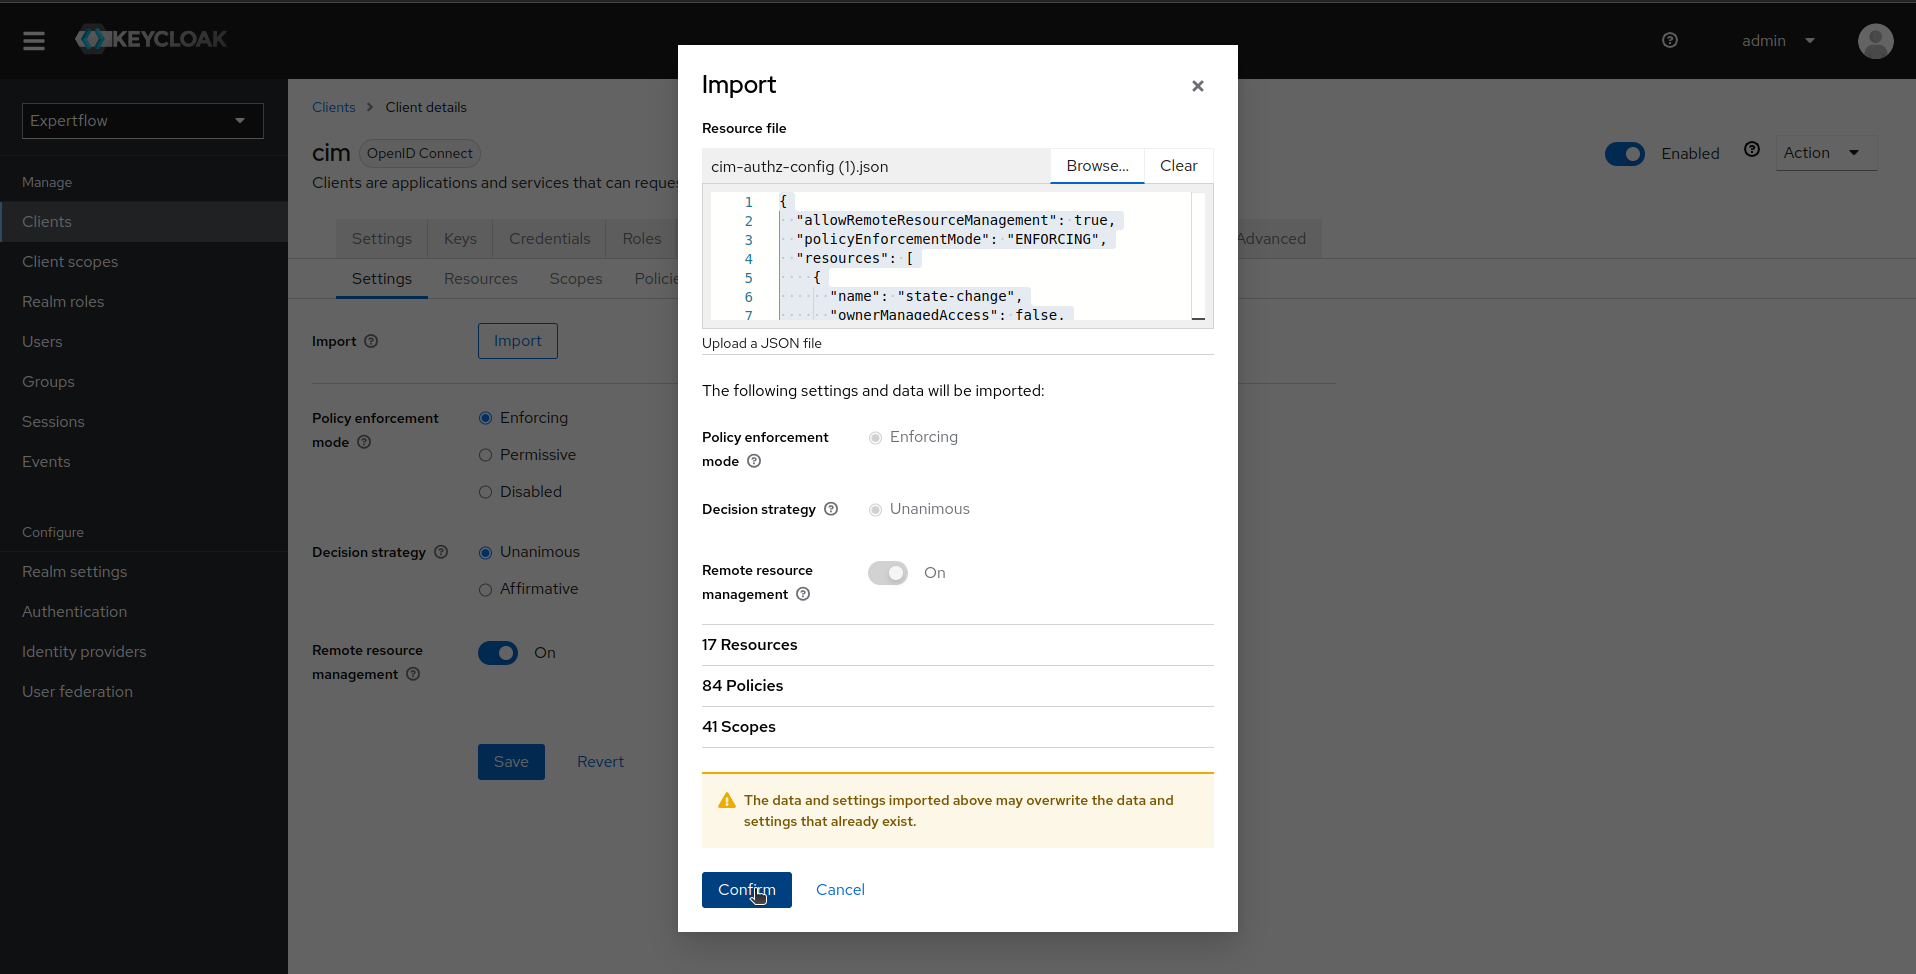
-
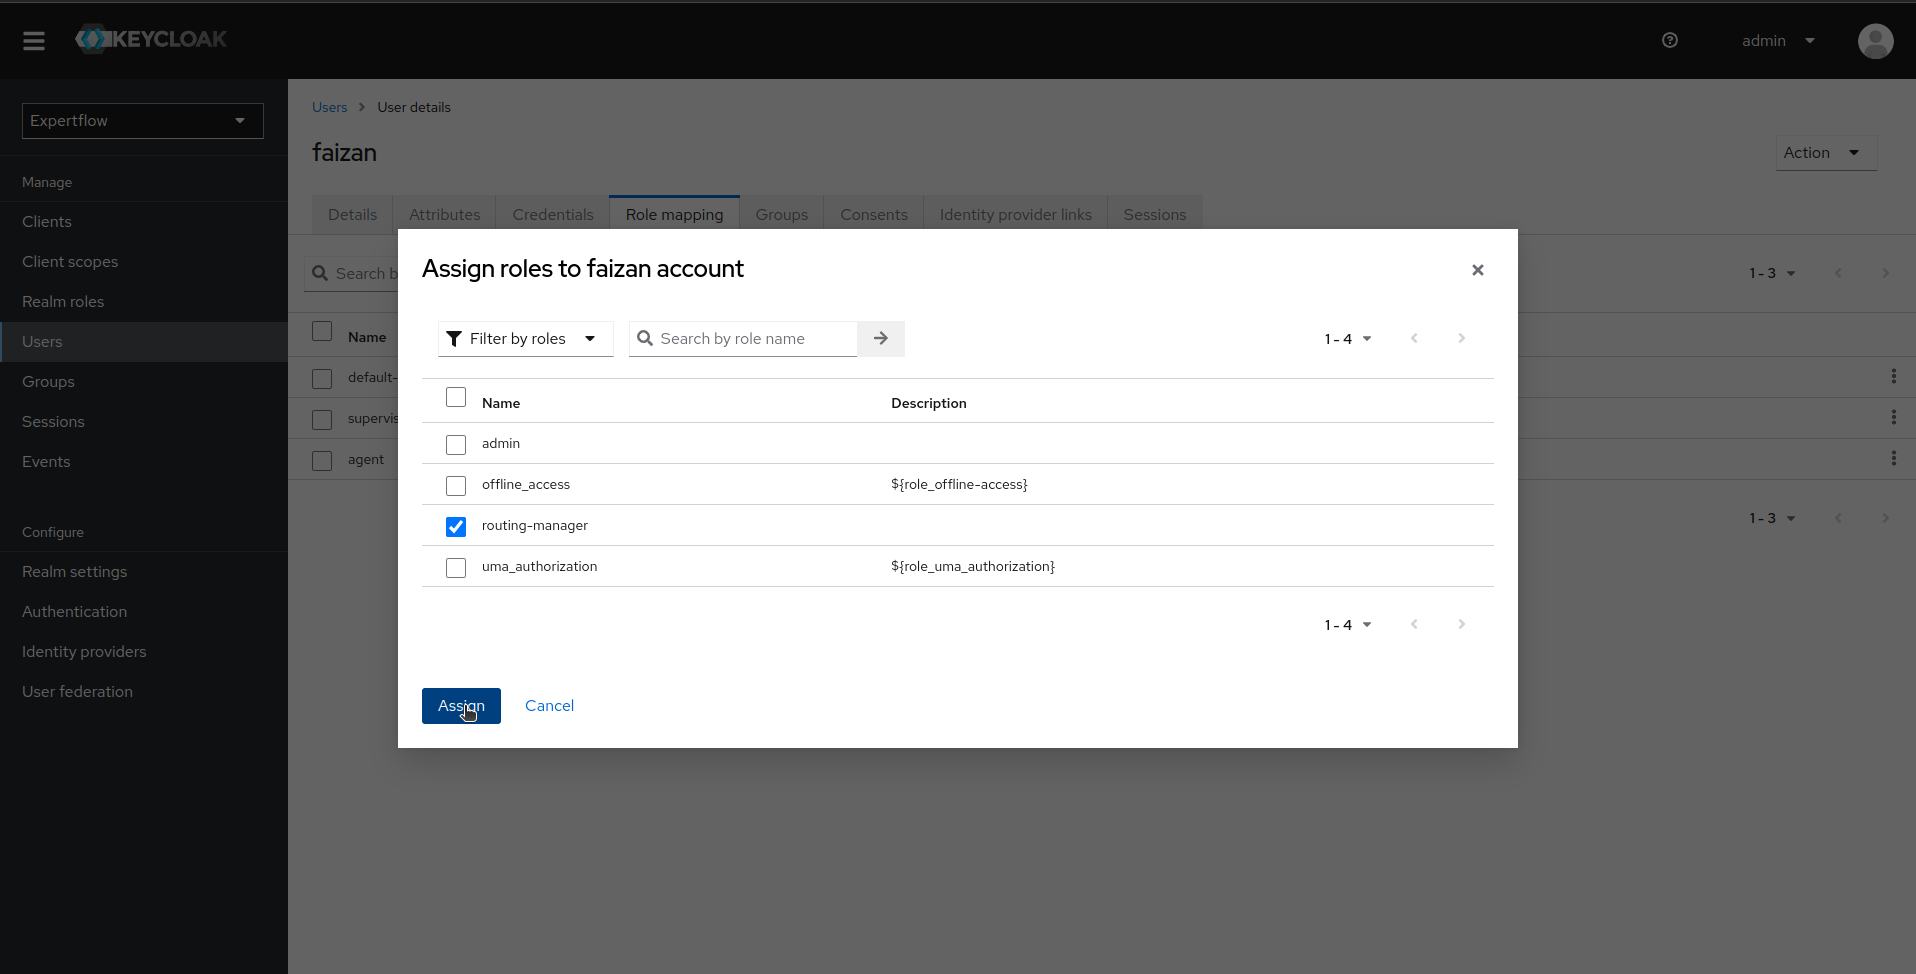
Now, assign your desired user routing-manager role and test by logging-in to unified-admin.