This document contains all the configurations required for the setup of Oauth2-Proxy for API Authentication in CX. Following configurations are the prerequisite before the enablement.
-
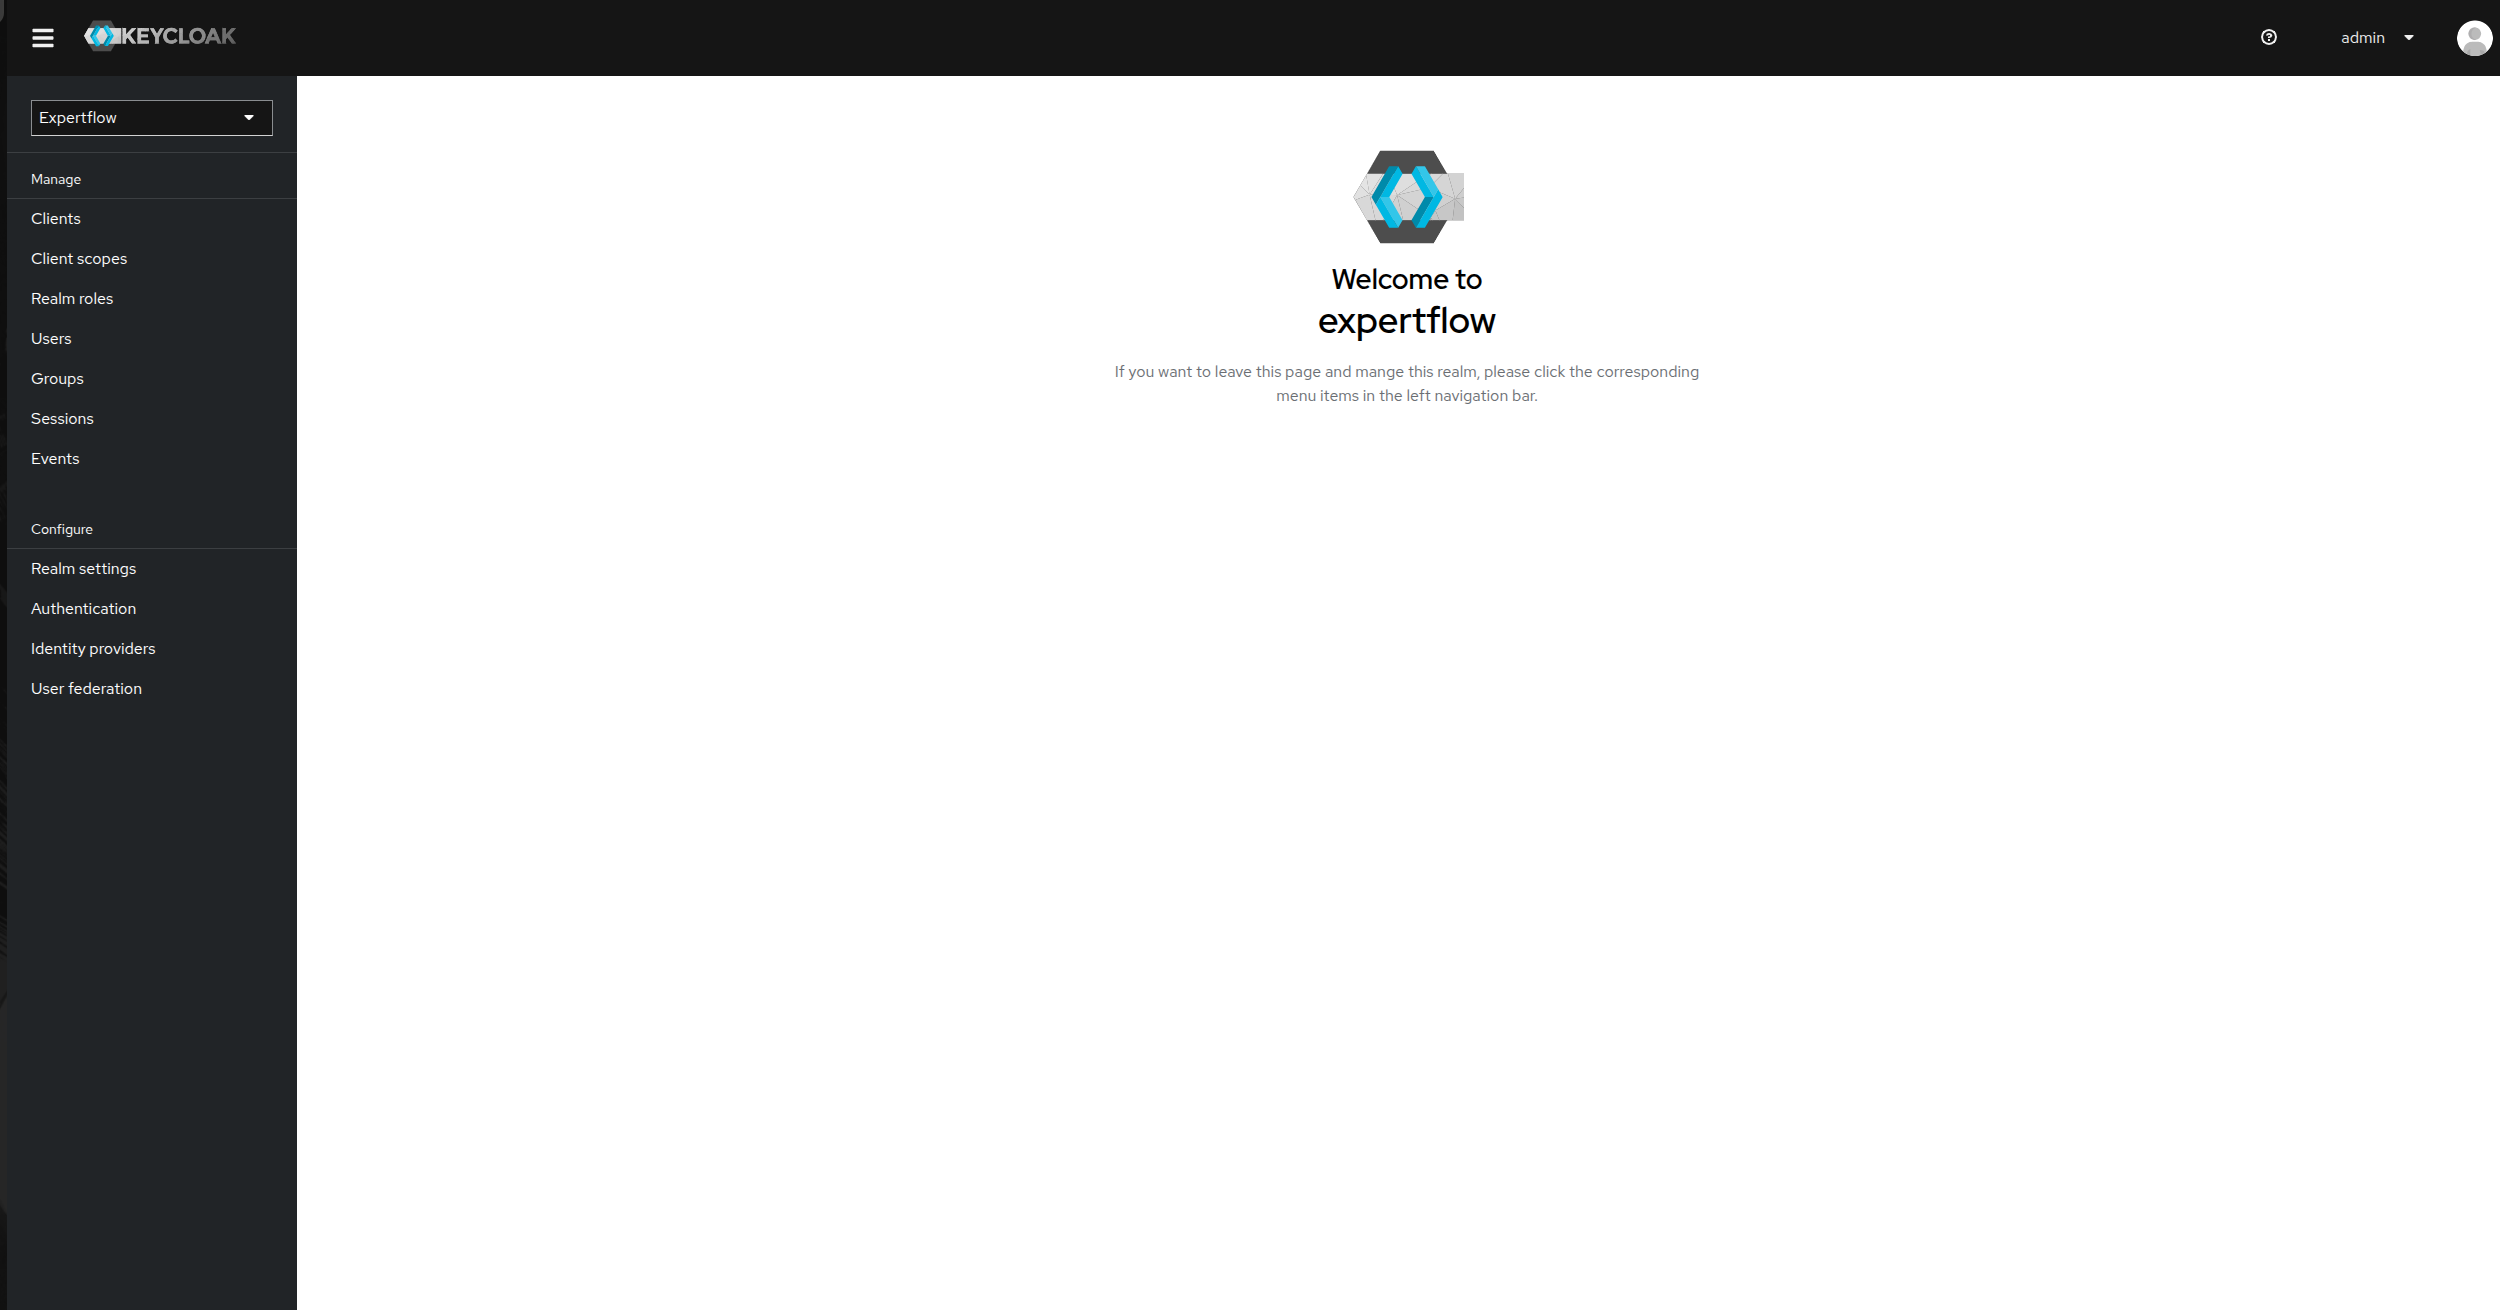
First go to your Keycloak instance and login, then go to the expertflow realm.
-
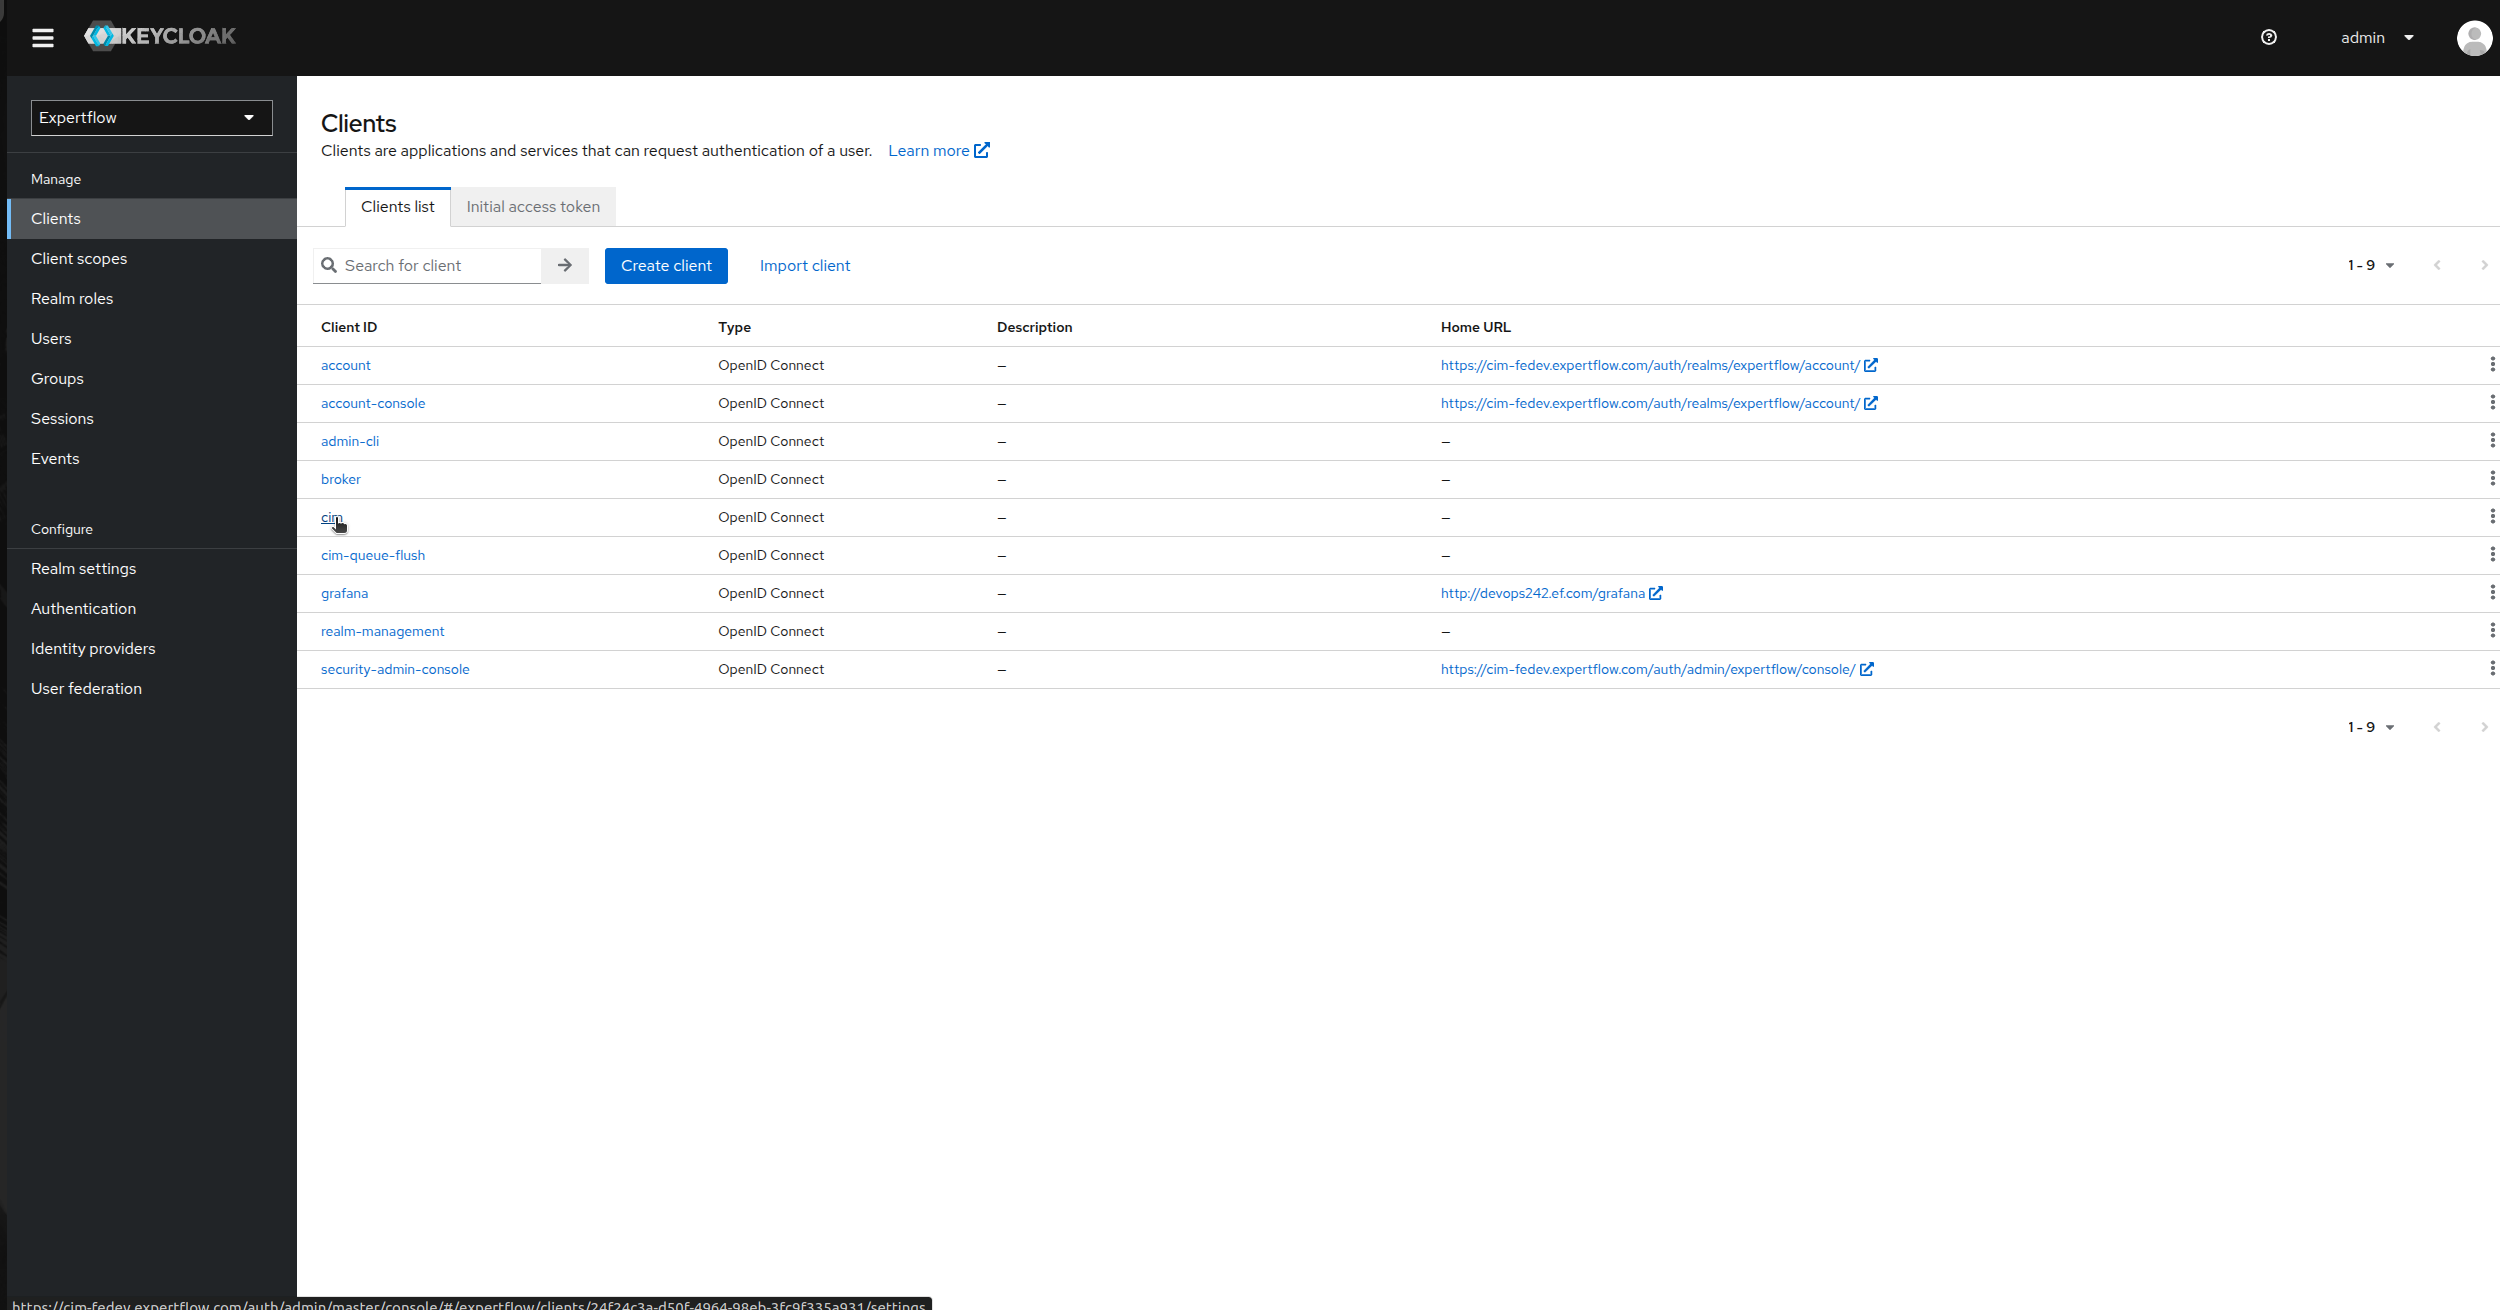
Then click on clients option in left panel and then select cim.
-
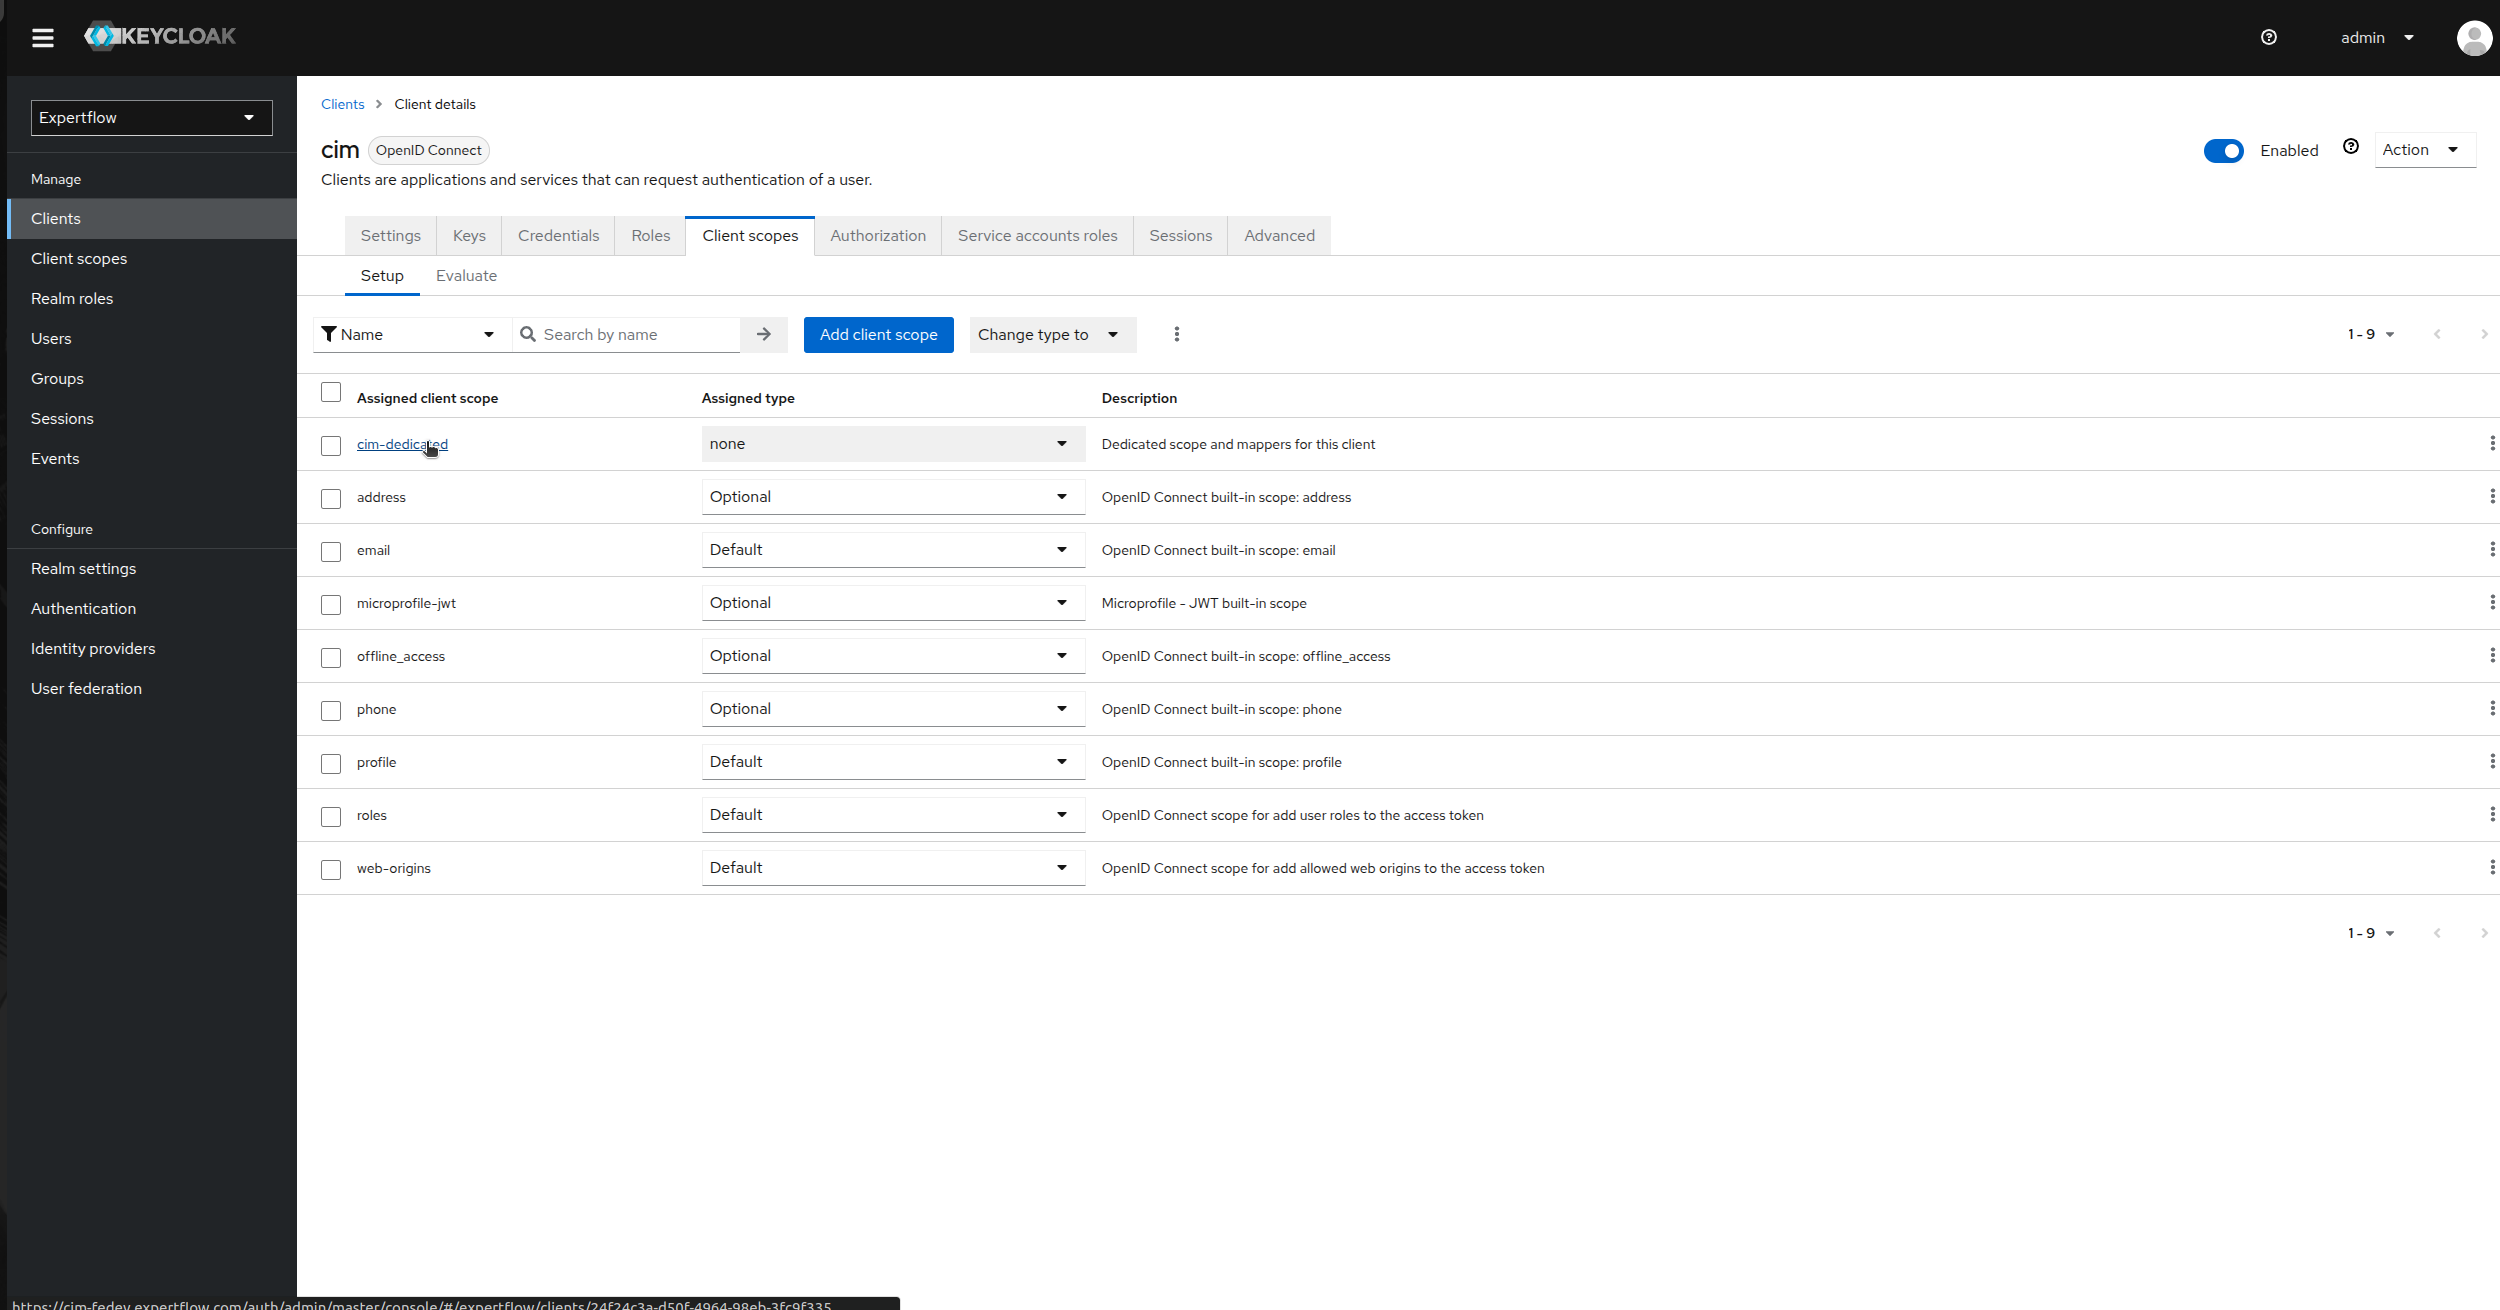
Now, go to the client scopes and click on cim-dedicated under Assigned client scope.
-
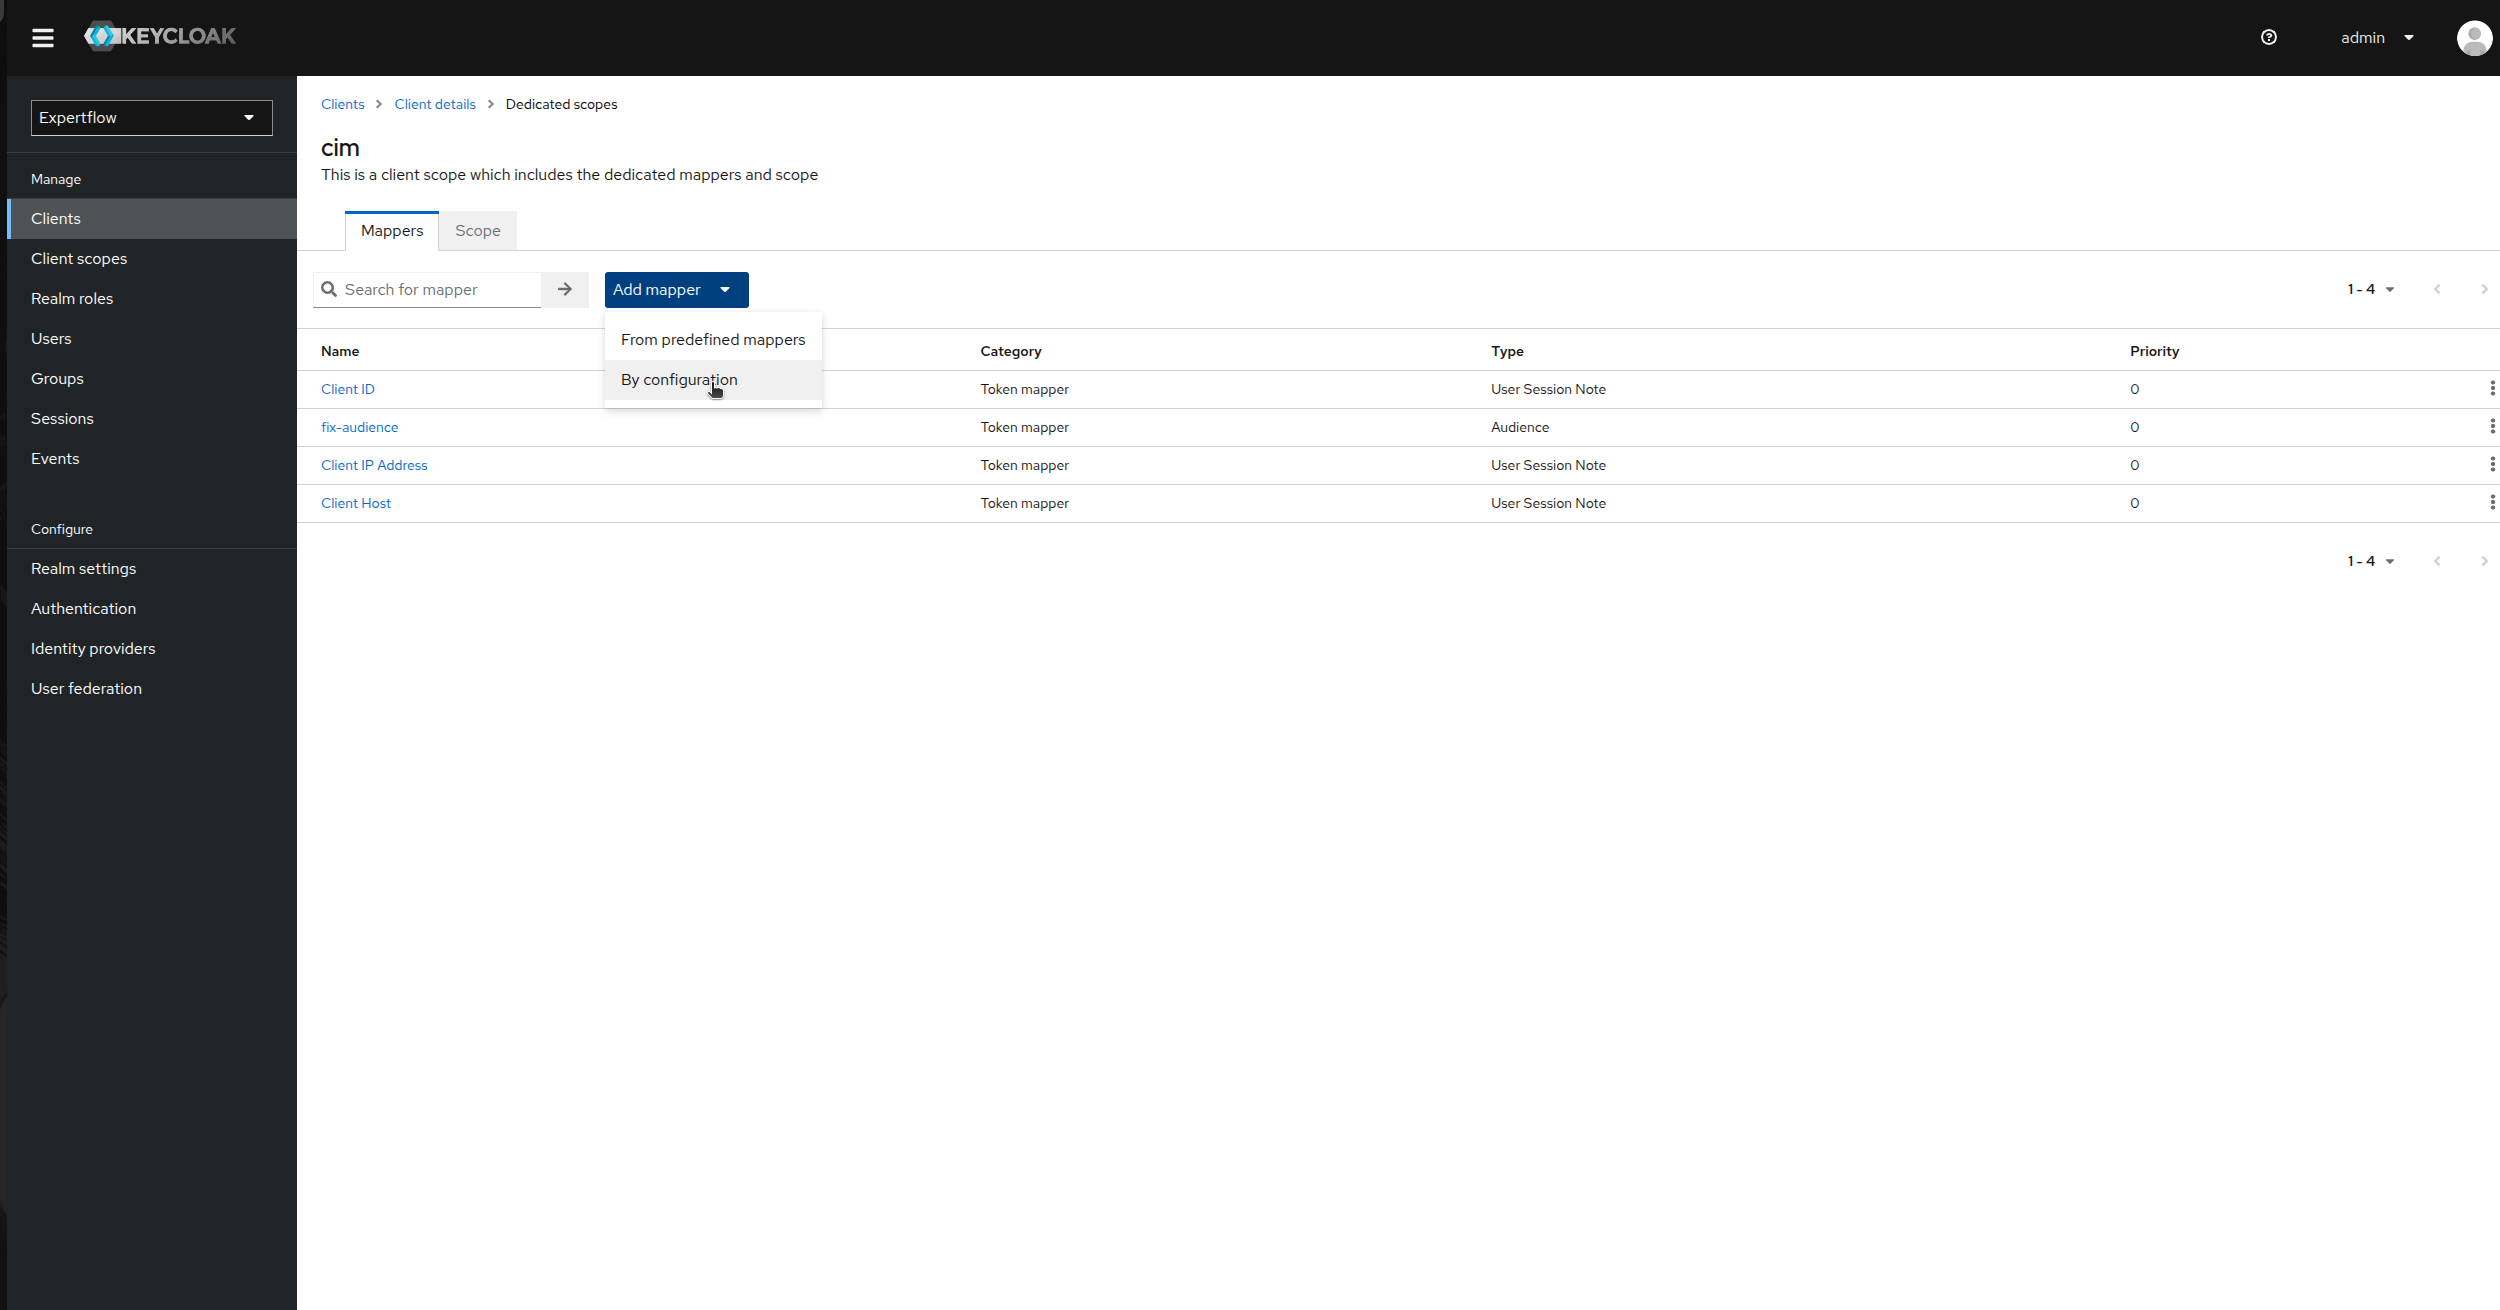
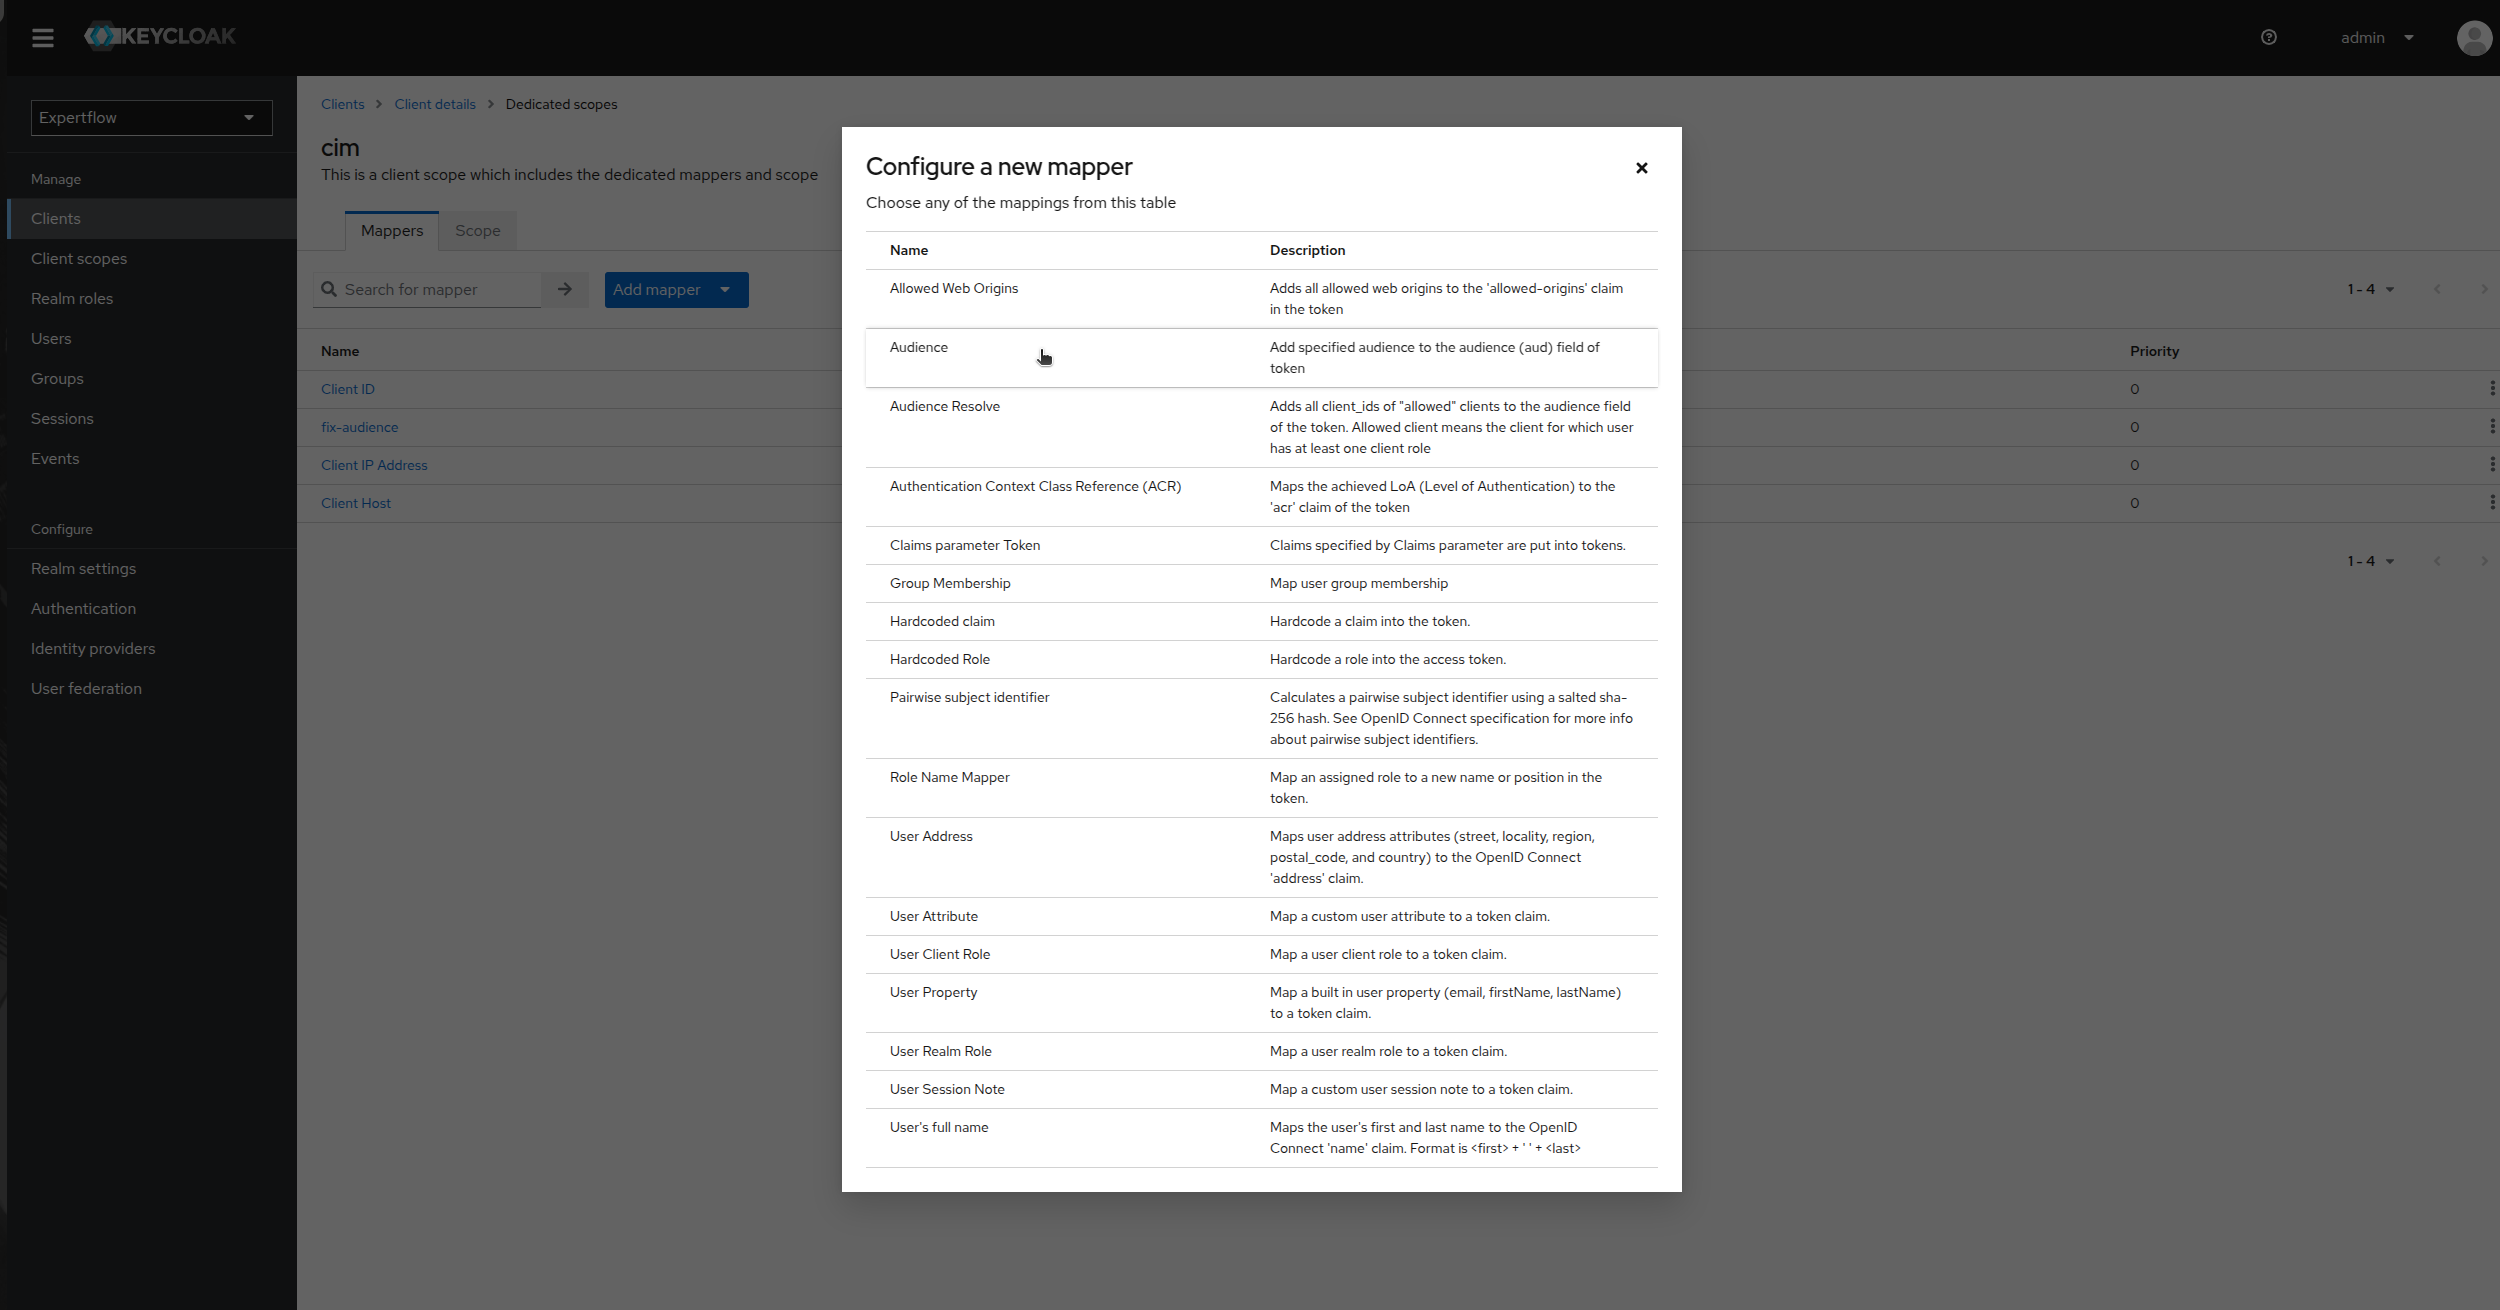
Click on Add Mapper and then select By configuration.
-
Click on Audience.
-
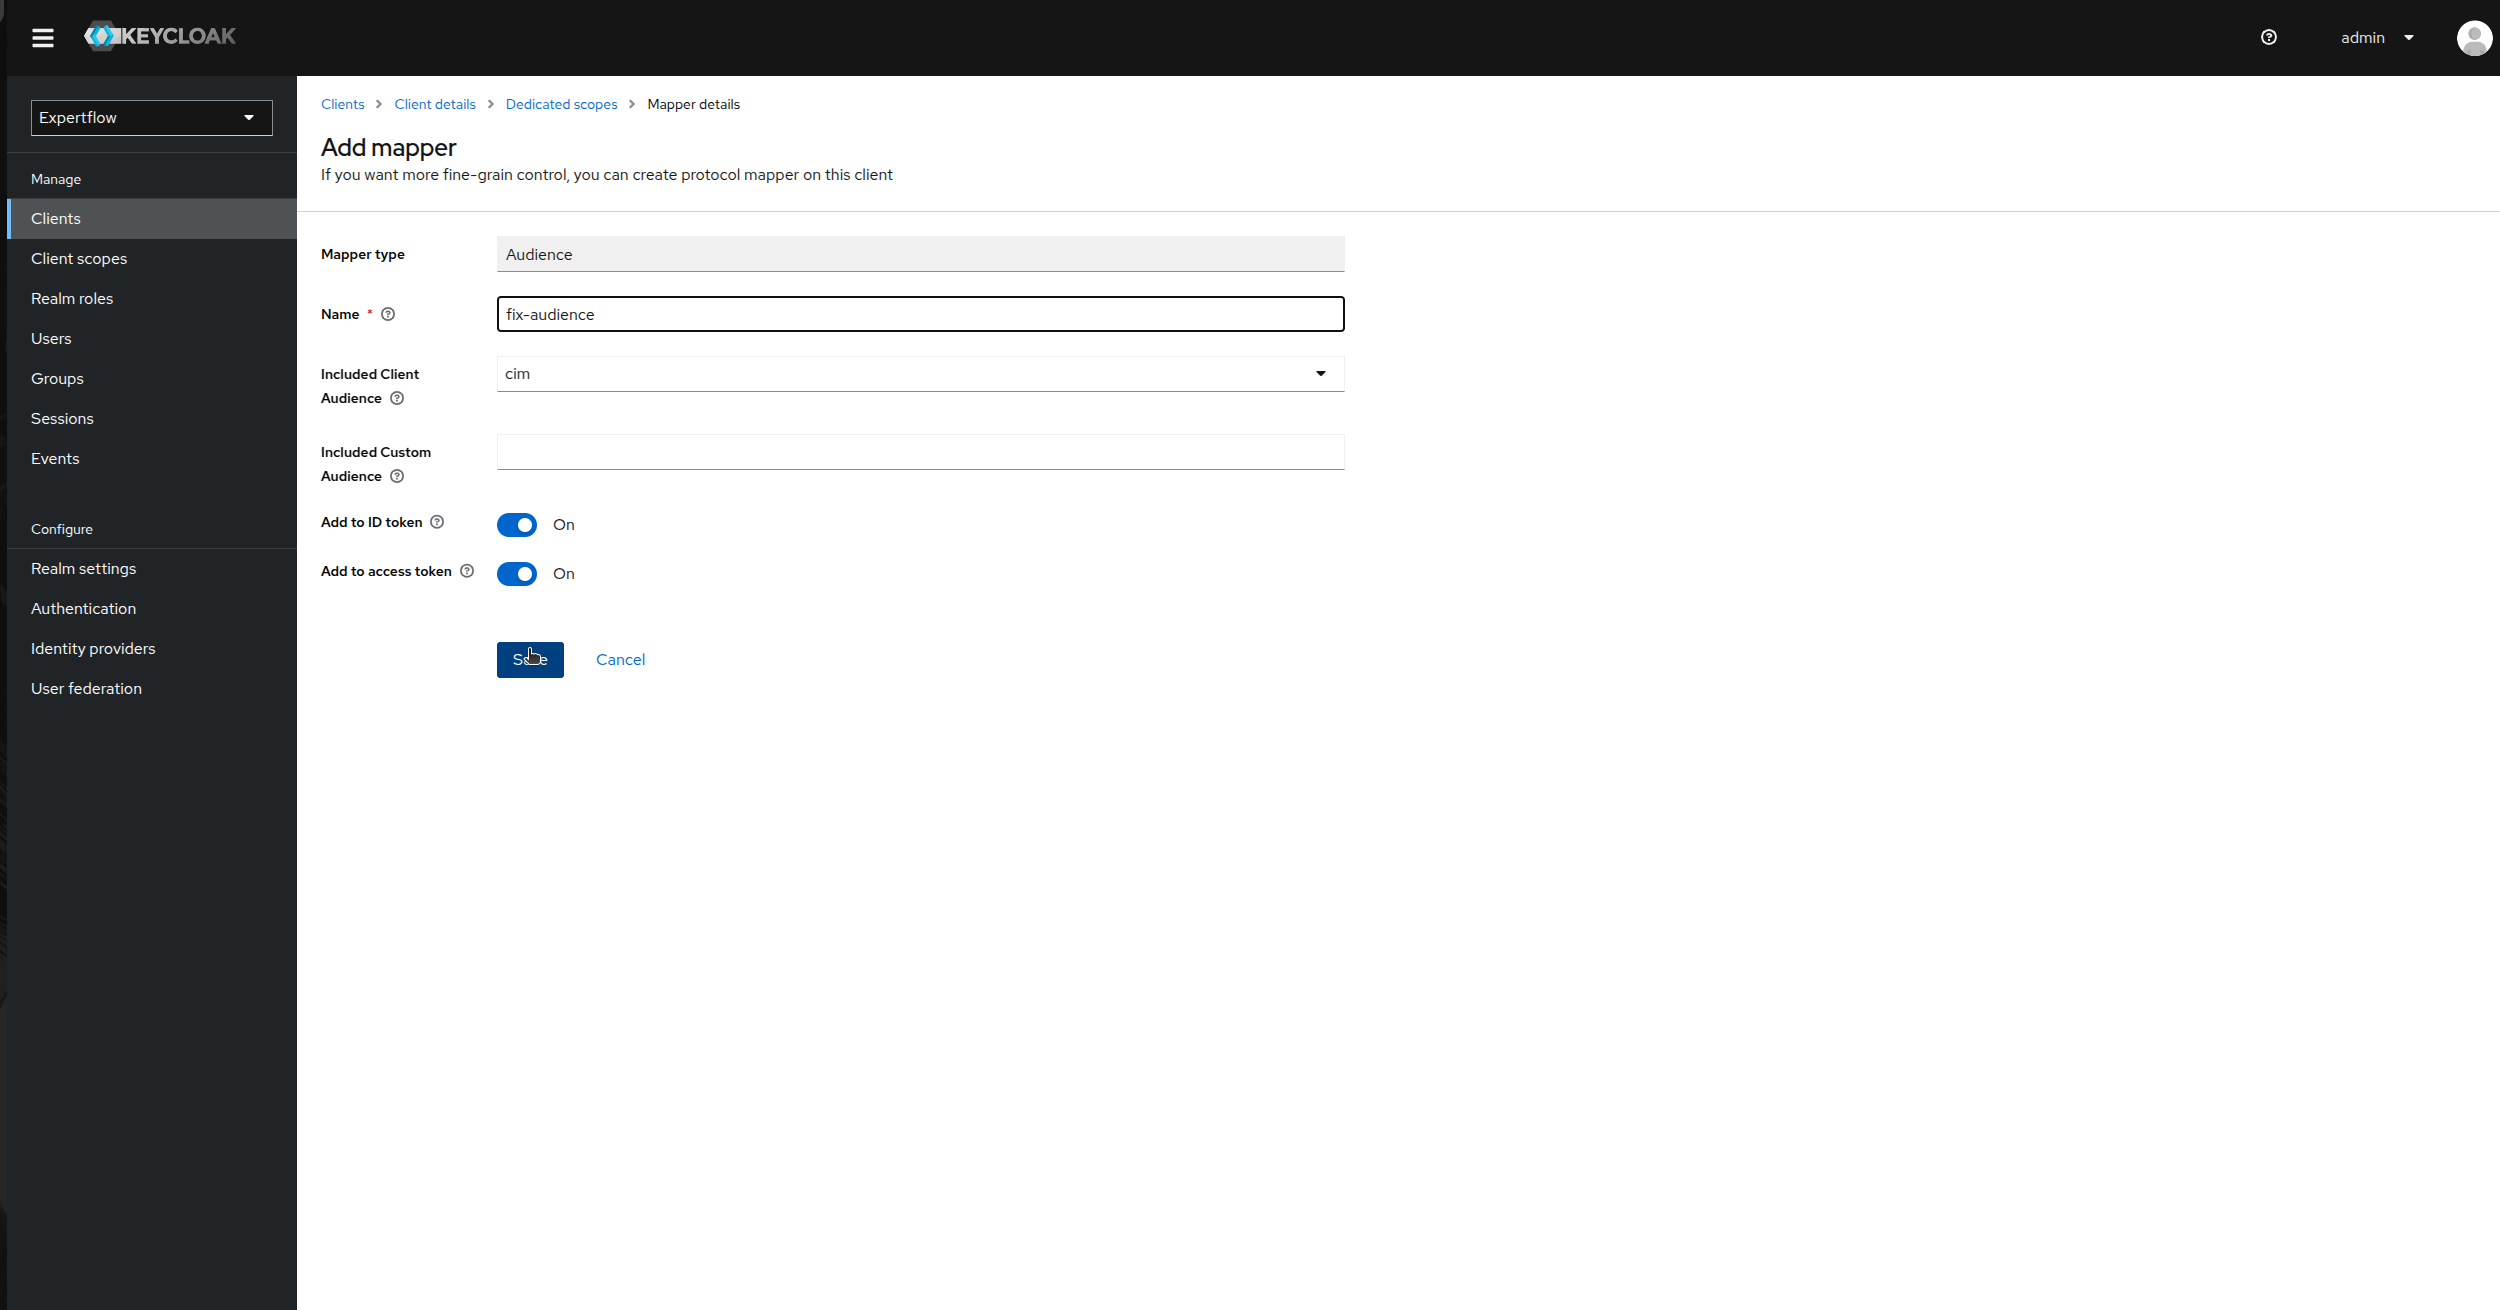
Provide Name as “fix-audience”, select cim in Included Client Audience. Check “Add to ID Token” toggle as On and Save.
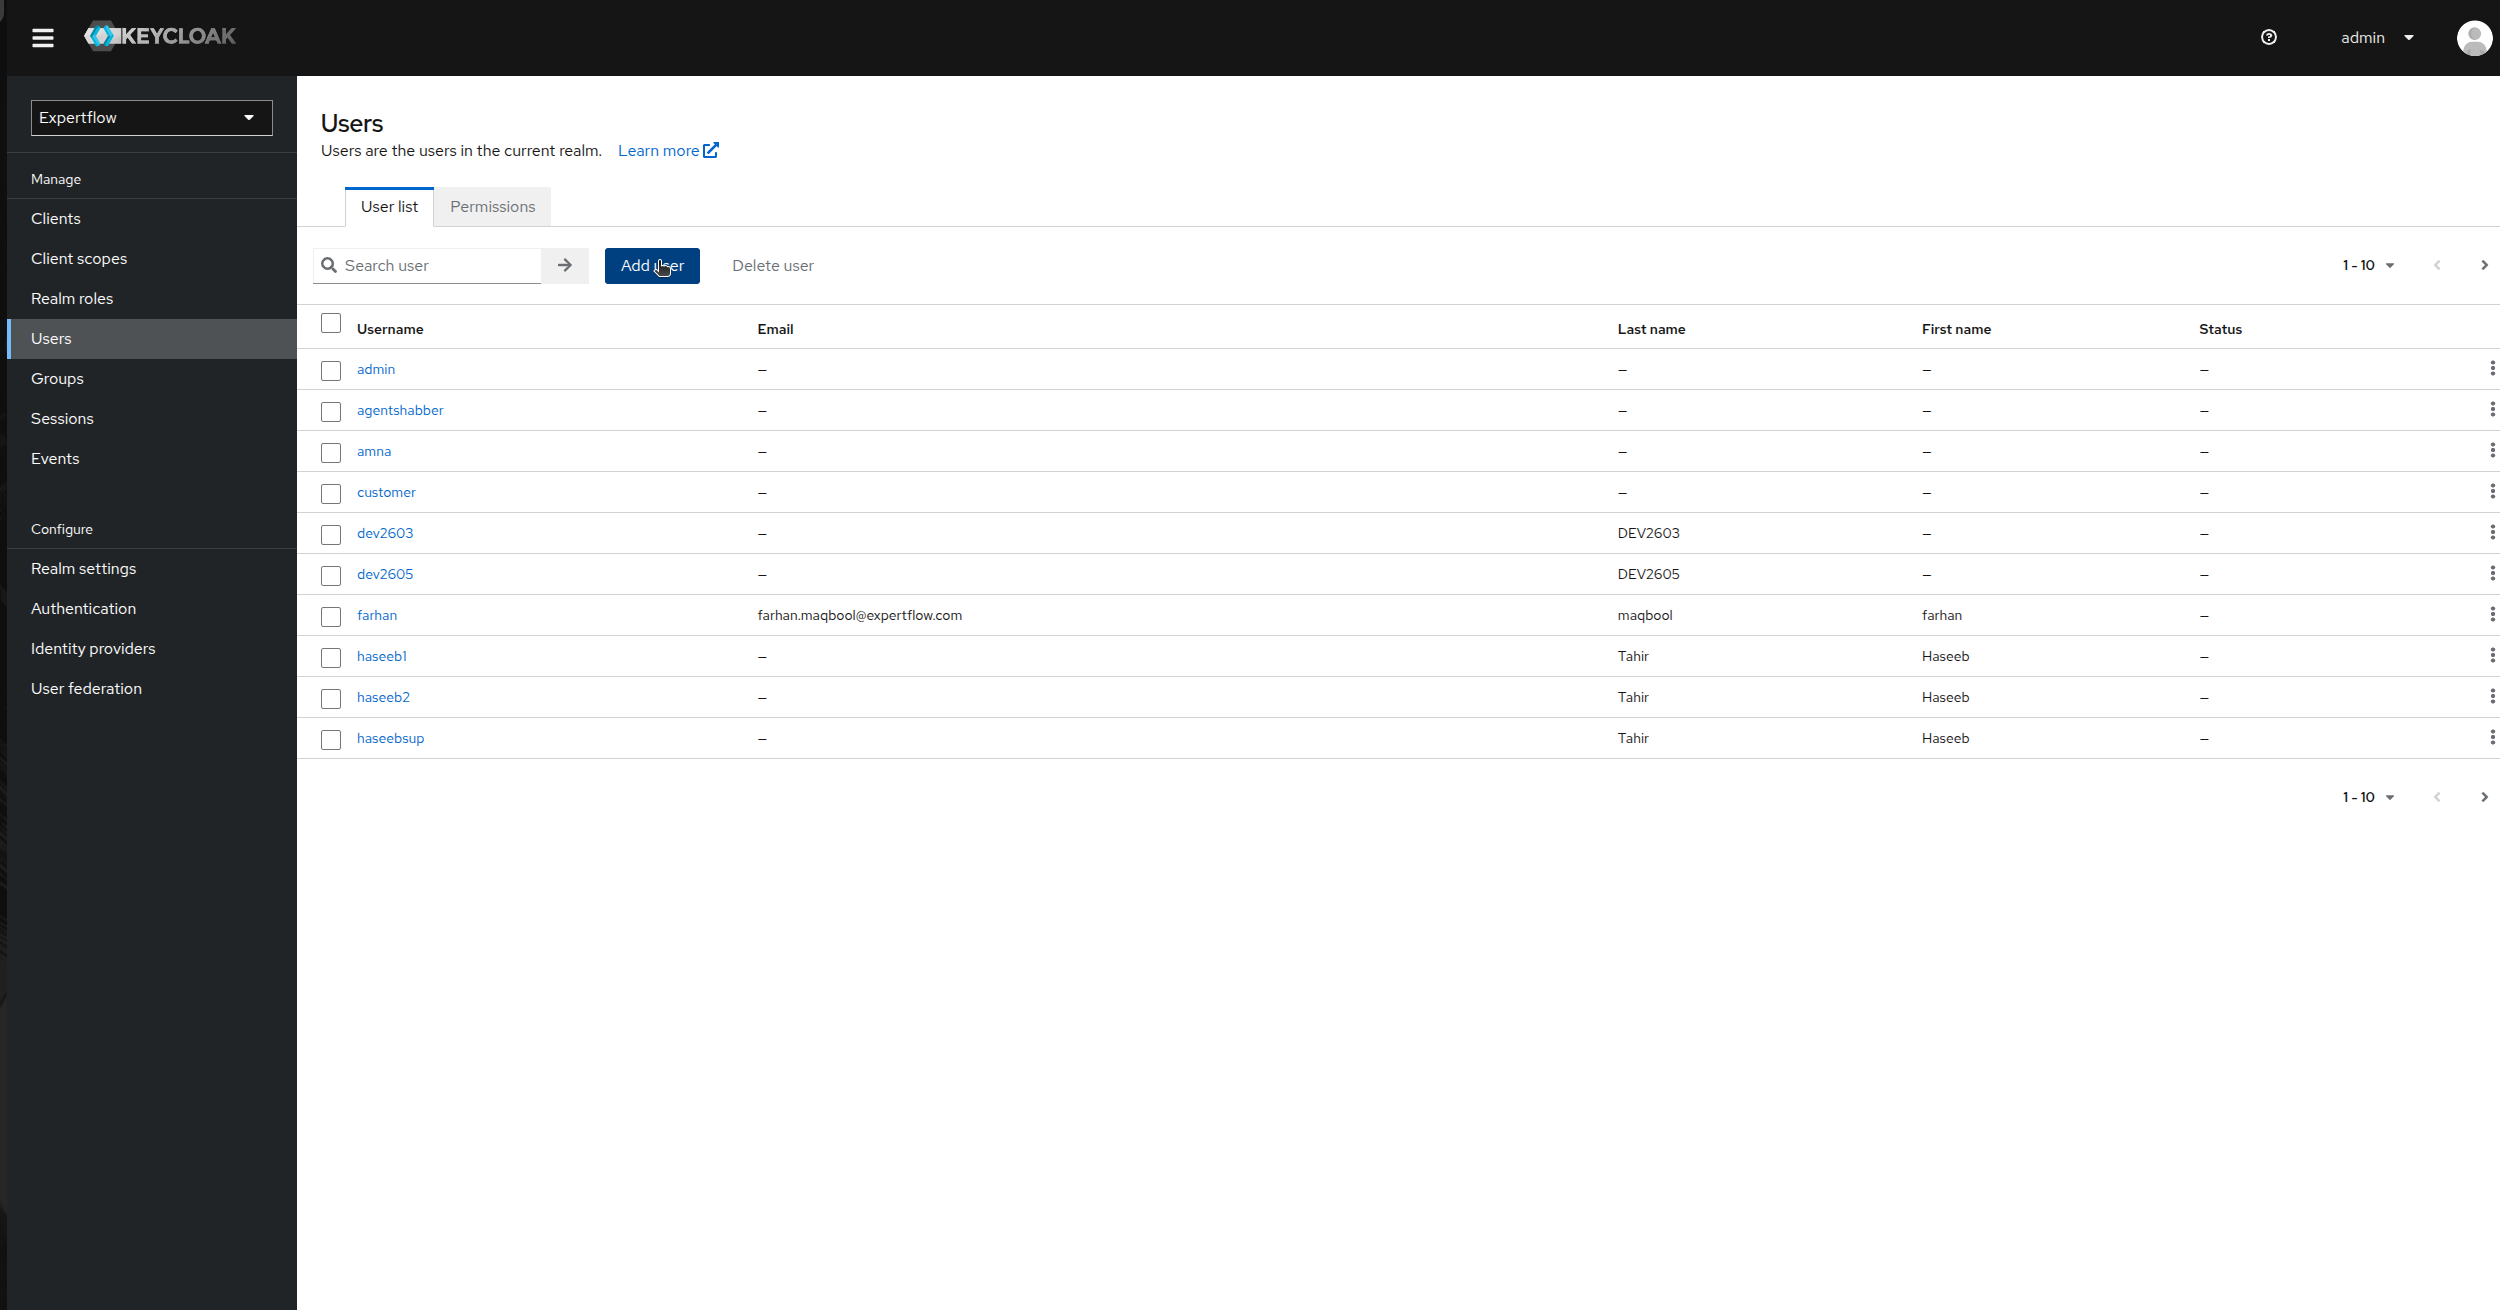
Create a Customer User:
This user is responsible for creation of Access Token for each customer in Customer Widget.
-
Go to the Users tab in left Control Panel.
-
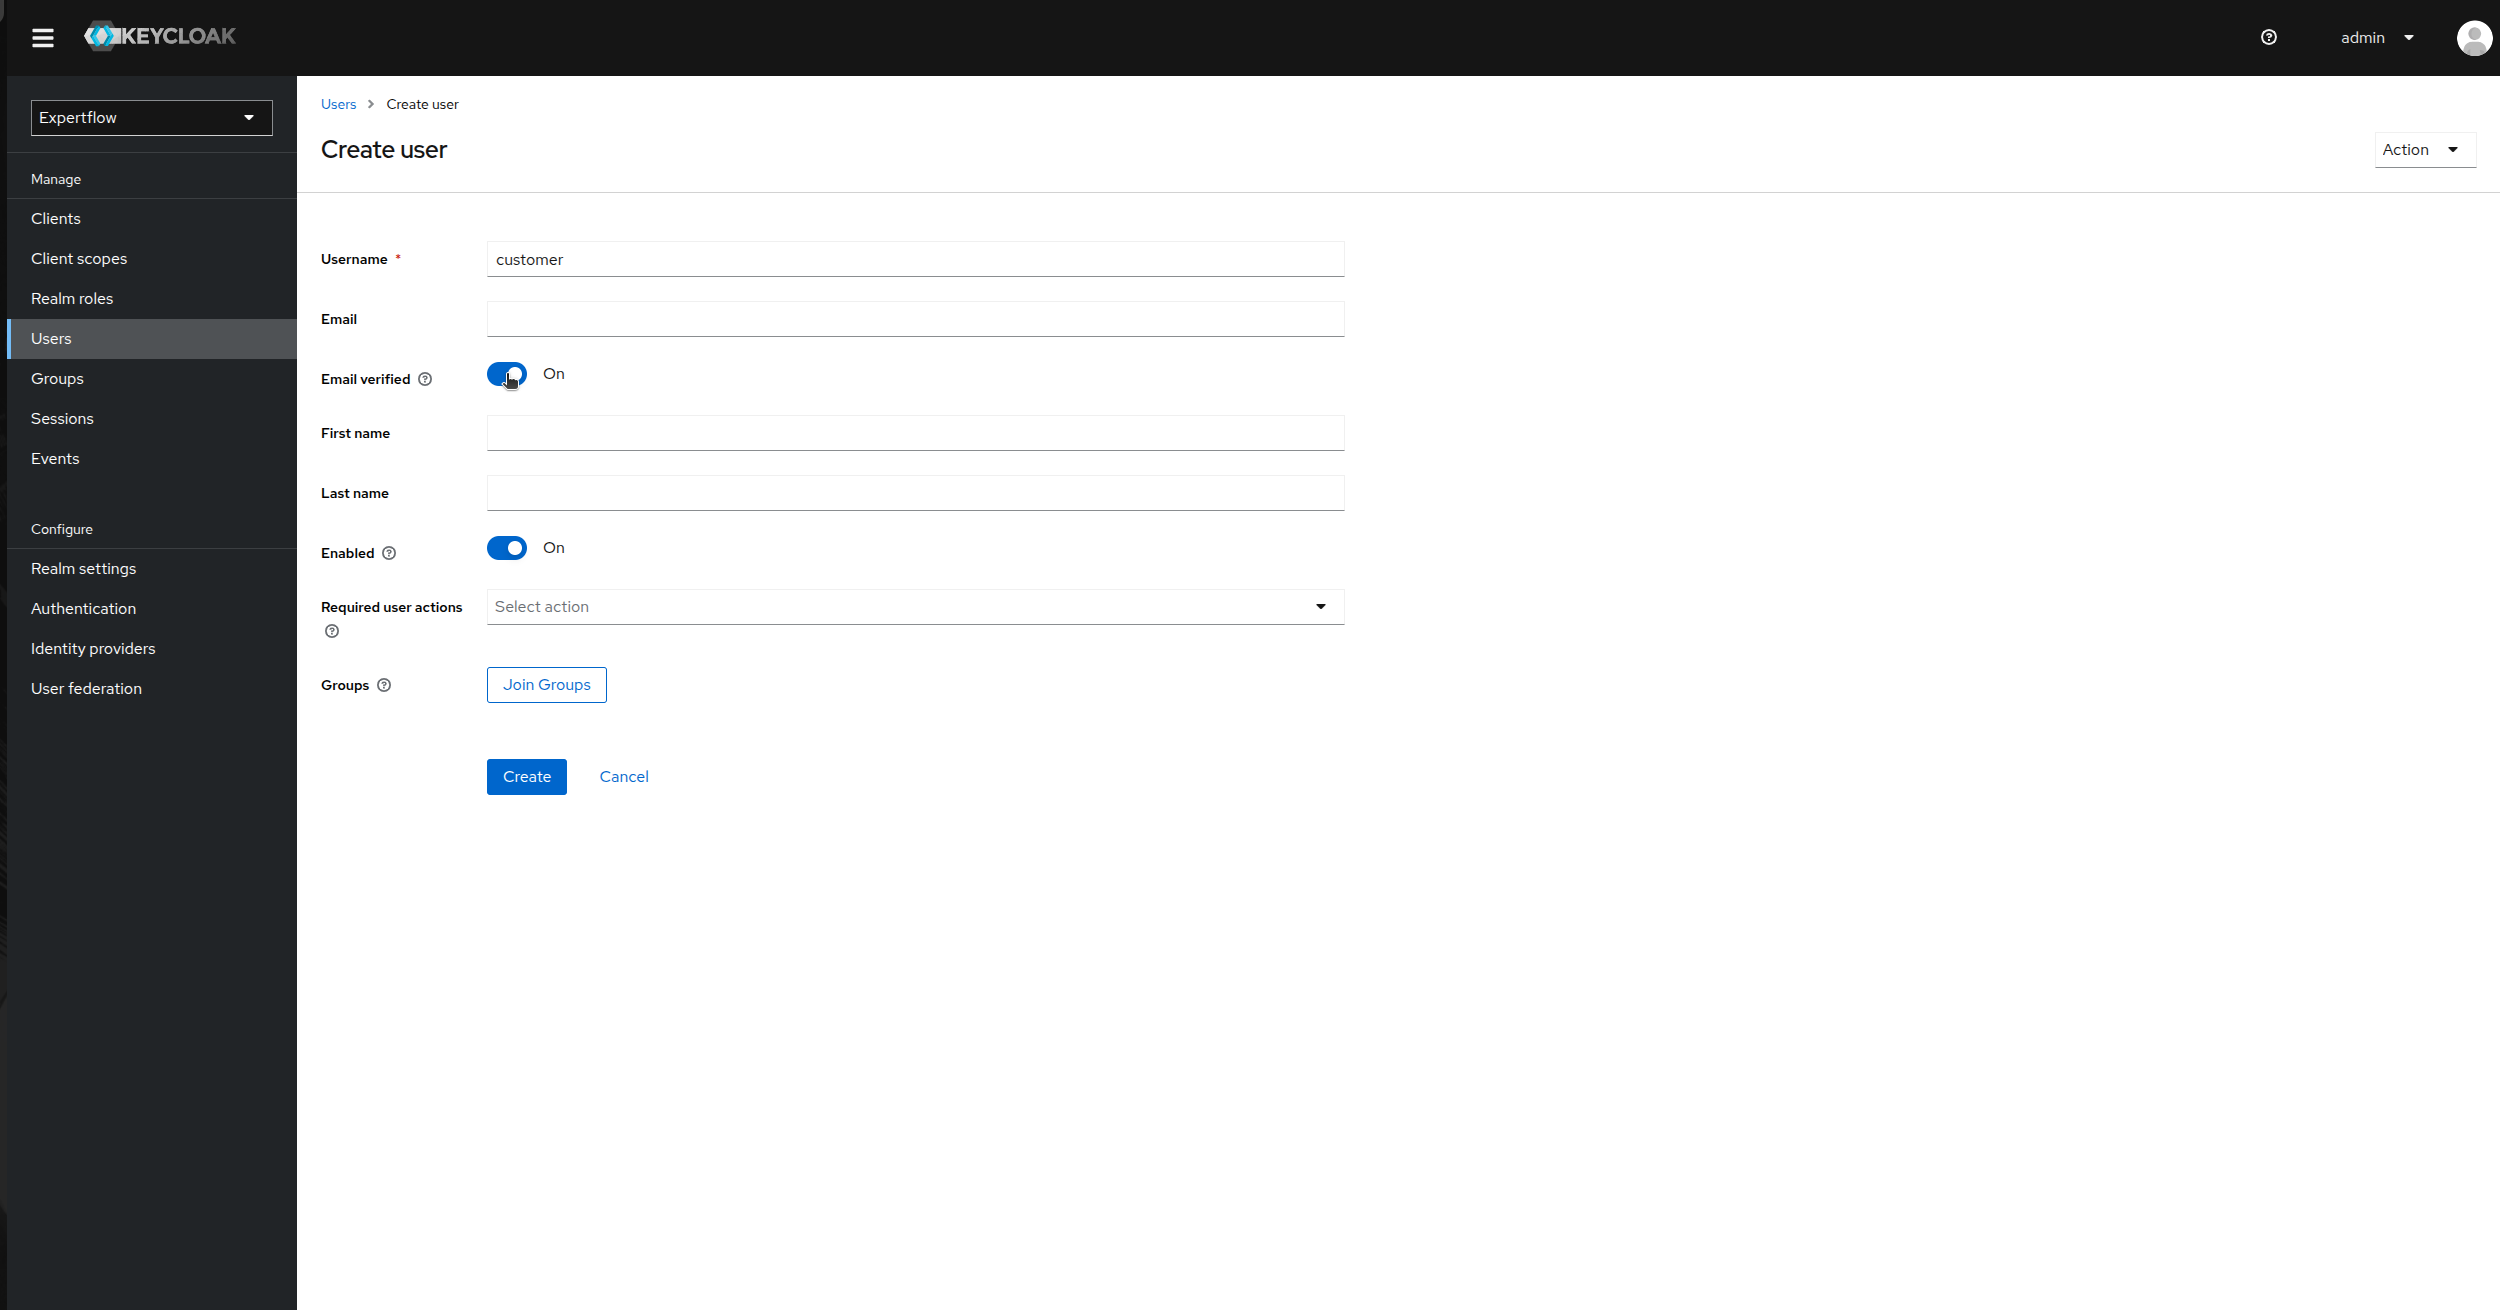
Click on Add User and provide username as “customer” and enable Email Verified toggle to On and click save.
-
Once user is created, go to Credentials and click on Set Password, provide credentials as customer and toggle temporary to false. Click save
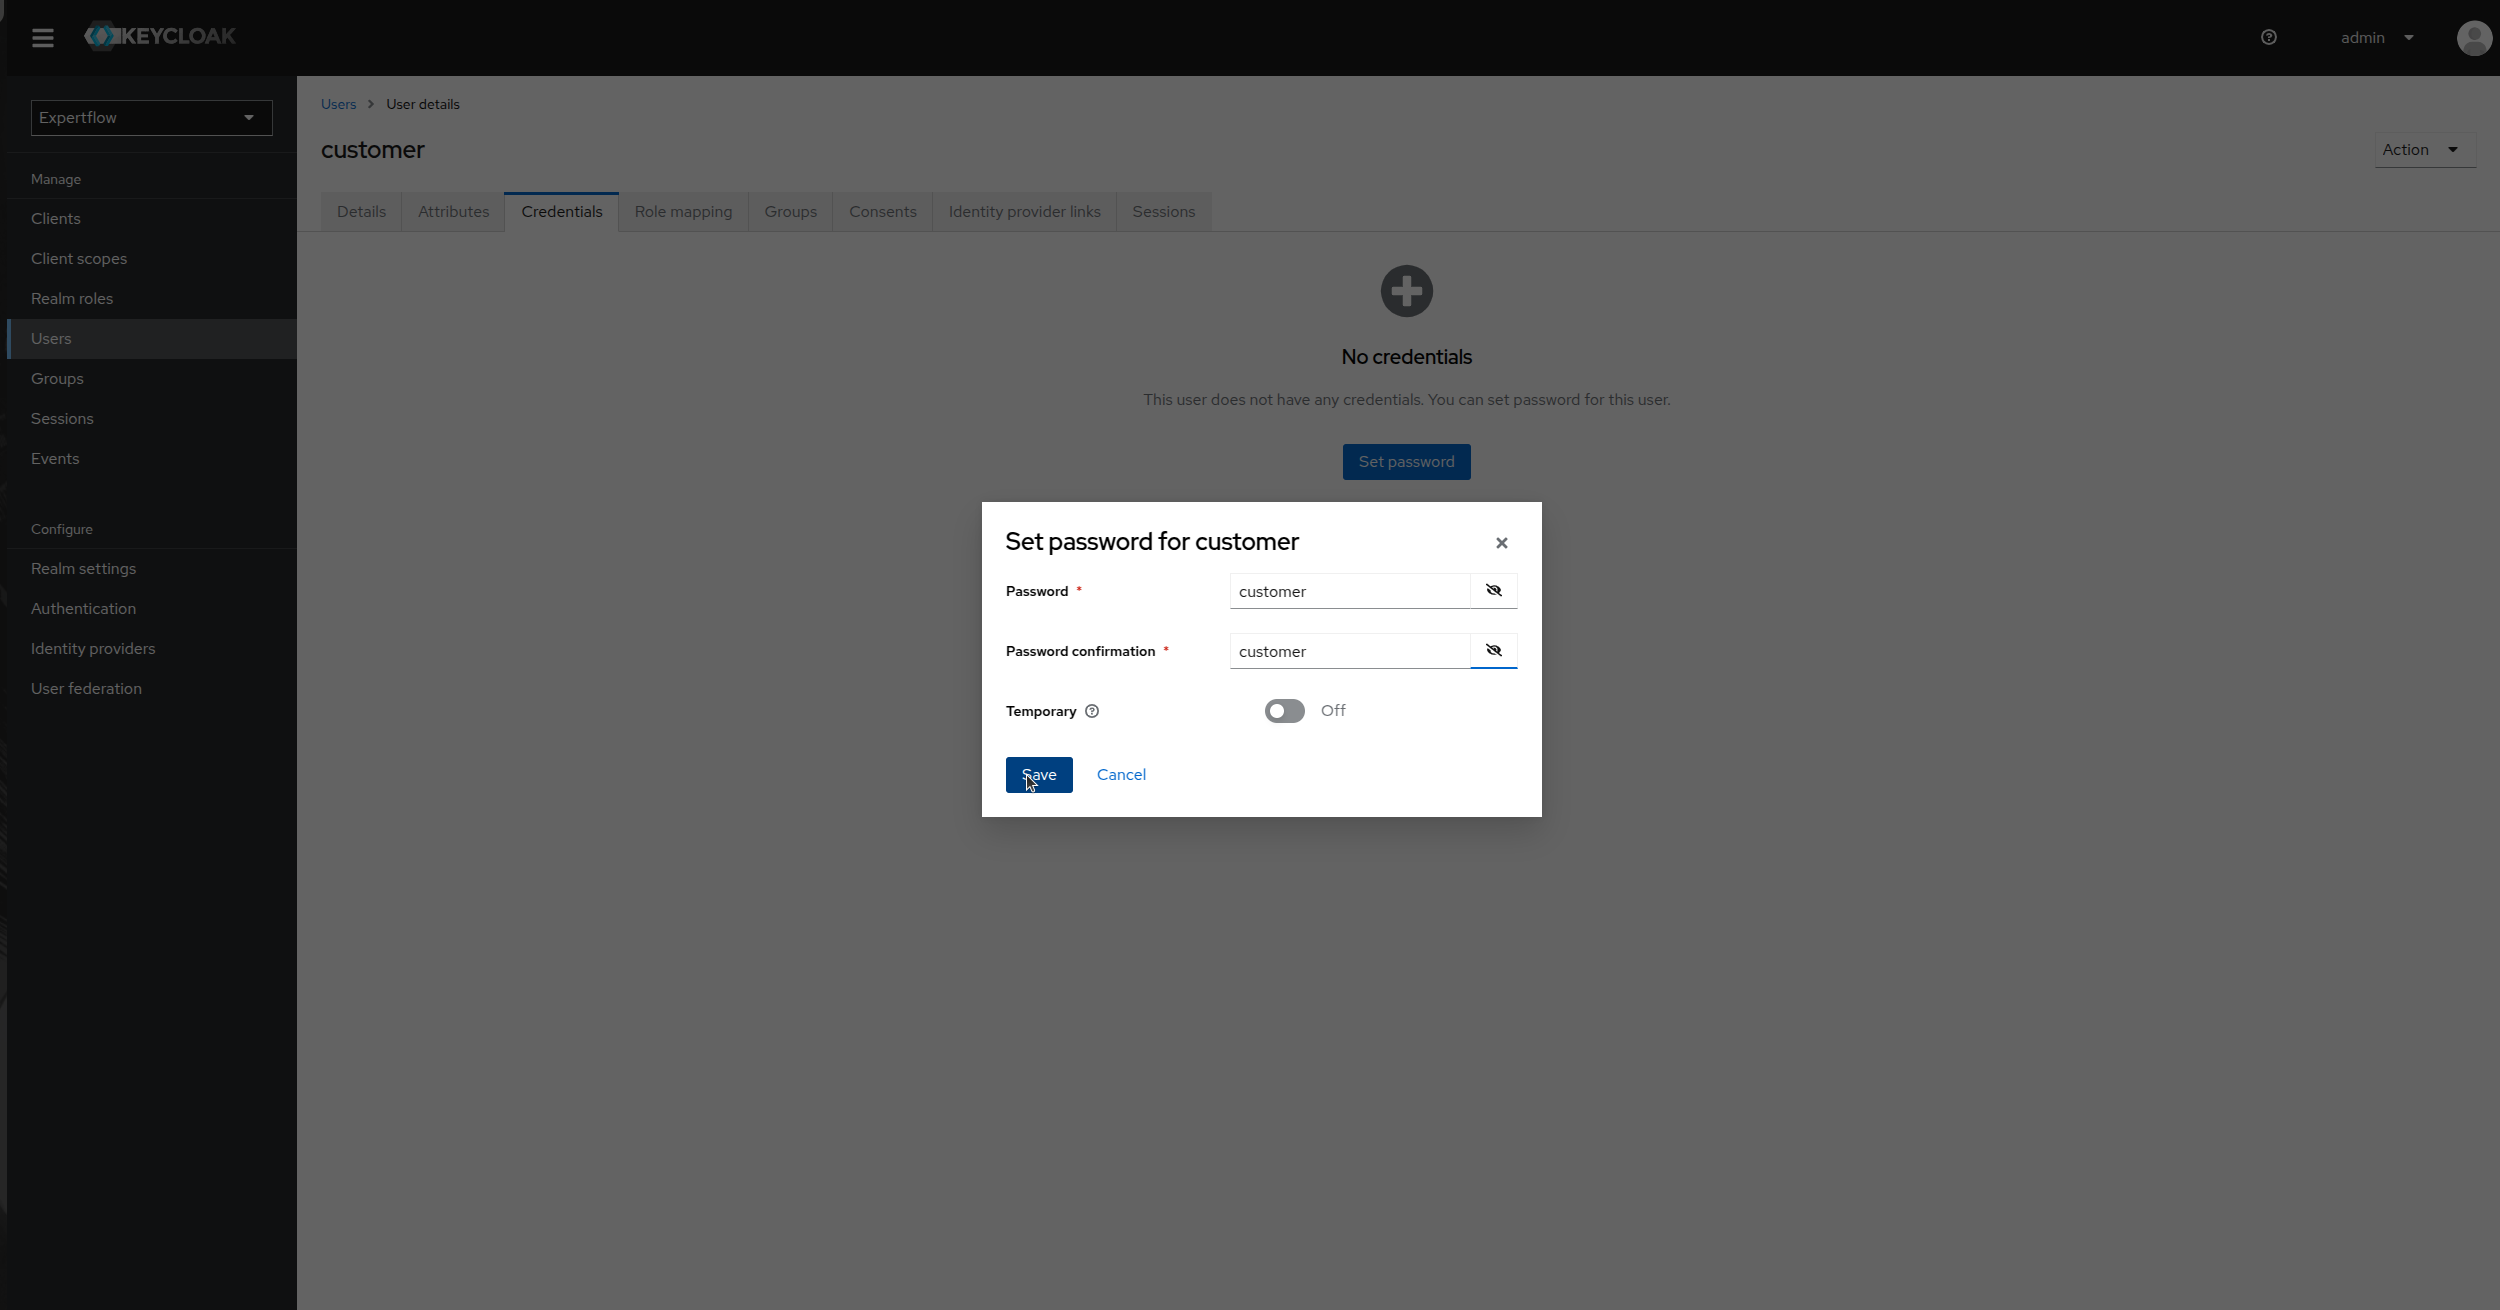
Email Verified toggle must be enabled in User info for each and every user in given keycloak instance for authentication with OAuth2-Proxy. It won’t work otherwise.