Prerequisites
Software Requirements
|
Item |
Recommended |
Installation guide |
|
Operating System |
Debian 12 |
- |
|
FQDN mapped to server IP address |
- |
- |
Hardware Requirements
|
Item |
Minimum |
|---|---|
|
RAM |
16GB |
|
Disk space |
150GB |
|
CPU |
8 cores |
Port Utilization Requirements
The following ports must be open on the server for the voice connector to function.
|
FireWall Ports/Port range
|
Network Protocol |
Description |
|
5060:5091 |
udp |
Used for SIP signaling. |
|
5060:5091 |
tcp |
Used for SIP signaling. |
|
8021 |
tcp |
Media Server Event Socket |
|
16384:32768 |
udp |
Used for audio/video data in SIP, WSS, and other protocols |
|
7443 |
tcp |
Used for WebRTC |
|
8115 |
tcp |
Voice Connector API |
|
5432 |
tcp |
Postgresql Database |
|
3000 |
tcp |
Outbound Dialer API |
|
22 |
tcp |
SSH |
|
80 |
tcp |
HTTP |
|
443 |
tcp |
HTTPS |
|
1194 |
udp |
OpenVPN |
The ports can be opened as follows:
-
SSH into the Debian server.
-
Use command
ssh username@server-ip -
Enter user password.
-
Use command
su -
Enter root password
-
-
Run the following command:
-
sudo iptables -A INPUT -p PROTOCOL -m PROTOCOL --dport PORT -j ACCEPT -
Where PORT is the required Firewall port/port range and PROTOCOL is the associated Network Protocol.
-
-
Save this port configuration with command:
sudo iptables-save
Additional Firewall Rules
-
iptables -A INPUT -i lo -j ACCEPT -
iptables -A INPUT -m state --state ESTABLISHED,RELATED -j ACCEPT -
iptables -A INPUT -p icmp --icmp-type echo-request -j ACCEPT -
iptables -P INPUT DROP -
iptables -P FORWARD DROP -
iptables -P OUTPUT ACCEPT
Setup Google Cloud Speech Service
-
Create a Google Account.
-
Create a project on Google Cloud console.
-
Enable a Billing account for this project.
-
Enable Speech API for this project.
-
Create credentials for the Speech service in a JSON format.
-
Download this JSON file and rename it to google-creds.json.
-
Upload this file to the Debian server onto which the Media Server will be deployed, and move it to the /home directory.
Install Media Server
-
SSH into the Debian server onto which the Media Server will be deployed.
-
Use command
ssh username@server-ip -
Enter user password.
-
Use command
su -
Enter root password.
-
-
Run commands:
-
sudo apt update
sudo apt install -y lua-sec certbot lua-socket lua-json lua-dkjson
apt install -y git
git clone -b google_transcribe https://efcx:RecRpsuH34yqp56YRFUb@gitlab.expertflow.com/rtc/media-server-setup.git "/usr/src/fusionpbx-install.sh"
chmod -R 777 /usr/src/fusionpbx-install.sh
cd /usr/src/fusionpbx-install.sh/debian && ./install.sh
-
-
Once the installation has finished, some information will be shown as below:
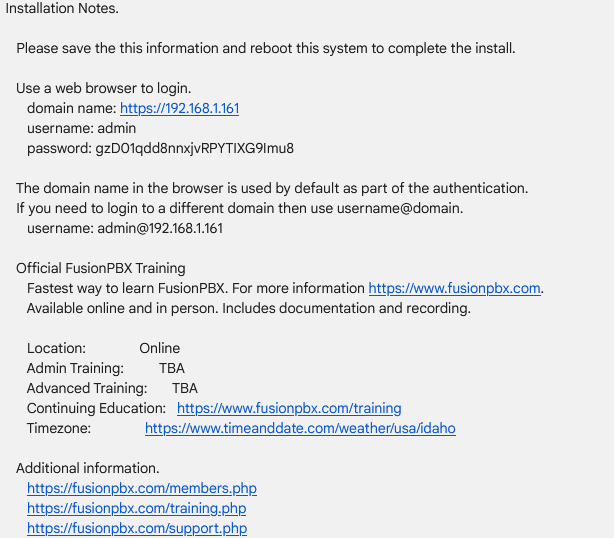
-
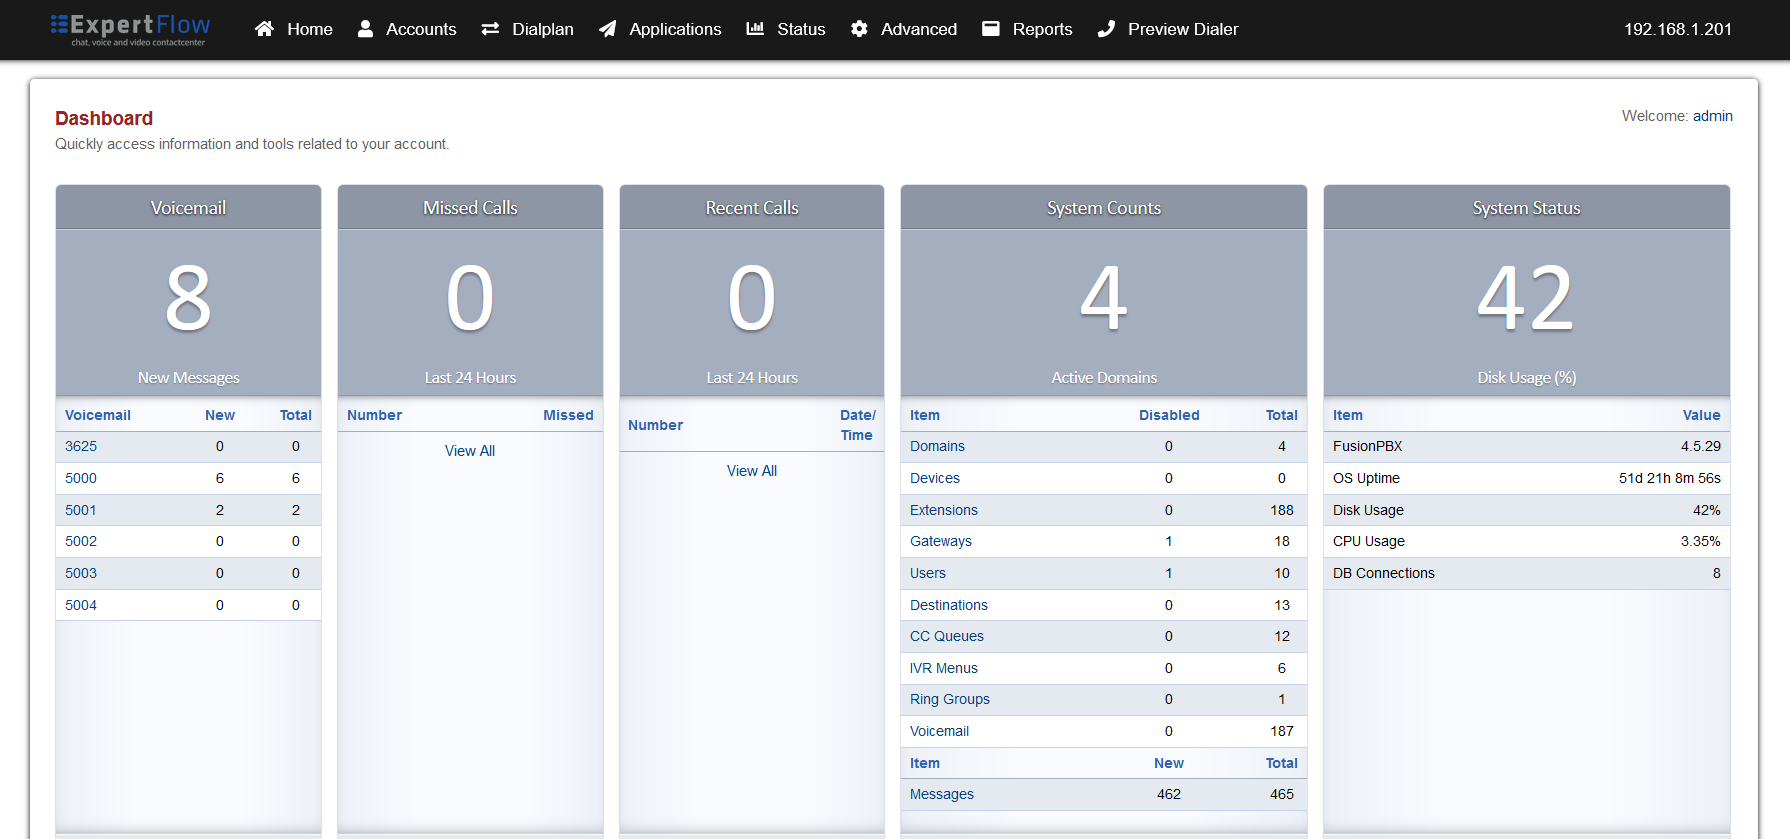
In a web browser, open the domain name URL and use the provided username and password to log on.
-
A screen like below should open for a successful installation:
-
-
If the page does not open, then go to the command line and run
systemctl stop apache2 systemctl restart nginx -
Try opening the page in Step 3b again, and if it does not open, reset the server and start the installation again.
-
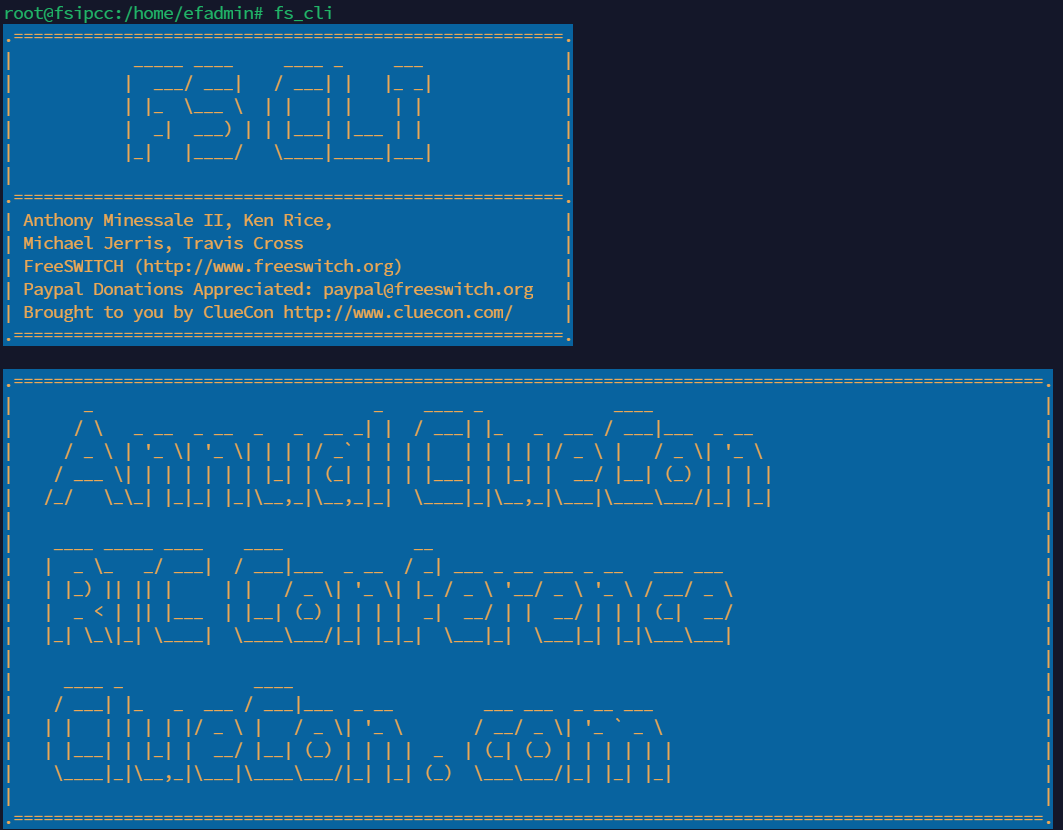
In the command line, use the command to access the Freeswitch command line as shown below:
fs_cli
Configure Global Transcription
-
Login to Media Server web interface.
-
Open in browser: https://IP-addr, where IP-addr is the IP address of the Media Server.
-
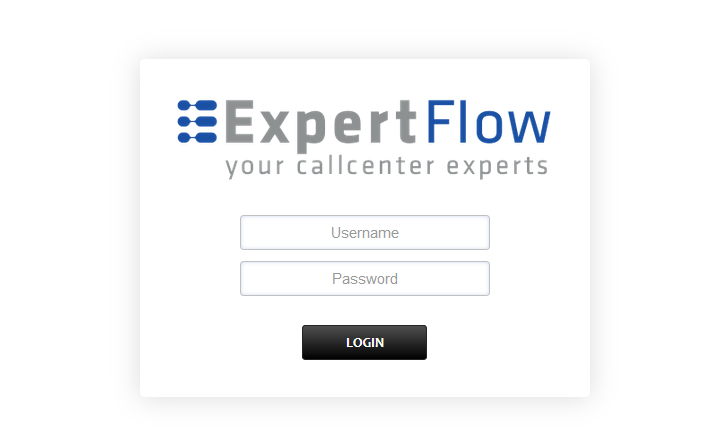
-
Add the username and password that was shown upon installation and press LOGIN.
-
Select the Variables option from the Advanced tab.
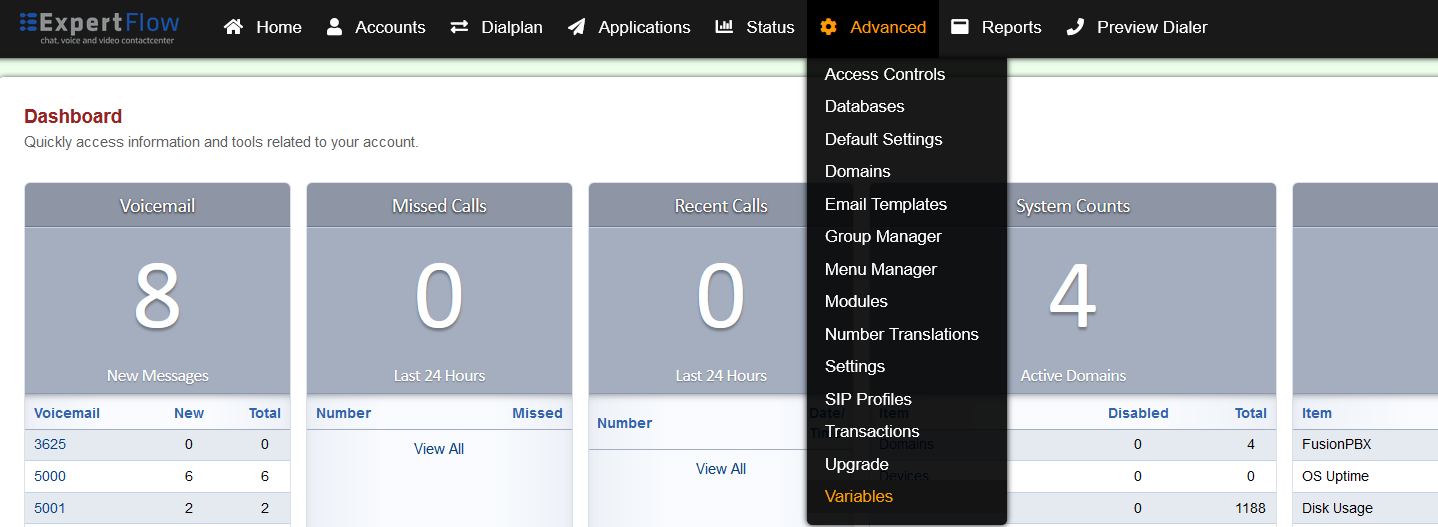
-
Press ADD on the top right.
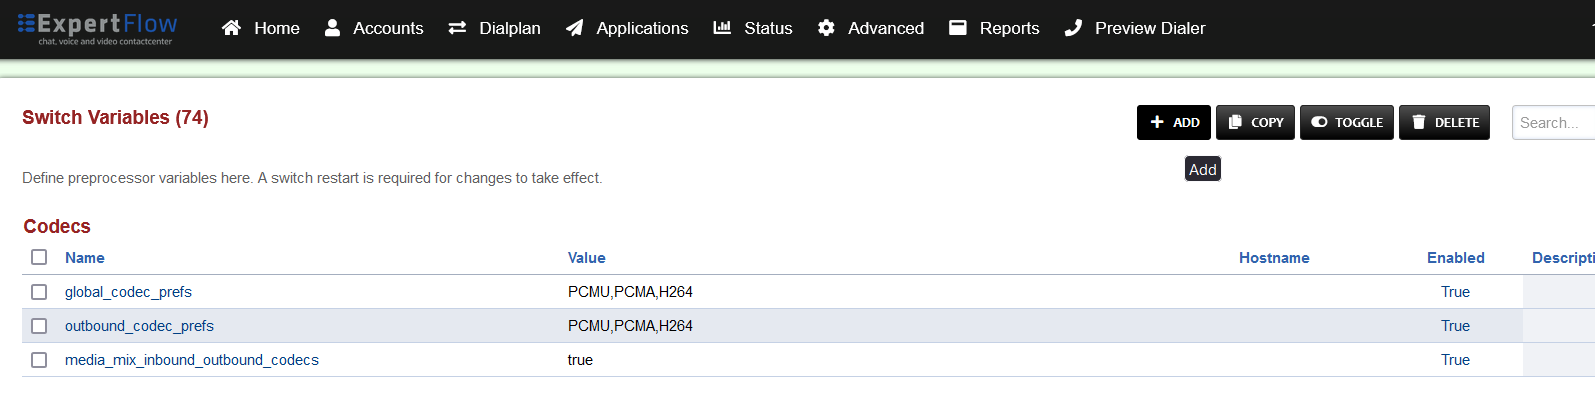
-
Set the Category to Defaults, Name to transcription-vendor and Value to google.
-
Save the changes by pressing SAVE button in top right corner.
-
Open SIP Status under the Status tab.
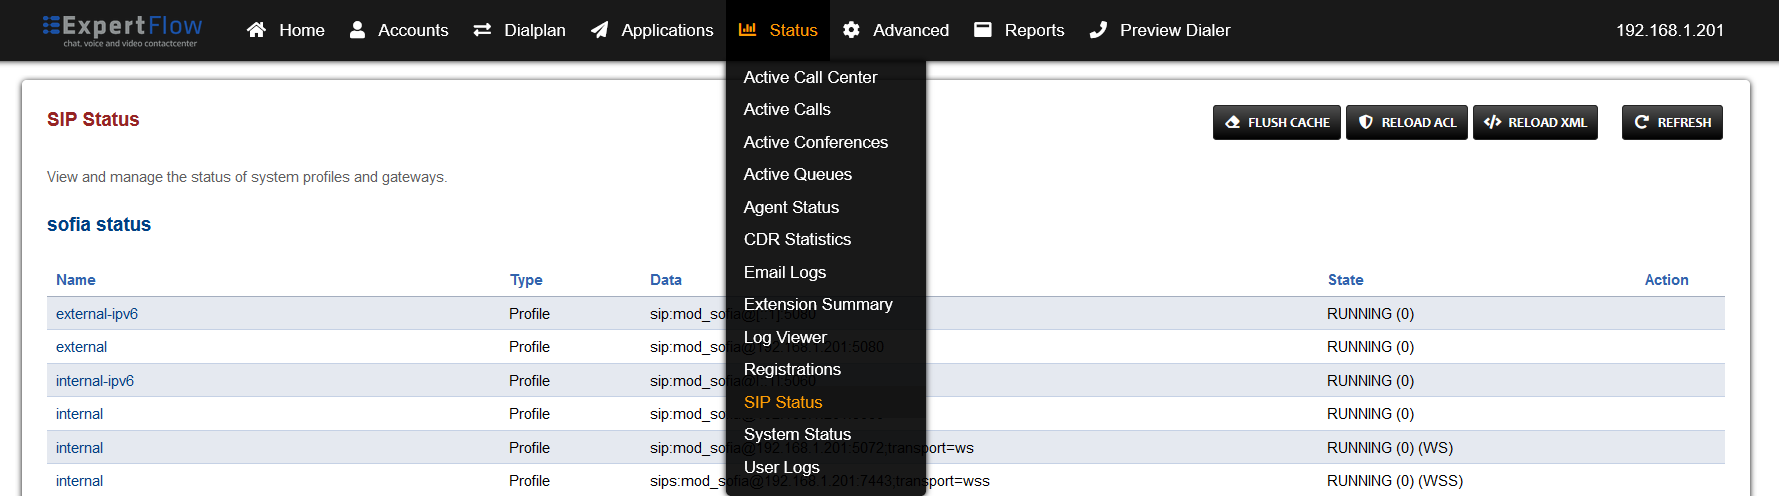
-
Press the RELOAD XML button at the top right.
-
Open the Dialplan Manager section under the Dialplan tab.
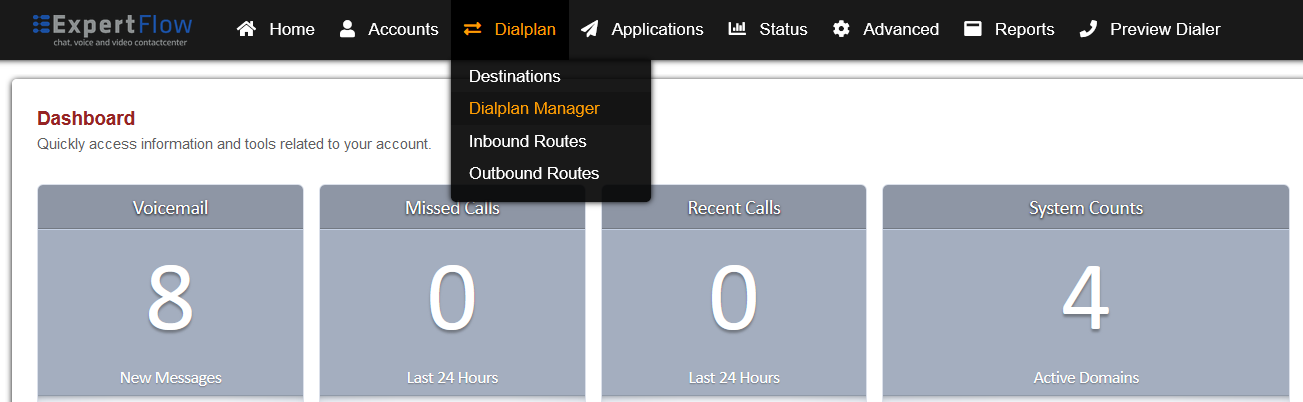
-
Add a new Dialplan by pressing the ADD Button on the top.
-
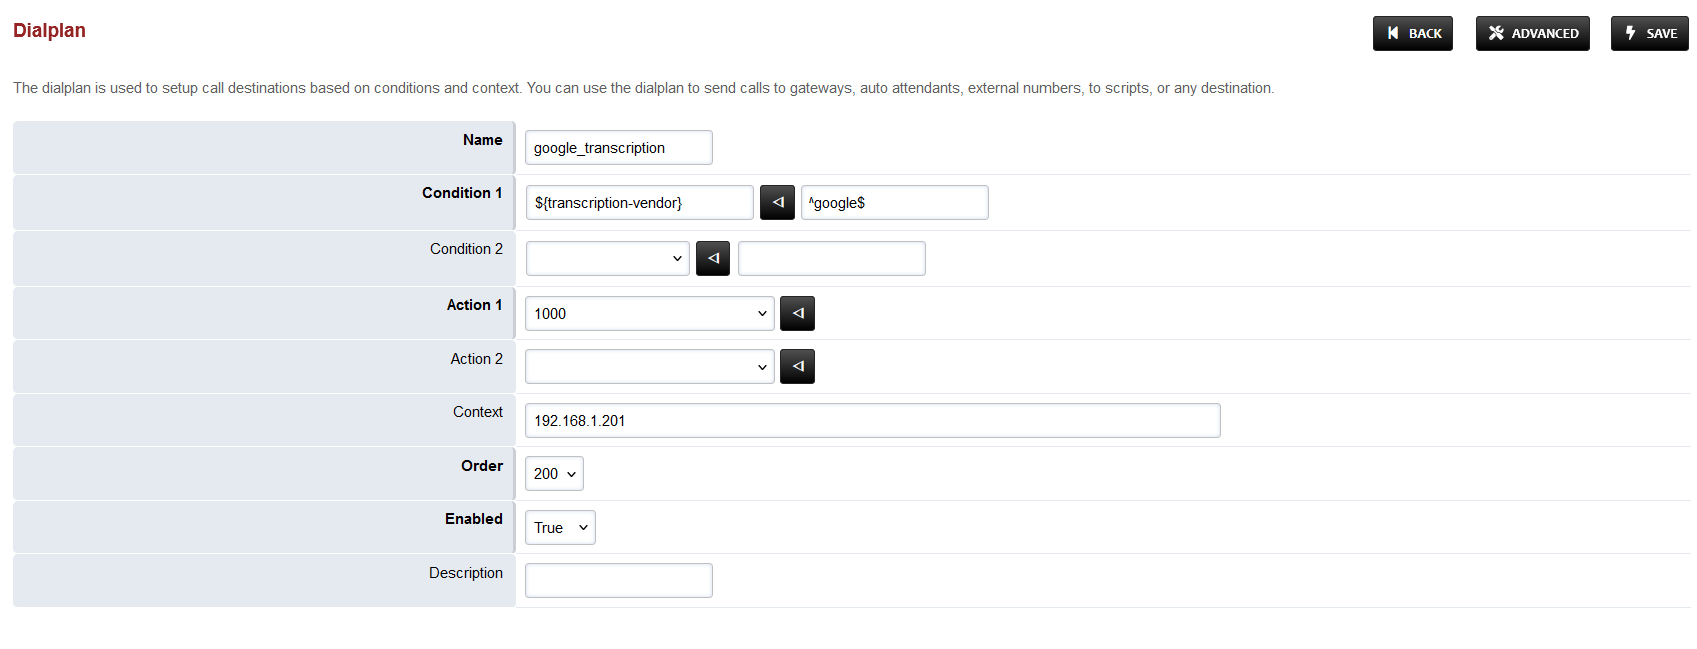
Fill the form with following details :
-
Name = google_transcription
-
Condition 1 = Click the black arrow button, then in the field paste ${transcription-vendor}
-
For the field to the right, add ^google$
-
-
Action 1 = Select first item from the list
-
-
Save the form by pressing save button on top right corner.
-
Re-open google_transcription dialplan.
-
Set the Continue field to True.
-
Set the order field to 889.
-
Set the Context field to global.
-
Set the Domain field to Global.
-
Delete the second row by checking the box in the Delete column for the second row and pressing SAVE in the top right.
-
Add the following information to this dialplan:
|
Tag |
Type |
Data |
Group |
Order |
Enabled |
|---|---|---|---|---|---|
|
action |
set |
START_RECOGNIZING_ON_VAD=true |
0 |
10 |
true |
|
action |
export |
START_RECOGNIZING_ON_VAD=true |
0 |
15 |
true |
|
action |
export |
nolocal:execute_on_answer=lua start_transcribe.lua google <language> ${uuid} |
0 |
50 |
true |
-
For <language> a language tag can be chosen from this list, based on the speech model used e.g. en-US.
-
Save the changes by pressing SAVE button in top right corner.