Overview
Email provides support to various features. Sending and receiving emails are the basic features that comes along with some more features like Reply, Reply all, Forward, Email Attachments, Email threading and Email Signature features to make the experience richer.
Pre-Requisites
Email is implemented using SMTP (for sending emails) and IMAP (for receiving emails) protocols. Pull mode mechanism is used to pull the emails every certain number of minutes from the queue. The current supported mailbox is Gmail, so in this documentation, a gmail account is needed to generate an app password, also IMAP and SMTP settings should be supported (by defaults its supported and enabled in gmail).
Get Started - Setup Email
In order to setup Email, we first need to generate a password from google account. Once done, we will be able to proceed with setting up the email connector on Unified Admin.
Here is how to generate the password:
-
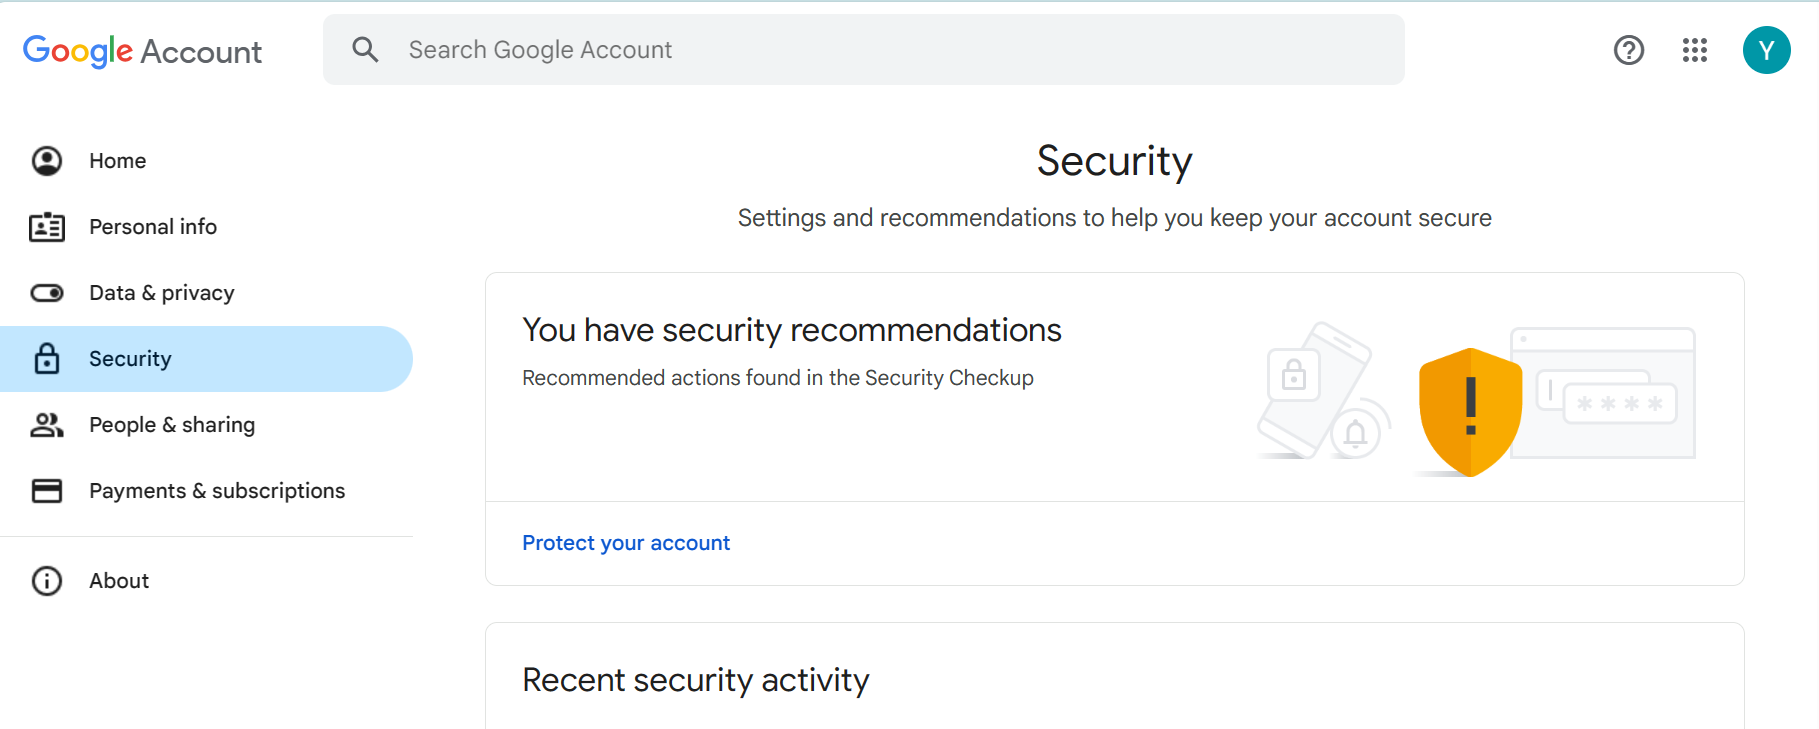
From your browser, Go to your Google account, then go to Security tab:

-
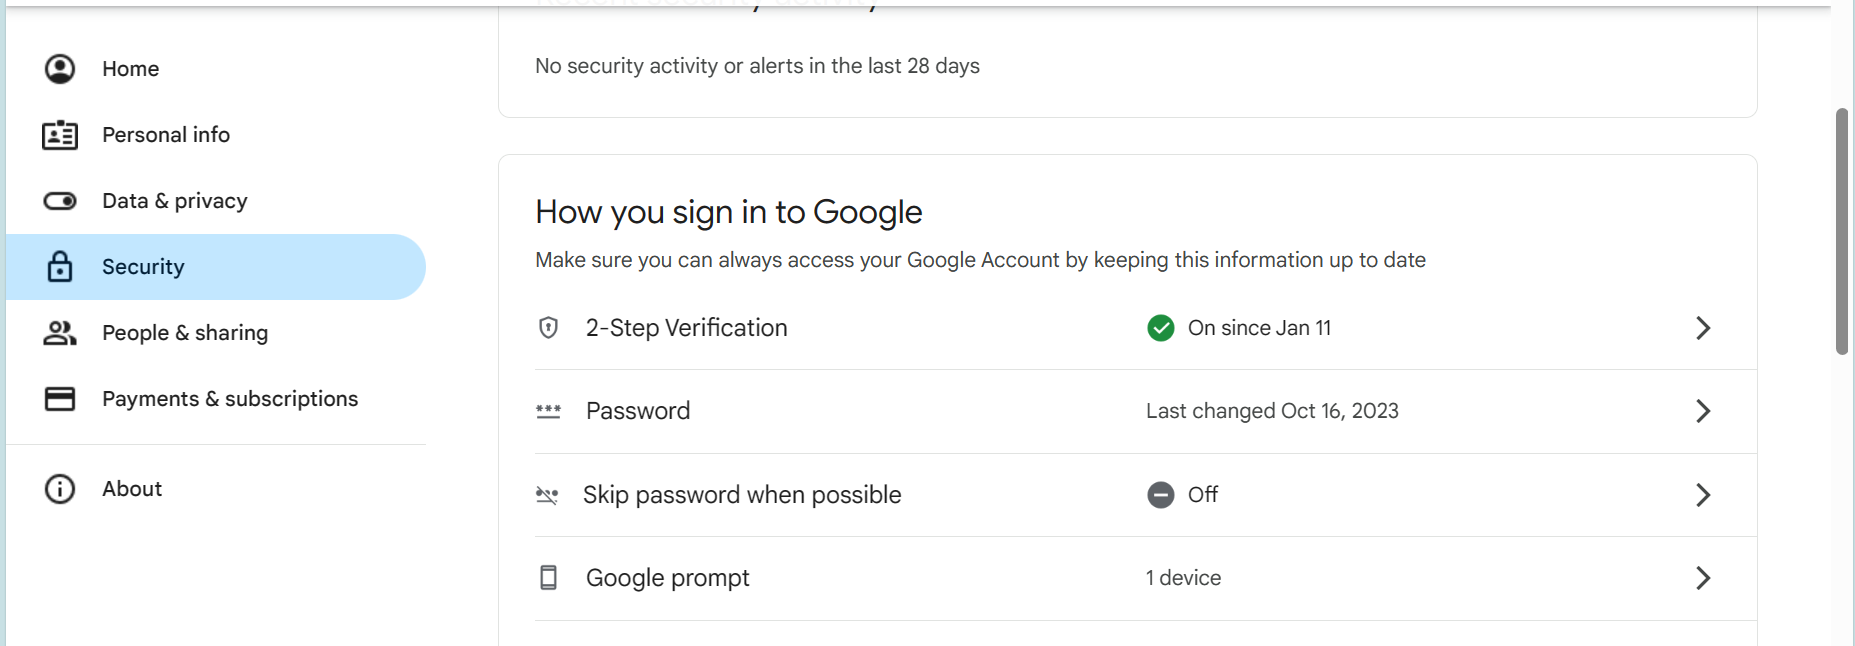
From there, scroll down to 2-Step Verification

-
Scroll down till App passwords:

-
Enter your app name and hit create. Now it is created, you need to keep it saved so you can use it later in Unified admin.
-
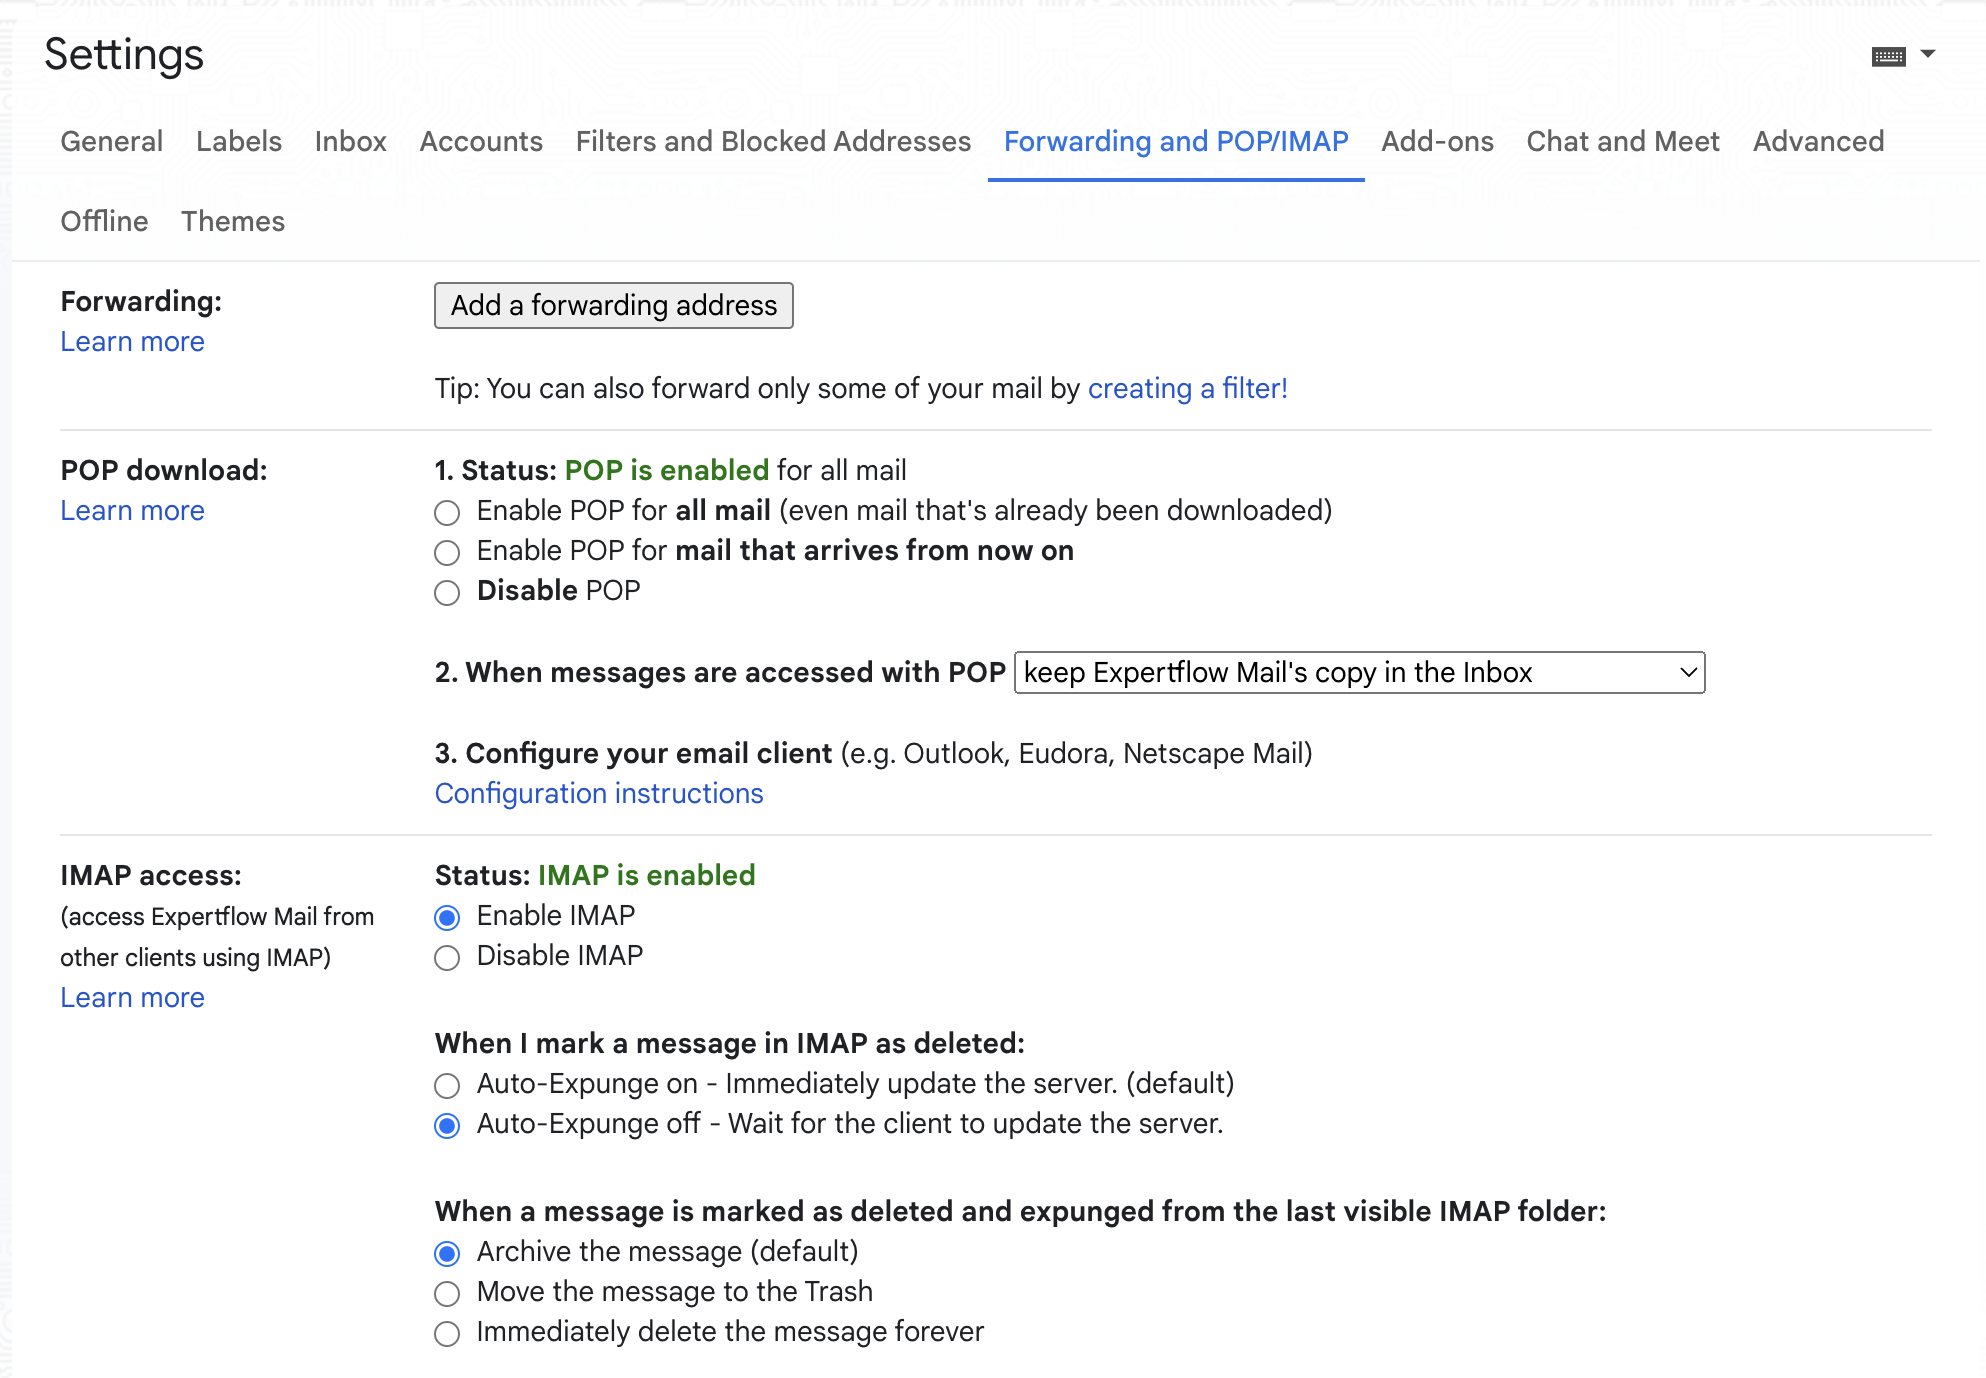
By default IMAP and SMPT settings are enabled and supported in gmail account.

Unified Admin Configuration
In our CX Hybrid Chat application, we need to setup email same like we setup any other connector. The detailed setups are mentioned below.
Setup MRD
-
Create MRD from Unified Admin → Routing Engine → MRD menu.
-
Set the name and description.
-
Select MRD Type: EMAIL.
-
Set Max Task Request = 5
-
Save.
Note: Go to Unified Admin → Channel Manager menu to setup the further configurations.
Setup Channel Type
-
Email channel type should be already shown in the list here as out of the box Channels. If not please add one.
-
Select the MRD as EMAIL.
-
Upload the icon (if not already uploaded).
-
Save.
Setup Channel Provider
-
Set any name i.e. Email Provider.
-
Select Channel Type as “EMAIL”.
-
Set “Provider Webhook” field as “<FQDN>/email-connector”. E.g. https://cim-demo.expertflow.com/email-connector.
-
Add 11 Attributes as Custom Attributes
-
IMAP-HOST type String(100)
-
IMAP-USERNAME type String(100)
-
IMAP-PORT type PositiveNumber
-
IMAP-PASSWORD type String(100)
-
IMAP-SSL-ENABLED type Boolean
-
SMTP-HOST type String(100)
-
SMTP-USERNAME type String(100)
-
SMTP-PASSWORD type String(100)
-
SMTP-PORT type PositiveNumber
-
SMTP-AUTH type Boolean
-
SMTP-TTLS-ENABLE type Boolean
-
-
Save
Setup Channel Connector
-
Set any name i.e. Email Connector.
-
Select Channel Provider as “Email Provider”.
-
In IMAP-HOST field, paste the Gmail IMAP host : imap.gmail.com.
-
In IMAP-USERNAME field, insert the email you want to use for your channel, for example, your business email.
-
In IMAP-PORT field, insert Gmail IMAP port: 993.
-
In IMAP-PASSWORD field, paste the previously generated App Password. (Note: Your normal Gmail password will not work here)
-
Enable IMAP-SSL-ENABLED.
-
In SMTP-HOST field, paste the Gmail SMTP host : smtp.gmail.com.
-
In SMTP-USERNAME field, insert the email you want to use for your channel, for example, your business email. Note that it has to match the IMAP-USERNAME.
-
In SMTP-PASSWORD field, paste the previously generated password.
-
In SMTP-PORT field, use the Gmail SMTP port: 587.
-
Enable SMTP-AUTH.
-
Enable SMTP-TTLS-ENABLE.
-
Save.
Setup Channel
-
Click on Email to expand the panel and click on “Add new Channel”.
-
Set any name i.e. Email Channel.
-
Set Service Identifier as your email that you have used in SMTP-USERNAME and IMAP-USERNAME.
-
Select the Bot from the drop down list.
-
Select the connector name you have created i.e. “Email Connector“ from Channel Connector drop down list.
-
Set any value in seconds as Customer Activity Timeout(sec). (You can change it as per your need. Normally it would be 300sec (5mins))
-
Set Channel Mode as HYBRID.
-
Set Routing Mode as PULL. (As it works best in PULL mode)
-
Set Queue or List (As required based on PUSH or PULL mode).
-
Set Agent Selection Policy as LONGEST AVAILABLE.
-
Set any value as Agent Request TTL (sec). (You can change it as per your need. Normally it would be 300sec (5mins))
-
Save.
Setup Webhook
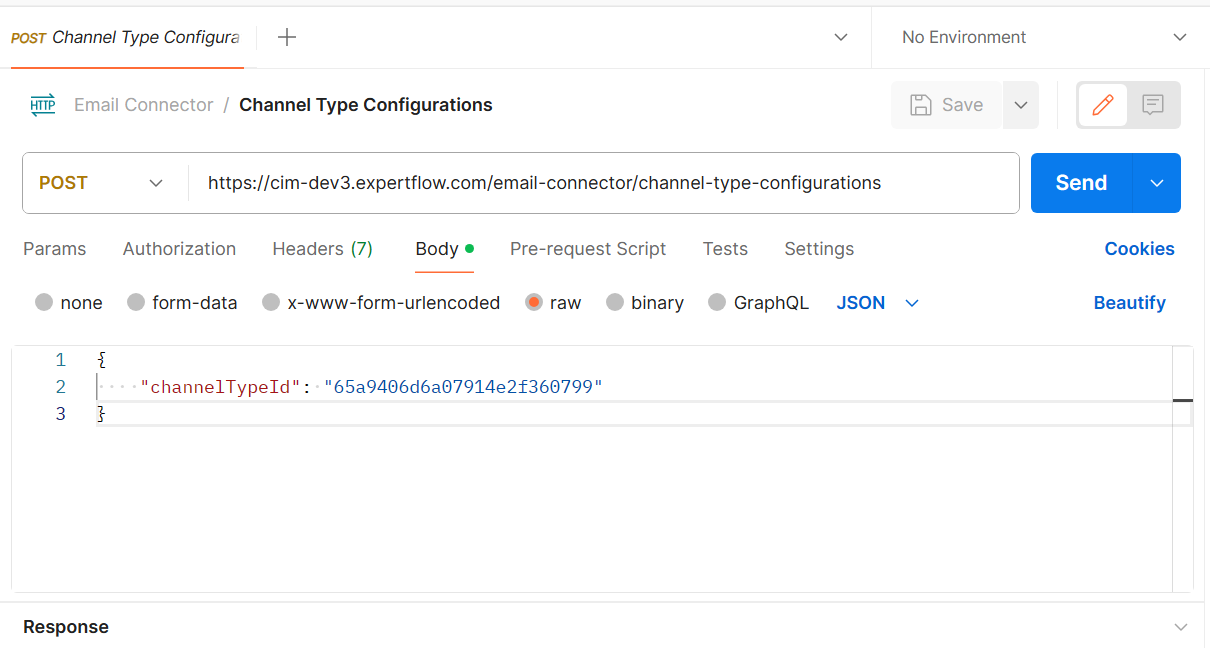
Once the Email account is setup and Configurations on unified admin is already finished with working email-connector on some instance, then we need to setup the webhook using this postman request.
Snapshot is shown below:

Post Url
https://<FQDN>/email-connector/channel-type-configurations
Post Body
{
“channelTypeId”: “id-of-channel-type”
}
Post Response

Note: You can fetch the ChannelTypeId from this channels list API, and search for the EMAIL channel Type from the list and then use that ChannelTypeId.
Conclusion
This will setup EMAIL as a channel in CX Hybrid Chat Solution.