Overview
This document provides prerequisites and outlines steps required to deploy CX Surveys.
Solution Prerequisites
Following are the solution prerequisites.
|
|
Items |
Recommended |
|---|---|---|
|
Software Requirements |
|
|
|
Hardware Requirements |
|
|
Deployment Steps
All the PCS related files are available in the folder cx-surveys which is present in the kubernetes directory in the official repository of ExpertFlow CX v4.6 or greater.
Step 1: Navigate to the correct directory
Make sure you are in the directory cim-solution/kubernetes. The command cd can be used to move between directories.
Step 2: Update FQDN
Expertflow CX should be accessible by a fully qualified domain name. Assign the FQDN that resolves to the control plane node or KubeVIP.
Replace <FQDN> with your FQDN for Expertflow CX and run the following command.
sed -i 's/devops[0-9]*.ef.com/<FQDN>/g' cx-surveys/ConfigMaps/* cx-surveys/Ingresses/nginx/* cx-surveys/Ingresses/traefik/*
Step 3: Apply the PCS' ConfigMaps
kubectl apply -f cx-surveys/ConfigMaps/
Step 4: Apply all the Services required for PCS
kubectl apply -f cx-surveys/Services/
Step 5: Apply the required Deployment manifests
kubectl apply -f cx-surveys/Deployments/
Step 6: Make sure all components are up and ready before moving on to the next step
kubectl -n expertflow get pods
Step 7: Setup Ingress Routes
kubectl apply -f cx-surveys/Ingresses/nginx/
Keycloak Configuration
Before using the PCS management menu in Unified Admin, you must configure Keycloak since PCS is an optional feature of ExpertFlow CX. Here are the configuration steps:
Step 1: Login to Keycloak
Access the Keycloak Administration console by opening this URL in your browser: https://<FQDN>/auth
Default username and password is “admin” and “admin” respectively.
Step 2: Open the cim client
In the ExpertFlow realm, select Clients from the left navigation bar, then click on the cim client.
If the ExpertFlow realm is not present. Refer to this documentation to import the ExpertFlow realm and additional configuration
Step 3: Navigate to the Import pop-up
In the cim client, select the Authorization tab, then click Import.
Step 4: Navigate to the Import pop-up
After clicking Import, a popup window will appear. Upload this file survey-authorization-config.json which contains all the PCS related authorization configuration and click Confirm.
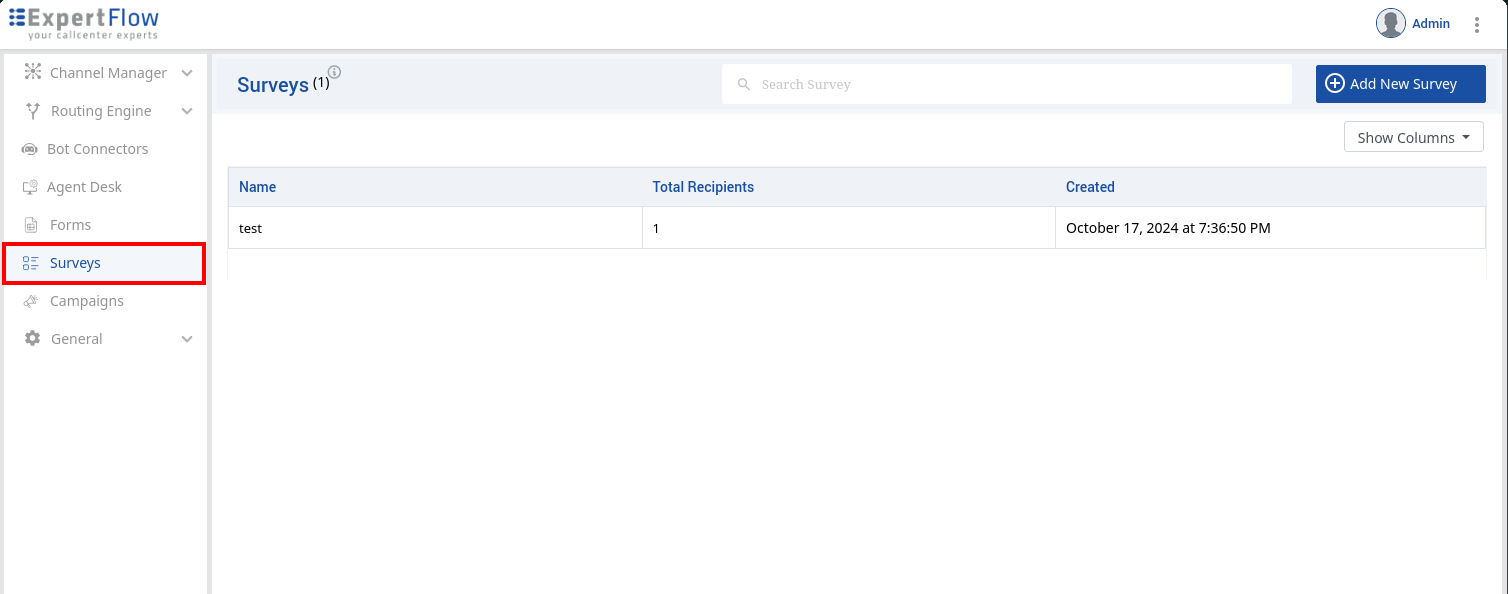
Surveys tab should now be visible in the Unified Admin.

Environment Variables
Following are the details of all the variables available in ConfigMaps
Environment Variables for Survey Backend
|
Variable |
Description |
|---|---|
|
NODERED_URI |
Nodred service URL, accessible within the current network. |
|
NODERED_USERNAME |
Username to be used for the Node-RED authentication (If authentication is enabled in Node-RED). |
|
NODERED_PASSWORD |
Password for the Node-RED authentication (If authentication is enabled in Node-RED). |
Environment Variables for Survey Studio
|
Variable |
Description |
|---|---|
|
TZ |
Timezone to be used by the Campaign Studio component. For a list of all the supported time-zones, refer to this page. |
|
FQDN |
FQDN of the EF CX deployment that you want to integrate campaigns with. |
Survey Trigger
Survey is triggered by the controller and the controller can be customized to send survey on different system events. In the default controller training, the survey is sent to the user when the agent goes into the wrap-up state and customer is still present in the chat. If wrap-up is disabled, the survey will not be triggered.