Voice Connector
-
SSH onto the Debian server on which the Voice connector is installed.
-
Use command
ssh <username>@<server-ip> -
Enter user password and press ENTER.
-
Use command
su -
Enter root password and press ENTER.
-
-
Run the command to see the list of running containers
docker ps -
Note the container ID of the current deployed 4.4 Voice connector.
-
Note the port of that container i.e. for 0.0.0.0:8116->8080/tcp, :::8116->8080/tcp, the port of the container is 8116.
-
Run the command to stop the container
docker stop <container-ID> -
Run the command to remove the container
docker rm <container-ID> -
Navigate to the folder where the docker-compose.yml and env.txt files are located for the voice connector.
-
Open the docker-compose.yml file and replace the text inside with text below:
version: "3.8" services: voice-connector: image: gitimages.expertflow.com/freeswitch/ecx_generic_connector:TAG container_name: unified-voice-connector ports: - PORT:8080 env_file: - ./env.txt restart: always-
Replace the TAG keyword with the required image tag obtained from the releases page here.
-
Replace the PORT keyword with the port noted above in step 4.
-
-
Open the env.txt file.
-
Remove the fields CCM_API, SPRING_PORT, DB_DIALECT and DB_DRIVER and add the following fields:
-
CX_FQDN= The address of EF CX. https://FQDN
-
MIDDLEWARE_API= Set at 1.1.1.1 and do not change.
-
LOG_LEVEL= The amount of detail in the logs. Default is INFO, and for more detailed logs the value should be DEBUG.
-
-
-
Run the command
docker compose up -d -
Confirm that the docker container is running by using the command
docker ps
-
Confirm that the container is running correctly by opening the logs with command
docker logs -f containerID
Outbound Dialer
Follow the guide here.
Media Server configuration
-
Note the service identifier of the CX Voice channel in Unified Admin.
-
SSH onto the Debian server on which the Voice connector is installed.
-
Use command
ssh <username>@<server-ip> -
Enter user password and press ENTER.
-
Use command
su -
Enter root password and press ENTER.
-
-
Run the command
rm -r /usr/share/freeswitch/sounds/ivr_prompts -
Navigate to the folder /usr/share/freeswitch/scripts.
-
Delete the file cx_env{DN}.lua where {DN} is the service identifier noted in step 1.
-
Login to Media Server web interface.
-
Open in browser: https://IP-addr, where IP-addr is the IP address of the Media Server.

-
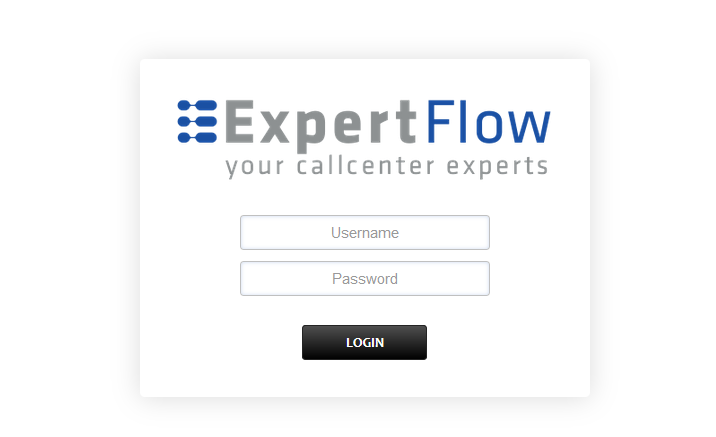
Add the username and password that was shown upon installation of Media Server and press LOGIN.
-
-
Press the IP address in the top right and select the Domain that was created during 4.4 Voice configuration.
-
Open the Dialplan Manager section under the Dialplan tab.

-
Locate the CxIvr dialplan whose destination_number matches the service identifier noted in step 1.
-
Delete this dialplan.
-
Note the STATIC_QUEUE_TRANSFER_DN field in the Agent Desk config-map:
-
SSH into the EFCX server by using the command ssh username@IP-addr
-
Where username is the EFCX SSH username and IP-addr is the EFCX server IP address
-
Run the command vi cim-solution/kubernetes/cim/ConfigMaps/ef-unified-agent-configmap.yaml
-
Scroll down to find the STATIC_QUEUE_TRANSFER_DN field and note down its value.
-
-
On Media Server in the dialplan section, locate the CxQueue dialplan whose destination_number field contains the value ^NUMBER[-0-9a-zA-Z]*$ where NUMBER is the STATIC_QUEUE_TRANSFER_DN noted in the previous step.
-
Delete this dialplan.
-
Locate the local_extension dialplan.
-
Locate the following information in the dialplan and delete it (check the Delete column checkbox for each row and press SAVE in the top right):
|
action |
set |
sip_h_X-CALL-VARIABLE0=${uuid} |
0 |
25 |
true |
|
action |
set |
sip_rh_X-CALL-VARIABLE0=${uuid} |
0 |
35 |
true |
|
action |
set |
sip_h_X-CALL-ID=${sip_call_id} |
0 |
45 |
true |
|
action |
lua |
vcApi${sip_h_X-Destination-Number}.lua 'rona' |
1 |
76 |
true |
-
Follow the new Media Server configuration guide here.