Overview
This document illustrates the steps for Keycloak configuration required for CX Campaigns
Keycloak Configuration
Before using the CX Campaigns' management menu in Unified Admin, you must configure Keycloak since CX Campaigns is an optional feature of ExpertFlow CX. Here are the configuration steps:
Step 1: Login to Keycloak
Access the Keycloak Administration console by opening this URL in your browser: https://<FQDN>/auth
Default username and password is “admin” and “admin” respectively.
Step 2: Open the cim client
In the ExpertFlow realm, select Clients from the left navigation bar, then click on the cim client.
If the ExpertFlow realm is not present. Refer to this documentation to import the ExpertFlow realm and additional configuration
Step 3: Navigate to the Import pop-up
In the cim client, select the Authorization tab, then click Import.
Step 4: Navigate to the Import pop-up
After clicking Import, a popup window will appear. Upload this file campaignz-authz-config-5.1.0.json which contains all the CX Campaigns related authorization configuration and click Confirm.
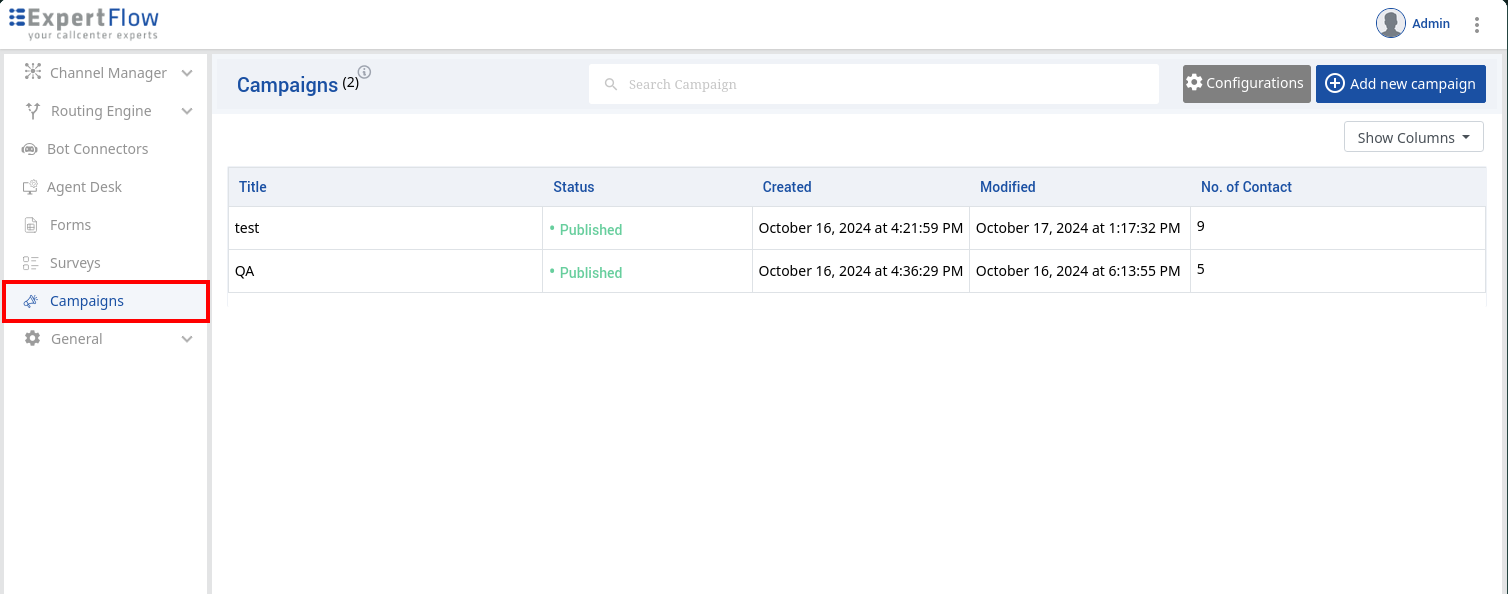
Campaigns tab should now be visible in the Unified Admin.