Voice Connector
Media Server configuration
Changes in Custom Hangup Dialplan
-
Login to Media Server web interface.
-
Open in browser: https://IP-addr, where IP-addr is the IP address of the Media Server.
-
-
Add the username and password that was shown upon installation of Media Server and press LOGIN.
-
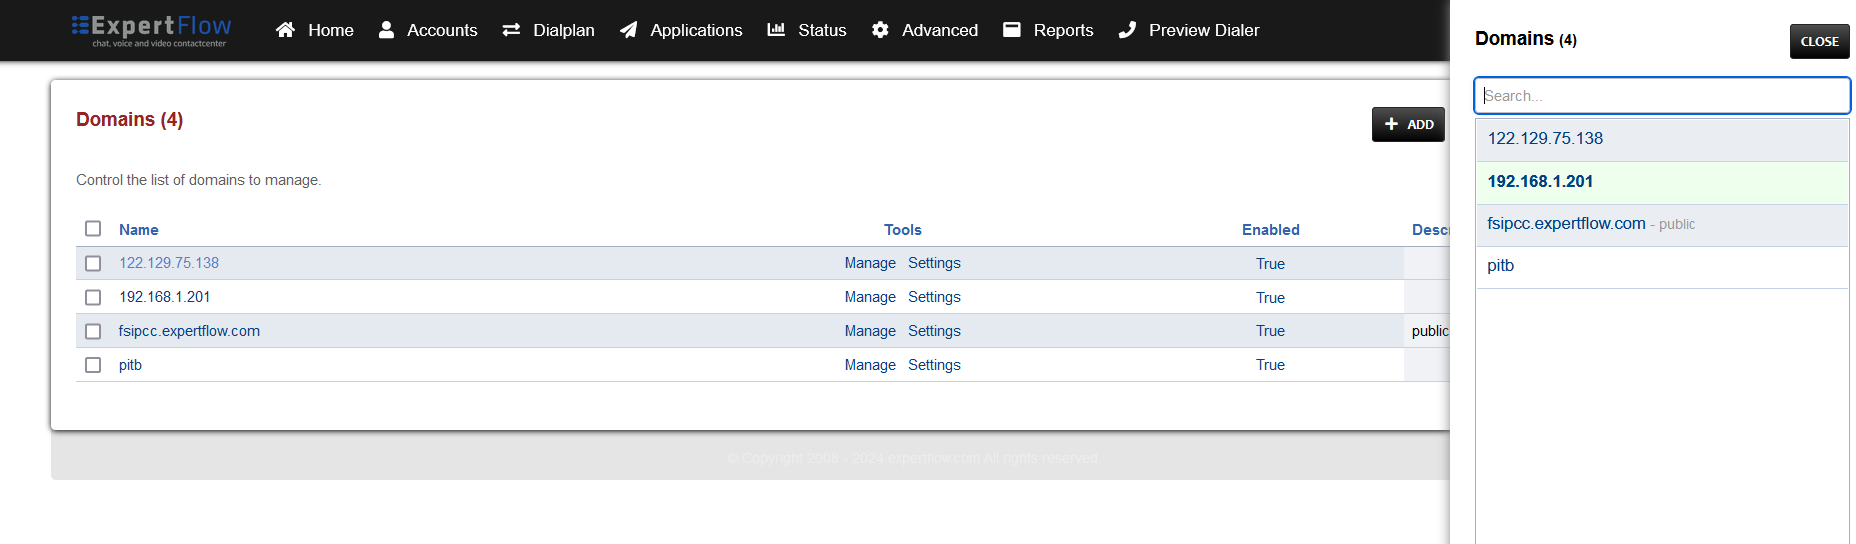
Press the IP address in the top right and select the Domain created in the Domain creation section above:
-
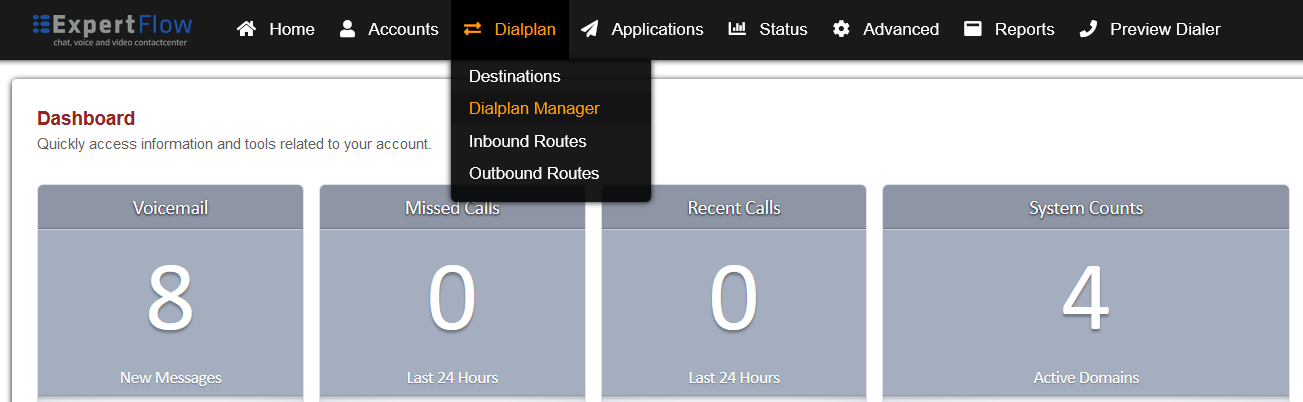
Open the Dialplan Manager section under the Dialplan tab.
-
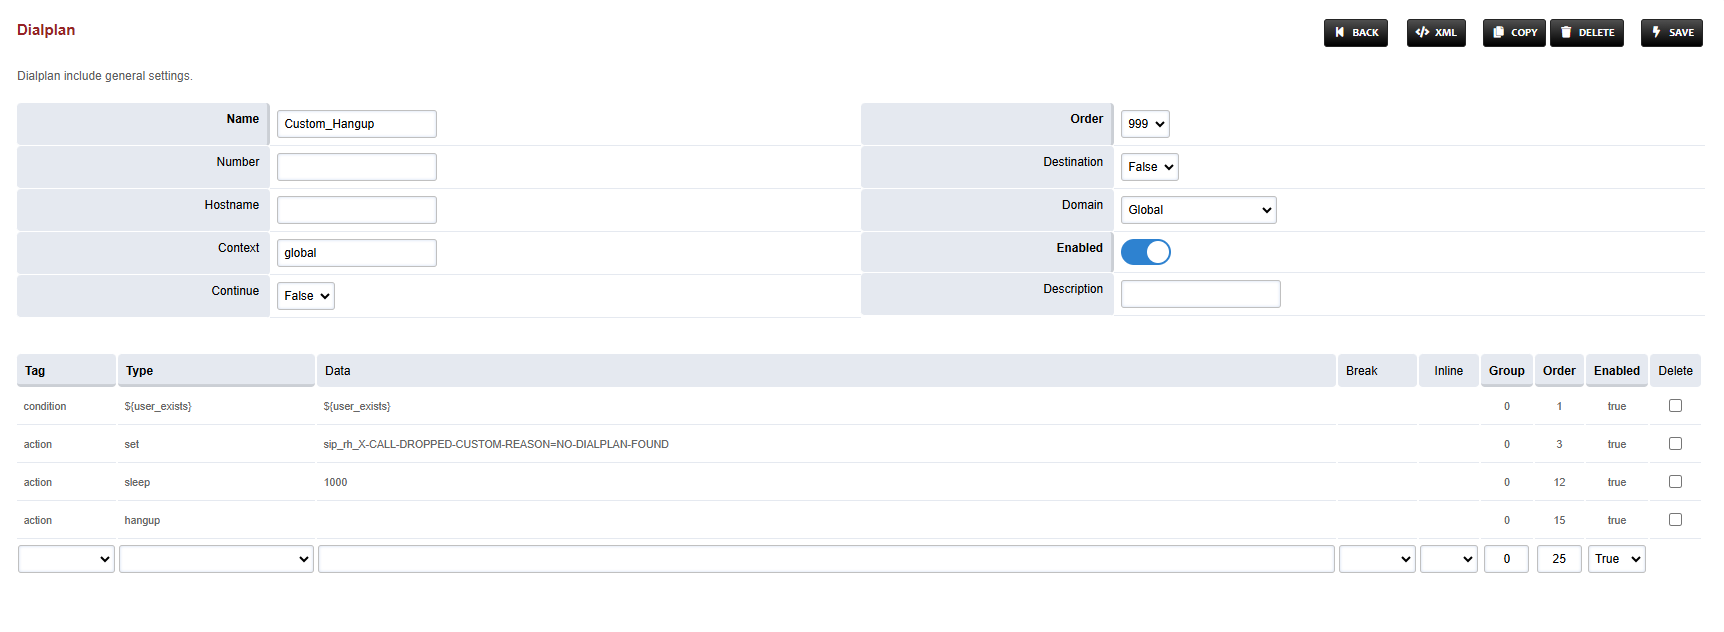
Open the Custom_Hangup dialplan.
-
Add the following information to this dialplan, so the result looks like the image below:
|
Tag |
Type |
Data |
Group |
Order |
Enabled |
|---|---|---|---|---|---|
|
action |
sleep |
1000 |
0 |
12 |
true |
-
Save the changes by pressing SAVE button in top right corner.
Changes in Conference Dialplan
-
Login to Media Server web interface.
-
Open in browser: https://IP-addr, where IP-addr is the IP address of the Media Server.
-
-
Add the username and password that was shown upon installation of Media Server and press LOGIN.
-
Press the IP address in the top right and select the Domain created in the Domain creation section above:
-
Open the Dialplan Manager section under the Dialplan tab.
-
Open the CustomConf dialplan.
-
Modify the last line to:
|
Tag |
Type |
Data |
Group |
Order |
Enabled |
|---|---|---|---|---|---|
|
action |
conference |
$1++flags{mintwo} |
0 |
35 |
true |
-
Save the changes by pressing SAVE button in top right corner.
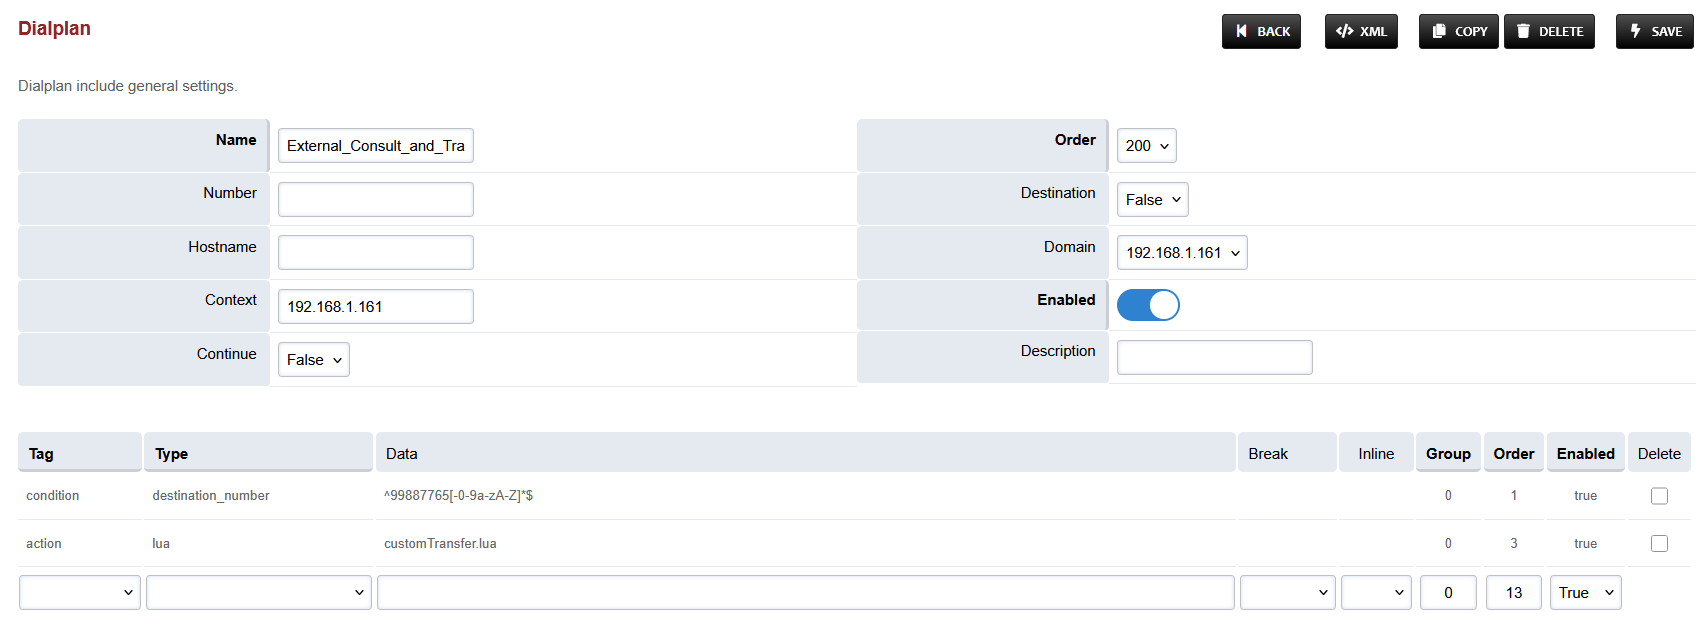
External Consult/Transfer Dialplan
-
Login to Media Server web interface.
-
Open in browser: https://IP-addr, where IP-addr is the IP address of the Media Server.
-
-
Add the username and password that was shown upon installation of Media Server and press LOGIN.
-
Press the IP address in the top right and select the Domain created in the Domain creation section above:
-
Open the Dialplan Manager section under the Dialplan tab.
-
Add a new Dialplan by pressing the Add Button on the top.
-
Fill the form with following details :
-
Name = External_Consult_and_Transfer
-
Condition 1 = Select destination_number from list and add a random number
-
Action 1 = Select first item from the list
-
-
Save the form by pressing save button on top right Corner.
-
Re-open the created dialplan.
-
Change the value of the Data column in the destination_number row to ^99887765[-0-9a-zA-Z]*$
-
Change the value of the Type column in the Action row to lua and the Data field to customTransfer.lua
-
Set the Context field to the value of the Domain set in the Domain creation section.
-
Set the Domain field to the value of the Domain set in the Domain creation section.
-
Save the changes by pressing SAVE button in top right corner.