This how-to guide explains how to create a new user in Keycloak (IAM), set initial credentials, assign roles and groups, and validate access. It is intended for administrators who manage user identities and permissions for applications integrated with Keycloak.
Prerequisites
-
Administrator access to the Keycloak Admin Console for the target realm.
-
Know the correct realm name.
-
Defined role model (realm roles and/or client roles) and any required default groups/teams.
Core Concepts
-
Realm: Tenant or security boundary that contains users, roles, clients, and groups.
-
Users: Individual identities. A user can have credentials, roles, and group membership.
-
Roles: Permissions bundles (realm-level or client-level). Assigning roles grants capabilities in apps.
-
Groups/Teams: Collections of users; can carry role mappings and policies for easier management.
Create a New User
-
Sign in to the Keycloak Admin Console.
-
Select the correct realm from the realm dropdown (top-left).
-
Go to Users > Add user.
-
Fill in the user details, i.e., Username, First Name, Last Name of t
-
-
-
-
-
-
-
-
-
-
-
-
he user.
-
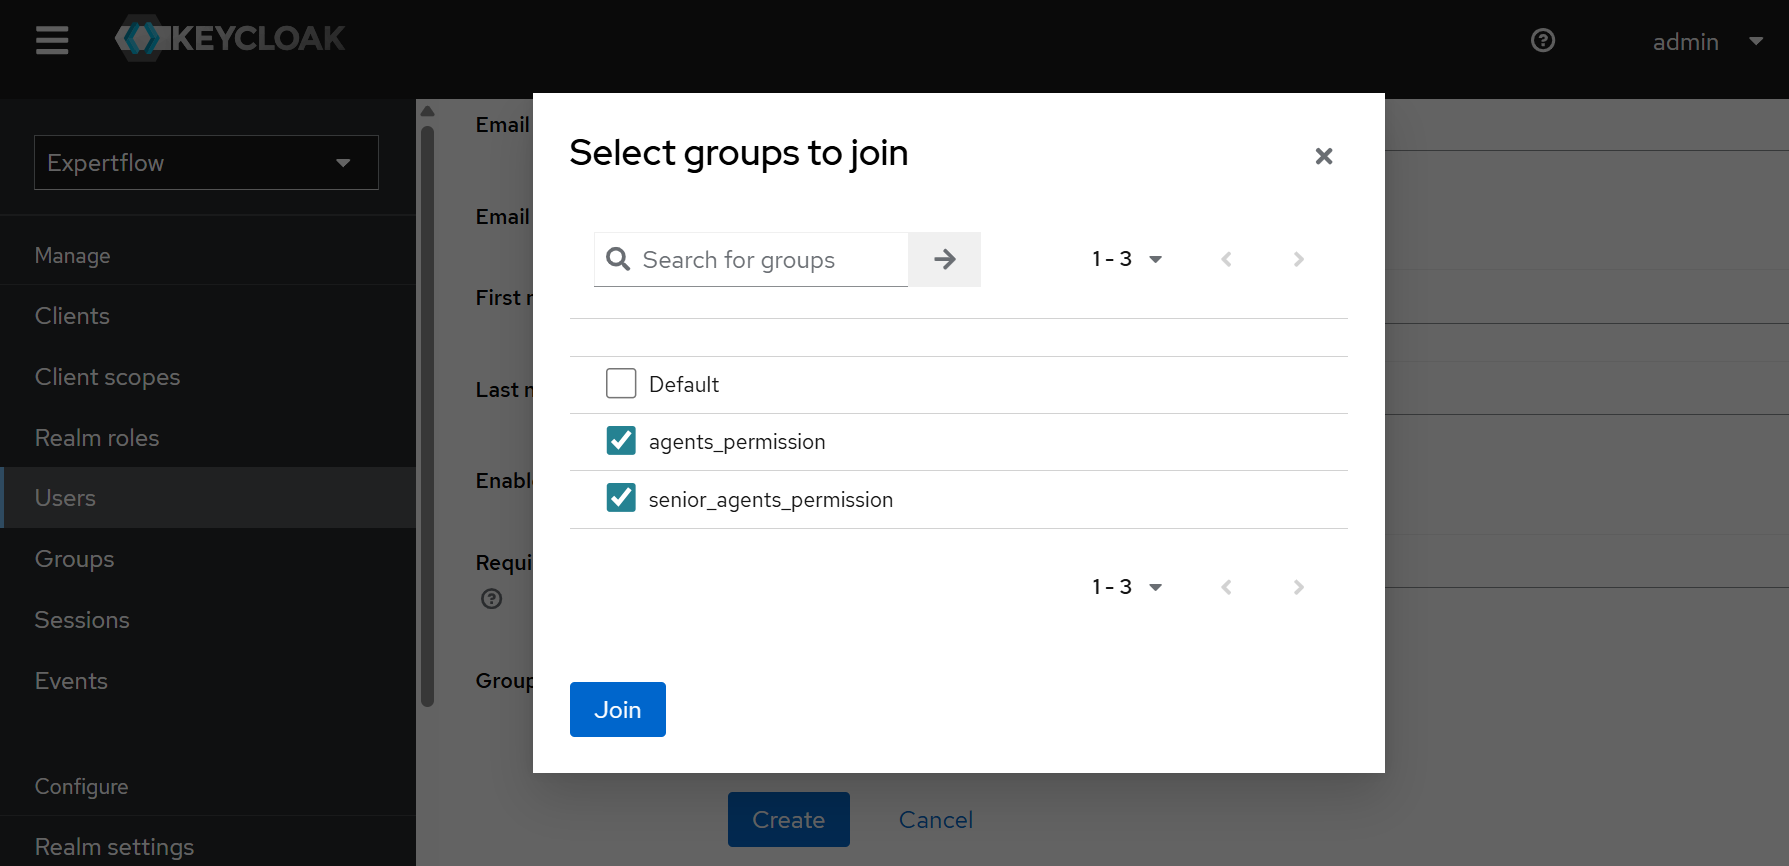
Click the “Join Groups” button in the Groups field, assign the “agents_permission“ group to an agent, and assign the “senior_agents_permission“ group to all senior agents and supervisors. Click the Join button.
-
Click Create.
Set Initial Credentials
-
Open the newly created user. Click the Credentials tab.
-
Click the Set password button, enter a strong password, and select whether Temporary is On (forcing a change on first login) or Off (keeping the password). Set it to On to allow users to change their password as soon as they log in.
-
Set Temporary = On for new users to enforce immediate password change on first login.
Assign Roles
-
Go to the Role mapping tab.
-
Click the Assign role button.
-
Select a desired role from the list.
-
Assign “agent”, “supervisor”, and “admin” roles to agents, supervisors, and administrators.
Avoid assigning multiple conflicting application roles to a single user (e.g., don’t combine admin and agent). Keep auxiliary roles like uma_authorization and offline_access as per your application’s requirement.
Role Examples by Persona
|
Persona (Example) |
Typical Realm Roles |
Typical Client Roles / Notes |
|---|---|---|
|
Administrator |
admin, offline_access, uma_authorization |
|
|
Agent |
agent, offline_access, uma_authorization |
|
|
Supervisor / Evaluator |
supervisor or evaluator, offline_access, uma_authorization |
|