This guide explains how to enable or disable API Authentication (verifying who is calling your API) and API Authorization (controlling what they are allowed to do) in your CX deployment using Application Gateway and IAM.
-
API authentication is the process of validating an entity's credentials to prove they are who they claim to be, granting entry to the system.
-
API authorization is the process of controlling access to specific resources and actions based on the permissions granted to an authenticated entity.
Before You Start
You need the following values before you apply any configurations for API security.
-
<yourRealm>: Your tenant ID or realm name (e.g., expertflow) used in IAM.
Steps to Configure Authentication & Authorization
-
On your server where CX is deployed, go to the folder that contains deployment files.
-
Navigate to
/kubernetes/helm-values. -
Inside this folder, you’ll find a file named
apisix-custom-values.yaml. -
In this file, under
apisixStandalone.routes, locate the route (API endpoint) on which you want to enable authentication or authorization. -
For example, the route for Conversation Manager is given below:
YAML- id: ef-cx-conversation-manager-main uris: ["/conversation-manager/*"] hosts: ["{{ .Values.global.ingressRouter }}"] priority: 0 service_id: svc-conversation-manager status: 1 plugins: # openid-connect: ... # authz-keycloak: ... -
You’ll find
openid-connectandauthz-keycloakplugins under thepluginssection of the route. -
By default, the plugins are disabled (commented out) in the routes. To enable or disable authentication or authorization, simply uncomment or comment the relevant lines. In YAML files, a line is commented out by adding a
#at the beginning. Removing the#enables (uncomments) the line. -
To enable authentication, uncomment the
openid-connectplugin block:YAMLopenid-connect: enable: true discovery: "http://keycloak.ef-external.svc/auth/realms/<yourRealm>/.well-known/openid-configuration" realm: "<yourRealm>" # your tenant ID or realm name client_id: "cim" # IAM client-id client_secret: "ef61df80-061c-4c29-b9ac-387e6bf67052" # IAM client-secret bearer_only: true token_signing_alg_values_expected: "RS256" set_access_token_header: false set_userinfo_header: false audience: ["cim", "account", "realm-management"] required_scopes: ["email", "profile"]-> To disable authentication, comment out this block again.
-
To enable authorization, uncomment the
authz-keycloakplugin block:YAMLauthz-keycloak: lazy_load_paths: true http_method_as_scope: true resource_registration_endpoint: "http://keycloak.ef-external.svc/auth/realms/<yourRealm>/authz/protection/resource_set" discovery: "http://keycloak.ef-external.svc/auth/realms/<yourRealm>/.well-known/uma2-configuration" client_id: "cim" # IAM client-id client_secret: "ef61df80-061c-4c29-b9ac-387e6bf67052" # IAM client-secret-> To disable authorization, comment out this block again.
-
After enabling or disabling a plugin, exit
/helm-valuesdirectory and go back to/kubernetesdirectory. Run the following command:helm upgrade --install --namespace ef-external --values helm-values/apisix-custom-values.yaml apisix expertflow/apisix --version 5.0 -
You’ve successfully enabled or disabled the authentication/authorization.
For resource_registration_endpoint and discovery settings:
-
Ensure that, instead of using the FQDN, the Keycloak service name is specified before the
/authsubpath as shown above. -
Ensure that your realm name or tenant ID is used instead of "<yourRealm>".
For details on secured components’ APIs and the access levels assigned to different roles, please refer to the Secured Components document.
IAM Configurations
-
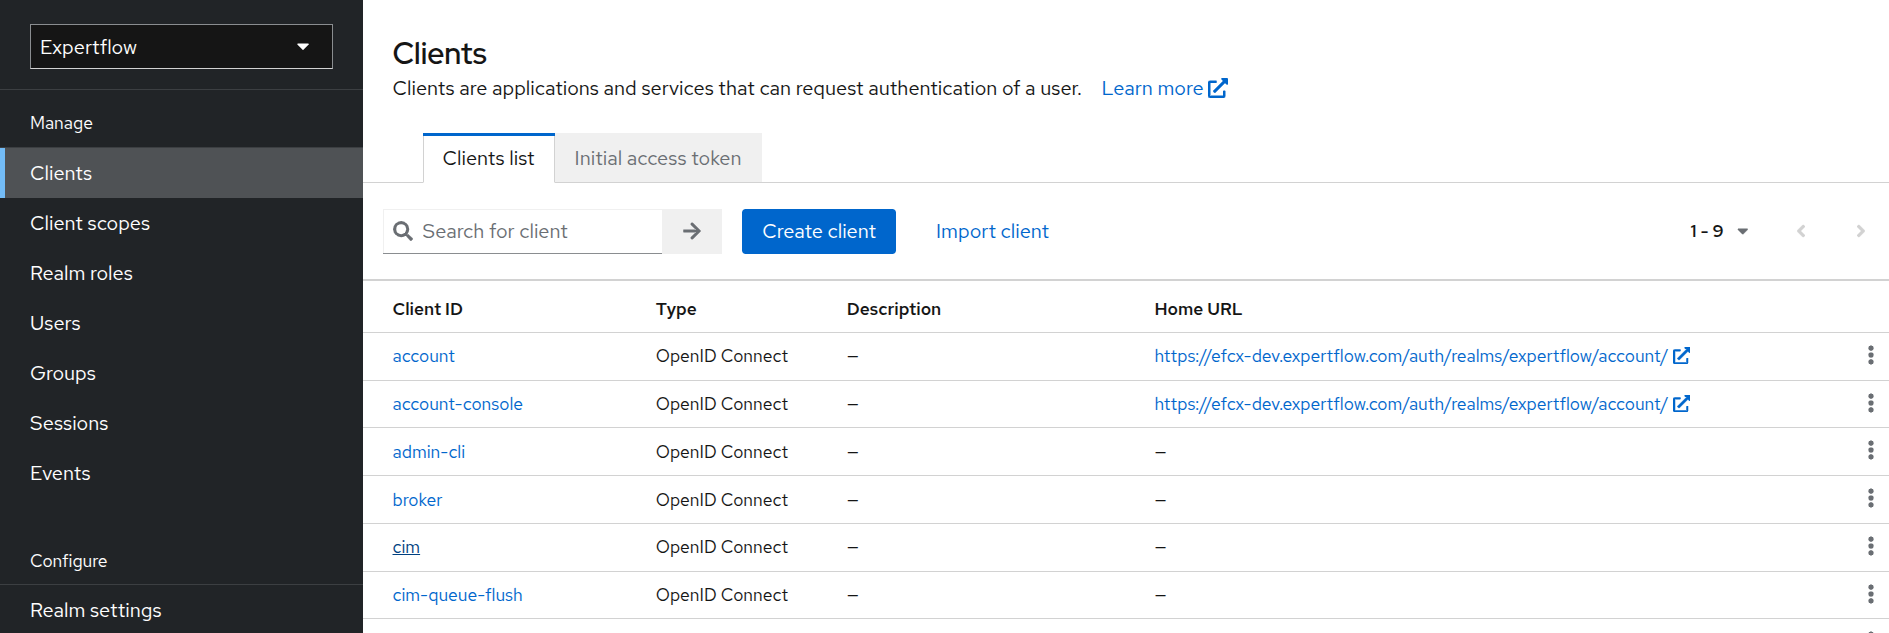
Go to your IAM admin console and select your realm.
-
Click on Clients option in left panel and select cim.
-
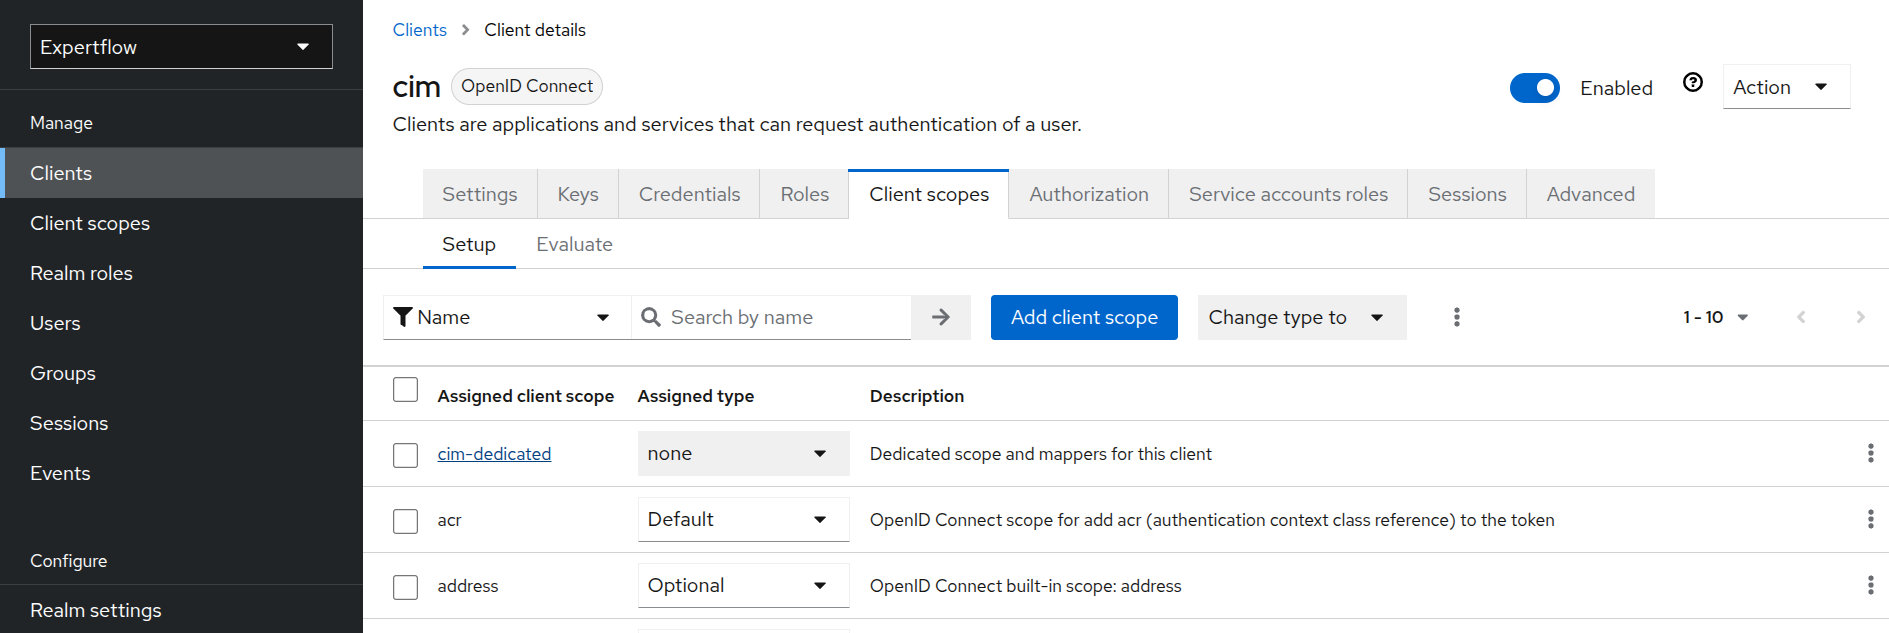
Go to the Client scopes and click on cim-dedicated under Assigned client scope.
-
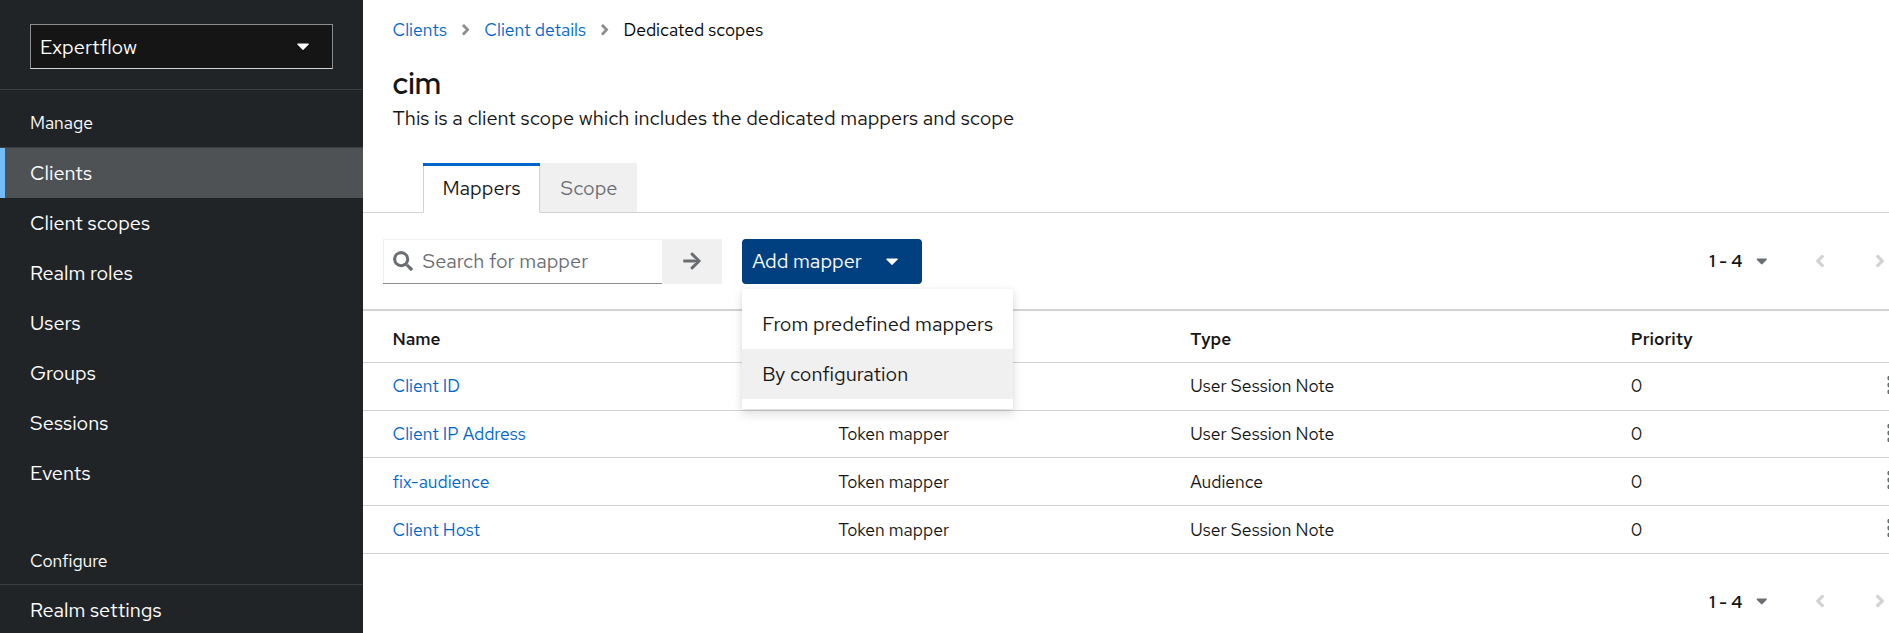
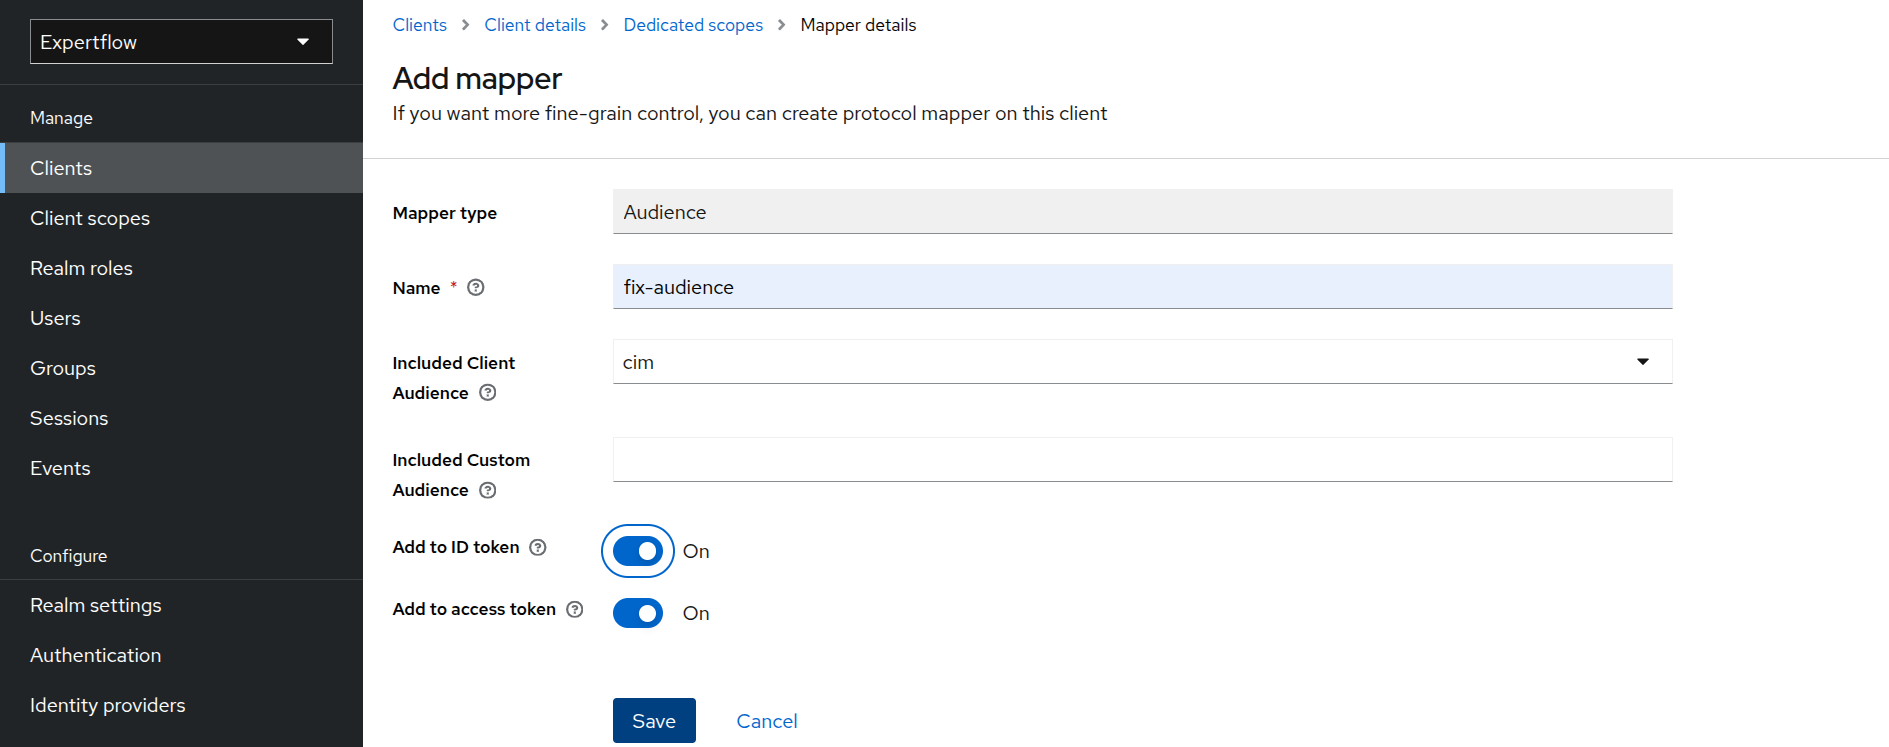
Click on Add Mapper and then select By configuration.
-
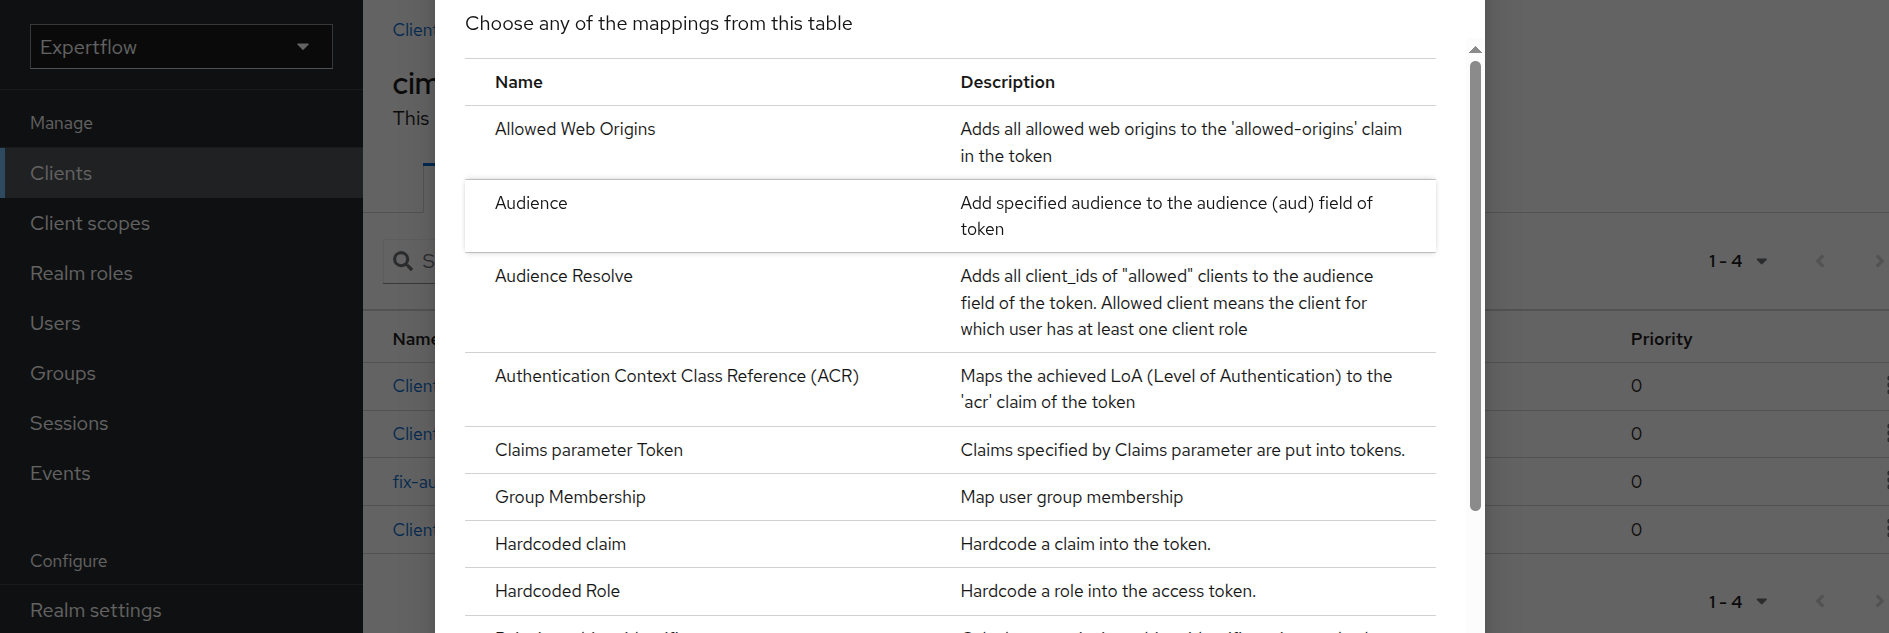
Click on Audience.
-
Provide name as “fix-audience”. Select cim in Included Client Audience. Check “Add to ID Token” toggle as On and Save.
Create Customer User
This user is responsible for creation of Access Token for each customer in Customer Widget.
-
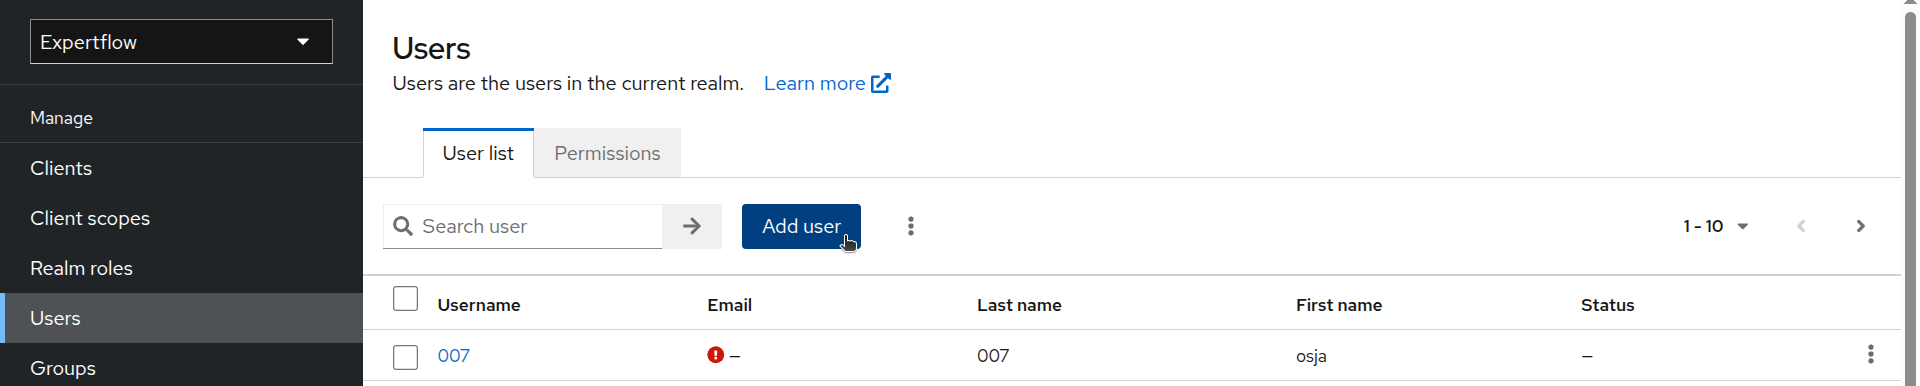
Go to the Users tab in left menu.
-
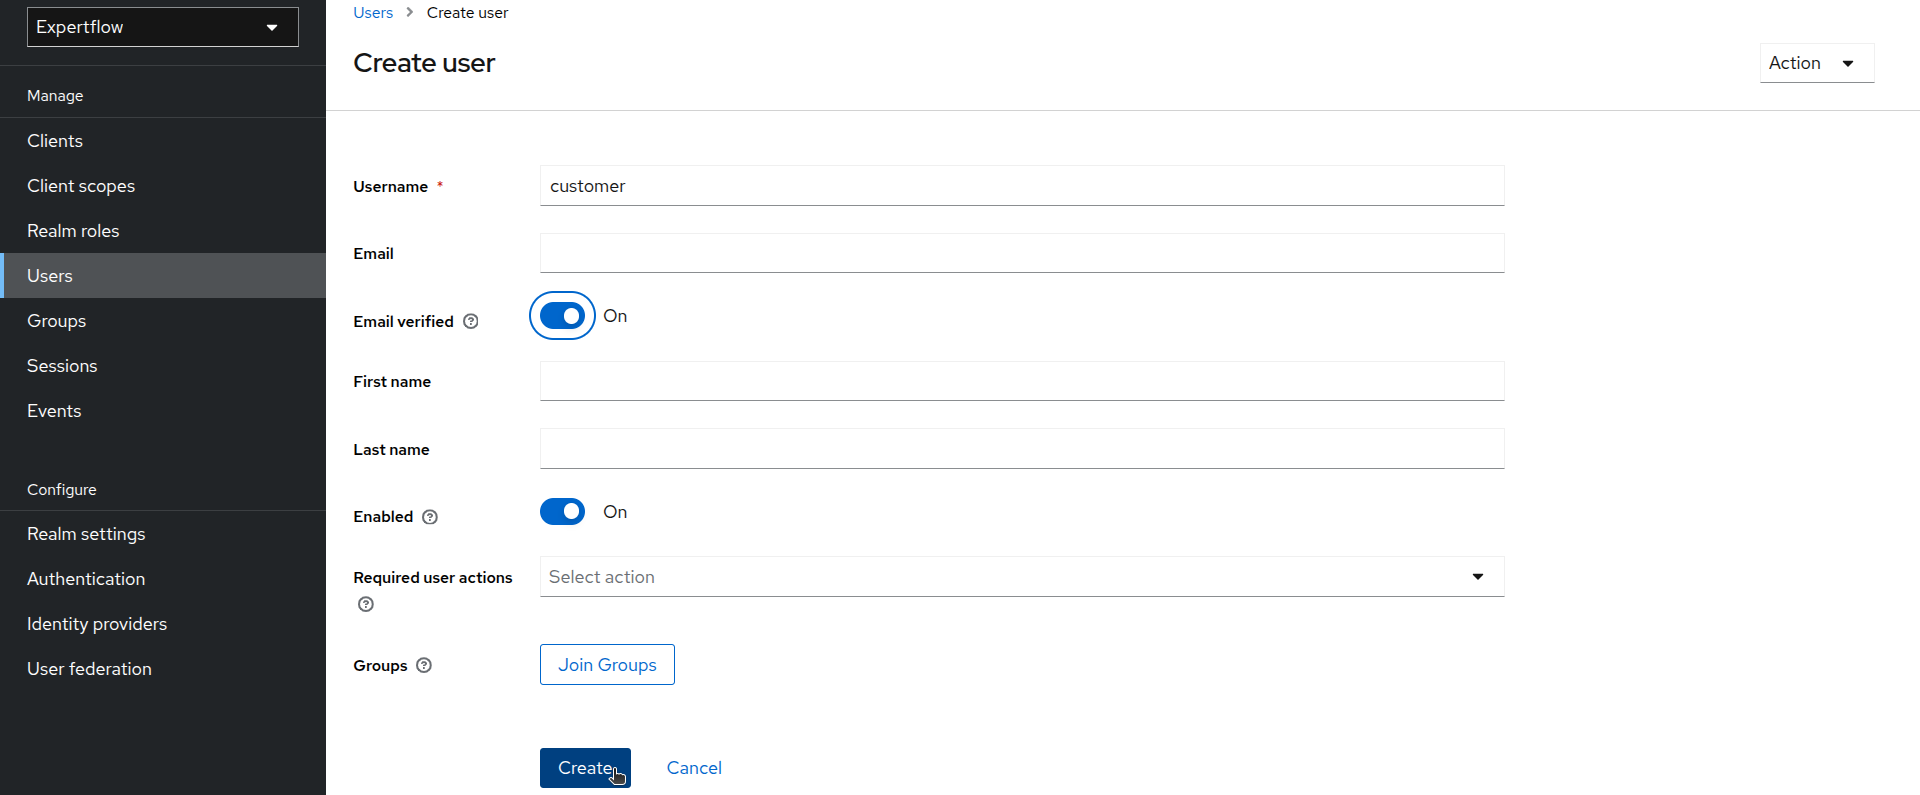
Click on Add User. Provide username as “customer” and toggle Email Verified On. Click Create.
-
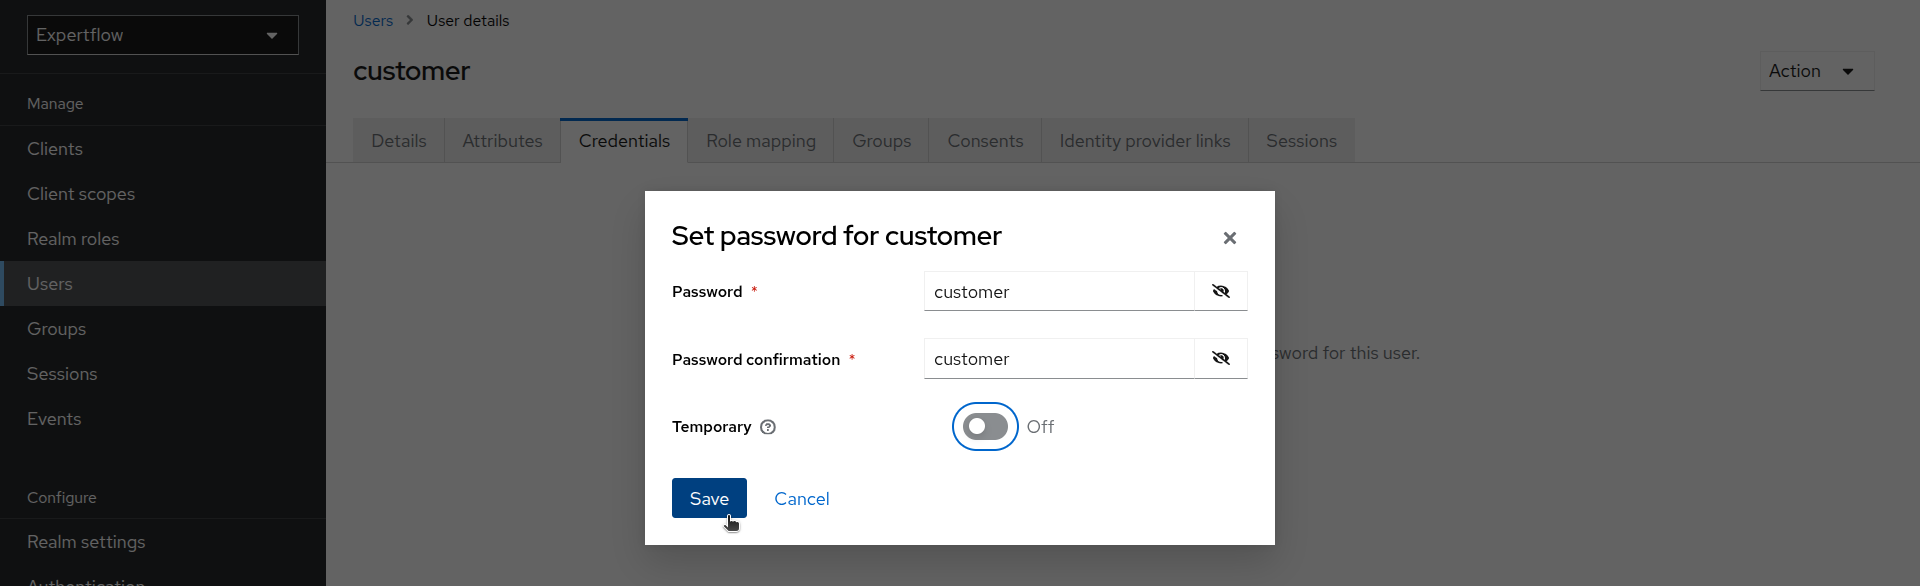
Once user is created, go to Credentials and click on Set Password. Provide credentials as “customer” and toggle temporary to Off. Click Save.
-
Click on the Realm roles and check if the customer role exists. If it exists then skip the creation process, else create a customer role.

-
After creating customer user, assign it a customer role. Go to the customer user and the click on Role mapping.
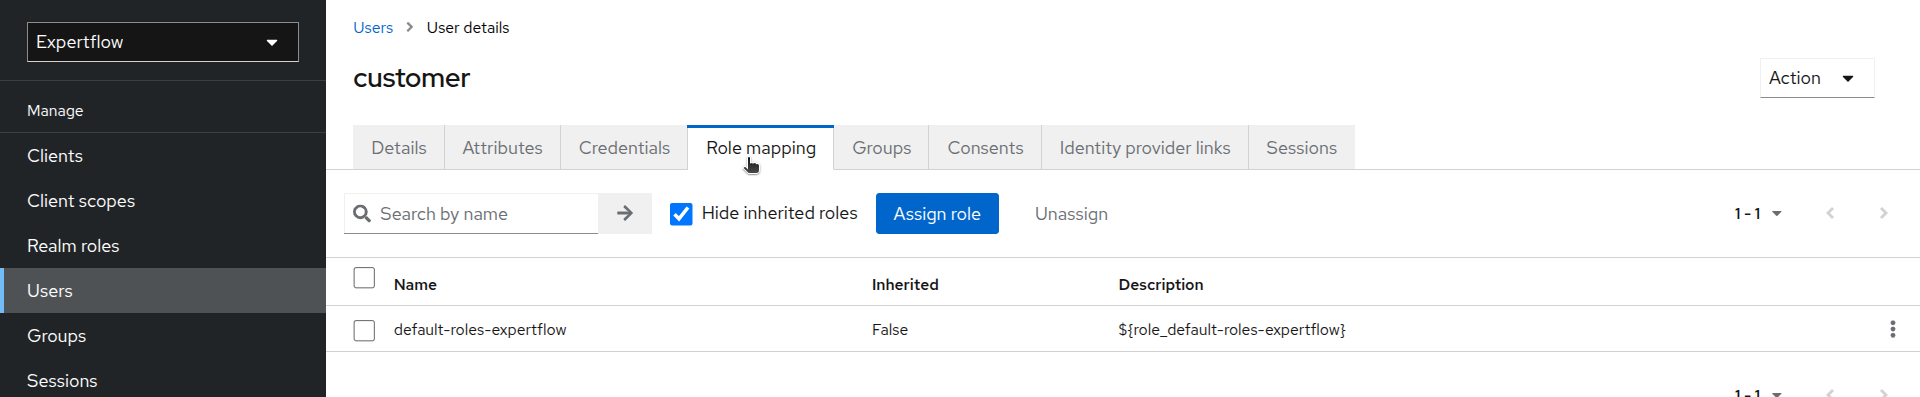
-
Click on Assing role and assign customer role to user along with offline_access and uma_authorization.
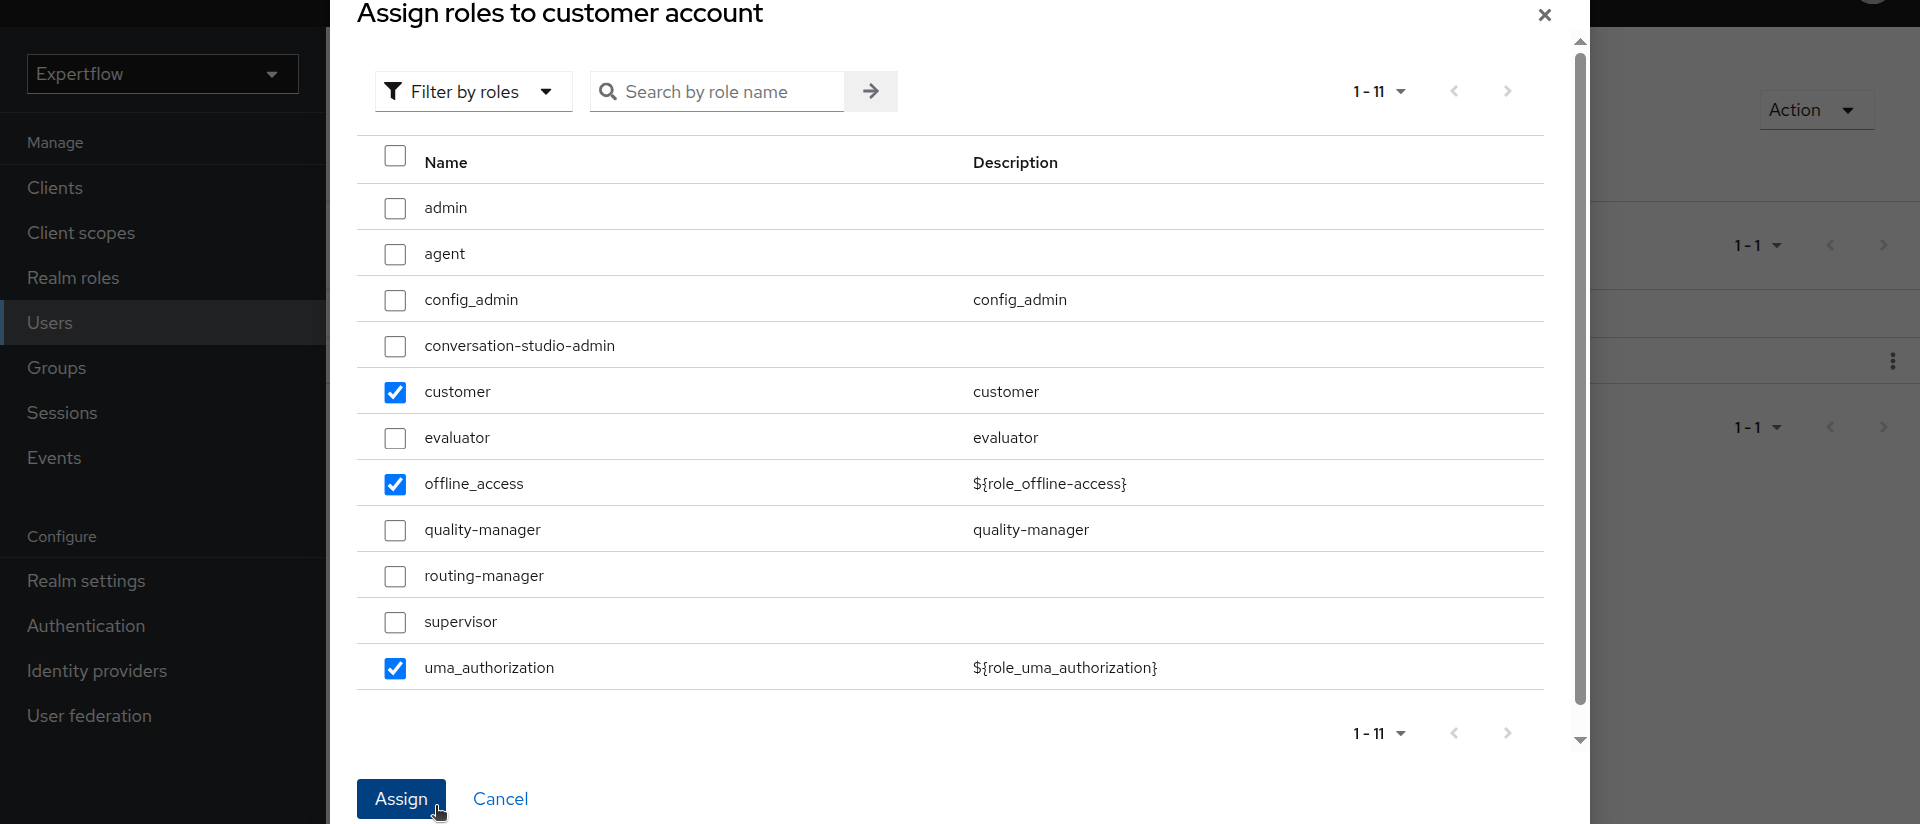
-
Customer user creation is done.